
When people hear about blurring, they often think of out-of-focus mistakes or poor camera work. However, creating a motion blur effect video is actually about adding a natural, fluid feel to moving subjects. Blurring the right areas in specific ways transforms rigid clips into cinematic masterpieces. Whether editing action sports, gaming montages, or standard vlog clips, picking the right software makes all the difference. This article explores the top six tools that easily add motion blur to video, helping creators elevate their visual storytelling without a steep learning curve.
Table of Contents
Part 1: Why Add a Motion Blur Effect to Your Video?
Applying a motion blur effect serves a highly practical purpose in professional video editing. Cameras capturing footage at higher shutter speeds often produce sharp, individual frames. While crisp, these sequential images can appear jarring or disjointed during playback. Introducing intentional blur bridges the visual gap between frames, replicating how the human eye naturally perceives movement.
This technique proves especially useful for smoothing out choppy, low-framerate recordings. For instance, action sequences and fast-paced gaming clips gain a dramatic sense of speed and intensity with directional blur applied. Furthermore, digital animations and CGI elements rely heavily on this technique to blend seamlessly with live-action environments. Knowing how to correctly add motion blur to video elevates amateur recordings into polished, realistic media projects. Mastering this simple enhancement makes cinematic quality accessible to everyday editors.
Part 2: At-a-Glance Tool Comparison
Choosing the right software depends heavily on editing style, hardware, and budget. The table below breaks down the top choices based on essential user metrics.
| Tool Name | Platform / Device | Best for | Ease of Use | Price Model |
| Wondershare UniConverter | Desktop (Windows/Mac) | Fast, high-quality local processing | Beginner-Friendly | Freemium / Paid |
| Adobe Premiere Pro | Desktop (Windows/Mac) | Professional timeline editing | Advanced | Subscription |
| CapCut Online | Web Browser | Quick social media edits | Intermediate | Freemium |
| VEED.io | Web Browser | Collaborative browser editing | Beginner-Friendly | Subscription |
| InShot | Mobile App (iOS/Android) | On-the-go vertical videos | Beginner-Friendly | Freemium |
| Blur Video | Mobile App (iOS/Android) | Simple, targeted phone blurring | Beginner-Friendly | Free with Ads |
Part 3: Top 6 Tools to Add a Motion Blur Effect to Your Video
1. Wondershare UniConverter (Desktop)
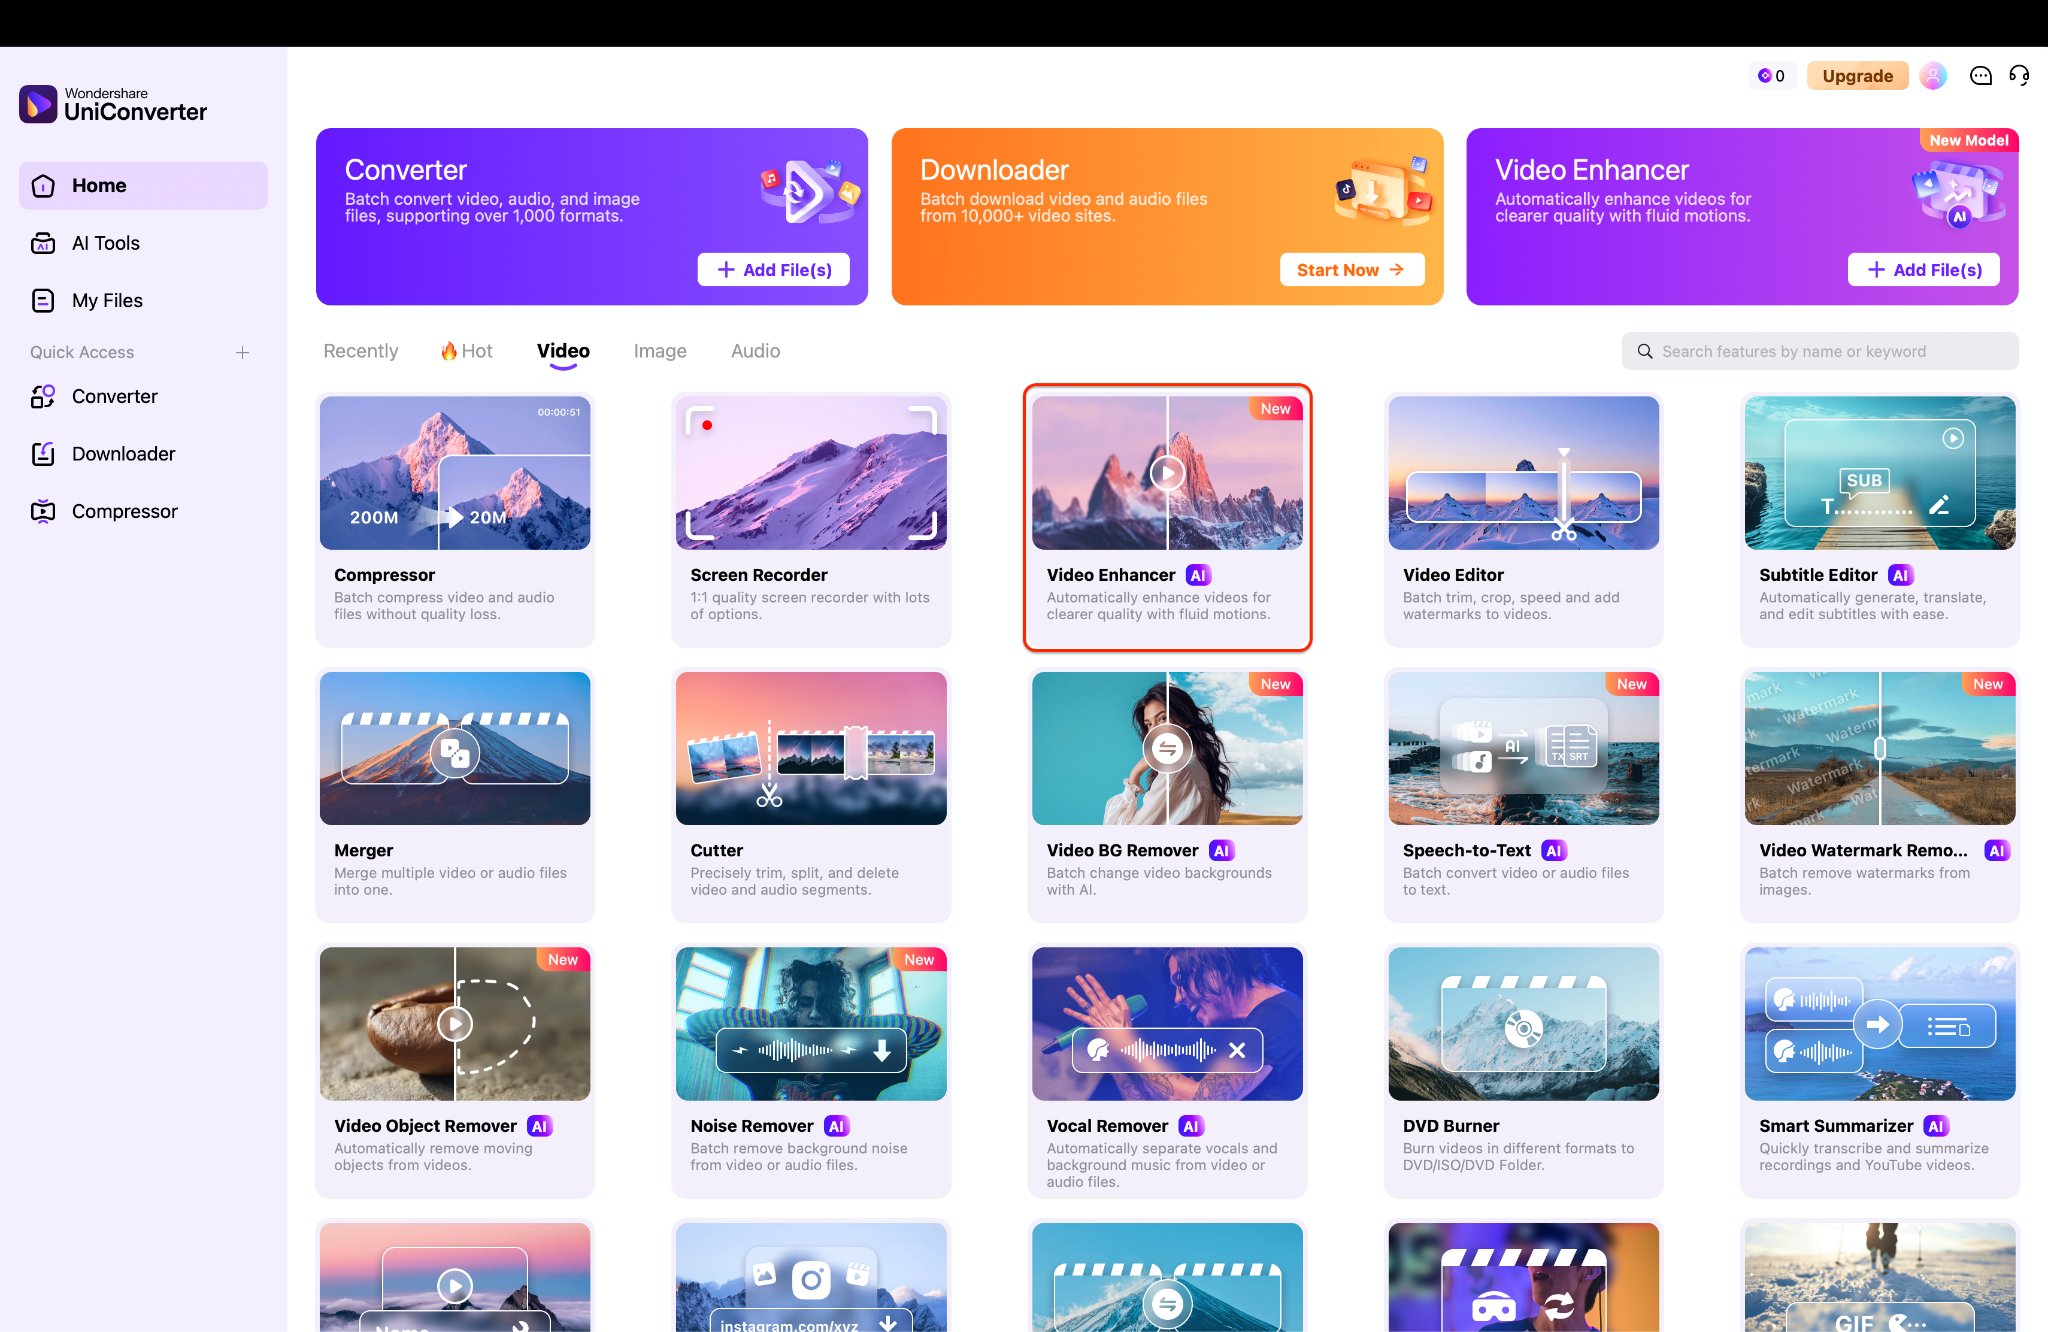
Wondershare UniConverter stands as an AI-powered media file processing tool designed for fast, high-quality, and lightweight batch handling. It simplifies complex video tasks, making it ideal for educators, creative professionals, and casual creators. Applying a motion blur effect video filter takes just a few clicks within its intuitive interface. Furthermore, creators can explore additional modules like the AI Video Enhancer to upscale overall visual quality before adding stylistic blurs.


All-in-One Multimedia Processing Tool

Key Features:
Advanced sliders for precise blur intensity and directional control.
Hardware acceleration technology for rapid export speeds on large 4K files.
Built-in video stabilization to fix shaky footage before applying effects.
Comprehensive batch processing for editing multiple clips simultaneously.
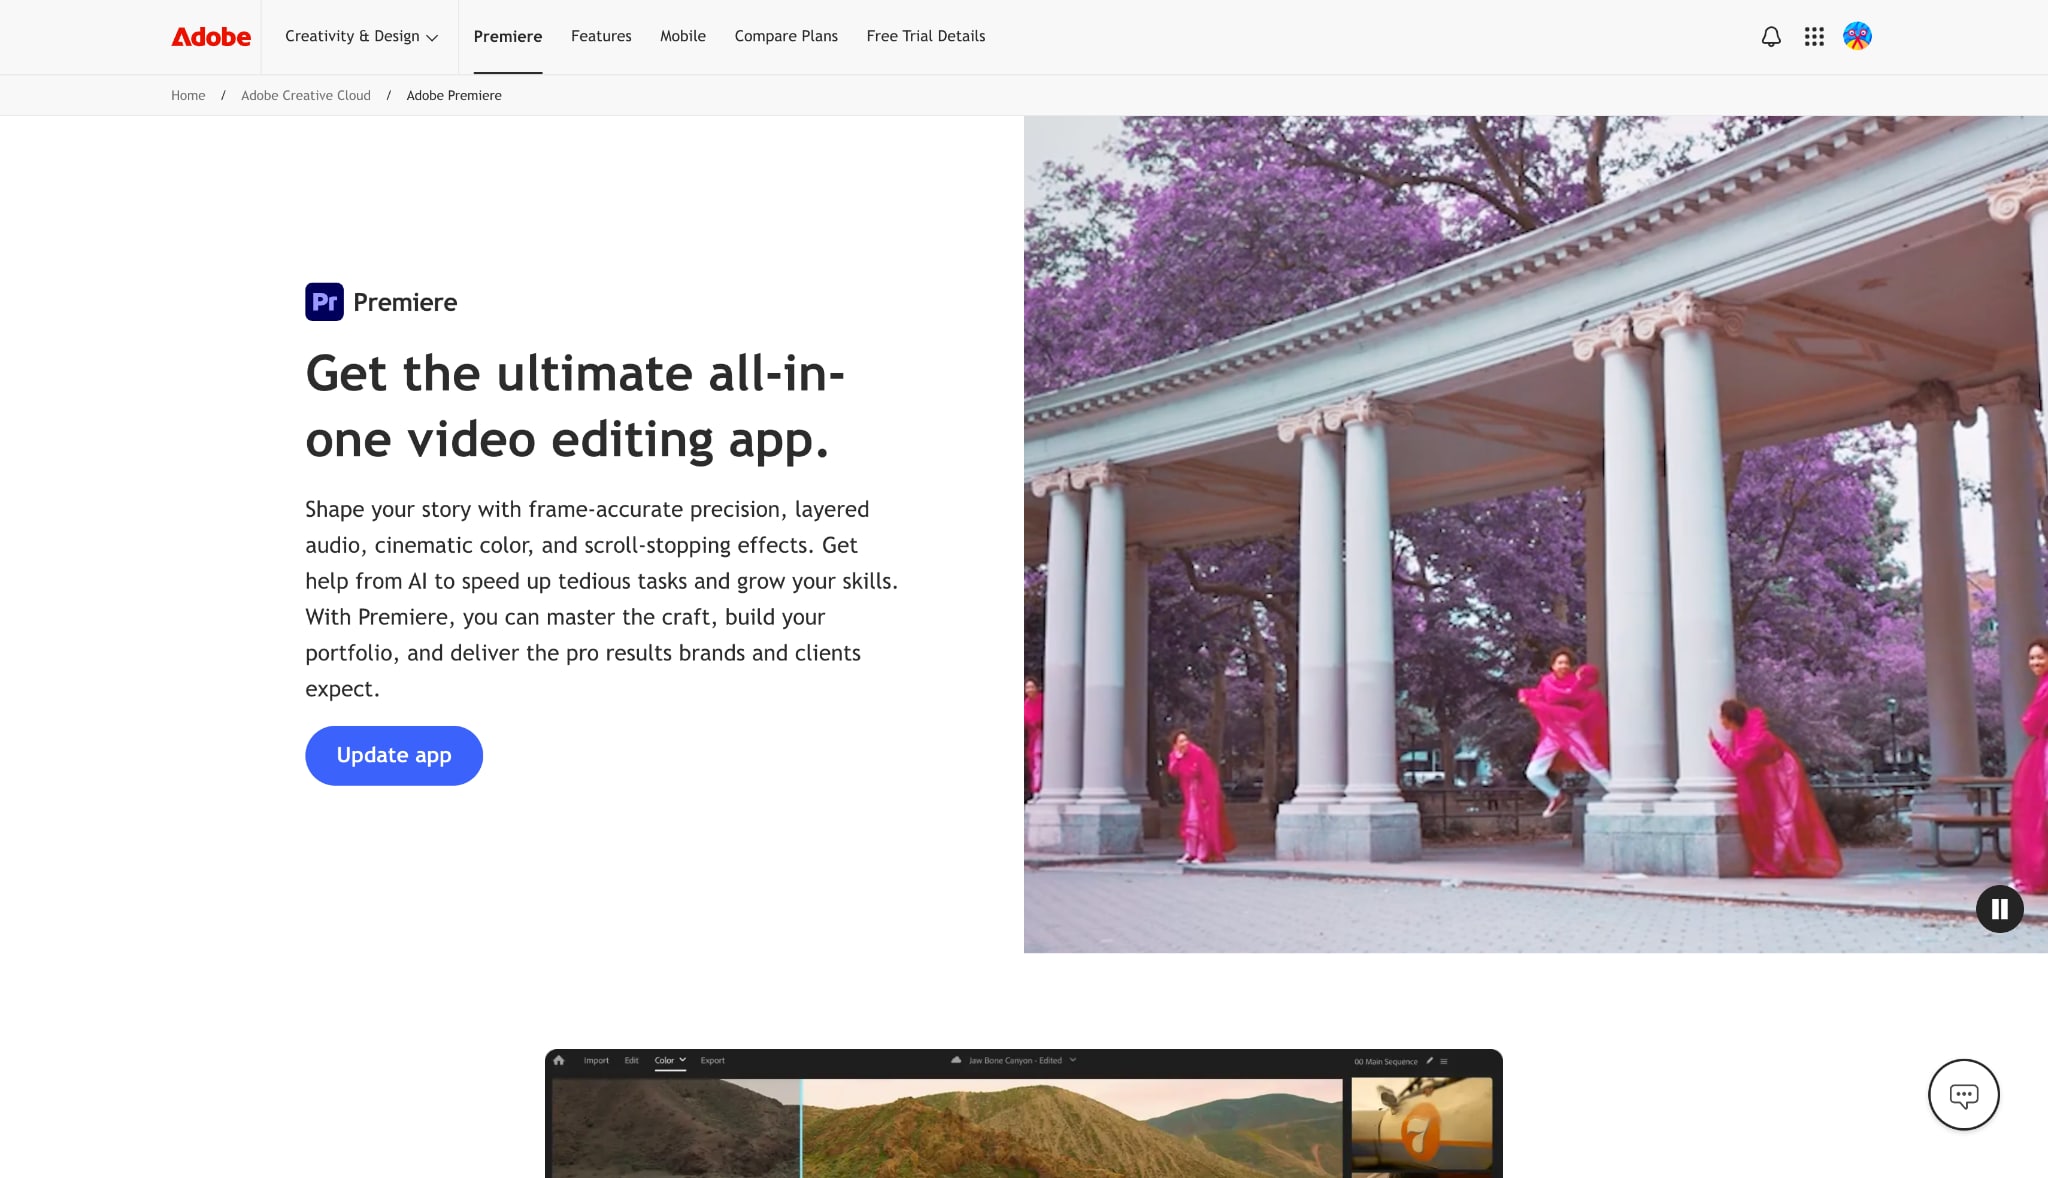
2. Adobe Premiere Pro (Desktop)
Adobe Premiere Pro remains an industry standard for professional filmmakers and seasoned editors. It provides an expansive timeline editing environment with limitless customization options. Editors looking to add motion blur to video will find powerful tools like the Directional Blur and Transform effects built natively into the software. While it boasts a steep learning curve, the level of precision available makes it a top choice for high-end studio productions.
Key Features:
Advanced keyframing capabilities for dynamic blur adjustments over time.
Seamless integration with Adobe After Effects for complex compositing.
Extensive color grading panels to match blur effects with lighting conditions.
Support for virtually every professional camera codec available today.
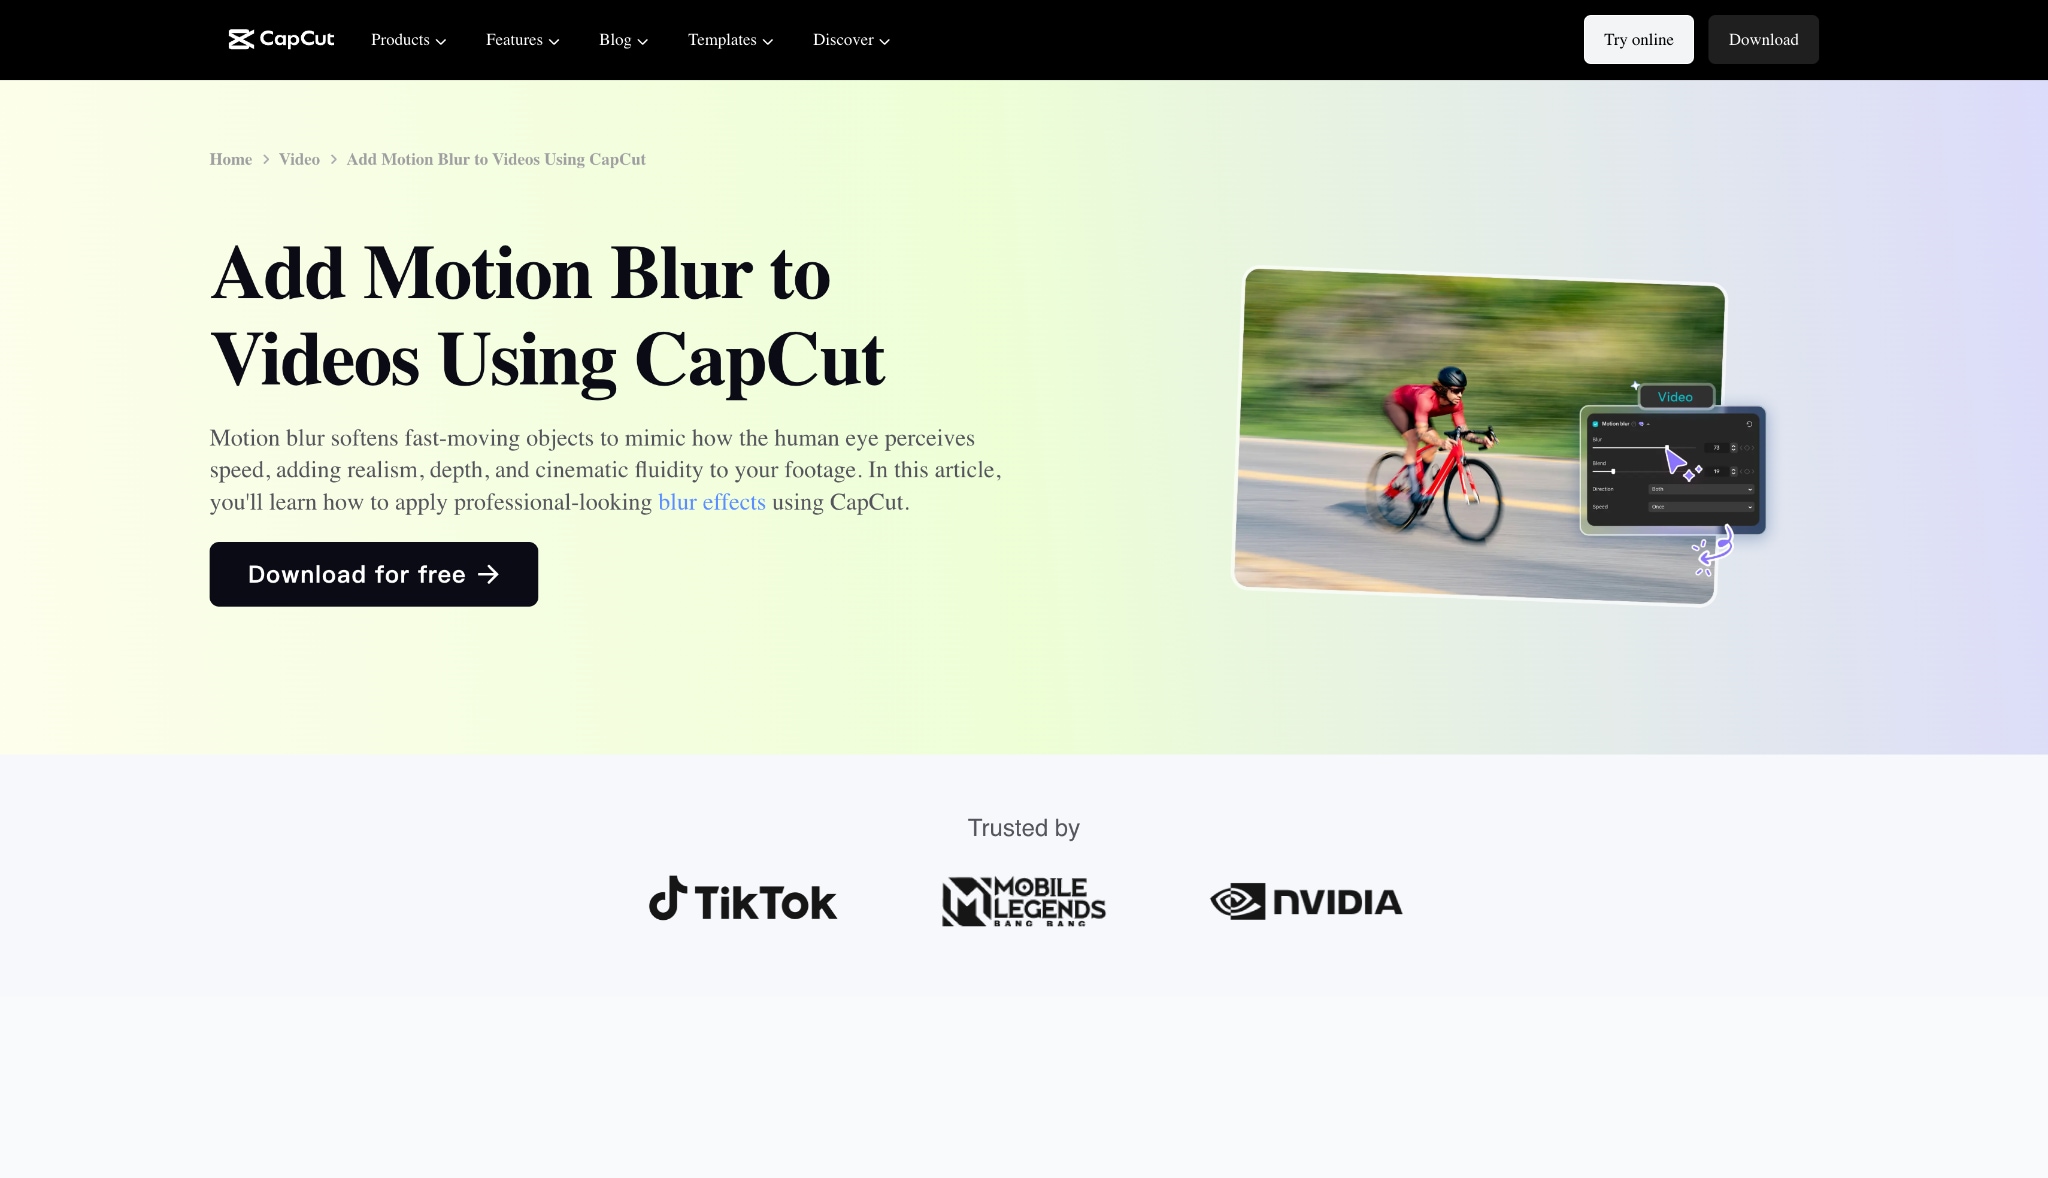
3. CapCut Online (Web Browser)
CapCut Online brings the massive popularity of its mobile app directly to the web browser. It caters specifically to social media creators, influencers, and digital marketers needing fast turnaround times. The platform features an extensive library of one-click effects, making it incredibly simple to create a motion blur effect video for platforms like TikTok or Instagram. Because it runs in the cloud, users can edit on almost any device with an internet connection.
Key Features:
One-click stylistic templates featuring trendy blur effects.
Cloud-based storage for syncing projects across different devices.
Direct export options to major social media platforms.
Auto-captioning and trending audio libraries are built directly into the editor.
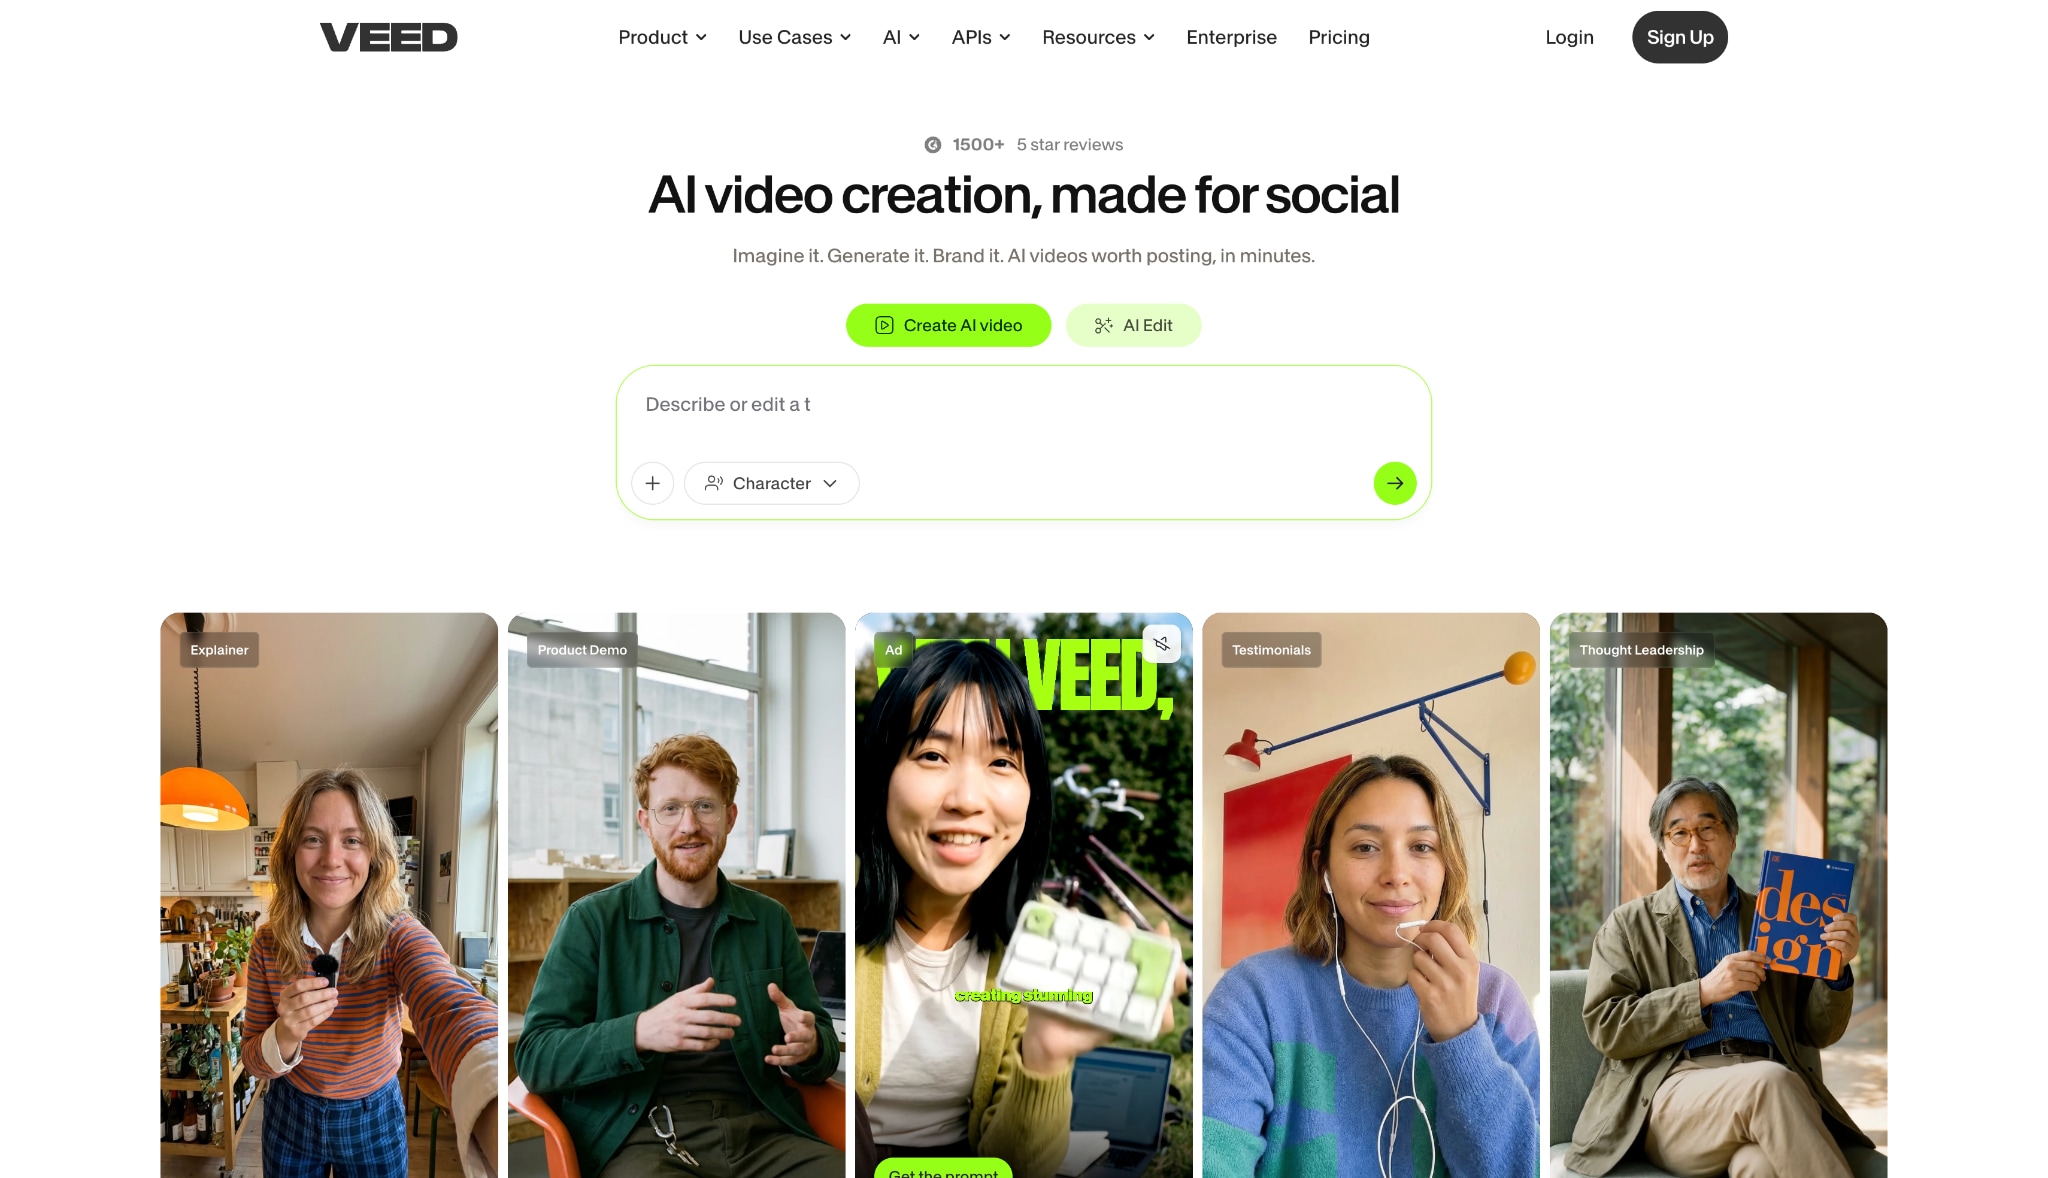
4. VEED.io (Web Browser)
VEED.io positions itself as a streamlined, collaborative browser editor designed for marketing teams and content creators. The interface prioritizes simplicity, removing the clutter often found in traditional timeline editors. Adding a motion blur effect requires only selecting the filter from the effects menu and adjusting a single slider. Its strength lies in team collaboration, allowing multiple users to review and comment on projects directly within the browser environment.
Key Features:
Clean, drag-and-drop interface for rapid video assembly.
Workspace sharing features for real-time team feedback.
Automated subtitle generation with high accuracy rates.
Brand kit integration to maintain consistent colors and logos.
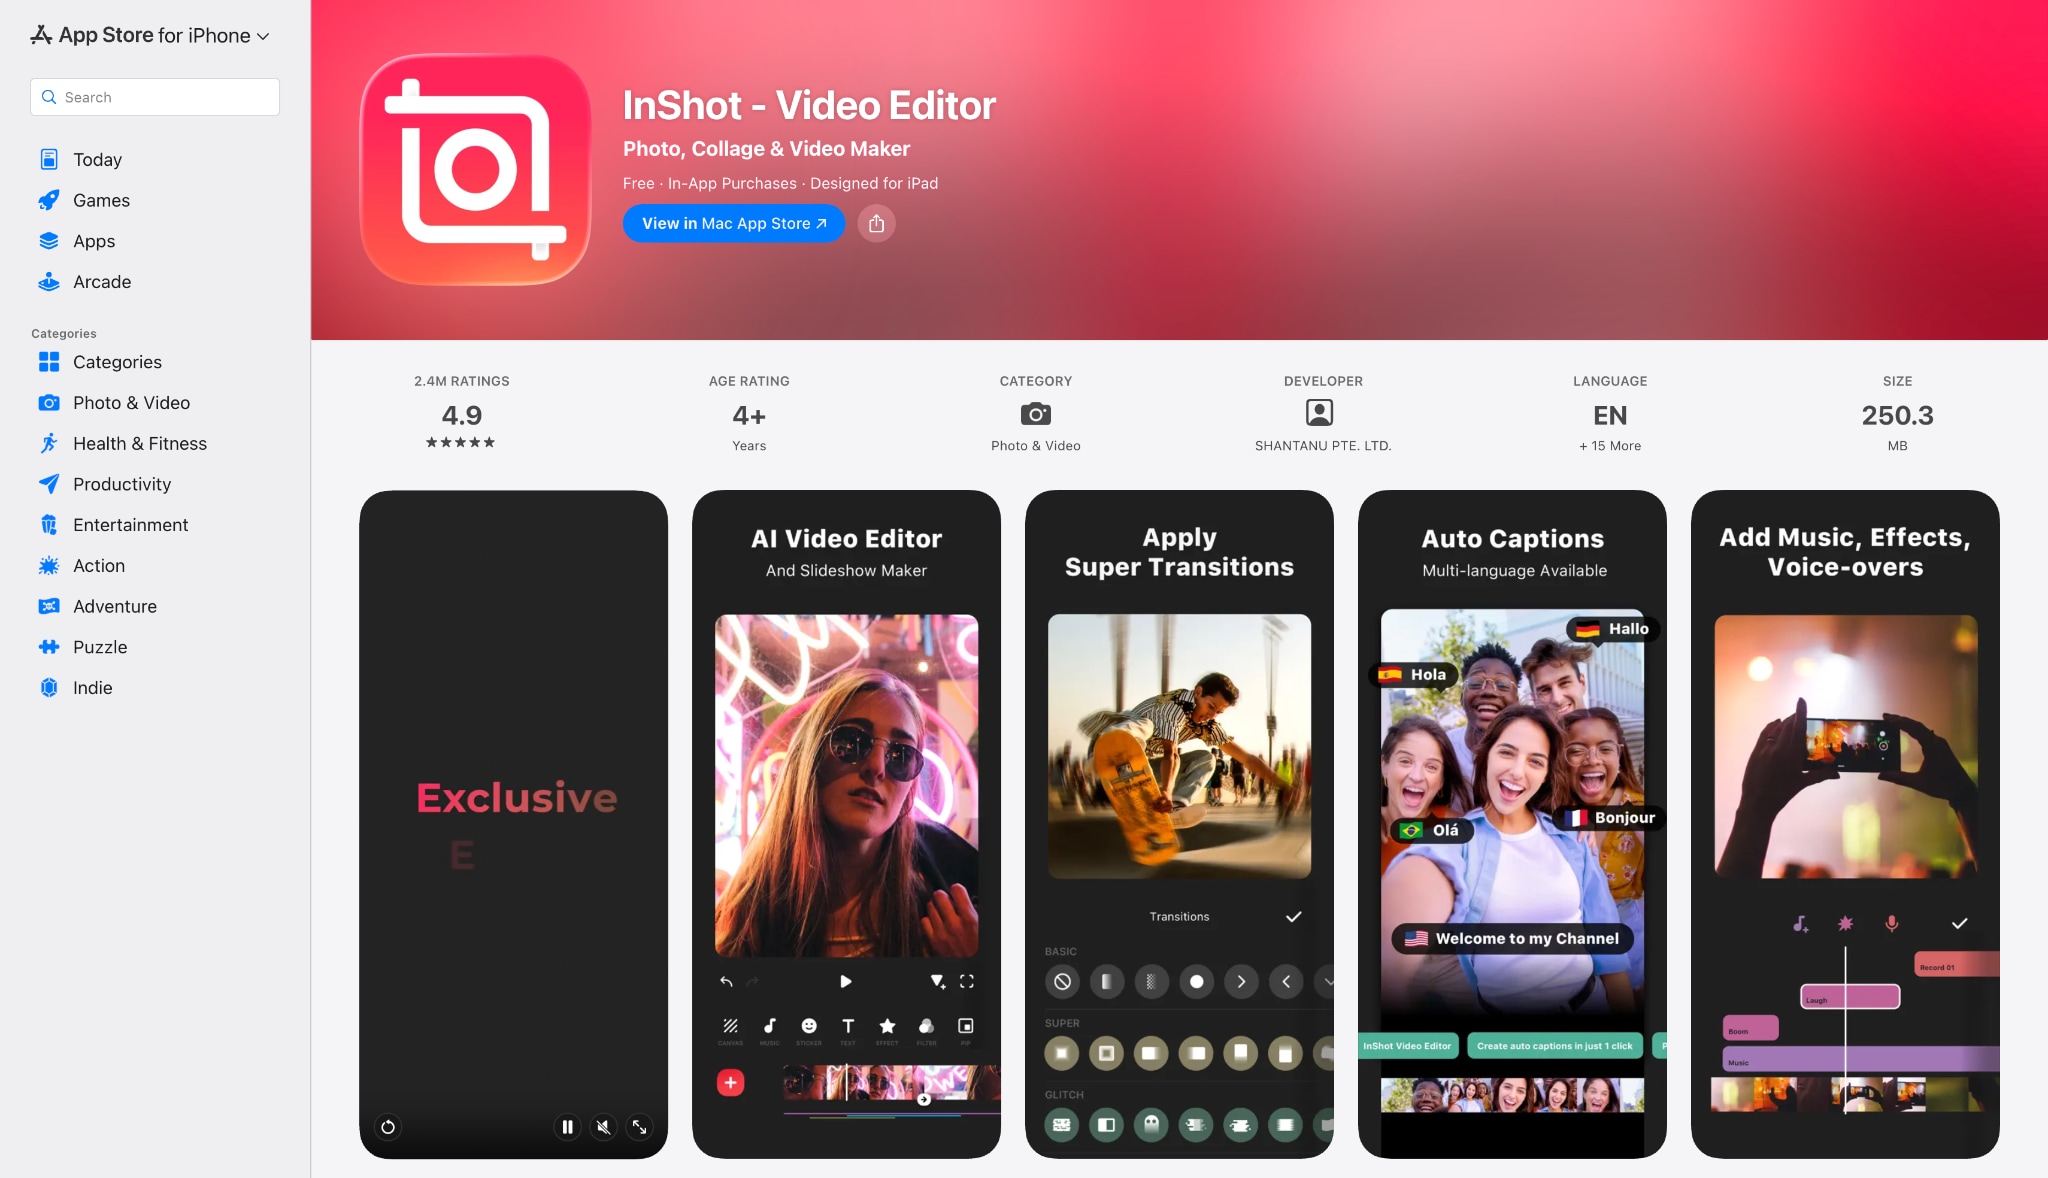
5. InShot (Mobile App)
InShot dominates the mobile editing space by providing a robust set of tools within a phone-friendly vertical layout. It targets vloggers and everyday creators who capture and publish content entirely from their smartphones. Users can easily add motion blur to video clips to create dynamic transitions or emphasize fast movements. The app balances essential timeline functions with an array of playful filters, making on-the-go editing highly efficient.
Key Features:
Optimized canvas ratios for Instagram Reels, YouTube Shorts, and TikTok.
Picture-in-Picture (PIP) tracks for layering multiple video clips.
Keyframe animation tools tailored for touch screen controls.
Speed ramping tools that pair perfectly with blur effects.
6. Blur Video (Mobile App)
Blur Video focuses entirely on one specific task: masking and blurring elements within mobile footage. Rather than acting as a full suite editor, it functions as a specialized utility tool. Creators often use it to obscure faces, hide sensitive information, or apply a stylistic motion blur effect to specific screen areas. Its bare-bones approach ensures that anyone can apply an effect in seconds without navigating complex menus.
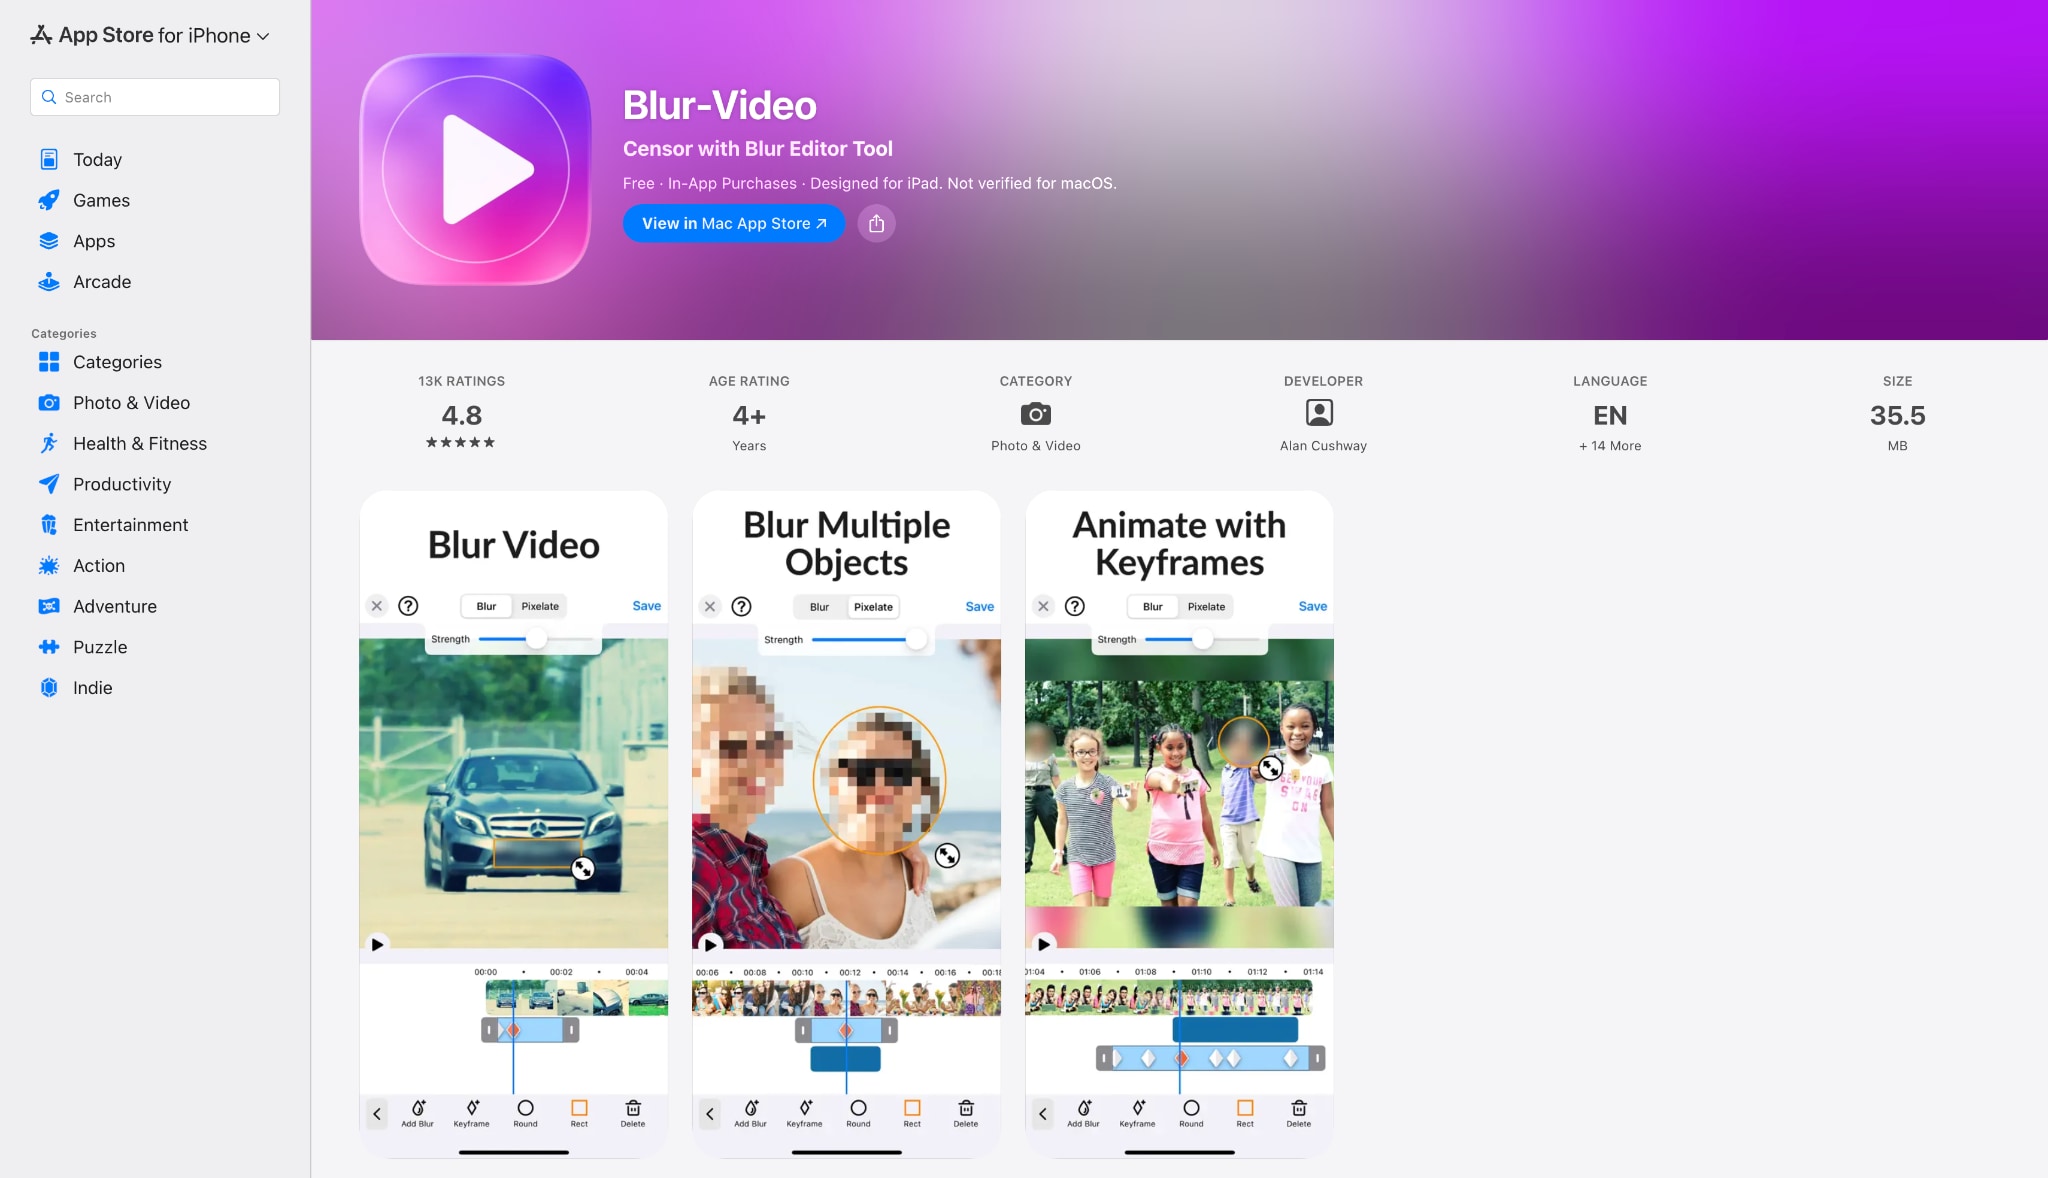
Key Features:
Free-hand drawing tools to apply blur to custom shapes.
Invert modes to blur the background while keeping the subject sharp.
Adjustable pixelation and Gaussian blur styles.
Direct saving to the device's camera roll.
Part 4: How to Pick the Right Tool for Your Video
Choosing the correct software ensures a smooth editing workflow. Consider these five distinct criteria before starting a project.
Assess Processing Needs: Working with large 4K files demands robust software with zero latency. Local desktop programs like Wondershare UniConverter stand out as premier choices for processing high-resolution media efficiently without compression.
Consider Privacy: Desktop software processes files locally on a hard drive. This environment provides the safest option for sensitive or unreleased footage, bypassing the security risks associated with cloud-based uploaders.
Hardware Limitations: Borrowed or low-spec computers often struggle with heavy rendering. Browser-based tools like CapCut Online rely on remote servers, making them excellent alternatives for aging hardware.
Speed vs. Quality: Mobile apps like InShot cater perfectly to fast, on-the-go social media updates. They trade maximum export fidelity for immediate publishing convenience.
Budgeting: Editing frequency dictates software investment. Freemium desktop tools often offer an excellent balance of professional features without the heavy recurring subscription costs of high-end suites like Premiere Pro.
Part 5: Pro Tips for Applying a Natural Motion Blur Effect
Achieving a cinematic look requires more than just dropping a filter onto a timeline. Applying these expert techniques will dramatically improve visual results.
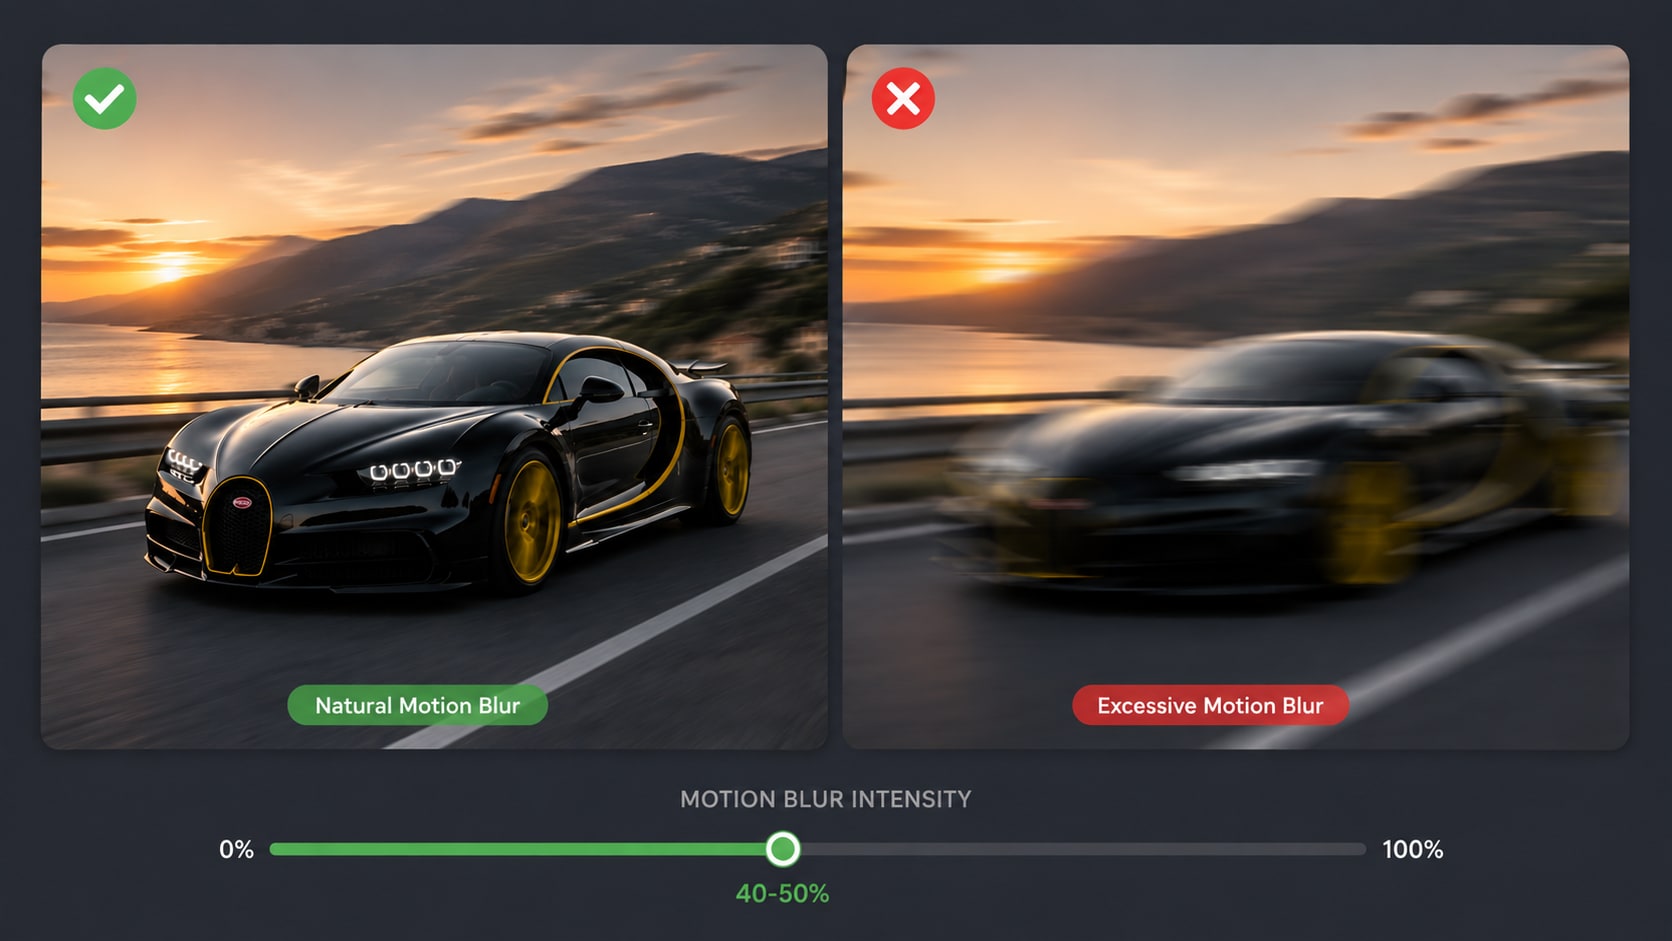
Keep Intensity Moderate: Pushing a blur slider to 100% causes heavy digital distortion, rendering the footage unrecognizable. An intensity level of 40-50 usually yields the most realistic, cinematic results.
Match the Direction: Authentic looks depend on physical alignment. Always match the blur direction (Forward, Centered, or Backward) to the actual physical movement of the subject or the camera pan.
Prioritize Stabilization First: A motion blur effect video filter looks terrible on shaky footage. Running clips through a video stabilization tool (available in UniConverter) removes unwanted jitter before applying the blur.
Check Your Frame Rate: Blur filters look best on footage shot at 24fps or 30fps. High frame rates like 60fps are designed for crispness; applying heavy blur to them often appears artificial.
Maintain Subject Focus: Mimic real camera lenses by keeping the primary moving subject relatively sharp. Adjust settings so that only the background or edges trail off during fast action sequences.
Part 6: How to Add Motion Blur to Video
Wondershare UniConverter makes processing media files faster while keeping the original quality intact. Follow these simple instructions to enhance video clips effortlessly.
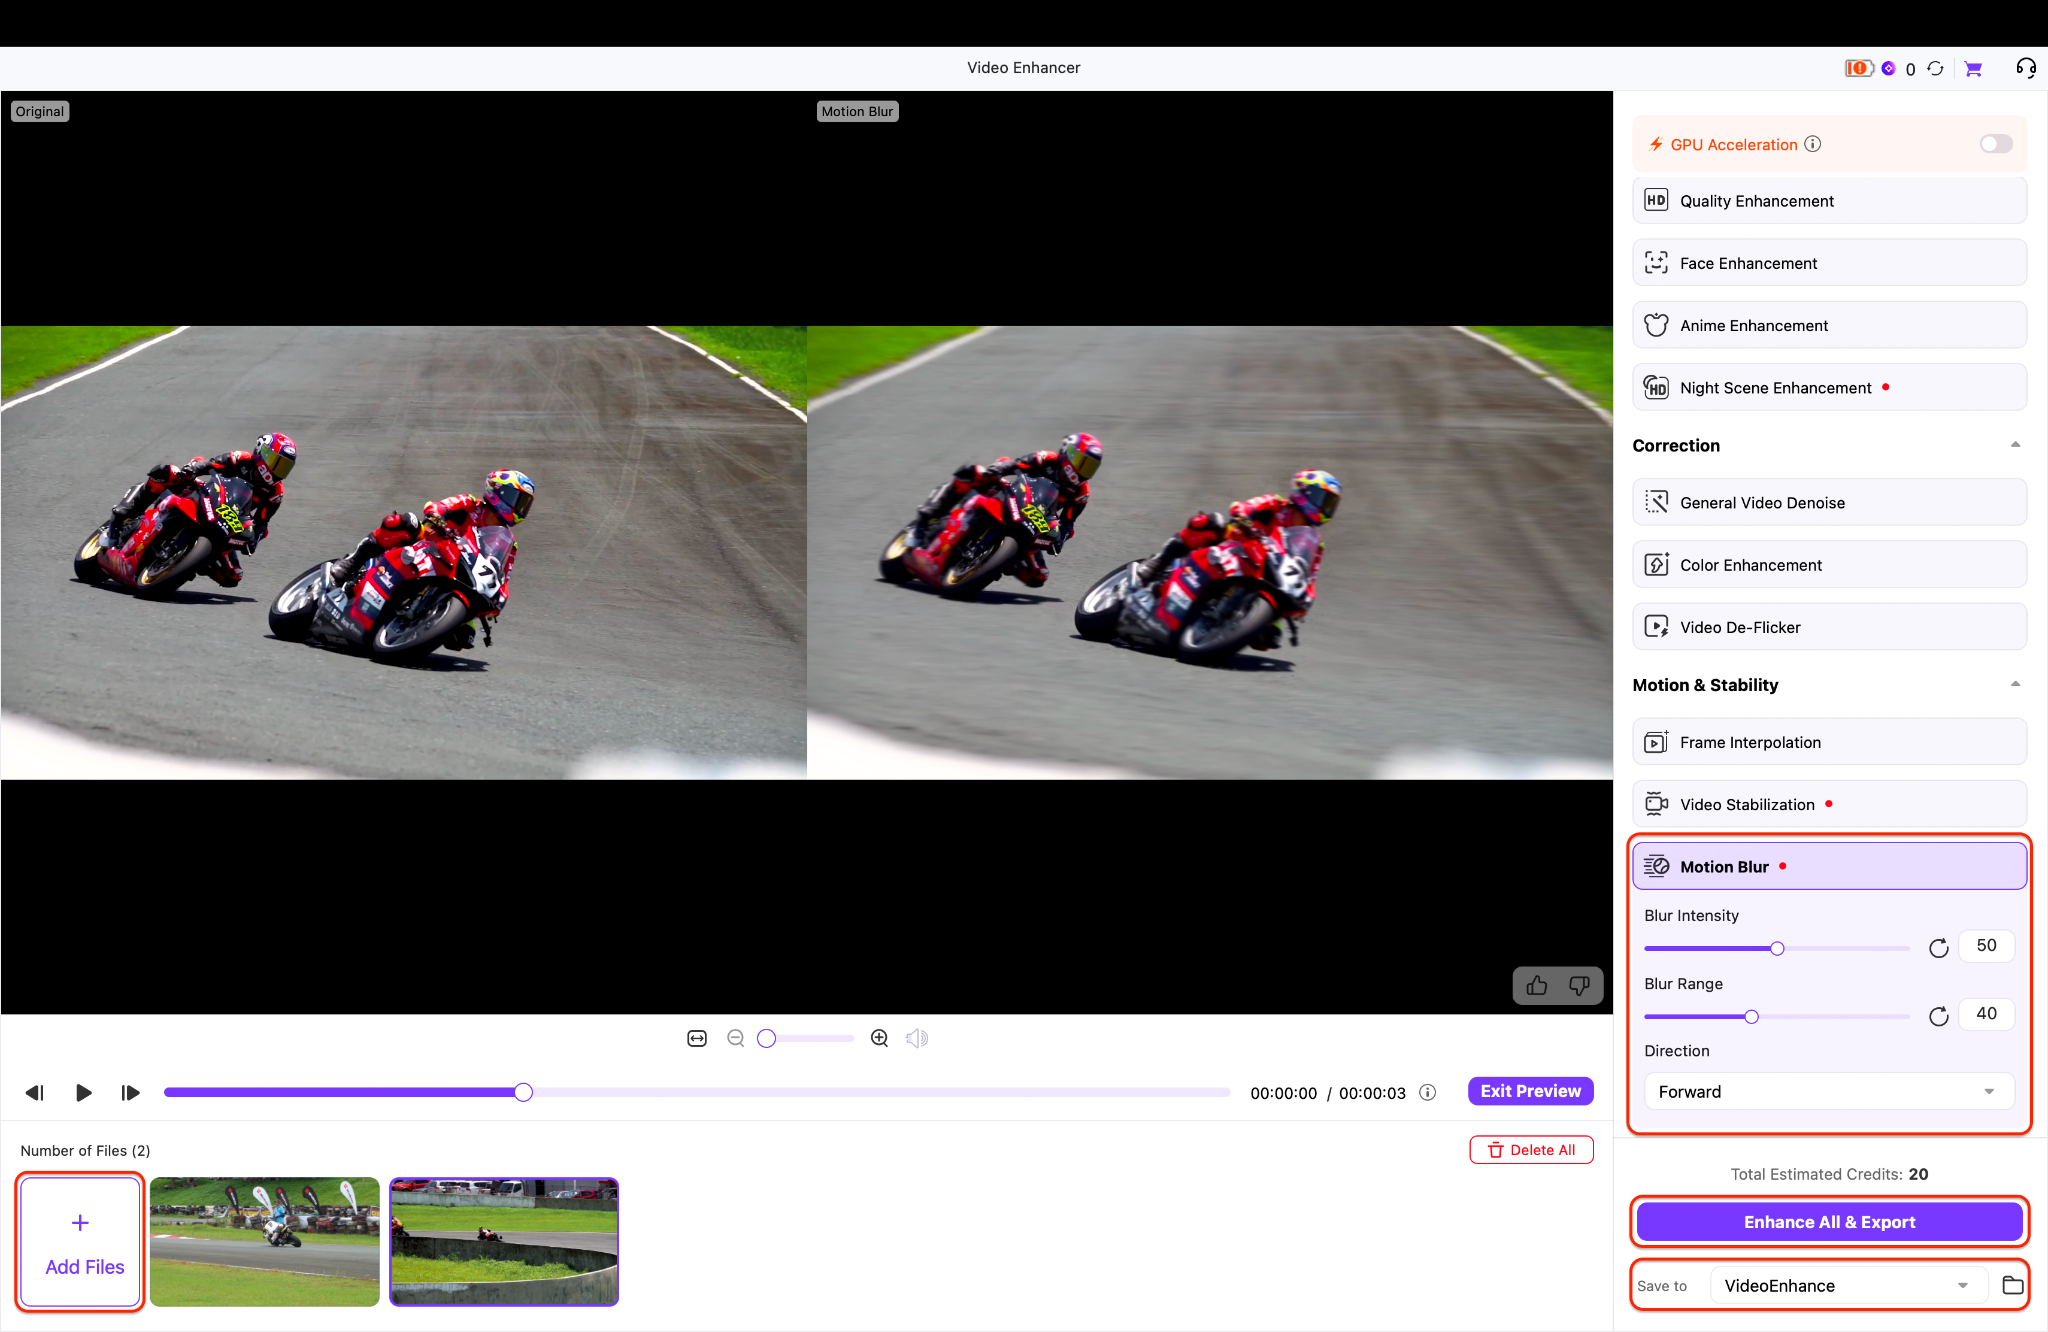
Step 1: Launch the Video Enhancer
Open Wondershare UniConverter on your desktop to access the main dashboard. Locate the "Video" tab in the center of the screen to view the available processing modules. Click the "Video Enhancer" tool to launch the dedicated workspace for advanced visual effects.
Step 2: Import Your Media
Once the interface loads, click the purple "+ Add Video" button in the center to browse your local files. Select the specific clip you wish to edit and import it directly into the project timeline.
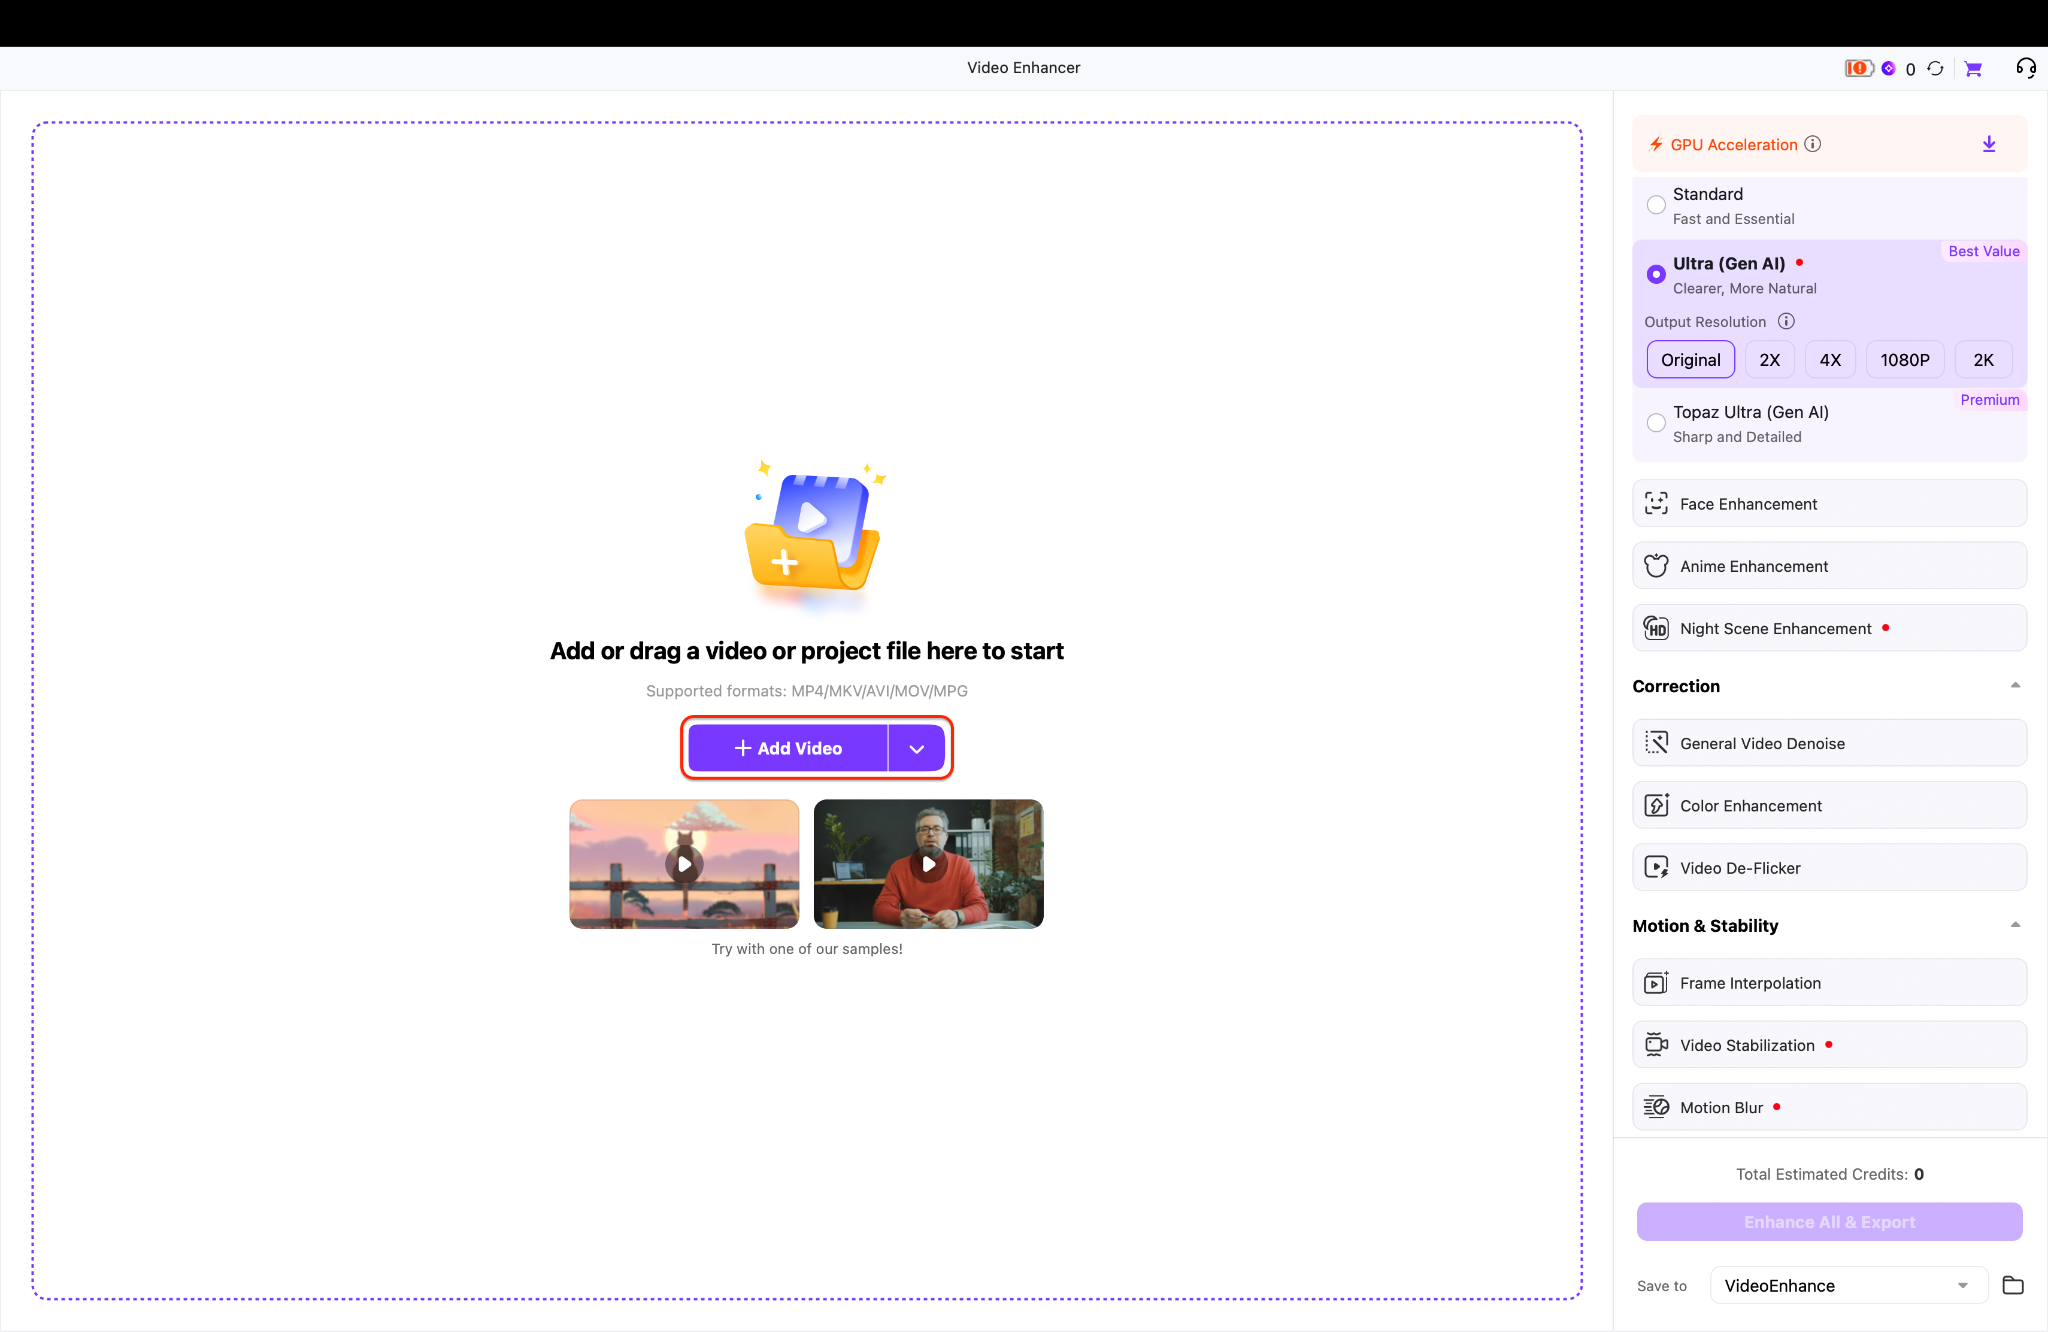
Pro Tip: Always verify your footage is stabilized before applying blur filters, as adding motion blur to shaky camera work will result in heavy digital distortion.
Step 3: Apply Blur and Export
Navigate to the right-hand panel to configure your "Motion Blur" settings, adjusting the intensity, range, and direction to fit your scene. If you are working on multiple files, use that add image option at the bottom left to load more media for tasks like bulk image brightening. Finally, choose your destination folder at the bottom right and click "Enhance All & Export" to initiate your bulk export.
Part 7: Conclusion
Transforming amateur, rigid footage into fluid, cinematic content becomes straightforward when applying a well-crafted motion blur effect video. Proper blur techniques smooth out choppy frames, inject speed into action shots, and create highly engaging visual narratives. While online and mobile tools provide excellent convenience for quick edits, Wondershare UniConverter offers the most precise control over blur intensity and direction. It remains the superior choice for high-quality, local video enhancement. Ready to experience seamless editing and professional results? Download Wondershare UniConverter today to smoothly add motion blur to video and explore the platform's robust AI enhancement features.

