Wondershare UniConverter
-
 Convert and transfer video and audio files to iPhone/iPad/Android devices easily.
 - 90X faster conversion speed than any conventional converters.
- Versatile toolbox combines screen recorder, GIF maker, fix video metadata, etc.

Mac
- TRY FREE TRY FREE
- 1. Burn Video/Audio on Mac+
-
- 1.1 Convert AVI to MP4 on Mac
- 1.2 Convert AVCHD on Mac
- 1.3 Convert Audio on Mac
- 1.4 MP3 to WAV Converter Mac
- 1.5 WAV to MP3 Converter Mac
- 1.6 svg converter
- 1.7 music converter
- 1.8 dmg file
- 1.9 webp
- 1.10 online svg converter
- 1.11 ai to svg
- 1.12 music converter
- 1.13 md file
- 1.14 wpd file
- 1.15 djvu file
- 1.16 sf2 file
- 1.17 oga file
- 1.18 arj file
- 1.19 free svg converter
- 1.20 md5 converter
- 1.21 convert dmg to iso
- 1.22 dpi converter
- 1.23 Toast Titanium Alternative for Mac
- 1.24 Copy a CD on Mac
- 1.25 Best GIF Maker for Mac
- 1.26 PPT to Video on Mac
- 1.27 iPad Video Converter Mac
- 1.28 Top 6 Media Converter Mac
- 1.29 Top 8 File Converters for Mac
- 1.30 34 Best Free Video Converters
- 2. Recording Tips on Mac+
- 3. Edit Photos and Videos on Mac+
-
- 3.1 Photo Viewer for Mac
- 3.2 Crop a Picture on Mac
- 3.3 Top 10 Image Editor for Mac
- 3.4 How to Screenshot on Mac
- 3.5 Convert HEIC to JPG on Mac
- 3.6 Best Drawing Software for Mac
- 3.7 How to Resize Photos on Mac
- 3.8 Best Photo Editors for Mac
- 3.9 Convert PNG to JPG
- 3.10 Convert Picture to SVG
- 3.11 Video Editing Software for Mac
- 3.12 4 Best MP3 Trimmer for Mac
- 4. Other Tips & Trick+
- 5. Tips for Playing Videos+
All Topic
- AI Tools Tips
-
- AI Photo Enhancer Tips
- Voice Changer Tips
- AI Thumbnail Maker Tips
- AI Script Generator Tips
- Smart Summarizer
- AI Subtitle Generator Tips
- Watermark Remover
- Vocal Remover Tips
- Speech to Text Tips
- AI Video Tips
- AI Image Tips
- AI Subtitle Translator Tips
- Video Extractor Tips
- Text to Speech Tips
- AI Video Enhancer Tips
- DVD Users
- Social Media Users
- Camera Users
- Photography
- Creative Design
- Movie Users
- Travelling Fans
- Educational Users
- More Solutions
- Holidays and Commemoration
- Game Lovers
- Other Tips
10 Methods on How to Screenshot on Mac
by Kayla Morrison • 2026-05-20 17:31:33 • Proven solutions
Sometimes your workflow might require you to take screenshots on Mac from time to time. It might be that you’re preparing a software demo, or you want to take a thumbnail image for YouTube. Luckily, there are various methods of how to screenshot on Mac without losing image quality. So, sit tight, and let’s learn how to take a screenshot on a Mac with some easy keyboard shortcuts.
- Part 1. Top 3 ways to screenshot on Mac easily and quickly
- Part 2. 7 useful screenshot tools for Mac
Part 1. Top 3 ways to screenshot on Mac easily and quickly
Because Mac’s Print Screen key is not as straightforward as that of PCs, you might need some guidance to take a screenshot on Mac. So, here are the three popular methods of how to print screen on Mac effortlessly:
Method 1: Capture a full screen.
Taking a screenshot on your MacBook or MacBook Pro is as simple as 1,2,3. Simply apply these steps:
Step 1: On your keyboard, long-press the Shift, Command, and 3 simultaneously.
Step 2: Once you see a thumbnail at the screen’s corner, tap it to begin editing the screenshot.
Note: If you want to copy the screenshot to the clipboard, press Command + Shift + 3 + Control.

Method 2: Capture a portion/window/menu of the screenshot.
Here are the steps to capture a section of your screen:
Step 1: Long-press the Shift, Command, and 4 simultaneously.
Step 2: On the resulting cropper, drag the crosshair to choose a portion of the window that you’d like to capture. Remember to long-press the Space bar while cropping.
Step 3: To finish up, release the mouse.

Method 3: Capture screenshots at a defined time.
For taking timed screenshots, you’ll need to use Grab. However, macOS 10.15 (Catalina) or later don’t come with this tool. In this method, you’ll have a 10-second delay to prepare the stage before taking the screenshot.
Step 1: Open the Finder and then choose the Applications before you double-click the Utilities folder. Now choose the Grab.
Step 2: After launching Grab, open the Capture menu and select the Timed Screen option. You can also click the Command + Shift + Z to launch the Timed Screen Grab dialog.
Step 3: Finally, click the Start Timer button and begin preparing to take a screenshot. It’s that simple!
Part 2. 7 useful screenshot tools for Mac
In this section, we’re going to have an overview of some cool third-party snipping tools for Mac to create high-quality screenshots easily.
1. CleanShot X
URL: https://setapp.com/apps/cleanshot
CleanShot X is a simple yet powerful screen recording app tailor-made for Mac computers. The user interface is clean and uncluttered, so you don’t have to deal with desktop icons scattered all over the place. With it, you can grab a full screen, a specific area, or a scrolling window. You can also hide desktop icons before capturing the screenshot or set a timer, just like with the native Grab method. What’s best, CleanShot X allows you to annotate, blur, and highlight screenshots with its inbuilt editor.
Pros:
- 3Clean UI.
- Hide desktop icons.
- Inbuilt screenshot editor.
- 30-day free CleanShot Cloud storage.
Cons:
- $9.99 per month.
- Measly 7-day trial period.
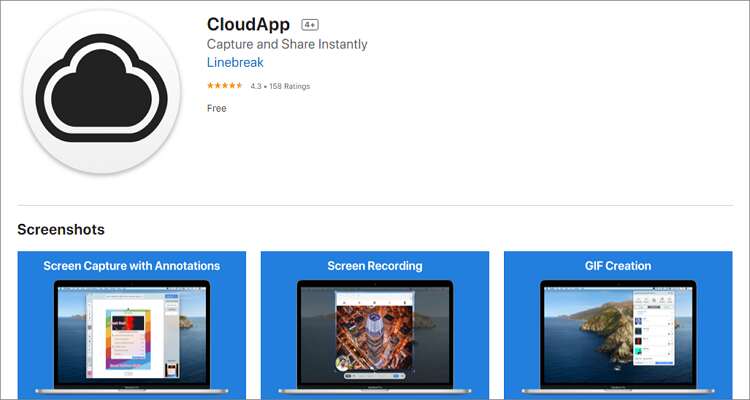
2. CloudApp
URL: https://apps.apple.com/us/app/cloudapp/id417602904?mt=12
CloudApp is a free screen recording app for Mac, Windows, and iOS platforms. Unlike with CleanShot, you’ll get an extended 14-day trial period, after which the app will be free to use forever. Surprisingly or interestingly, the free version offers all the necessary features that you will need for your screenshotting tasks. To make it better, CloudApp has one of the best customer support you can find.
Pros:
- Clean UI.
- Helpful customer support.
- Excellent free trial version.
- Compatible with Mac, PC, and iOS.
Cons:
- Slow to load up.
- Rushed time limit.
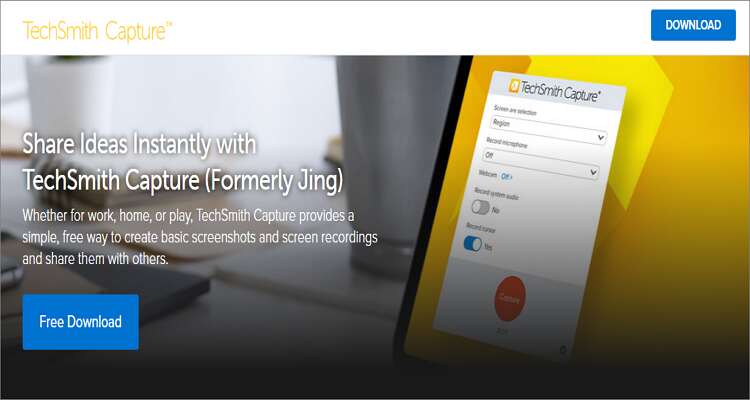
3. Techsmith Capture
URL: https://www.techsmith.com/jing-tool.html
Techsmith Capture is another simple way to take basic screen recordings and screenshots on your Mac. With it, users can take full-screen screenshots or regional images and edit them with annotation tools like rectangle, arrow, size control, and more. Also, it allows users to share their screenshots to TechSmith Knowmia or Screencast account directly.
Pros:
- Easy to use.
- Nice editing options.
- Free app.
- Modernized UI.
Cons:
- MacOS 10.13 or later.
- Limited features.
4. LightShot
URL: https://app.prntscr.com/en/
LightShot is one of the most popular methods to capture screenshots on Mac without losing quality. It’s a lightweight app but packs in lots of powerful features. After taking a screenshot, LightShot allows you to edit it by adding colors, text, annotations, and many more. But what makes LightShot stand out from the crowd is its ability to take screenshots in quick succession. In fact, it’s the only program on this list that can do that.
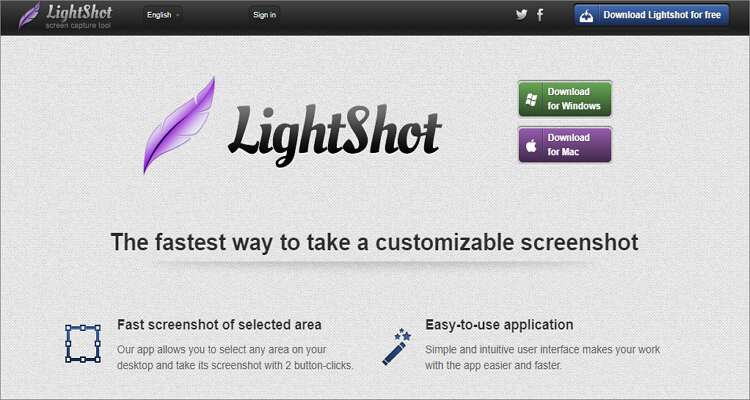
Pros:
- Print screenshots.
- Upload photos to Prntscr.com.
- Simple UI.
- Take screenshots in quick succession.
Cons:
- No capture modes.
- Lack of advanced editing tools.
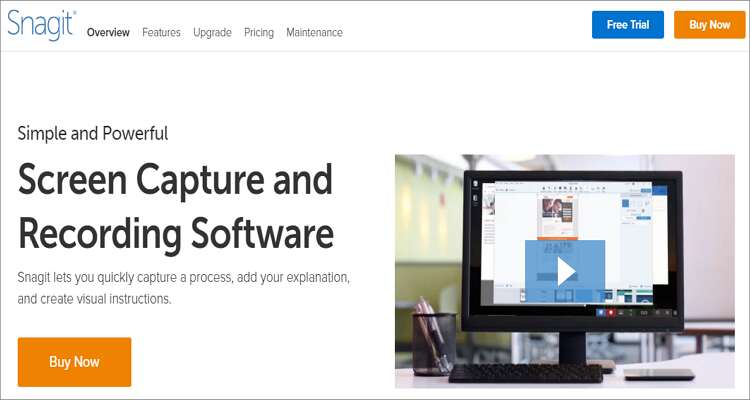
5. Snagit
Credit where it’s due; Snagit is simply on another level when it comes to screen capturing tasks. It comes with a mesmerizing interface and powerful features to match. After capturing screenshots, you can use its editing functions to add blur, color, text, arrows, and so much more. The flexibility of this app is also impressive because you can take an entire screen, a specific app/window, or a particular region. However, you must part with at least $50 to unlock its full features.
Pros:
- Simple to use.
- Multiple features.
- Flexible UI.
- Free version available.
Cons:
- Cumbersome video editing.
- Costly subscription.
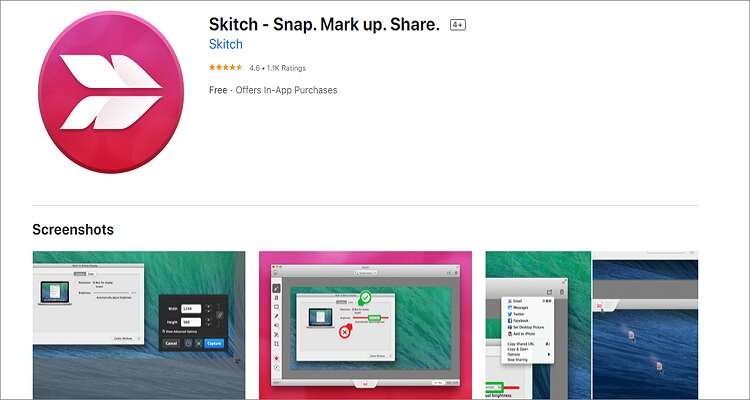
6. Skitch
URL: https://apps.apple.com/us/app/skitch-snap-mark-up-share/id425955336?mt=12
If you want to capture screenshots hassle-free on your Mac, check out Skitch. It’s a simple, elegant, and effective snipping tool for all mobile and desktop platforms. With Skitch, you can easily apply shapes, text, arrows, color, blur, and highlights on your screenshot image. You can also select whether to screenshot a full screen or a specific area. The only drawback is the limited number of colors.
Pros:
- Simple and minimalistic UI.
- Seamless integration with Evernote.
- Supports multiple image formats.
- Multiple editing features.
Cons:
- Can’t save before quitting.
- Limited colors available.
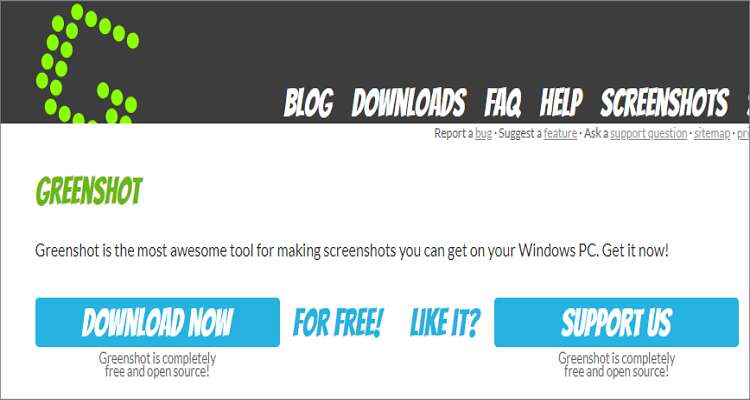
7. Greenshot
URL: https://getgreenshot.org/
Everybody loves freebies, and that’s precisely what you’ll get with Greenshot. With it, you’ll enjoy a collection of features such as hotkey combinations, an image editor, and the ability to export screenshots directly to cloud-based programs like Dropbox, Imgur, Picasa-Web, or even your printer. Also, Greenshot allows you to save images in several formats, including PNG, JPEG, BMP, and GIF.
Pros:
- Open-source program.
- Simple to use.
- Allows annotating.
- Exports to cloud-based programs.
Cons:
- No regular updates.
- Outdated UI.
Conclusion
These are the best methods of how to screenshot on Mac. You can use your computer’s hotkey combinations to capture screenshots and then edit them in an inbuilt program like Photos. Another option is to use third-party apps that have their own photo editors. And of course, feel free to let me know if your favorite screenshot app didn’t appear on our list.
Wondershare UniConverter - All-in-One Video Converter
-
Best Mac file converter to convert video/audio in any format, 1,000+ formats including MP4/MOV/AVI/MP3/WAV, etc.
-
Download videos from 1,000+ popular websites by simply pasting URLs.
-
90X faster conversion speed than any conventional converters.
-
Batch video/audio compression and conversion are allowed.
-
Toolbox with additional functions like Screen Recorder, VR Converter, GIF Maker, Fixing Media Metadata, and more.
-
Supported OS: Windows 10/8/7/XP/Vista, macOS 11 Big Sur, 10.15 (Catalina), 10.14, 10.13, 10.12, 10.11, 10.10, 10.9, 10.8, 10.7.
Your complete video toolbox

Other popular Articles From Wondershare


Kayla Morrison
staff Editor