Mac
- TRY FREE TRY FREE
- 1. Burn Video/Audio on Mac+
-
- 1.1 Convert AVI to MP4 on Mac
- 1.2 Convert AVCHD on Mac
- 1.3 Convert Audio on Mac
- 1.4 MP3 to WAV Converter Mac
- 1.5 WAV to MP3 Converter Mac
- 1.6 svg converter
- 1.7 music converter
- 1.8 dmg file
- 1.9 webp
- 1.10 online svg converter
- 1.11 ai to svg
- 1.12 music converter
- 1.13 md file
- 1.14 wpd file
- 1.15 djvu file
- 1.16 sf2 file
- 1.17 oga file
- 1.18 arj file
- 1.19 free svg converter
- 1.20 md5 converter
- 1.21 convert dmg to iso
- 1.22 dpi converter
- 1.23 Toast Titanium Alternative for Mac
- 1.24 Copy a CD on Mac
- 1.25 Best GIF Maker for Mac
- 1.26 PPT to Video on Mac
- 1.27 iPad Video Converter Mac
- 1.28 Top 6 Media Converter Mac
- 1.29 Top 8 File Converters for Mac
- 1.30 34 Best Free Video Converters
- 2. Recording Tips on Mac+
- 3. Edit Photos and Videos on Mac+
-
- 3.1 Photo Viewer for Mac
- 3.2 Crop a Picture on Mac
- 3.3 Top 10 Image Editor for Mac
- 3.4 How to Screenshot on Mac
- 3.5 Convert HEIC to JPG on Mac
- 3.6 Best Drawing Software for Mac
- 3.7 How to Resize Photos on Mac
- 3.8 Best Photo Editors for Mac
- 3.9 Convert PNG to JPG
- 3.10 TIFF to JPEG Mac
- 3.11 Convert Picture to SVG
- 3.12 Video Editing Software for Mac
- 3.13 4 Best MP3 Trimmer for Mac
- 4. Other Tips & Trick+
-
- 4.1 Fix Mac Running Slow Problem
- 4.2 How to Run Windows on Mac
- 4.3 How to Use Mac Magic
- 4.4 Best 12 Alternatives to CleanMyMac
- 4.5 How to Make a Collage on Mac
- 4.6 Best Free Voice Changer for Mac
- 4.7 Posting on Instagram from Mac
- 4.8 10 Easy Way Do Split-Screen on Mac
- 4.9 How to Airplay Video to Mac
- 5. Tips for Playing Videos+
All Topic
- YouTube Tips
-
- AI Tools Tips
-
- AI Photo Enhancer Tips
- Voice Changer Tips
- AI Thumbnail Maker Tips
- AI Script Generator Tips
- Smart Summarizer
- AI Subtitle Generator Tips
- Watermark Remover
- Vocal Remover Tips
- Speech to Text Tips
- AI Video Tips
- AI Image Tips
- AI Subtitle Translator Tips
- Video Extractor Tips
- Text to Speech Tips
- AI Video Enhancer Tips
- DVD Users
- Social Media Users
- Camera Users
- Photography
- Creative Design
- Movie Users
- Travelling Fans
- Educational Users
- More Solutions
- Holidays and Commemoration
- Game Lovers
- Other Tips
Easy Steps to Use QuickTime to Record Screen on Mac
by Kayla Morrison • 2026-01-21 18:55:39 • Proven solutions
If you’d like to make a video tutorial for your YouTube channel or blog, Mac offers you a straightforward and free way of doing that using QuickTime Player. With the Mac QuickTime screen recording feature, you can make high-quality videos and edit them professionally before sharing. So, let’s dive in and learn a thing or two about Mac QuickTime screen recording with an audio feature. We’ll also discuss a few QuickTime screen recording alternatives.
- Part 1. How to screen recording using QuickTime on a Mac
- Part 2. Best QuickTime player alternative for Mac
- Part 3. Top 8 QuickTime player alternative for Mac Recommended
Part 1. How to screen recording using QuickTime on a Mac
QuickTime Player is the native multimedia player for all Mac OS X computers. Surprisingly, it also has some excellent recording capabilities. So, below is how to go about QuickTime screen recording with audio on Mac:
Step 1: On the Applications folder under Finder, open the QuickTime Player app.
Step 2: Click the File and then choose the New Screen Recording option.
Step 3: After that, press the Options drop-down arrow right next to the red Record button. Now select an input device or microphone.
Step 4: Press the Record to start recording with sound.
Step 5: Click anywhere to record an entire screen or drag and select a specific area you intend to record.
Step 6: If you’re satisfied, click the Stop and then save or edit your video.
Part 2. Best QuickTime player alternative for Mac
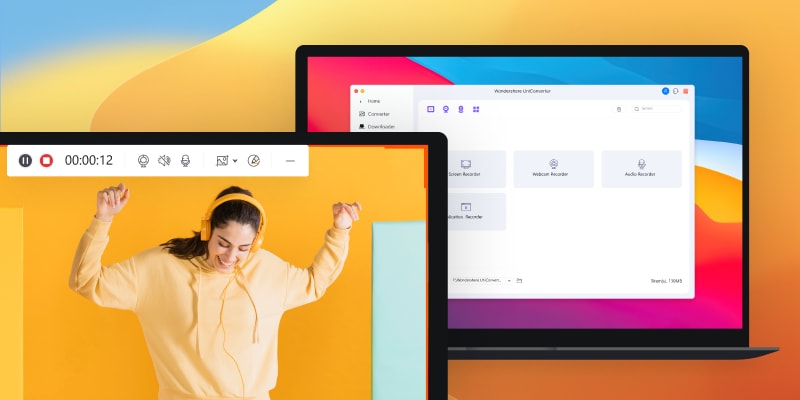
If you find QuickTime Player too complicated, use Wondershare UniConverter. With this app, you’ll enjoy a simple platform laden with tools such as screen recorder, audio recorder, video converter, video editor, and so much more. It can record VoIP calls, FaceTime video calls, desktop apps, and so on. What’s more, the video and sound are of excellent quality.
Wondershare UniConverter - All-in-One Video Converter
-
Convert video to over 1000 formats, including MP4, AVI, WMV, FLV, MKV, MOV and more.
-
Download videos from popular sites like YouTube, Dailymotion, Vevo, etc.
-
Best free video editor for Mac to crop, rotate, cut, convert, add subtitles, and more.
-
Batch video/audio compression and conversion are allowed.
-
Toolbox with additional functions like Screen Recorder, VR Converter, GIF Maker, Fixing Media Metadata, and more.
-
Supported OS: Windows 10/8/7/XP/Vista, macOS 11 Big Sur, 10.15 (Catalina), 10.14, 10.13, 10.12, 10.11, 10.10, 10.9, 10.8, 10.7.
Step 1 Open the screen recorder.
After installing Wondershare UniConverter, launch it, and then open the Screen Recorder tab from the left pane. Now click the camcorder icon on the top-left corner.
![]()
Step 2 Select video recording preferences.
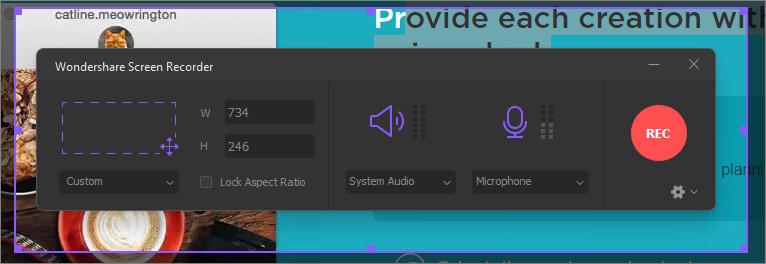
On the pop-up screen recorder function, you can customize your settings by cropping the edges to select a specific area to record. You can even drag the whole screen.
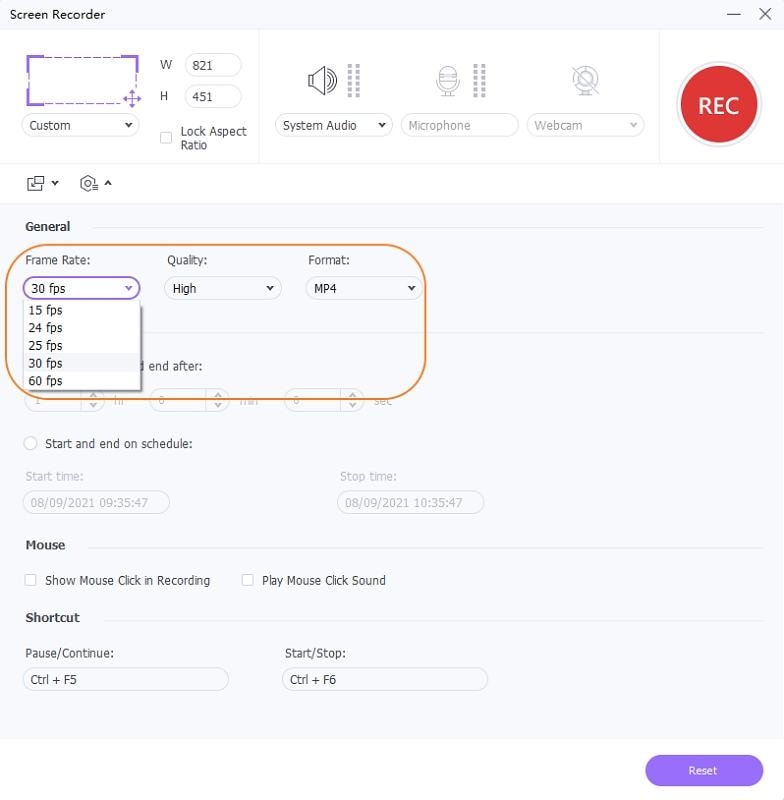
Also, click the settings icon under the red REC button to display all screen recording settings. There, you can do the following:
- Select a destination path.
- Choose frame rate.
- Preset the video quality.
- Specify the record timer.
- Apply mouse settings.
Click the settings icon once again to revert to the original window.

Step 3 Start recording.
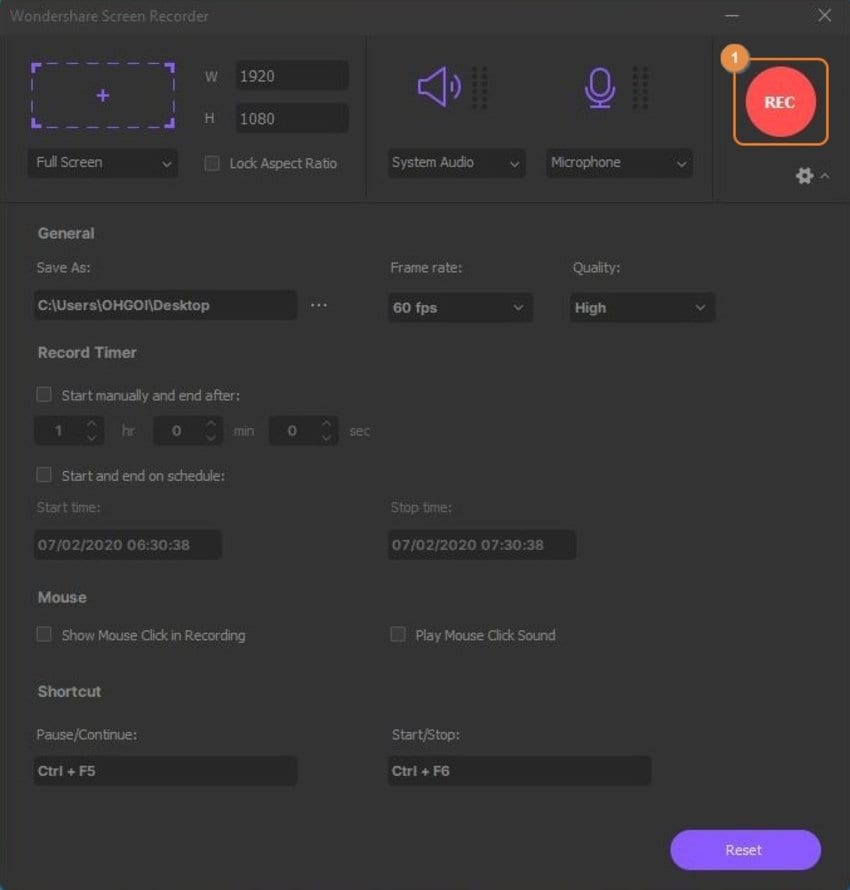
Are you satisfied with the changes you’ve just made? Click the red REC button and wait for the timer to finish counting to begin recording. You can also use your mouse to choose a new window to record. Click the Stop button to finish recording.
Part 3. Top 8 QuickTime player alternative for Mac Recommended
Apart from the two simple methods above, you can also consider these eight Mac QuickTime screen recording alternatives:
1. Loom
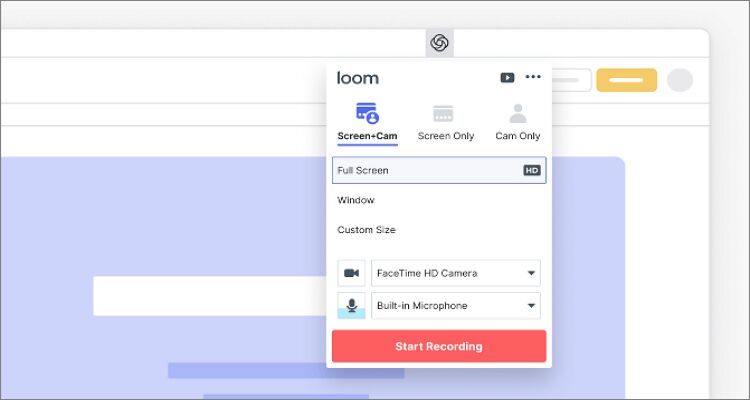
Loom is a screen recording tool for Mac, Windows, Chrome, and iOS. With it, you can quickly and conveniently record desktop screens and share them to social media. It has straightforward controls, albeit the limited video editing functions. Also, Loom gives its users up to 1 hour to record screens on its free plan, which I find to be generous because you’ll get a measly 5-10 minutes with other apps. Definitely a great option for green hands!
Pros:
- Excellent free plan.
- Simple to use.
- Instant sharing.
Cons:
- Limited editing functions.
- No option to delete videos.
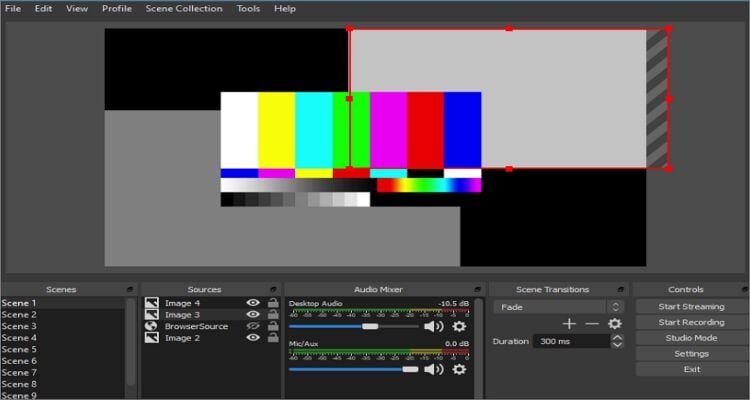
2. OBS Studio
OBS Studio is one of the most sophisticated recording apps for desktops you can find currently. OBS Studio is an all-in-one tool because it comes with a helpful video editor on top of the screen recording function. Although it can feel intimidating to use at first, you’ll like the program once you learn the ropes around it. Overall, it’s a nice software to create final product description videos for sites like Twitch and YouTube.
Pros:
- Flexible and customizable.
- Robust streaming and game recording suite.
- Best for budget systems.
Cons:
- Not for beginners.
- Lacks basic editing functions.
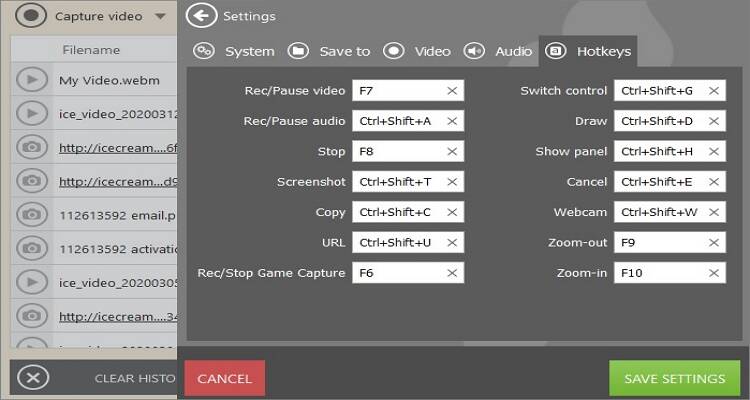
3. Icecream Screen Recorder
Icecream Screen Recorder is a simple to use screen recording app for recording sections of desktop screens and saving as screenshots. With Icecream Screen Recorder, you can capture video tutorials, games, webinars, Skype calls, etc. After recording your video, you can annotate it by adding text, shapes, and arrows. Also, you can use the system microphone or an external mic to record clear sounds. And lastly, users can upload their recordings to Google Drive, Dropbox, and YouTube.
Pros:
- Beginner-friendly editing functions.
- Convert between video formats.
- Record audio.
Cons:
- Low audio quality.
- Adds watermarks on the free version.
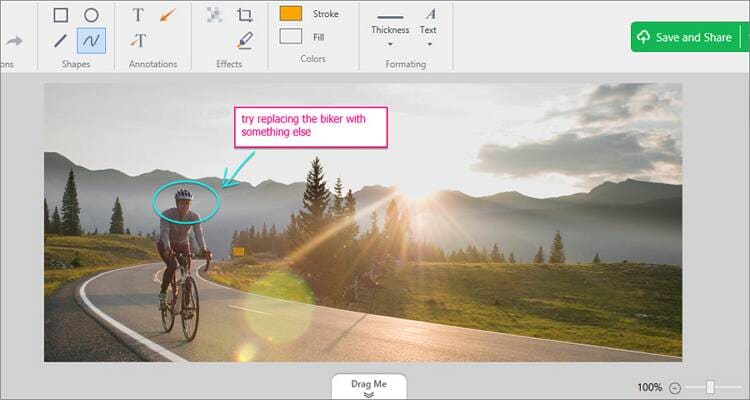
4. TinyTake
TinyTake is a free video recording program for Mac and PC. It can capture videos and images of your desktop screen and then edit them before sharing. With its free version, users can record videos for a maximum of five minutes, but you can upgrade to its premium options to unlock more features. Also, you can use the “Save and share” button to save your video locally or upload it to YouTube.
Pros:
- Simple to use.
- Affordable premium plans.
- Free cloud storage.
Cons:
- Limited free version.
- Complicated editor.
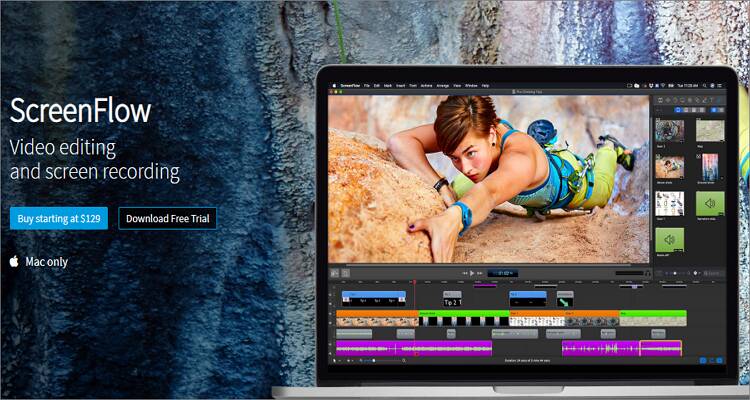
5. ScreenFlow
ScreenFlow is an award-winning screen recorder app for desktops that is simple to use. This powerful resource for video creation can record video tutorials, marketing videos, and vlogging videos easily. You can also add pro touches with text animations, transitions, freehand annotations, and more. Moreover, users can publish their videos directly to Vimeo, YouTube, Imgur, etc. Sadly, you’ll need to fork pout $129 to continue using the app after your free trial period.
Pros:
- Multiple editing options.
- Export videos directly to YouTube/Vimeo.
- A helpful screen recording feature.
Cons:
- Nagging updates.
- Not for beginners.
6. Snagit
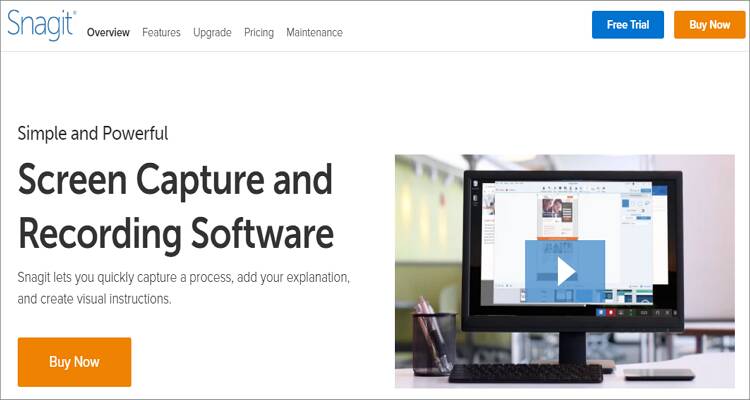
Snagit is a beautiful screen capturing tool with straightforward screen recording capabilities. Apart from offering essential functions such as print-screen and paste action, Snagit has other editing tools to shape and enhance screenshots. After installing and running Snagit, open the control box and press the red button to start taking MP4 videos and then editing with texts, colors, arrows, and more.
Pros:
- Capture images, audio, and video.
- Nice shortcuts and effects.
- Supports multiple image formats.
Cons:
- Limited video editing.
7. Screencast-O-Matic
With this free and simple to use screen recorder, you can record your screen on Mac, Windows, and Chromebook. Apart from capturing screen recordings using your MacBook’s webcam, Screencast-O-Matic allows you to add narration via an internal or external microphone. As for editing, users can add stock captions, music, and trim videos to eliminate unwanted parts. Oh, lest I forget, you can change sizes, colors, and fonts.
Pros:
- Multiple editing functions.
- Simple to use screen recorder.
- Mobile version available.
Cons:
- Limited free version.
- The free version has watermarks.

8. VLC
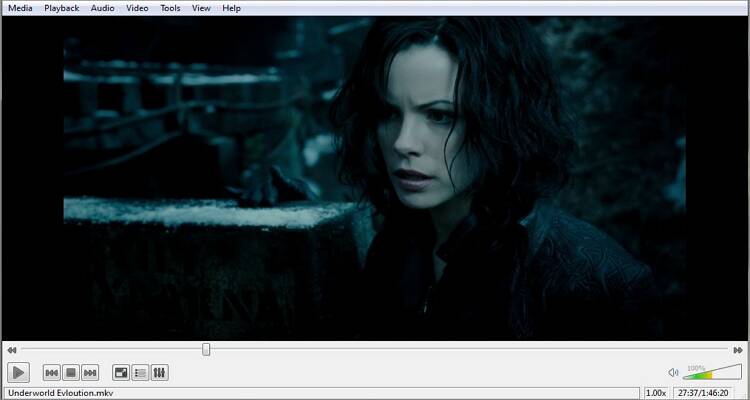
Step in the popular Swiss Army Knife of all multimedia players – VLC Player. While this tool can practically open any audio or video format, it can do more than just that. A good example is its ability to record screens easily. Of course, there are many apps out there better than VLC in this case, but who wouldn’t like a free and open-source program. Plus, you can use VLC to stream online music, make playlists, and even convert between audio and video formats.
Pros:
- A free, open-source app.
- Multiple tools.
- Excellent OS compatibility.
Cons:
- Screen recorder feature not beginner-friendly.
- Doesn’t support image formats.
Conclusion
With these screen recording apps, you can capture any section of your screen quickly. They have multiple features and capabilities to help you edit and annotate screen recordings. However, if you want something that is free, simple to use, and packs superior screen recording functions, use Wondershare UniConverter.
Your complete video toolbox
 Capture audio of stream by recording the output of our internal speakers.



Kayla Morrison
staff Editor