
If you're a Mac user and would like to screen record on Mac with internal audio for whatever reason, you've come to the right place. In this article, you will learn some useful methods on how to screen record on Mac with internal audio using different but doable Mac screen recorders.

Part 1. How to screen record on Mac with internal audio?
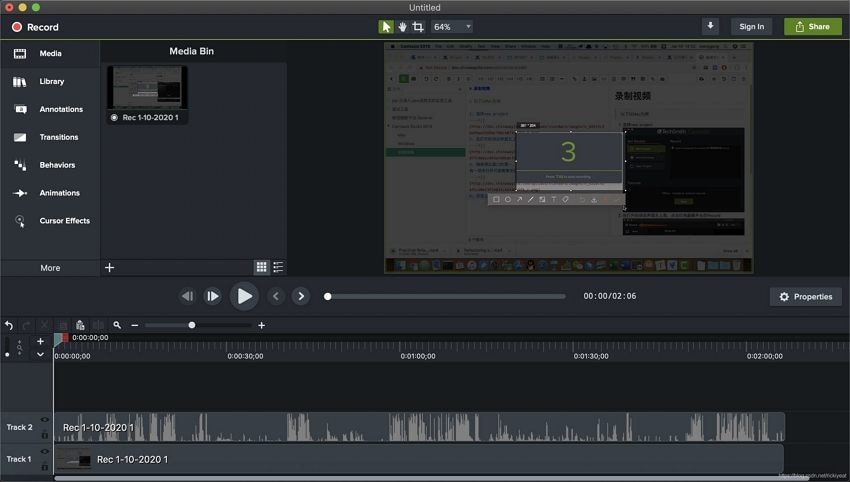
If you want to record your Mac screen with audio without having to install any third-party software, Wondershare UniConverter is an excellent choice for you. Wondershare UniConverter includes a built-in screen recording feature that allows you to record whatever is displayed on your Mac's screen and the audio coming from the built-in microphone without having to launch another application. Wondershare UniConverter meets some decent features:
- Record your whole screen, one window, or a specific area with internal audio in high quality.
- Simultaneous microphone and system audio recording.
- Convert your recorded video to more than 1,000 formats.
- Annotate your screen recording in real-time with the annotation toolbar.
- An intuitive, friendly user interface.
How to record screen with Wondershare UniConverter?
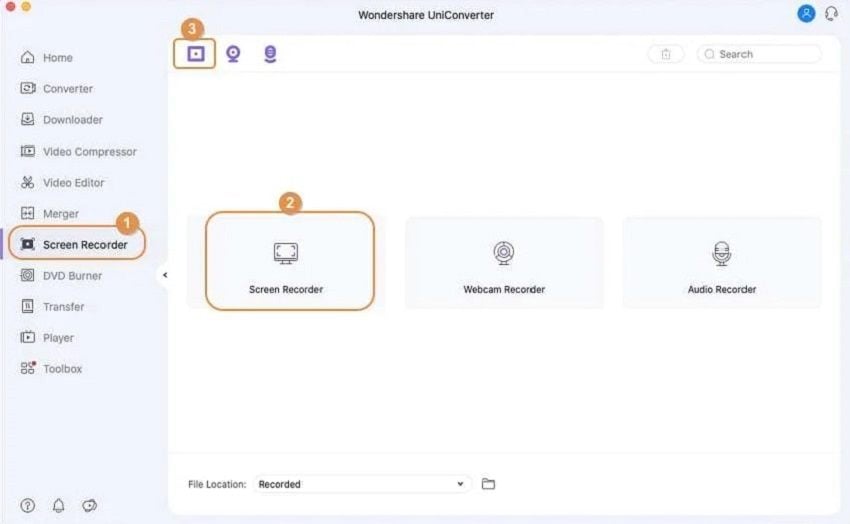
Step 1 Launch Wondershare Screen Recorder.
Install and run Wondershare UniConverter on your Mac. Click the Screen Recorder in the left pane. Then click the Screen Recorder icon in the center of the screen to start recording.
Step 2 Select the recording area.
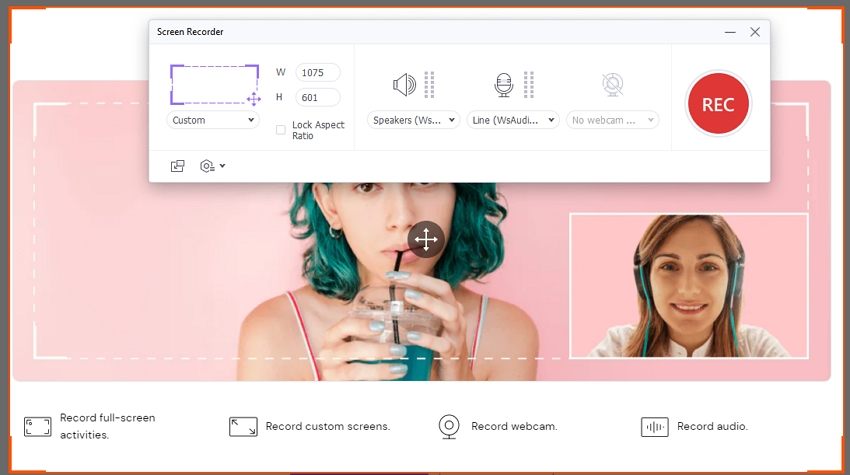
Open the window you want to record, then crop the area. Simply select Custom from the cropper's drop-down arrow and enter a recording location. Select Full Screen to capture the entire screen. Enter the Width (W) and Height (H) manually (H).

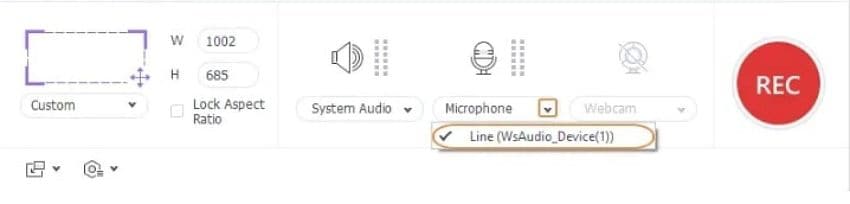
Step 3 Choose your audio sources.
To record a desktop screen with voice narrations, you can use the system's inbuilt microphone or an external microphone connected to it. Click the Microphone button to turn off voice narration while recording.
Step 4 Start the recording.
Close the Settings panel using the Gear icon, then click REC to start recording.

Wondershare UniConverter — Best Screen Recorder for Windows and Mac
Record screen on Mac with internal audio in high quality.
Record screen, webcam, and audio without any hassle.
Play HD/4K videos smoothly.
Save videos from more than 10,000 sites with a recording option.
Original quality video conversion with full GPU acceleration. 90X faster conversion speed.
Part 2. Another 5 helpful ways to screen record on Mac with internal audio
1. Screencast-O-Matic
Screencast-O-Matic is a video recording and editing application designed for schools and workplace teams of any size. Schools with remote/blended learning environments can use this solution. Screencast-O-Matic allows educators to create video content for lessons and assignments. This solution can also be used to assist teams in marketing, product development, and other fields in creating videos that require screen recording capabilities.
Step 1: Launch the Screencast-O-Matic application on your computer
Step 2: To start a new recording simply click on the "Record" button in the top right of the screen.
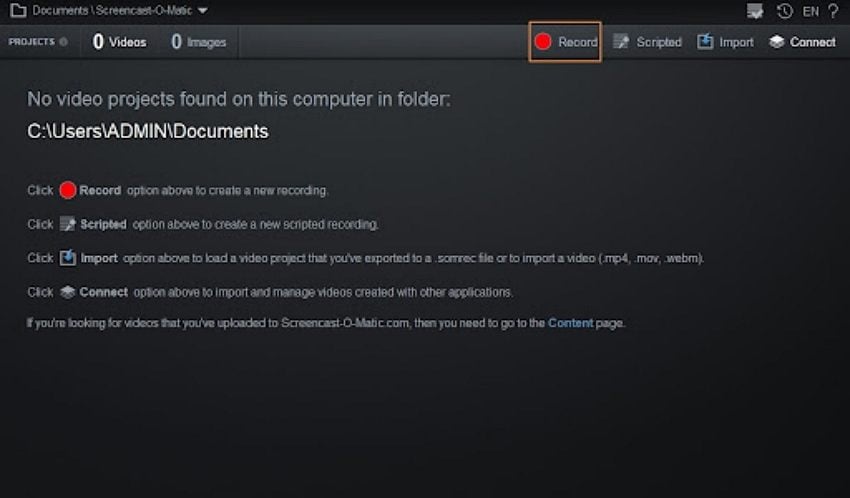
Step 3: A window will appear with some basic settings you will need to choose before starting.
2. Camtasia
There is many useful screen recording software on the Mac platform, Camtasia for Mac is one of them. Camtasia screen recording software can record the screen in all color modes, and the effects, sounds and even mouse movements can be clearly recorded, and the effects of the recording can be edited, or some effects can be added. It can easily record all the sounds on the screen, videos, mouse movement tracks and microphones for you all sounds are recorded, and full-screen area recording is supported.
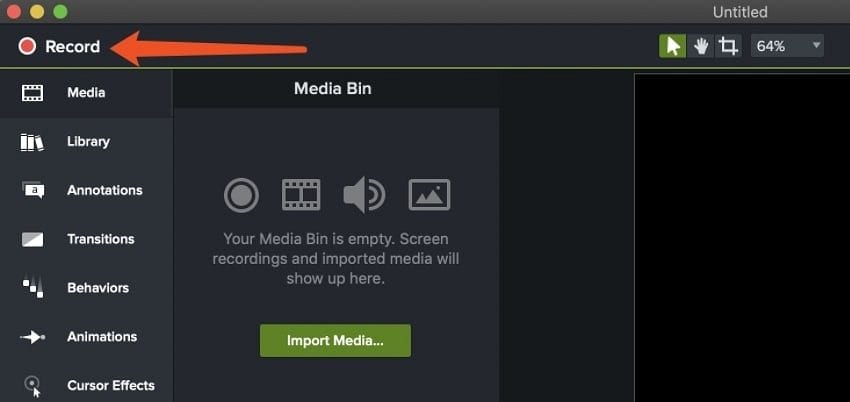
Step 1: Launch Camtasia and click on the Built-in Microphone option. Then click the red Record button.
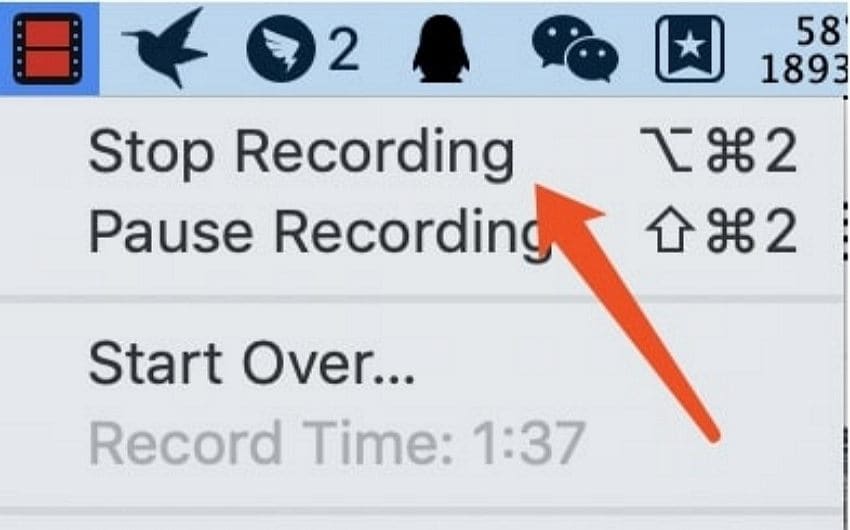
Step 2: Finish recording by selecting the red filmstrip icon in the menu bar.
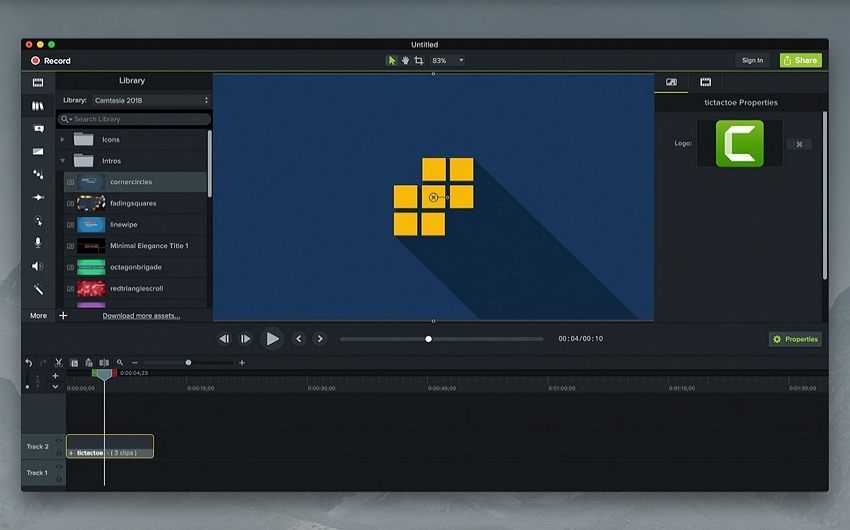
Step 3: A new Camtasia editing window will open with the recording. To preview it, click the Play button.
Step 4: Go to the Share menu and select the Export option.
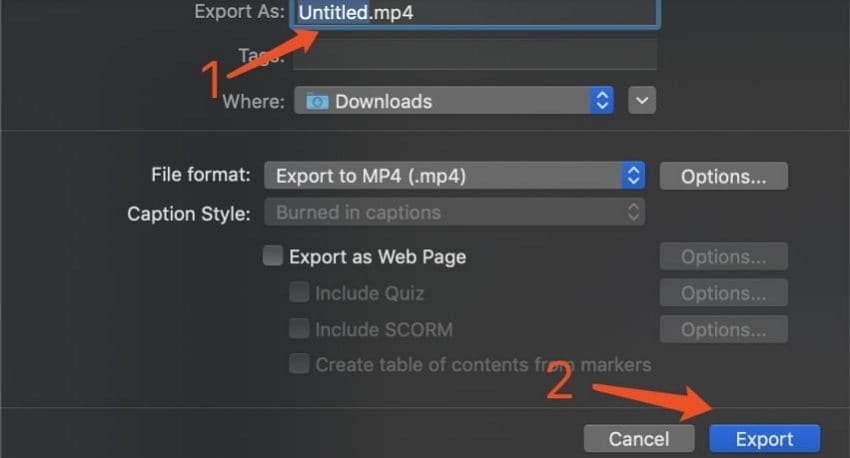
Step 5: Give the file an appropriate name and location and click on Save.
3. QuickTime
QuickTime is one of the most popular media playback software and has been widely used by Mac users. It can also be used as a powerful screen recording tool to help you record movies or audio on your Mac. The built-in QuickTime Player can record the content displayed on the screen. QuickTime allows you to record the entire Mac screen or custom parts easily. In addition, it can also help you capture your video using the FaceTime HD camera. But for many Mac users still don't know how to perform QuickTime screen audio recording. Are you one of them? Follow the simple steps below to screen record on Mac with QuickTime:
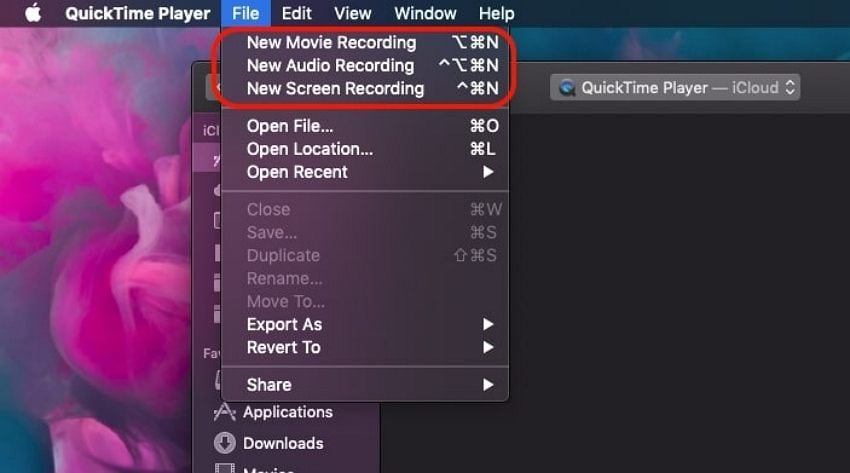
Step 1: QuickTime Player provides us with three recording solutions:
- Movie recording: Capture video and audio from the built-in microphone and camera MacBook.
- Recording: built-in microphone for recording.
- Screen recording: full-screen video, but no sound.
These three options are available in the "File" menu of the QuickTime Player application.
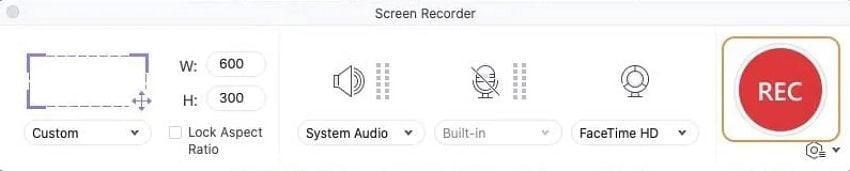
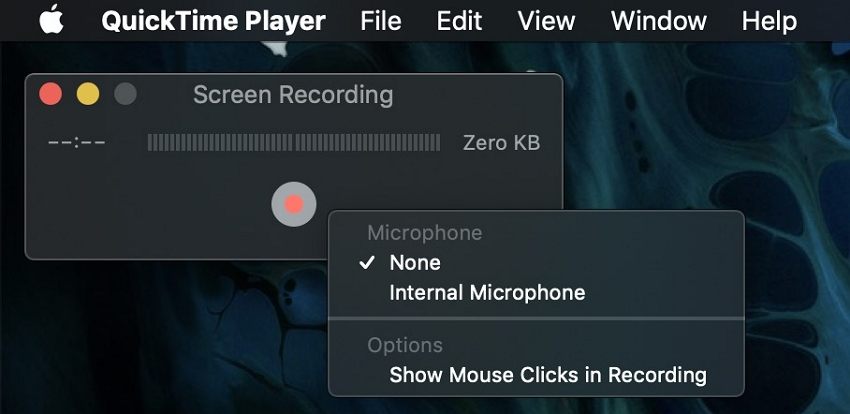
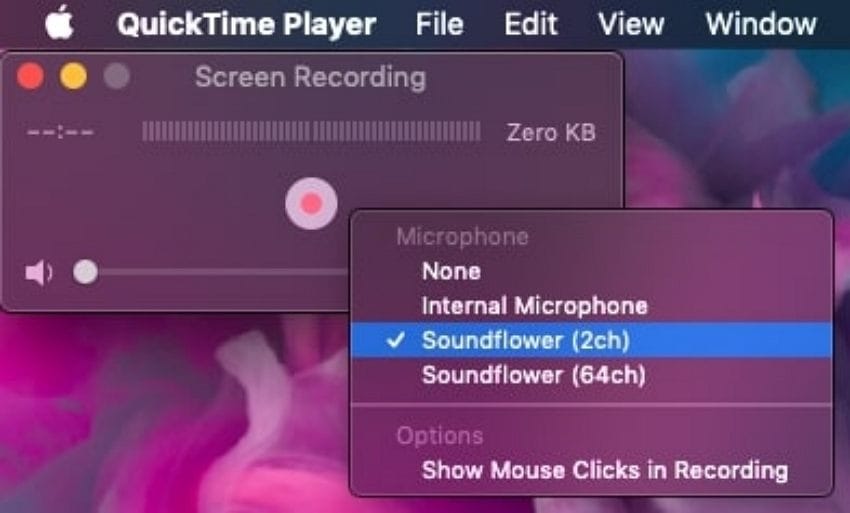
Step 2: Open QuickTime Player → File → New Screen Recording. Click the small arrow next to the record button and select the microphone source: Soundflower (2ch). Start screen recording. At this time, QuickTime Player will record video and sound on the system. Reminder, music, system sound, etc.
4. OBS Studio
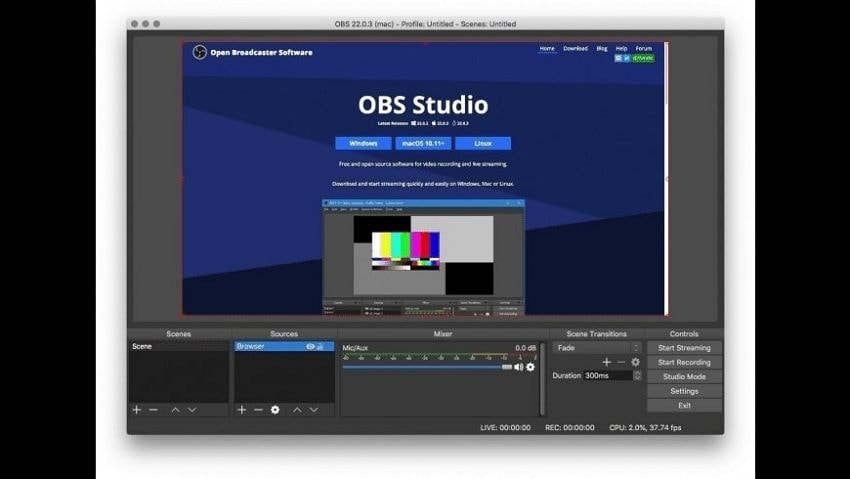
OBS Studio is open-source video recording and live streaming software that can be downloaded from the internet. OBS Studio is a video recording and streaming application designed specifically for gamers to record and stream themselves playing video games. It includes advanced post-production tools such as customizable transitions, muting or turning on audio sources, and editing, which allow you to customize almost every aspect of your recording or broadcast.
Step 1: Click on + under "Source". It is near the lower-left corner of OBS. Then the source list will appear.
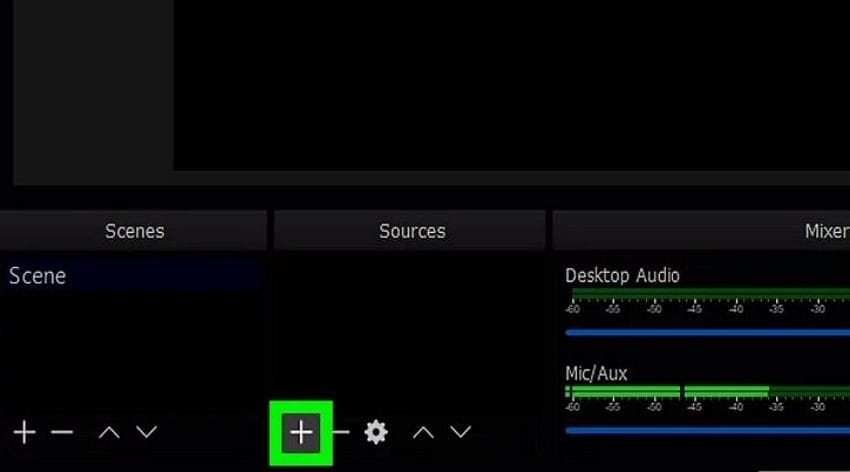
Step 2: Click on the Display Capture.
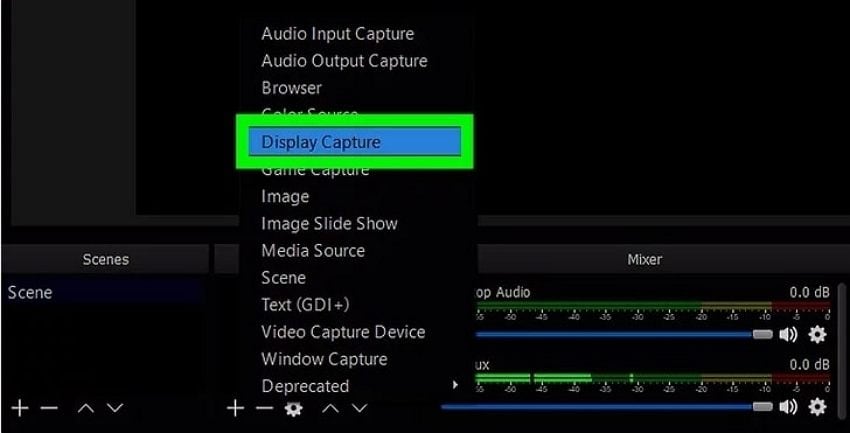
Step 3: Select the monitor you want to record. If you only have one graphics card or monitor, there is no need to make any changes. To record on other monitors, now select from the "Display" drop-down menu.

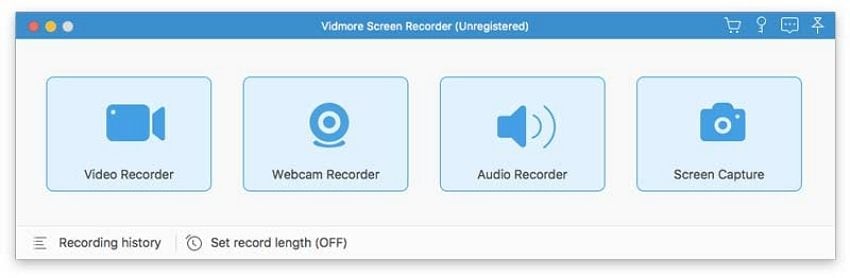
5. Vidmore
For people who want to make screen recordings on Mac for education, operation videos and other tutorials, Vidmore Screen Recorder may be a good choice. When recording screen video on Mac, you can add real-time drawing tools and mouse effects. In addition, you can add a webcam overlay on the screen recording. For example, you can record the video and your face and voice-over in the same video simultaneously. If you are not satisfied with a certain part, you can directly trim the recording file to extract your favorite video clips.
Step 1: Download and launch Vidmore Screen Recorder for free on your Mac.
Step 2: Select the area or window to be recorded. And then enable the system sounds microphone set audio input source.

Step 3: You can click on the screenshot either edit icon to the right. Therefore, you can draw a log file or take a screenshot.

Part 3. FAQs about Mac screen recorders with internal audio
Q1. Does the Apple screen recorder record internal audio?
You do not need a separate screen recorder application or audio recording software to record your screen. Apple provides a free utility for iOS and iPadOS that you can add to the Control Center of your iPad or iPhone to record your screen with sound.
Q2. Can I recover audio from screen recording?
No, you cannot recover system audio using a screen recorder on an iPhone or Android phone; Apple and Google have blocked this functionality. Thus, phone screen recorders do not recover system sounds.
Q3. How do you record your screen on a Mac without external sound?
All Macs except the Mini have built-in microphones, so all you should need to do is talk. You can plug an external mic into a Mini. If you want to grab live streams with audio, you'll need to get a third-party app or tool to do it. If you want to add audio to a screen recording after the fact, you can do that using a video editor such as Wondershare UniConverter.
Q4. Which is the best screen recorder with internal audio?
Wondershare UniConverter is a great screen recording software, complete with a built-in editor that gets the job done. The tool is also equipped with a 1:1 high-quality screen recorder. This feature will help you use the recording webcam, picture-in-picture recording, recording audio, and screen switching elements in the recording, through which you can generate high-quality videos. Are you ready to try this tool?
Conclusion
The best screen recording software is the one that saves you the most time and provides your audience with the most valuable content. Before selecting software, determine your target audience and use case. All of the solutions we've provided are good options, but we highly recommend the Wondershare UniConverter for screen recording. Because Wondershare UniConverter is a very strong and versatile tool for screen recording with audio.

