- Best screen recorder to record yourself and your screen at the same time.
- Apply annotations such as shapes, drawings, arrows, and texts when recording video.
- Supports to re-edit recording files like adding captions to make gameplay commentary.


Screen Recorder
All Topic
- AI Tools Tips
-
- AI Photo Enhancer Tips
- Voice Changer Tips
- AI Thumbnail Maker Tips
- AI Script Generator Tips
- Smart Summarizer
- AI Subtitle Generator Tips
- Watermark Remover
- Vocal Remover Tips
- Speech to Text Tips
- AI Video Tips
- AI Image Tips
- AI Subtitle Translator Tips
- Video Extractor Tips
- Text to Speech Tips
- AI Video Enhancer Tips
- DVD Users
- Social Media Users
- Camera Users
- Photography
- Creative Design
- Movie Users
- Travelling Fans
- Educational Users
- More Solutions
- Holidays and Commemoration
- Game Lovers
- Other Tips
10 Methods to Record Yourself and Your Screen at the Same Time
by Kayla Morrison • 2026-06-16 17:44:44 • Proven solutions
Are you still scratching your head, wondering how to record yourself and your screen at the same time on PC? Wonder no more, as this tutorial guide will teach you how to do that hassle-free. In this vlogging and game commentary era, you may want to create a picture in picture video to explain something to your online following or students. It may be about explaining something about computer settings or how to play a particular game like Black Myth: Wukong.
Below are the best 10 recommended webcam and screen recorder with PIP function, keep reading.
| 1 - UniConverter Screen Recorder | 2 - Wondershare DemoCreator |
| 3 - Camtasia | 4 - Ecamm Live |
| 5 - ScreenFlow | 6 - Zoom |
| 7 - OBS Studio | 8 - Screencast-O-Matic |
| 9 - QuickTime Player | 10 - Bandicam |
Tool 1 UniConverter Screen & Webcam Recorder
UniConverter Screen & Webcam Recorder is the best app for anybody looking to create high-quality Picture-in-Picture videos on Mac or Windows. When recording a PIP video, users can add annotations such as texts, stickers, symbols, arrows, and voice narrations.
Moreover, Wondershare UniConverter lets you export recorded video to FLV, AVI, or MP4 format.
Watch a Step-by-step video tutorial to figure out how to record screen and yourself at the same time!
Now the Black Myth: Wukong has officially been released, you might want to record the fantastic gameplay and add commentary on it! With UniConverter, you can easily record the gameplay screen and yourself while commenting on the game!
Steps on how to record your screen and yourself on Windows and Mac by using UniConverter Screen Recorder:
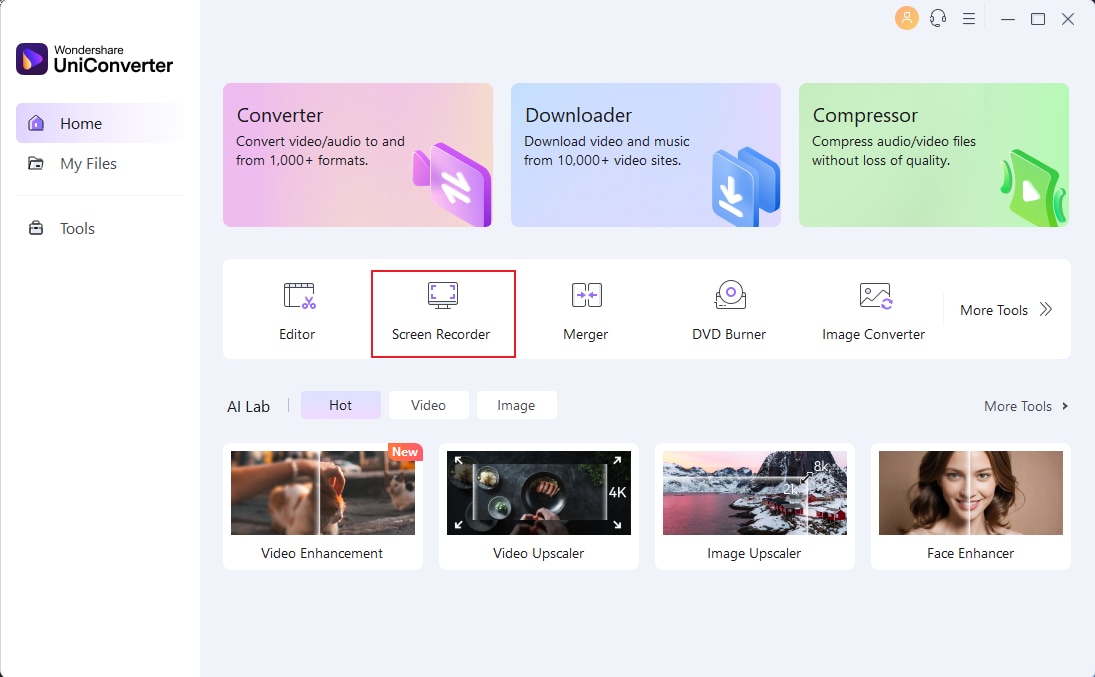
Step 1 Run the Screen Recorder tool
Please download and install UniConverter Screen & Webcam Recorder from the above download button. Then install and click the 'Screen Recorder' tab to launch the recorder function.
Step 2 Choose a recording area and open the webcam to capture yourself
Now use the cropper to set a recording area of your choice. To do that, drag the cropper's edges to fit a particular region. You can also choose to record the specific area, application or specific window.

To set the input webcam for recording a video overlay, make sure you have the webcam, the picture in picture effect will appear at the bottom-right corner. Then choose an input mic for adding voice narrations, and an output speaker for picking up system audio.

Step 3 Set your recording preferences
Before you start recording, click the Settings button to set these output preferences:
- General: Choose the frame rate and output quality you want, UniConverter supports to export the recorded video to MP4, AVI, or FLV file. For a better playback experience without sacrificing quality, choose MP4.
- Record Timer: Sometimes, you may want to set an automatic timer for a start and stop time. In that case, enter the appropriate time under the Record Timer section.
- Mouse: Keep your mouse show or invisible while recording.
- Shortcut: Set the keyboard shortcut to control the recording process.

Step 4 Start recording video with annotations.
Click the REC button to begin capturing your desktop screen. Open the recording taskbar by clicking the arrow on the left, you can add texts, stickers, shapes, arrows, drawings, and more as you record.

That's it. It's so easy to make a recording for both your screen and webcam at the same time.
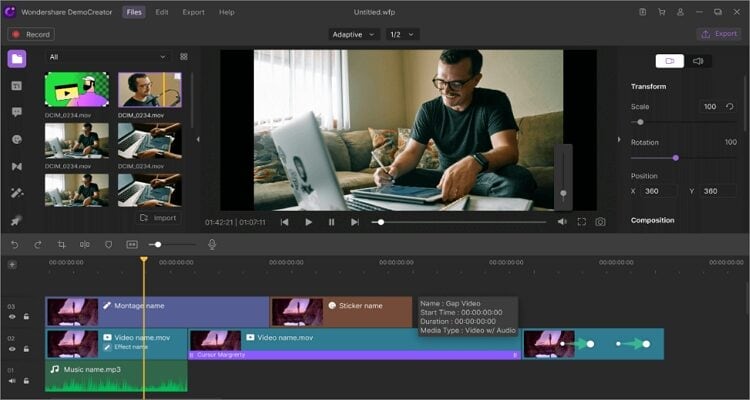
Tool 2 Wondershare DemoCreator
Wondershare DemoCreator is a wonderful video editing and screen recording app for Mac and Windows. With this tool, you can create online tutorials and courses quickly and easily. It works with desktop apps such as video games, VoIP apps, browsers, etc. Wondershare DemoCreator can also customize videos by cropping, changing the speed, setting the output format, and more. Plus, you'll get free 24/7 support after purchase.
While Wondershare DemoCreator offers similar screen recording capabilities, UniConverter goes beyond by providing a complete suite of video editing tools for a more professional result.
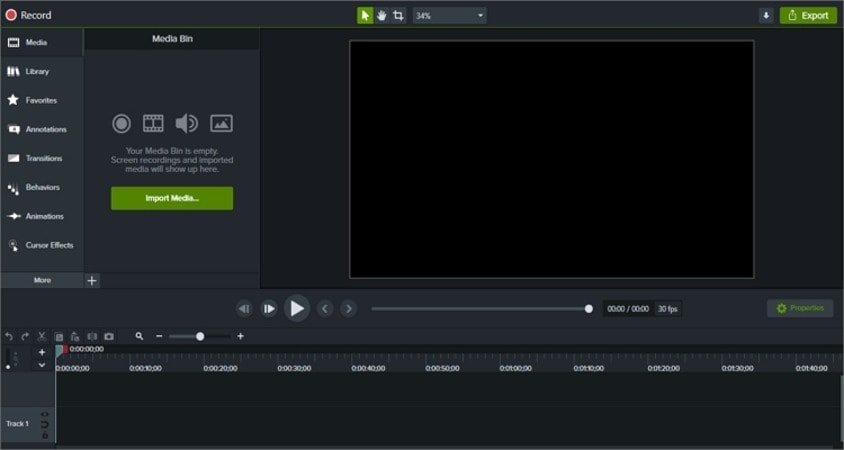
Tool 3 Camtasia
Camtasia is another top-class professional screen recorder for computers. Like Wondershare UniConverter, Camtasia lets users record almost anything. You can select a specific app, window, region, or capture the full screen. The UI is also very friendly. Users can adjust the microphone volume, system audio, and apply effects.
Camtasia is a popular screen recording software that offers robust editing tools, but it may have a steeper learning curve and higher price point compared to UniConverter. UniConverter provides similar recording capabilities with a more intuitive interface and affordable pricing.
Tool 4 Ecamm Live
Ecamm Live comes with an attractive 2-week trial period. After that, you can subscribe to one of the affordable plans and start capturing high-quality desktop screens with a PIP thumbnail. When recording, users can zoom in or out and mute or unmute microphone narration. However, that's just about it because eCamm live doesn't pack video editing options.
While Ecamm Live is a popular choice for live streaming, UniConverter's comprehensive video editing features make it a more robust solution for recording and editing videos for various purposes.
Tool 5 ScreenFlow
Similar to Ecamm Live, ScreenFlow works on Mac only. Even worse, ScreenFlow doesn't offer a free trial. However, it makes up for that with excellent recording capabilities. After purchasing a plan, you can easily record audio, video, and webcams with top-quality. Interestingly, it lets users record screen from external devices like iPhones and iPads. Additionally, you can record system audio as well.
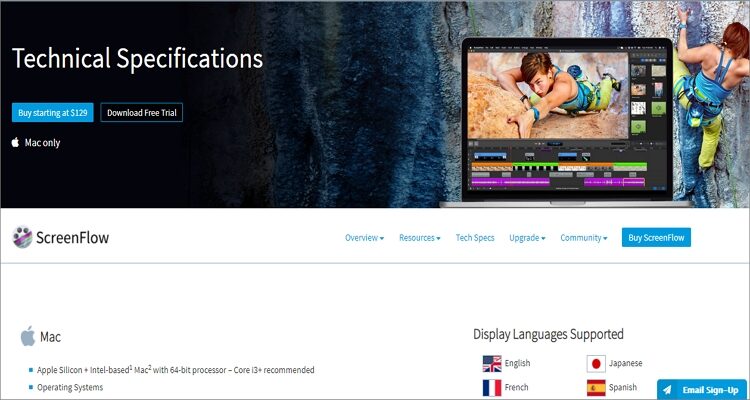
Although ScreenFlow is a powerful screen recording tool, UniConverter's additional video editing tools and formats support give it an edge in terms of versatility and flexibility.
Tool 6 Zoom
Zoom shot into popularity during this Coronavirus era when virtual meetings are the way to go. Therefore, it's not surprising that this app is one of the most loved video recording apps. This videotelephony app lets users chat with 100 participants concurrently and record meetings for future reference. You can upgrade your plan to support up to 1000 participants.

While Zoom is primarily used for video conferencing, UniConverter offers a wider range of video editing features, making it a better choice for creating polished and professional videos.
Tool 7 OBS Studio
OBS Studio is a popular free and open-source software for screen recording and live streaming. It offers extensive customization options for capturing your screen and webcam simultaneously, making it suitable for professional users and gamers. OBS Studio is free and open-source, but may have a steeper learning curve for beginners and limited built-in editing tools.

While OBS Studio is a popular open-source screen recording software, UniConverter's user-friendly interface and advanced video editing features make it a more user-friendly and comprehensive option.
Tool 8 Screencast-O-Matic
Screencast-O-Matic is a web-based screen recording tool that offers basic video recording and editing features. It allows you to record yourself and your screen, and provides basic editing tools like trimming and adding captions. Creencast-O-Matic offers both free and paid versions, with the paid version offering additional features such as longer recording time and higher video quality.

Screencast-O-Matic is a simple and affordable screen recording software, but it may have limitations in terms of advanced editing features and compatibility with different devices. UniConverter offers more comprehensive video editing tools and broader compatibility, making it a more versatile option for recording and editing screen activities.
Tool 9 QuickTime Player
QuickTime Player is a built-in screen recording tool for Mac users, offering a simple and easy-to-use option for basic screen recording needs. However, it may lack advanced editing features.

QuickTime Player is a built-in screen recording tool for Mac, but it may have limitations in terms of video editing options and output formats. UniConverter provides more advanced editing features and flexibility in choosing the desired output format for different sharing purposes.
Tool 10 Bandicam
Bandicam is a screen recording software that offers high-quality video recording and basic editing features. It allows you to record yourself and your screen, and provides options for adding watermarks, annotations, and more. Bandicam also offers a free version with limited features, and a paid version with additional features.

Bandicam is a screen recording software primarily focused on gaming, but it may lack some of the advanced video editing features and customization options compared to UniConverter. UniConverter provides a more comprehensive solution with its editing tools, compatibility, and ease of use.
Conclusion
You probably know some of the video recording apps on the list above. However, the last five have some severe weaknesses. Therefore, use Wondershare UniConverter to enjoy a smooth and professional desktop screen recording experience.
Your complete video toolbox
Other popular Articles From Wondershare


Kayla Morrison
staff Editor