Screen Recorder
All Topic
- AI Tools Tips
-
- AI Photo Enhancer Tips
- Voice Changer Tips
- AI Thumbnail Maker Tips
- AI Script Generator Tips
- Smart Summarizer
- AI Subtitle Generator Tips
- Watermark Remover
- Vocal Remover Tips
- Speech to Text Tips
- AI Video Tips
- AI Image Tips
- AI Subtitle Translator Tips
- Video Extractor Tips
- Text to Speech Tips
- AI Video Enhancer Tips
- DVD Users
- Social Media Users
- Camera Users
- Photography
- Creative Design
- Movie Users
- Travelling Fans
- Educational Users
- More Solutions
- Holidays and Commemoration
- Game Lovers
- Other Tips
Does Picture-in-Picture Work with Zoom?
by Kayla Morrison • 2025-12-11 17:53:02 • Proven solutions
“Is there a way to do picture in picture on a zoom meeting” ----- Question from Reddit
If you’re passing through a similar problem, this article is tailor-made for you. Zoom has transformed how organizations conduct their meetings, especially during this tough Covid-19 times. With this app, you can organize and record a meeting with up to 100 attendees. But is it possible to capture Zoom Picture in Picture? Although there is no way around this, you can still create a Picture-in-Picture on Zoom. Below are some six easy ways.
- Part 1. Best Way to Record a Lecture with Picture-in-Picture in Zoom
- Part 2. Another 5 Ways to Record a Lecture with Picture-in-Picture in Zoom
Part 1. Best Way to Record a Lecture with Picture-in-Picture in Zoom
Wondershare UniConverter is the best desktop app to record a Zoom Picture in Picture meeting without breaking a sweat. This app offers a simple and feature-rich screen recording function that works with most webcams. Here, users can record their zoom meetings in fullscreen mode or choose a specific area to capture. But before recording a video, Wondershare UniConverter lets you set the frame rate, output format, and quality. You can also preset the input microphone and a webcam to use when capturing a video overlay. Moreover, users can add useful annotations like texts, lines, drawings, symbols, etc.
Wondershare UniConverter - Your complete video toolbox
-
Record all desktop apps, including Zoom, Skype, video games, browser tabs, and more.
-
Edit videos with features of cropping, trimming, rotating, adding watermarks, applying effects, and others.
-
Edit, enhance & personalize your video file.
-
Batch video/audio compression and conversion are allowed.
-
Toolbox with additional functions like Screen Recorder, VR Converter, GIF Maker, Fixing Media Metadata, and more.
-
Supported OS: Windows 10/8/7/XP/Vista, macOS 11 Big Sur, 10.15 (Catalina), 10.14, 10.13, 10.12, 10.11, 10.10, 10.9, 10.8, 10.7.
Below is the step-by-step process on how to capture a Zoom Picture-in-Picture meeting using Wondershare UniConverter:
Step 1 Open the Screen Recorder function.
Download, install and launch Wondershare UniConverter. After that, click the Screen Recorder tab, then tap the Camcorder button located at the center of the window.
![]()
Step 2 Choose a recording area.
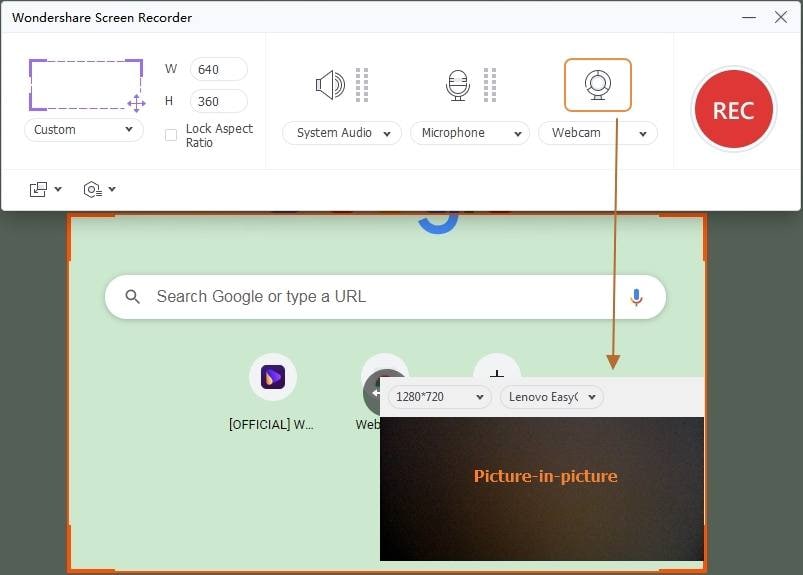
Do you want to record the Zoom meeting in fullscreen mode or capture a section of the screen? Drag the cropper to address that right away. If you want to record a video of your face talking to other members, click the Webcam icon, then choose a camera. You can also select an input mic to add voice narrations under the Microphone menu. And yes, you can mute or unmute system audio under the Speaker.
![]()
Step 3 Customize your recording settings.
Click the Settings icon below the REC button and do the following:
- Adjust frame rate - Wondershare UniConverter allows users to set the frame rate up to 60 frames per second. Now that’s more than enough to capture a typical Zoom meeting.
- Choose a target format - You can export the recorded video to MP4, FLV, or AVI. For better compatibility, choose MP4.
- Set the output quality - Users can set the output quality as high, medium, and low. Remember that a high-quality video will have a significant file size.
- Set the recording timer - You can manually enter the start and stop time for your recording session.
![]()
Step 4 Start recording your Zoom meeting.
Open the Zoom app and organize the meeting. If everything is ready, click the REC button to start capturing. You’ll see an arrow pointing inwards on the right side of the screen. Click it to launch the recording taskbar. Here, you can do the following:

- Click the Webcam button to enable PIP recording. You can drag the overlay screen to change its position.

- Tap the Annotation button to start adding texts, shapes, lines, and arrows as you record the Zoom meeting.
![]()

- Click the Speaker icon to enable or disable system audio recording.
- Press the Microphone button to turn on or off voice narrations. Of course, enabling this feature is mandatory in a Zoom meeting.
- Once the meeting has ended, close Zoom, then press the Stop to finish recording. You can now preview your recorded video.

Note: Wondershare UniConverter lets you edit the recorded video to make it more attractive to watch. You can trim, crop, add video effects, apply captions, and so on.
Part 2. Another 5 ways to record a lecture with Picture-in-Picture in Zoom
Let’s have a quick overview of five other PIP recorders for Mac and Windows.
1. OBS Studio
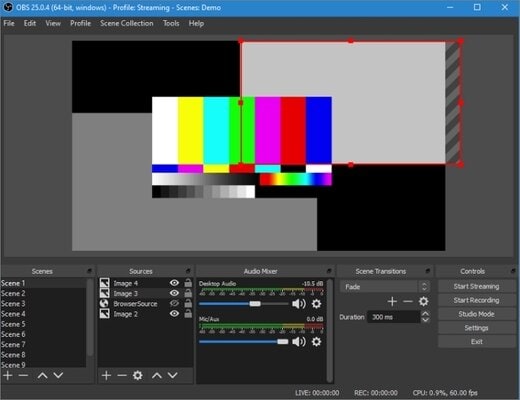
If you’re still scouting for a freeware product to make PIP videos, install OBS Studio. With this free, open-source app, you can record any desktop activity, ranging from video games to browser tabs. This app can add multiple images to a video frame and create several interchangeable scenes. It’s compatible with Mac, Windows, and Linux.
Pros:
- Cross-platform software recording app.
- Free, open-source app.
Cons:
- The platform can be intimidating to beginners.

2. Ecamm Live
The second way to make a beautiful PIP presentation is by using Ecamm Live. This Mac software lets you create graphic overlays, scenes, add annotations, and more. Unfortunately, the subscription price can be a bit steep.
Pros:
- Offers some excellent advanced features.
- Helpful online community.
Cons:
- Only for Mac users.

3. Bandicam
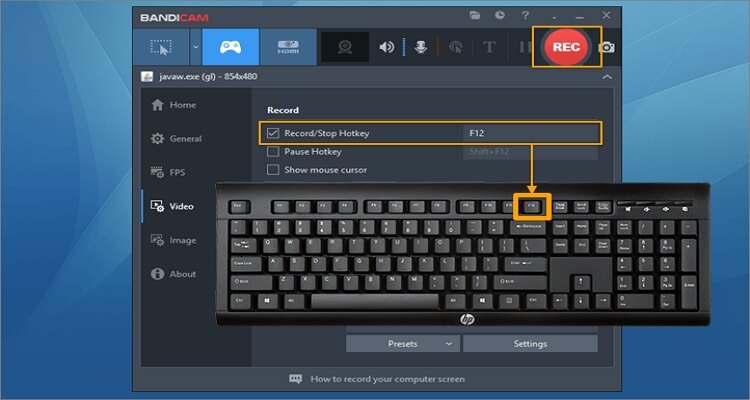
The third method to record a desktop screen and Facecam simultaneously is using Bandicam. This software can make high-quality recordings and save them in AVI or MP4 format. Users can also capture 4K UHD quality videos without sacrificing the file size and system resources.
Pros:
- High video compression ratio.
- Supports 4K UHD recording.
Cons:
- Only for Windows PCs.

4. Wondershare DemoCreator
Wondershare DemoCreator is a beautiful screen recording and video editing app that any professional vlogger would love to have. It’s simple to navigate and provides multiple powerful functions. After capturing your PIP video, users can edit by trimming, cropping, adding effects, etc.
Pros:
- Supports 15-120fps screen recording.
- Supports 4K video editing.
Cons:
- The free version has limited resources.

5. Guvcview
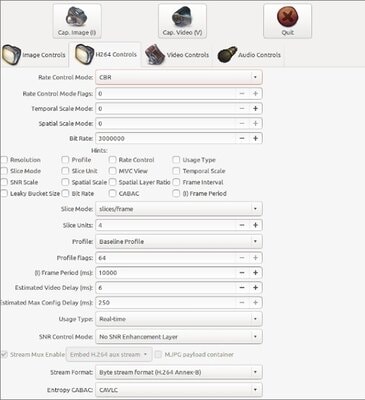
If you’re an Ubuntu user, here is something that can make top-quality PIP videos. It works with most external camcorders and desktop apps such as Skype, Zoom, and more. Best of all, it’s free to install and use.
Pros:
- Free, open-source app.
- Supports 100+ output formats.
Cons:
- Doesn’t have a video editing suite.

Conclusion
These are the best apps to capture Picture in Picture on Zoom. Although the list contains some free options, I recommend getting something more professional like Wondershare UniConverter to enjoy high-quality results. Enjoy!
Your complete video toolbox
 Best screen recorder to record Picture-in-Picture with Zoom.


Kayla Morrison
staff Editor