

Taking screenshots on a Mac is a common task, whether you are capturing an image for work, a tutorial, or personal use. In 2024, the range of screenshot tools available has expanded beyond the basic print screen function, offering users some great built-in options to advanced third-party apps.
This guide covers the top 8 screenshot tools for Mac, highlighting their features, pros and cons, and providing step-by-step instructions for using each one. Let’s get started without wasting any time.
Top Screen Grab Tools For Mac
|
Tool |
Best For |
Platform |
|
All-in-one media tool with screenshot capabilities |
macOS |
|
|
Pre-installed, simple screenshot tool |
macOS |
|
|
Quick screenshot and editing |
macOS |
|
|
Flexible and advanced screenshot options |
macOS |
|
|
Professional-level screenshot and video capture |
macOS |
|
|
Quick sharing and cloud storage |
macOS, Windows |
|
|
Cloud storage integration and advanced tools |
macOS, Windows |
|
|
Fastest built-in option using shortcuts |
macOS |
1. UniConverter
Features
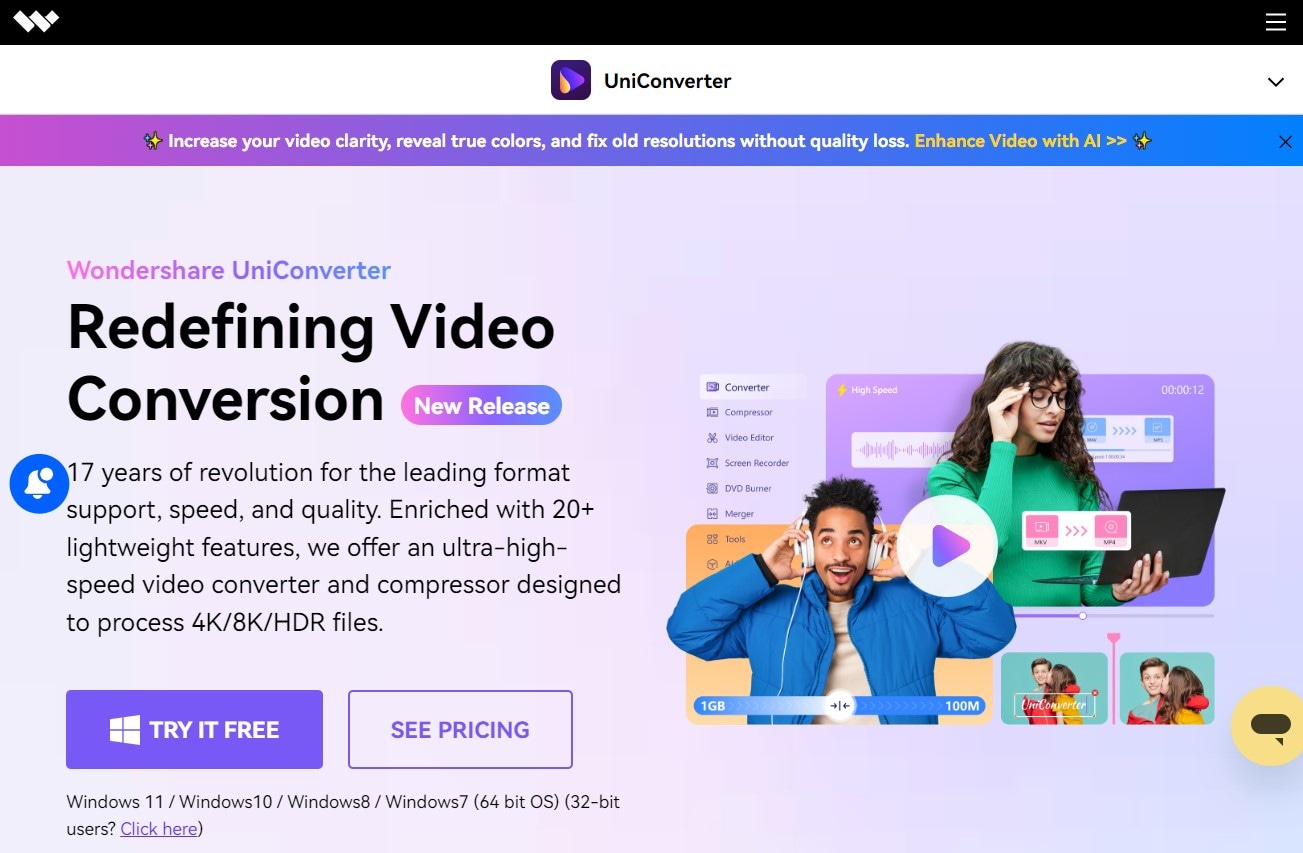
UniConverter is a versatile mac screen grab tool. It serves as a video converter as well as provides an integrated screenshot feature. With UniConverter, you can take high-quality screenshots of your screen, edit them, and even convert them into various formats. It’s particularly useful for users who want an all-in-one solution for their multimedia needs.
How to Take a Screenshot on Mac Using UniConverter
Below is a step-by-step guide to use this screenshot software for mac.
Step 1 Download, Install and Launch UniConverter
Get the UniConverter software for Mac on your laptop. Download, install and then launch the software.
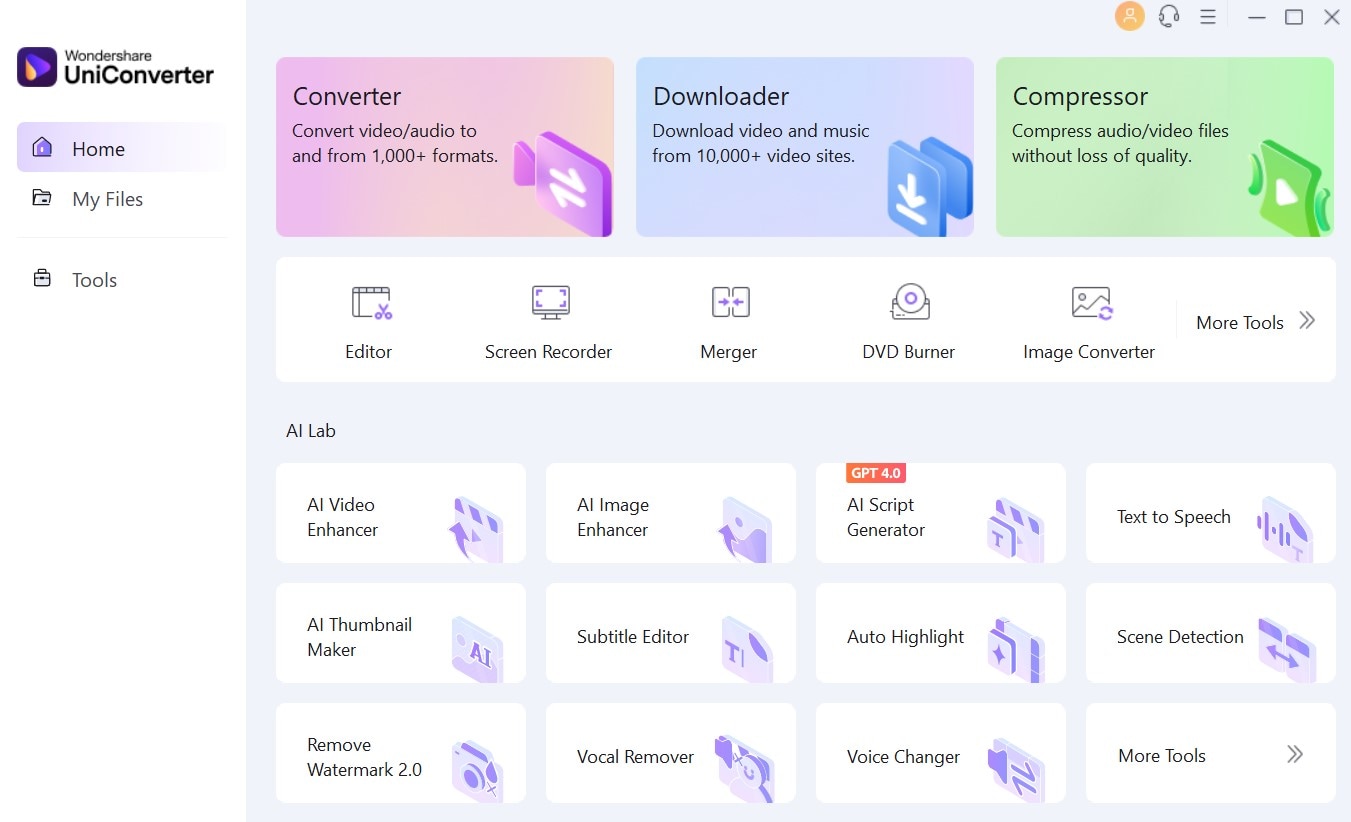
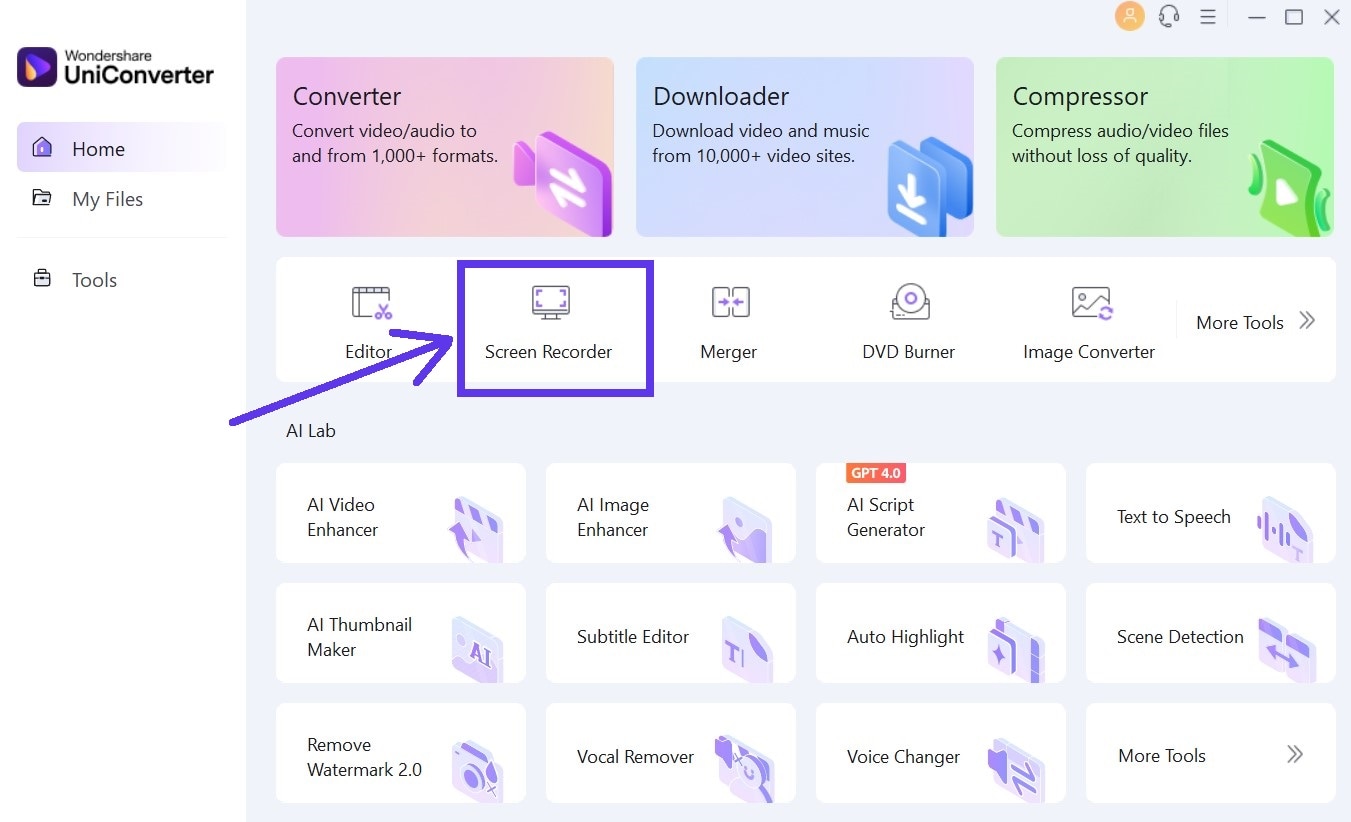
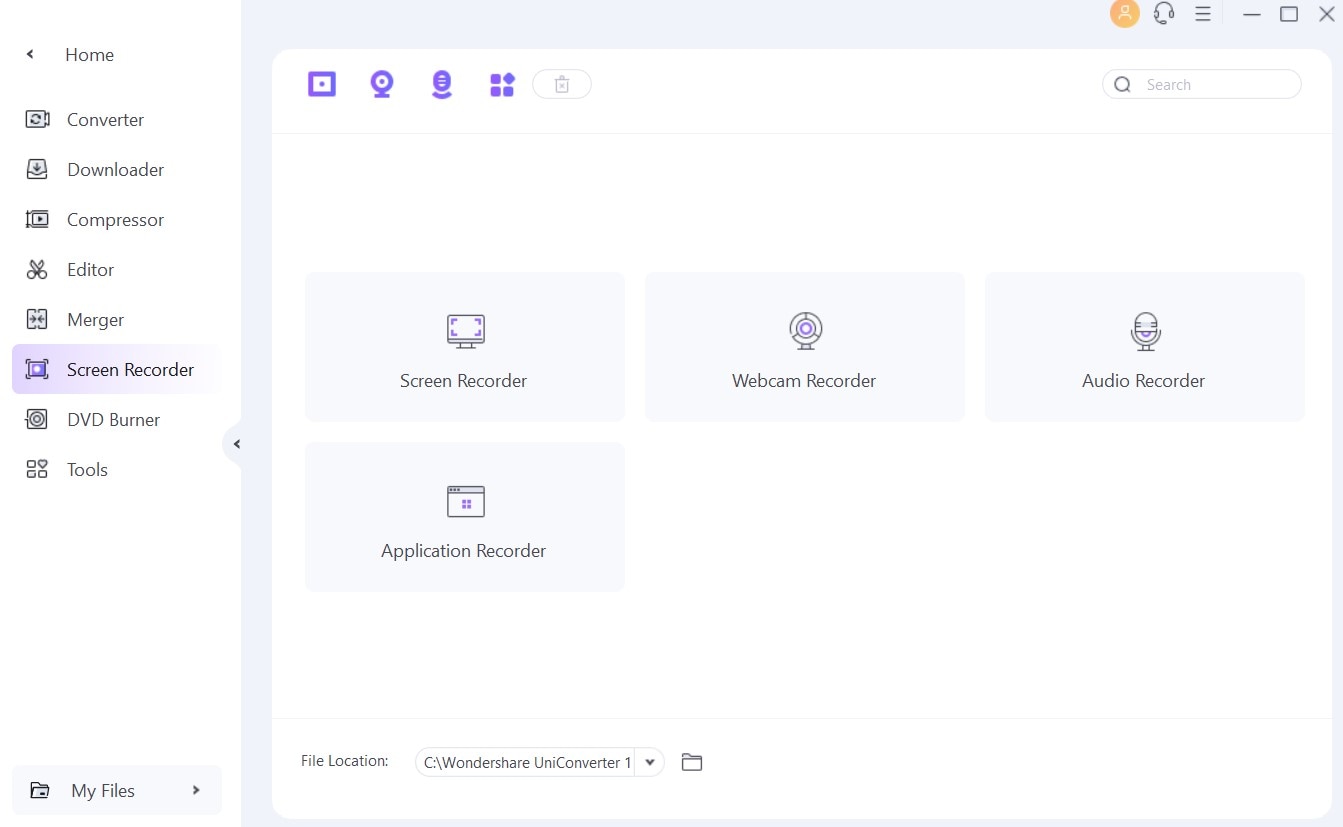
Step 2 Find the Screen Capture Tool
On the main UniConverter interface, go to the Screen Capture tool and click it once more to open the screen capture feature.
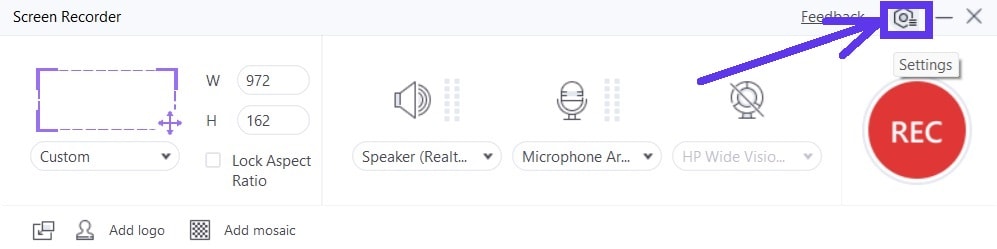
Step 3 Set Up the Screenshot Window
Click on the blue + screen button, as seen below, to select the area you want to capture. After that, tap REC to begin recording your screen. Press Stop when you are finished recording.
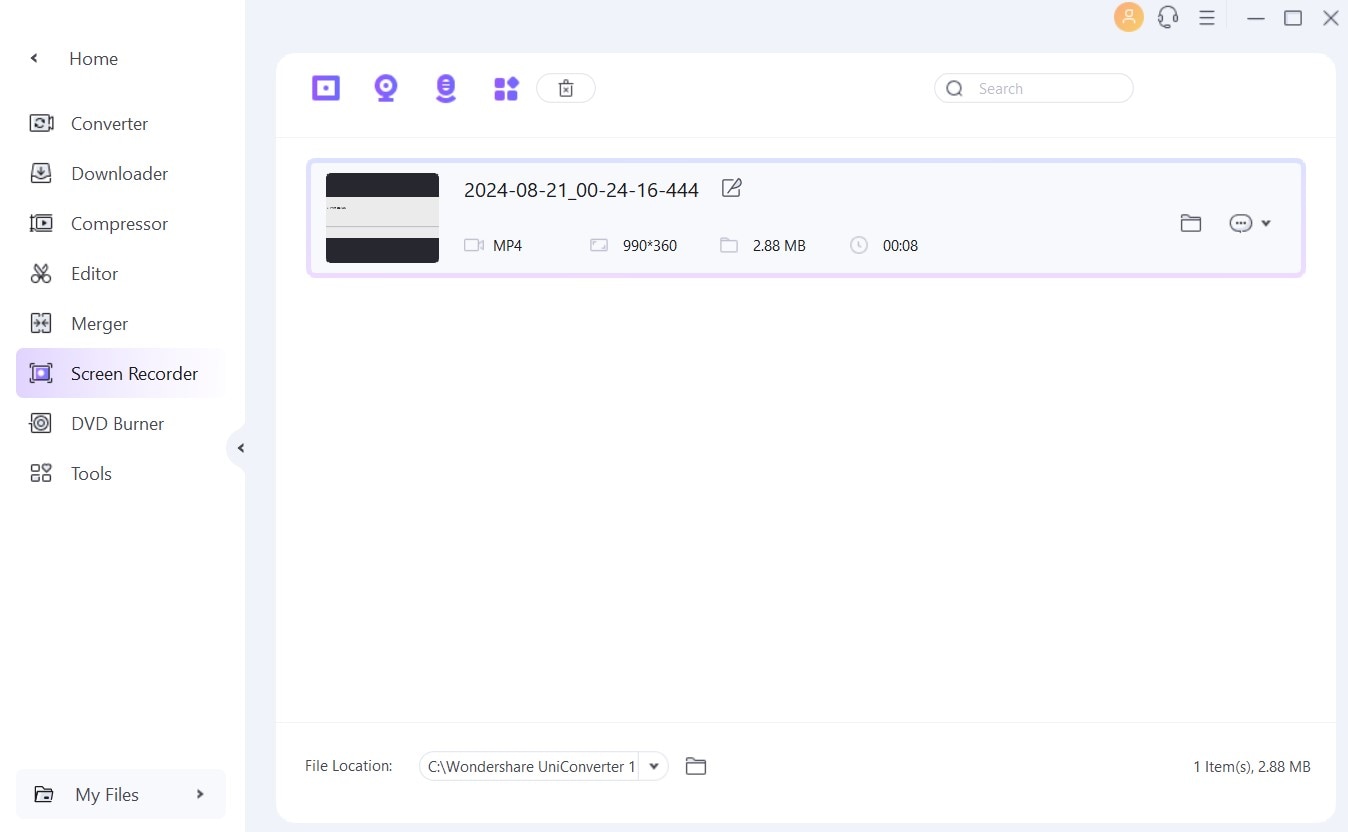
Step 4 Capture Your Screenshot
Play the recorded video and then click on the capture button, as seen in the screenshot below, to capture your screenshot.
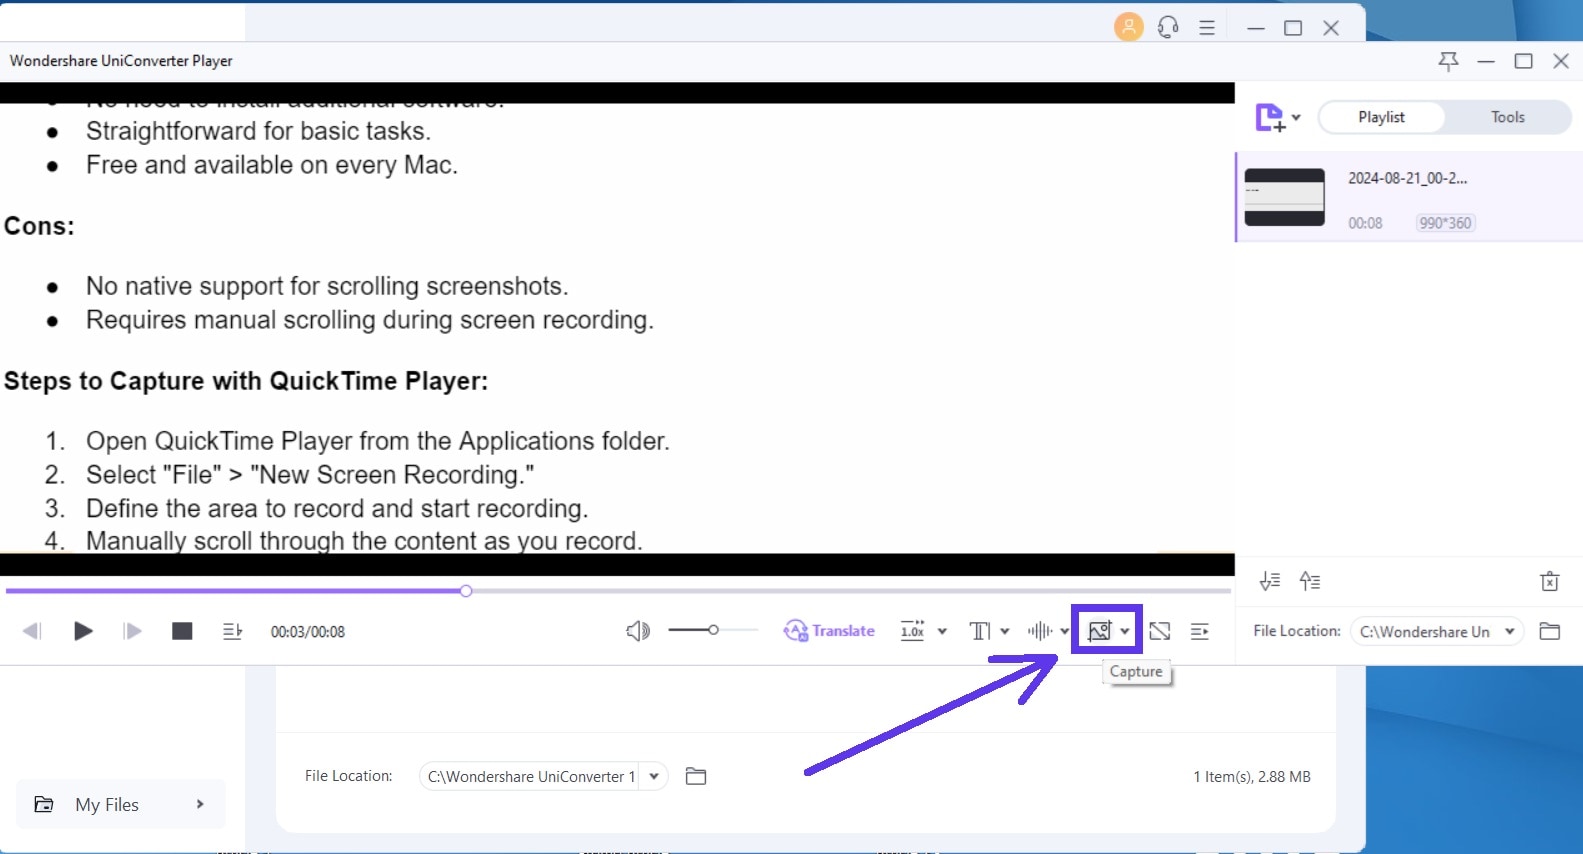
PS: You can edit it later using the UniConverter’s editing tools if you want.
2. Grab
Features
Grab is a simple and pre-installed MacBook screen capture tool. It is available on all macOS systems that came before Mojave. While the built-in app was later replaced by Screenshot, you can still use it on older versions of Mac for taking quick screenshots. It offers basic features like capturing the full screen, a specific window, or a selected area.
How to Take a Screenshot on Mac Using Grab
Here’s how to use this OSX screenshot app:
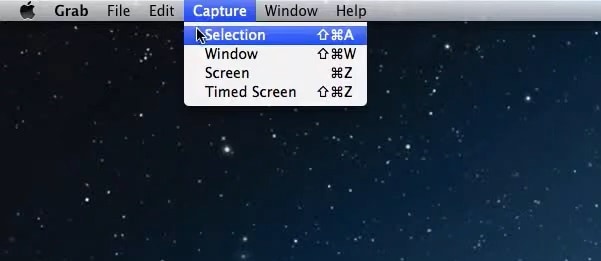
- Go to Applications > Utilities > Grab.
- Select the type of screenshot you want (Selection, Window, Screen).
- Follow the on-screen instructions to capture your screenshot.
- After capturing, the screenshot will automatically open. Save it from the File.
3. Preview

Features
Preview is another built-in screen capture tool on Mac, but it doubles as a screenshot tool and an image editor. It provides basic functionalities such as taking screenshots, annotating them, and saving in multiple formats. As such, Preview offers more options than Grab, which is why we recommend it from the get-go instead of going with Grab first.
How to Take a Screenshot on Mac Using Preview
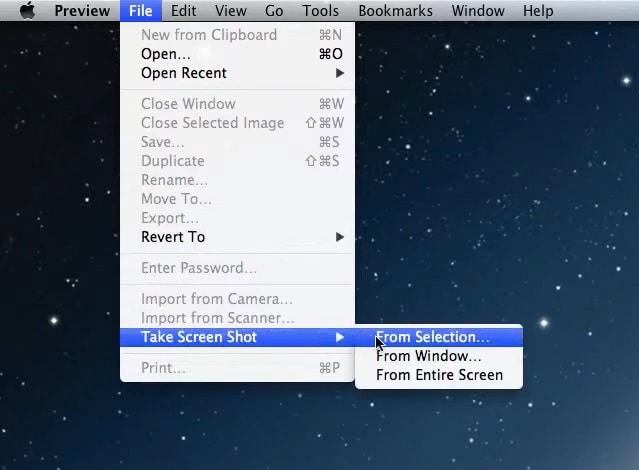
- Go to Applications and open Preview.
- In the File menu, choose Take Screen Shot.
- Select the area you want to capture. Preview gives three options: Selection, Window and Entire Screen.
- Edit your screenshot if needed and save it in your preferred format.
4. Screenshot Toolbar

Features
The Screenshot Toolbar is a feature in Mojave and later macOS operating systems that provides a floating toolbar for quick access to screenshot options. This screen grab tool for Mac offers flexibility with options to capture the entire screen, a selected window, or a portion of the screen, along with screen recording.
How to Take a Screenshot on Mac Using Screenshot Toolbar
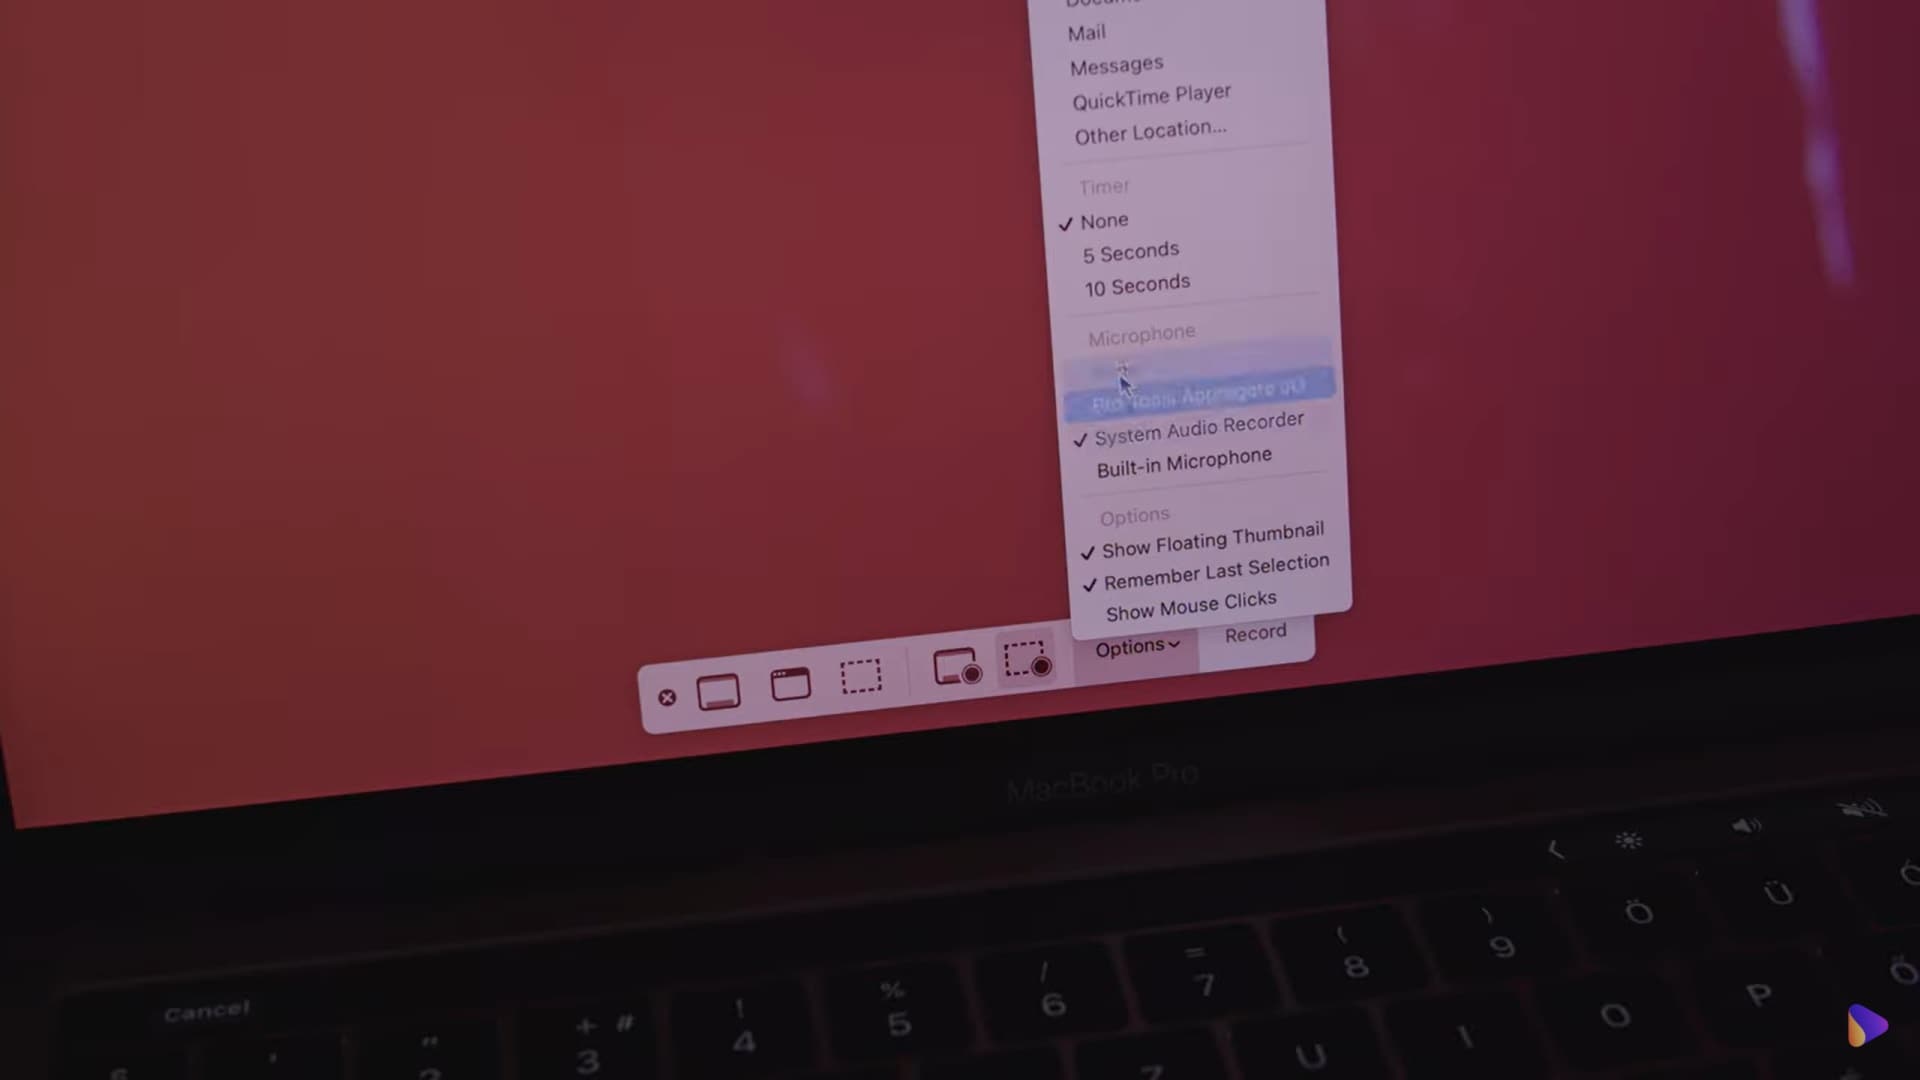
- Press Shift + Command + 5 to open the Screenshot Toolbar.
- Select from the options to capture the entire screen, a specific window, or a selected portion.
- Click “Capture” to take your screenshot.
- Save your screenshot or annotate it directly from the toolbar.
5. Snagit
Features
Snagit is a professional-level screen capture tool for both Mac and Windows laptops. It offers advanced features for both screenshots and video capture. In addition, this Mac screen shot tool comes with a built-in editor that allows you to add annotations, effects, and much more.
How to Take a Screenshot on Mac Using Snagit
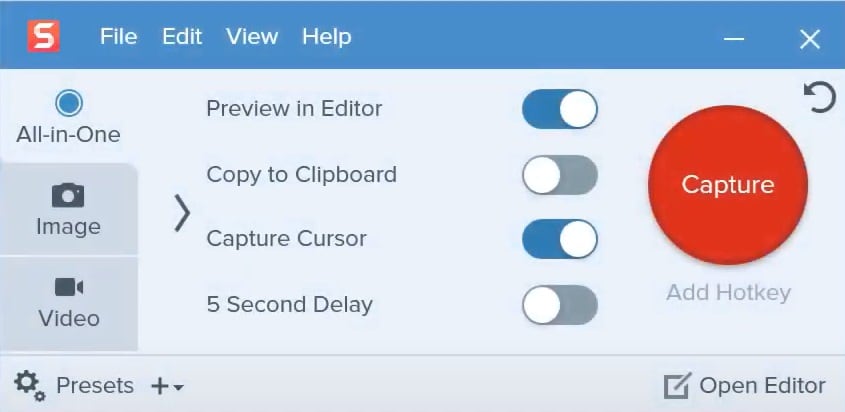
- Launch the Snagit application on your Mac.
- Choose between image capture or video recording.
- Configure the capture area and any additional settings.
- Click Capture to take the screenshot.
- Use Snagit’s powerful editor to make adjustments before saving.
6. Lightshot
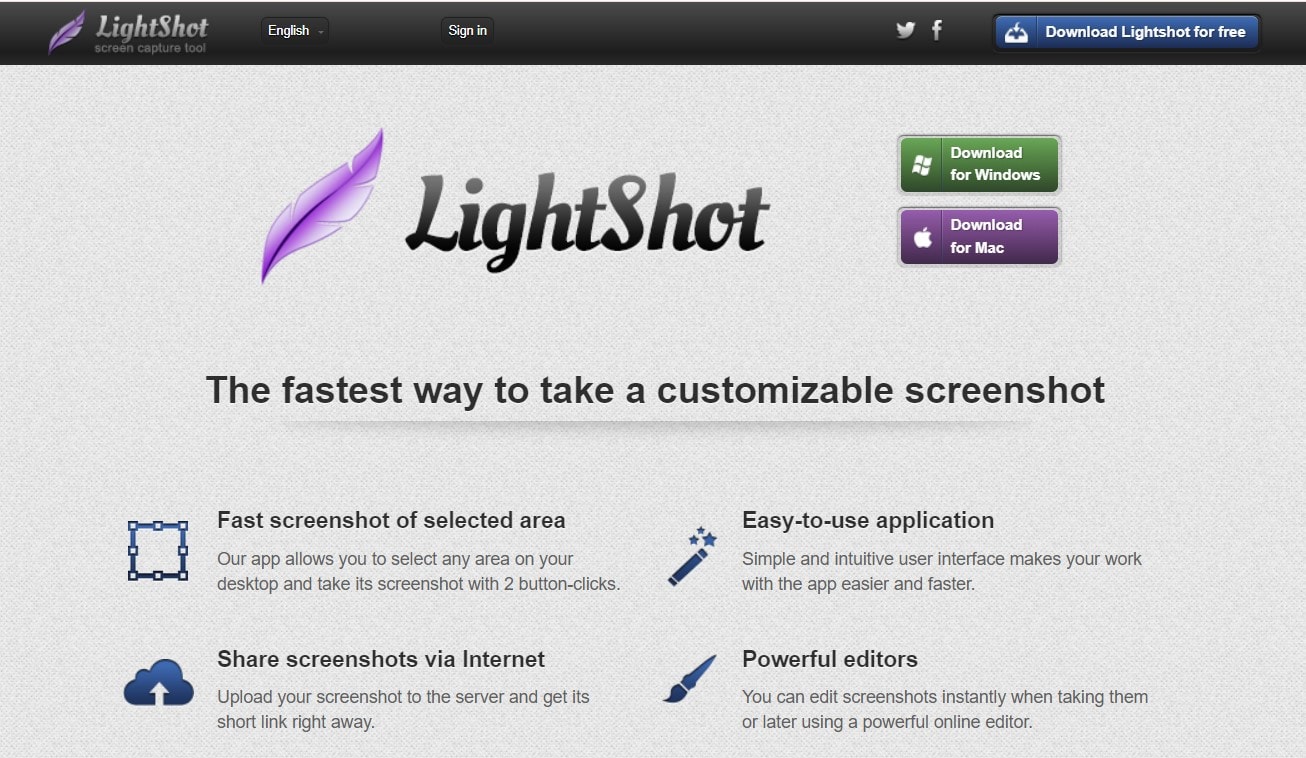
Features
Lightshot is a lightweight screenshot tool that allows users to take quick screenshots and instantly share them online or store them in the cloud. It’s simple yet effective for users who need fast sharing capabilities. Like Snagit, this screen capture tool for Mac works just as well on Windows machines.
Using Lightshot Screen Capture App for Mac
- Download and install Lightshot from its official website.
- Open the application, which will reside in your menu bar.
- Click and drag to select the area of your screen you want to capture.
- Add annotations if needed, then save or share your screenshot instantly.
7. Monosnap
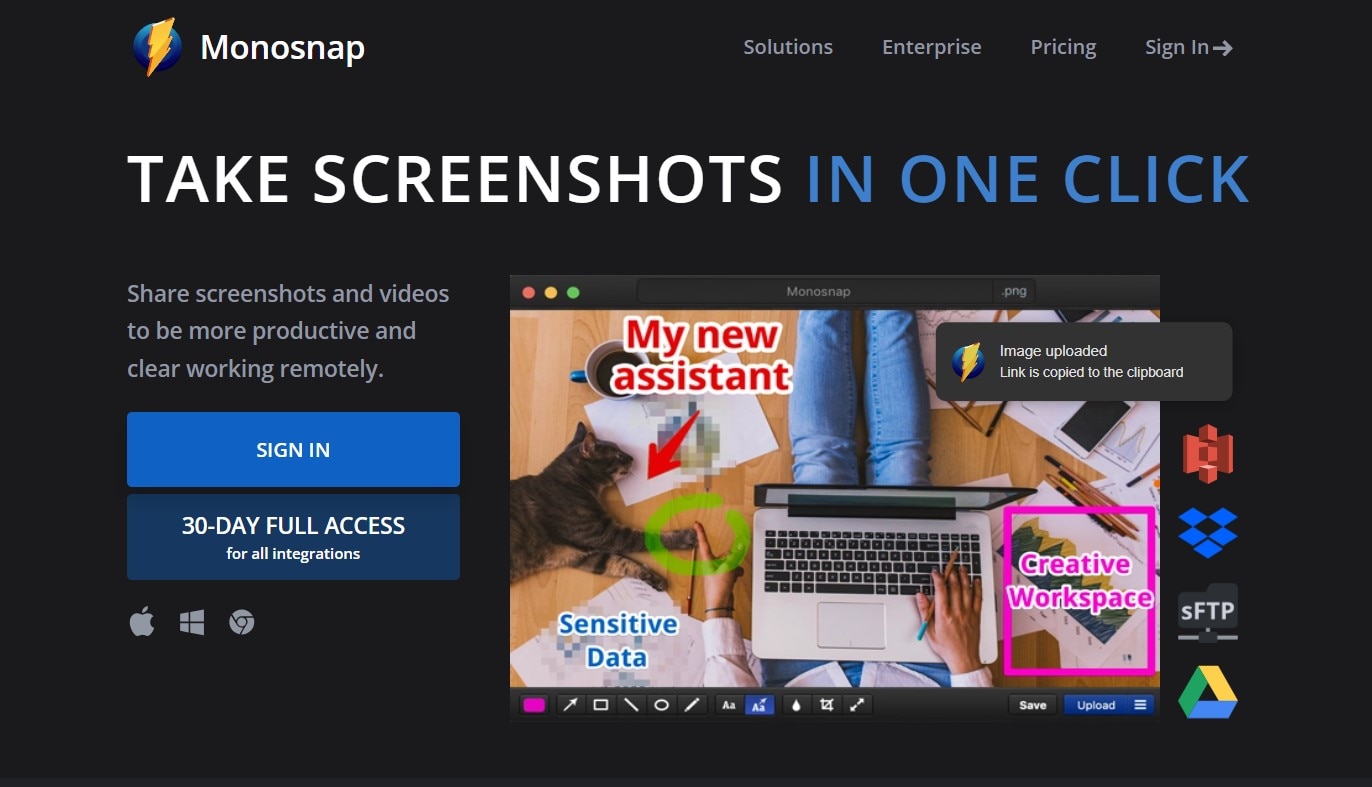
Features
Monosnap is a versatile screenshot app for Mac that offers advanced features such as cloud storage integration, annotations, and even GIF creation. It’s ideal for users who want more control over their screenshots and easy cloud access.
How to Take a Screenshot on Mac Using Monosnap
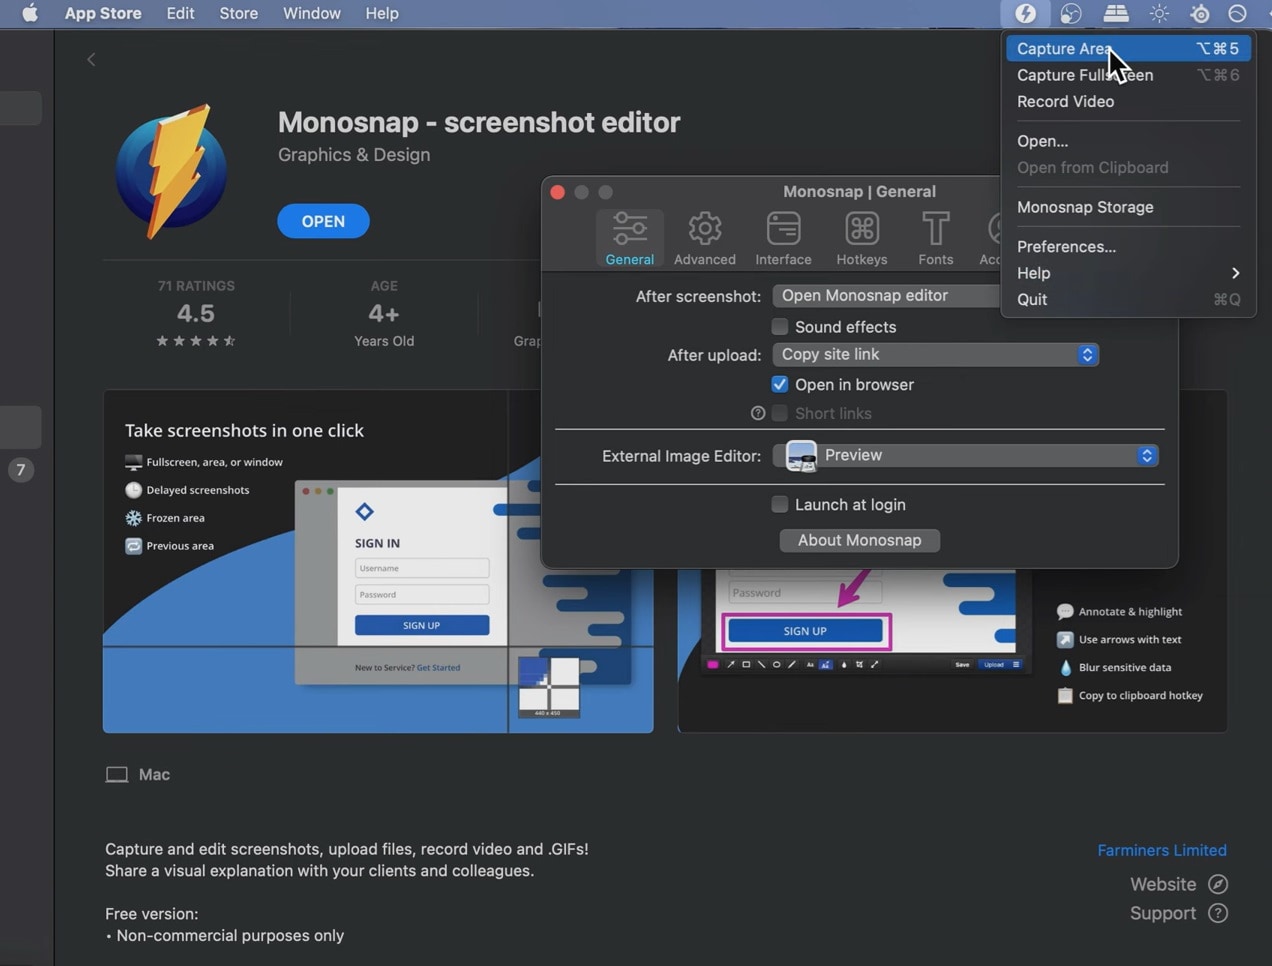
- Download and install Monosnap from its official website.
- Launch the application on your Mac.
- Choose to capture the entire screen, a window, or a selected area.
- Annotate your screenshot if needed, then save or upload to the cloud.
8. Using Hotkeys
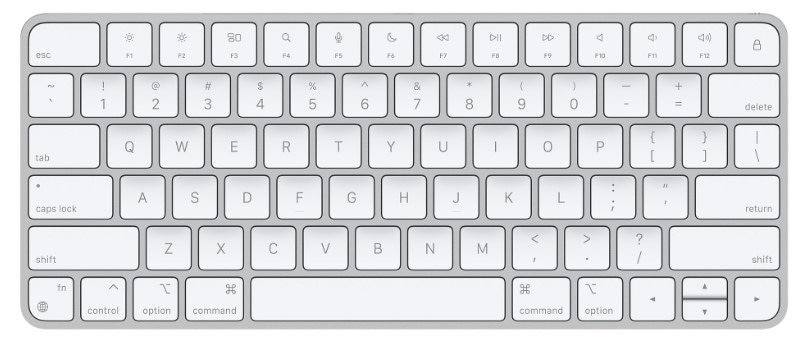
Features
macOS offers built-in keyboard shortcuts, or hotkeys, for taking screenshots. This method is the fastest way to capture your screen without needing any additional software.
How to Take a Screenshot on Mac Using Hotkeys
Method 1 Capture Entire Screen
Press Shift + Command + 3 to capture the entire screen.
Method 2 Capture Selected Area
Press Shift + Command + 4, then drag to select the area you want to capture.
Method 3 Capture a Window
Press Shift + Command + 4, then press Space and click on the window you want to capture.
Method 4 Save the Screenshot
The screenshot is automatically saved to your desktop.
Conclusion
Capturing screenshots on a Mac has never been easier, thanks to the diverse range of tools available in 2024. With these tools mentioned above, you can take a screenshot the way you want. However, for users who prefer an all-in-one tool that goes beyond just screenshots, UniConverter stands out as a top recommendation. With its high-quality output, support for multiple formats, and additional features like video conversion and compression, UniConverter offers a comprehensive solution for everything you may need while working on a creative project. So, give it a try and let us know what you think!

