


Wondering how do you screen shot a mac? Well, capturing a screenshot on a Mac is a crucial skill that comes in handy for various reasons, from saving important information to sharing content with others. Whether you’re using a MacBook Air, Mac Pro, iMac, or any other Mac computer, there are multiple methods to take screenshots.
In this guide, we will explore two primary ways: using UniConverter, a powerful video and image tool, and utilizing the built-in Mac shortcuts. So, without further ado, let’s dive in.
In this article
Part 1: Best Choice - UniConverter
UniConverter by Wondershare is widely recognized as a versatile media tool, but what many users don’t know is its capability to efficiently capture screenshots. This makes it an excellent alternative for those who want more than just a simple screenshot tool to take care of their creative projects.
Best For
UniConverter is ideal for users who need a tool that goes beyond merely capturing screenshots, as it offers additional features like video editing, format conversion, and screen recording.
Features
- Capture clear and crisp screenshots, ensuring every detail is visible.
- Record your screen and take snapshots simultaneously.
- Save Mac screenshots in various formats including PNG, JPEG, GIF, BMP, and more.
- Edit your screenshots immediately after capturing them, with options to crop, annotate, and highlight.
Step-by-Step Guide: Capturing a Screenshot with UniConverter
Here’s how to snapshot screen on Mac using UniConverter.
Step 1 Download and Install UniConverter
Download and install the software. Follow the on-screen instructions to install it on your Mac.
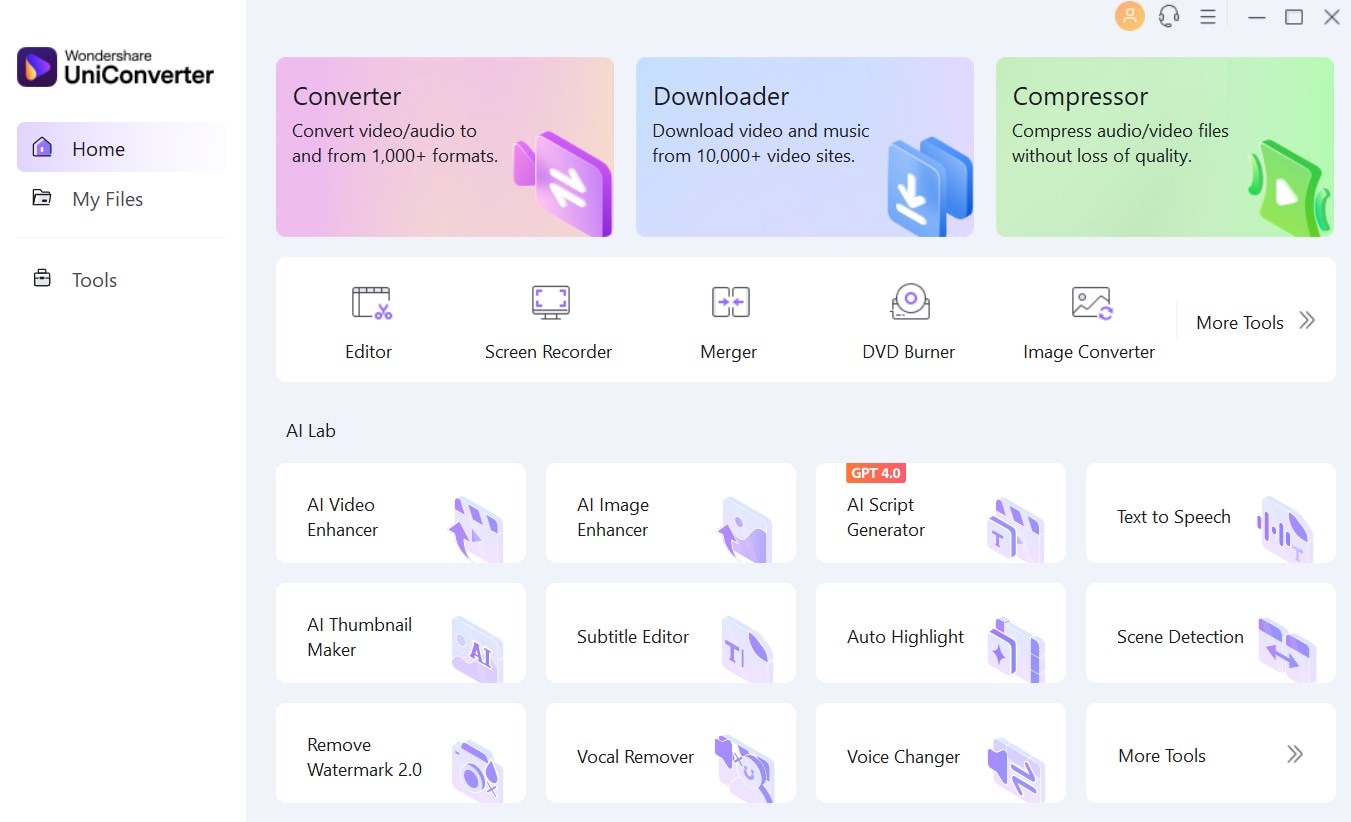
Step 2 Launch UniConverter
Now, open the UniConverter application from where you installed the software. This is what the main page of UniConverter looks like:
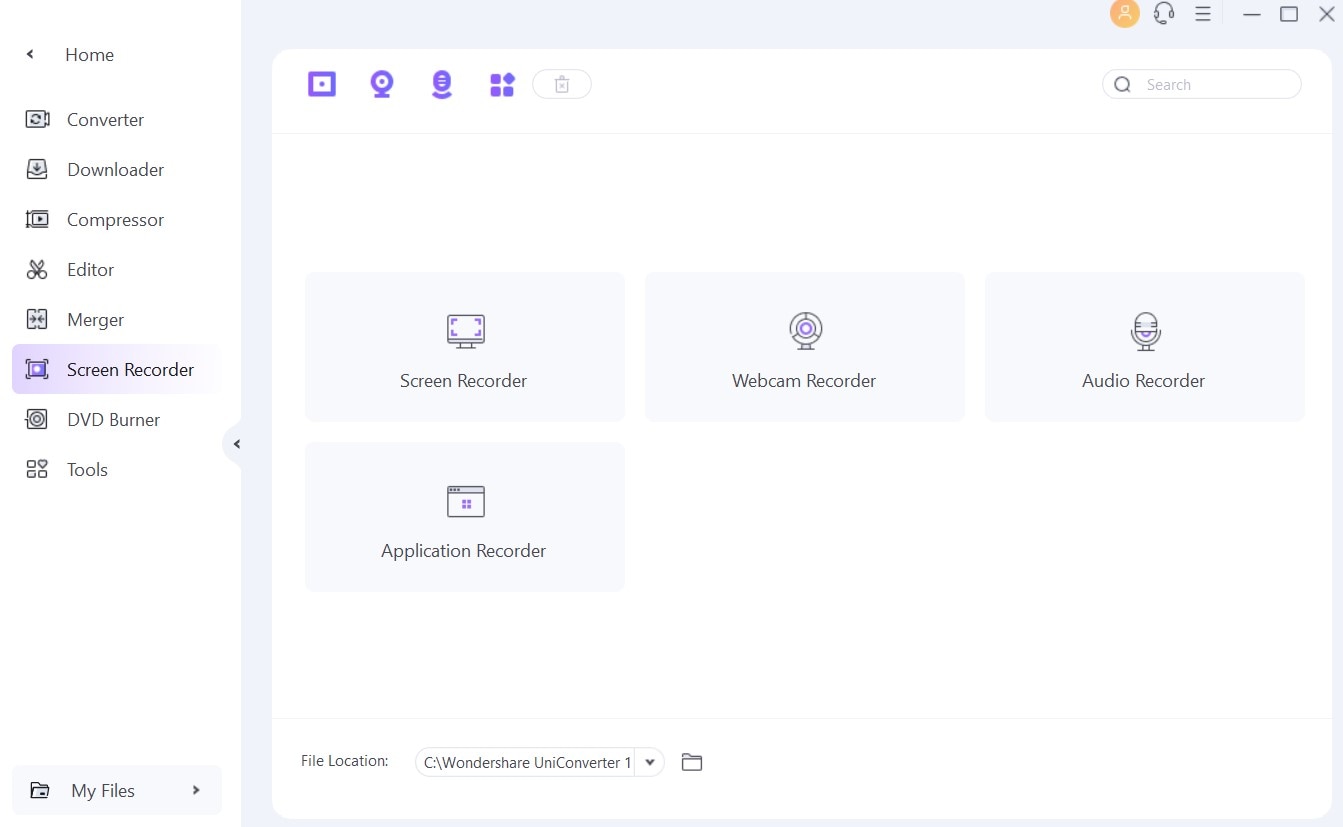
Step 3 Go to the Screen Recorder Section
On the home screen, click on the Screen Recorder tab. This will open up a panel with various recording and screenshot options. Click on Screen Recorder, again.
Step 4 Select the Appropriate Tool
You will see a screen recorder panel appear on your screen. Click on the gear icon to change your settings or leave it be if you are fine with default settings.
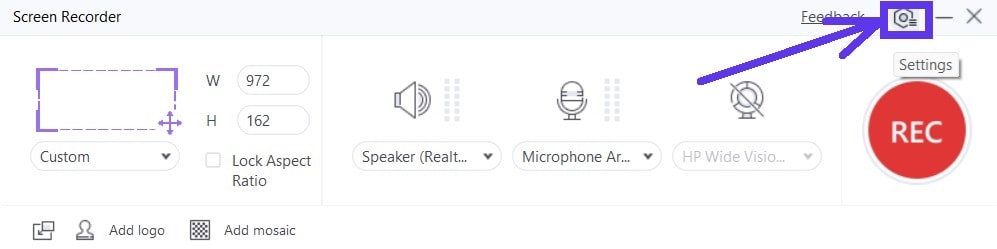
Step 5 Record Your Screen
Drag the crosshairs to select the area of the screen you want to capture. Once selected, release your mouse button to capture the screenshot. Now, click on the red REC button to begin screen recording.
Choose Stop when you are done recording.
Step 6 Play Recording and Take Screenshot
When you play the screen recording, below is what the UniConverter player looks like. Now click on the capture button as seen below to capture any moment from the recording.

Step 7 Save and Edit
After capturing, you will have the option to immediately edit the screenshot or save it in your preferred format. UniConverter supports almost all image formats.
Bonus Features of UniConverter
UniConverter also offers several bonus features that could be useful for users interested in multimedia. These include:
- Batch Processing - You can edit multiple screenshots or video files simultaneously.
- Format Conversion - You can convert your screenshots to any image format needed.
- Video Editing - You can also trim, merge, and add effects to your screen recordings.
Part 2: How to Screenshot on Mac Computer with No Installed Tools
If you only have basic needs and do not want to edit the screenshots, you can try built-in screenshot features provided by Mac computers.
Best For
This method is ideal for users who need a quick and basic way to capture screenshots without installing any third-party software.
Features
- Use keyboard shortcuts to capture screenshots immediately.
- Capture multiple screen types: full screen, a selected window, or a specific area.
- Screenshots are automatically saved to your desktop.
How to Capture a Screenshot with Mac Shortcuts
Below are some ways you can screen shot on mac computers using the keyboard shortcuts.
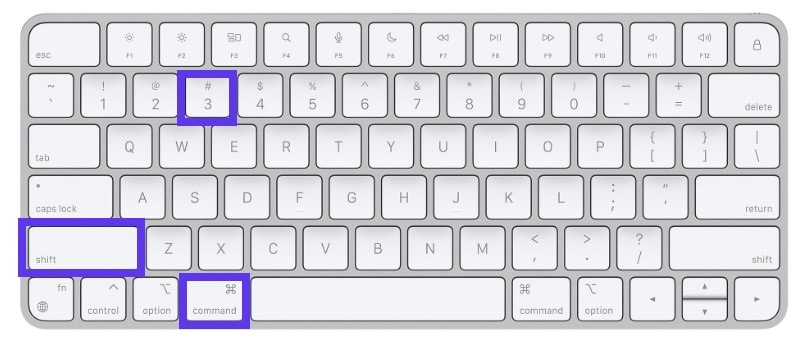
1. Capture the Entire Screen
Press Shift + Command (⌘) + 3. This will capture the entire screen and save it as a file on your desktop.
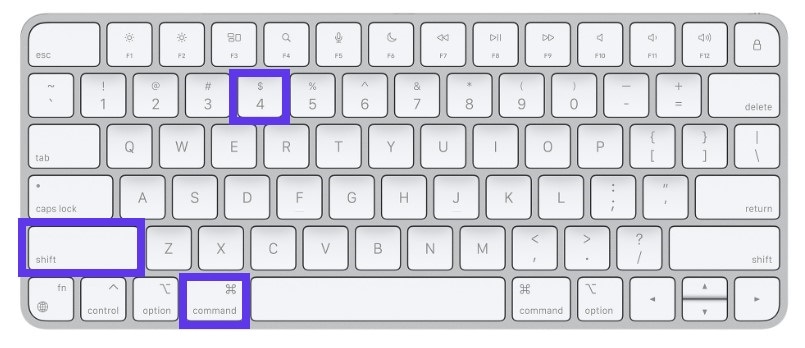
2. Capture a Selected Area
Press Shift + Command (⌘) + 4. Your cursor will change to a crosshair. Click and drag to select the area you wish to capture, then release to take the screenshot.
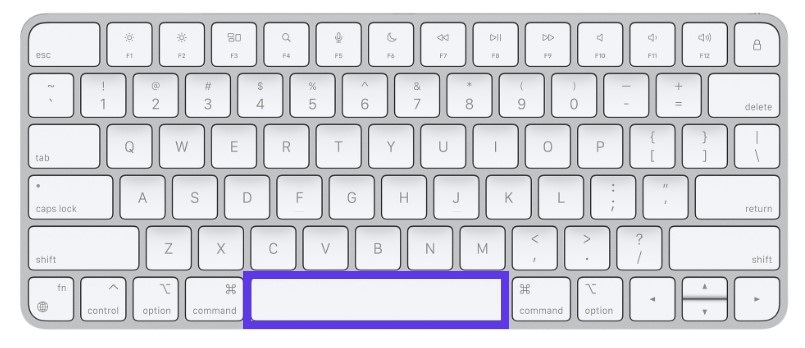
3. Capture a Specific Window
Press Shift + Command (⌘) + 4, then press the Spacebar. Your cursor will change to a camera. Click on the window you want to capture.
4. Capture the Touch Bar
Press Shift + Command (⌘) + 6. This will capture the Touch Bar display.

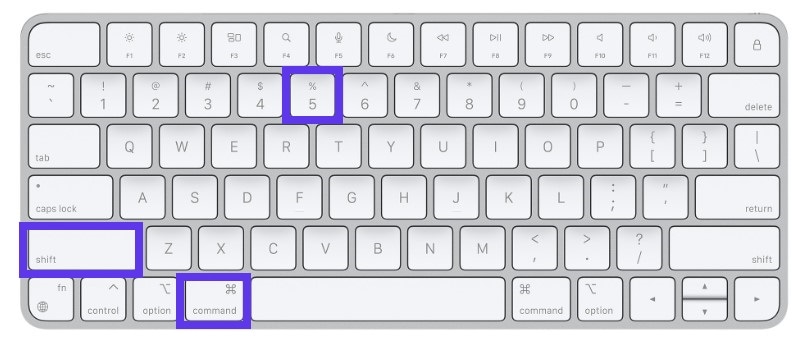
5. Accessing Screenshot Options
Press Shift + Command (⌘) + 5 to open the Screenshot app. This allows you to choose from different screenshot and screen recording options, such as capturing the entire screen, a selected portion, or recording your screen.
Conclusion
Whether you opt for the feature-rich UniConverter or the built-in Mac shortcuts, capturing screenshots on your Mac has never been easier as it is today. The built-in screenshot tool is perfect for quick and easy captures without any extra software. On the other hand, UniConverter provides advanced capabilities that go beyond simple Mac screenshot, making it an excellent choice for users who need additional multimedia features. So, download UniConverter now and see how professional your screenshots can look!

