In this digital era, video has become a new means of communication. People Worldwide are engaging and communicating their message through recorded videos. Businesses, marketers, teachers, students, content creators, gamers, influencers, public figures, state officials, and every other individual are now using video to engage and connect with others.
Gone are the days when we used to think that a professional video could be recorded using a high-end camera; today, people are recording their desktop activities along with the Webcam capture to make lessons, tutorials, marketing videos, company's culture videos, game streaming, reactions, and many other video content.
You can also be the one to make video content; all you need is just innovation and features-packed video recording and editing software.
Why do you need to record screen without a Game bar?
On a Windows 10 PC, the Xbox Game Bar is a built-in screen and free, convenient recording tool, requires no installation of third-party software and provides a simple but useful function. It's not a great solution, though, due to problems like;
Shortcuts not Working
The Shortcuts to start, end, and pause the recording are often non-functional.
Recording work once or twice
If you want to record small chunks of videos, then Windows built-in game bar won't help as you can record only once or twice at a time then the recording will stop.
Recording Clips are Blank
When you record your desktop activity and then save it to the desired folder, and when you open your recorded video file, it is sometimes blank, and all your efforts are wasted.
Can not record from Audio device
One of the significant disadvantages of the Windows 10 Game bar is that you cannot record from an audio device; recording from your computer's microphone includes distortion and background noise.
Freeze or Crash when recording for a long
Recording a long 1-2 hour lesson/course or gameplay is impossible as the Gamebar sometimes freezes when a user is recording for a long time.
Unlimited Features
Windows 10 built-in Gambar is limited in its features; it does not have the post-recording editing features used to give the recorded video a professional look.Professional Video editors will never recommend recording video from Windows 10 Game bar.
How to Screen Record on Windows 10 with Xbox Game Bar?
If you want to record a short video with no editings then you can go for Windows 10 Gamebar; let's learn how to record video in it;
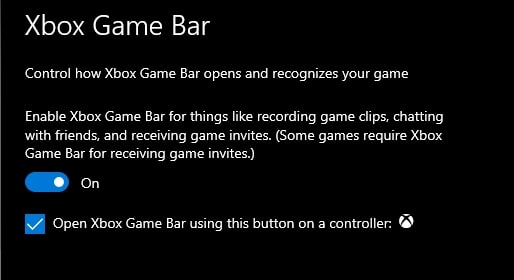
Enable XBOX Game Bar
- Press the Windows key+l to open the Windows settings to enable the Game bar.
- In the search bar, type "XBOX'' and in the drop box, look for "Enable Xbox Game Bar," and then click on Enter.
- Switch the Toggle on, and the Game bar will be enabled.
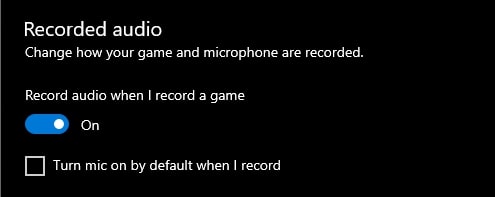
Include System Audio in the Recording
- Once you have enabled the Game bar; on your right hand side of the screen you will find different options; click on "Captures" and under Recorded Audio switch its toggle on.
Record your Screen
- Navigate to the game or app that you want to record.
- To begin recording, press the Windows logo key with Alt+R. "Recording in progress," you hear with the Narrator.
- To turn on and off the microphone when recording, use the Windows logo key+Alt+M. Press the Windows logo key + G to bring up the Game Bar controls.
- To end press the Windows logo key+Alt+R when you have finished recording, you will hear "Game clip recorded."
- The video is saved as an MP4 file in the Captures folder beneath the Videos folder. The game or app name, recording date, and recording time are all included in the file name.
How to Screen Record on Windows without an Xbox Game bar?
You have read above the limitations, and some issues faced by people when recording with Xbox game bar; it is essential to have a third-part robust video recording and editing software that can fulfill all your video needs; some of these softwares are mentioned below;
1. Wondershare UniConverter
WonderShare UniConverter is a multi-purpose media converter. It serves as a central console for all of your video needs. Uniconverter is a multifunctional video tool that includes the best video converter, a simple video editor, a video compressor, a disc burner, a screen recorder, and more.
It enables users to convert videos into more than 1000 file types and compresses large videos for simple sharing and uploading.
WonderShare UniConverter is more than just a converter; it also has a decent video editor and recorder with the most common video editing features, such as capturing your screen and recording your voice.
Features
- Strong Video/Audio Conversion Function
- Convert videos 90X faster with lossless conversion to more than 1,000 video/audio formats.
- From a video or image, create an animated GIF.
- Batch conversion mode enables you to convert several files to different formats simultaneously for time-saving.
- Provides the most versatile screen capture toolset together with the audio
- Editing features include Trim Video, Crop Video, Add Watermark, Apply Effects, Add Subtitles, Adjust Audio, Merge Video, Combine Multiple Videos; Cut and Join Videos.
- Compatible with Windows and Mac OS.
Pros
GPU acceleration.
Simple and intuitive interface that supports drag-and-drop functions.
Cons
Free trial only encodes ⅓.
Prices are slightly high.
Wondershare UniConverter — All-in-one Video Toolbox for Windows and Mac.
Edit videos on Mac by trimming, cropping, adding effects, and subtitles.
Converter videos to any format at 90X faster speed.
Compress your video or audio files without quality loss.
Excellent smart trimmer for cutting and splitting videos automatically.
Nice AI-enabled subtitle editor for adding subtitles to your tutorial videos automatically.
Download any online video for teaching from more than 10,000 platforms and sites.
2. BandiCam
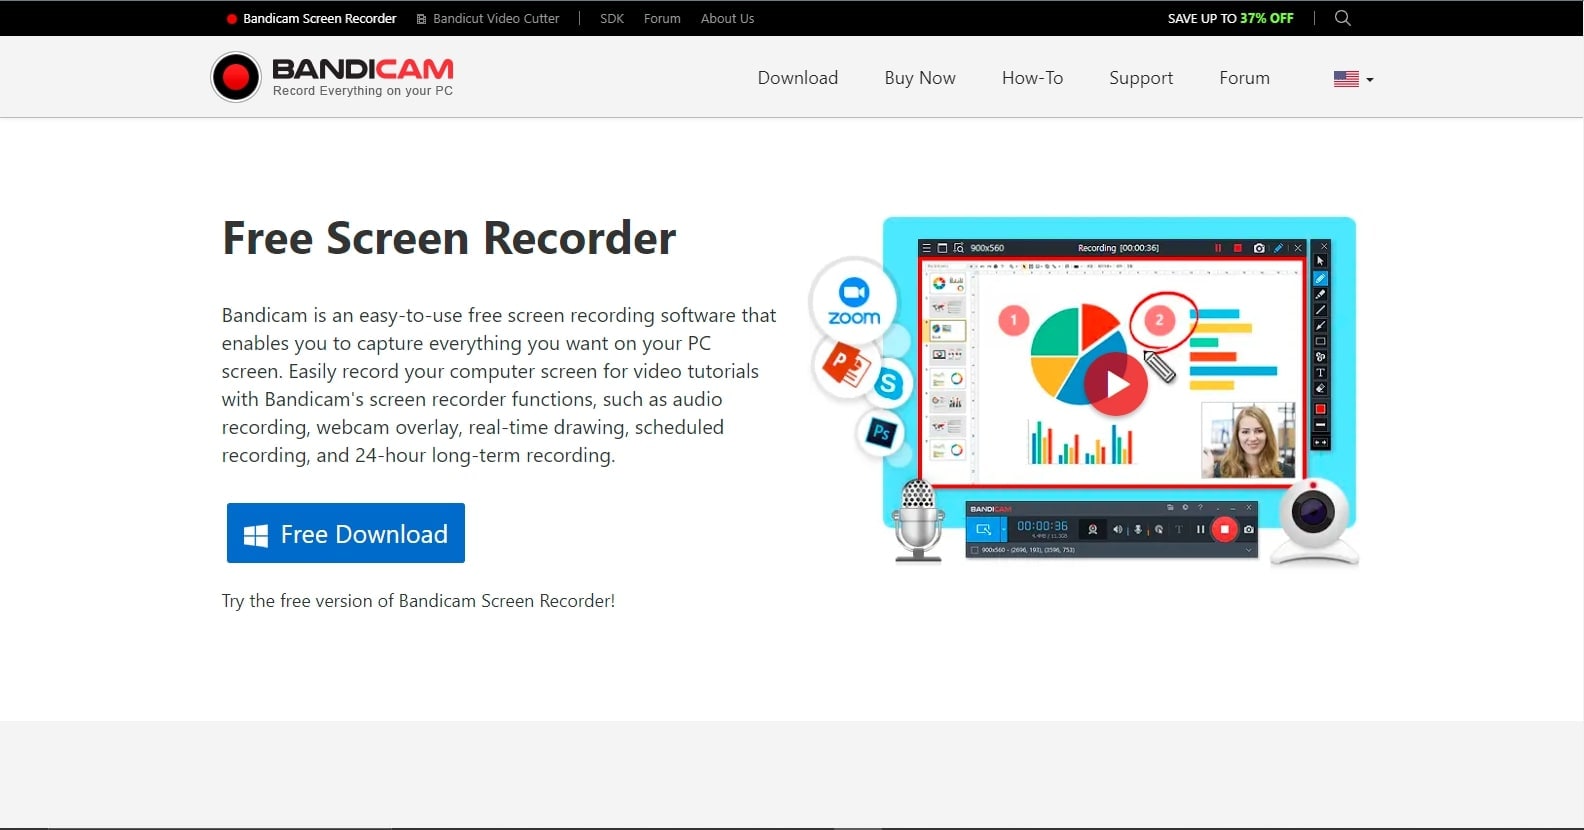
Bandicam is a popular screen-recording program for Windows systems. It can make videos by capturing the display, recording a single window, using input from a webcam or microphone, or combining these methods. Bandicam is widely used to make live-streamed videos.
The recorded video size is substantially less than files made with other software, you can upload it to YouTube without converting it. Furthermore, Bandicam can easily erase a webcam's background and create a chroma key video in real-time while filming.
Features
- Bandicam may capture screen activity on your computer monitor and a linked external device.
- Users can record 24 hours non-stop.
- Screen grabs in Bandicam can be done manually or automatically.
- Bandicam allows you to fine-tune the video and audio quality.
- With direct upload capabilities to YouTube and Vimeo, sharing and distributing Bandicam videos is simple.
- Simple controls with an easy-to-use interface.
- Compatible with Windows OS only.
Pros
Screen recording is straightforward for newbie and experienced users, thanks to an intuitive, primary interface.
Consistently creates outputs of high-quality video.
Cons
In the free version, users can not record more than 10 minutes.
It lacks a live-streaming feature.
3. Movavi
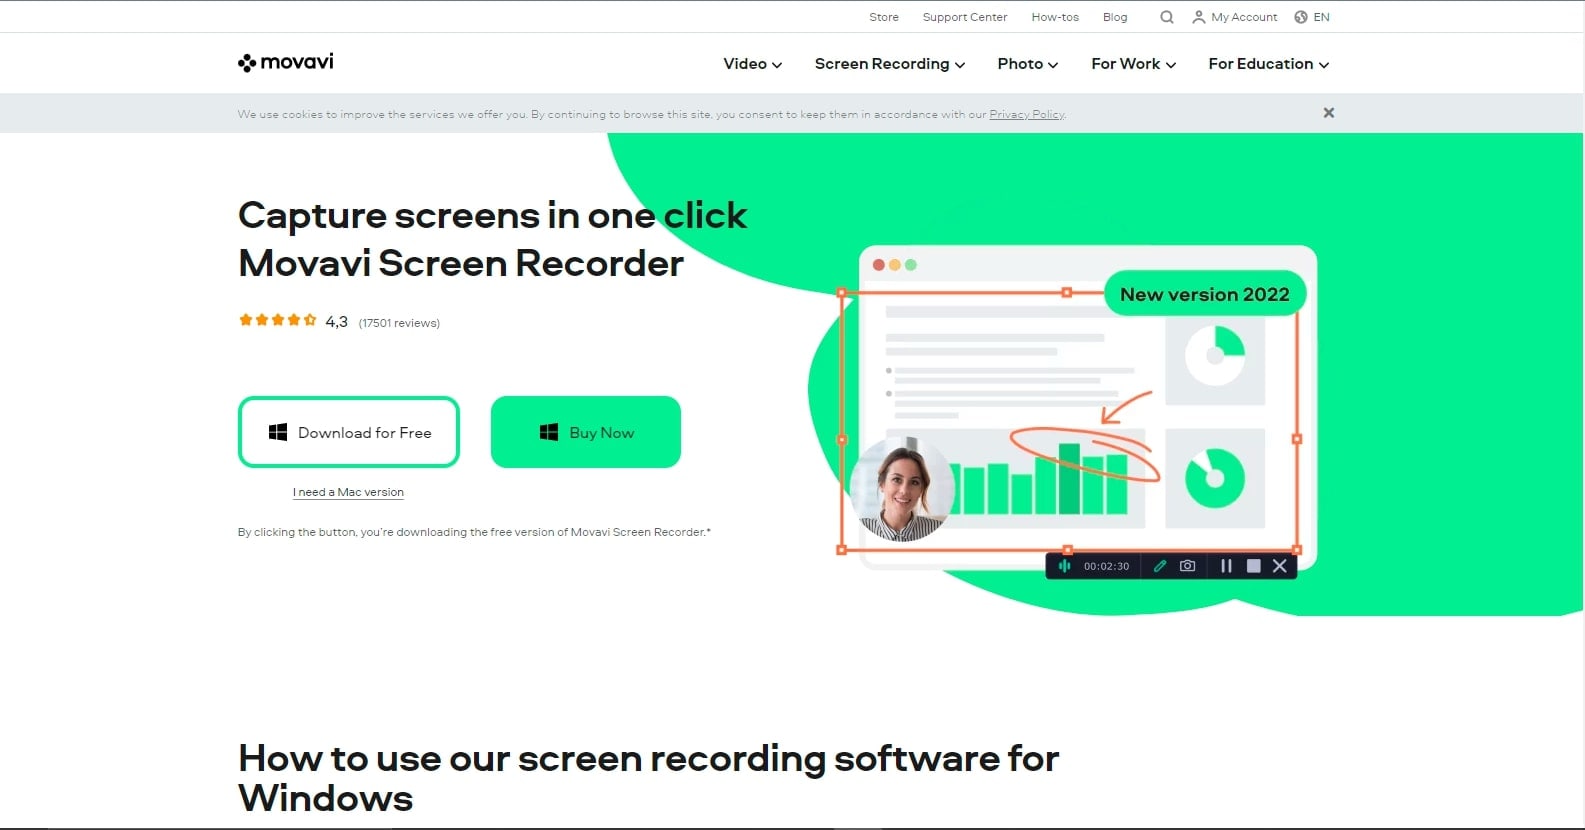
Movavi Screen Recorder is a small yet-capable video recording program for Windows PC that enables you to record screen activity, store Skype calls, and record streaming video and music from websites.
The program works with Intel hardware acceleration, making recording easy and seamless. Since videos are recorded in the MKV format, the quality of your final product video will be as high as possible. SuperSpeed mode can help speed up the conversion process when storing files in a different video format.
Features
- Using Movavi Screen recorder, video calls, screencasts, internet videos, and other screen activity types can be recorded.
- Users can record audio from many audio devices at the same time.
- Users can take and edit screenshots.
- Users can highlight the cursor, customize the click sound, and record keyboard actions.
- Movavi can extract audio from a video.
- Users can also remove ads and other unwanted stuff.
- Movavi Screen recorder works for Windows OS only, there is also a chrome extension offered by Movavi.
Pros
Easy-to-understand user interface.
Chroma-key functionality.
Cons
There are no advanced trim modes or clip pre-trimming.
Rendering is a little slow.
4. VLC Media Player
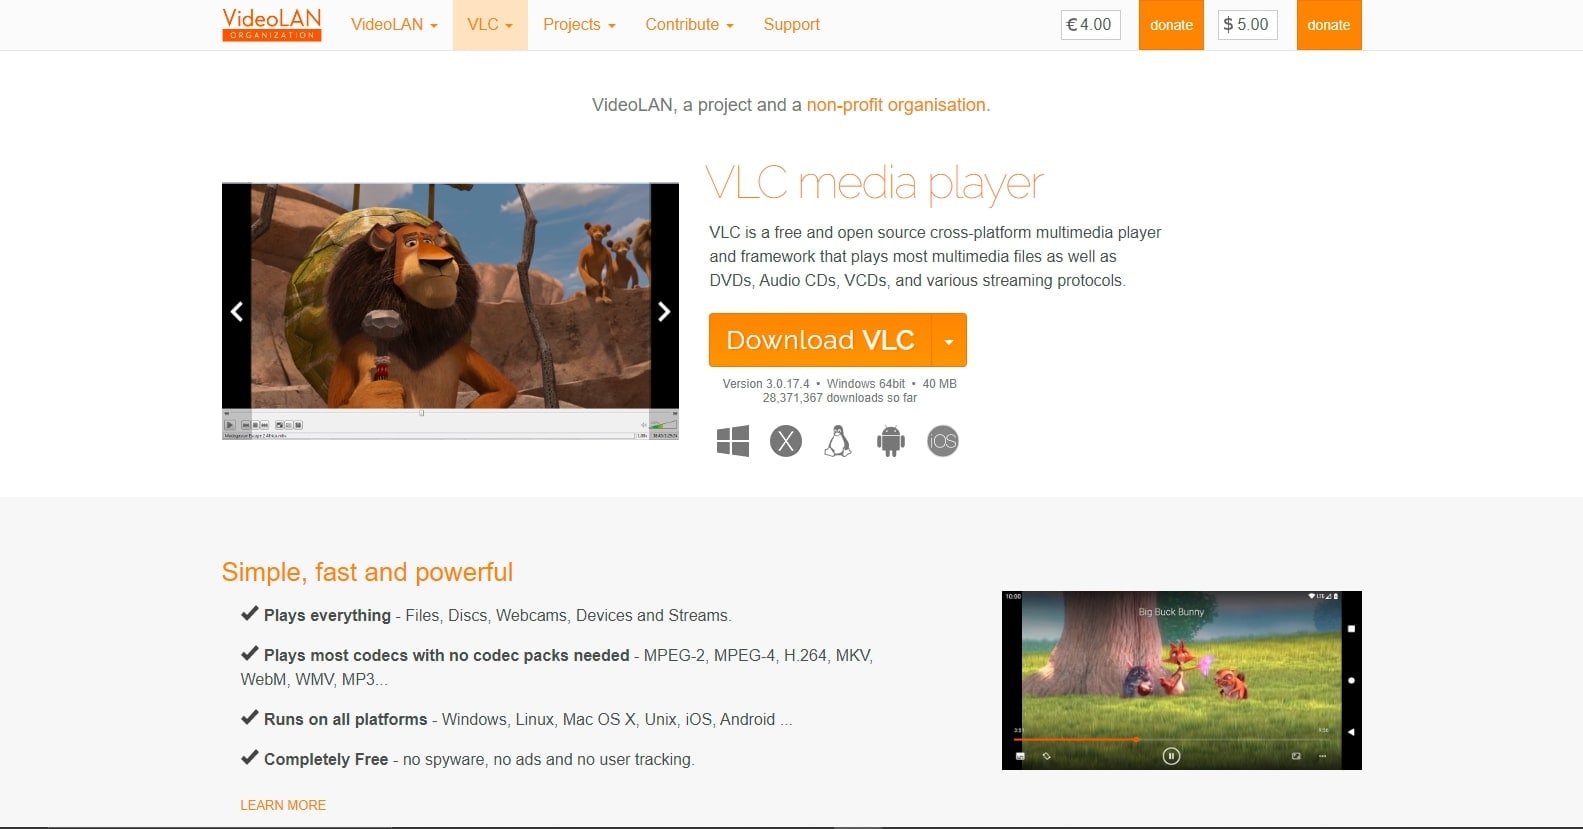
The VLC stands for VideoLAN Client; this media player is a cross-platform multimedia player that is free and open source. It can play most multimedia files, discs, gadgets, and network streaming. Only a few of its users know that this player may also be used as a screen recorder to capture video on PCs.
The built-in recording capability allows VLC Media Player to capture displays and snap screenshots without needing other applications.
Features
With VLC Media Players users can do;
- Record Desktop Activity.
- Transfer file format.
- Distribute digital content over a local network or the Internet.
- Adjust the playback process of remote content via a browser
- Watch YouTube videos, Podcasts.
- Listen to the radio on the Internet.
- Add video and audio effects.
- Use a Video as Your Desktop Wallpaper
- Add Subtitles Manually
- Take a snapshot of a Video.
- VLC Media Player is compatible with Windows and Mac OS.
Pros
Free and open-source.
Offers video and audio stream download options.
Cons
Lacks video editing capabilities.
5. Microsoft Powerpoint
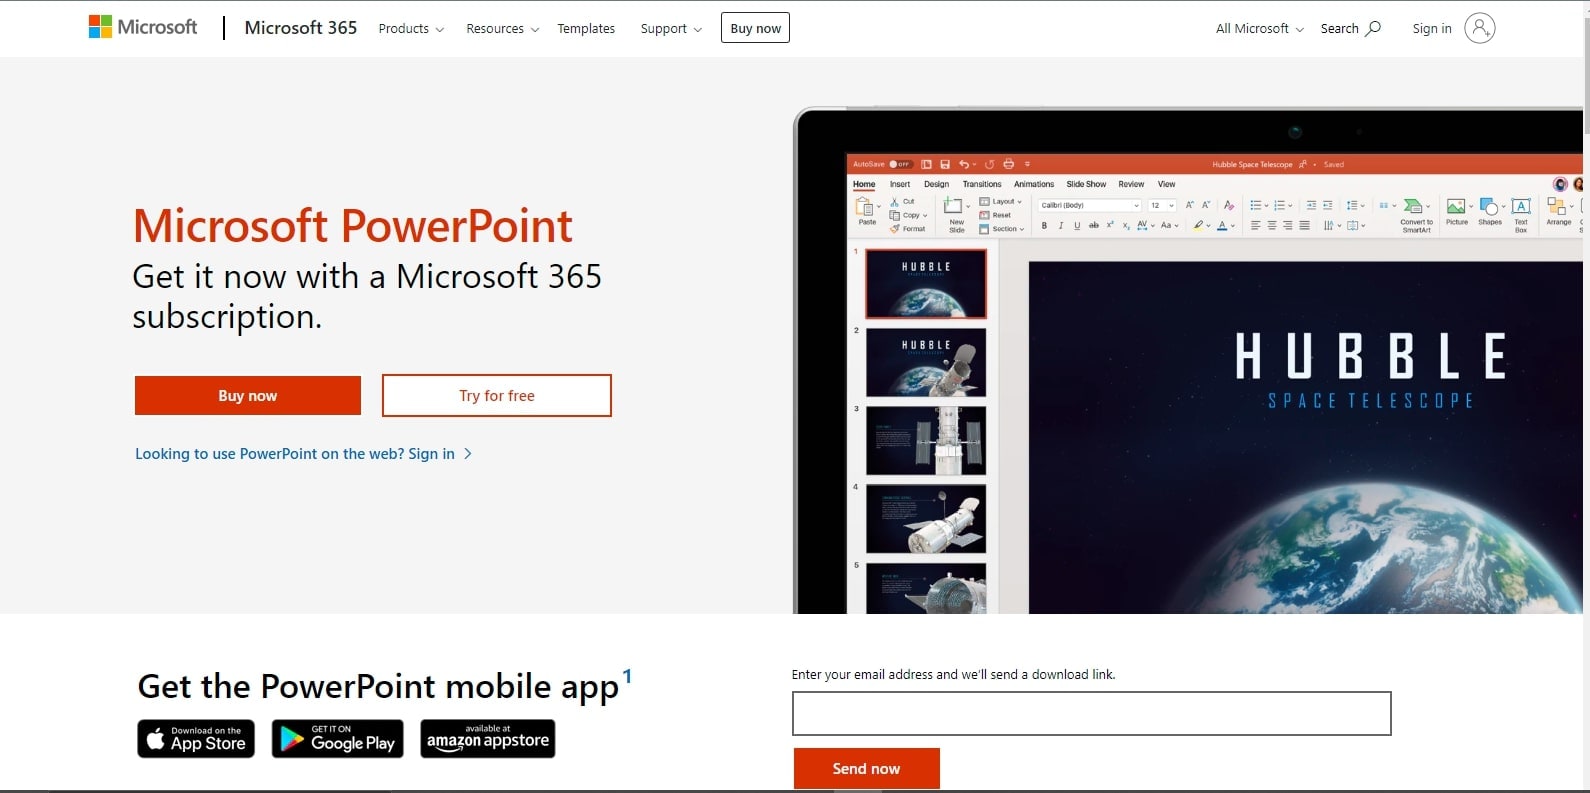
Microsoft PowerPoint is a slide-based presentation tool included with Microsoft's Office 365 subscription. Both teachers and students can use it to create slideshows.
PowerPoint allows users to exchange presentations both live in the room and digitally online using a video conferencing interface. Students can also do a presentation on their own time, making this a versatile method of communication.
PowerPoint comes up with a powerful built-in screen recorder. There are many things that PowerPoint's screen recorder cannot accomplish that more powerful screen recording applications can, but that's the beauty of it—ideal for quick, no-fuss recording.
Features
- PowerPoint's design capabilities allow you to change the style and format of the slides.
- PowerPoint usually comes with a variety of preloaded themes from which to choose.
- When printing out presentation slides, you can add presenter notes beside each slide as supplementary information using PowerPoint's built-in notes tool.
- Powerpoint has an integrated screen recorder; one can record and add the video to the presentation without hassle.
- PowerPoint is fully interoperable with the rest of the Microsoft Office suite; you may export slides to Word documents or utilize Excel charts in your presentations.
- Microsoft Powerpoint is compatible with Windows and Mac OS.
Pros
Creating follow-along handouts is an easy process with Powerpoint.
It is reasonably priced for the majority of professionals.
Cons
Boring and repetitive Templates.
6. OBS Studio
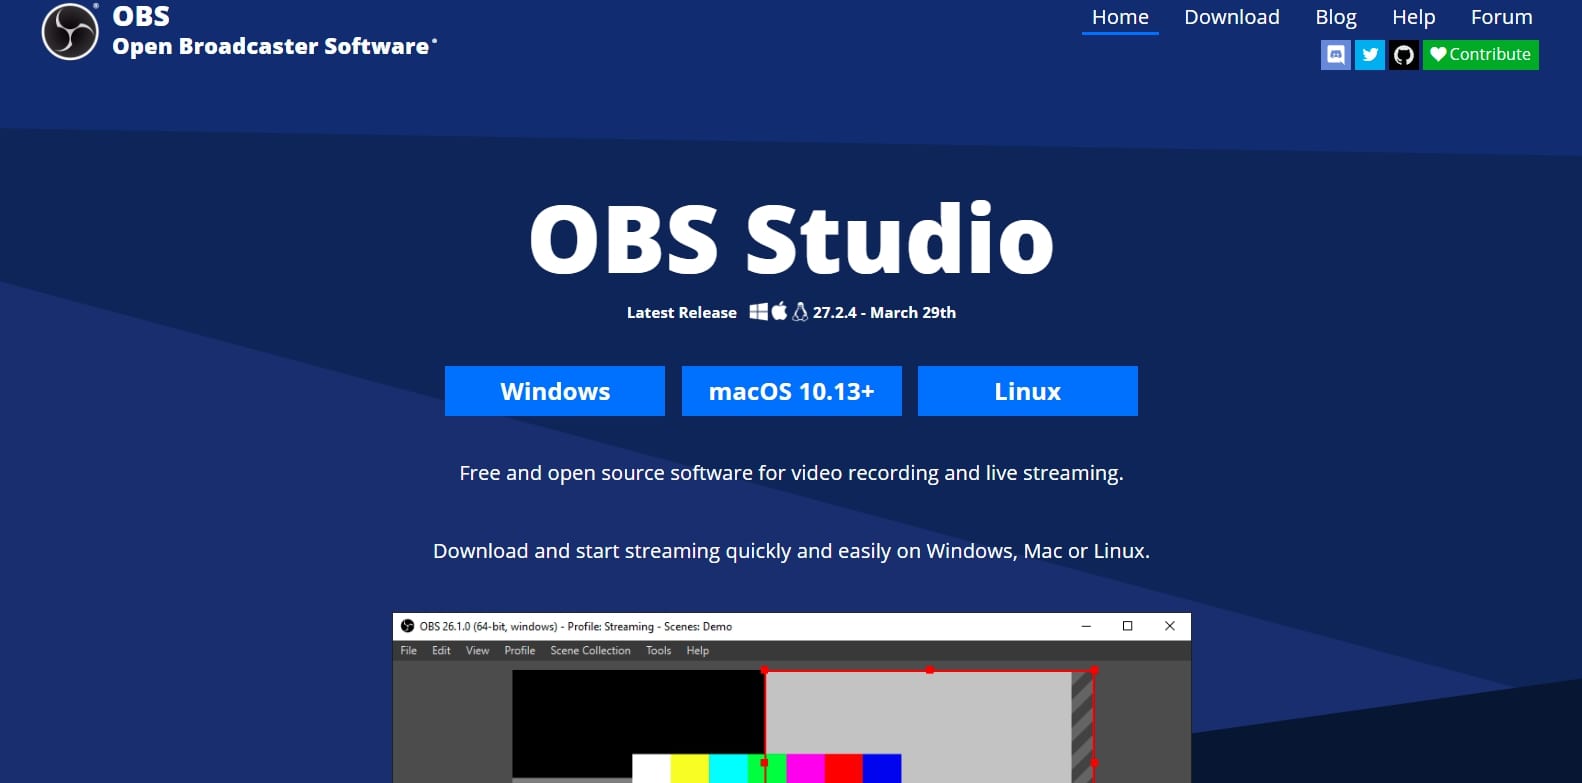
OBS Studio is a Windows, Mac, and Linux-compatible on-premise video recording and live-streaming solution. Users can capture real-time audio and video information with OBS Studio. The editing capabilities allow users to mix specific audio and recordings when working on interactive video projects.
OBS Studio allows users to produce videos from various sources/media, such as browser window grabs and recordings, submitted photographs, text annotations, camera videos, and more.
Features
- You may record the specific game you are playing using the game capture tool, which is also helpful in recording windows that the window capture option can't record.
- The video capture device will add your webcam or capture card as a video source.
- Display Capture allows you to add your monitor as a source and capture your full work screen. You can select the display to capture and toggle the visibility of your cursor.
- You can add several image kinds to your scene using the Image source. You don't have to worry about that because almost any image format is supported.
- With the Media source, you can add a variety of various media kinds directly to your stream.
Pros
Free to download and use.
High-quality output.
Cons
Beginners may face difficulty in using the software.
7. EaseUs RecExperts
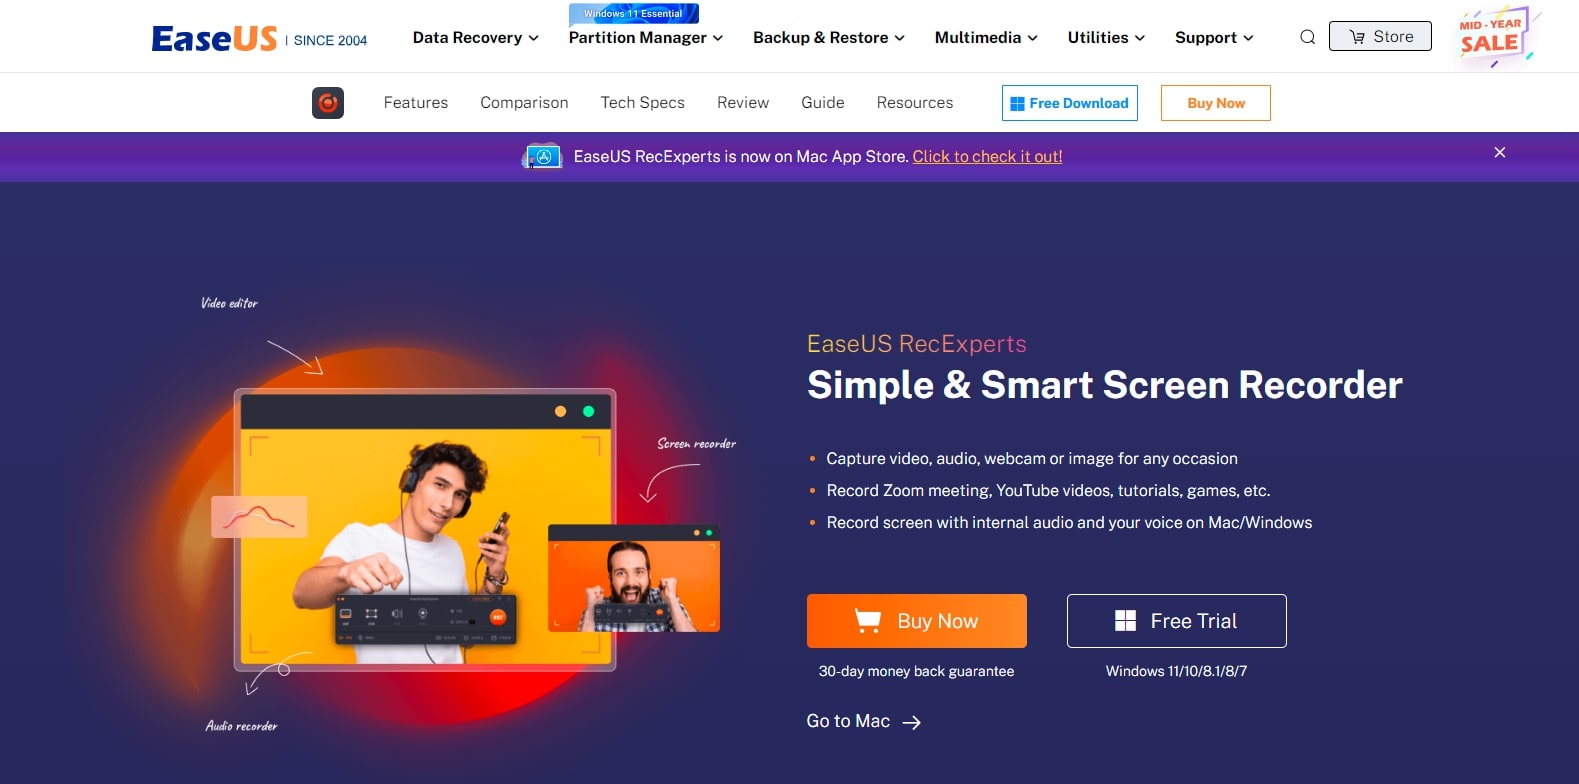
EaseUS RecExpert is a user-friendly and powerful screen recording software for Windows and Mac. Screen recording is a breeze with its simple UI and several screen capture choices.
This software allows users to record video and audio from their computer or camera easily. This software is ideal for capturing Zoom meetings, webinars, YouTube videos, streaming videos, and various other events.
Features
- Schedule a screen recording to begin at a predetermined time.
- While recording the screen, add text, lines, and arrows.
- Remove background noise and improve audio quality.
- Video compression without sacrificing video quality.
- Customize the settings to record any portion of the PC screen.
- Capture the screen, audio, webcam, and gameplay.
- Save recorded video/audio to one of ten different formats.
Pros
You can shorten a video, add a watermark, and do other things with advanced editing.
With free trial users can record on
Cons
Limited editing features.
8. Nvidia Share
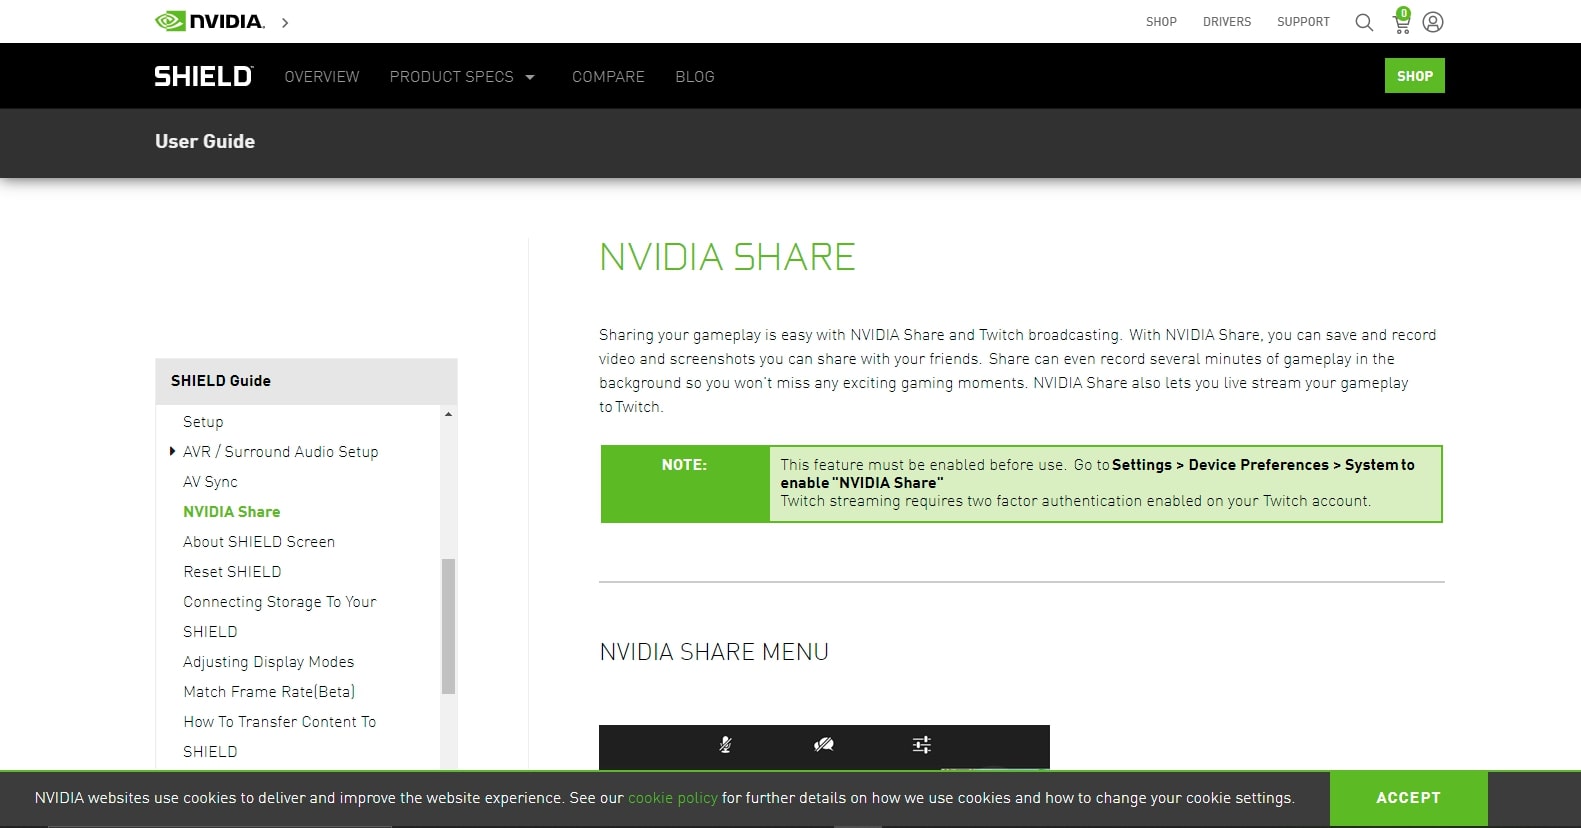
Nvidia has been one of the most excellent video game broadcasting and recording tools for many years. This screen recording software is included in the basic gaming setup used by some of the world's most prominent gamers.
The release of the new GeForce Experience, which comes with the GeForce GTX graphics card and updates the drivers, has resulted in a new look for the well-known ShadowPlay software, which is now known as the Nvidia Share.
Features
- Instant Replay and Record.
- Improved Broadcasting capabilities.
- Share your gameplay with your friends.
Pros
In-Game screenshot capture with 4k upload.
Cons
We could not find any disadvantage in Nvidia Share.
How to use UniConverter to Screen record on Windows 10?
Let's learn to record screen using Wondershare UniConverter;
Step 1 Launch Wondershare UniConverter
Download and launch the Wondershare UniConverter on your personal computers. On the left pane, click on "Screen Recorder." Click on the Screen recorder function to begin recording.
Step 2 Select the Capture area and Audio sources
Open the Tab that you want to record and then set the recording area by dragging the cropper. Below the cropper, click on the drop-down, choose Custom, and select the region to record; choose the full-screen mode if you wish to record the entire screen. You can also manually input the width and height for the recording area.

Select Microphone or system's internal mic by clicking the drop down of "Microphone."

Step 3 Enable the Webcam
If you want to record yourself while recording your desktop activity, then click on "Webcam" and select the camera in the drop-down. A window will pop up where you can set the output resolution.

Step 4 Start Recording
Once you are done with adjusting the settings, click on the red "Rec" button to start recording. On the count of three the recording will begin.
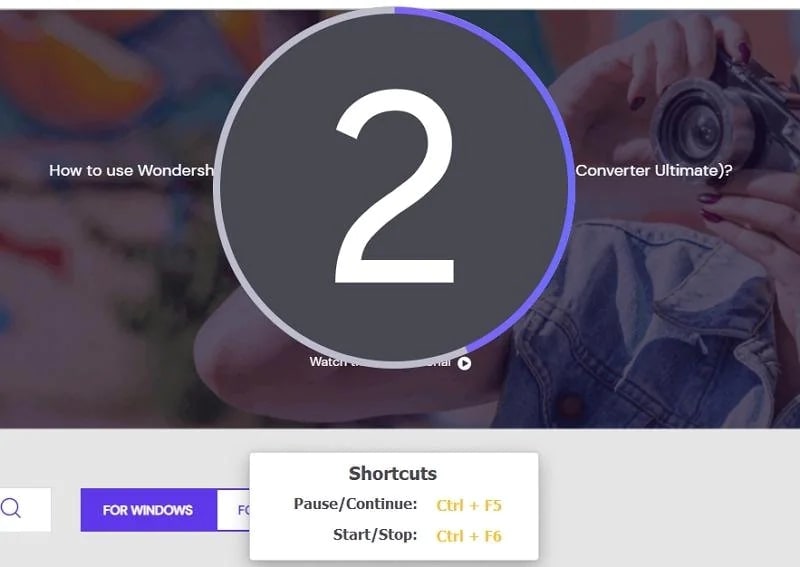
Step 5 Stop Recording & Preview

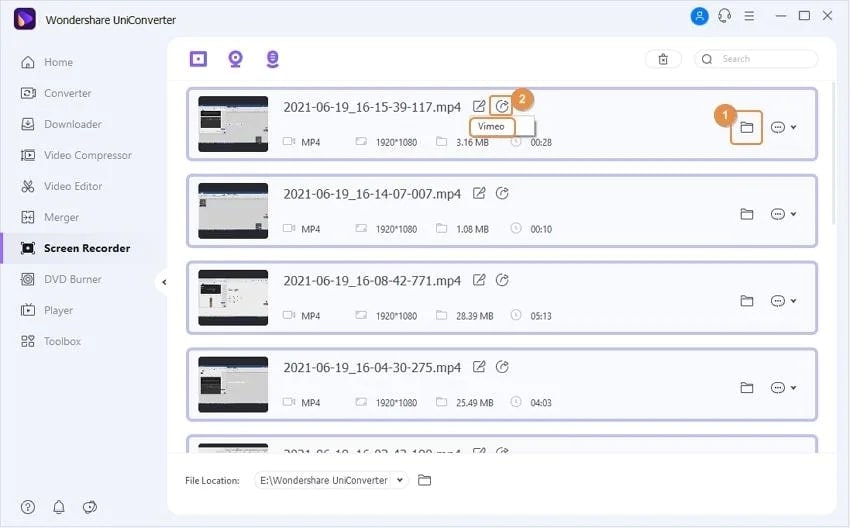
After you have done the recording, press the stop to finish the recording. The screen recording function will automatically close; hit the open button to preview your video.
Conclusion
Windows 10 Built-in Game bar is limited and sometimes lacks in recording; for professional video recording and editing, you need to download a potent software that can fulfill all your video needs, just like the Wondershare UniConverter, as this software is an all-in-one shop for all video problems, packed with exciting features and designed with an intuitive and appealing interface for excellent user experience.

