Are you an avid player of PlayStation 4? Well, you can record and share your gaming skills with other gamers on platforms like YouTube, Vimeo, Twitter, Facebook, etc. But in order to do that, you must learn how to record gameplay on PS4. Luckily, PS4 has an inbuilt recorder that lets you capture HD quality footage before directly sharing it on YouTube and other apps. But because the PS4 record gameplay feature has limited recording time and editing capabilities, you might need a professional game recorder for desktops. Keep reading to learn how to capture PS4 gameplay via two simple methods.
In this article
Part 1. Notice in advance
You don't need a third-party program for PS4 recording gameplay. That's because this gaming device has its own built-in game recorder to record the last 60 minutes of your gaming session. This footage is usually saved in the console's video cache. Just double-tap the "Share" button and start recording the video.
Besides recording videos, PS4 can trim the captured video to remove unwanted scenes. This can also come in handy for some social platforms like Twitter, TikTok, Likee, and Discord which have file size and duration limits. For example, Twitter users can upload a maximum of 2-minute videos.
Another exciting feature of PS4 is the ability to upload videos on social apps like YouTube and Facebook directly. Just open the video gallery by clicking "Upload Video Clip" and choose Facebook, Twitter, or YouTube. You can also give your video a befitting title and description before sharing. And another thing, you can copy the gaming footage on a USB drive and transfer it to your computer for further editing.
Part 2. How to record gameplay on PS4
The good thing about recording a PS4 video directly on the console is that you don't necessarily need a capture card. So, the primary thing you'll need to record video on PS4 here is your PlayStation4 and a monitor. Remember that you might also need a third-party microphone if you want to add commentary to your gaming video. Let's do it!
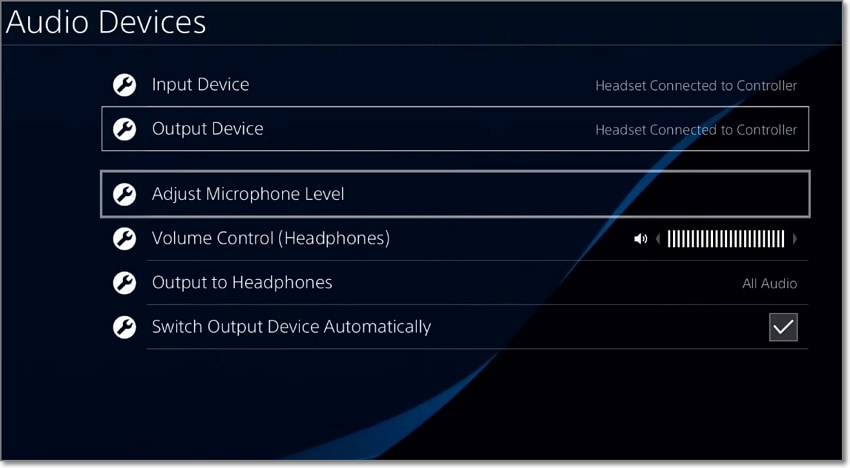
Step 1. Let's first connect our microphone to the gaming console. To do that, plug in your mic and tap Settings > Devices > Audio Devices. Ensure the Input Device is the microphone you've plugged in. You can also adjust the microphone volume level, quality, and more.
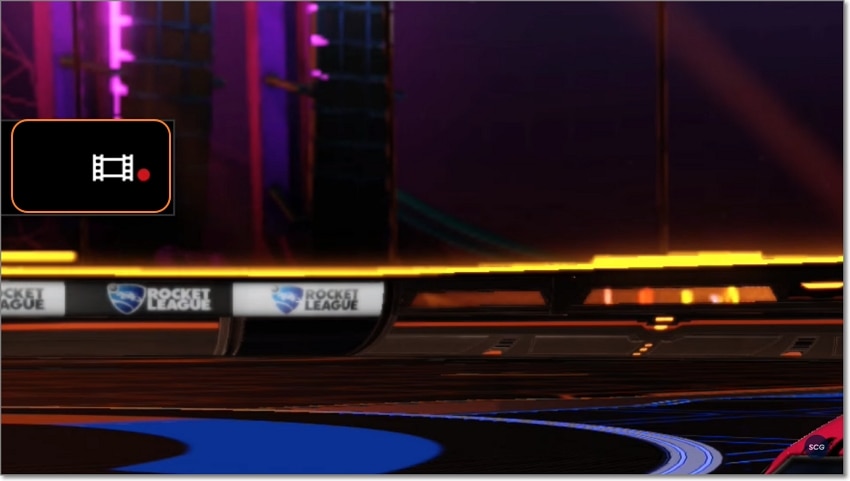
Step 2. Now that you're ready to record, launch the PS4 game and double-tap the Share button on your controller. When you do that, you'll see a film icon on the left side of the screen, indicating that you're now recording the gameplay. After capturing enough content, double-tap the Share button and save the video in Capture Gallery. That's all!
Part 3. How to record PS4 gameplay with PC
Another way to record PS4 gameplay is using a PC capture card. This method allows you to capture unlimited video duration and record every part of your gaming screen. Also, capture cards will enable you to set higher resolutions on your PC, with most of them supporting 4K videos. However, high-quality capture cards like Elgato will cost $100 or more.
Meanwhile, most capture cards will only stream the gameplay on your computer screen. Therefore, you'll need a professional game screen recorder like Wondershare UniConverter to capture the gaming session. This software is straightforward and allows users to record MP4, AVI, and FLV videos. Most importantly, you can capture PS4 gaming videos with microphone commentary and a picture-in-picture overlay.
UniConverter also allows you to customize and highlight the gaming video with annotations. You can add drawings, shapes, arrows, texts, and more. After recording the video, you can edit it by trimming, cropping, applying effects, adding filters, applying motion effects, and more. And lest I forget, users can convert the recorded PS4 video to YouTube, Vimeo, Dailymotion, TikTok, etc.
Here's how to screenrecord PS4 on a PC with a capture card. But before connecting anything, go to Settings > System. Now disable the Enable HDCP checkbox. Now follow me:
Step 1 Connect the recording hardware.
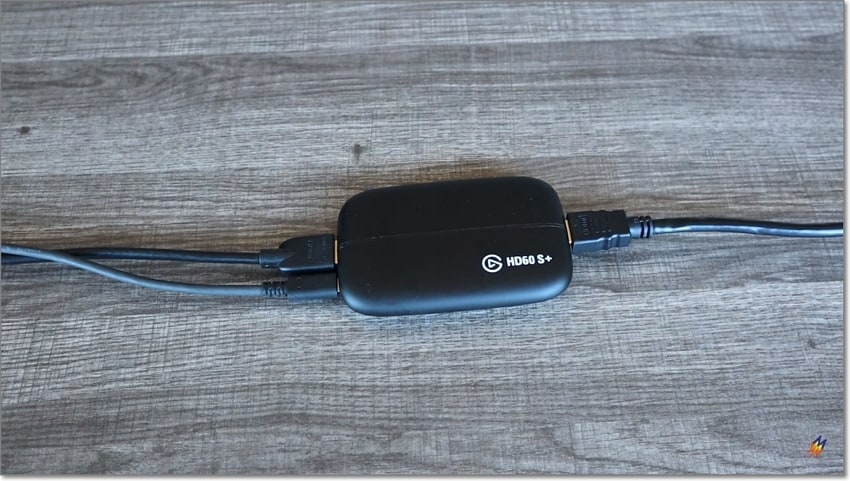
First, plug in an HDMI cable to your capture card's "HDMI in" port and the other end of the cable to your PlayStation 4. Now grab another HDMI cable and connect it to the "HDMI out" port and the other end to your monitor. After that, connect your computer to your capture card using a USB-C cable. Once all wires are connected successfully, your PS4 signal will automatically display on your computer screen.
Step 2 Install and run Wondershare Screen Recorder.
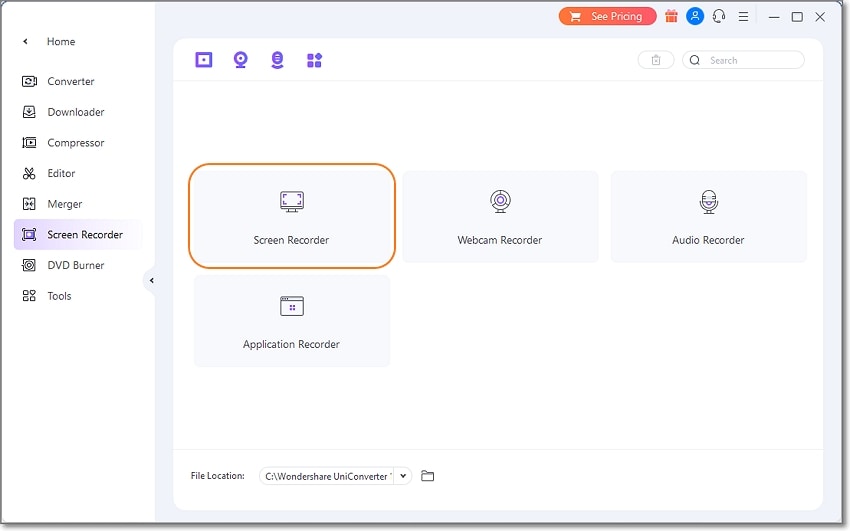
Now that connection is successful, install and run Wondershare UniConverter on your PC. After installing this screen recorder, tap Tools on the left menu bar and run the Screen Recorder function. You'll also see an audio recorder, application recorder, and webcam recorder.
Step 3 Customize the recording settings.
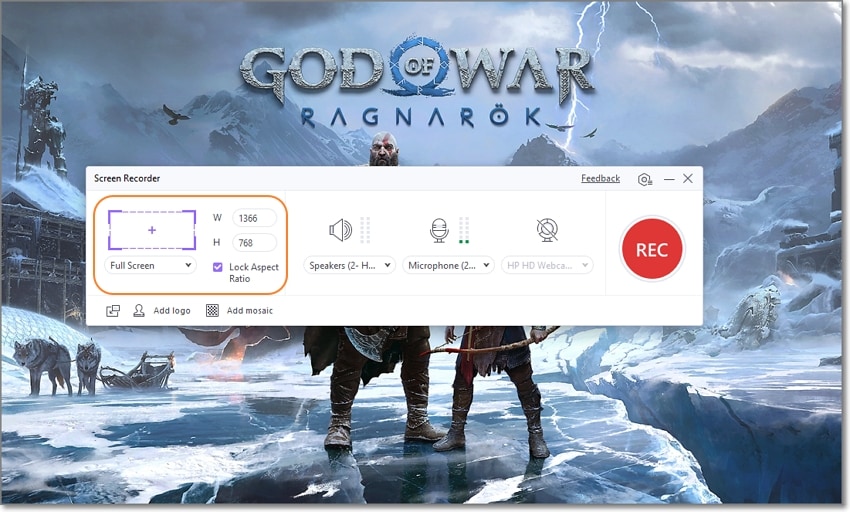
Do you want to record the entire PS4 gameplay screen or part of it? In that case, set the recording mode as Custom or Full Screen. Remember to lock the aspect ratio for the best outputs if you choose the Custom mode. In the meantime, connect your microphone and webcam to add voice commentary and a picture-in-picture effect. You can also enable or disable system sound recording.
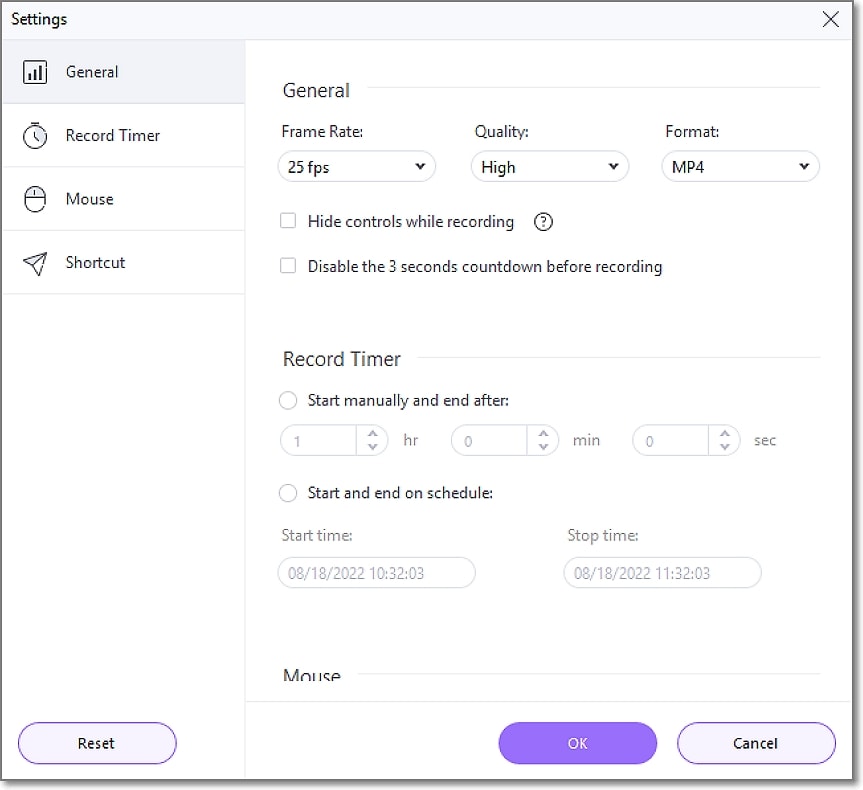
Don't stop there. Tap the Settings icon on the top-right corner of the Screen Recorder window and choose the output format, frame rate, and quality. You can also set keyboard shortcuts for seamless screen recording sessions.
Step 4 Record the PS4 video.
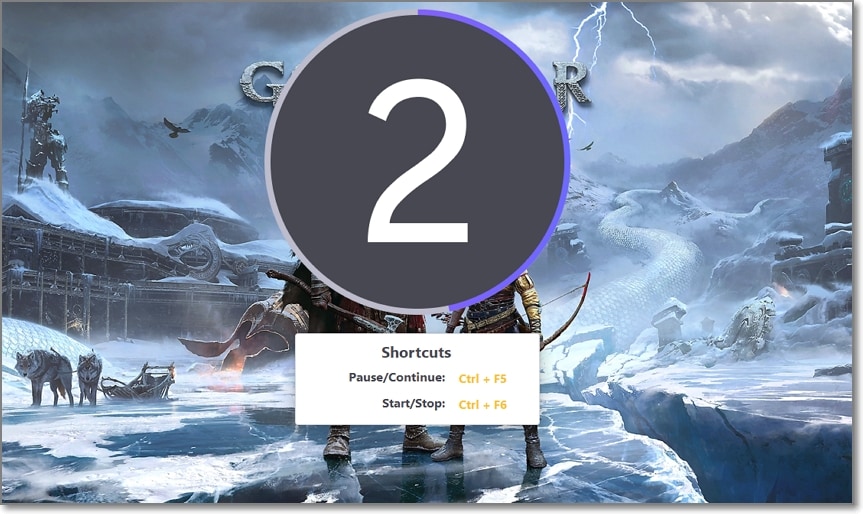
Now you're ready to record the PS4 video. To do that, tap Record and use the 3-second countdown to launch the PS4 game. You can now record any video length with Wondershare Screen Recorder. Remember to use annotations to highlight vital subjects, although you shouldn't overdo it.
Wondershare UniConverter — All-in-one Video Toolbox for Windows and Mac.
Edit videos on Mac by trimming, cropping, adding effects, and subtitles.
Converter videos to any format at 90X faster speed.
Compress your video or audio files without quality loss.
Excellent smart trimmer for cutting and splitting videos automatically.
Nice AI-enabled subtitle editor for adding subtitles to your tutorial videos automatically.
Download any online video for teaching from more than 10,000 platforms and sites.
Bonus tip: How to edit and share the recorded video on ps4?
Before sharing the video recorded on PS4, you might want to preview and edit it accordingly. Luckily, PS4 allows users to edit and export videos to platforms like YouTube, Twitter, and Facebook. Below is how to go about it:
Step 1. After recording the video, navigate to the Home window and launch the Capture Gallery. Then, select the PS4 clip that you want to edit before pressing Options to launch the playback and editing controls. Click the Trim icon to cut your video.

Step 2. If you're satisfied with the edited footage, click the Share button and tap Video Clip. In the next window, choose the social app to which you want to upload the video. For example, select YouTube before adding a title and description to your video. Finally, click Share to export the PS4 game recording.
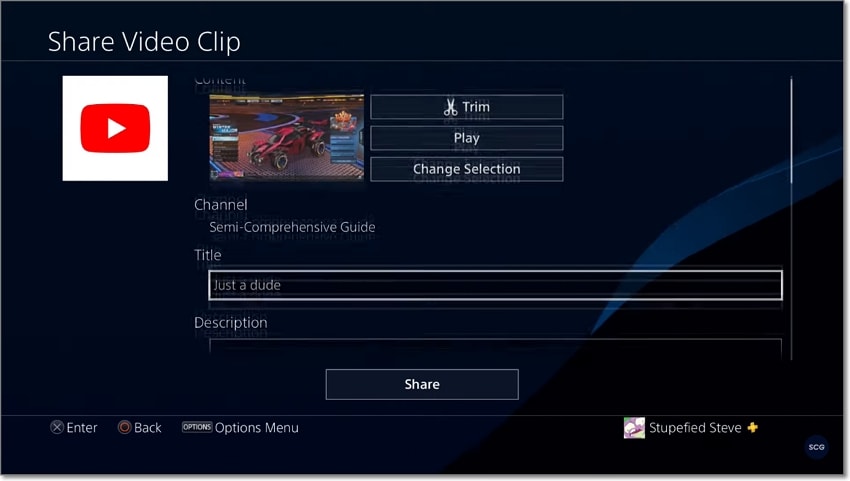
Note: You can install SHAREfactory on your PS4 console and use it to edit the recorded footage for free. It's a free editing app you can download and install from the PlayStation Store. You can add intros, outros, titles, backgrounds, transitions, stickers, etc.
Final Words
See, it's actually super simple to record PS4 game footage. Double-tap the "Share" on the game control and capture up to 60-minute videos. But due to this limitation and others like limited output presets, we recommend capturing PS4 videos on your PC using a capture card. Take note, however, that you might need to purchase hardware like a capture card device and HDMI cables.


