

In today's digital landscape, knowing how to record a PowerPoint presentation with audio is no longer just a nice-to-have skill—it is essential for educators, business professionals, and content creators.
This guide explores everything from how to record audio to PowerPoint natively to utilizing advanced tools like UniConverter to record PowerPoint presentation with audio and video. We will aprovide a comprehensive roadmap to mastering your next presentation.
In this article
Part 1. Why You Should Record Audio for PowerPoint Presentations
In an era dominated by remote work and e-learning, the ability to record PowerPoint with audio is a game-changer. A simple slide deck often fails to convey the nuance and passion of your original message. When you learn how to record audio for a PowerPoint presentation, you bridge the gap between physical presence and digital delivery, ensuring your audience understands not just what is on the slide, but why it matters.
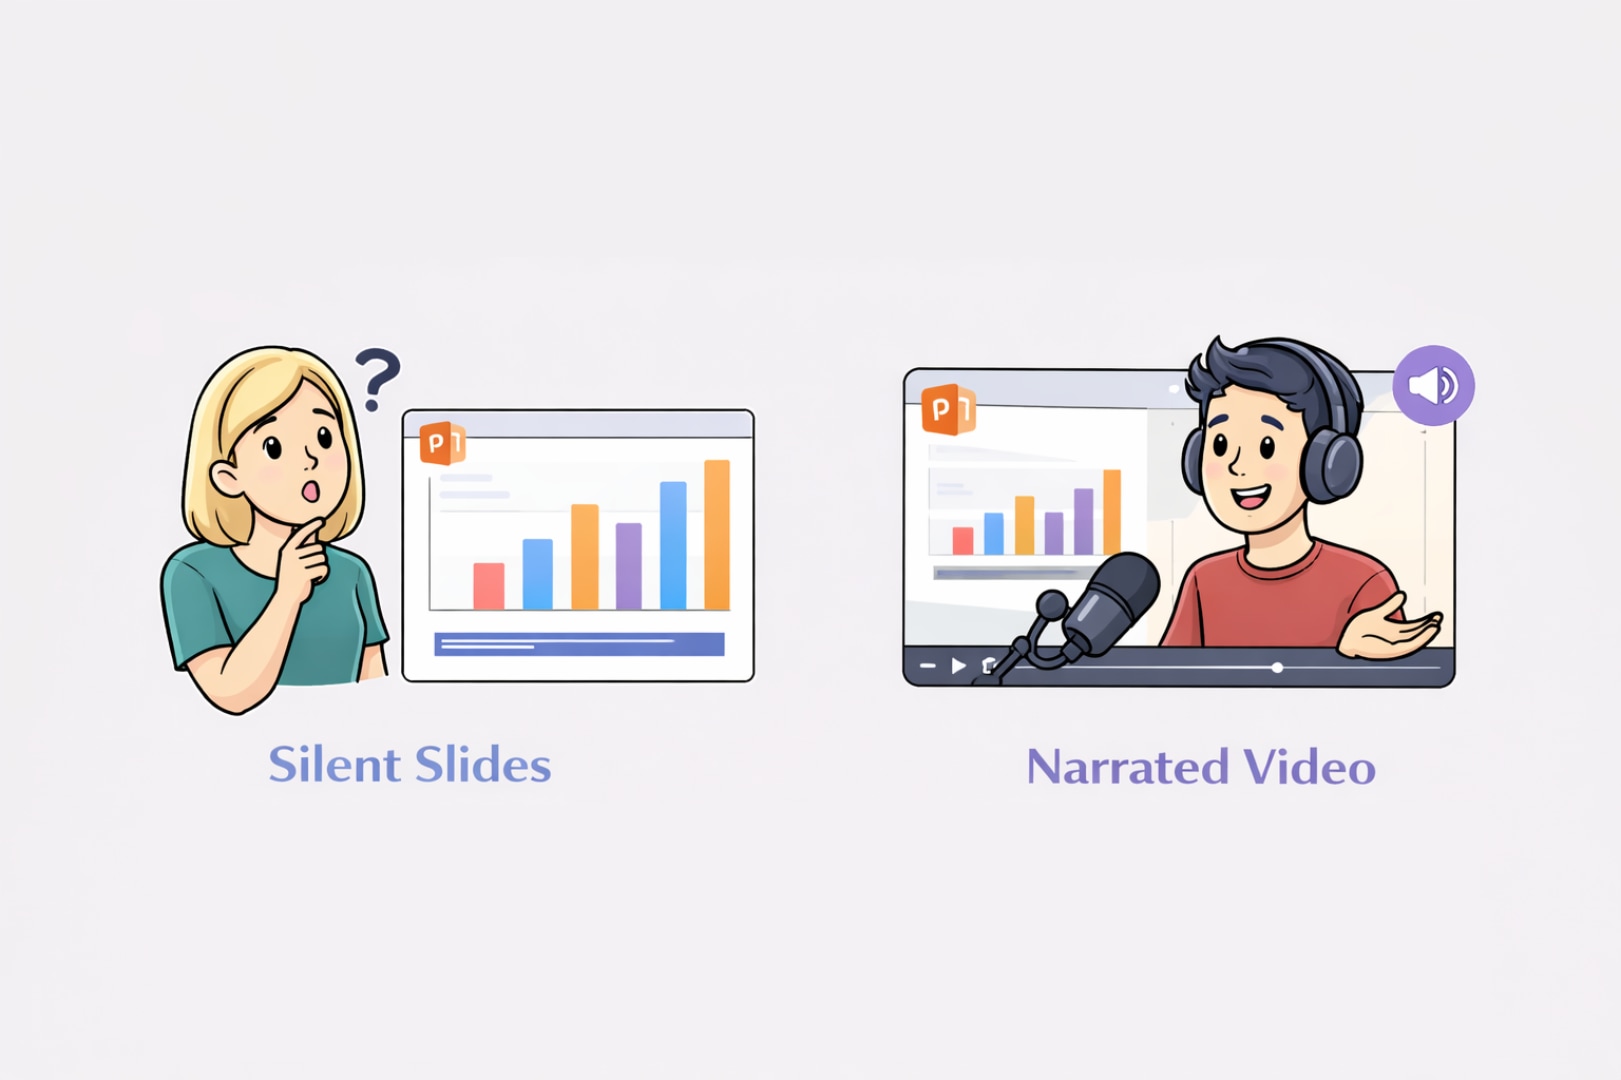
Silent Slides vs. Narrated Video: Why Audio Matters
Imagine receiving a 50-slide deck with dense text. It is tedious to read and easy to misunderstand. Now, imagine that same deck as a video where the presenter guides you through the key points. That is the power of learning how to record sound in PowerPoint.
- Enhanced Engagement: Narration keeps the viewer focused. Instead of skimming, they listen to your voice, which helps retain attention.
- Clarity and Context: Text bullets are brief summaries. Voiceovers allow you to elaborate, explain complex diagrams, and provide anecdotes that wouldn't fit on the slide.
- Accessibility: For auditory learners or visually impaired audiences, audio is crucial.
- Personal Connection: Hearing a human voice builds trust and rapport, even when you aren't in the same room.
Knowing how to record audio with PowerPoint turns a disposable document into a reusable asset. You record it once, and it can be viewed by hundreds of people at their own pace.
Part 2. Method 1: How to Record Audio to PowerPoint Natively
For many users, the first answer to "how do you do a voice over PowerPoint?" is right inside the software they already own. Microsoft PowerPoint comes equipped with built-in recording features that are surprisingly robust for basic needs. This method is ideal for quick internal updates or student assignments where high-end production value isn't the primary goal. It allows you to record PPT with audio directly within the slide interface, syncing your voice timings to specific slide transitions.
Microsoft PowerPoint is the ubiquitous standard for presentation software, used by millions worldwide for creating professional slide decks. Beyond just designing visual aids, it functions as a competent multimedia tool. Its native "Record Slide Show" feature allows users to narrate over slides, capture laser pointer gestures, and even record webcam footage. It is a convenient, accessible solution for anyone asking "How do I record a PowerPoint presentation with audio?" without needing to install third-party software immediately.
Prerequisites: Ensure your slide deck is finalized and your audio file (MP3, WAV) is recorded and saved on your device.
Step-by-Step Guide
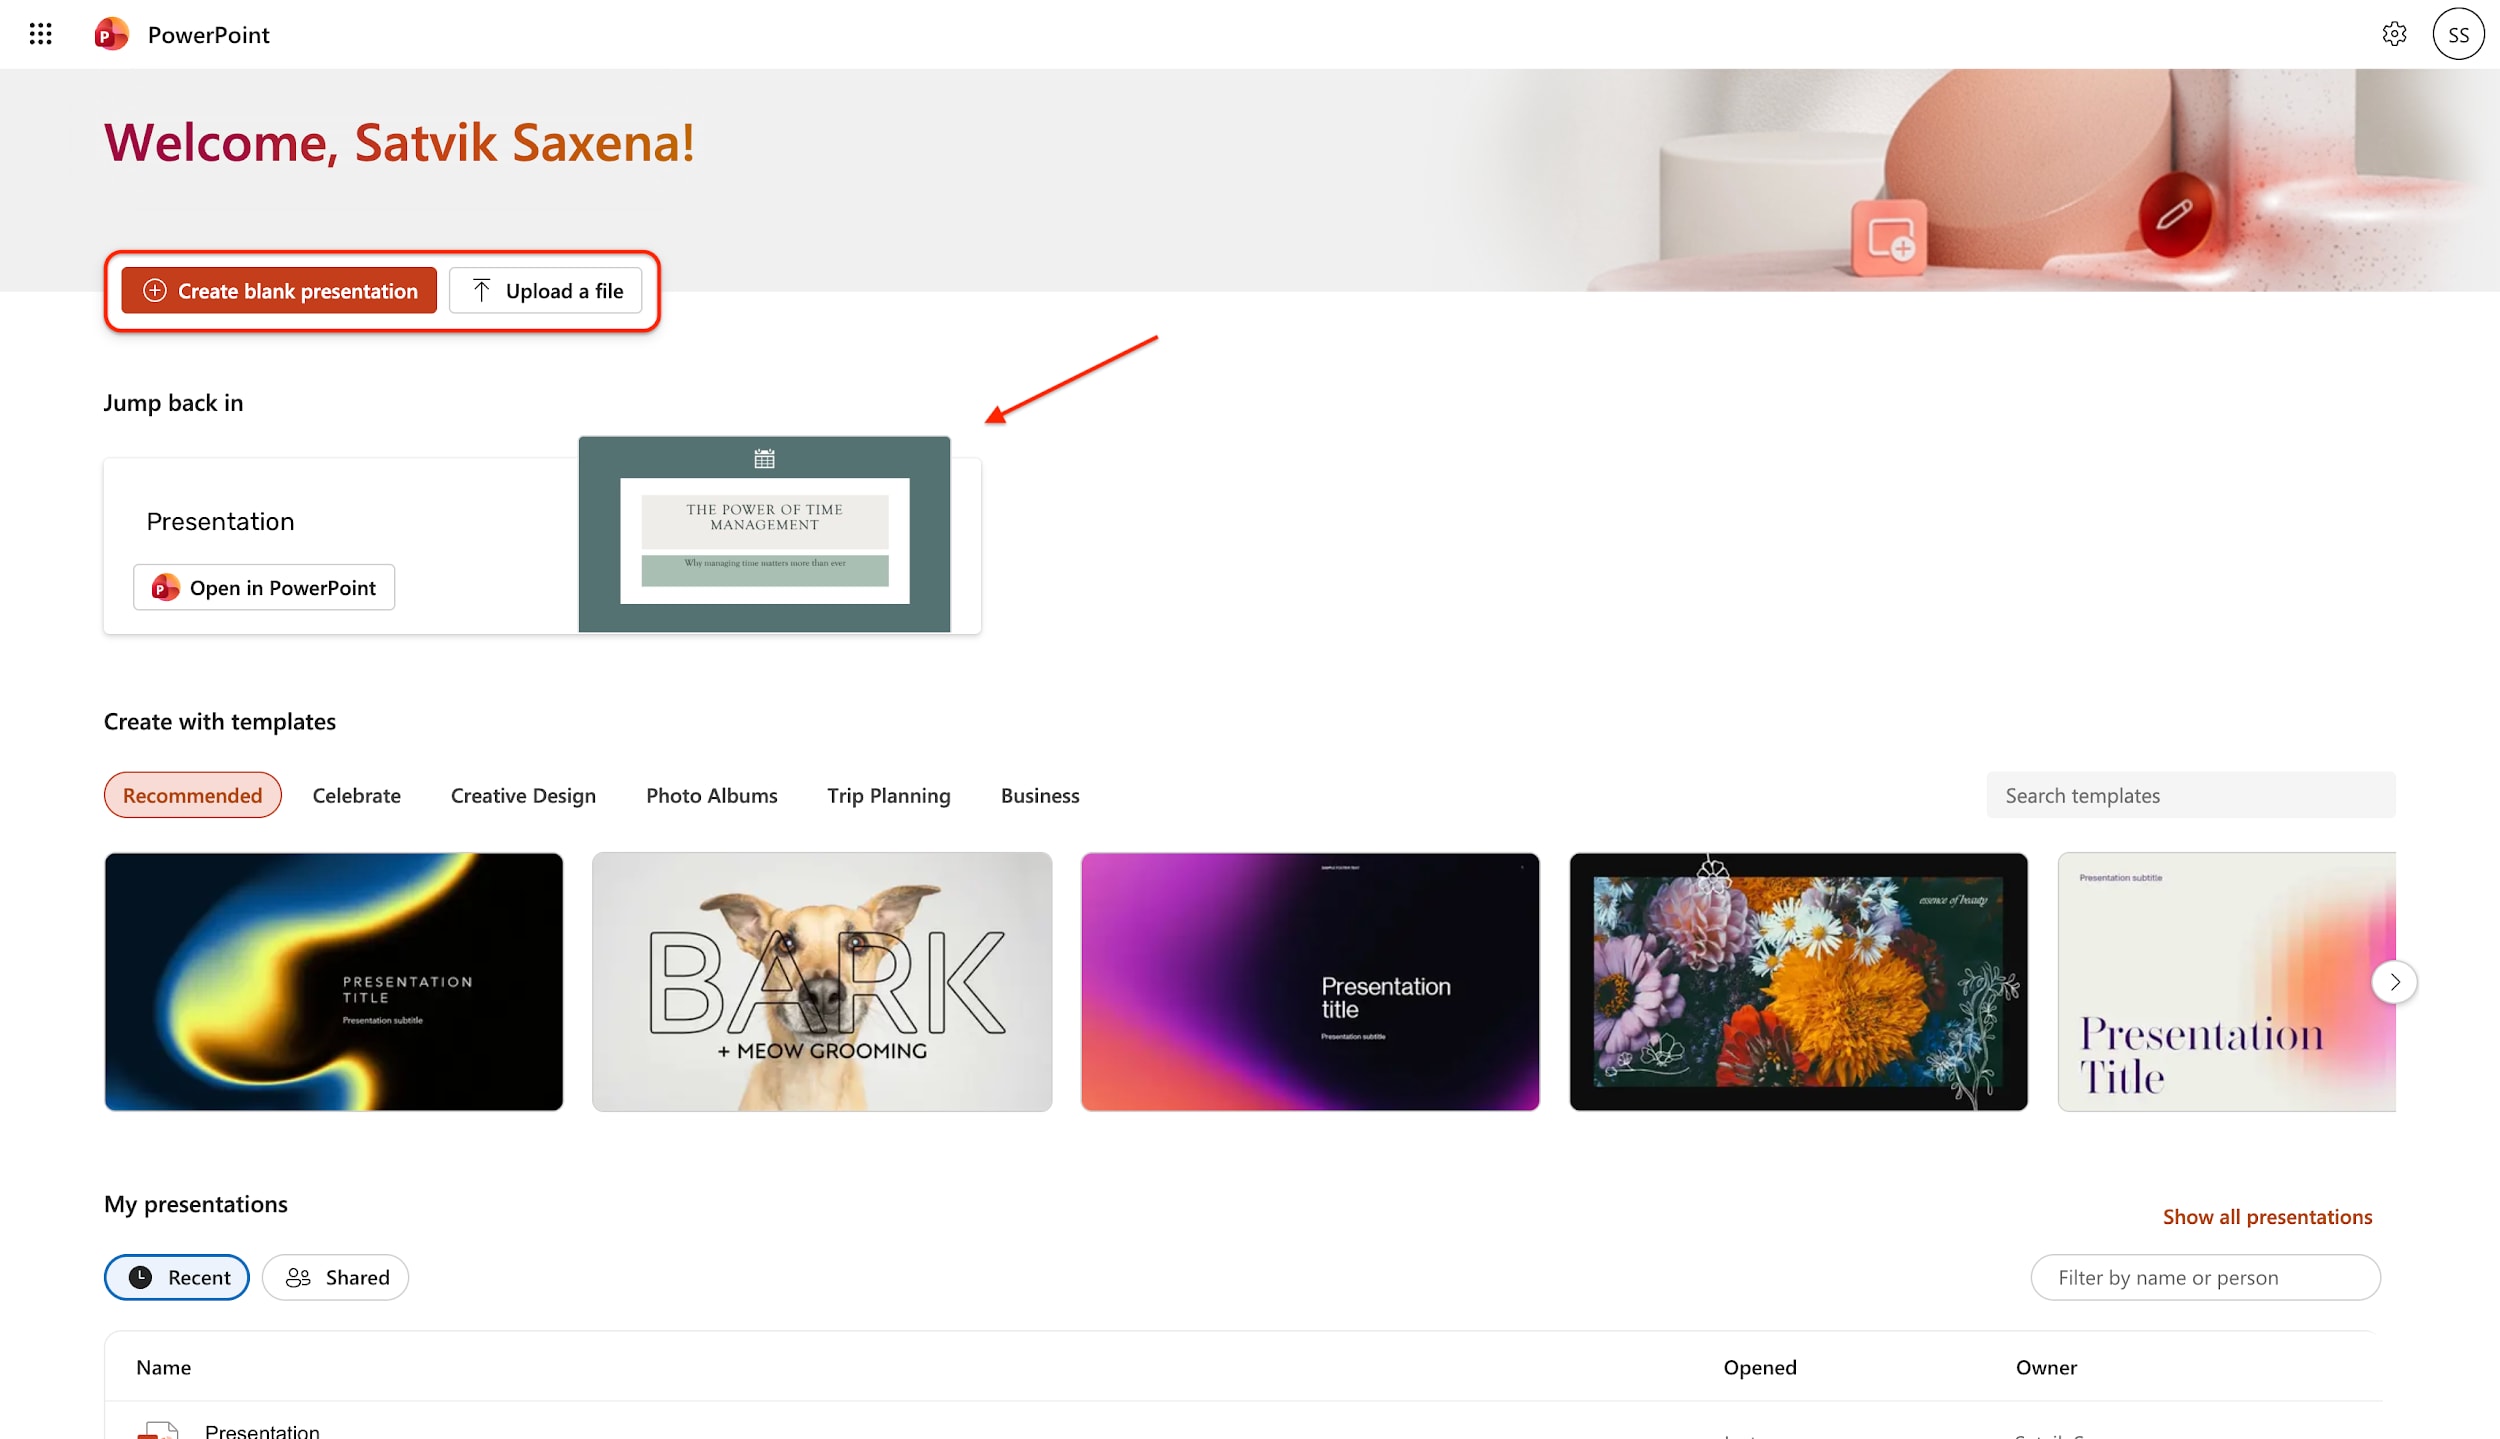
Step 1: Sign In and Open Project
Begin by signing in to your Microsoft account or signing up for free if you haven't already. On the welcome dashboard, you can click Create blank presentation to start a new project, or look under the "Jump back in" section to open the existing presentation you are currently working on.
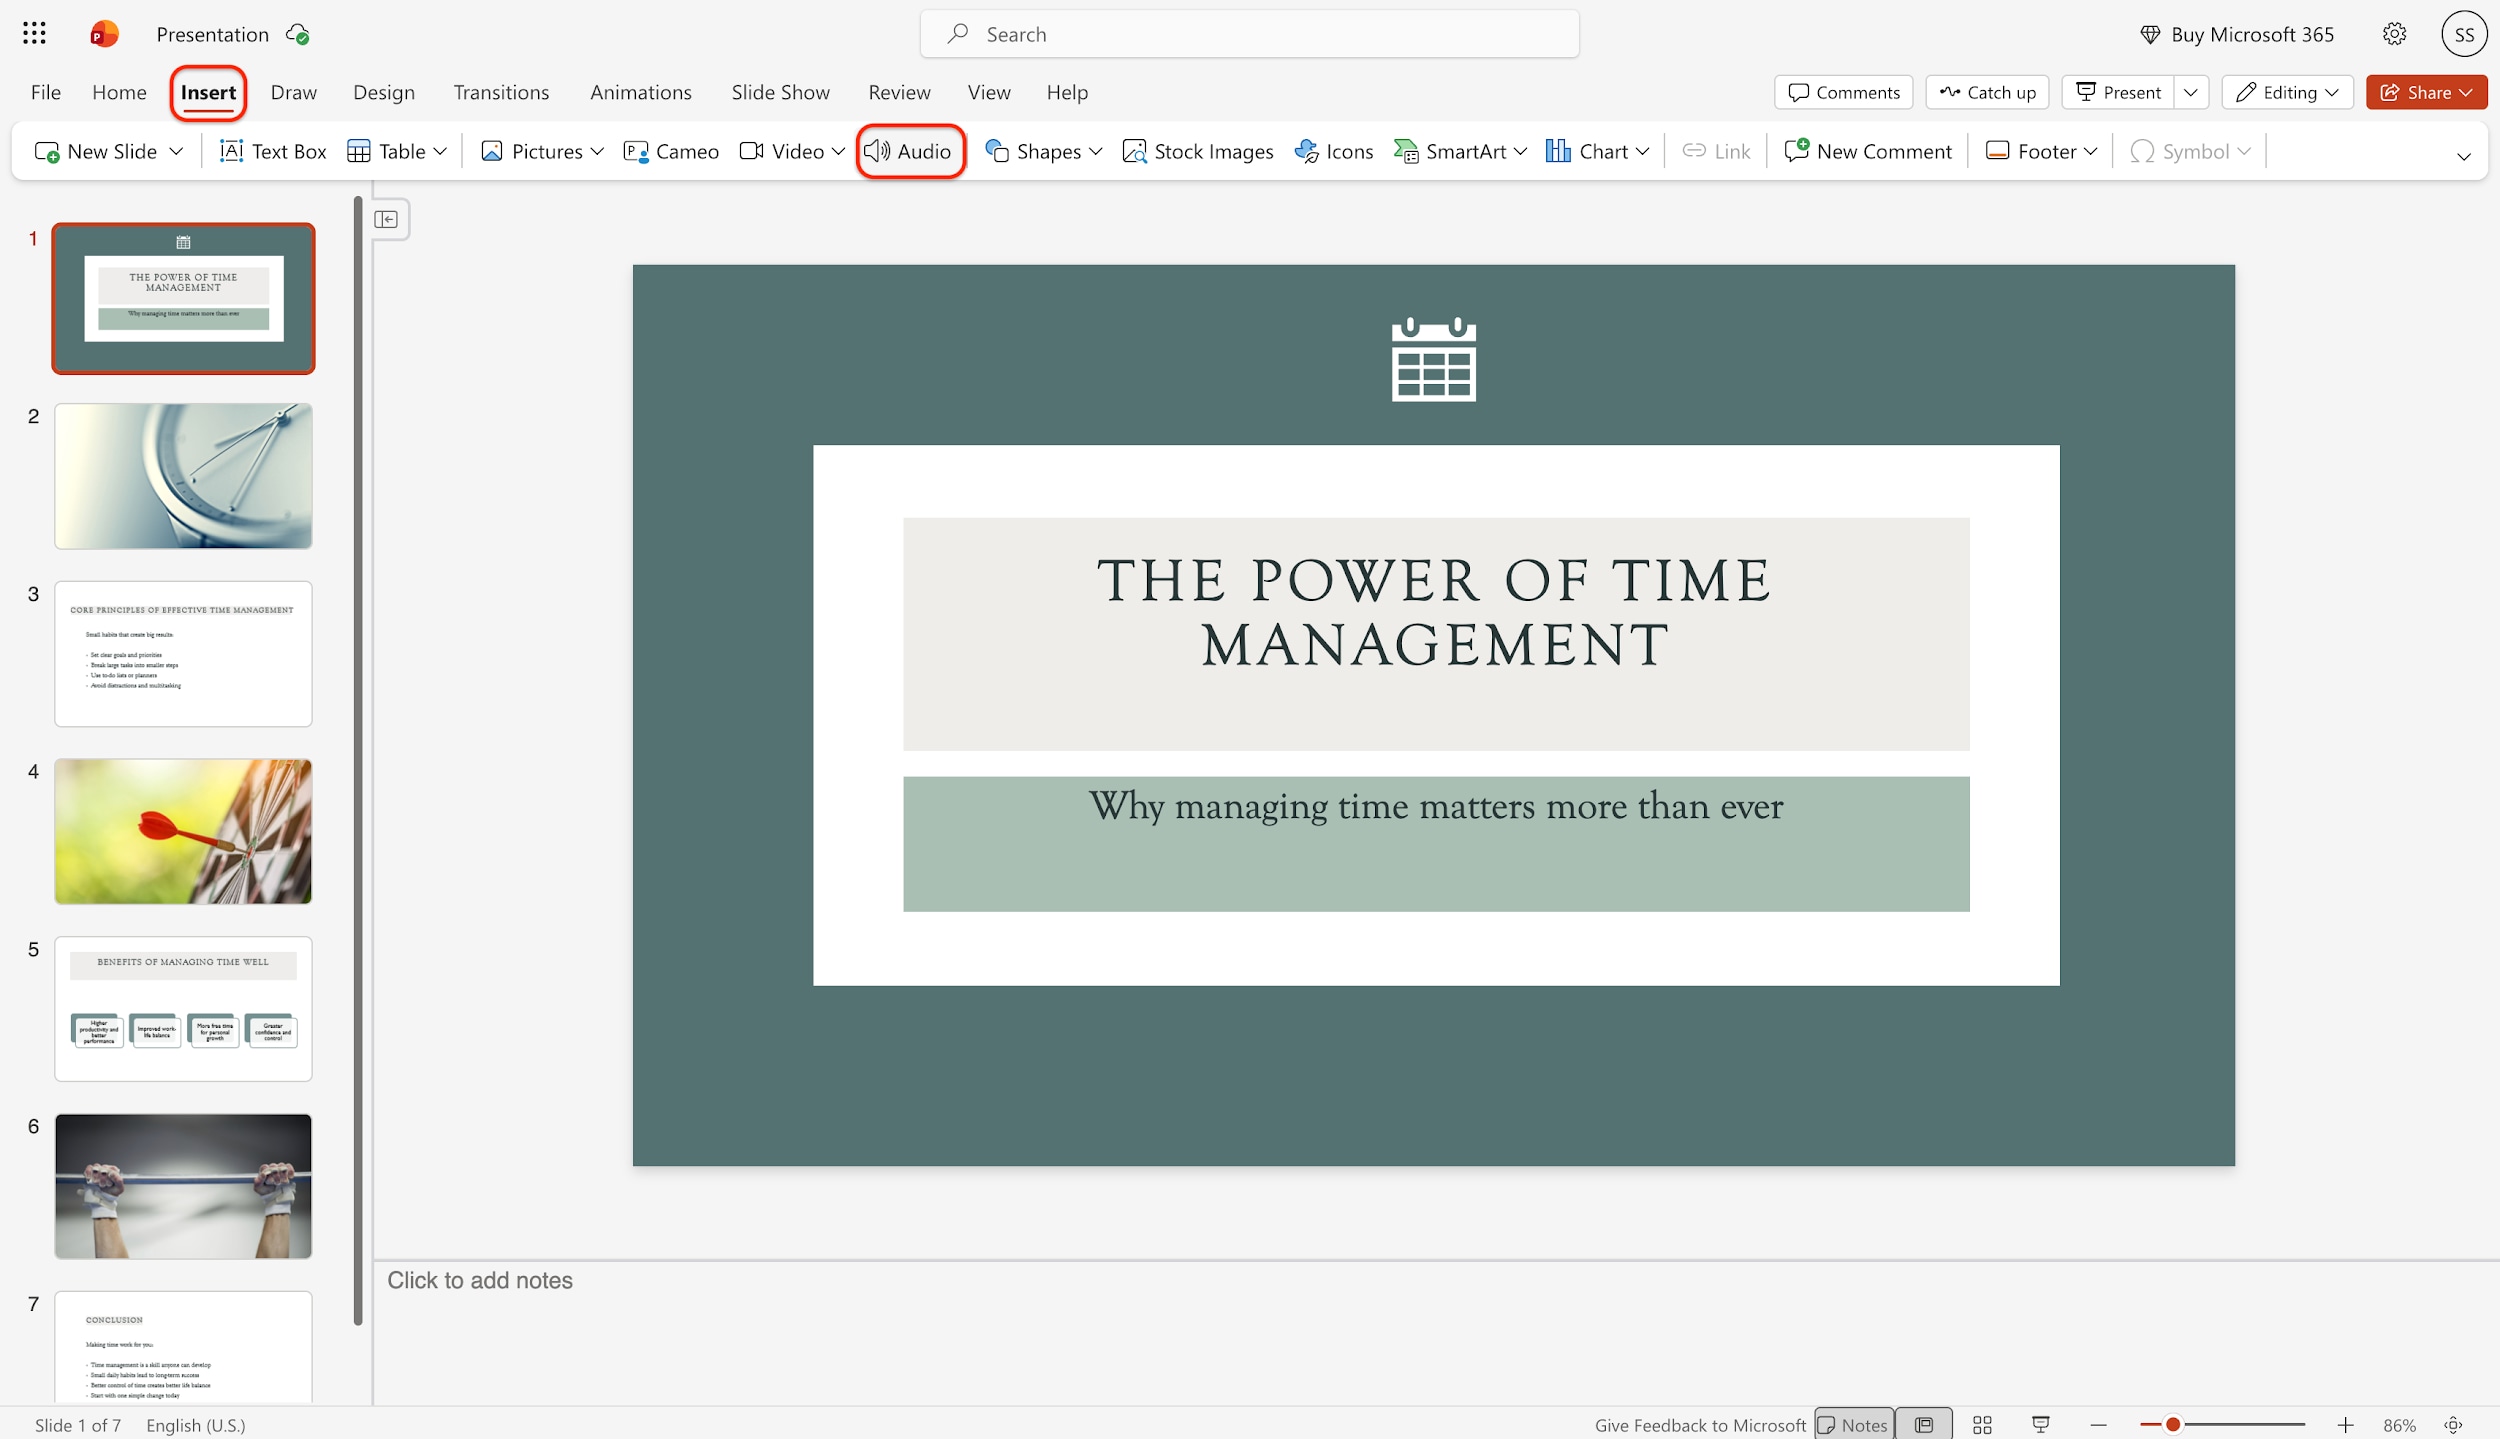
Step 2: Insert Audio File
Once your presentation content is complete, navigate to the Insert tab located on the top ribbon. Locate and click the Audio option. This action will prompt you to browse your device for a file, so ensure you have prepared and saved your audio recording beforehand.
Step 3: Configure Playback Settings
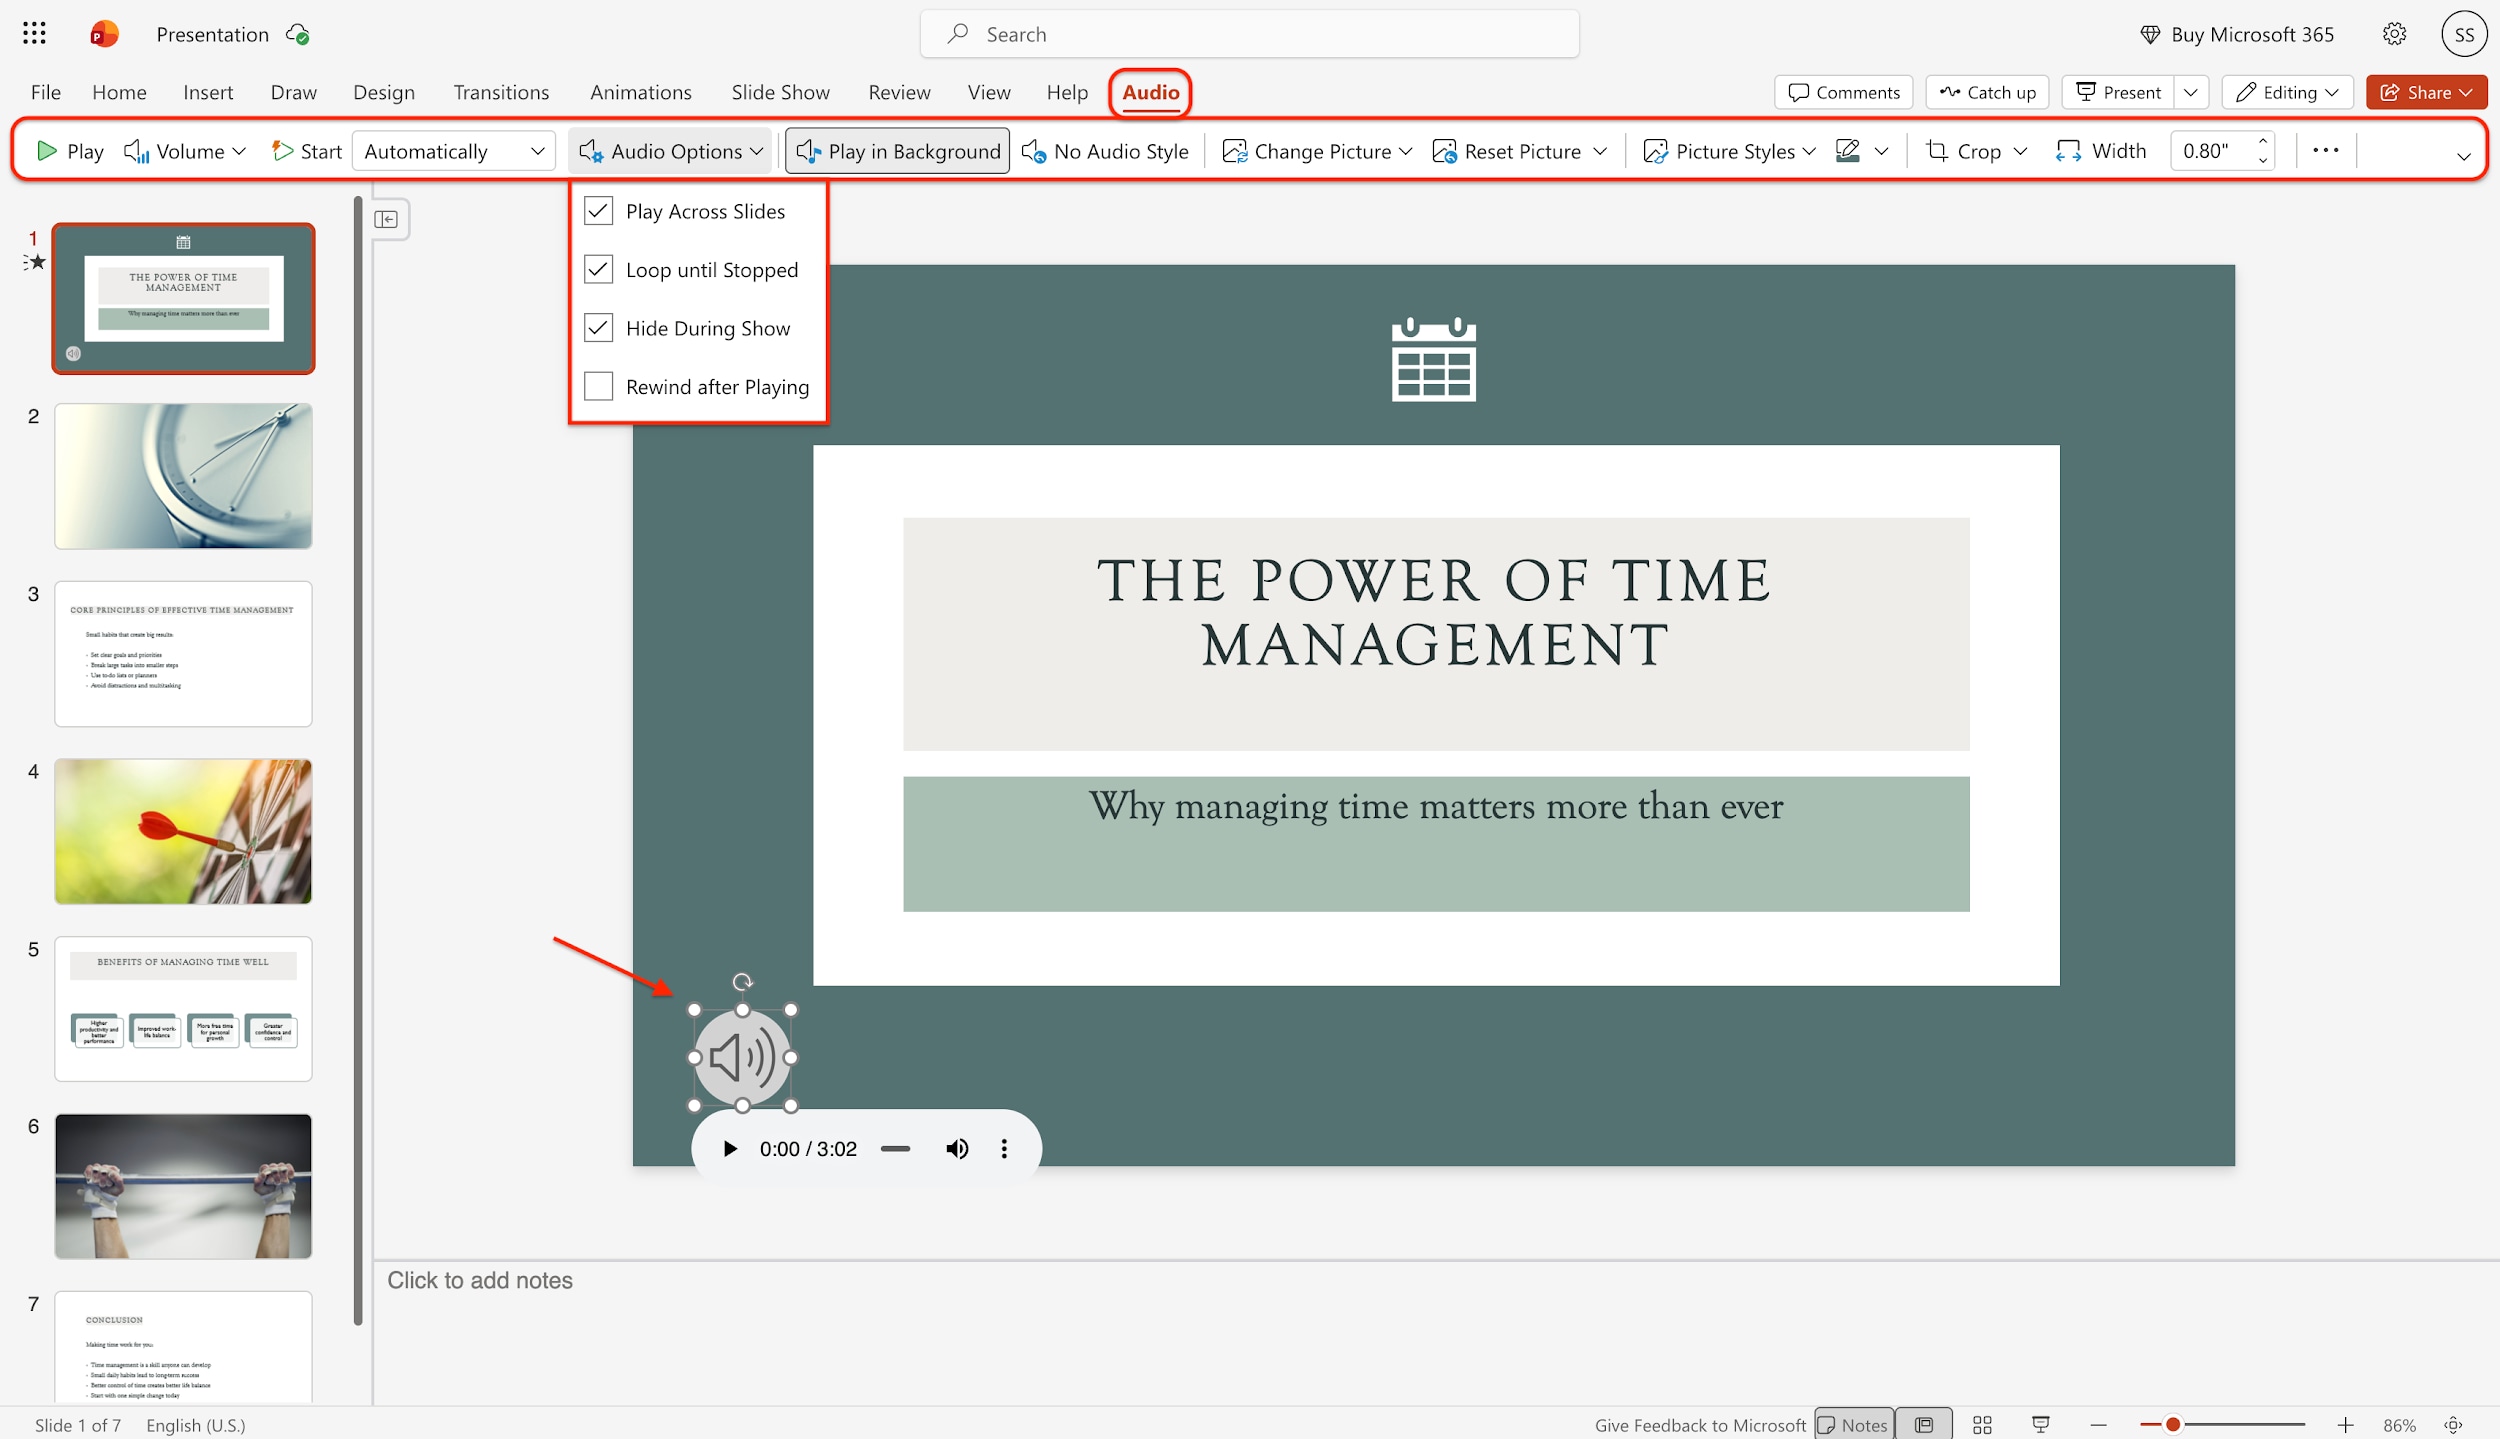
After inserting the audio, tap on the speaker icon that appears on your slide to reveal the context menu. This will open the Audio settings tab where you can customize the playback behavior. Depending on your needs, you can check options such as Play Across Slides, Loop until Stopped, Hide During Show, or Rewind after Playing to ensure the audio flows smoothly without visual distractions.
Step 4: Preview and Share
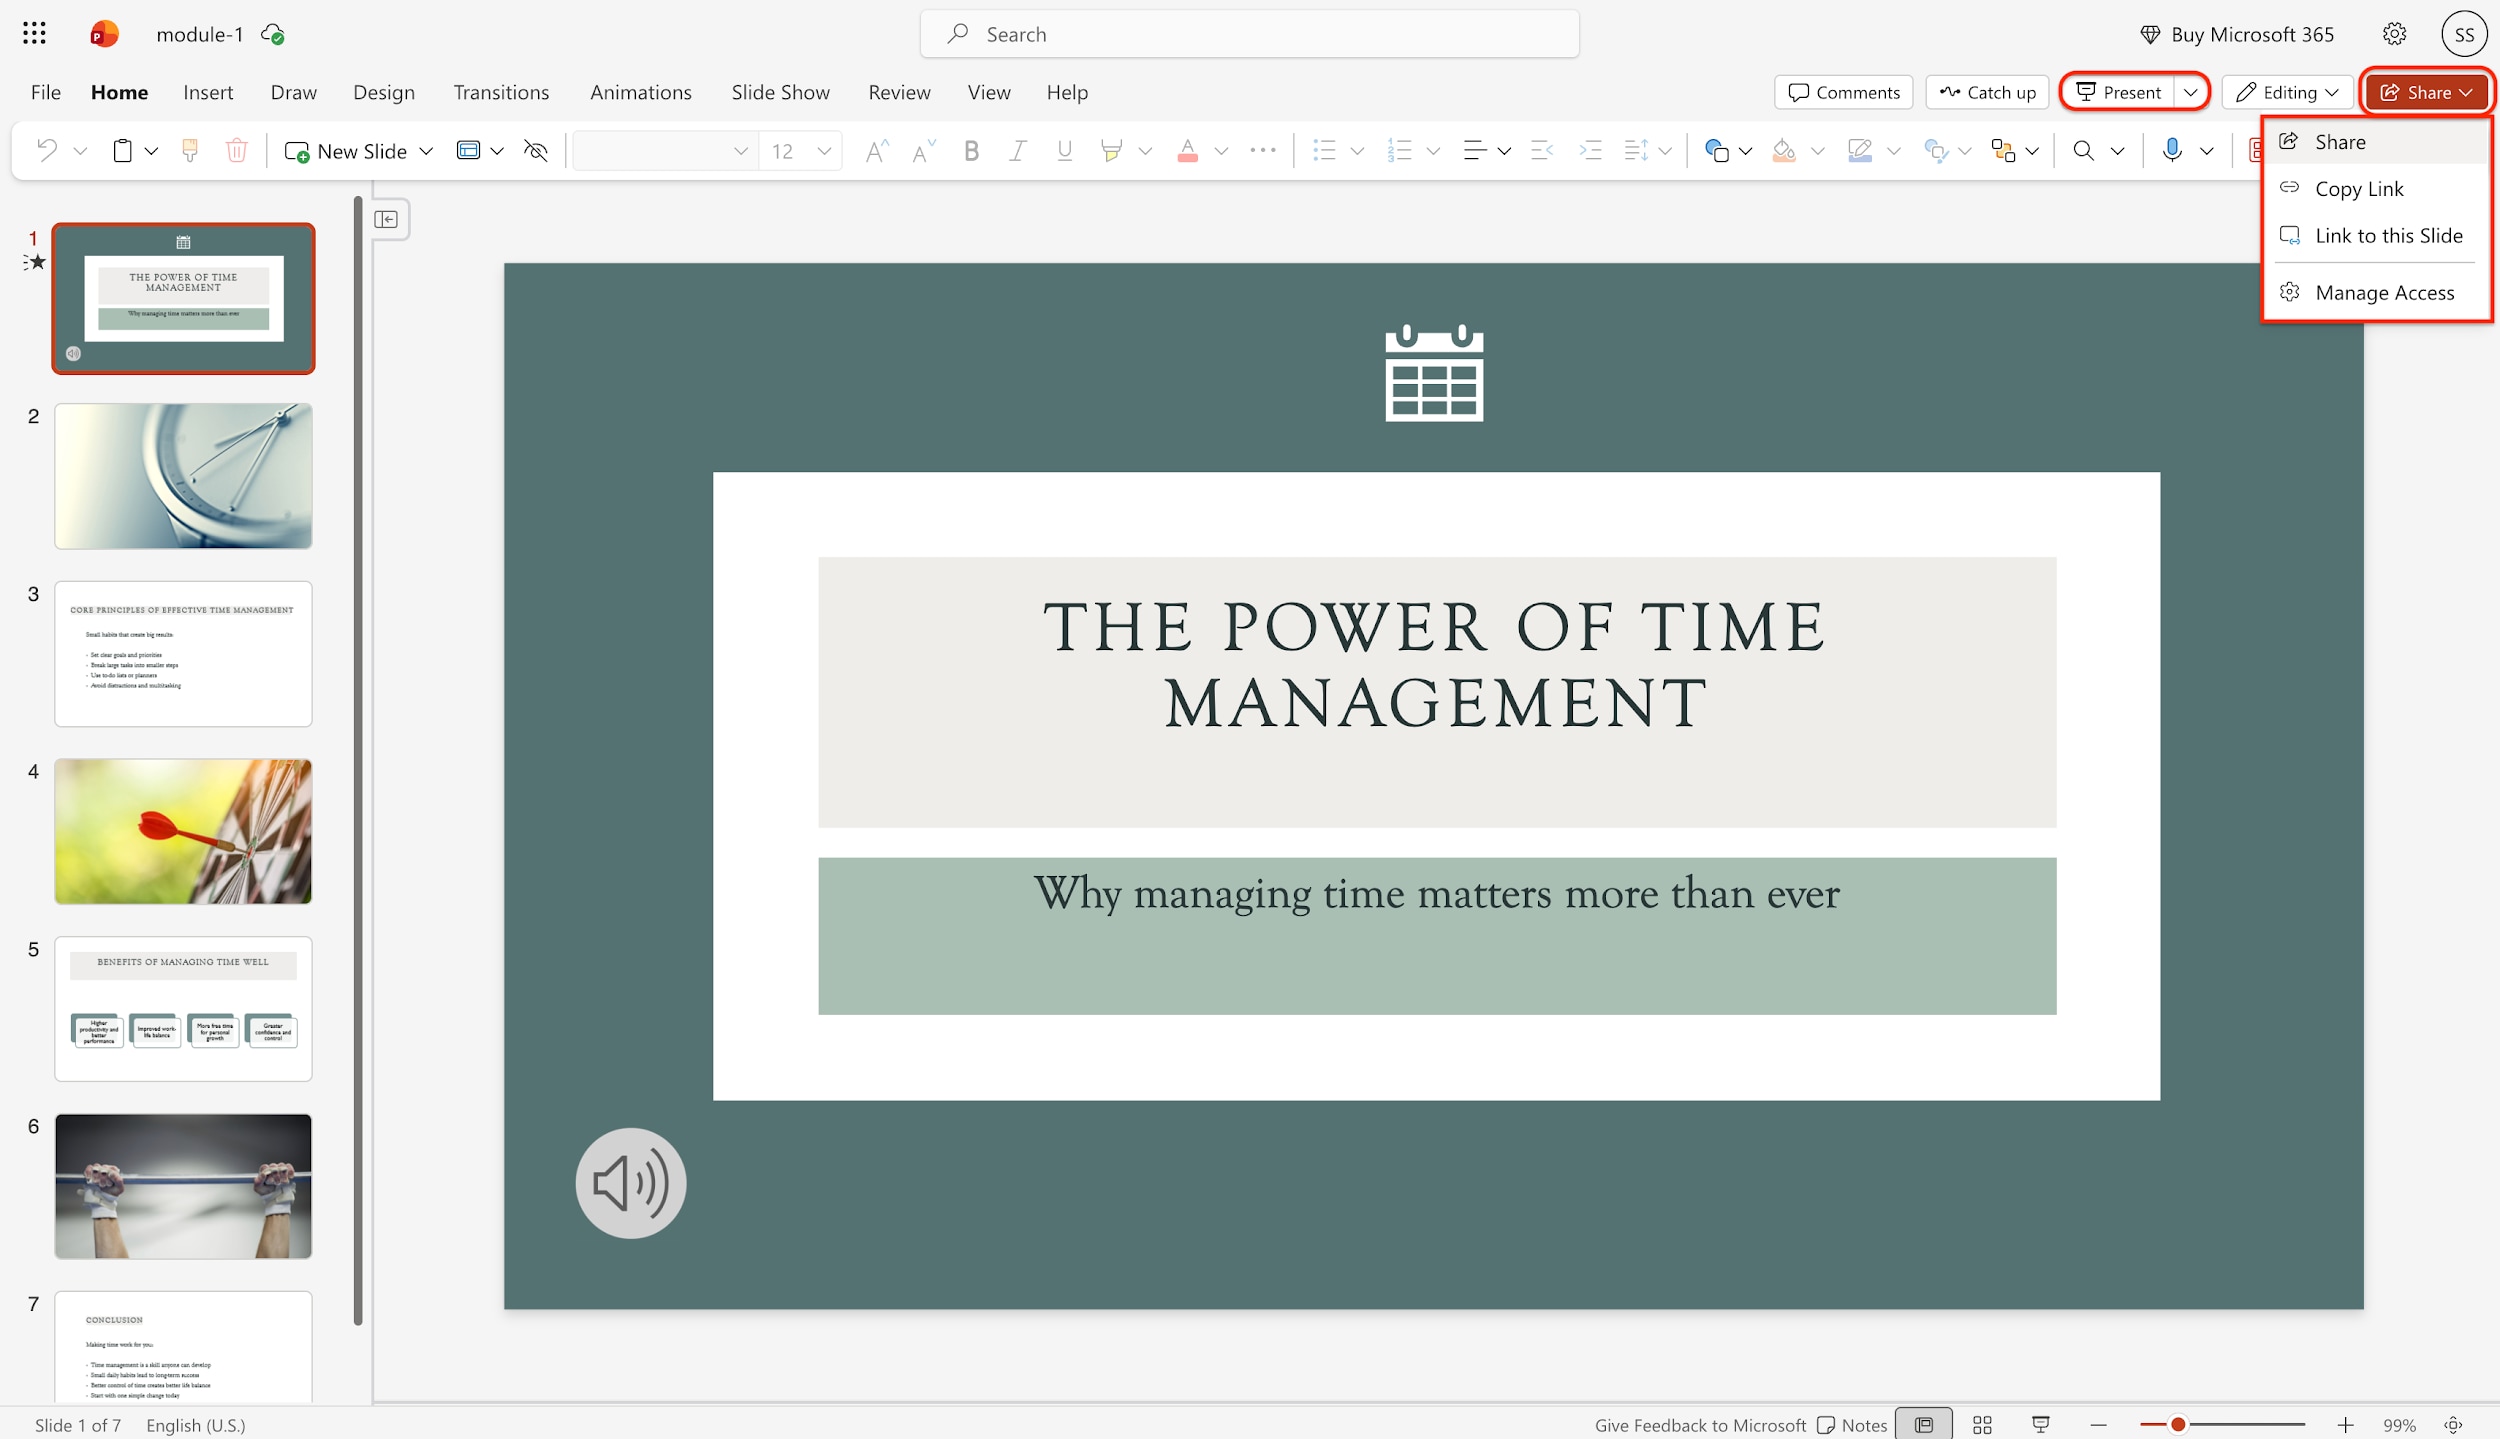
Finally, tap the Present button to enter slideshow mode and preview your presentation. Listen closely to ensure the audio syncs well with your visuals. Once satisfied, click the Share button at the top right. Be sure to use the Manage Access options to define whether your recipients can edit the slides or only view them before sending.
Part 3. Method 2: How to Record PowerPoint Presentation with Audio and Video
While the native method answers how to record audio to PowerPoint, professionals often hit a ceiling with its limitations. For high-stakes presentations, YouTube tutorials, or commercial courses, you need a dedicated tool. This is where Wondershare UniConverter shines. It is not just a converter; it is a comprehensive media suite designed to record PowerPoint presentation with audio at a professional standard.
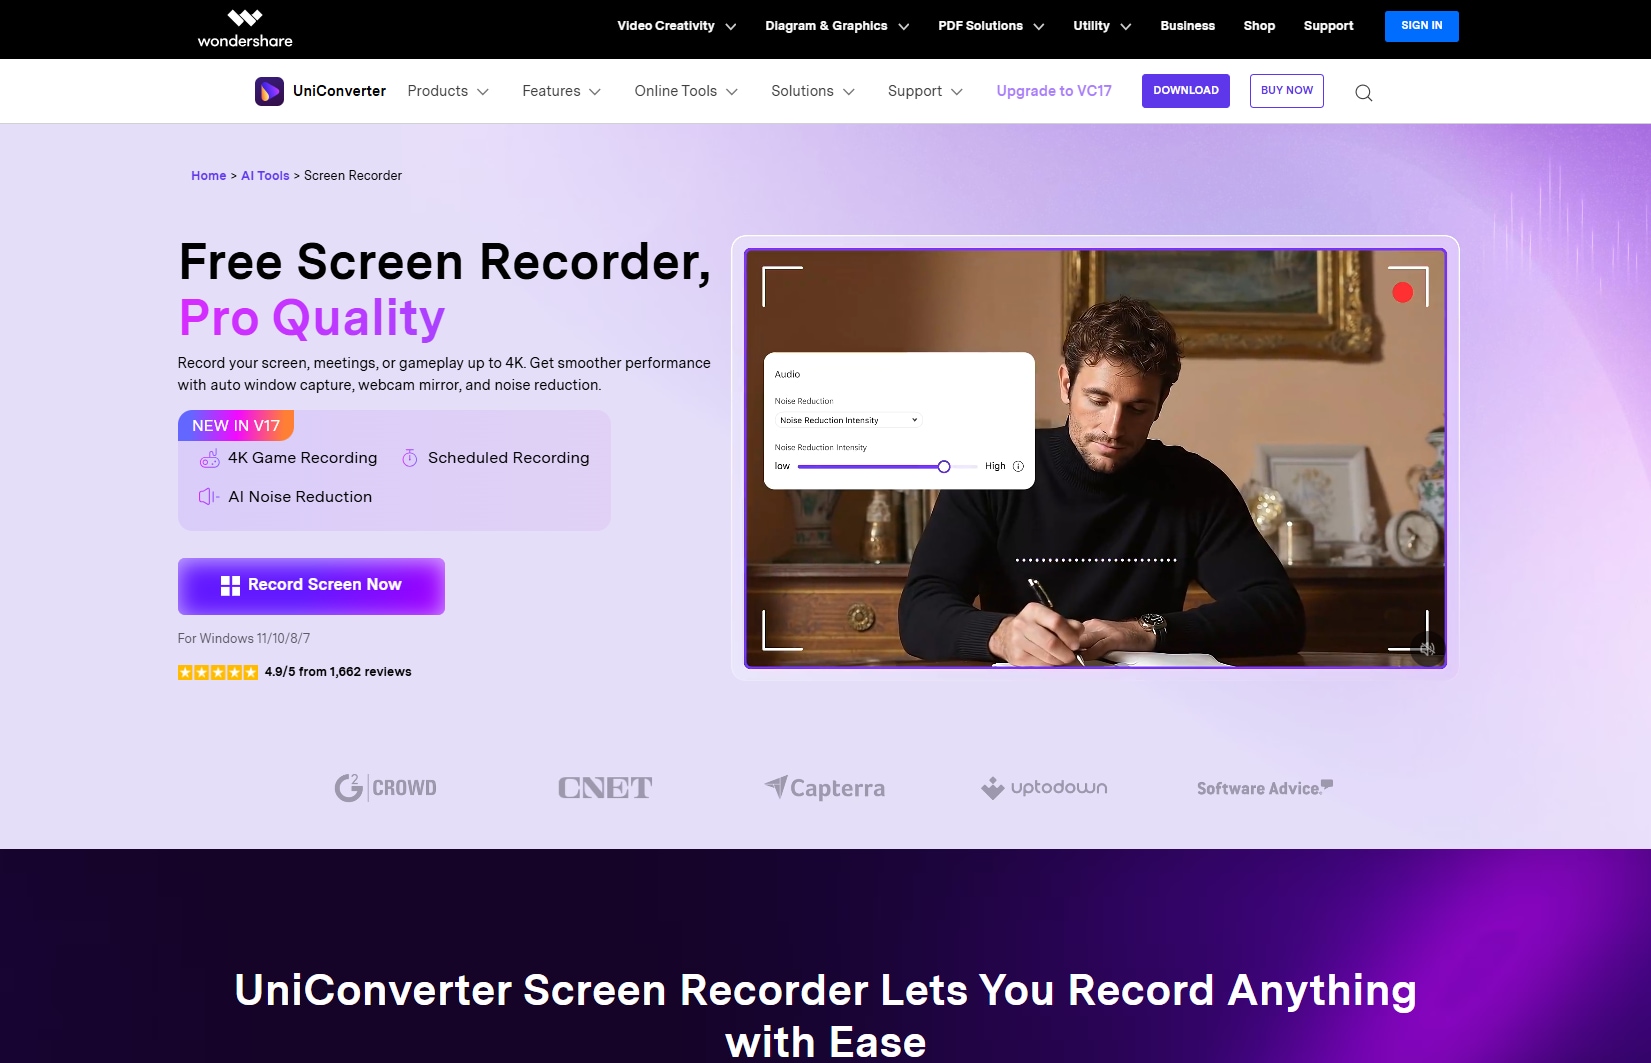
Wondershare UniConverter is a versatile, all-in-one video toolbox that goes far beyond simple file conversion. It features a powerful Screen Recorder module specifically designed for creators who need to capture high-quality content. With an intuitive interface and lightweight performance, it allows users to record full screens, custom windows, webcam overlays, and system audio simultaneously. You can easily record live streaming, record games or record meetings without any lag with UniConverter.
Why Choose UniConverter?
If you are serious about your content, UniConverter offers distinct advantages over native PowerPoint recording:
- High-Fidelity Audio: Captures system sound and microphone input separately or together with superior clarity, perfect for those wondering how to record sound in PowerPoint without static.
- Picture-in-Picture (PiP): Offers flexible webcam overlays. You can move, resize, and shape your camera feed (circle, square) to ensure you never block important slide content.
- Real-Time Annotation: Draw, highlight, and write on your screen while recording. This is essential for tutorials where you need to point out specific data.
- AI Video Summarizer: Quickly generate summaries of your long presentations, making it easier to repurpose content for social media or quick reviews.
- All-in-One Toolkit: After recording, you can edit, compress, burn to DVD, or convert your video to any format (over 1000 supported) within the same app.
Step-by-Step Guide (UniConverter Screen Recorder)
Step 1: Launch Wondershare Screen Recorder
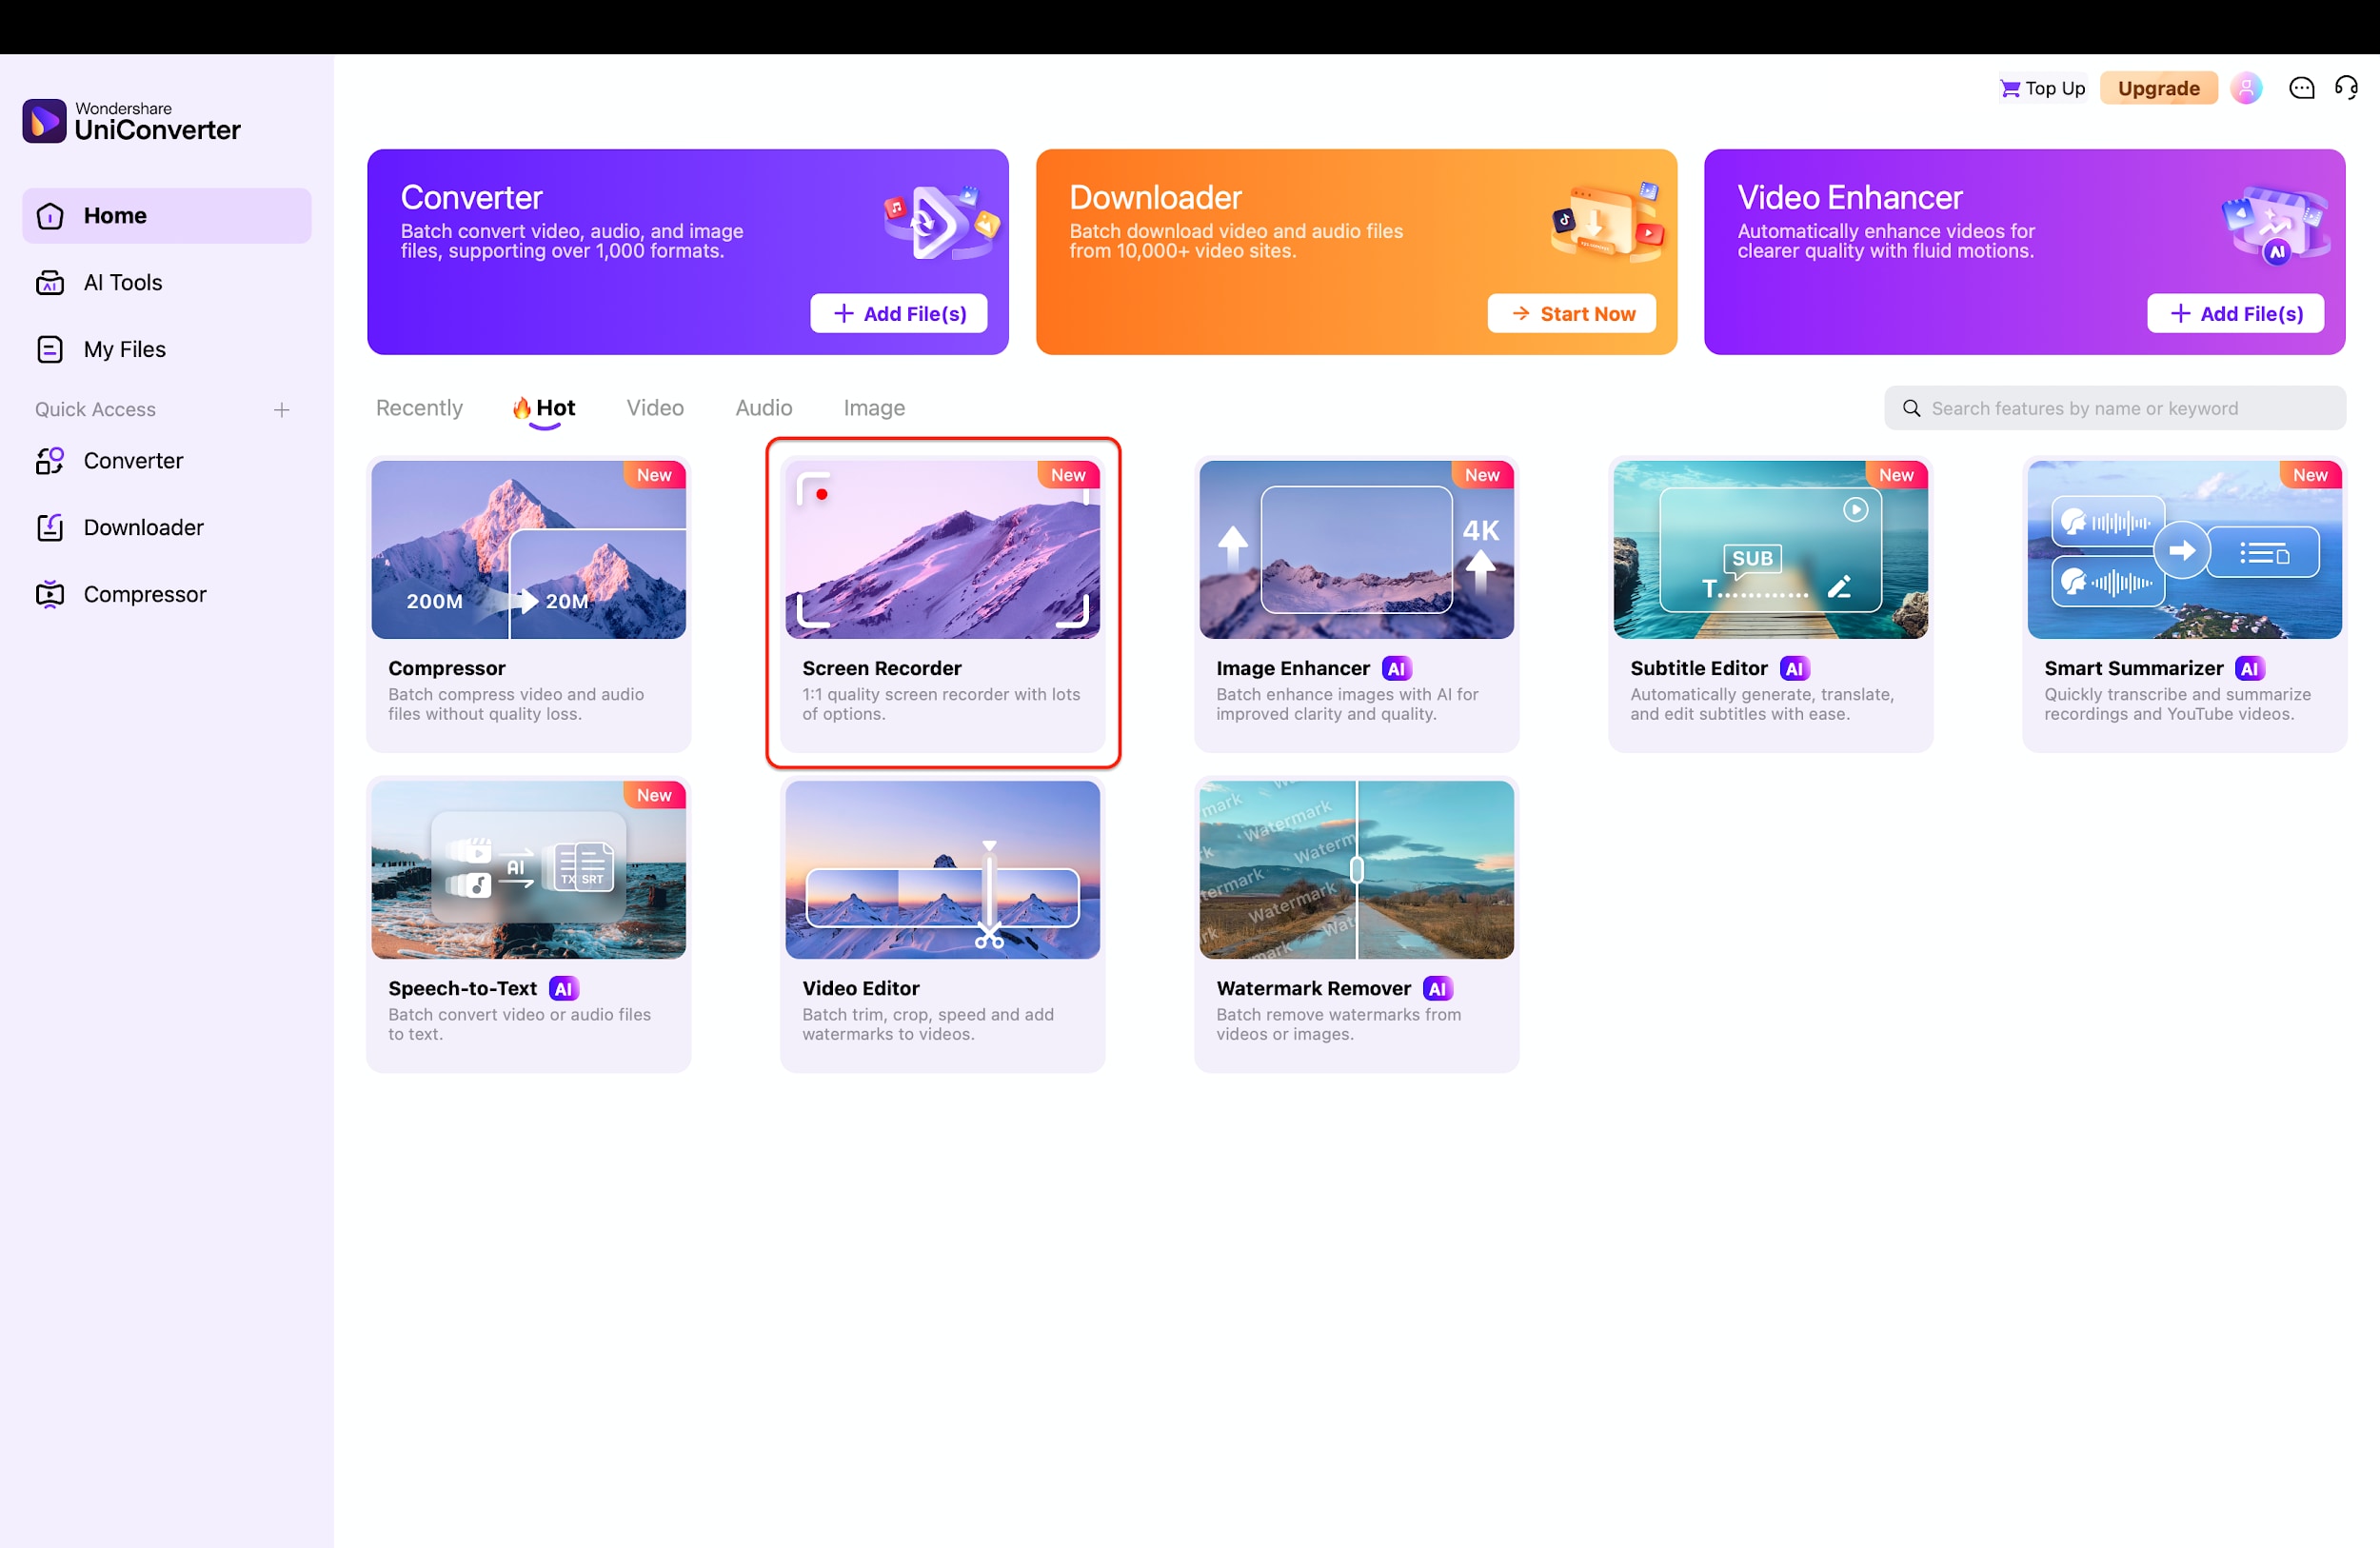
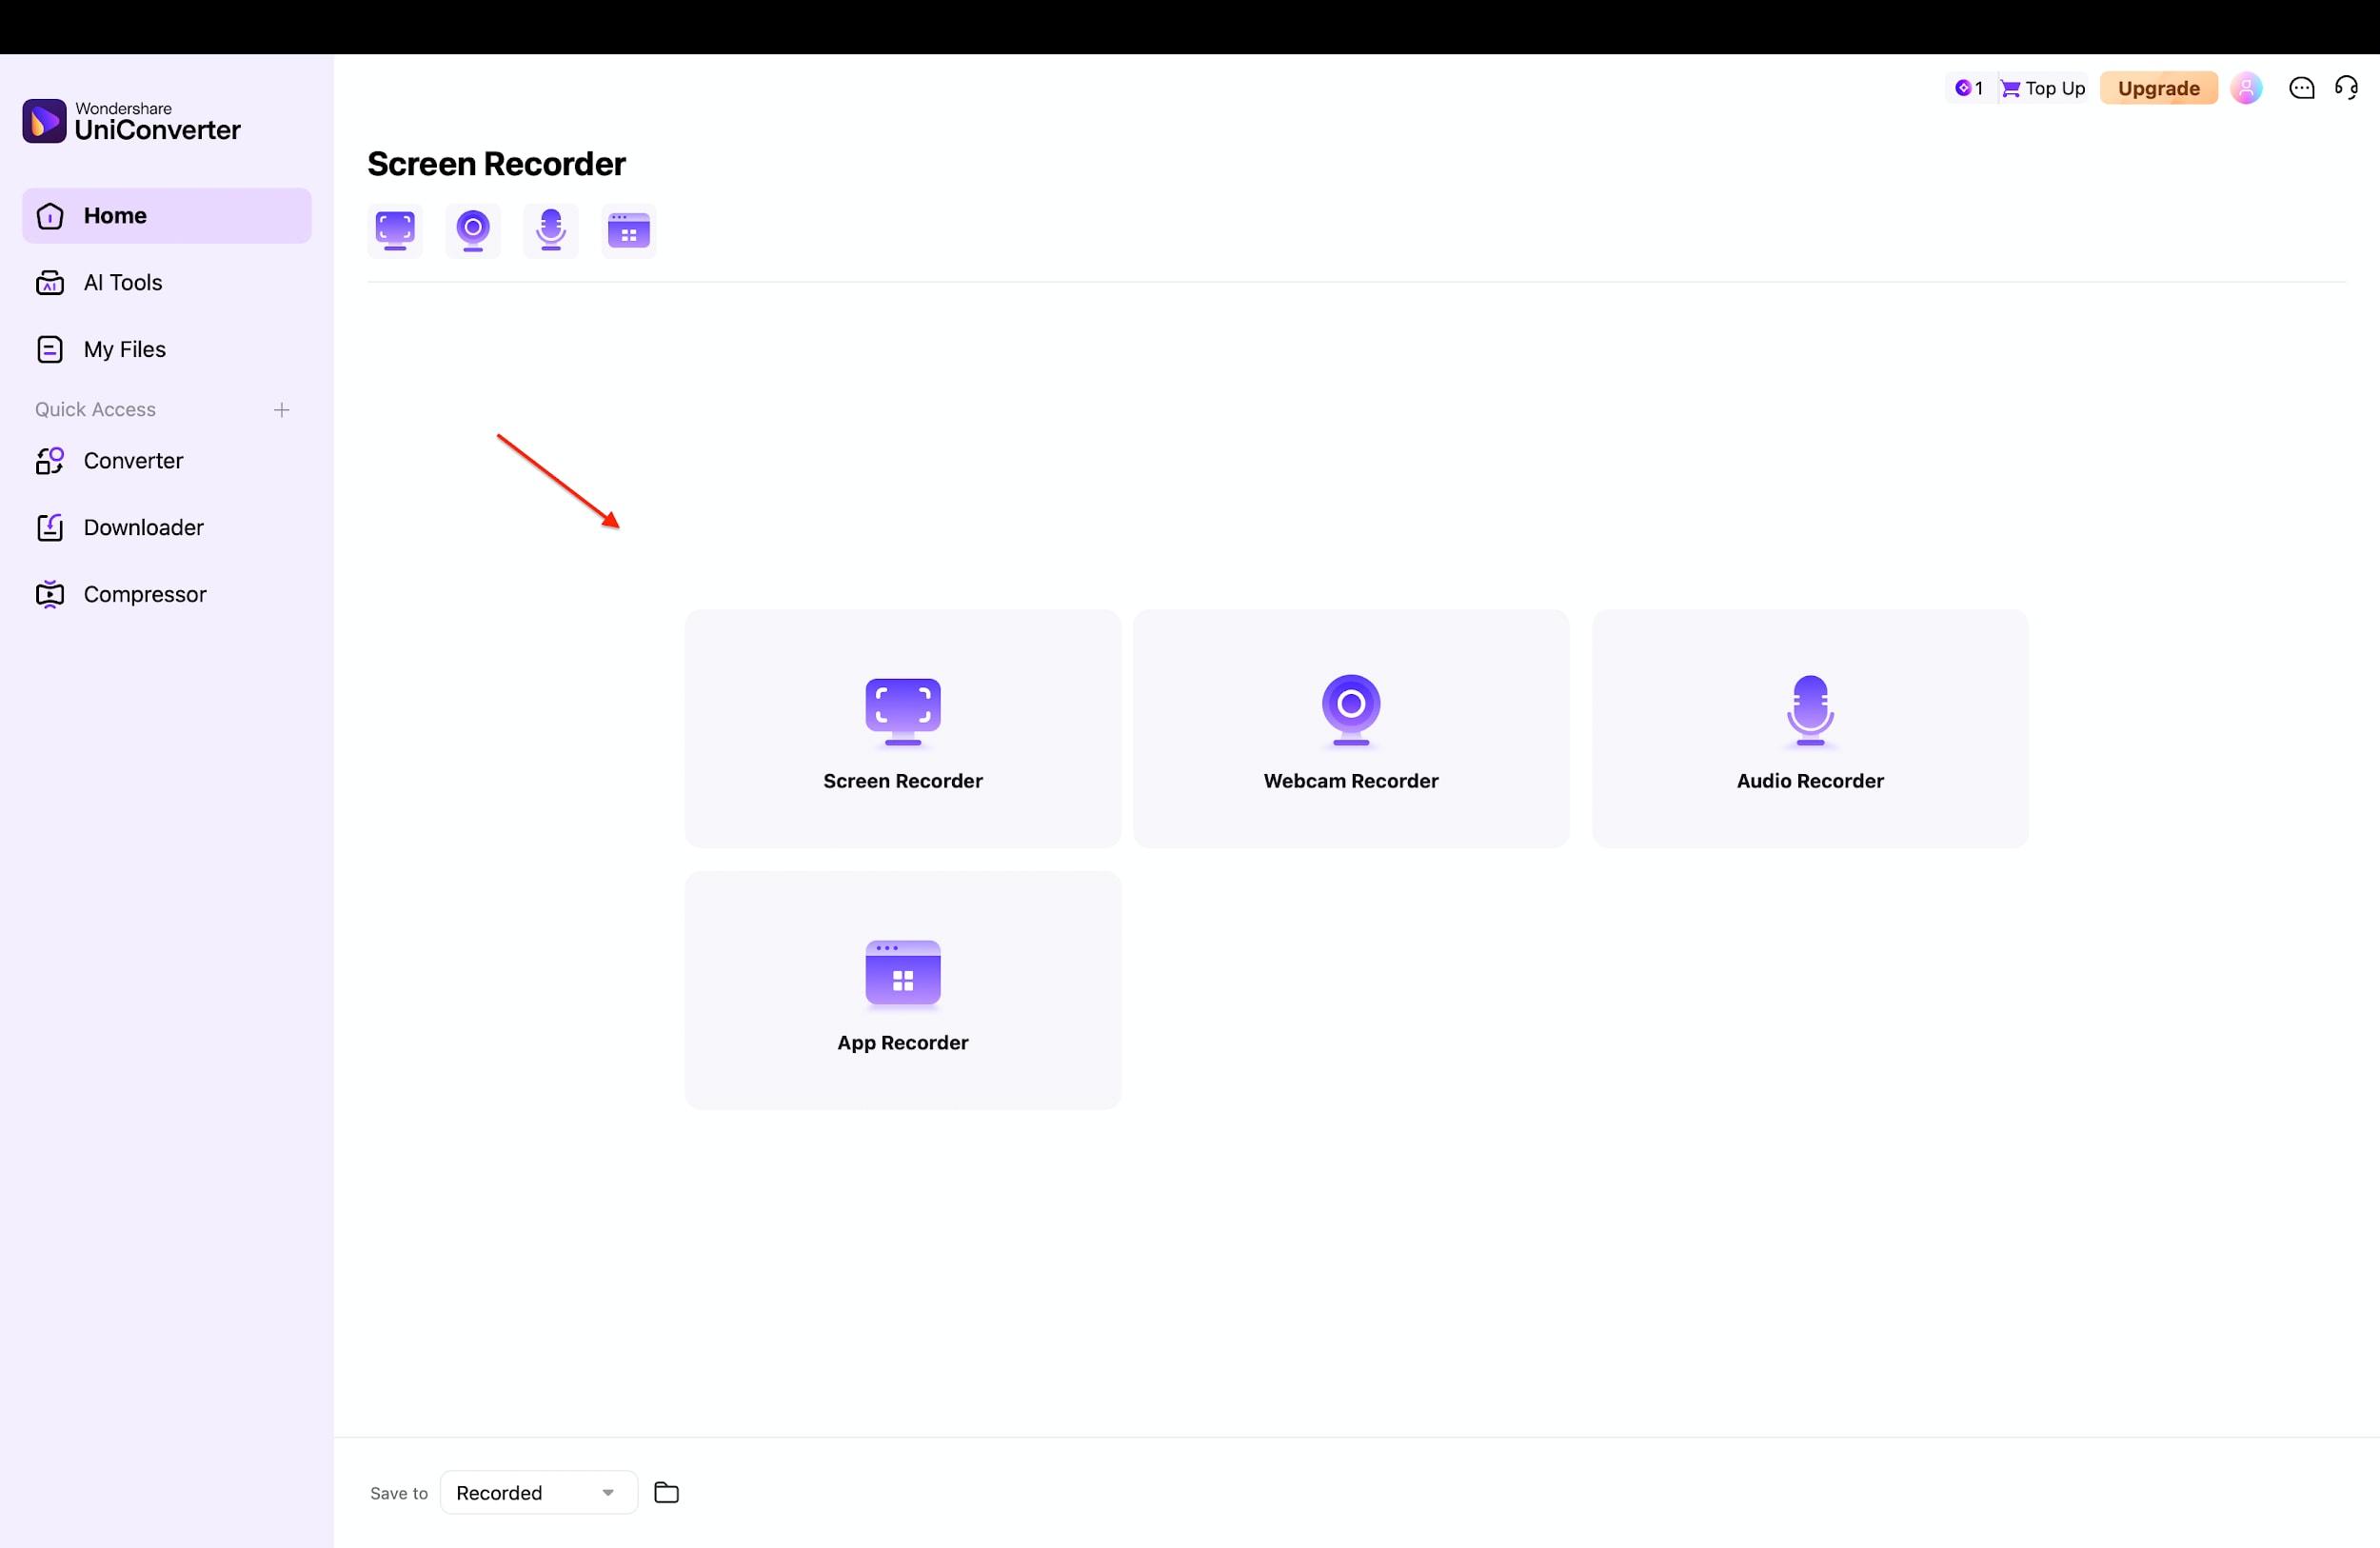
Download and install Wondershare UniConverter on your PC to get started with its powerful tools. Launch the software and click the Screen Recorder button located on the main home interface.
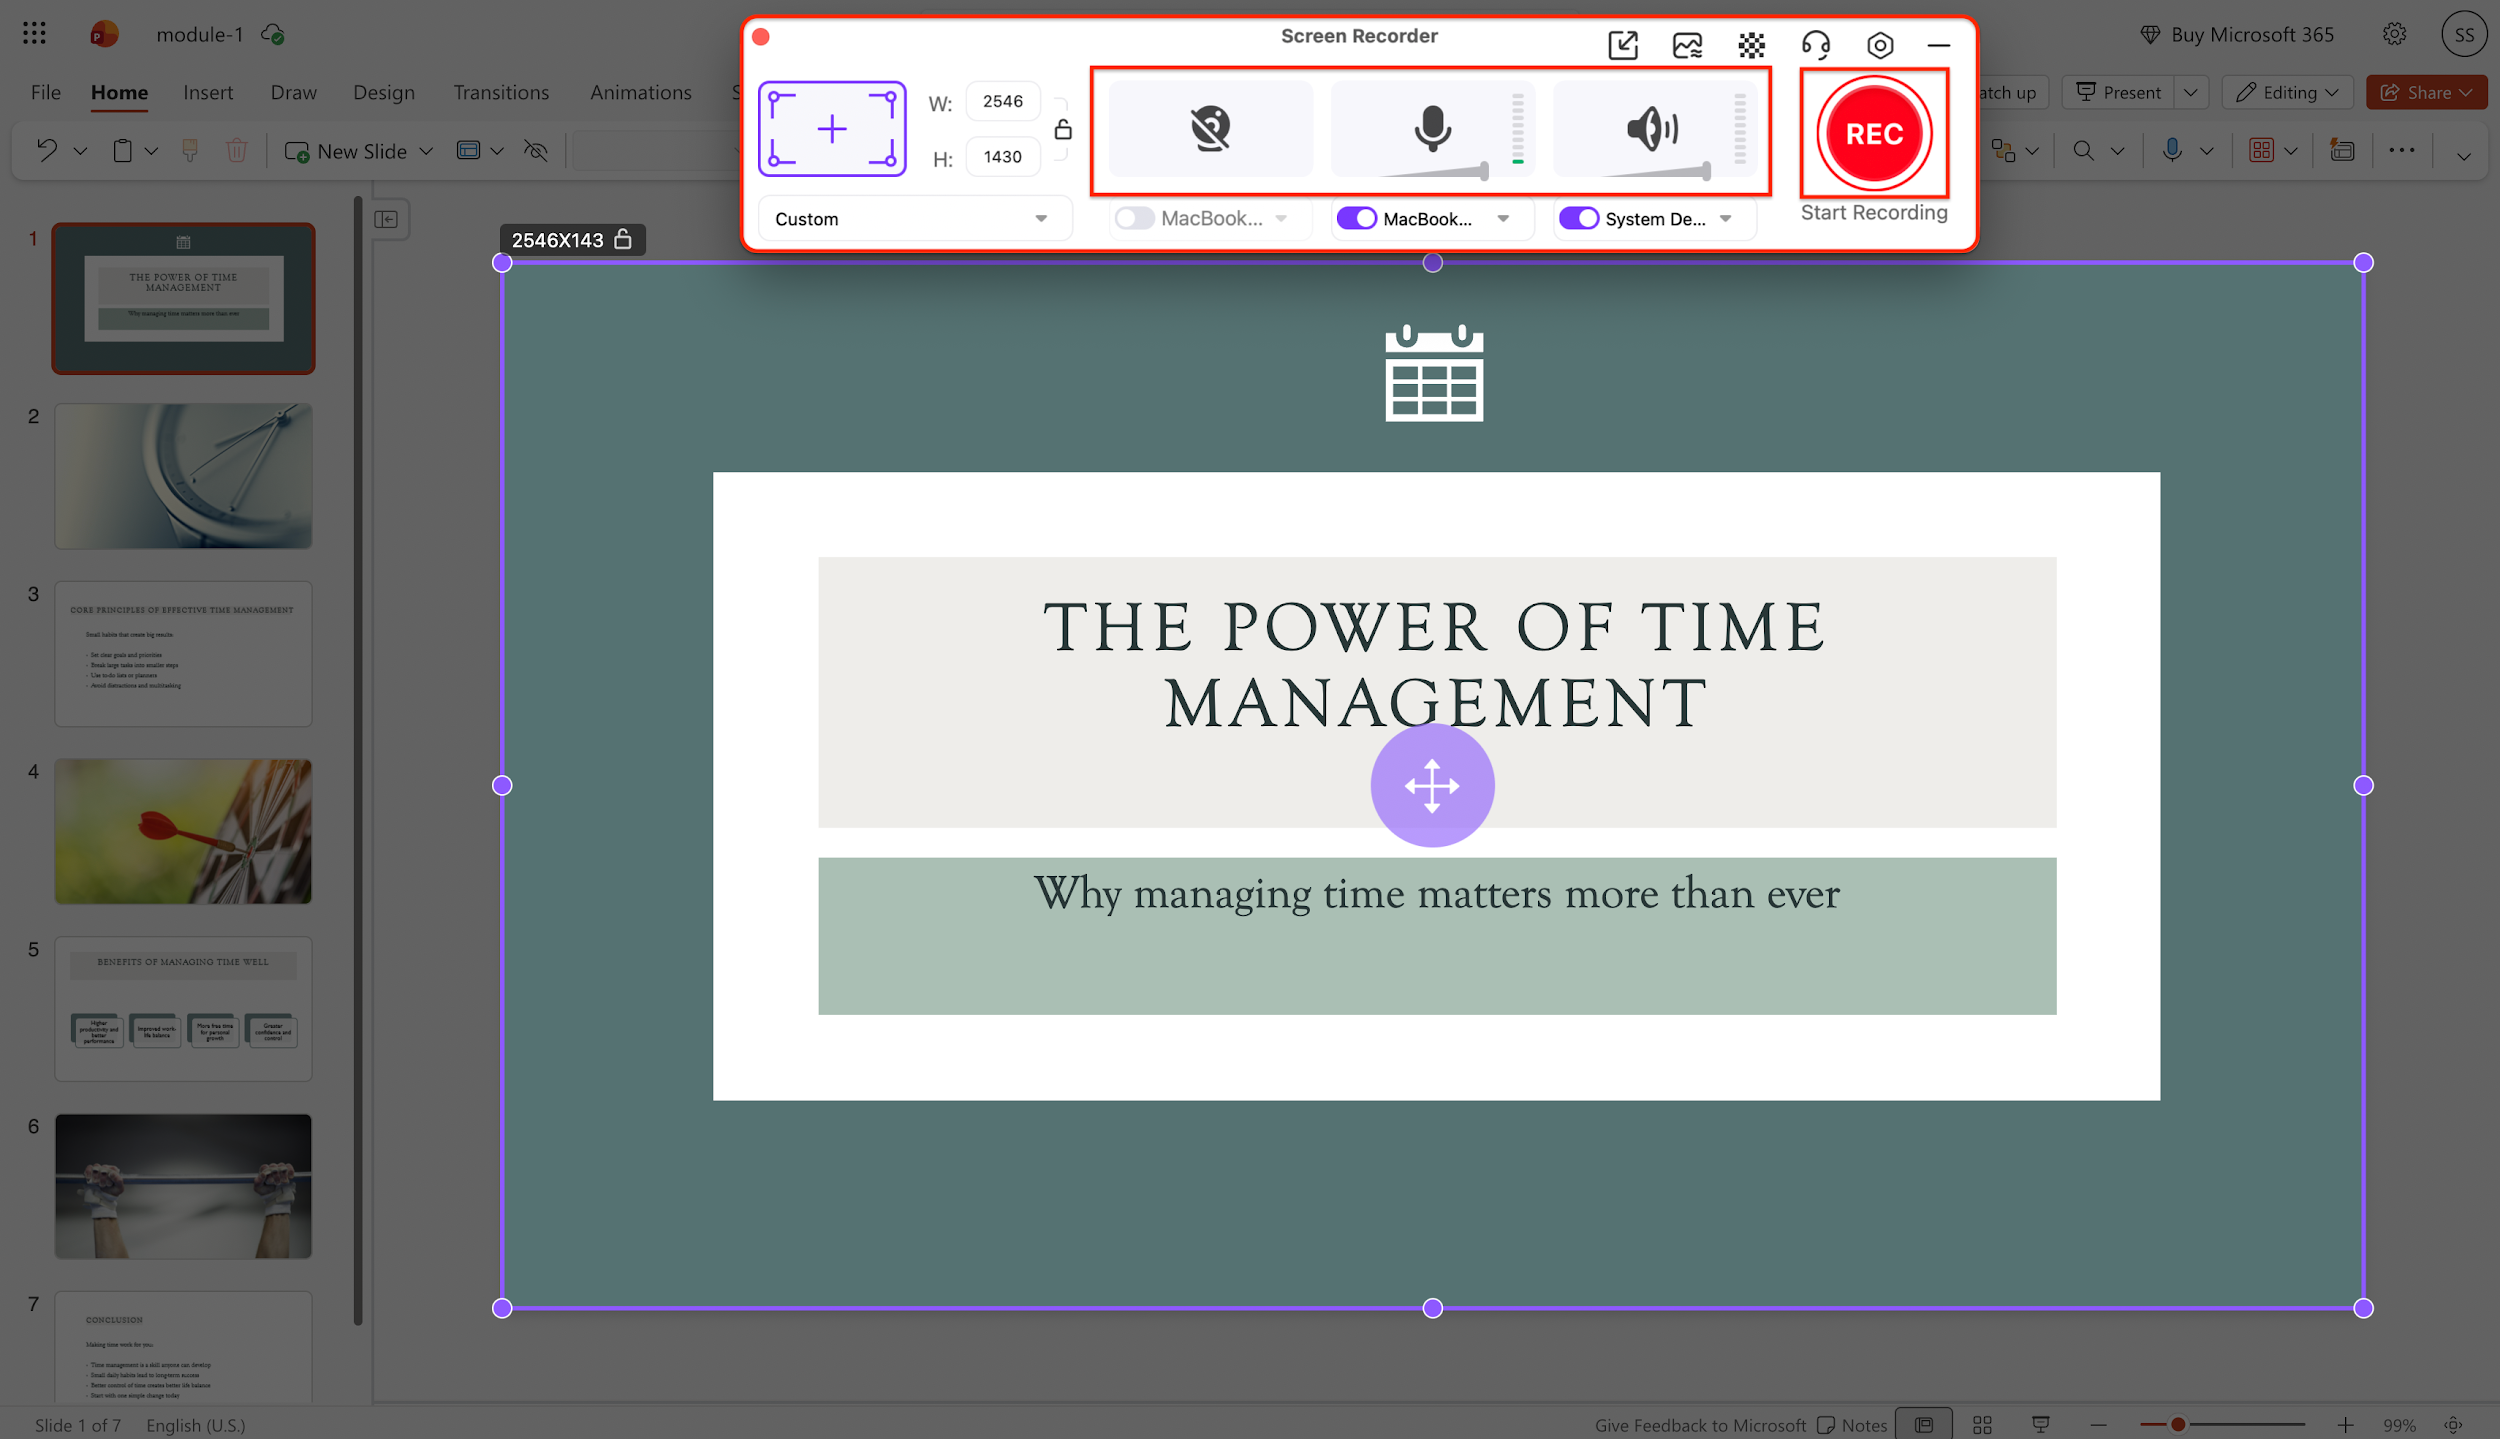
Step 2: Choose Recording Region and Inputs
Open your PowerPoint slides and drag the purple crop frame to fit the specific area you want to record. Select your preferred microphone and webcam from the dropdown menus to ensure your voice and face are captured clearly. You can also toggle the System Audio speaker icon to decide if computer sounds should be included in your video.
Pro Tip: Disable the System Audio if your slides do not contain video clips; this prevents email notifications or other system beeps from ruining your recording.
Step 3: Customize Output Settings
Click the Settings gear icon to access advanced configuration options for your output file. Choose your desired format like MP4 or AVI, and adjust the frame rate and quality to match your project needs. You can even set a specific recording timer to automatically stop the capture after your presentation ends.
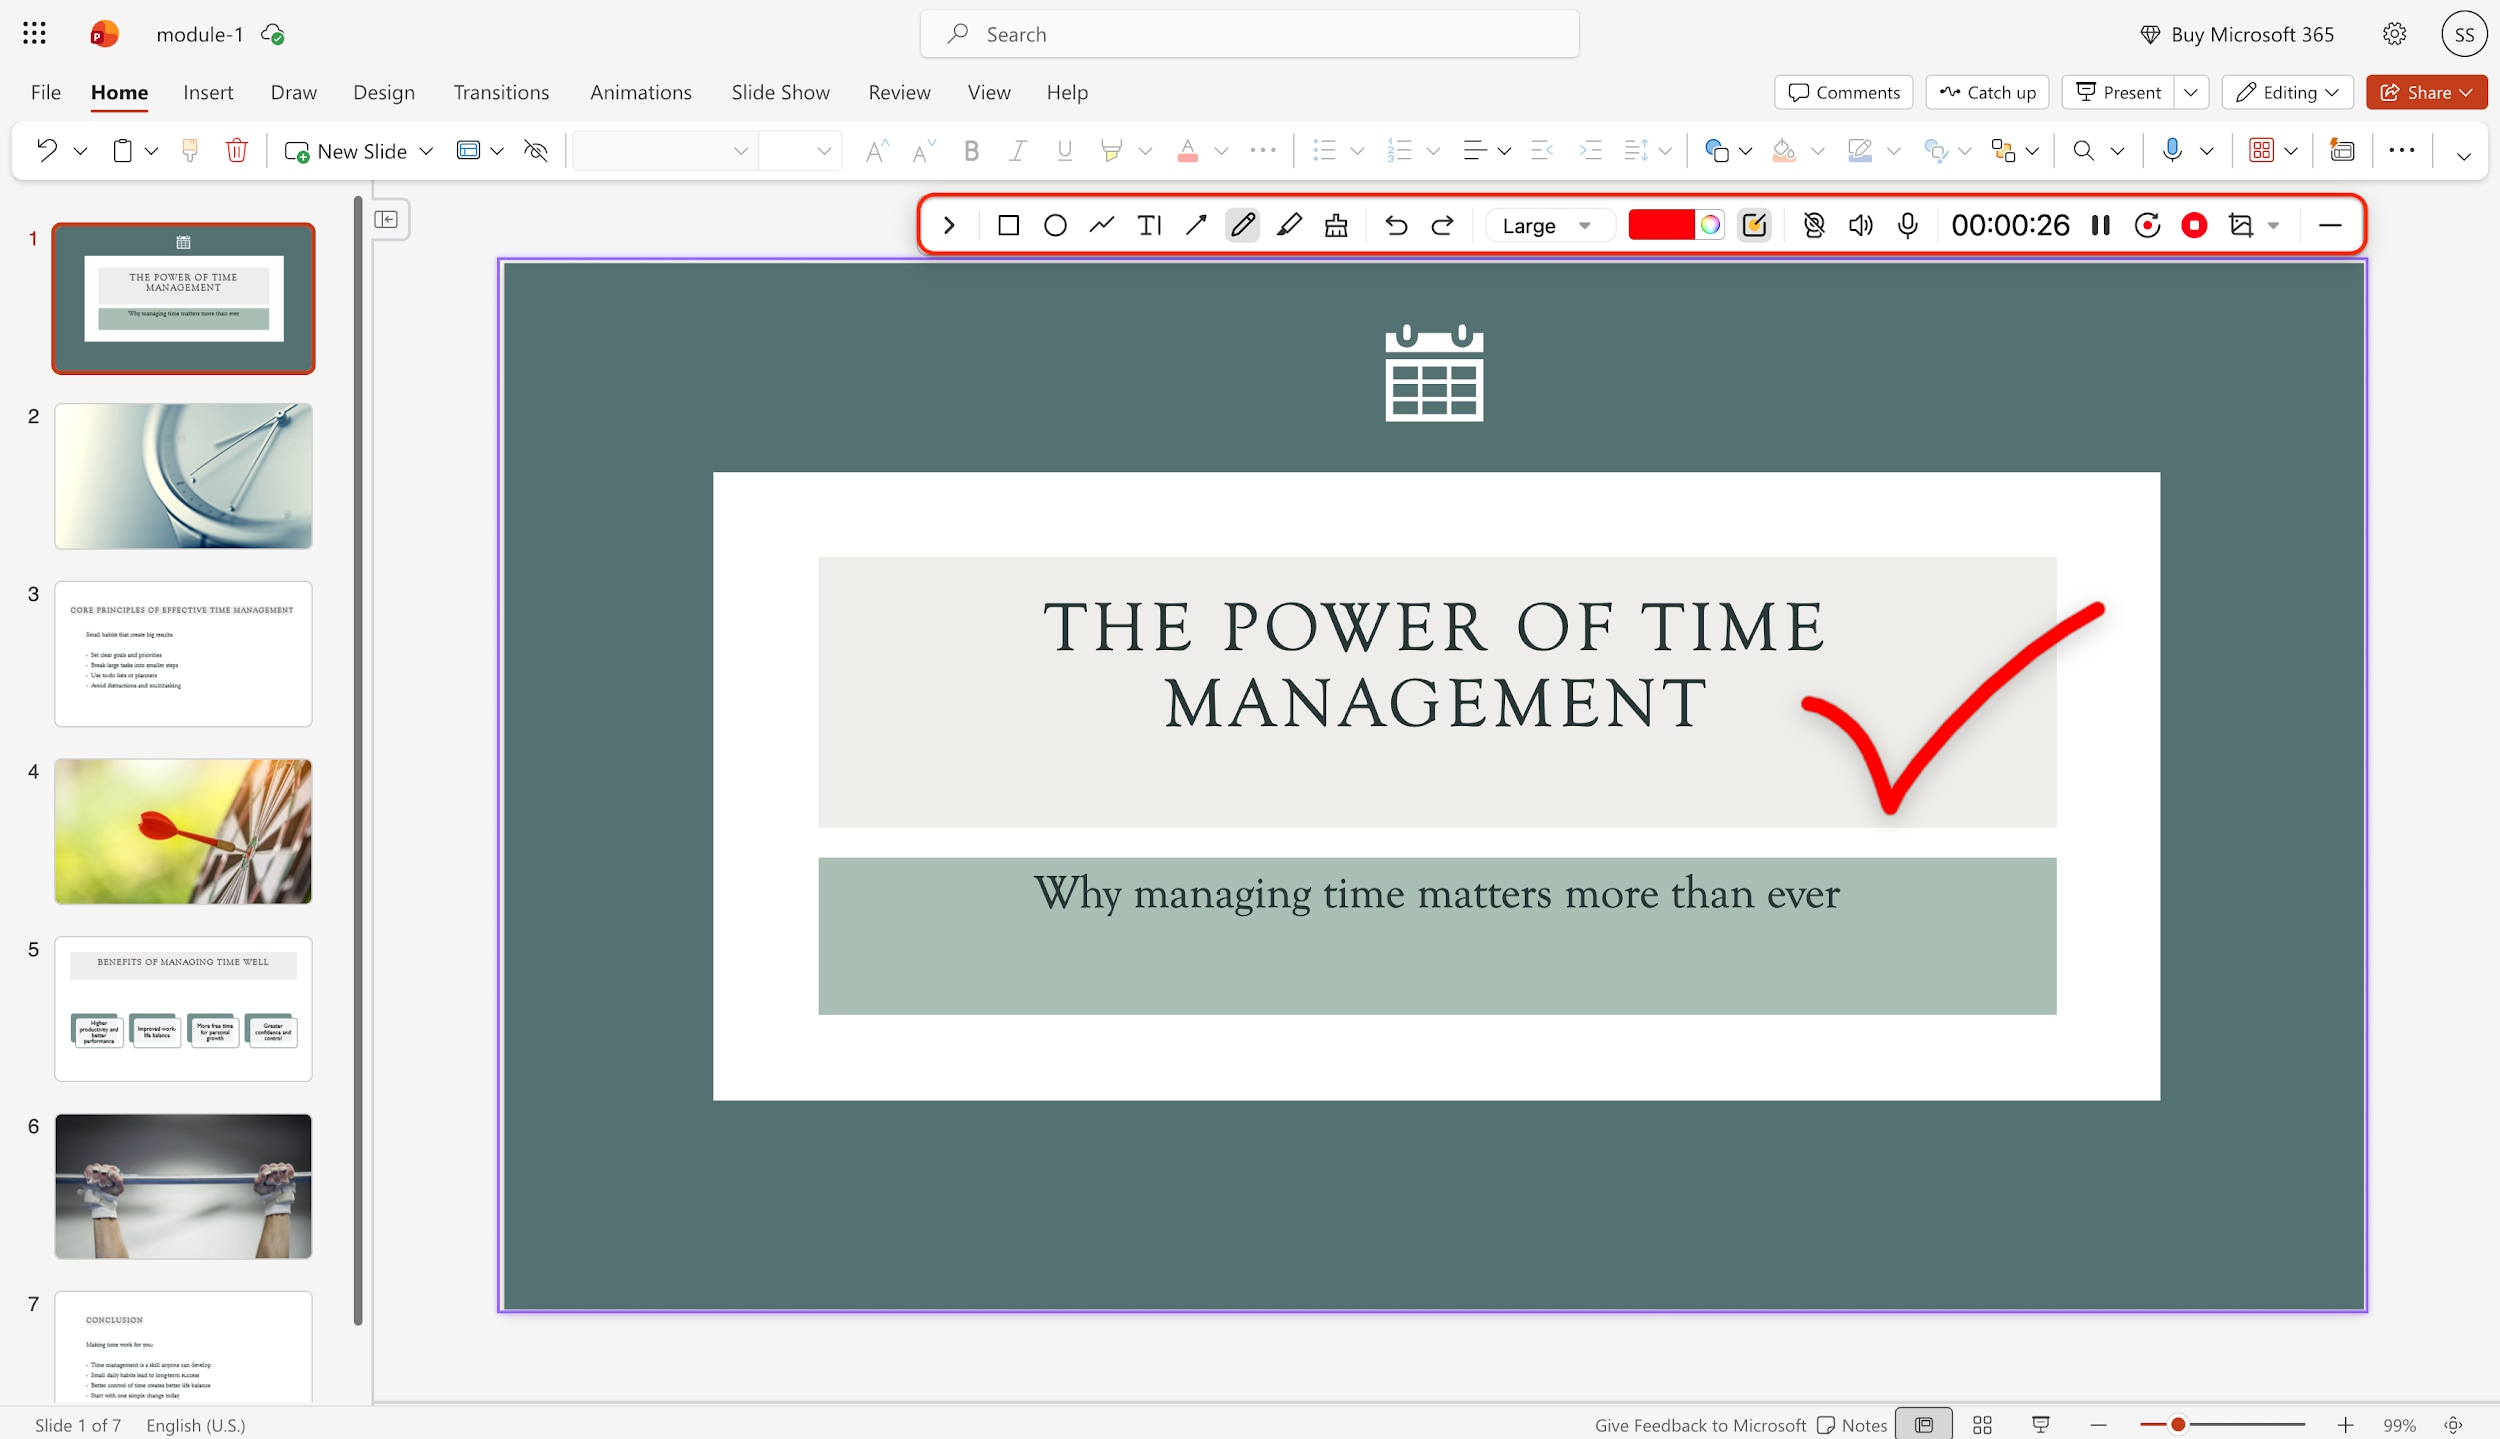
Step 4: Start Recording and Add Annotations
Press the red REC button to begin the countdown and start recording your screen. As you present, open the floating toolbar to use the Annotation tools for drawing lines, arrows, or text on your slides. Use the webcam overlay options to position your face in the corner so you do not block important text.
Step 5: Stop and Refine
Once you are finished presenting, click the square Stop button to end the session and automatically save the file. The recorded video will appear in the list, where you can immediately play it back or open the file location. From here, you can choose to edit the video further or use AI features to enhance clarity and generate transcripts.
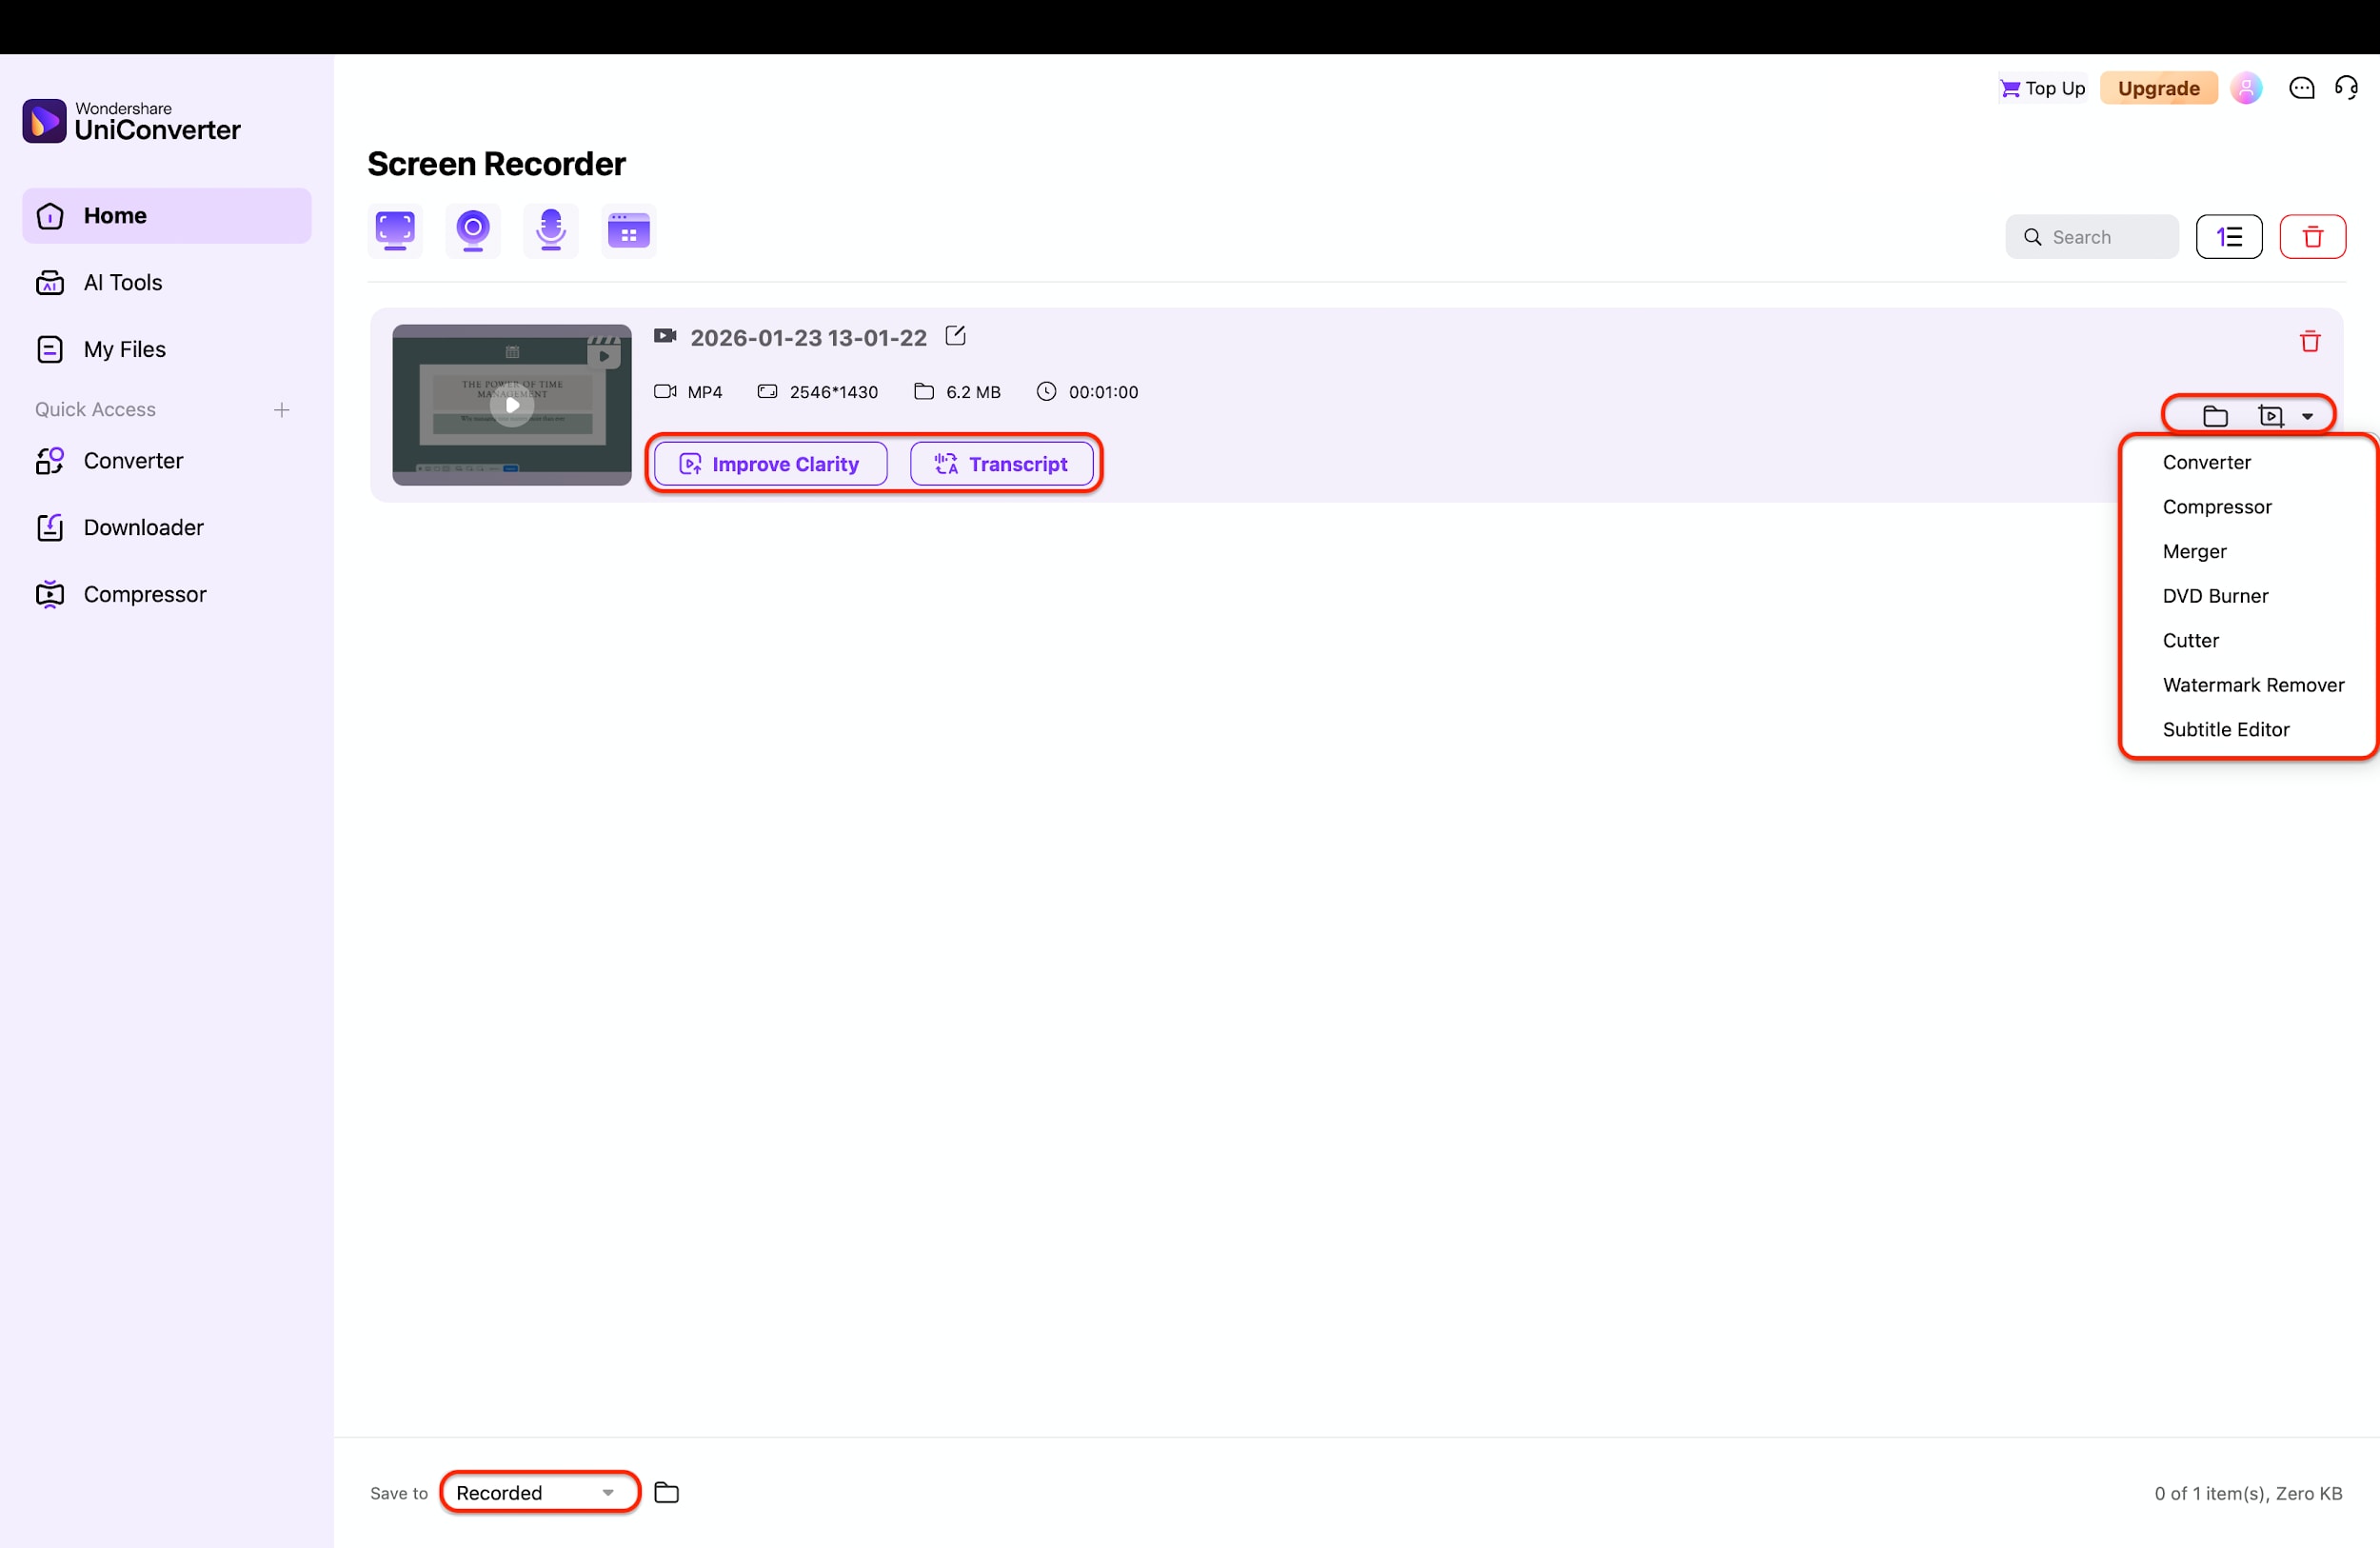
Pro Tip: Use the "Add to Editor" option immediately after recording to trim the awkward silence at the very beginning and end of your video for a more polished look.

PowerPoint Screen Recorder for Presentations
Part 4. Comparison: Native PowerPoint vs. UniConverter
To help you decide how to record PPT with audio based on your specific needs, here is a quick comparison.
| Feature | Native PowerPoint | Wondershare UniConverter |
| Audio Quality | Basic (prone to sync issues) | Professional (High-fidelity capture) |
| Webcam Flexibility | Rigid (Fixed position/size) | Flexible (Resize, move, shape) |
| Annotation Tools | Laser pointer, simple pen | Advanced drawing, shapes, numbering |
| Output Formats | MP4, WMV | MP4, MOV, MKV, AVI, +1000 others |
| Editing Capabilities | Very Limited (Trim only) | Full Suite (Trim, Crop, Effects, Subs) |
Verdict: Native PowerPoint is good for internal quick drafts; UniConverter is essential for professional tutorials, YouTube content, and course creation.
Part 5. Troubleshooting & Tips for Perfect Audio
External Mic: Why laptop mics sound "echoey"
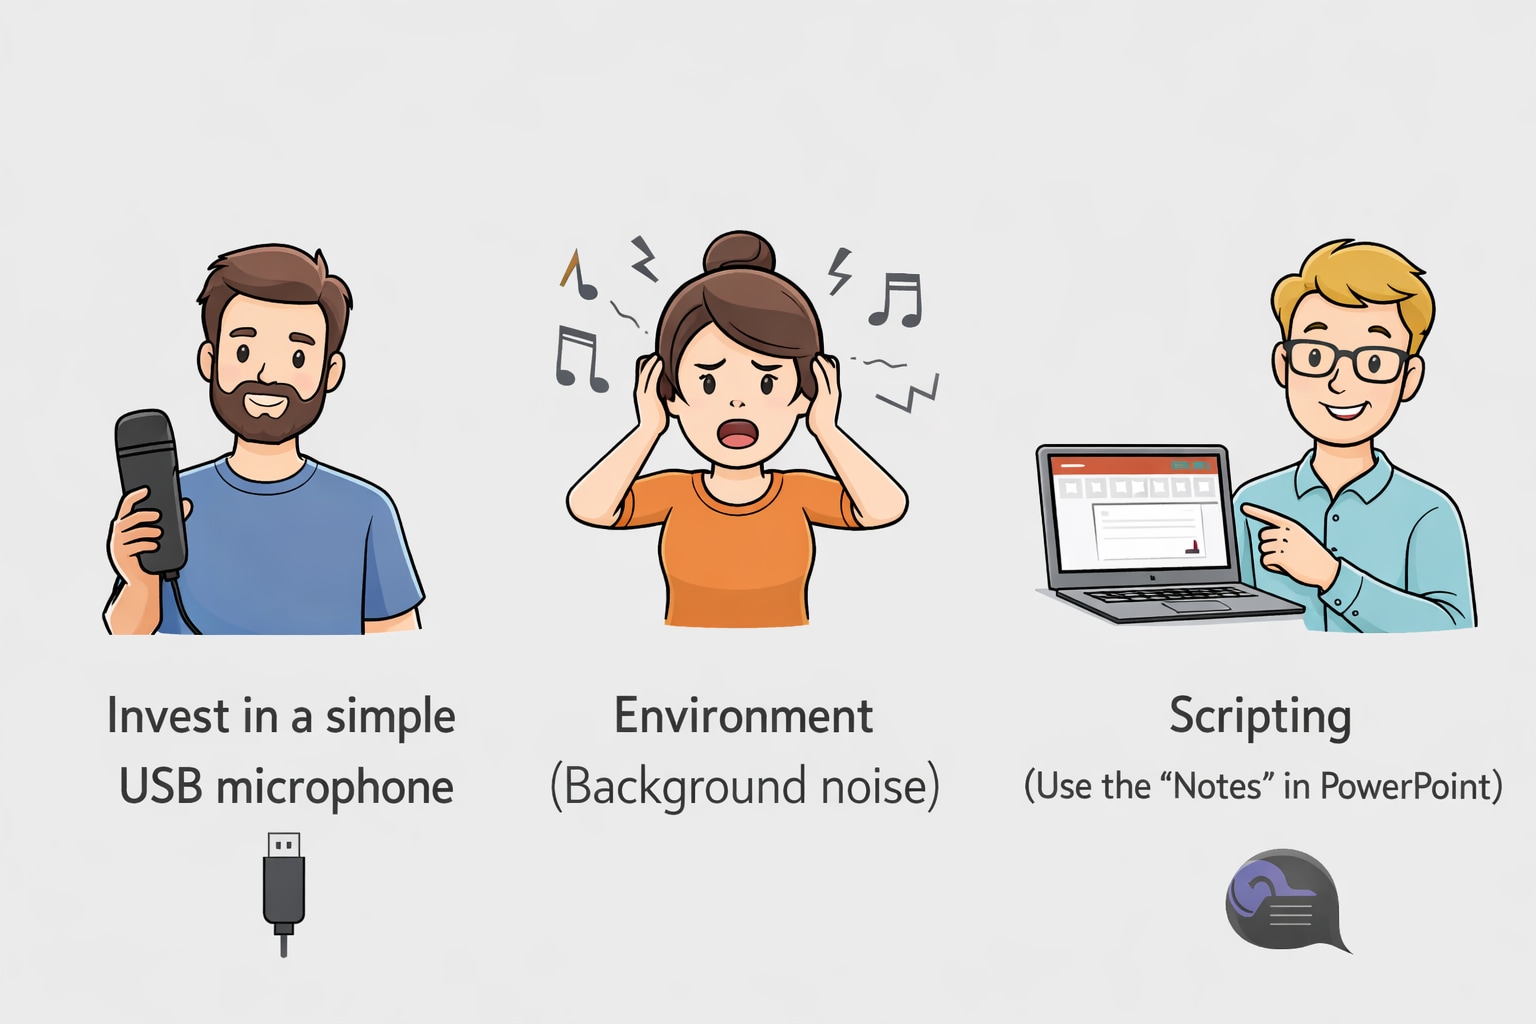
Built-in laptop microphones are omnidirectional and tiny. They pick up fan noise, keyboard clicks, and room echo. To record PowerPoint with audio that sounds professional, invest in a simple USB microphone or a headset. This isolates your voice and eliminates that "hollow" tunnel sound.
Environment: Minimizing background noise
Find a quiet room. Soft surfaces absorb sound, so a room with carpets, curtains, or furniture is better than an empty office with glass walls. Turn off fans and air conditioning. If you are learning how to record sound in PowerPoint at home, wait for a quiet time of day.
Scripting: Using the "Notes" section
Do not wing it. Use the "Notes" section in PowerPoint to type out your script or key bullet points. When you use the "Presenter View" while recording, you can read these notes without them appearing in the final video. This ensures you cover all points smoothly without saying "um" or "uh" repeatedly, making the answer to how do I do a voiceover on PowerPoint " much more effective.
Conclusion
Mastering how to record a PowerPoint presentation with audio unlocks new potential for your content. We have explored two primary paths: the native Microsoft method, which offers convenience for quick tasks, and the professional approach using Wondershare UniConverter, which delivers superior quality and flexibility. While the native tool answers the basic question of how to record audio with PowerPoint, it often falls short on editing and production value.
If you want to create videos that truly captivate your audience, Wondershare UniConverter is the clear winner. Its ability to record PowerPoint presentation with audio and video seamlessly, coupled with advanced annotation and editing features, makes it a must-have tool. Don't settle for average recordings. Download the free trial of Wondershare UniConverter today to experience lag-free recording with professional audio features and elevate your presentations to the next level.
FAQs
-
1. What do I need before I can record audio in PowerPoint?
You need the desktop version of Microsoft PowerPoint, a working microphone (built-in or external), and your presentation slides opened and ready for recording. -
2. How do I do a voiceover on PowerPoint without a microphone?
You cannot record high-quality voiceovers without a microphone. However, you can use the built-in microphone on your laptop. For better sound, a headset or external USB microphone is recommended. If you have no microphone at all, you can use text-to-speech software to generate audio and import it into PowerPoint, though this is less engaging. -
3. What video format should I use when exporting PowerPoint recordings?
MP4 is the most recommended format because it offers excellent compatibility across devices and platforms. MOV may also be available on some systems, especially on macOS. -
4. What recording quality should I choose when exporting the video?
Full HD (1080p) provides a good balance between video quality and file size. Use 4K for highly detailed presentations or demos, and 720p if you need smaller files for easy sharing or low-bandwidth environments. -
5. How can I reduce the chance of technical issues while recording in PowerPoint?
Make sure Office is up to date, close unnecessary or noisy background applications, mute system notifications, test your microphone in advance, and consider optimizing audio or video settings before exporting.

