

Recording Roblox gameplay is easier than most players think. You no longer need advanced tools or technical skills to capture your screen. Many devices now come with built-in features or support simple apps that let you record with just a few taps.
This guide will walk you through five of the easiest ways to record Roblox on any device. Each method includes clear steps and works well for beginners. You can use these tools on a computer, smartphone, or tablet. Some options are already part of your system, while others take only minutes to set up.
In this article
Part 1. How to Record Roblox with Uniconverter without Latency
Recording Roblox using the UniConverter is easy. You can install UniConverter from the Wondershare website and screen-record your Roblox games for free! Here is the step-by-step guide for the whole process:
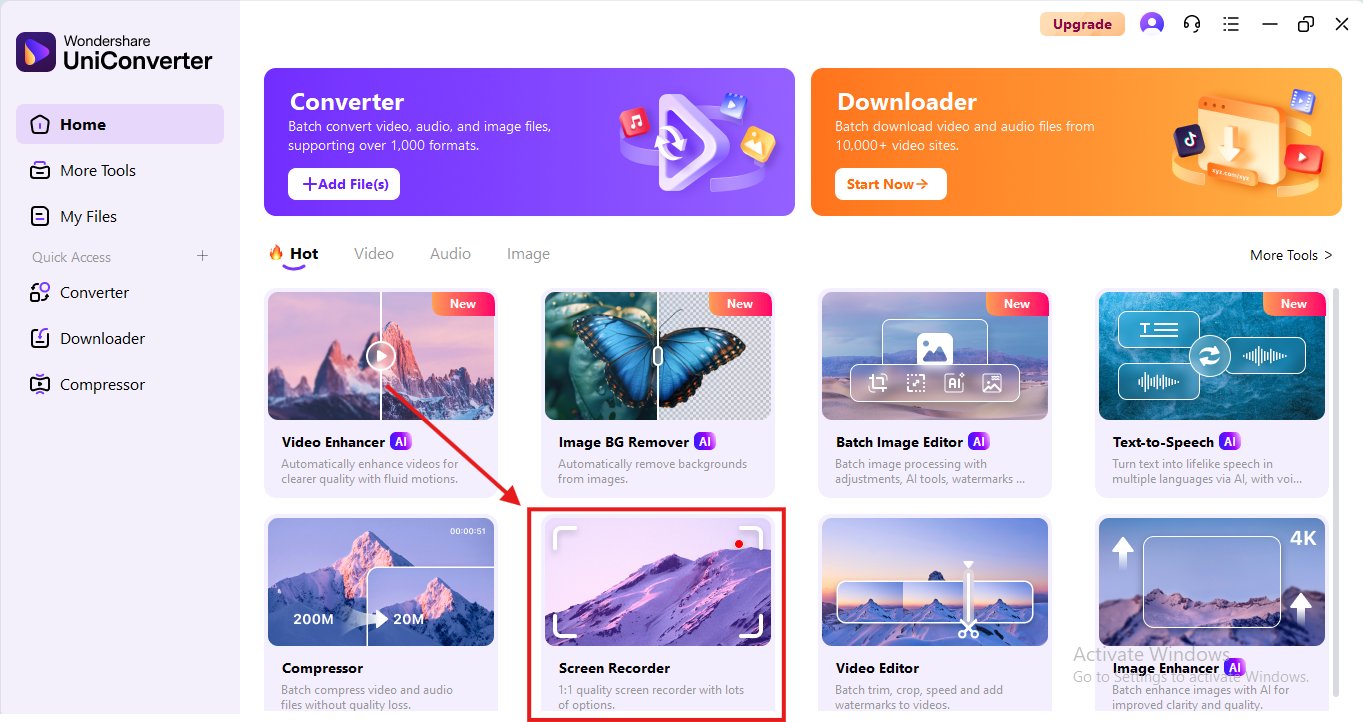
1. Download UniConverter on your Windows device from the official Wondershare website. On entering the home screen, navigate to the “Screen Recorder” on the bottom row of the tool catalogue.
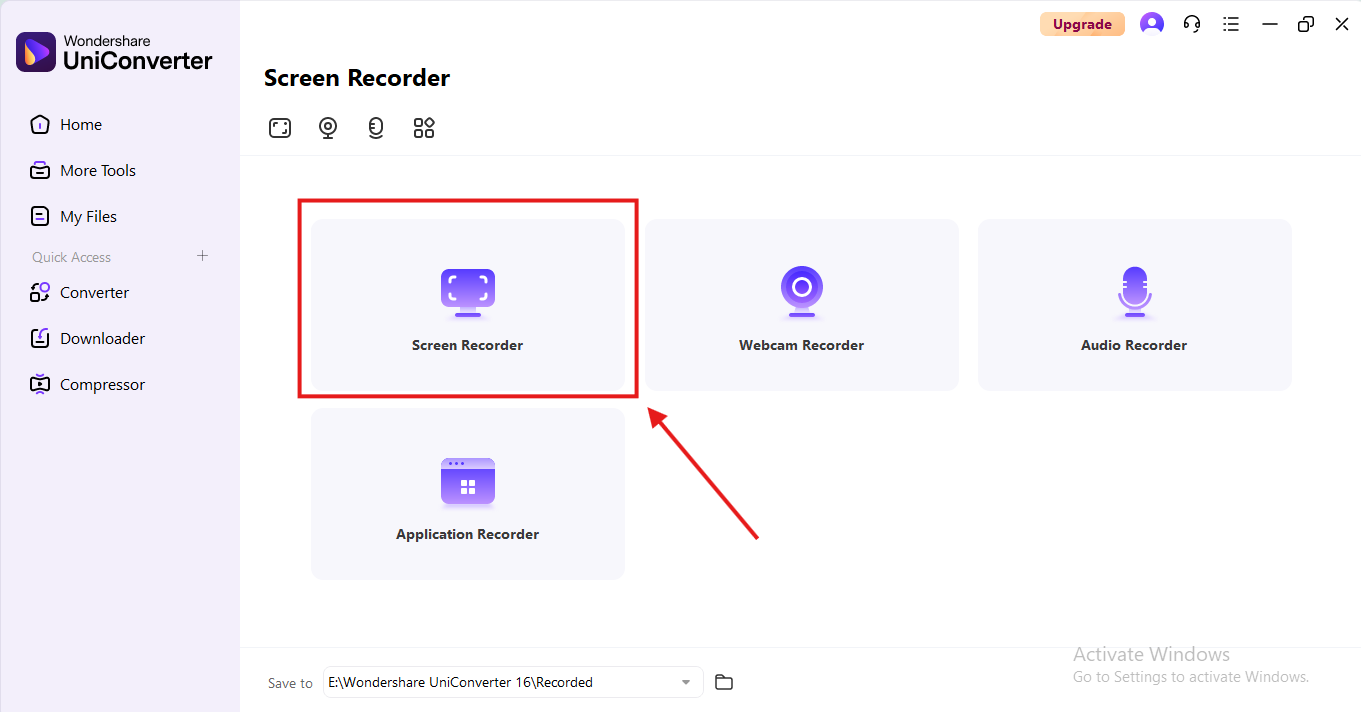
2. Choose “Screen Recorder” from the options, and head to Roblox, where you can customise the settings of the recorder.
3. Click “Rec” on the right side, and the screen recording will begin. You can record your Roblox game at the highest frame rate in MP4 quality.

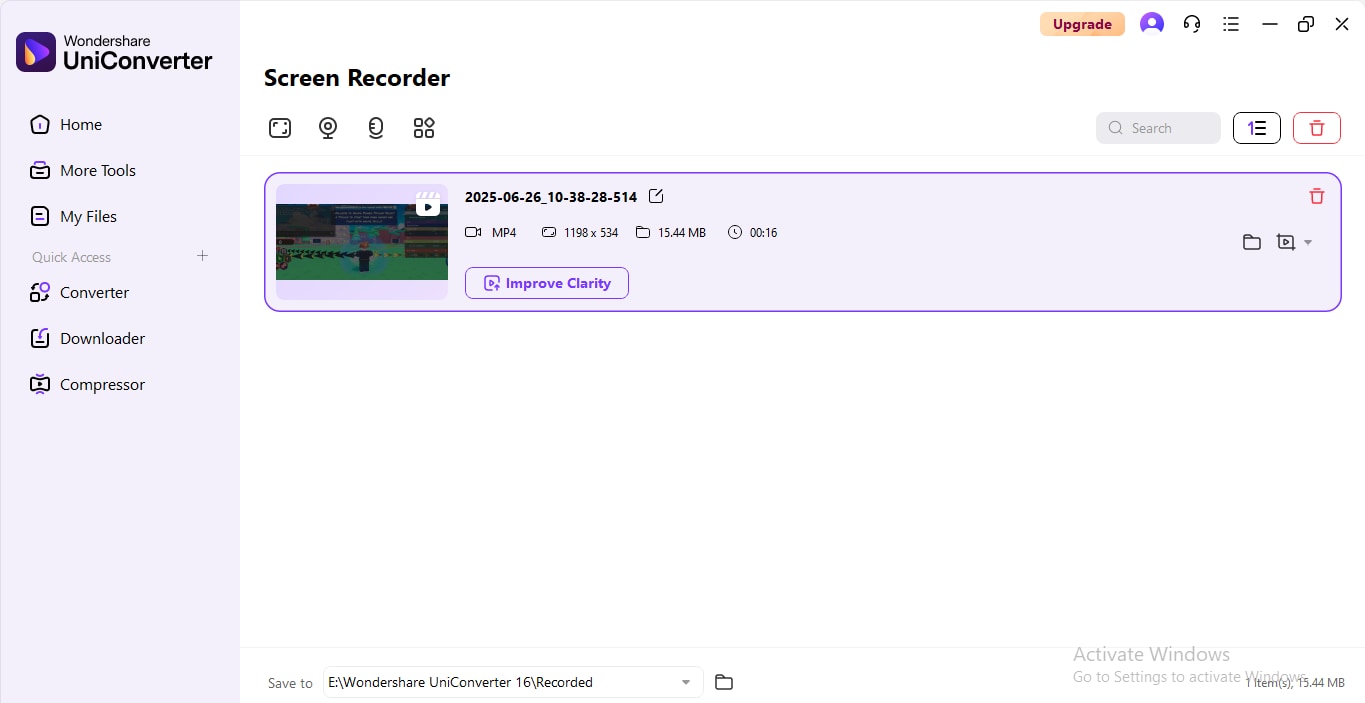
4. The file gets saved to your device when you pause the screen recording. From here, you can edit the Roblox screen recording using the multiple tools by UniConverter. You can use the compressor,
UniConverter is free to download. The Screen recorder is compatible with Windows and delivers premium quality output instantly.
Part 2.How to Record Roblox with Built-in Recorder
The second method to screen-record your Roblox gameplay is within your own system. You can install Roblox and start playing the game. When you hit an interesting curve, you can instantly start the screen recording process. Here’s how it works:
1. Open Roblox and start playing the game on your Windows device. When you want to start recording, press the shortcut “Windows key+G”. The pop-up on the left will give you the option to capture a screenshot or start screen recording.
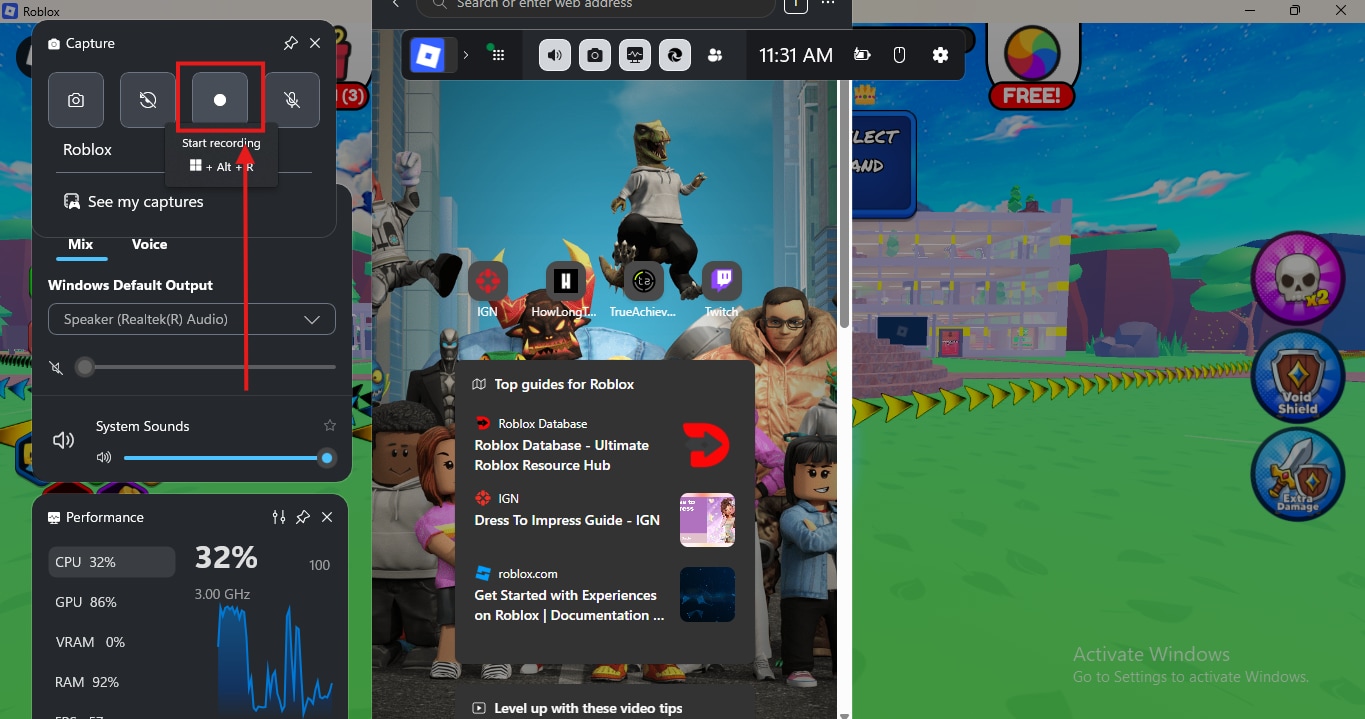
2. Click this option once, and the recording will begin instantly. You can pause or end the screen recording from the options on the right.
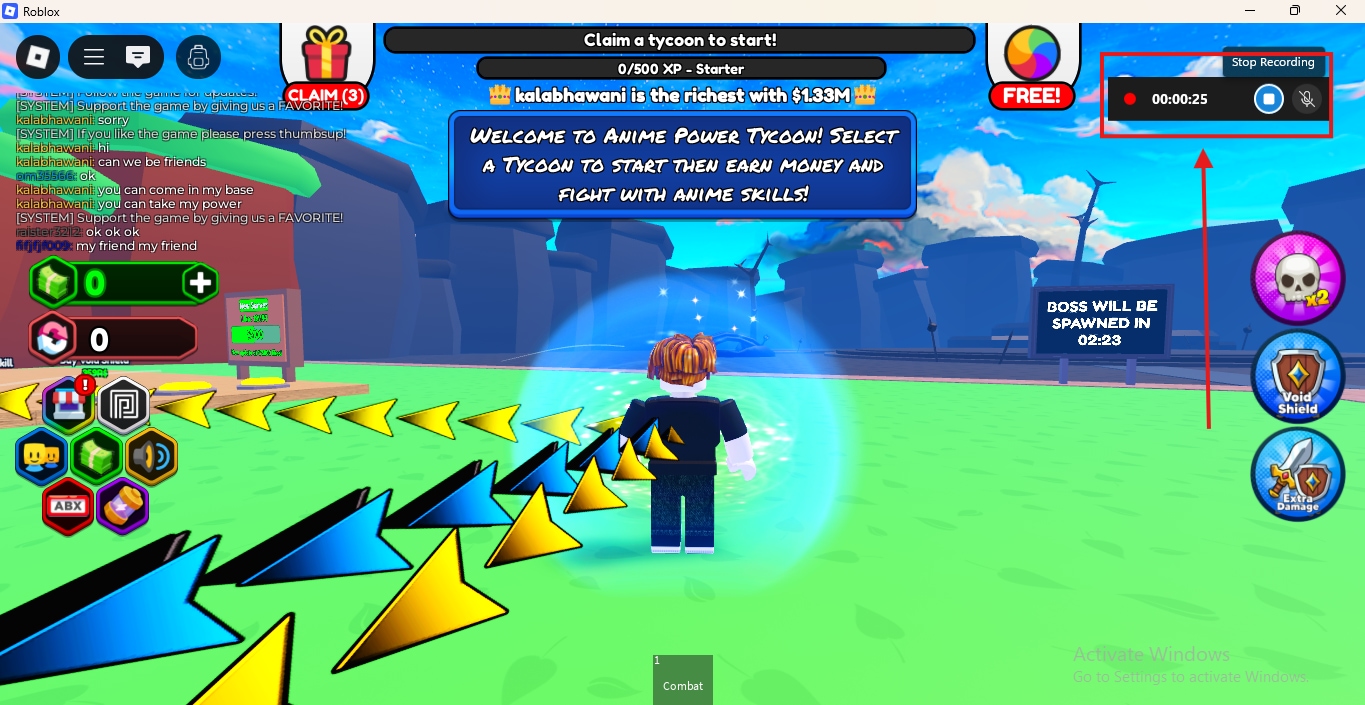
3. The screen recording is automatically saved to your device. You can repeat the process any time to start recording again.
This method is one of the simplest and most effective for recording Roblox gaming. However, this method has some limitations. For example, you cannot modify the frame rate, dimensions, aspect ratio, etc. That is why it is important to consider a professional screen recorder like UniConverter to make sure you get easy customisation options within the tool.
Part 3. How to Record Roblox with OBS
Open Broadcaster Software (OBS) presents another alternative to record Roblox games for free. You can use it on Windows, Mac and Linux devices seamlessly by installing it. Let's understand the step-by-step procedure to use it:
1. Install OBS from the official website for free and launch it on your Windows device.
2. When you enter the home screen, you will be prompted to add sources. Add them using the ‘+’ sign on the bottom.
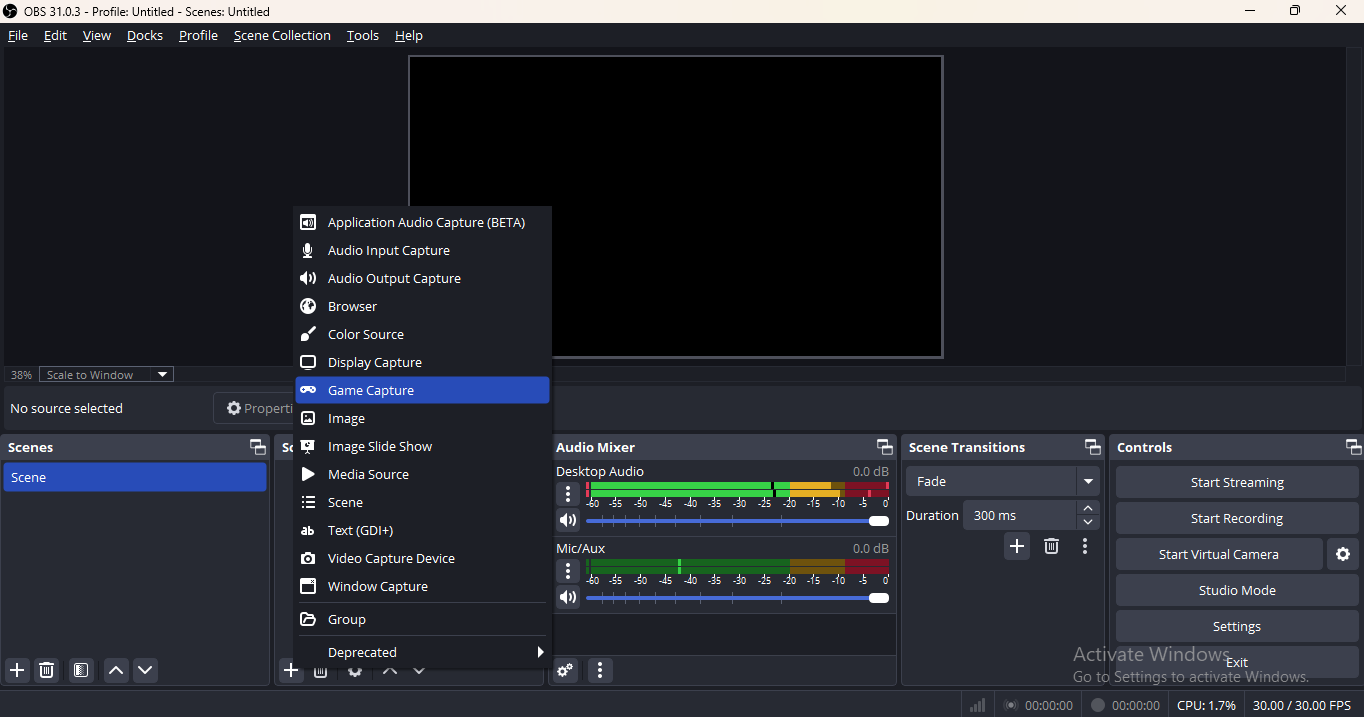
3. From the pop-up, choose ‘Game capture’. And then head to the ‘Mode’ and select ‘Specific Window’. Just below that, you get the option to select the window that you want to start screen recording for.
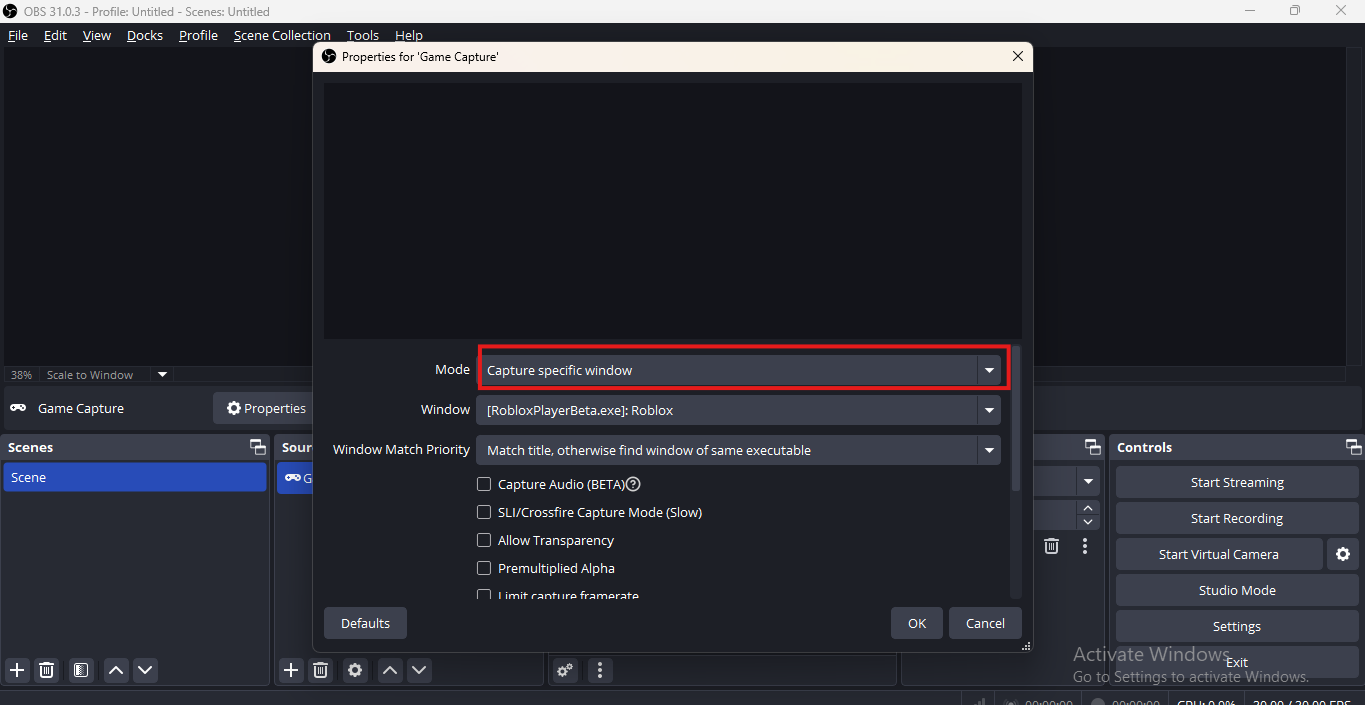
4. On the right side, click on ‘Start Recording’. Once you are done, come back to the home page and choose ‘Stop recording’. The file will be automatically saved to your device.
OBS is reliable, but complicated. It helps to screen-record the entire gameplay with dozens of other settings for clearer quality.
Part 4.How to Record Roblox with Cyberlink on Console
Using Cyberlink is another way to screen-record Roblox, especially on the gaming console you have. Start by installing the Cyberlink software on your Windows device, then follow this step-by-step guide:
1. Use an HDMI capture device and plug your console into your Windows PC where CyberLink is installed. CyberLink supports recording from connected devices
2. Open the app and choose the Device capture mode. This locks the feed to your console screen
3. Choose resolution (up to 1080p at 120 fps) and frame rate via Settings. Use hotkeys to start, stop, or pause without switching apps
4. Begin your session by hitting the REC button or using your custom hotkey. The console gameplay will be recorded on your PC.
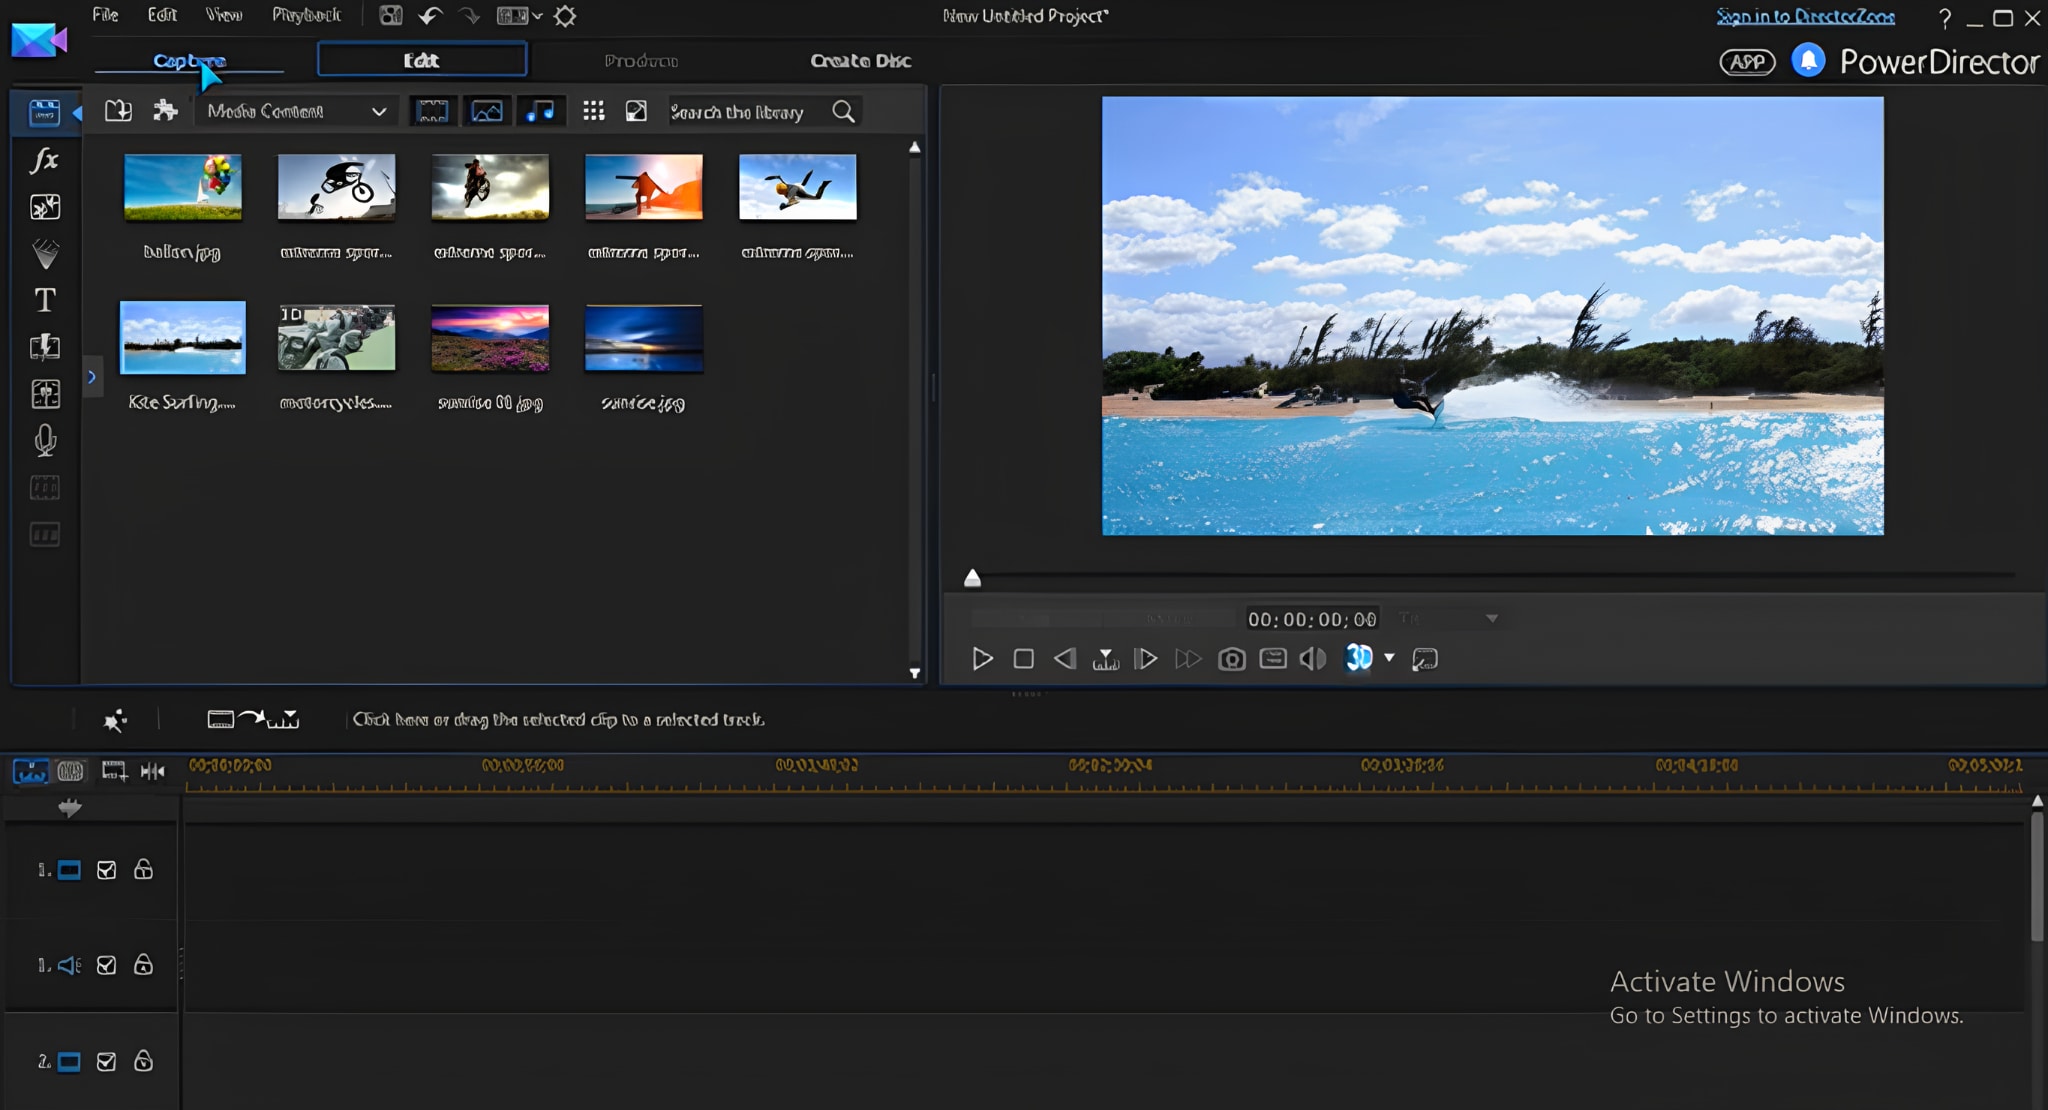
After recording, review your clip in the built‑in editor (powered by PowerDirector). Trim unwanted parts, add transitions or titles, then export in MP4 format.
Part 5.How to Record Roblox with Mobile
If you are not using Roblox on your desktop and you want to record your gameplay on your mobile phone, you can use the built-in screen recorder to complete the task. Here’s how to do it:
1. Start by installing the Roblox application on your mobile phone from the Google Play Store or Apple App Store.
2. Open the game you want to play, and begin screen recording from the built-in screen recorder.
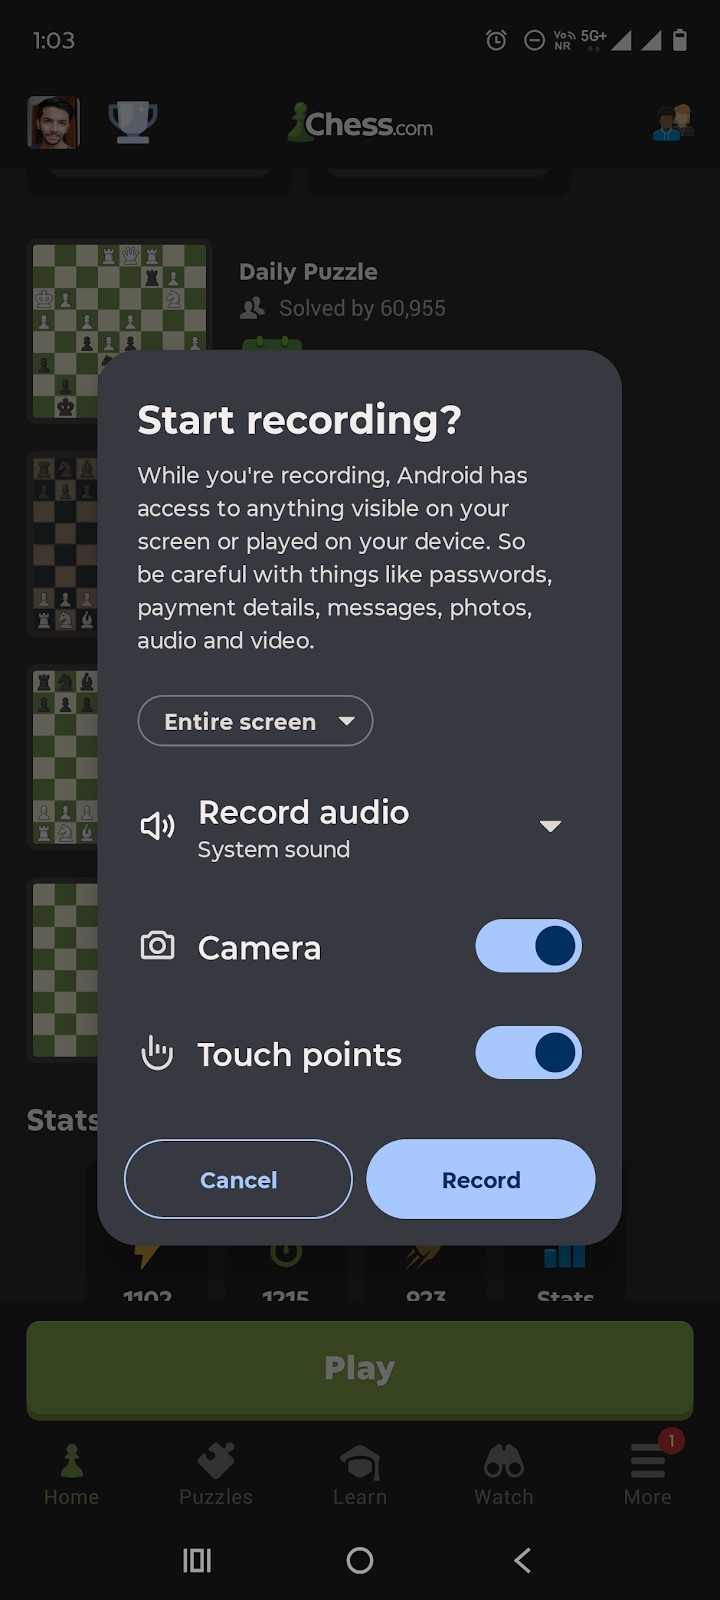
3. As this is a built-in feature, you will get only a few features, such as recording audio and viewing touchpoints in the video.
4. Pause the recording when done, and it will be automatically saved to your device.
Built-in screen recorders have limited options. They cannot be customised for your usage on social media. Hence, using tools like UniConverter will give you an edge when screen recording your games on Roblox.
Part 6.Comparison of the Five Recorders
All these screen recorders have some distinguishing features. But which one is the best for you? Let's find out using a detailed comparison of the five tools:
| Feature / Tool | UniConverter |
Xbox Game Bar |
OBS Studio |
CyberLink |
Mobile Recorder |
| Latency | Very Low | Low | Medium | Very Low | Low |
| Functions Supported | Screen + audio, FPS control, built-in editor, file compressor | Basic recording and mic toggle | Multi-source input, audio mixer, overlays | External device capture, editor, hotkeys | Screen + audio only. |
| FPS Supported | Up to 60 FPS | Fixed | Customizable | Up to 120 FPS | Fixed |
| UI Simplicity | Beginner-friendly, clean | Extremely simple | Complex for beginners | Moderate setup needed | Tap to record, minimal UI |
| Editing Options | Full suite built-in | None | External editor required | PowerDirector integration | Limited or none |
This is a clear indication of the fact that UniConverter exceeds the other editors by a great margin. Due to its vast range of functions and tools that help generate high-quality videos, UniConverter has also become a favourite of thousands of users.
Conclusion
Recording Roblox is simple once you know which tool suits your device and style. Built-in options like Xbox Game Bar or mobile screen recorders work well for quick captures. Tools like OBS and CyberLink give you more control but require extra setup. UniConverter offers the smoothest experience with easy controls, high-quality output, and built-in editing. Pick the option that fits your needs, hit record, and keep your best Roblox moments saved and ready to share.
FAQs
-
Does Roblox have a built-in screen recorder?
Roblox no longer includes a built-in recorder. You need to use external tools like Xbox Game Bar, OBS, or UniConverter. -
What frame rate should I use to record Roblox smoothly?
Aim for 30 to 60 FPS for smooth and clear video. UniConverter and OBS both support adjustable FPS settings. -
How long can I record Roblox gameplay?
There’s no strict limit. Built-in tools may stop recording after a certain time, but UniConverter allows longer sessions. -
What should I avoid while recording Roblox?
Avoid using copyrighted audio or overloading your system. Keep background apps closed for smooth performance.

