

Ever settled in to record that perfect game-winning moment, a crucial online lecture, or a new song idea, only to find your computer sound recorder captured nothing but silence? You're not alone. Capturing the exact audio that streams from your speakers—whether it's system notifications, a video call, or your favorite playlist—feels like a technical magic trick.
This definitive guide will demystify the process, walking you through the best software to record audio from computer systems on Windows, Mac, and even Linux. We'll explore professional powerhouses, trusted free utilities and provide detailed steps to ensure your next recording is crystal clear. Get ready to finally capture sound from computer output perfectly.
Table of Contents
Part 1. Tips for Selecting the Right Computer Sound Recorder
Before we dive into the software, understanding what separates a good desktop audio recorder from a great one will save you time and ensure you get the results you need. Here are the key factors to consider:
Audio Source Flexibility
Can the software capture audio from computer (system sound) and your microphone simultaneously on separate tracks? This is crucial for creators who want to record a game's audio while providing commentary, allowing them to adjust the volume of each source independently in editing.
Output Format and Quality
Don't just settle for a compressed MP3. Look for a sound recorder for PC that offers lossless formats like WAV or FLAC for maximum quality, especially if you're recording music. Control over bitrate and sample rate is a sign of a professional tool.
Ease of Use and Setup
The best computer audio recording software strikes a balance between powerful features and an intuitive interface. You shouldn't need an engineering degree to start a basic recording. Look for customizable options that are easy to find and understand.
Post-Recording Features
Does the tool capture sound from PC and stop, or does it include basic trimming, noise reduction, or even complete multi-track editing? An all-in-one solution can dramatically streamline your workflow.
Device and Format Compatibility
This is paramount. Ensure the voice recorder for PC is compatible with your operating system (Windows 11, MacOS Sonoma, etc.) and can handle the audio formats you need, both for input and output.

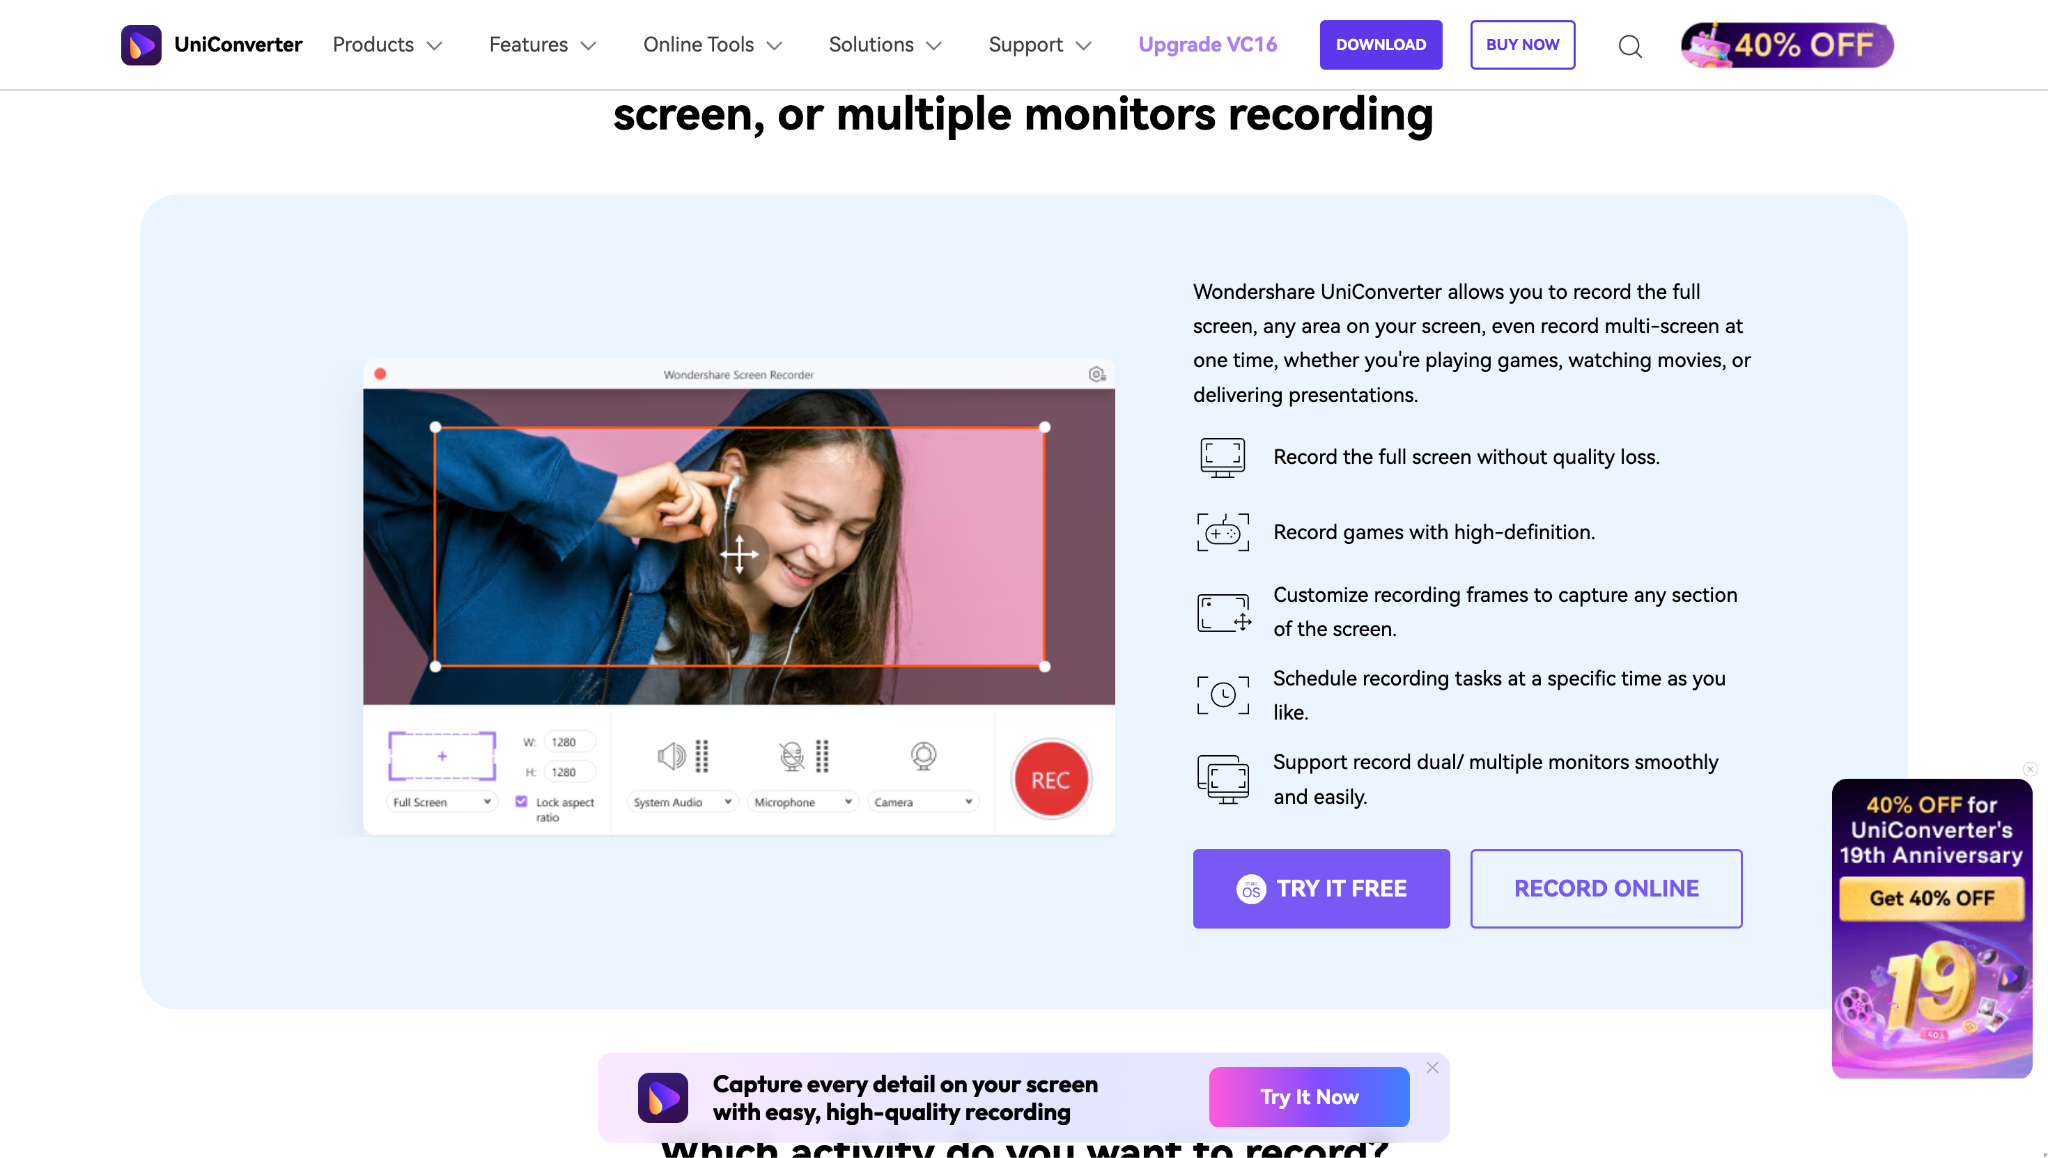
Easy to Use Stereo Computer Sound Recorder
Part 2. Best 6 Tools to Record Computer Sound
After extensive testing on all major platforms, we've curated the six most reliable and powerful tools to record computer audio. They are ranked based on their versatility, feature set, and ease of use.
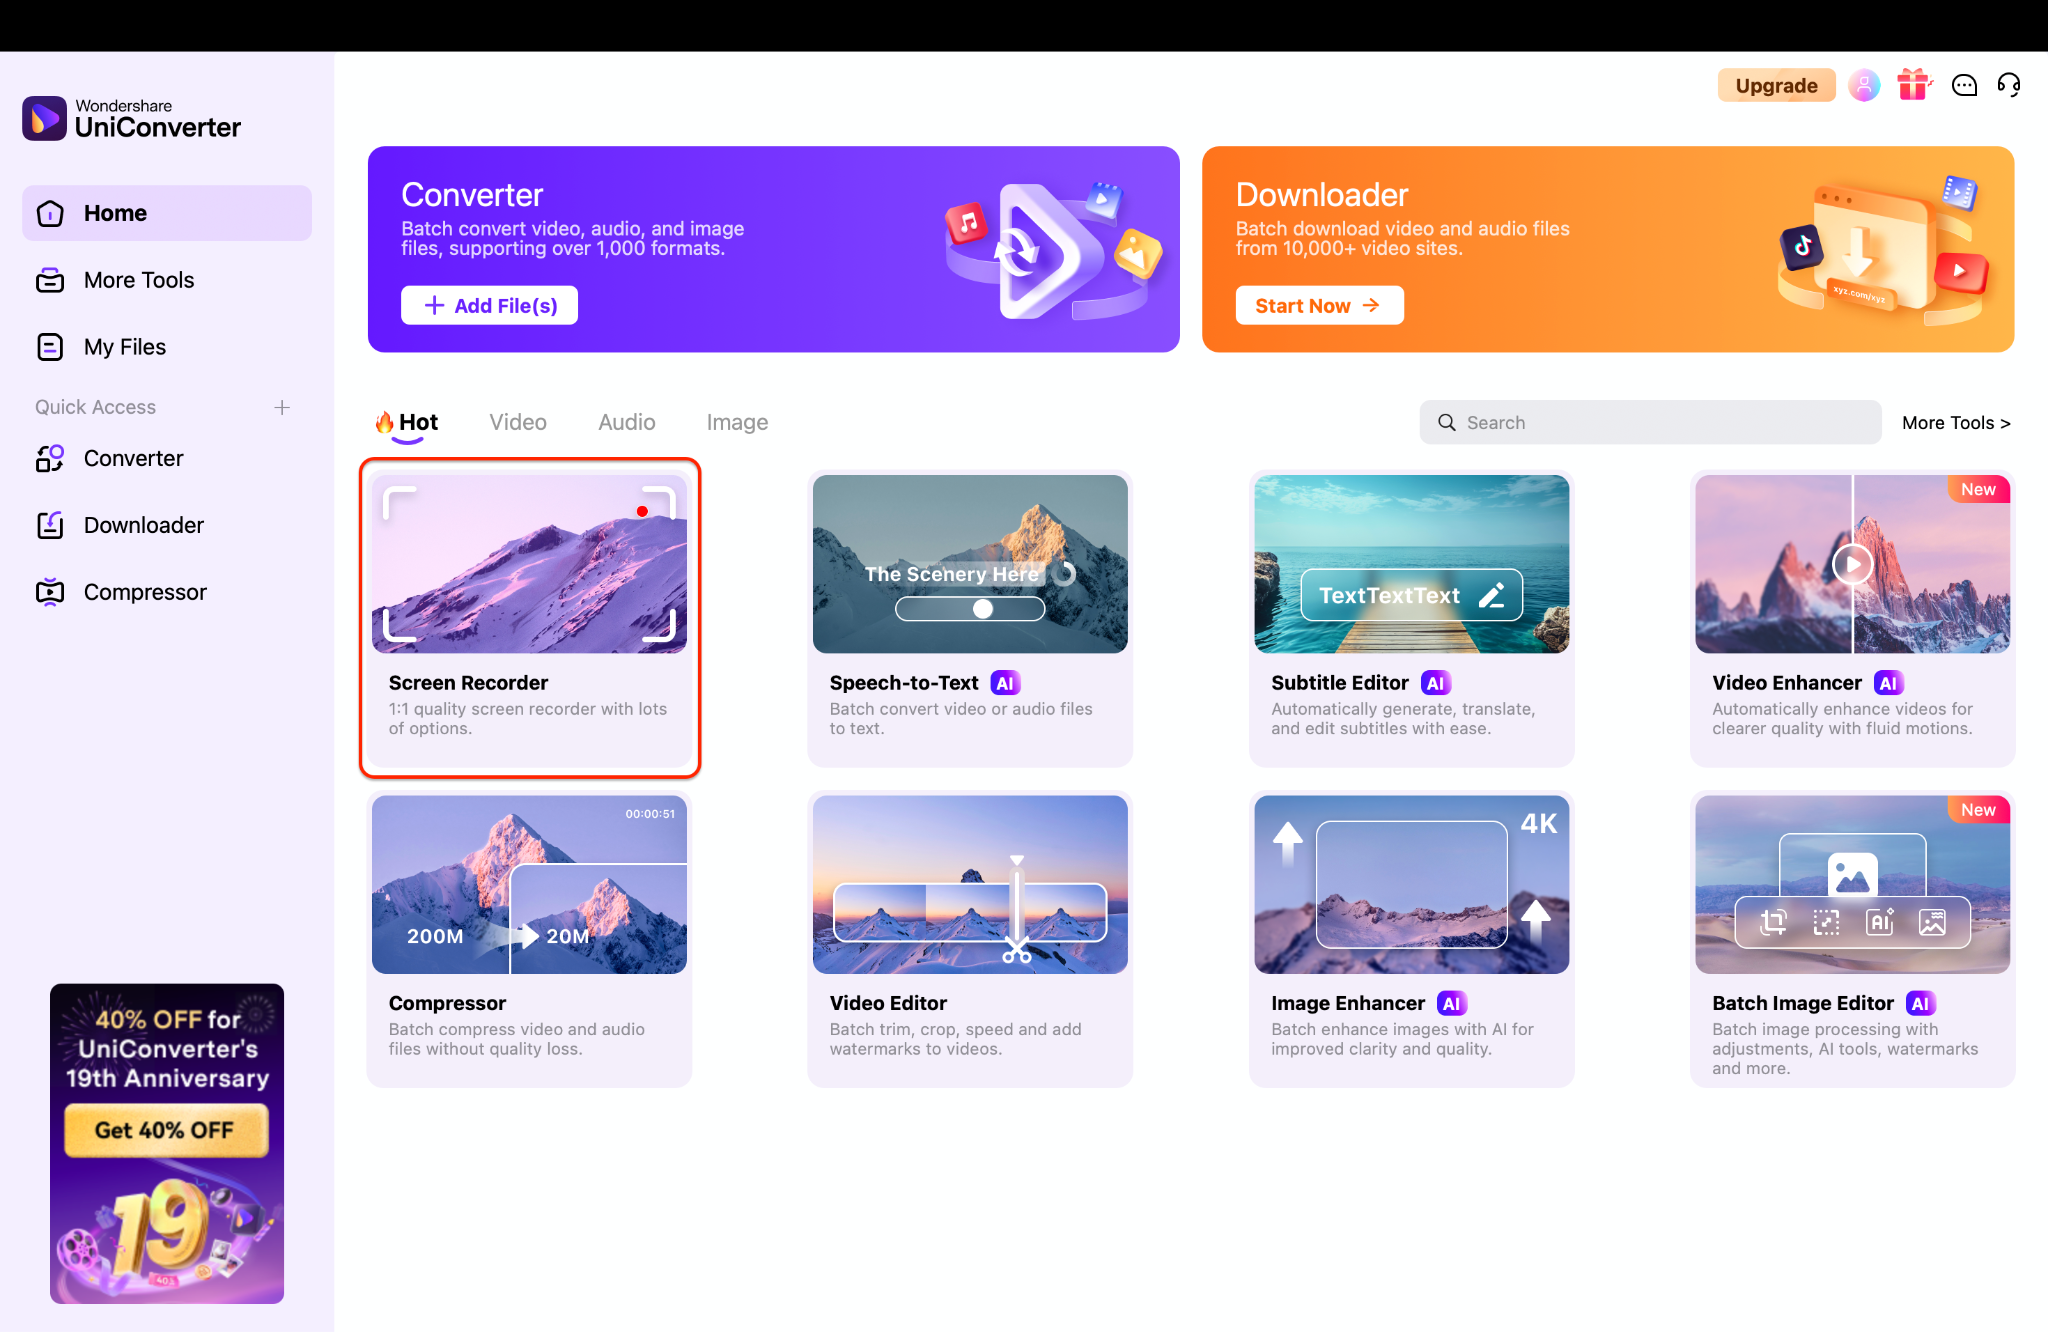
1. UniConverter – Best All-in-One Computer Sound Recorder
UniConverter stands out as the most robust and user-friendly solution for most users. It goes far beyond being a simple recorder PC audio tool; it's a complete multimedia toolkit. Its dedicated audio recording module eliminates the technical guesswork, allowing you to capture audio from computer system sound and your microphone with just a few clicks. What truly sets it apart is its integrated editor, which lets you trim, enhance, and convert your recordings immediately after capturing them, all within the same application.
Key Features:
- One-click recording of system sound and microphone.
- Real-time preview of audio levels to prevent clipping.
- Direct recording to multiple formats (MP3, AAC, WAV, FLAC).
- Built-in audio editor and converter.
- Batch processing capabilities.
- Clean, intuitive, and beginner-friendly interface.
How to Record Computer Audio with UniConverter:
Follow these three simple steps:
Step 1: Launch UniConverter and Open the Recorder Tool
Start by downloading and launching UniConverter on your computer. Navigate to the "Screen Recorder" option from the main menu to access recording features. Select "Audio Recorder" to prepare for capturing system sound.
Tip: To record sound properly, UniConverter requires you to install the Virtual Sound Card—ensure it's set up before starting.
Step 2: Set Up Your Audio Preferences
Choose whether you want to record from system audio, microphone, or both, depending on your needs. Adjust the audio quality settings to ensure clear and professional sound output. Make sure the correct input source is selected, then go to the Format list to set your preferred export option (MP3, WAV, or M4A) before proceeding.
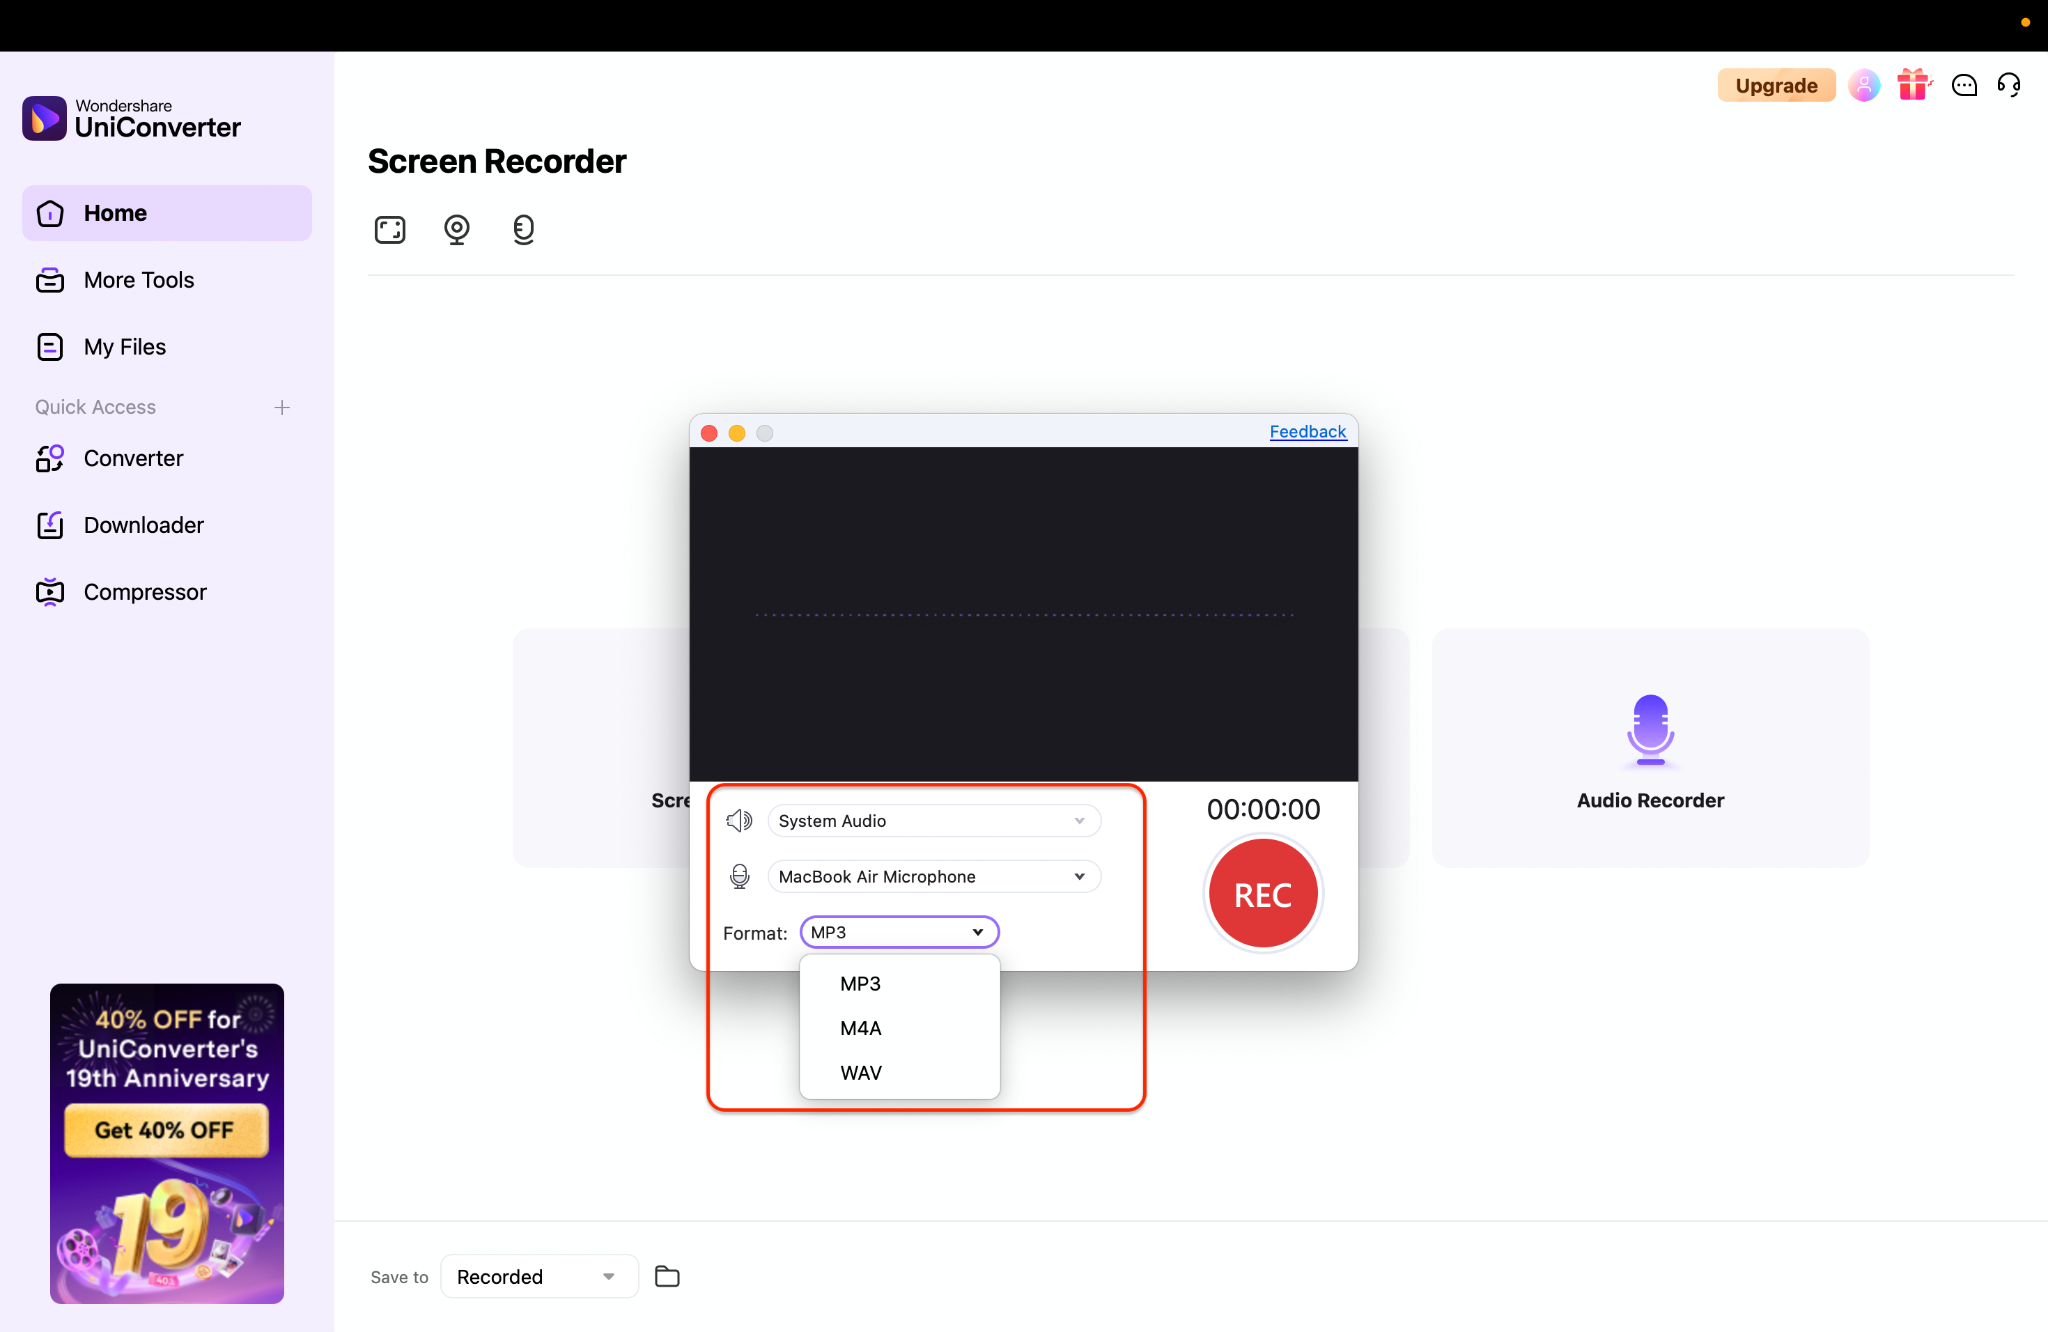
Tip: To avoid echo, use headphones when recording with a microphone. If you're using a Bluetooth mic, UniConverter will automatically detect it, making it easy to select under the Microphone option.
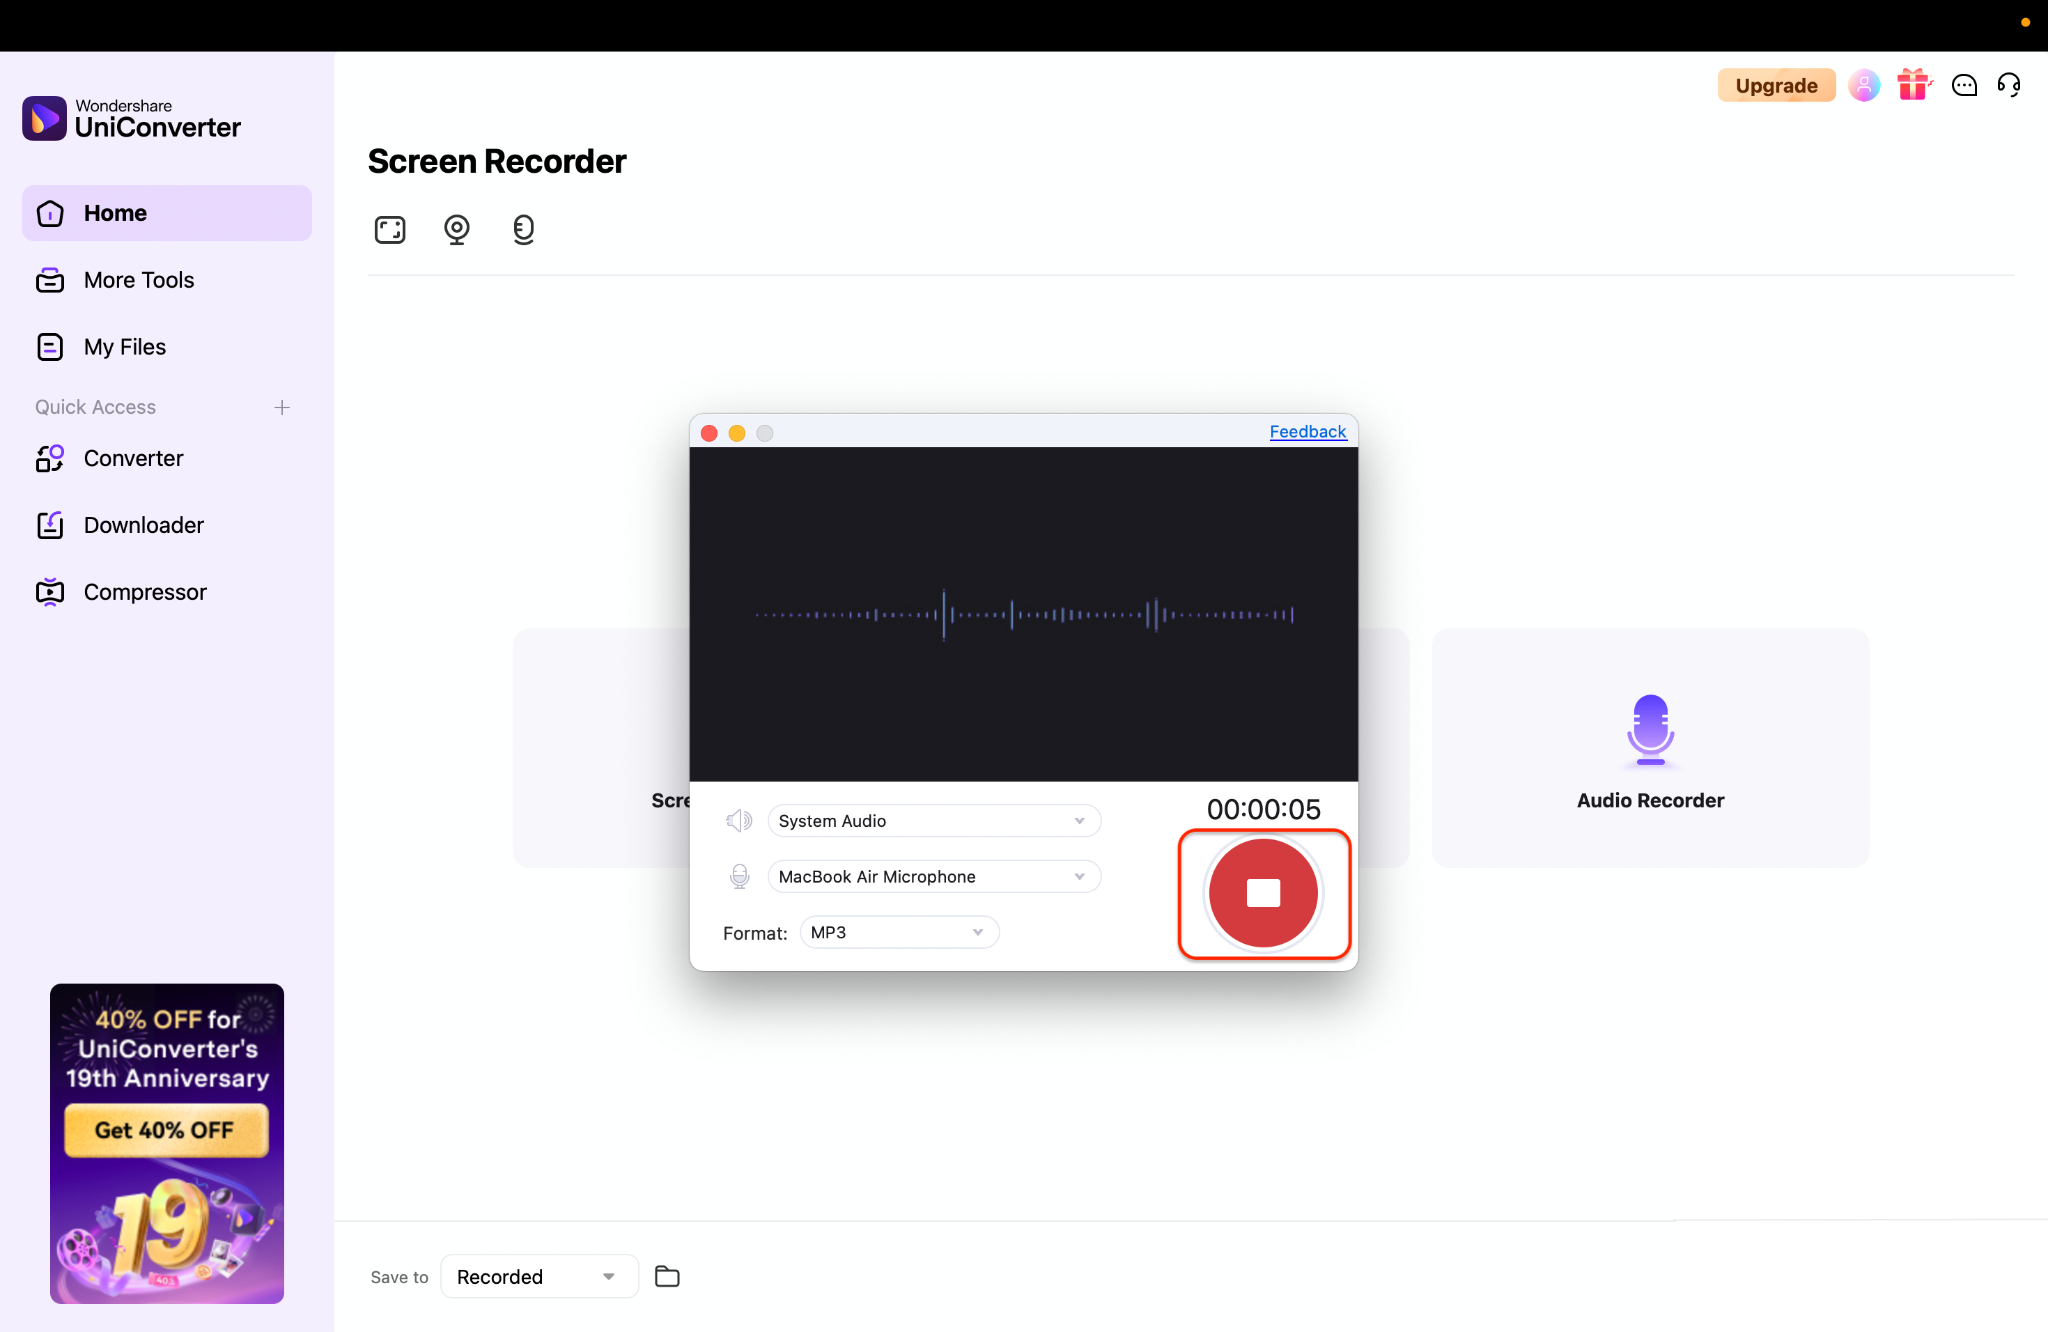
Step 3: Start Recording and Save Your File
Click the red "REC" button to instantly begin capturing audio from your computer. Once finished, press Stop, and the recording will automatically be saved within the UniConverter interface. You can then preview, trim, or export your file in the format of your choice.
Supported OS: Windows and MacOS.
2. Audacity (with VB-Cable) – The Free Powerhouse

How to Record with Audacity:
Step 1: Install a Virtual Audio Cable
To capture system audio in Audacity, you'll first need a virtual audio driver. On Windows, download and install VB-Cable. On macOS, use BlackHole. These act as virtual connections, allowing your computer's sound to be routed into Audacity for recording.
Step 2: Configure Your System Sound
Once installed, set your computer's audio output to the virtual cable. For example, select "Cable Input" as your output device in the system sound settings. This ensures all the sound your computer plays—music, videos, or calls—will be sent through the cable instead of your speakers.
Step 3: Set Up and Record in Audacity
Open Audacity and set the recording device to the virtual cable's output, such as "Cable Output." When you're ready, hit the Record button in Audacity and play your system audio. Audacity will capture everything passing through the cable, giving you a clean, direct recording of your computer's sound.
Supported OS: Windows, MacOS, Linux.
Easy to Use Stereo Computer Sound Recorder
3. OBS Studio – The Streamer's Choice
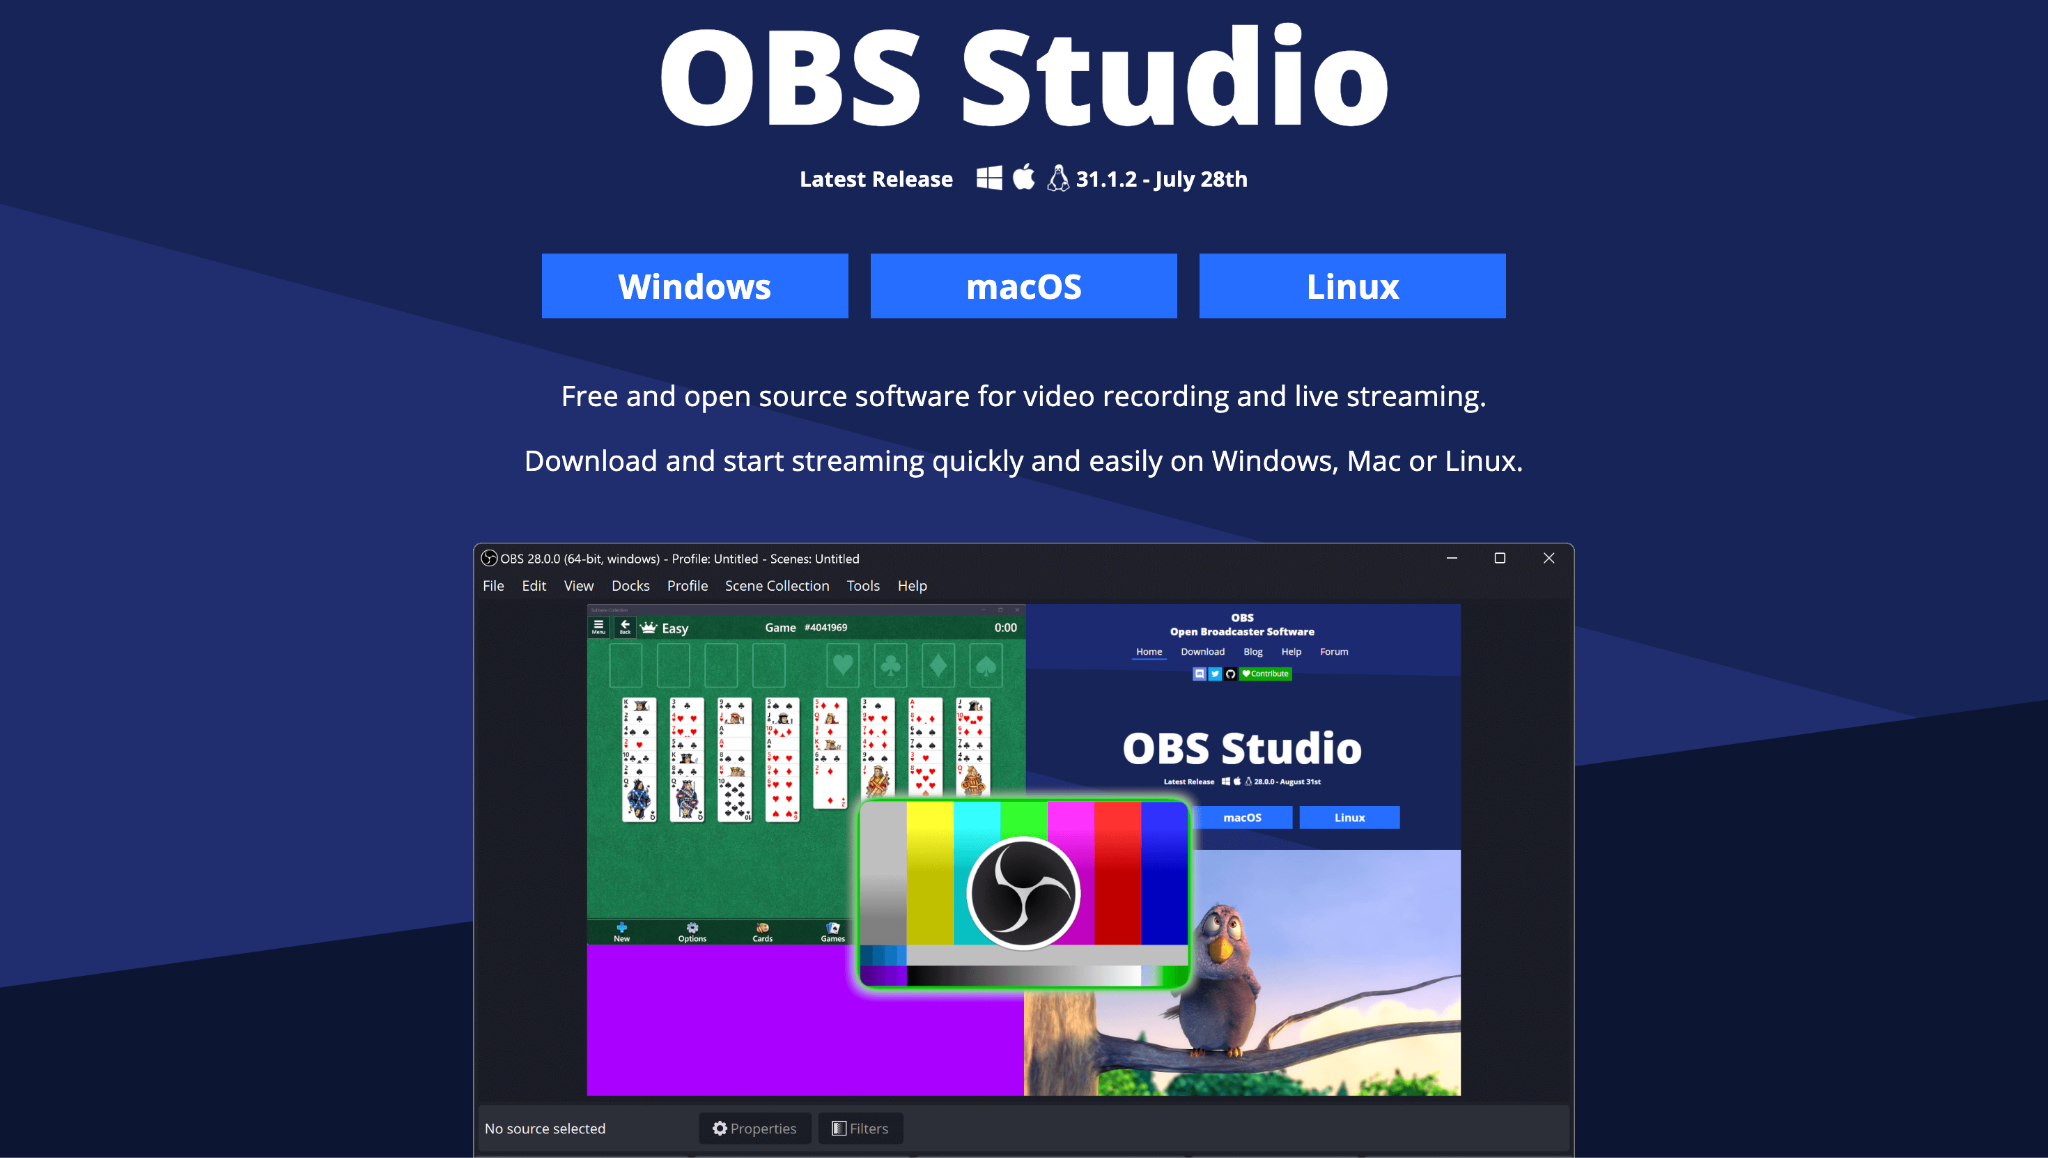
How to Record with OBS:
Step 1: Set Up Your Scene and Audio Sources
Open OBS and create a new Scene to organize your recording setup. Add an Audio Output Capture source to capture your system sounds (such as desktop audio), and then add an Audio Input Capture source for your microphone. This way, both your computer audio and your voice are captured clearly.
Step 2: Adjust Your Recording Settings
Go to Settings > Output and select your preferred recording format (e.g., MP4, MKV) and quality level. Higher-quality settings provide cleaner sound but result in larger file sizes, so adjust accordingly based on your storage and project needs.
Step 3: Start Recording
Once everything is configured, click Start Recording in OBS. Play your system audio and speak into your microphone, and OBS will capture both streams simultaneously. When finished, hit Stop Recording, and your file will be saved in the designated folder, ready for editing or sharing.
Supported OS: Windows, MacOS, Linux.
4. Audio Hijack – The Mac Specialist
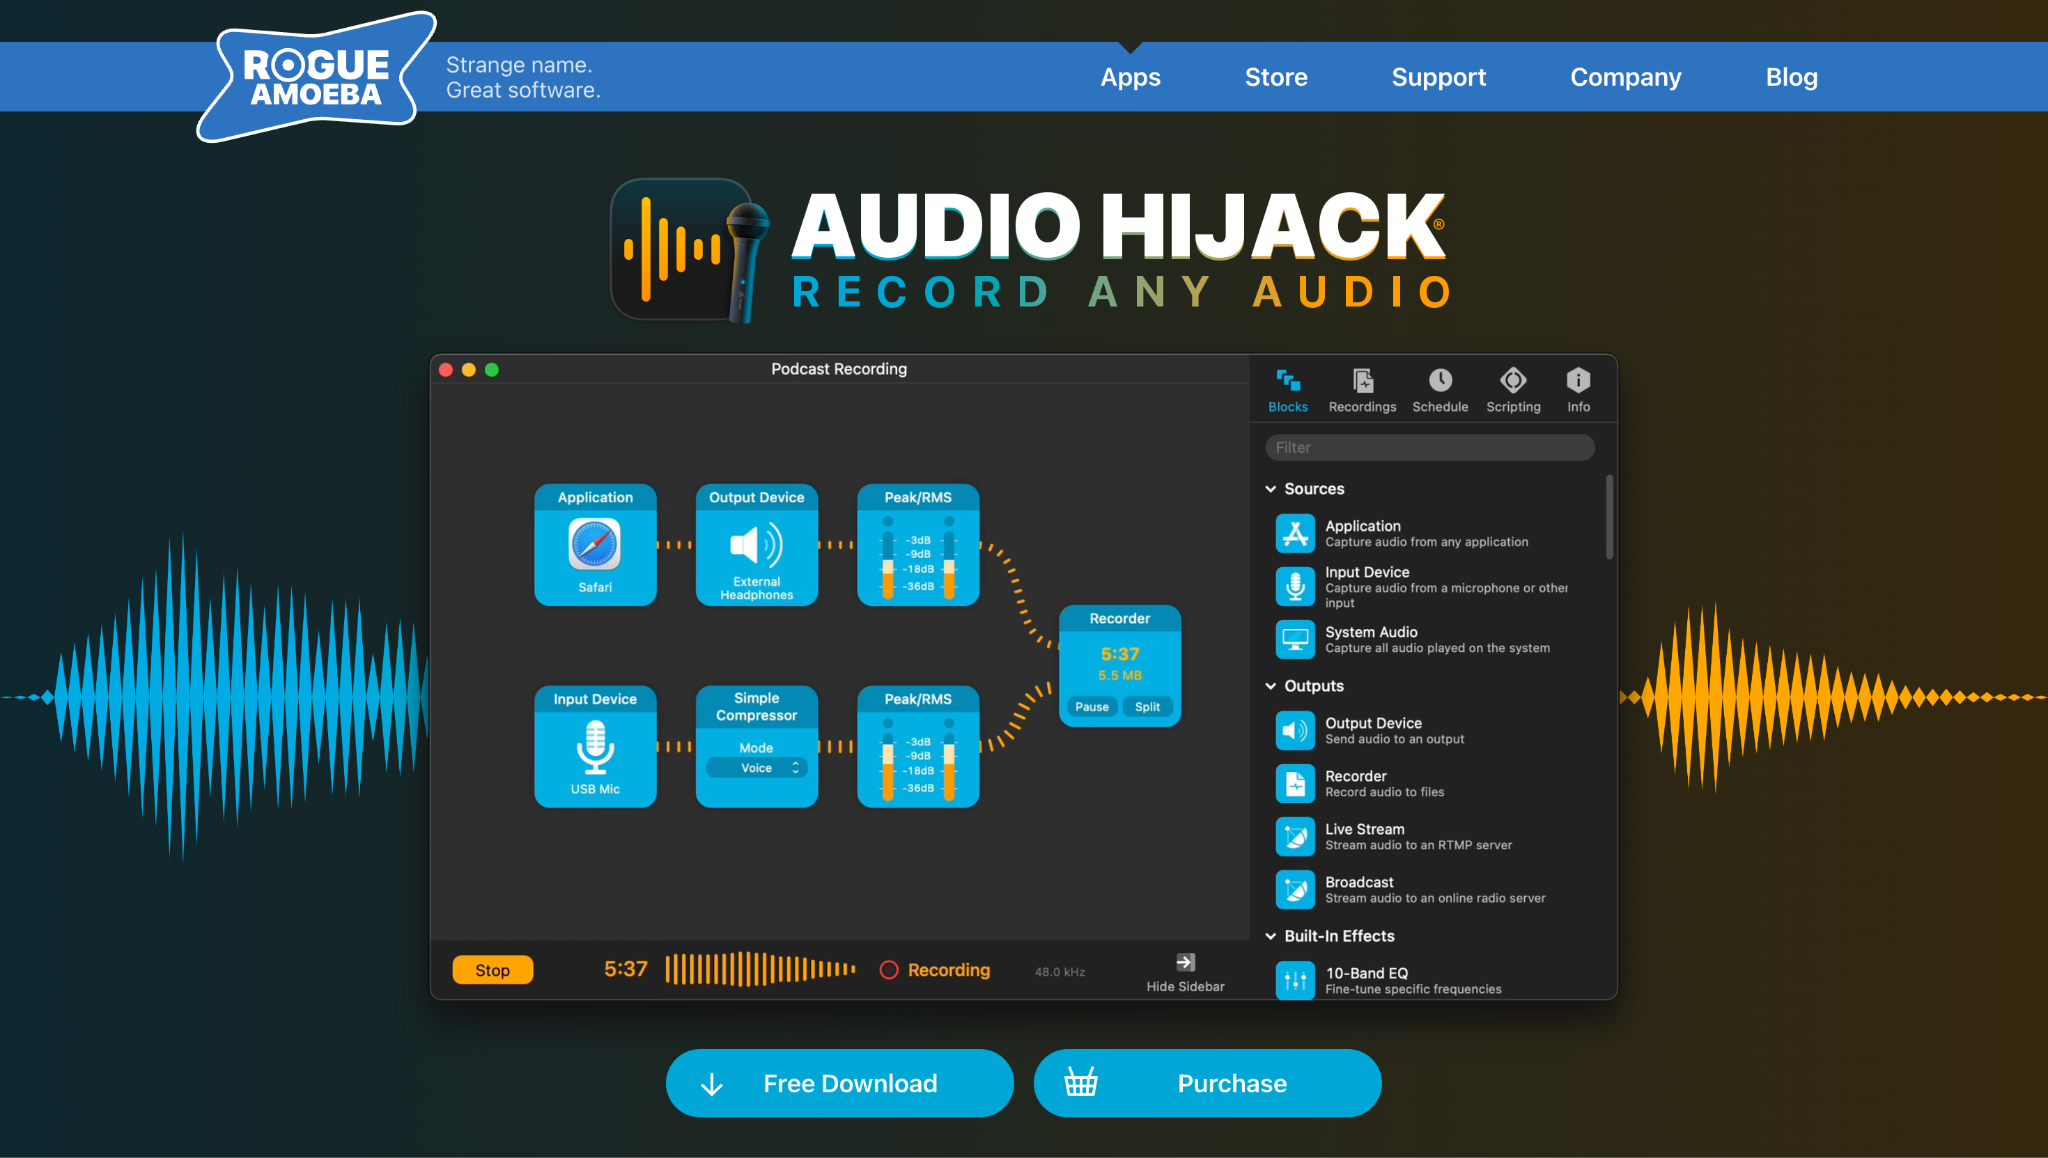
How to Record with Audio Hijack:
Step 1: Set Up a New Session
Open Audio Hijack and create a new session. You'll see a visual workspace where you can drag and drop blocks to define your audio flow. Start by adding an Input Device block (such as your microphone) or an Application block (like Spotify or Zoom), depending on what you want to record.
Step 2: Configure Recording Settings
Next, add a Recorder block to your session and connect it to your input. Select your preferred audio format (e.g., MP3, AAC, WAV) and adjust the quality settings to suit your project's needs. Audio Hijack also allows you to schedule recordings or split files automatically, which is ideal for longer sessions, such as podcasts or webinars.
Step 3: Start and Manage Your Recording
Click the big Record button to begin capturing audio. You'll see live visual meters confirming that sound is being recorded in real time. When you're done, press Stop, and your recording will be saved in the location you set—ready for playback, editing, or sharing.
Supported OS: MacOS.
5. Voice Recorder (Windows App) – The Simple Built-In Solution
How to Record with Voice Recorder (Windows App):
Step 1: Open the Voice Recorder App
On Windows, search for "Voice Recorder" in the Start menu and open the app. The interface is clean and simple, designed for quick recordings without extra setup. Ensure your microphone is connected and functioning properly before you begin.
Step 2: Start and Manage Your Recording
Click the large microphone icon to begin recording. As you speak or capture audio, the app displays a waveform, allowing you to see the sound levels in real-time. You can also pause and resume if you prefer not to have multiple short clips.
Step 3: Save and Access Your Recording
When you're finished, click the Stop button, and your file will be automatically saved in the app's library. From there, you can rename your recording, trim it, or share it directly. All recordings are stored in the Documents > Sound Recordings folder for easy access.
Supported OS: Windows.
6. SimpleScreenRecorder – The Linux Champion
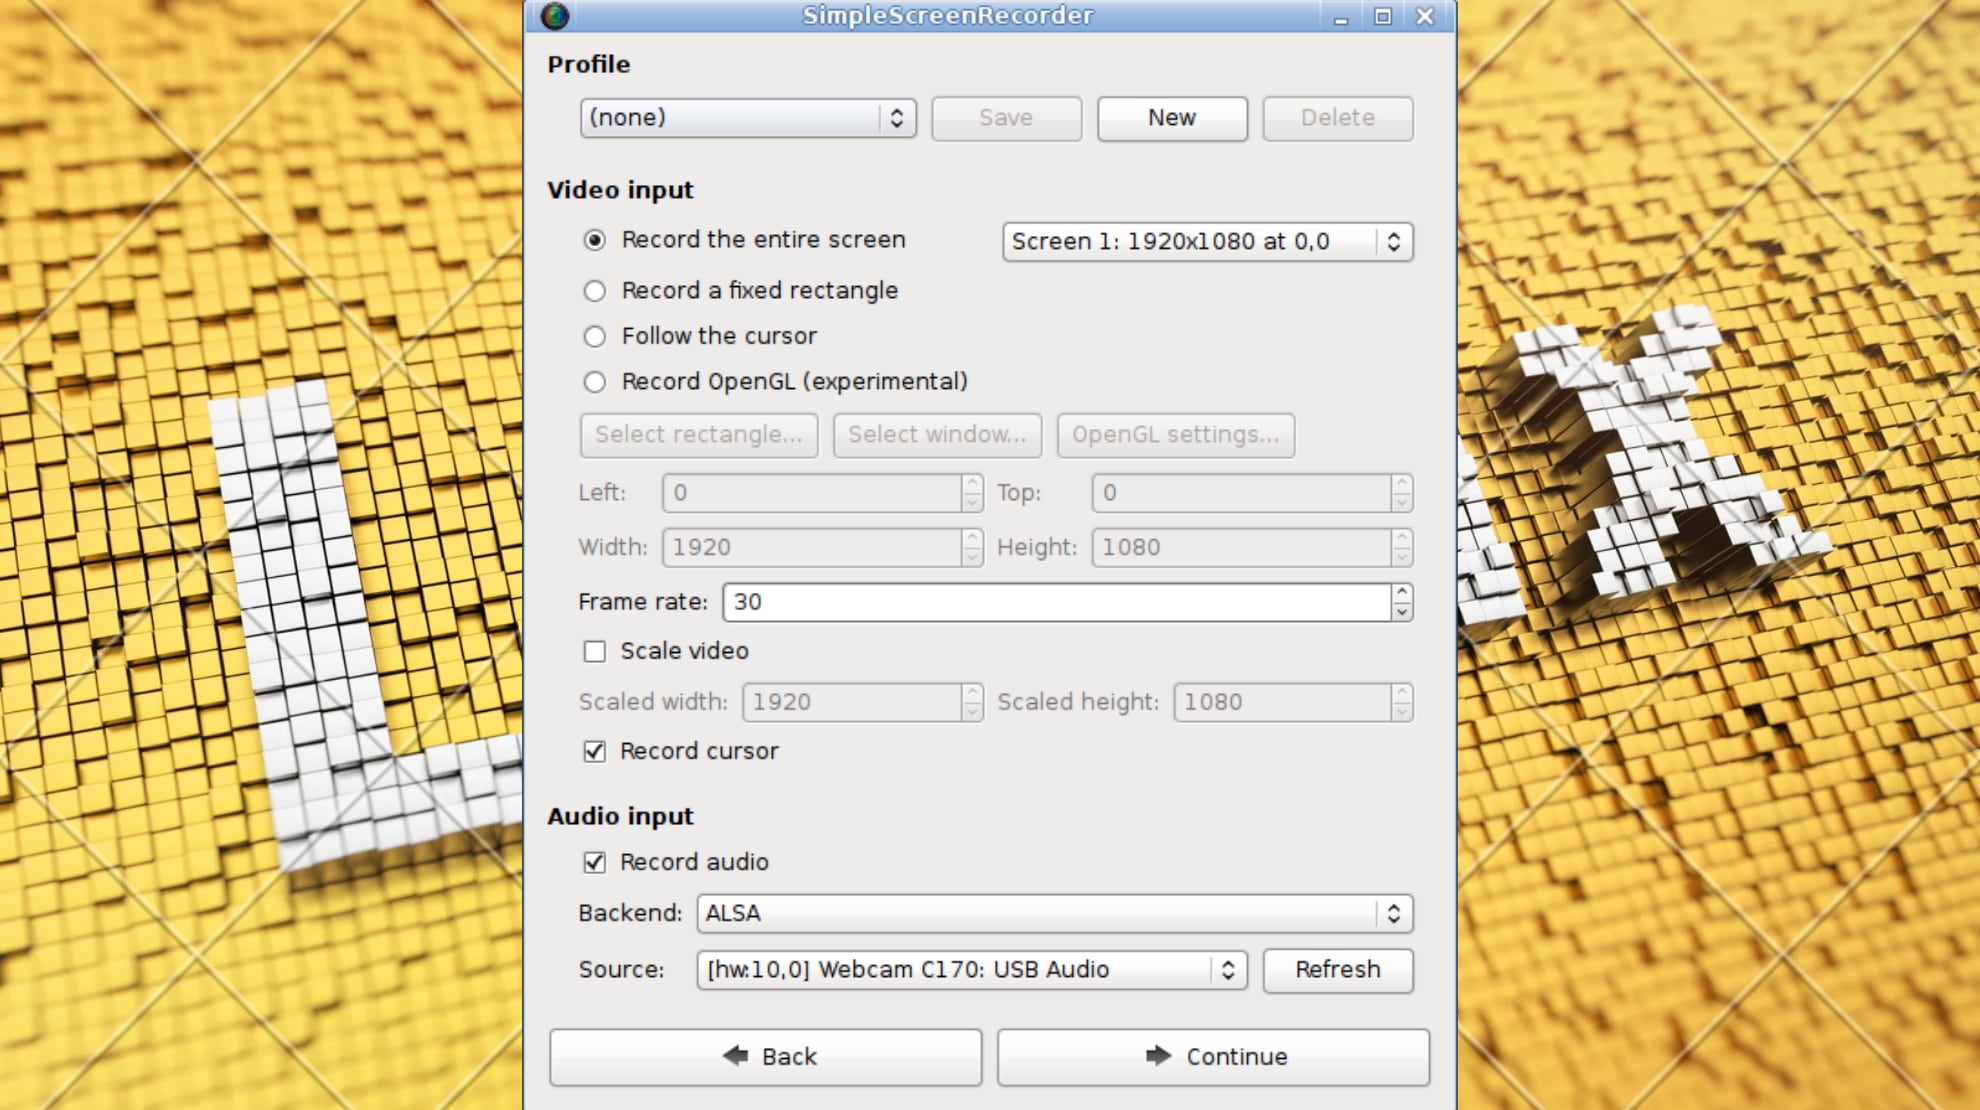
How to Record with Simple Screen Recorder:
Step 1: Launch SimpleScreenRecorder and Set Up Your Session
Open SimpleScreenRecorder and click "Continue" to start a new session. Choose whether you want to record the entire screen, a fixed rectangle, or a specific application window. This flexibility makes it easy to capture exactly what you need, whether it's a full presentation or just one program.
Step 2: Configure Audio and Video Settings
Next, select your video input (screen capture) and choose the audio source if you want to include system sound or microphone input. You can also adjust frame rate, resolution, and codec settings to balance quality with file size. These settings ensure your recording runs smoothly without overloading your system.
Step 3: Start Recording and Save Your File
Click "Start Recording" to begin capturing your screen. While recording, a small control panel allows you to pause, resume, or stop at any time. When you finish, SimpleScreenRecorder will prompt you to save the file in your chosen format—ready for playback, editing, or sharing.
Supported OS: Linux.
Part 3. Quick Comparison Table
This table helps you quickly find the best computer sound recording software for your needs.
| Tool | Supported OS | Stereo Sound Record |
Multiple Separate Tracks |
Supported Formats |
| UniConverter | Win, Mac | Yes | Yes | MP3, WAV, AAC, FLAC, etc. |
| Audacity | Win, Mac, Linux | Yes (with setup) | Yes | WAV, AIFF, MP3, etc. |
| OBS Studio | Win, Mac, Linux | Yes | Yes | MP4, FLV, MKV, MP3, etc. |
| Audio Hijack | macOS | Yes | Yes | MP3, AAC, ALAC, WAV, etc. |
| Voice Recorder | Windows | No (Requires Stereo Mix) | No | M4A |
| SimpleScreenRecorder | Linux | Yes | No | MP4, MKV, MP3, etc. |
Part 4. Problems to Avoid When Recording Computer Sound
Even with the best sound recorder for PC, issues can arise. Here's how to troubleshoot common problems:
Recorded Silent Audio
This is the most common issue. Always ensure that the correct input source (microphone or system audio) is selected in your recording software.
- On Windows: Ensure the correct microphone is selected, then turn off Exclusive Mode so that other apps can access it (Sound icon > Sounds > Recording tab > Properties > Advanced > uncheck the Exclusive Mode boxes).
- On macOS: Grant your app microphone permissions (System Settings > Privacy & Security > Microphone) and confirm that the correct input is set in both System Settings > Sound > Input and within your recording app.
By following these quick OS-specific checks, you can fix most silent audio problems.
Choppy or Glitchy Audio
Your computer is under too heavy a load. Close unnecessary applications and browser tabs. If using OBS or a screen recorder, try lowering the recording quality or resolution to improve the quality.
Echo in Audio
Your microphone is likely picking up the sound from your speakers. Always wear headphones while recording to prevent audio feedback.
Slight Buzzing or Hum
This is often caused by electrical interference. Ensure your microphone and audio cables are plugged in securely and kept away from power cables and other electrical sources.
Conclusion
Choosing the right tool to record computer audio is the difference between a seamless creative process and a technical headache. For most users seeking a perfect balance of power and simplicity, UniConverter screen recorder is the undisputed champion. It removes the complexity of virtual cables and complicated settings, allowing you to focus on what matters: creating great content.
No matter your choice, you're now equipped with the knowledge to capture sound from computer systems flawlessly. Stop letting great audio moments slip away—start recording them.
Easy to Use Stereo Computer Sound Recorder
FAQ
-
1. What is an SRT file?
An SRT file (SubRip Subtitle) is a plain-text file that contains subtitle information along with precise timestamps indicating when each line of text should appear and disappear on the screen during a video. It's the most widely supported subtitle format in the world. -
2. Can I generate SRT subtitles for free?
Yes! Several tools, including VEED.IO, Subtitle Tools, and Zamzar, offer free tiers or are entirely free to use. However, they often come with limitations such as watermarks, file size caps, or length restrictions. For unlimited, professional use, a paid tool like UniConverter is a more cost-effective option. -
3. How accurate are automatic subtitle generators?
The accuracy of modern AI-powered tools is very high, often reaching 95% or higher for clear audio with a single speaker. However, accuracy can drop with poor audio quality, strong accents, technical jargon, or multiple people speaking simultaneously. This is why a good editing interface is crucial for quick corrections. -
4. What's the difference between burning in subtitles and using an SRT file?
Burning in (or hardcoding) subtitles means they are permanently rendered as part of the video image and cannot be turned off. An SRT file is a separate sidecar file that contains subtitle data. Players like VLC or platforms like YouTube can read this file and display the subtitles, which viewers can toggle on or off. Using an SRT file is preferred for flexibility and accessibility. -
5. Which is the best tool for converting long MP4 videos to SRT?
For long videos such as lectures, webinars, or meetings, NoteGPT is an excellent online option since it supports files up to 300MB. For the best performance and privacy with longer videos, UniConverter's desktop software is ideal, as it processes files offline without length restrictions.

