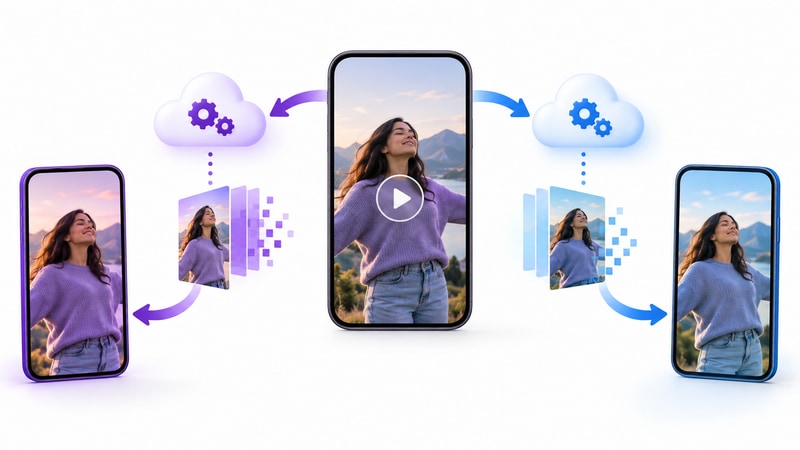

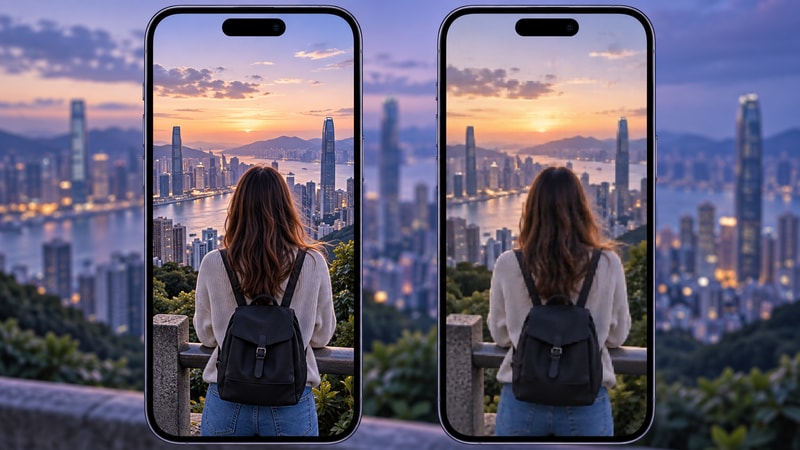
A video can look crisp in the camera roll or on a computer and still appear soft after it becomes a Reel or feed post. That does not mean Instagram simply “destroys” every upload. Meta processes uploaded video into different resolutions and bitrates so it can play across changing networks and devices. The result depends on what Instagram receives: a clean master gives its encoder more useful information than a file that has already been resized, sharpened, compressed, transferred through a messaging app, and exported again.
In this article
Part 1. Why Does Instagram Ruin Video Quality?
Instagram does not stream the exact file stored on your phone. It transcodes the upload and creates delivery versions for different screens and connection speeds. That extra encoding pass can soften texture, simplify motion, and reveal blocks or ringing around text, hair, foliage, confetti, smoke, and dark gradients. These are difficult scenes for any lossy encoder.

| What changes | Why it can look worse | What to do before upload |
| Resolution | Scaling an undersized source cannot recreate missing detail; scaling an oversized file still triggers a delivery encode. | Start from the cleanest master and prepare the correct aspect ratio instead of relying on in-app cropping. |
| Bitrate | A low-bitrate or repeatedly compressed source gives the next encoder fewer clean details to preserve. | Avoid aggressive pre-compression and do not send the master through apps that recompress attachments. |
| Frame rate | Changing frame cadence can introduce judder or duplicated frames, especially after several exports. | Keep a consistent frame rate through capture, edit, and export unless a deliberate conversion is required. |
| Codec and container | Unsupported or inefficient combinations may require another conversion before Instagram creates its own playback versions. | Prepare a broadly compatible video output from the original master. |
| Color and HDR | Tone mapping and display capability can change brightness, contrast, and saturation between devices. | Preserve valid HDR metadata or make a deliberate SDR export; do not mix color workflows accidentally. |
Part 2. Is the Original Video Bad, or Is Instagram Compression the Problem?
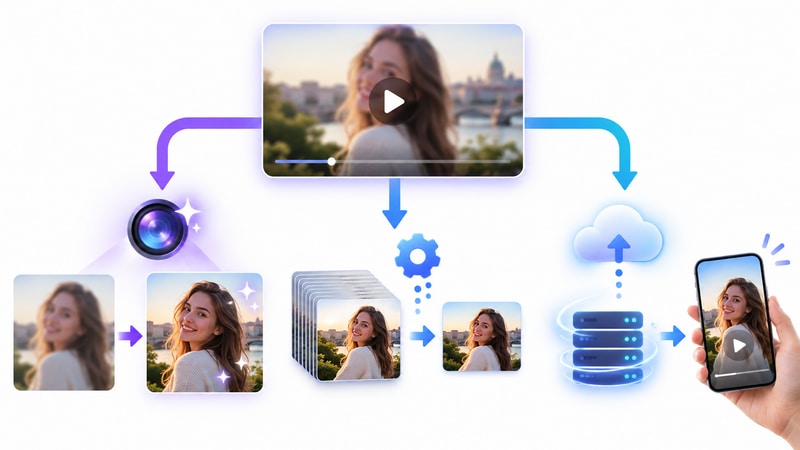
Play the upload file at full size. Pause on faces, text, motion, shadows, and textured backgrounds. If they are already blurred or blocky, the source needs attention. If the file is sharp locally but the published version is not, check the export, transfer method, upload settings, connection, and processing time.
Export a short test directly from the original project, transfer it without a messaging app, and enable the highest-quality upload setting. If it holds up better, the earlier pre-upload chain was likely the problem.

Current official checkpoints without the old 15 MB rule
Instagram's current Help Center says Reels support aspect ratios from 1.91:1 through 9:16 and should have at least 720-pixel resolution and 30 FPS. These are acceptance baselines, not a quality guarantee. For a full-screen vertical Reel, 9:16 remains the practical choice. Check the current Instagram Help Center guidance before publication because requirements can change.
Part 3. How to Improve Quality Before Uploading to Instagram
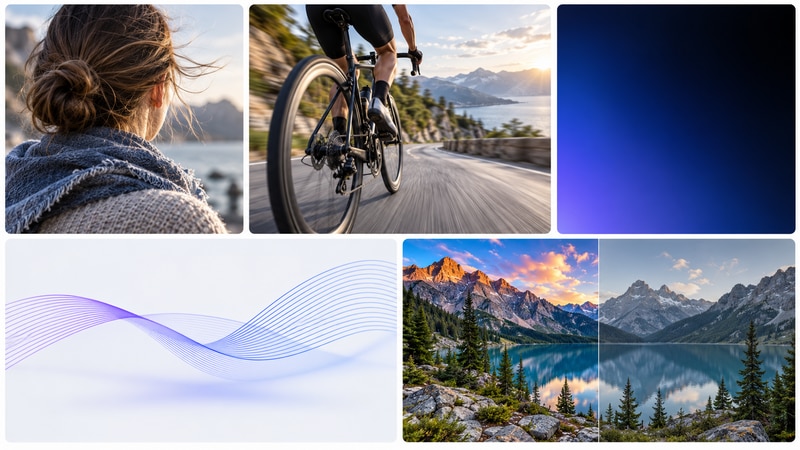
The workflow depends on the defect. Conversion, compression, and enhancement solve different problems; they are not interchangeable “quality” buttons.
| Source condition | Choose | Why | Limit |
| Clear, but format, codec, resolution, or frame rate needs preparation | Video Converter | Creates controlled output with batch queues and video presets. | Conversion cannot add uncaptured detail. |
| Clear, but the file is impractically large | Video Compressor | Balances size and visible quality with preview and mode/settings choices. | Compression is lossy; an already compressed file may have little room left. |
| Soft, noisy, low-resolution, or visibly damaged before upload | AI Video Enhancer or Video Sharpener | Targets the source defect before Instagram performs its own encode. | AI can improve appearance but cannot guarantee recovery of original detail. |
Match the Tool to the Quality Problem
Step 1. Inspect the original and choose one primary path
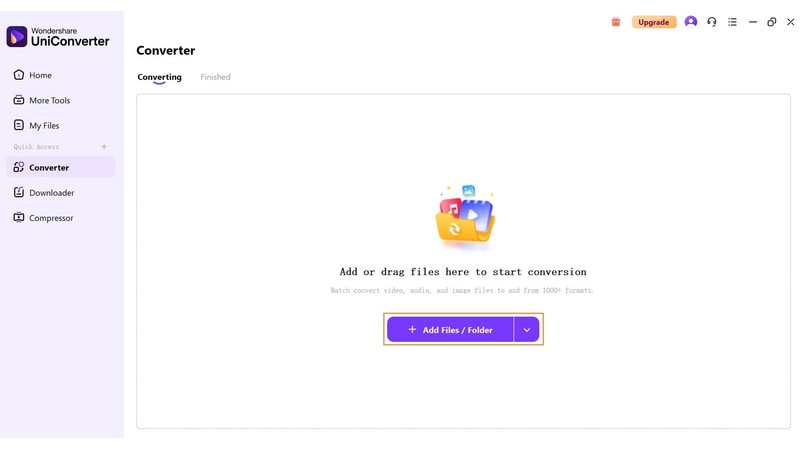
Inspect the local export at full size. Enhance visible source defects, compress when size is the constraint, or convert when format, codec, resolution, or frame rate needs changing.
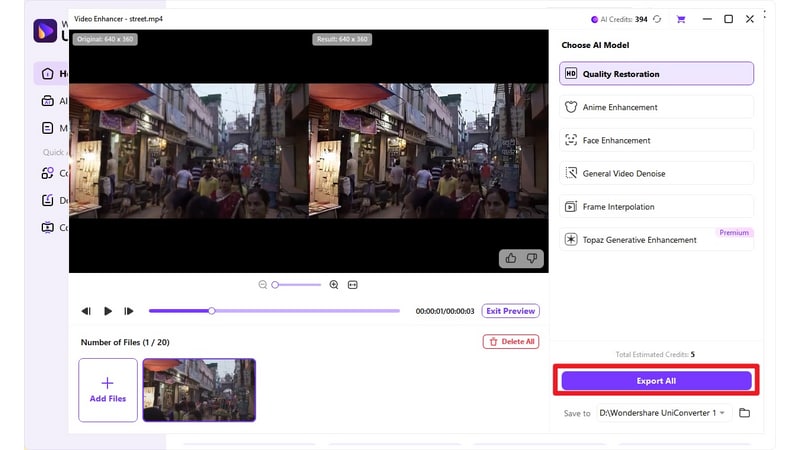
Step 2. Enhance only when the local source is already weak
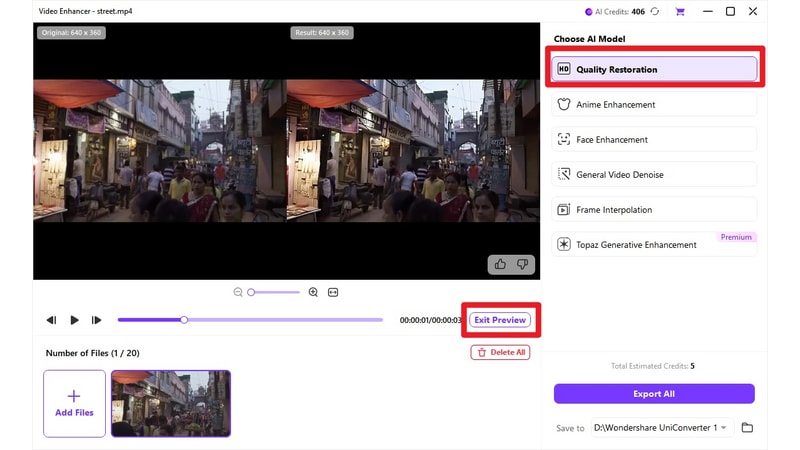
Open AI Video Enhancer, add the original video, and select a model that matches the actual defect. A general quality or sharpening path fits mild softness; denoise fits grain or compression noise. Preview a representative section with faces, motion, and fine texture before export. Avoid aggressive sharpening that creates halos around text or faces.
Step 3. Compress once if file size is the actual problem
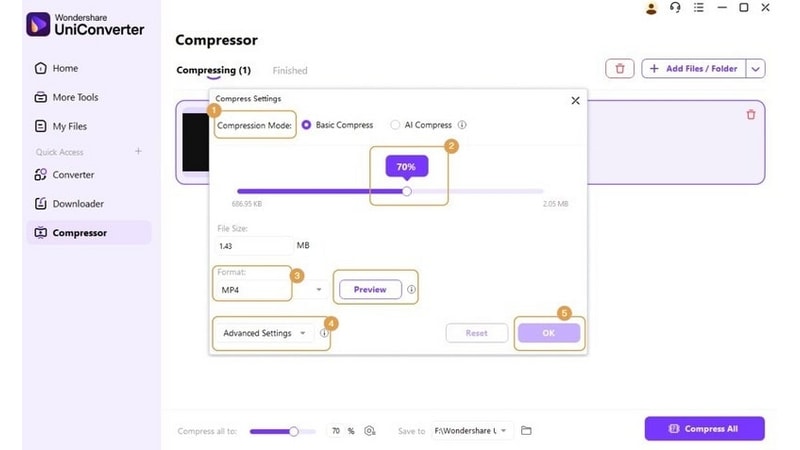
Open Video Compressor and add the clean video. Start with Prioritize Quality when visible detail matters. Use Advanced Settings only when the encoder, resolution, frame rate, or audio settings need deliberate control. Preview the output and compare texture, gradients, and motion; estimated size is not a guarantee of the final result.
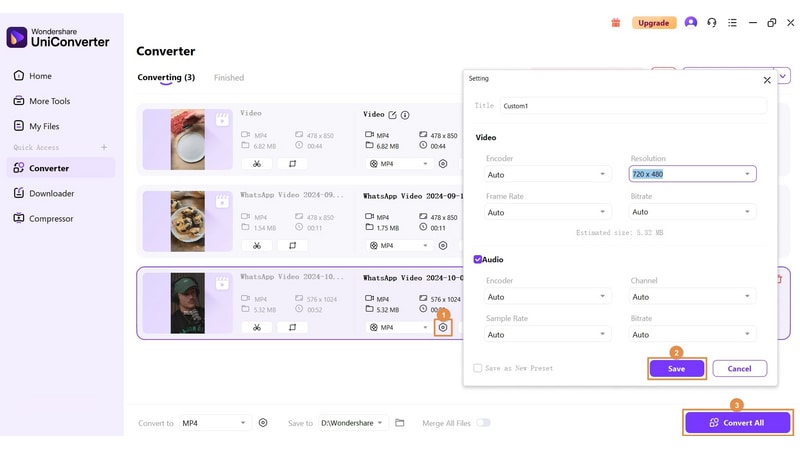
Step 4. Prepare a controlled output with Video Converter
Add the clean master to Converter, choose the intended output profile, confirm the resolution and frame rate, select the save location, and start the conversion. UniConverter also provides Web Video presets, including Instagram, but the page should still verify the current preset against Instagram's latest guidance before treating it as a fixed specification.
Step 5. Upload the exported file and check the published result
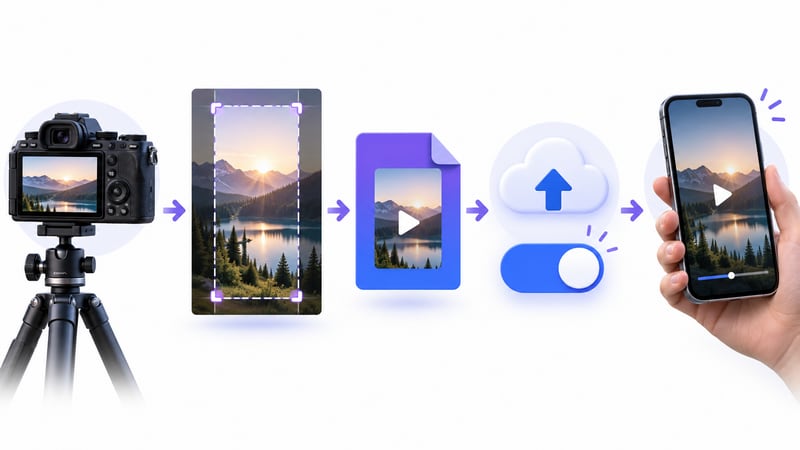
Transfer the file without sending it through a service that reduces media quality. In Instagram, enable Upload at highest quality in the media-quality or data-use settings, use a stable connection, and allow processing to finish. Then compare the Reel on another device. Check faces, captions, shadows, fast movement, and color rather than judging only the cover frame.
How to judge the result
- Fine detail looks natural rather than oversharpened or waxy.
- Dark gradients do not break into large blocks or bands.
- Text edges remain readable during motion, not only on paused frames.
- Skin tones and highlights look reasonable on both HDR- and SDR-capable devices.
- The first and last seconds do not show a different frame cadence or unexpected crop.
Part 4. Do 4K and HDR Always Improve Instagram Quality?
4K is useful as a source, not a guarantee. A high-resolution master gives more room to crop a horizontal shot into a vertical frame and can preserve detail during editing. It does not prevent Instagram from creating its own delivery encodes. A clean, correctly framed export from a 4K master may therefore outperform uploading an oversized file that has already passed through several compression stages.
Instagram does support HDR Reels. Meta's engineering team explains that Instagram and Facebook can accept HDR video and generate both HDR and tone-mapped SDR versions for different devices. Meta later added end-to-end support for Dolby Vision metadata in Instagram's iOS delivery path. That means the safe advice is not “convert every HDR video to SDR.” Preserve a valid HDR workflow when HDR delivery matters; create a deliberate SDR master when broad color consistency matters more. Read Meta's explanations of HDR video processing for Reels and Dolby Vision on Instagram for iOS.
Part 5. Instagram vs. TikTok Compression
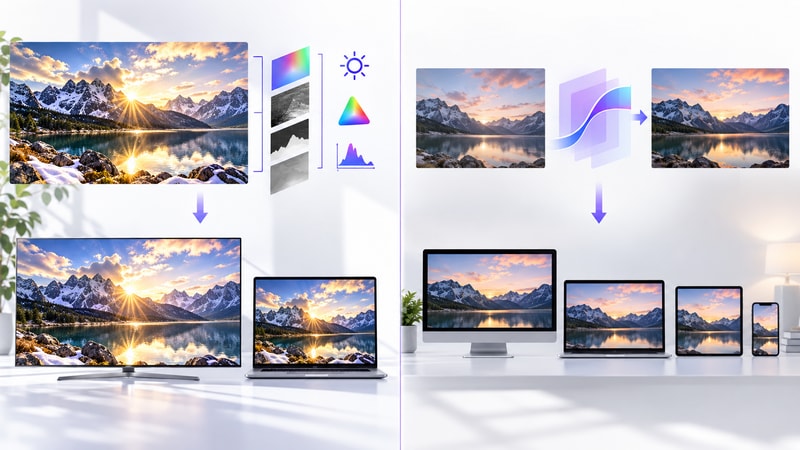
Both platforms process uploaded video for delivery, so the same master may not look identical after posting. The practical response is not to chase one universal “magic bitrate.” Keep a clean vertical master, create a fresh platform-specific export when needed, and review each published result. TikTok's current developer upload API accepts MP4, QuickTime, and WebM media, while Instagram's current help and publishing guidance should be checked separately. A file being accepted by both platforms does not mean both will encode or display it the same way.
Conclusion
Improving video quality on Instagram starts before the upload. Diagnose whether the original is already weak, avoid repeated compression, keep the frame and color workflow consistent, and use the right tool for the right job. Enhance only a genuinely flawed source, compress only when size calls for it, and convert from the clean master when output preparation is needed. Instagram will still create delivery versions, but a better source gives that process more quality to preserve.