
Capturing a beautiful, spontaneous moment, only to find the subject hidden in heavy shadows, brings instant frustration to any photographer. Fortunately, discarding these underexposed pictures is no longer necessary in modern digital editing. Whether you're a beginner or a seasoned content creator, learning how to brighten dark photos is a fundamental skill that can completely transform visual media. Elevating a poorly lit image enhances its aesthetic appeal and ensures the captured memories remain visible and vibrant. This comprehensive guide covers dedicated desktop software solutions, accessible ways to quickly brighten a dark photo online, and professional manual adjustments designed to rescue almost any poorly lit image.
Table of Contents
Part 1: Understanding Photo Exposure
Establishing a solid foundation in photography principles makes correcting digital media significantly easier. Before jumping into software fixes and adjustment sliders, identifying the root cause of an underexposed picture provides valuable context for the editing process. Understanding how a camera captures light empowers creators to make precise, informed decisions rather than relying on guesswork.
The Exposure Triangle
Digital photography relies on capturing light through three mechanical elements: ISO, aperture, and shutter speed. ISO measures sensor sensitivity, aperture controls the lens opening size, and shutter speed dictates the exposure duration. When a camera fails to gather sufficient light—often due to a rapid shutter speed or a narrow aperture—the sensor records a dark image. The resulting file lacks crucial luminosity data, leaving shadow-heavy regions muddy.
The Risk of Over-Editing
Aggressive corrections carry significant risks. Forcefully increasing overall brightness often introduces digital noise, degrading picture clarity with pixelated static. Furthermore, excessive brightening washes out textures, causing naturally light areas to "clip" into pure white and lose all data. Professional correction requires finding a delicate balance between illuminating hidden shadows and preserving the natural atmosphere.
Part 2: Method 1: How to Brighten Dark Photos with AI (Recommended Desktop Tool)
Processing files within a dedicated desktop environment provides the most stable experience for editors. High-resolution files require significant computational power, making specialized software the premier choice for preserving quality while learning how to brighten dark photos without losing clarity.
Tool: Wondershare UniConverter
Wondershare UniConverter acts as an all-in-one media processing toolbox, built to handle complex tasks with remarkable speed. It provides an intuitive environment in which creators can easily manage high-resolution files. This software specifically excels at restoring underexposed images using advanced algorithms, bypassing complicated manual edits completely.
How it Works
The software utilizes an AI image enhancer that intelligently analyzes the dark zones mapped within an uploaded file. Instead of applying a flat, uniform brightness filter across the entire canvas, the intelligent system selectively adjusts exposure. This targeted processing illuminates hidden subjects residing in the shadows without blowing out the existing highlights or distorting the original color palette, yielding a natural finish.


All-in-One Multimedia Processing Tool

Step-by-Step Guide
Step 1: Launch the Image Enhancer
Open Wondershare UniConverter to access the main dashboard and view the available media tools. Locate the "Image Enhancer" module from the featured grid or navigate to the AI Tools menu on the left sidebar. Click this icon to open the dedicated workspace for automated picture correction.
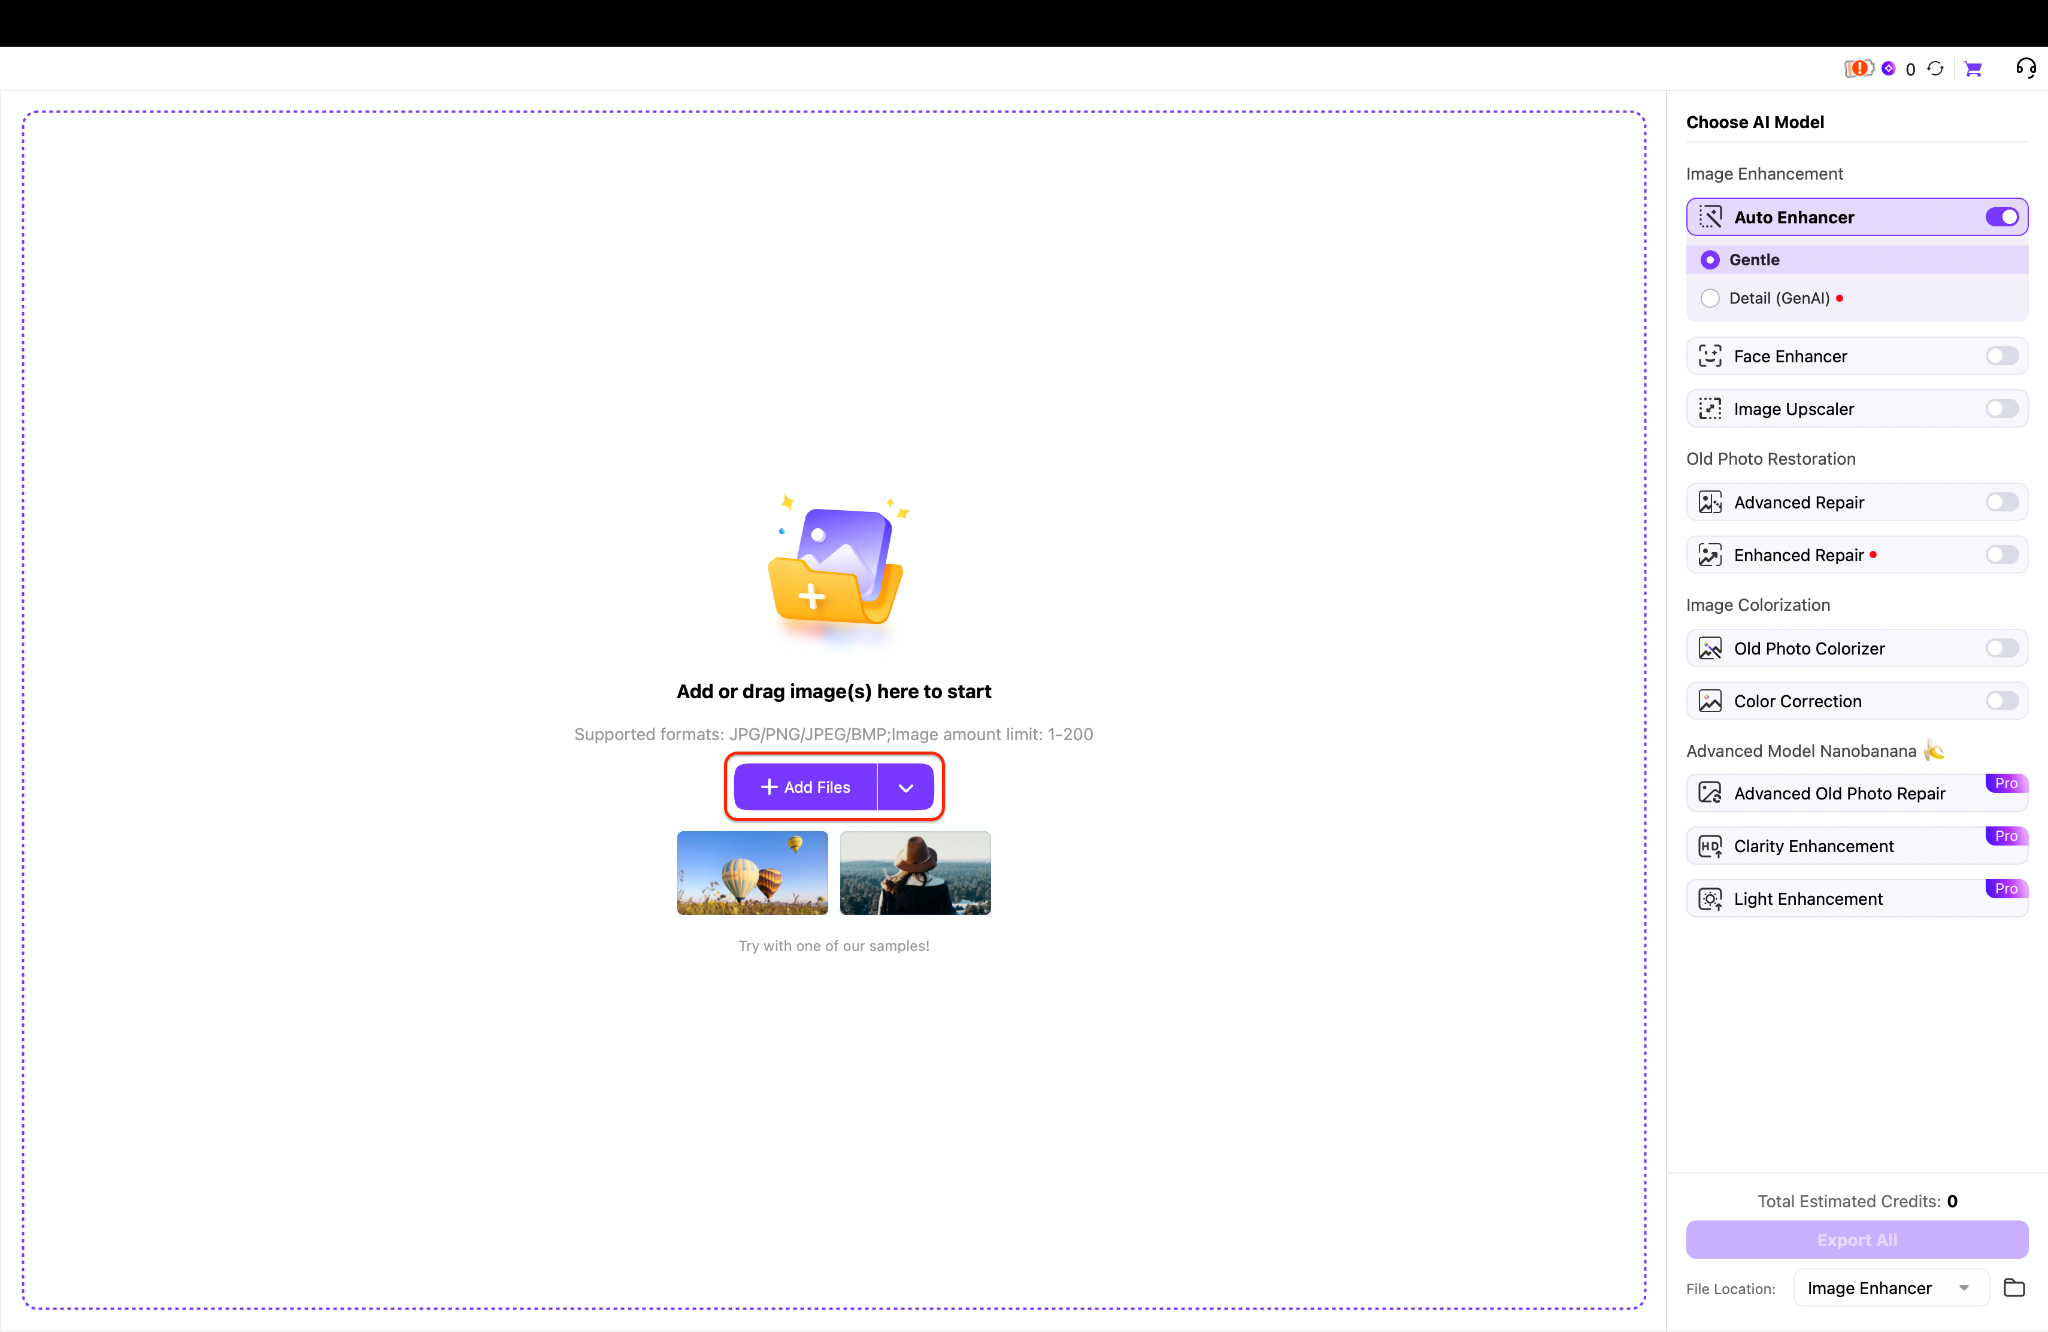
Step 2: Upload the Dark Photograph
Once the enhancement window opens, import the underexposed file into the software. Click the prominent "+ Add Files" button to browse local directories, or drag and drop the media directly onto the central folder icon. This initial action loads the picture onto the canvas and prepares it for immediate analysis.
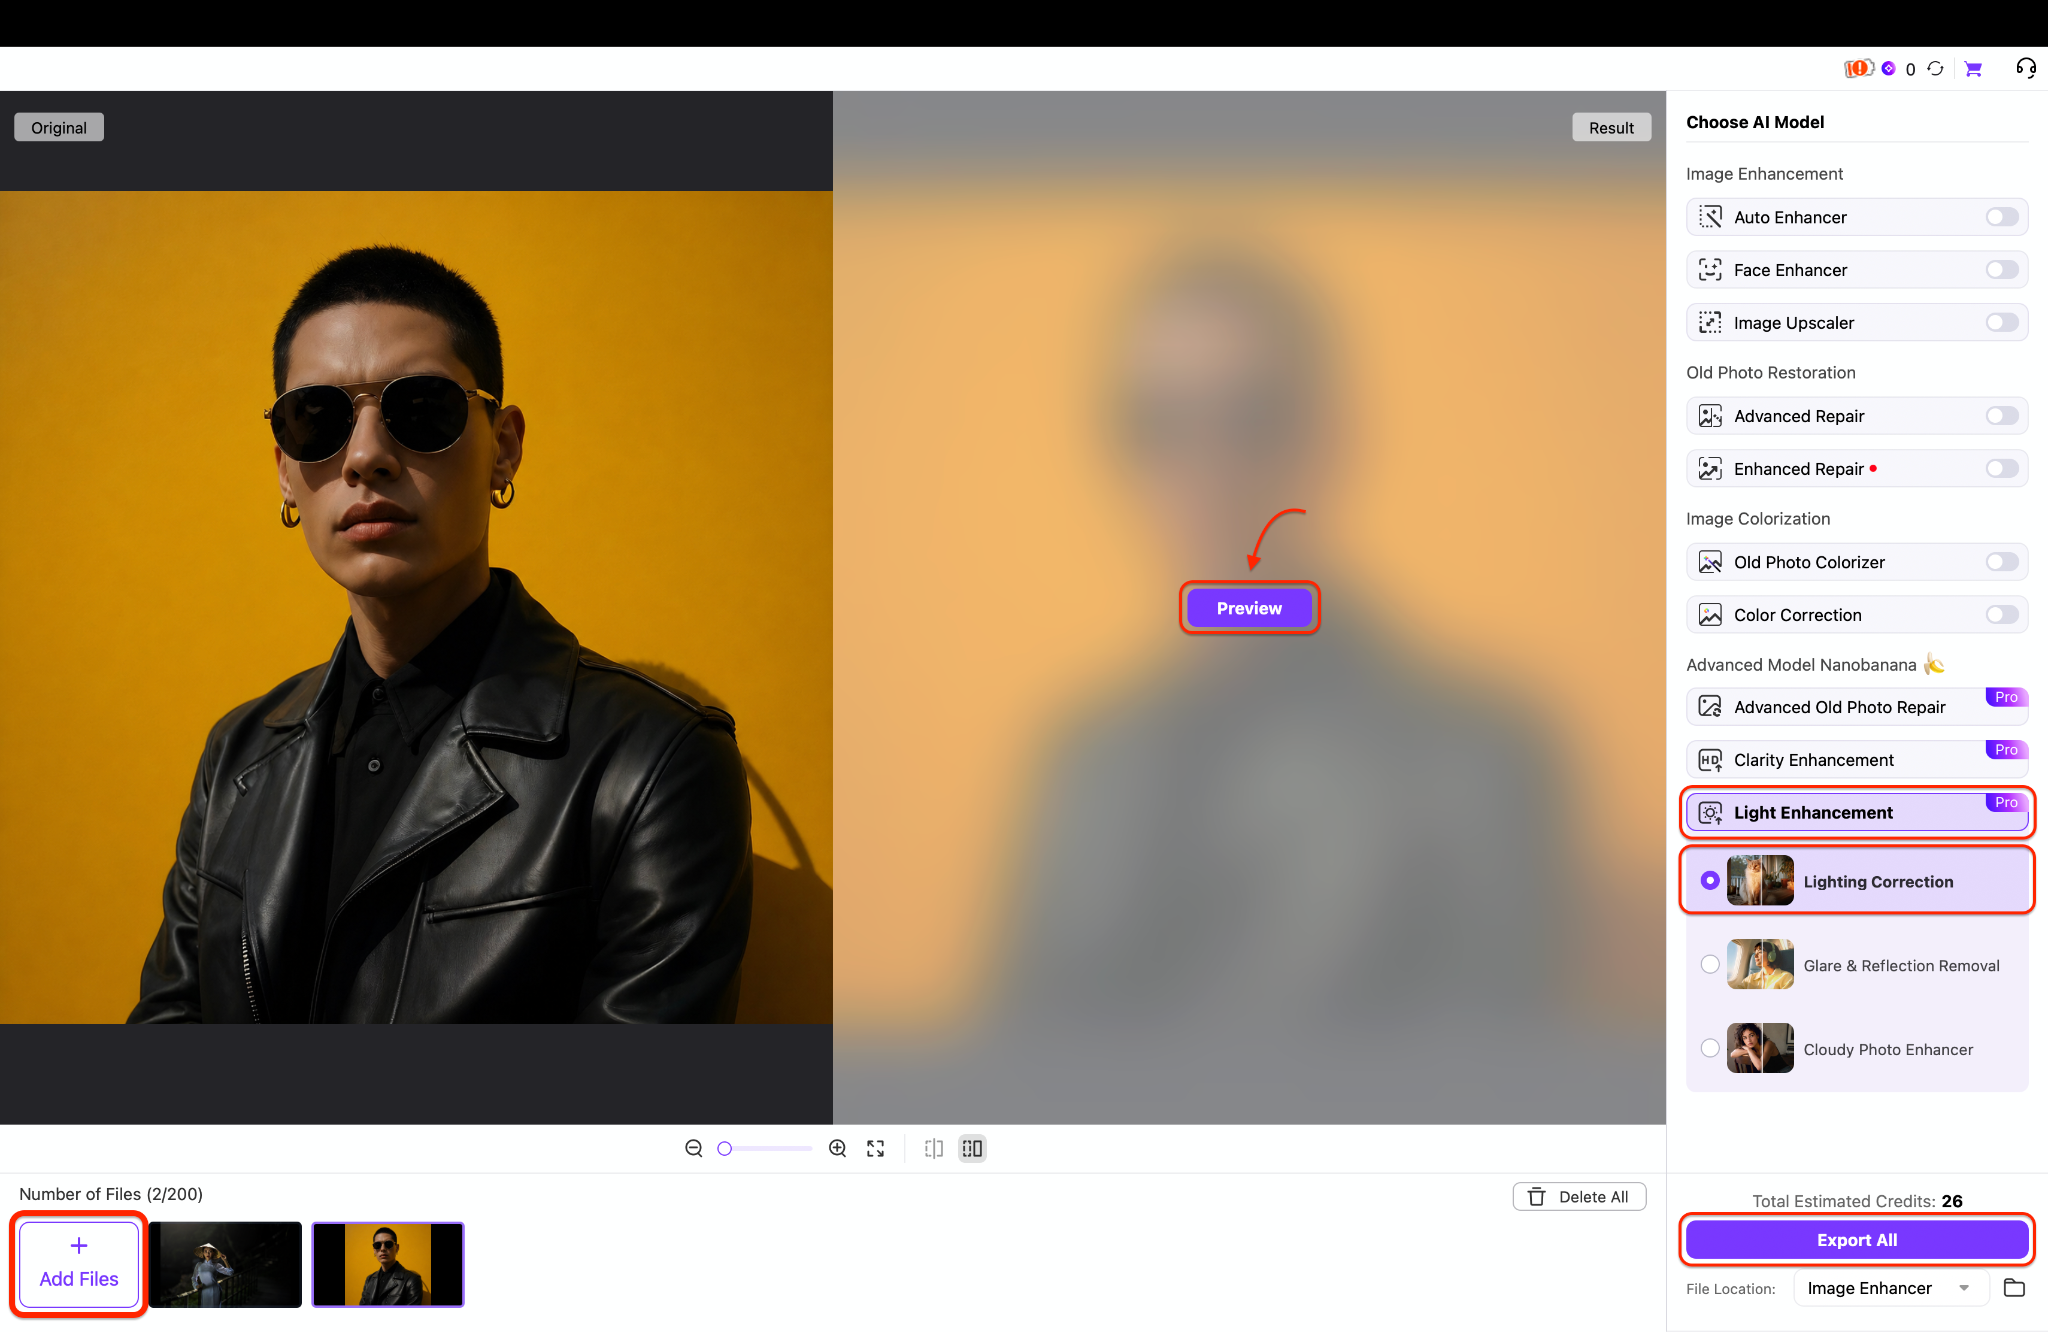
Step 3: Apply Lighting Correction and Bulk Processing
To process a complete photoshoot, use the "+ Add Files" button at the bottom left to queue multiple images for bulk image brightening. Navigate to the right-side panel, select "Light Enhancement" under the Advanced Models section, choose "Lighting Correction," and hit "Preview" to view the adjustments. After verifying the enhanced lighting across the batch, click the "Export All" button to execute a bulk export and save the completely illuminated collection simultaneously.
Step 4: Enable Multiple AI Models for Maximum Quality
For comprehensive improvements beyond basic brightness, activate several specialized AI models simultaneously within the workspace. Toggle the switches for "Auto Enhancer," "Face Enhancer," "Advanced Repair," and "Color Correction" located in the right-hand menu.
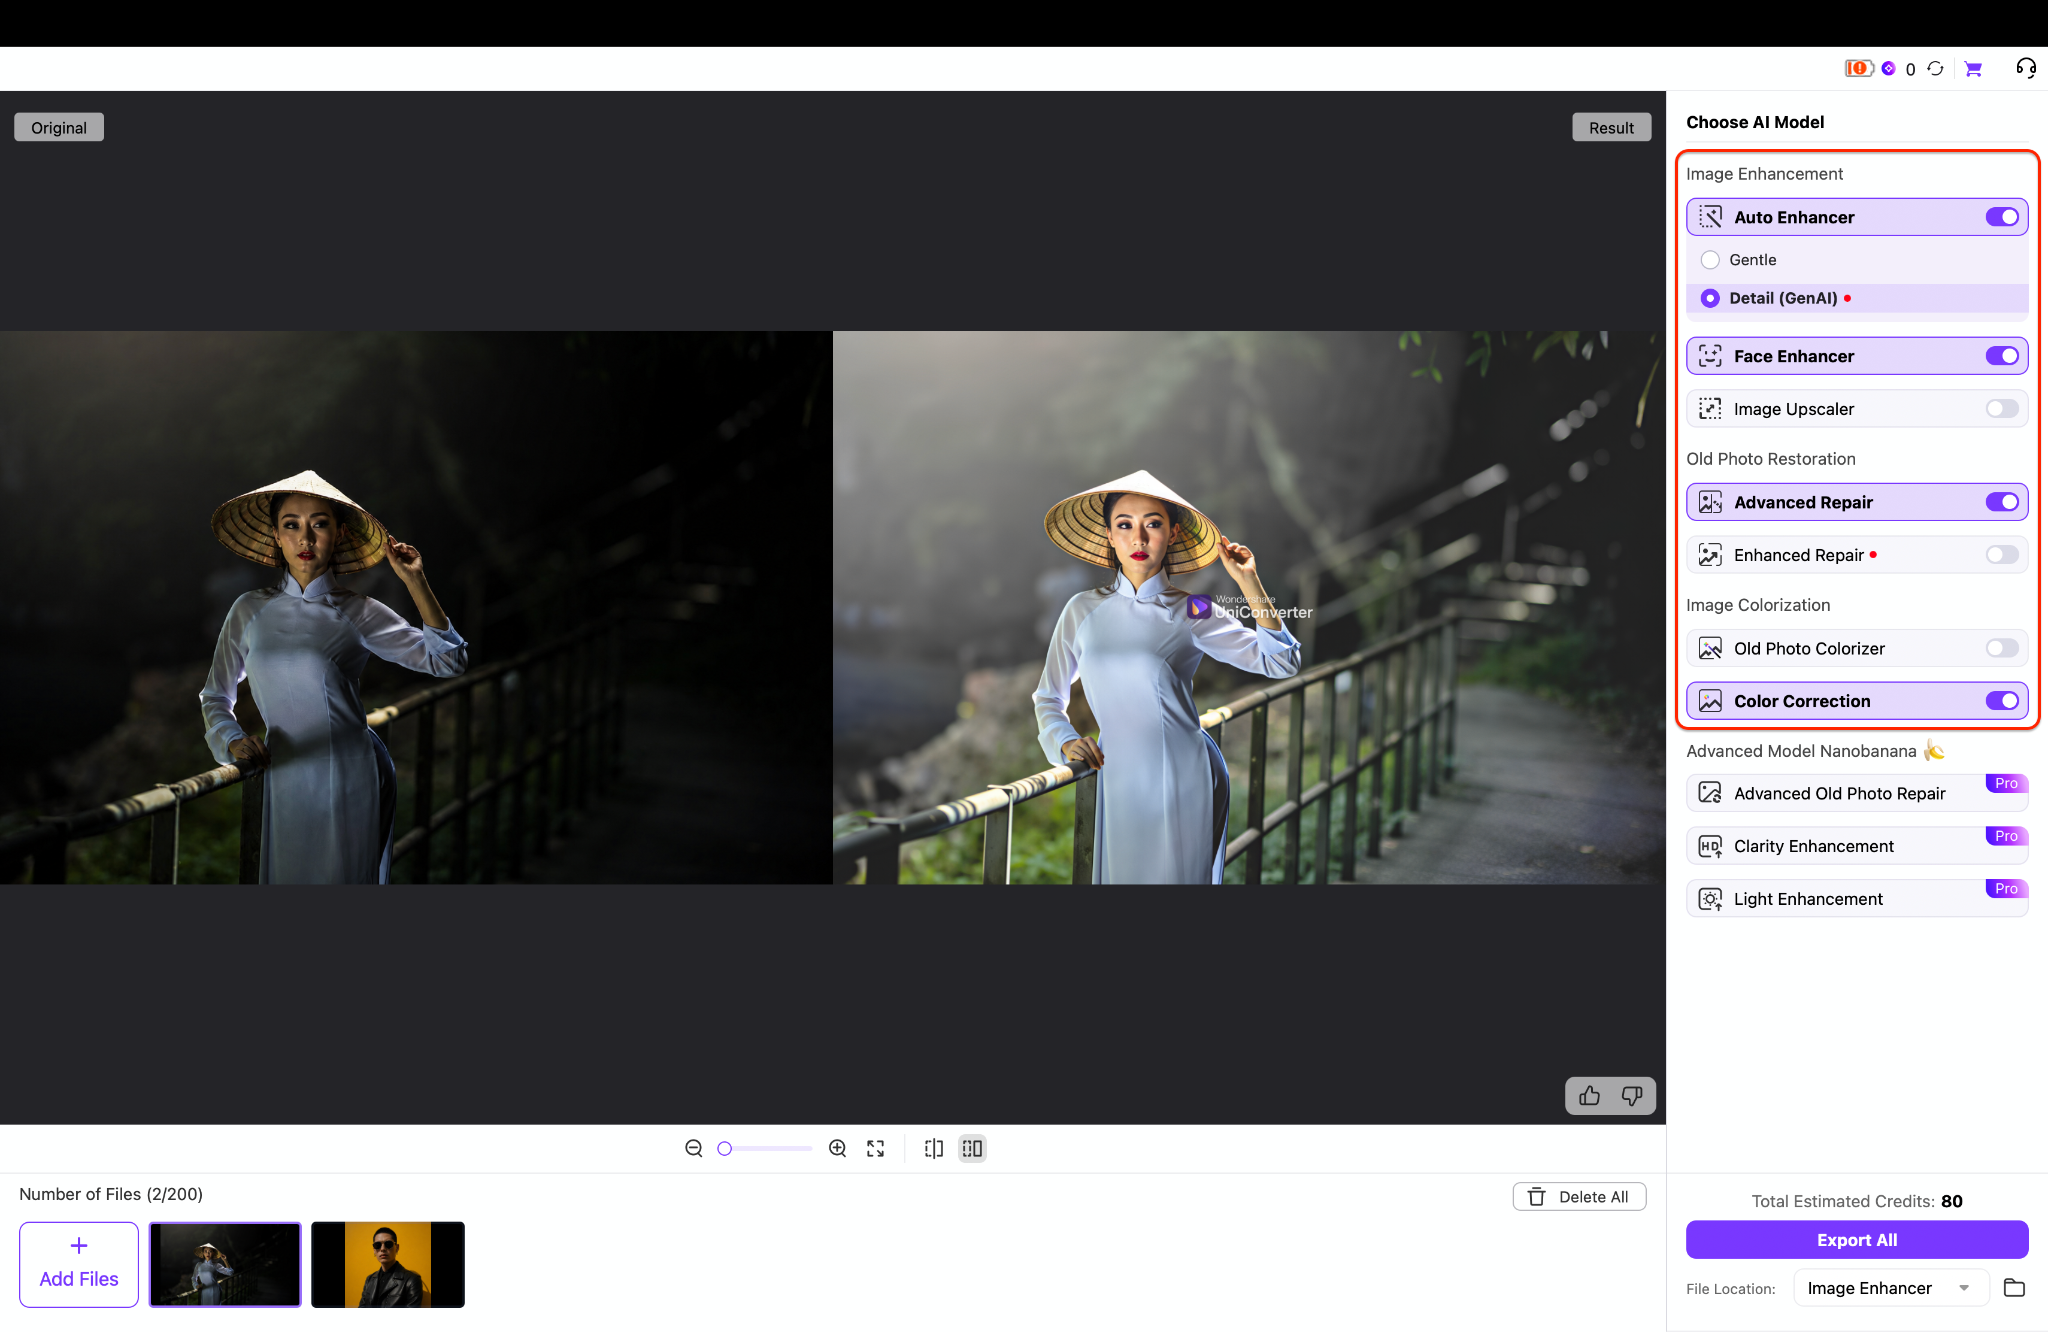
Pro tip: Combining these specialized models ensures the final output not only has perfect lighting but also features sharp details, restored facial features, and completely balanced color saturation.
Part 3: Method 2: Make Dark Photo Brighter Online (No Installation)
For creators needing a fast solution without downloading software, cloud-based editors offer a streamlined alternative. These platforms process files directly through a web browser, making them perfect for those who want to make a dark photo brighter online quickly from any device.
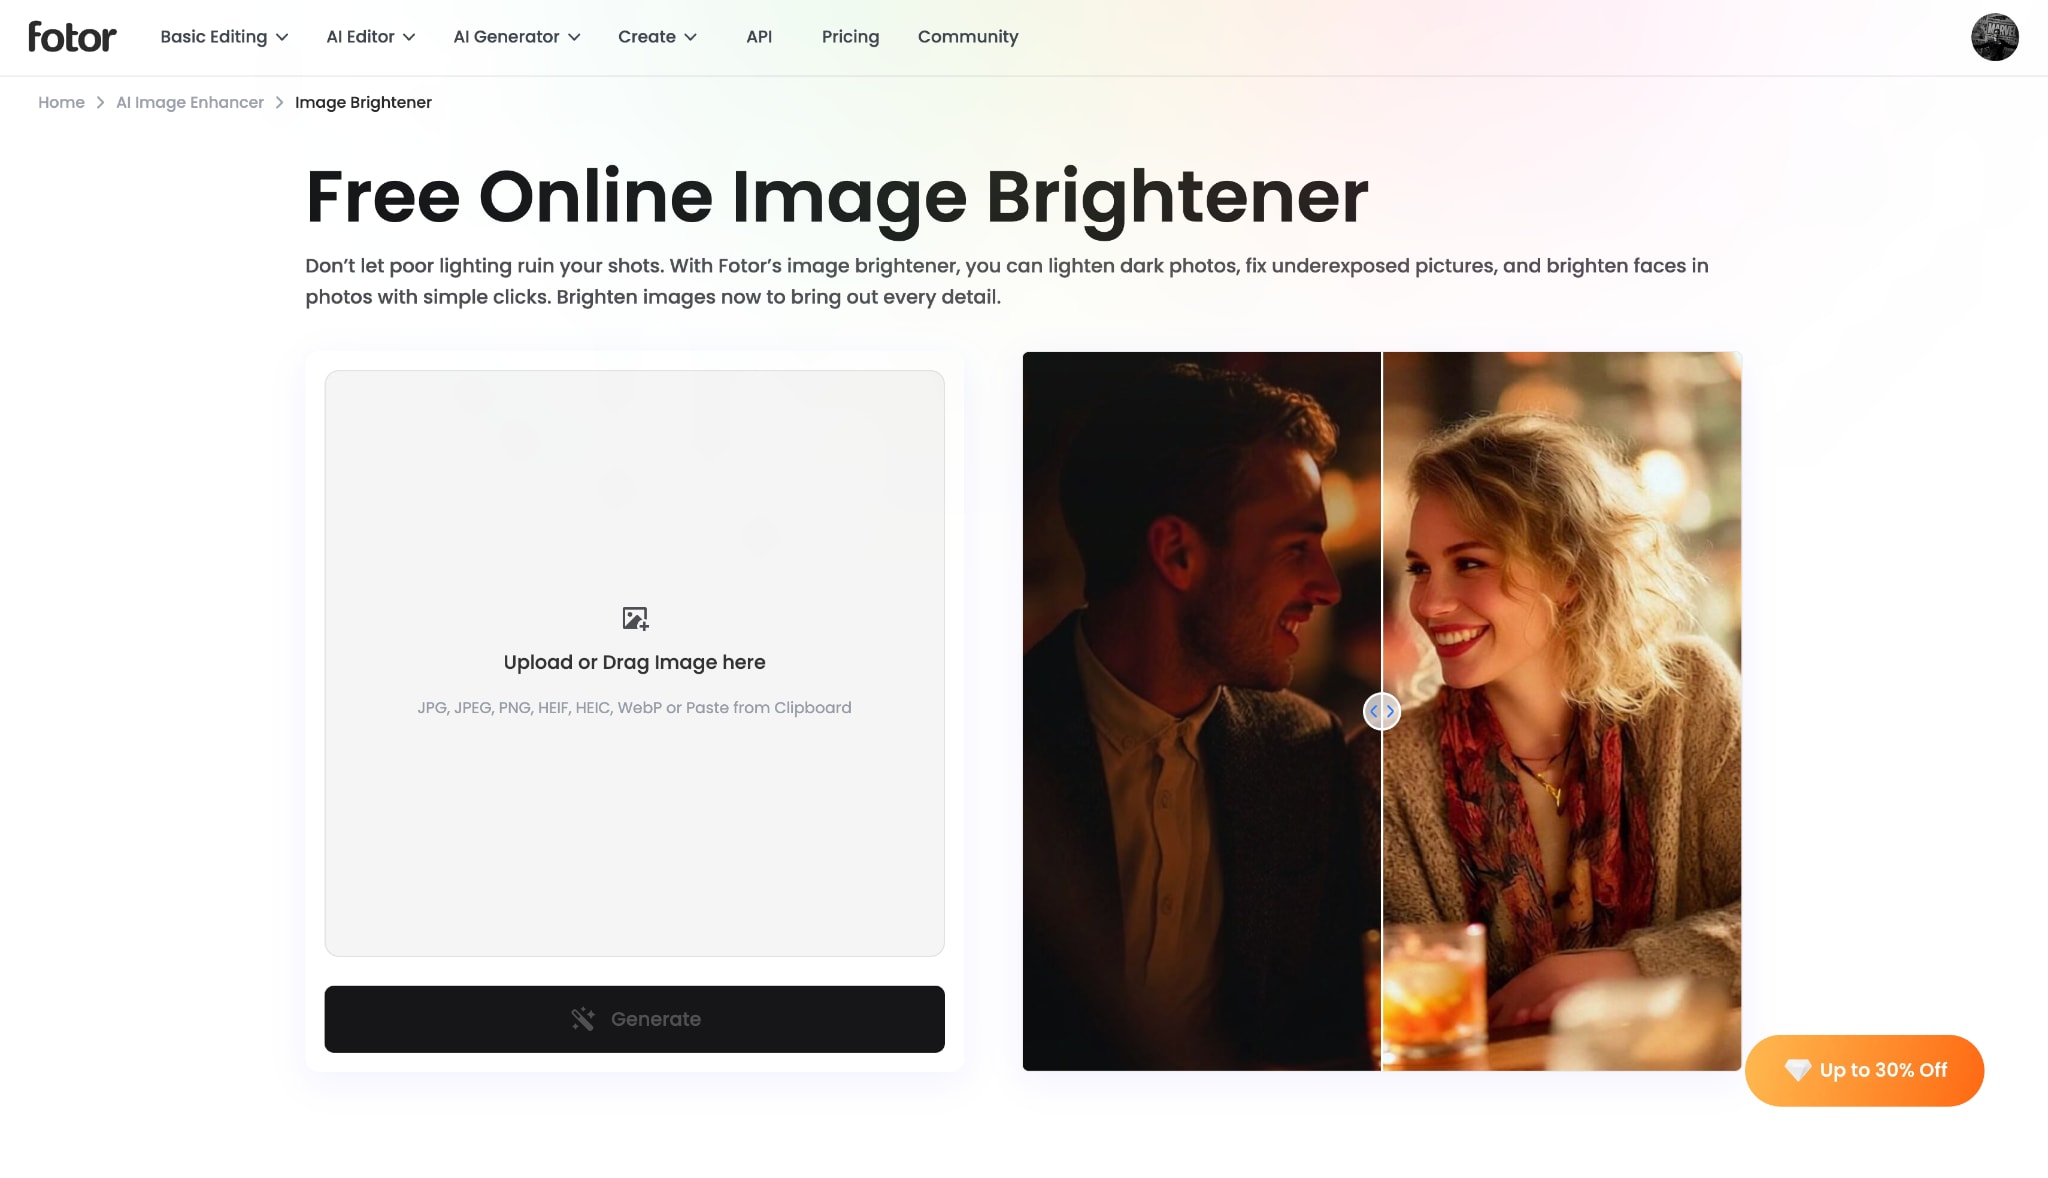
Tool: Fotor
Fotor is a versatile cloud-based platform for rapid edits directly in a web browser. It removes the necessity of downloading heavy software, providing instant access to powerful exposure correction tools. Creators rely on this solution for swift, effective lighting adjustments anywhere.
How it Works
This platform provides an accessible environment where editors apply quick one-tap enhancements. For individuals looking to make dark photos brighter online, the web application analyzes the uploaded file remotely. It then adjusts the gamma curve and shadow levels directly within the browser window, requiring zero local computing power.
Step-by-Step Guide
Step 1: Upload Your Image
Navigate to the Fotor Free Online Image Brightener page to begin the process. Click inside the large upload box or drag and drop your dark photo directly onto the web interface.
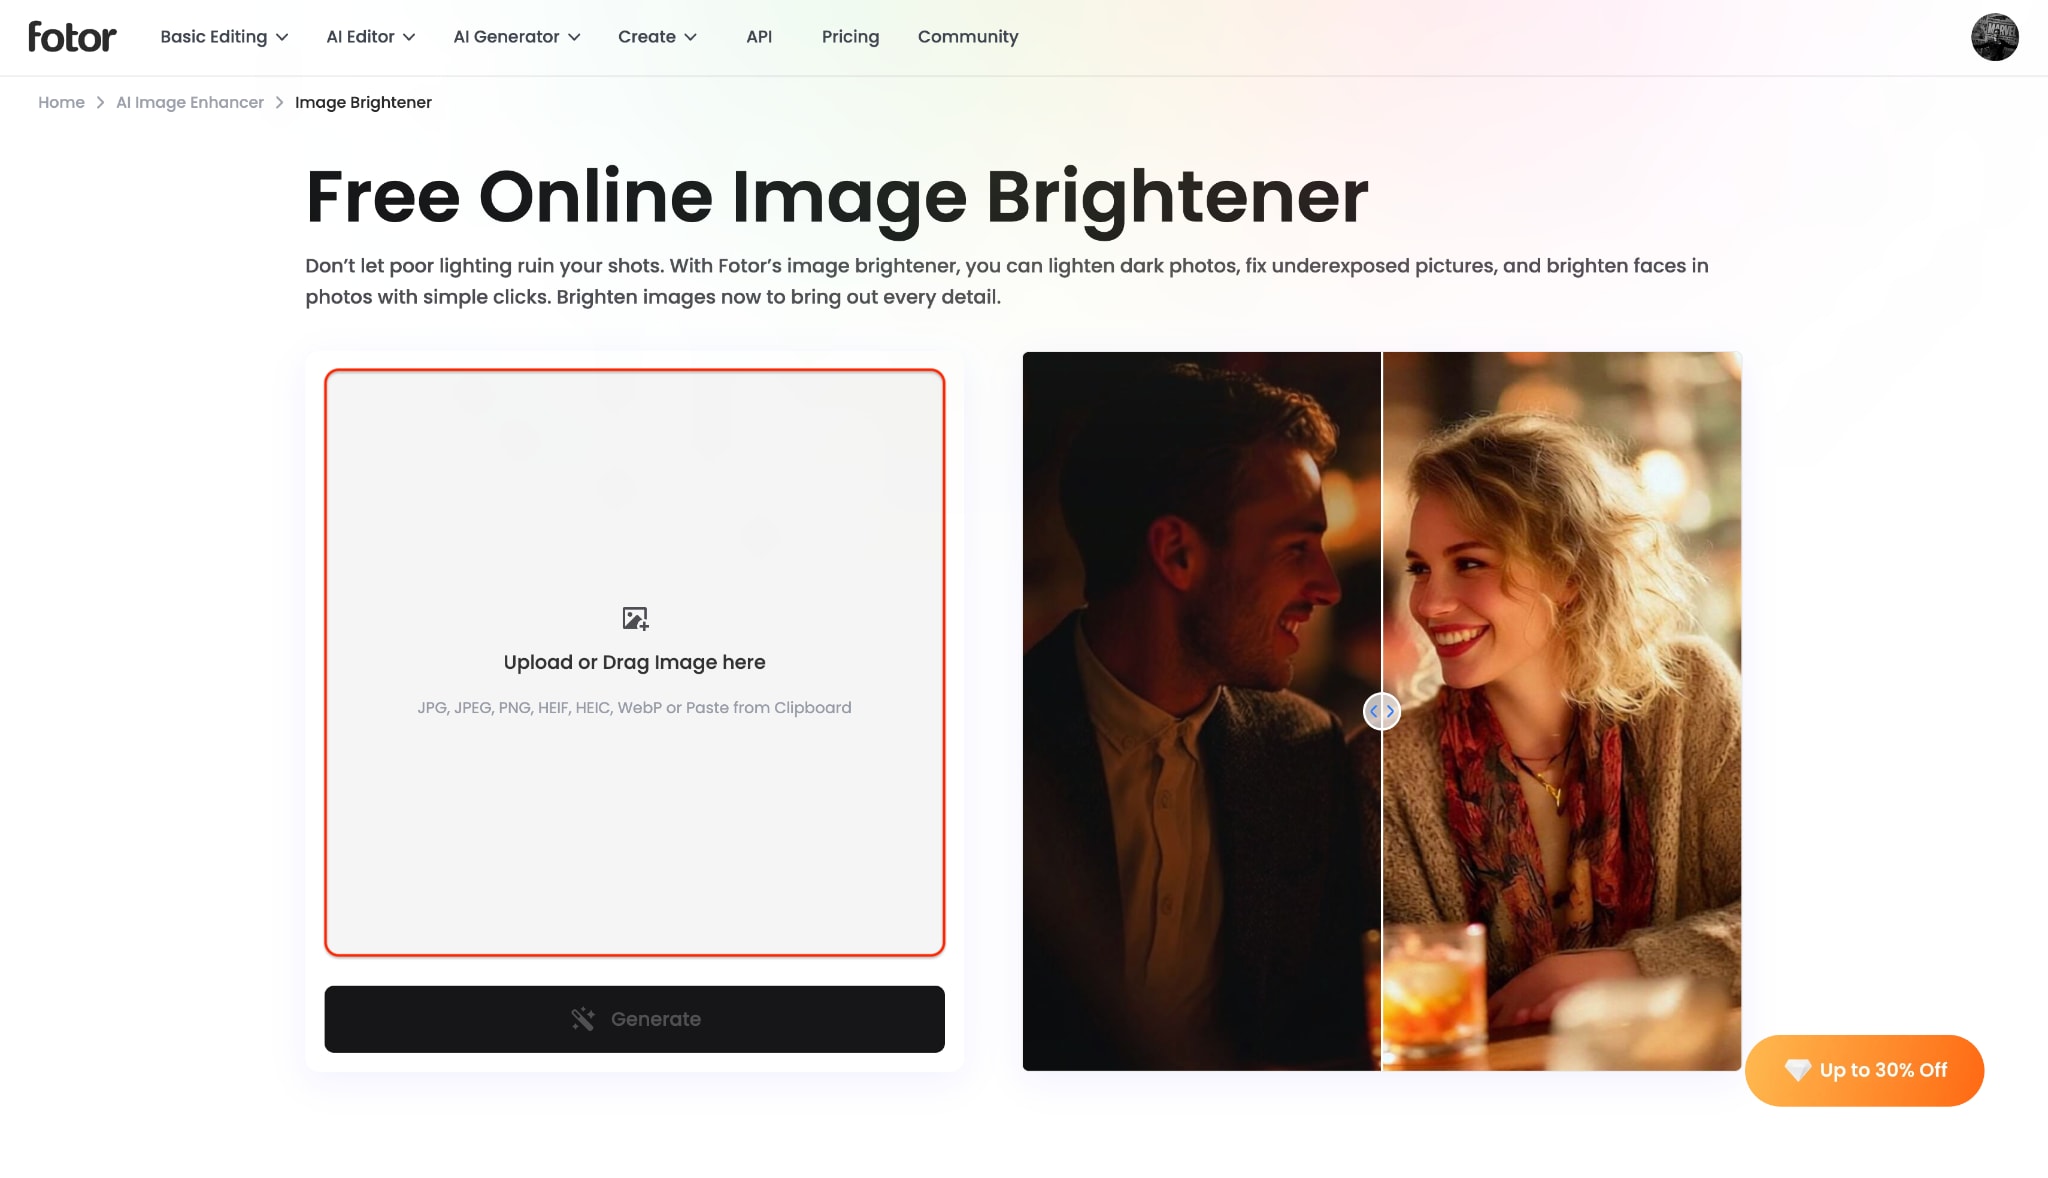
Pro tip: Ensure your file is in a supported format, such as JPG, PNG, or WebP, to guarantee a smooth upload experience.
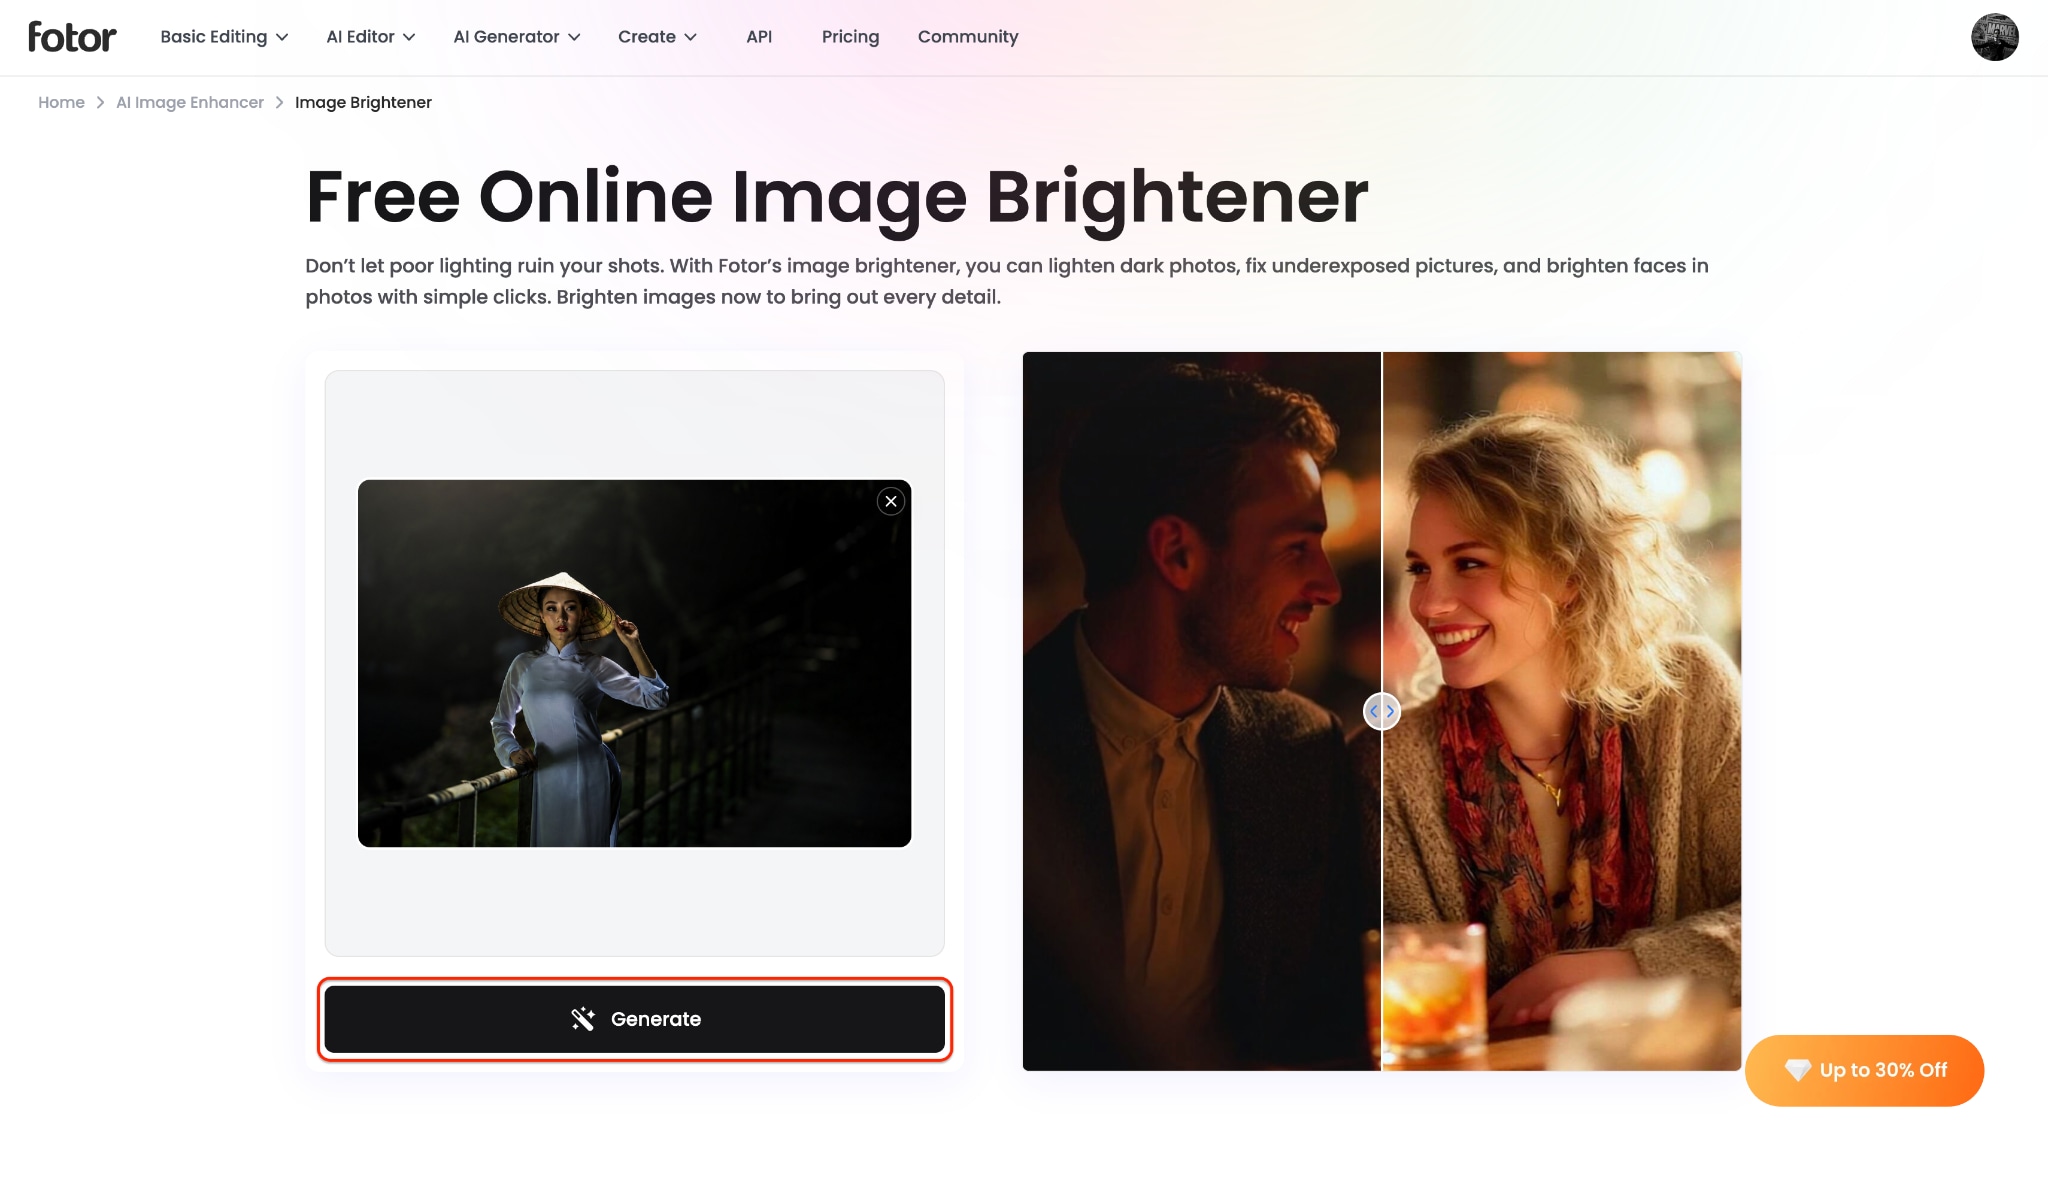
Step 2: Generate the Adjustments
Once your underexposed photo appears in the preview box, locate the "Generate" button at the bottom of the left panel. Click this button to initiate the online brightening process. A loading screen will appear on the right side, displaying "Generating, please wait..." while the platform automatically enhances your lighting.
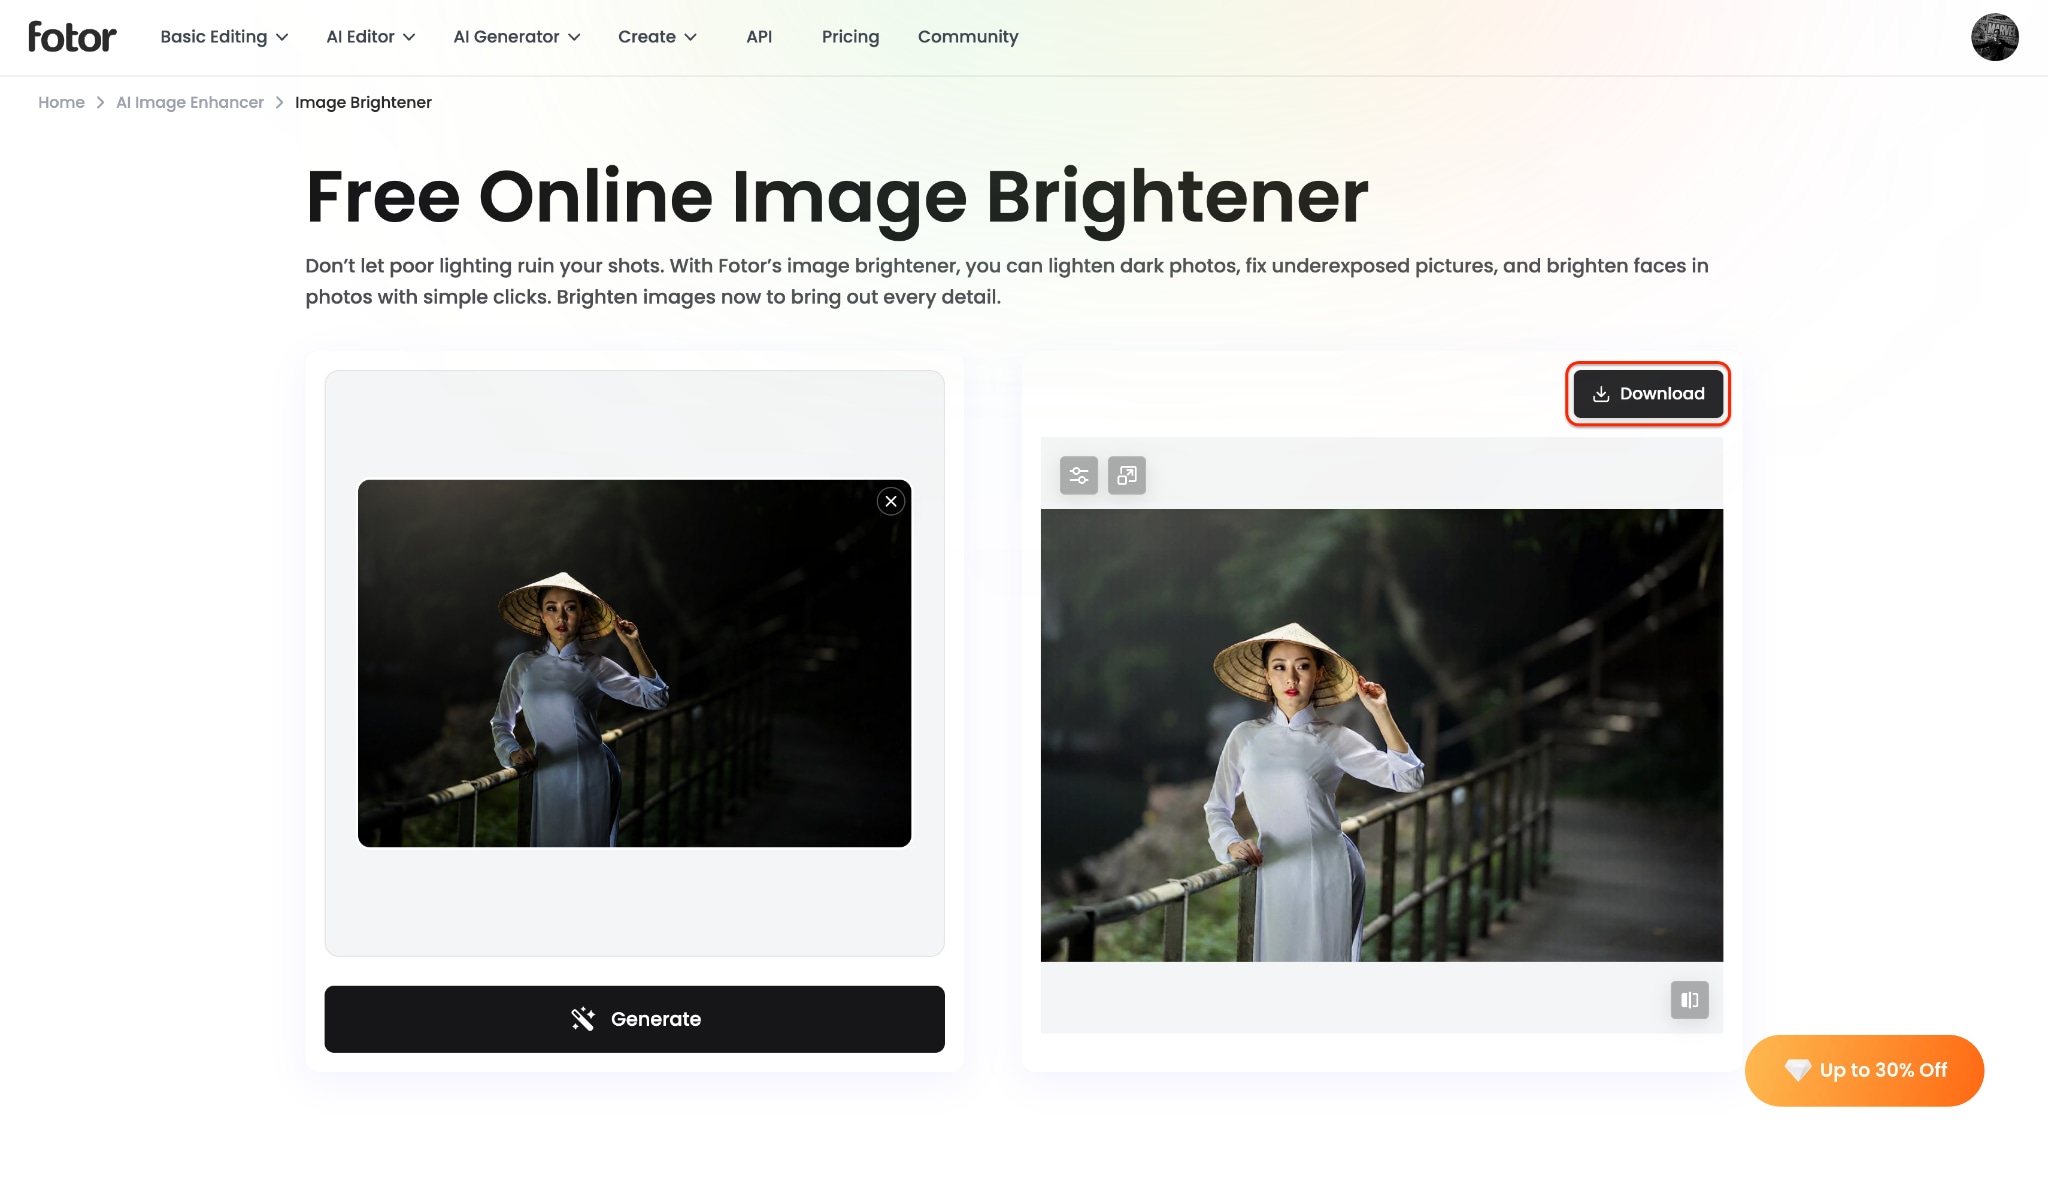
Step 3: Review and Download.
After the generation is complete, the newly generated picture will load directly in the right-hand viewing panel. Review the visual results to verify that the subject is clearly visible against the previously dark background. Finally, click the highlighted "Download" button in the top-right corner of the preview section to save the file.
Part 4: Method 3: Use a Dedicated Mobile App (iOS & Android)
When capturing content on smartphones, editing on the go remains a top priority. Using a cross-platform mobile application is the most efficient way to rescue underexposed photos before posting them on various social media platforms.
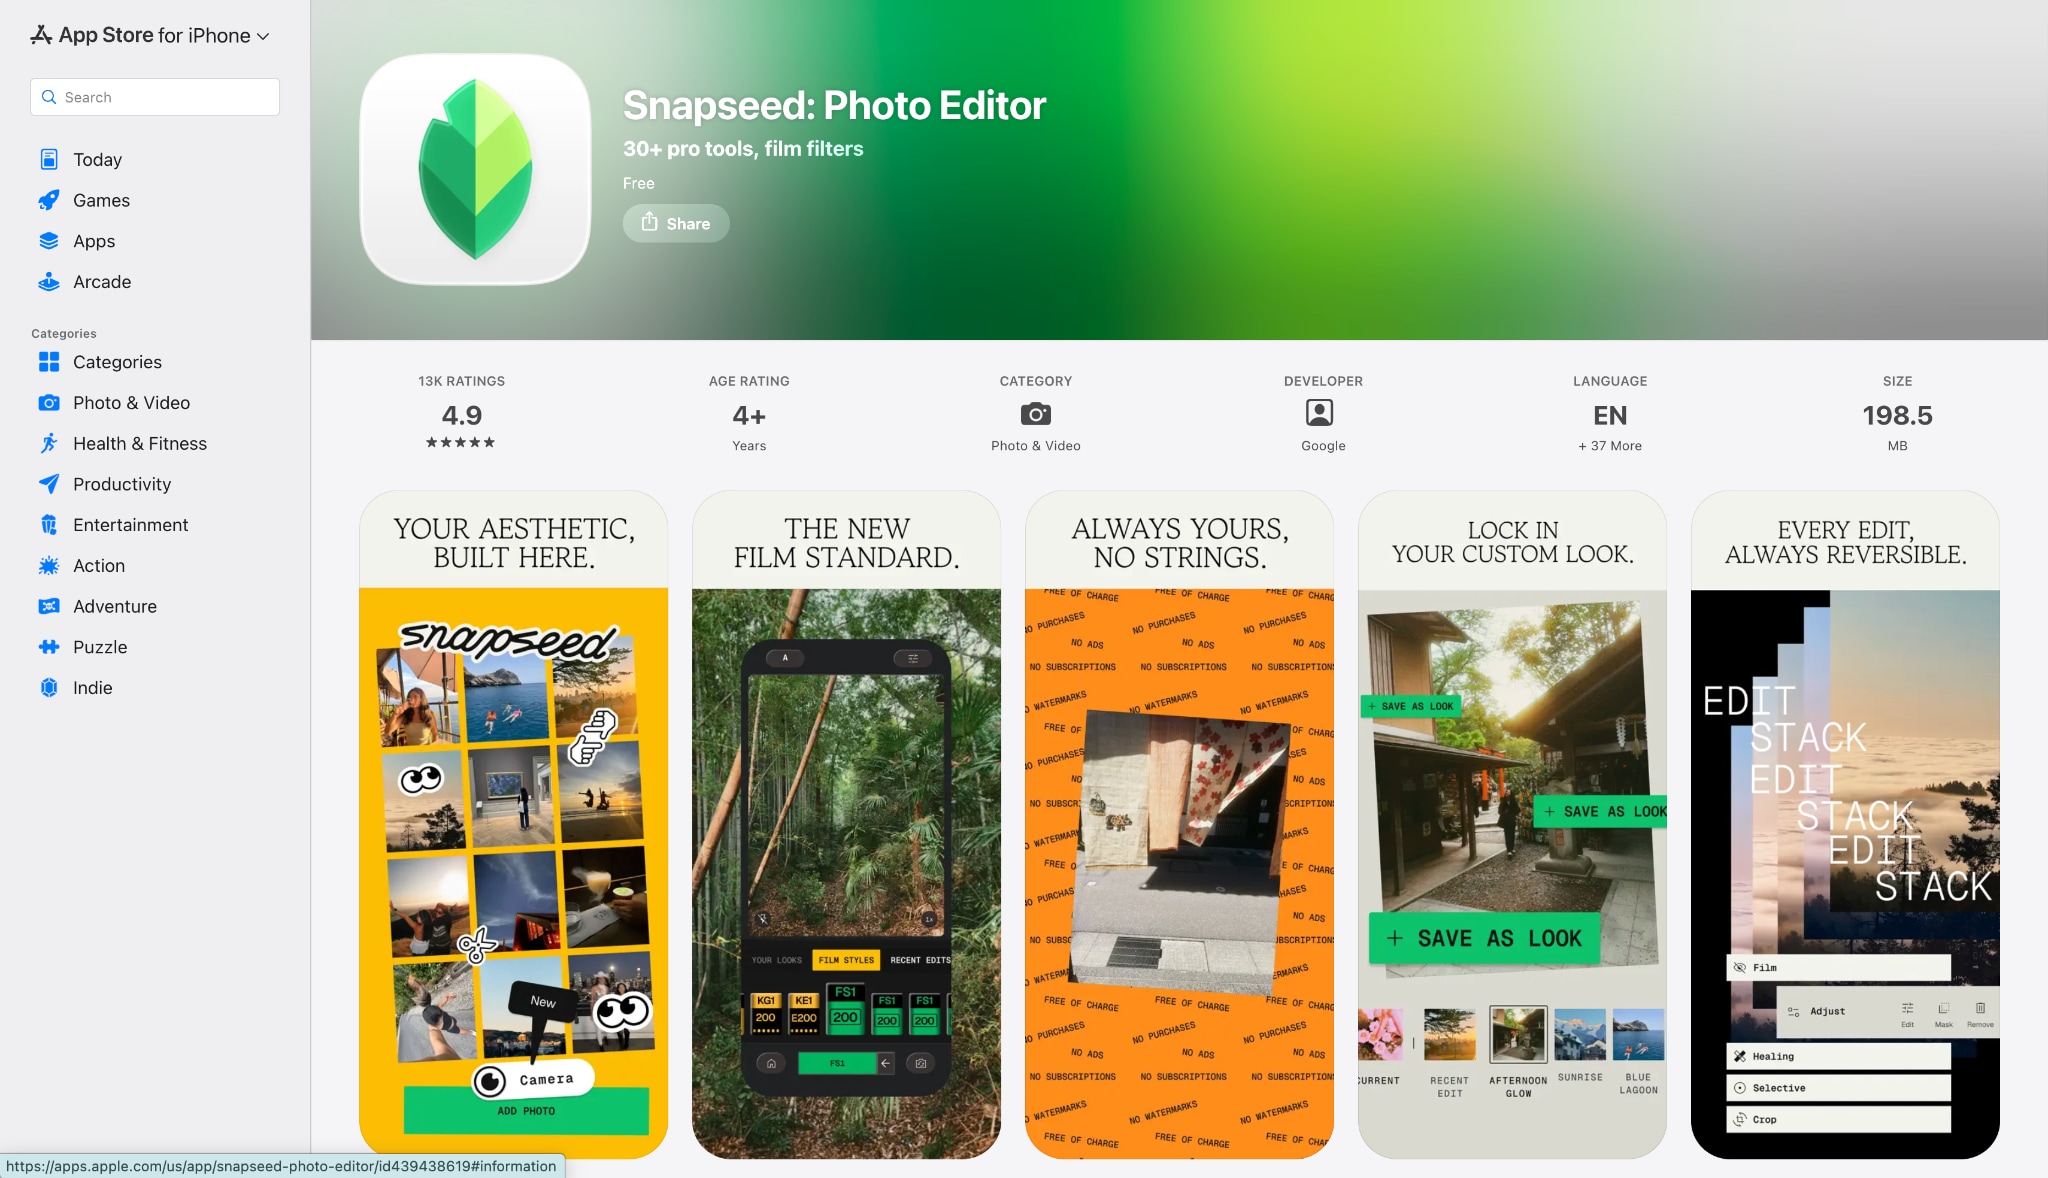
Tool: Snapseed
Snapseed stands out as a premium, cost-free mobile editing suite developed by Google. This application brings desktop-level precision right to a smartphone interface. It empowers photographers to execute highly detailed exposure adjustments and targeted shadow recovery directly from their handheld devices with absolute ease.
How it Works
The application leverages precise touch-based controls tailored for mobile operating systems. It allows visual editors to selectively lighten dark areas utilizing digital brush tools, or apply global exposure adjustments across the entire frame. The non-destructive editing environment ensures the original file data remains entirely intact throughout the process.
Step-by-Step Guide
Step 1: Import and Access Tools
Open the Snapseed app on your device and tap anywhere on the screen to load your dark photo. Once your image is visible, tap the "Tools" tab located at the bottom of the interface to open the main editing grid. From this comprehensive menu, select the "Tune Image" icon to access the primary lighting and color sliders.
Step 2: Adjust the Lighting Settings
Swipe vertically on your screen to bring up the adjustment menu and select either the "Shadows" or "Brightness" parameter. Swipe horizontally to the right to increase the exposure until the hidden details in your dark image become clearly visible.
Pro tip: Prioritize lifting the "Shadows" instead of the overall "Brightness" to preserve your highlights and avoid washing out the picture.
Step 3: Apply and Export
After you are satisfied with the new lighting, tap the checkmark icon in the bottom right corner to apply the changes. Next, tap the "Export" button to choose how you want to save or share your newly brightened photograph. Select "Save a copy" to keep your original dark file completely untouched while storing the edited version safely in your camera roll.
Part 5: 5 Professional Manual Adjustments to Lighten a Dark Picture
Automatic filters can occasionally fall short in complex lighting. Mastering these five manual adjustments provides complete creative control, elevating basic edits into professional results.
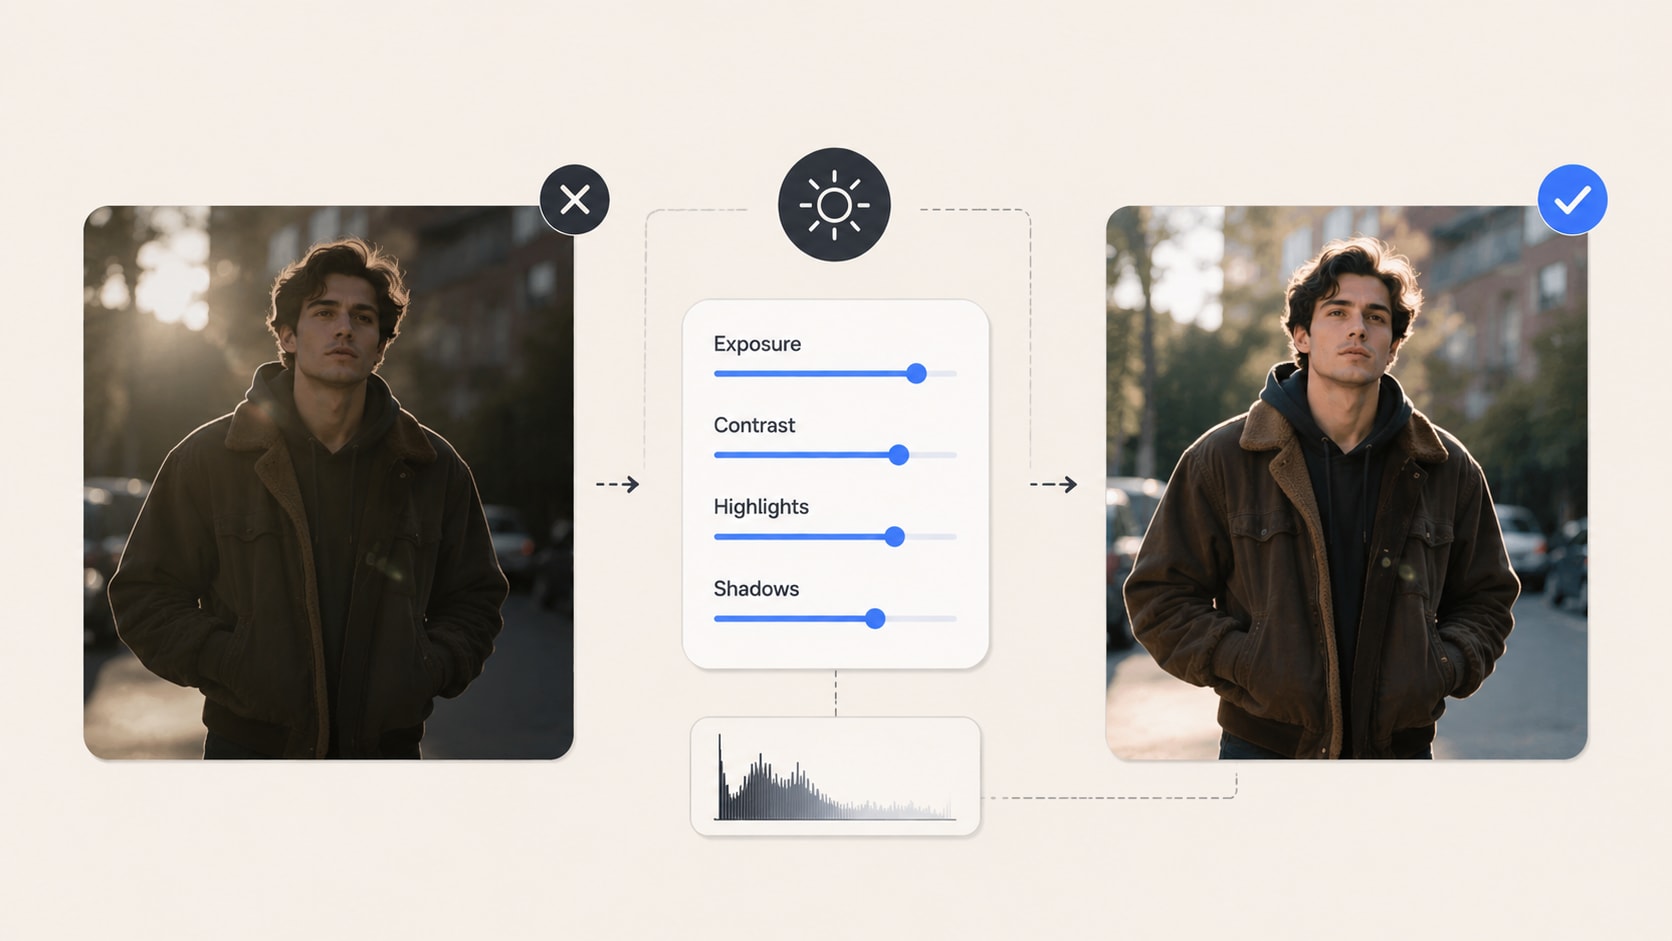
1. Tweak Exposure Instead of Just Brightness
Simple brightness sliders often wash out mid-tones, creating a flat, faded appearance. Exposure adjustments function differently by lightening the image proportionally. This mimics opening a camera lens wider, preserving the inherent contrast that gives a photograph depth.
2. Utilize Levels and Curves
Adjusting the tonal curve provides surgical precision. Histograms map shadows on the left, mid-tones centrally, and highlights on the right. Pulling the curve's center upward gently lifts mid-tones without turning deep blacks into an unnatural milky gray.
3. Apply Gradient and Radial Filters
Global adjustments can ruin a perfectly exposed sky while fixing a dark foreground. Radial filters illuminate a specific circular area, fading smoothly outwards. Gradient filters operate in a straight line, making them ideal for balancing uneven landscape horizons.
4. Use Dodge and Burn Tools
Rooted in traditional darkroom techniques, the dodge tool allows digital editors to manually brush over specific dark spots. This meticulous method leaves the rest of the photograph untouched, efficiently bringing out subtle details in heavily shadowed areas.
5. Reduce Noise Before Lightning
Brightening dark areas almost always reveals hidden digital grain. Applying a targeted noise-reduction filter before heavily pushing exposure sliders smooths out these artifacts. This creates a cleaner baseline, keeping lifted shadows sharp rather than gritty.
Part 6: Bring Dark Photos Back to Life
Poor lighting is a common but easily manageable hurdle. Whether adjusting tonal curves manually, using mobile apps, or opting to make dark photo brighter online, recovering lost details takes minimal effort. Understanding how to brighten dark photos ensures valuable memories never stay hidden.
To significantly streamline this workflow, consider integrating Wondershare UniConverter into daily operations. This software simplifies complex edits, offering a unified platform for diverse media needs. Its robust capacity to handle batch conversion operations and advanced intelligent enhancements makes it an invaluable digital asset. Download the application today to elevate visual content with professional ease.

