QuickTime player allows users to record screens for both iPhone and Mac quickly. It is a built-in media player and recorder for all Mac users. You can register your screen activities and then share them on social media.
Sometimes this app stops functioning in the middle of an important task, irritating users. Nothing is more frustrating than this.
You don't have to be worried about having the same issue using QuickTime. In this article, you'll learn how to fix QuickTime, not record audio quickly, and make it usually work again.
Read this article till the end to understand. Let's get started.
Why is QuickTime not Recording Audio?
One of the most common problems users face- is QuickTime screen recording no audio error. It doesn't record internal audio when an error occurs. It can be for multiple reasons, mainly related to QuickTime settings or sound input settings.
It is not easy to point out the reasons why QuickTime screen recording no audio, but experts believe that the below issues could be the culprit;
● Temporary glitch
It may be a temporary glitch in your Mac or QuickTime player that causes the QuickTime not to record your voice while recording the screen.
● Older version
If you're using an older or outdated version of QuickTime, that is causing incompatibility issues with Mac, and this cannot record your voice. It could also be an issue.
● Restrictions
If Mac has restricted the QuickTime player from using the system's microphone, you cannot record your voice. You need to check your system preference first.
● Default audio
If you've not selected the built-in microphone as the default audio input device in QuickTime, it'll not work correctly.
Remember that more than of the above reasons could be at play for causing QuickTime audio error.
How to fix QuickTime, not Record audio?
After compiling the tested and tried methods, we have prepared a solution for you to help troubleshoot the Quick error- no matter why you're facing it in the first place.
You can use the solutions discussed below and at least implement one of them will get the job done for you.
Solution 1: Check & Modify QuickTime Settings
occasionally; an error can occur if you choose the wrong microphone. You can fix this by following the guide step by step.
Step 1: Open the QuickTime player and choose 'New Screen Recording' from the file menu. Select the drop-down menu and access the microphone settings.
Step 2: There is a range of microphones from which you can select. Select the Built-in Microphone: Internal Microphone option.
Step 3: In the quality options - select medium quality. Choose a location for saving your file: desktop or other folders.
Step 4: You can press the red 'record' button to test if your audio and video are recorded correctly. This method can resolve the QuickTime not recording audio error - if you still face issues, go back to step 2 and select a different microphone per your needs.
Remember: Don't raise the volume slider during settings; it will create a sharp feedback sound.
Solution 2: Check & Modify Sound Input Settings
Sound input settings can get changed for unspecified reasons - this can lead to QuickTime screen recording with no audio error. A simple alteration of settings can resolve it.
Step 1: Scan your Mac for performance issues, junk files, harmful apps, and security threats that can cause system issues or slow performance
Step 2: Click on the 'system preferences' icon - designed as an integrated gear, on the bottom right of your home screen. Scroll to the hardware section of system preferences and click on the 'sound' icon.
Step 3: Select the input pane from the options. The input settings should default be recorded from the 'internal microphone.' Make the necessary changes. Also, check the input volume and whether the input level is functional.
Check the 'use ambient noise reduction option to reduce the ambient noise level.
Solution 3: Check & Modify Sound Output Settings
Sometimes the error occurs because of an incompatible or non-working output driver selection. Troubleshoot the error with the following steps:
Step 1: Click on the 'system preferences' icon - you will find the integrated gear logo on your home screen's bottom right.
Step 2: Go back to the hardware section and click on the 'sound' option. This time - select the output pane from the options. You will find various devices for sound output settings - headphones, internal speakers, Scarlett USB, and other options per your device connections.
Step 3: Go back to QuickTime settings - as you did in the first troubleshooting technique, and select the triangle drop-down menu to access the microphone settings.
Step 4: In the microphone settings - select the same microphone as you did in system preferences > sound > output settings.
It will help you resolve your QuickTime screen recording with no audio error.
Important things to remember:
- You will not hear any sound from your headphones or speakers while recording.
- To hear the sound in playback, switch the settings back. System preferences > Sound > Output > Switch to the built-inoutput, headphones, or speakers.
- Keep volume control in QuickTime all the way.
Solution 4: Switch to a QuickTime Alternative
If you can't solve your problem using the above solution, you'll need to switch to the QuickTime alternative. This is the only way to resolve your issue.
Before choosing the best alternative to QuickTime Player for Mac, make sure you go through its reviews, functions, and compatibility with your Mac device.
The advantages of using alternative software are as follows:
- You'll be able to record your screen with audio and video.
- You'll have multiple export options.
- You can convert your videos into more than 1000 formats.
- You'll be able to create GIFs from the videos.
- You'll not need to learn technical skills to record your screen with audio.
- You can use multiple editing features for your captured video.
Best QuickTime Alternative to Record Screen with Audio
This section will outline the top eight alternatives to QuickTime to record your desktop screen with audio. Read this and decide which one best suits your requirements.
1. Wondershare Uniconverter
It is a great video recording tool; multiple valuable features are integrated into Wondershare UniConverter (originally Wondershare Video Converter Ultimate).
- It can work as a video file converter, video editor, DVD burner, video compressor, and more.
Wondershare Uniconverter is easy to use. It's powerful with multiple features like converting videos, downloading videos, compressing videos, etc.
It's a little expensive as compared with other software. If you want to work with videos daily, Wondershare UniConverter is best for you.
If you would like to convert or edit a few videos, you may want to find a tool that provides a lower price. It can also convert multiple videos to 1000 formats at 30X faster without quality loss.
It is a powerful tool that can support up to thirty times the speeds available on the conventional web and PC-based converters.
This software is easy to download, install and operate as each step is clear to understand. You don't need to learn professional skills to manage this software.
Features:
- Conversion Image/video
You can convert any image/video file into your desired format. It offers you more than 1000 formats.
| Video formats | Image formats |
| MP4, AVI, WMV, MOV, MKV, and MPEG. | JPG, PNG, BMP, and GIF |
- Audio conversion
You can convert audio into multiple formats offered by Uniconverter, such as MP3, M4A, AC3, AAC, etc.
- Screen Recording
You can capture your screen activities whenever you want. You can record your screen and create content such as instructional videos.
- Record with audio
You can use Wondershare Uniconverter if you're a gamer and want to show your gaming skills to the world. Record your voice while recording the game and upload it to social media.
- Record with the camera
It lets you record demo videos with the help of Wondershare Univonverter. Record your screen with the Webcam and create your content in just a few clicks.
- CD Burning
It allows you to burn any music to a CD quickly.
- Subtitling
It lets you add subtitles to your content to understand the viewers better. It can make your content compelling and engaging.
- Watermarking
It allows you to remove its watermark and add your own by Wondershare Uniconverter.
- Remove Background
Using this software, you can remove the image's background with artificial intelligence.
- Audio/Video Editing
It provides basic editing features such as trim, crop, merges, adds an effect, rotates, subtitles, audio, and watermark.
- GIF Maker
You can add gifs to your content to make it pleasant. For this, you can create yo gifs from videos and pictures.
- Drag and Drop
You can use the drag and drop interface to edit the clip further.
Pros
It is an easy-to-operate tool.
It Supports nearly 1000 formats.
It produces Good video/audio/image.
Cons
It has a Complicated refund process.
The free version provides you with limited features
Wondershare UniConverter — All-in-one Video Toolbox for Windows and Mac.
Edit videos on Mac by trimming, cropping, adding effects, and subtitles.
Converter videos to any format at 90X faster speed.
Compress your video or audio files without quality loss.
Excellent smart trimmer for cutting and splitting videos automatically.
Nice AI-enabled subtitle editor for adding subtitles to your tutorial videos automatically.
Download any online video for teaching from more than 10,000 platforms and sites.
2. Flexclip
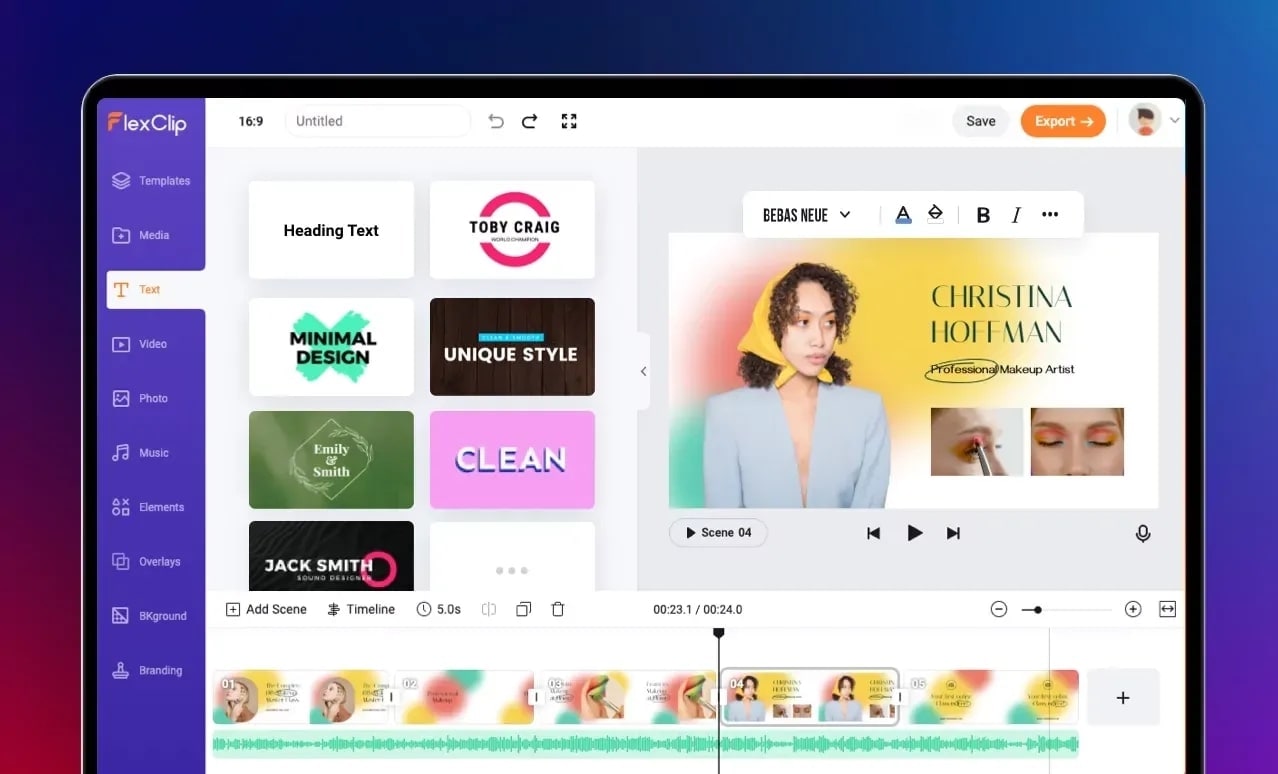
It is a feature-packed online video editor that integrates screen recording with video editing impeccably. It allows you to access its in-browser screen recorder easily and kick start full-screen or webcam recording in no time.
You can easily record your screen online without installing any software or extensions. It is a free screen recorder within FlexClip's in-browser video editor.
You don't worry about your privacy and security because it has no access to your uploaded files. This recording tool is entirely free to use. It allows you to capture the whole screen or other regions per your need.
You don't have to be tech-savvy or expert to make videos with Flexclip. With its easy-to-use and user-friendly interface, you can create slideshows, video essays, ads, or promotion videos hassle-free.
Features:
- It has an intuitive video editing interface.
- You can trim videos to keep the desired portion.
- It allows you to convert videos without losing their resolution.
- It allows you to add a variety of unique filters to the videos.
- You can easily adjust the element Explore, Contrast, Brightness, Temperature, and Saturation.
- You can change the background with one click.
Pros
It's a free and web-based browser
Your privacy is safe
It has built-in templates and elements.
Cons
Team collaboration is not possible
3. Audacity
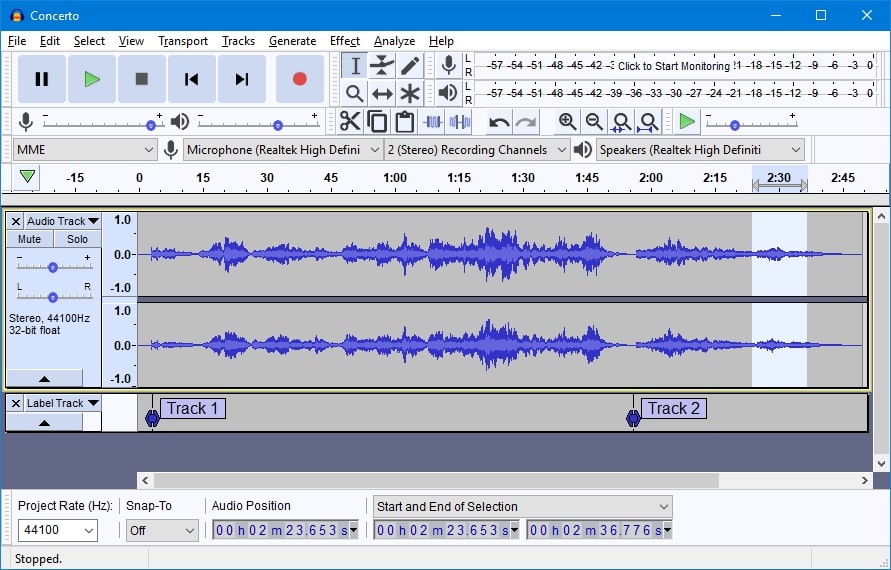
It is one of the best audio recording software for small businesses, freelancers, and education institutes. It allows you to easily audio record, edit, and mix tracks on this platform.
The features that make Audacity so efficient - are scrubbing & seeking options, unlimited undo, and creating multi-track recordings. You can also dub over existing tracks comfortably. This toolbar manages multiple playback devices.
There is a variety of sound editing effects with Audacity. It allows you to generate tones, cancel ambient noise, and add reverb or echo effects. You can create a voice-over for podcasts with the Auto Duck Effect.
It also supports multiple audio formats like WAV, AIFF, MP3, VOX, and FLAC and shares your projects with peers.
Features:
Here are the essential components of Audacity:
- You can record real-time audio from the screen as well as audio through a microphone
- It allows you to Import Audio from Video Clip
- It also allows multi-track mixing
- You can also digitize recordings from other media
Pros
You can edit multiple tracks at once with this Audacity
You can make smooth transitions to volume in both directions
Cons
Its learning curve makes it challenging software for beginners
It's open-source software; you'll need to install plugins.
4. Movavi Screen Recorder
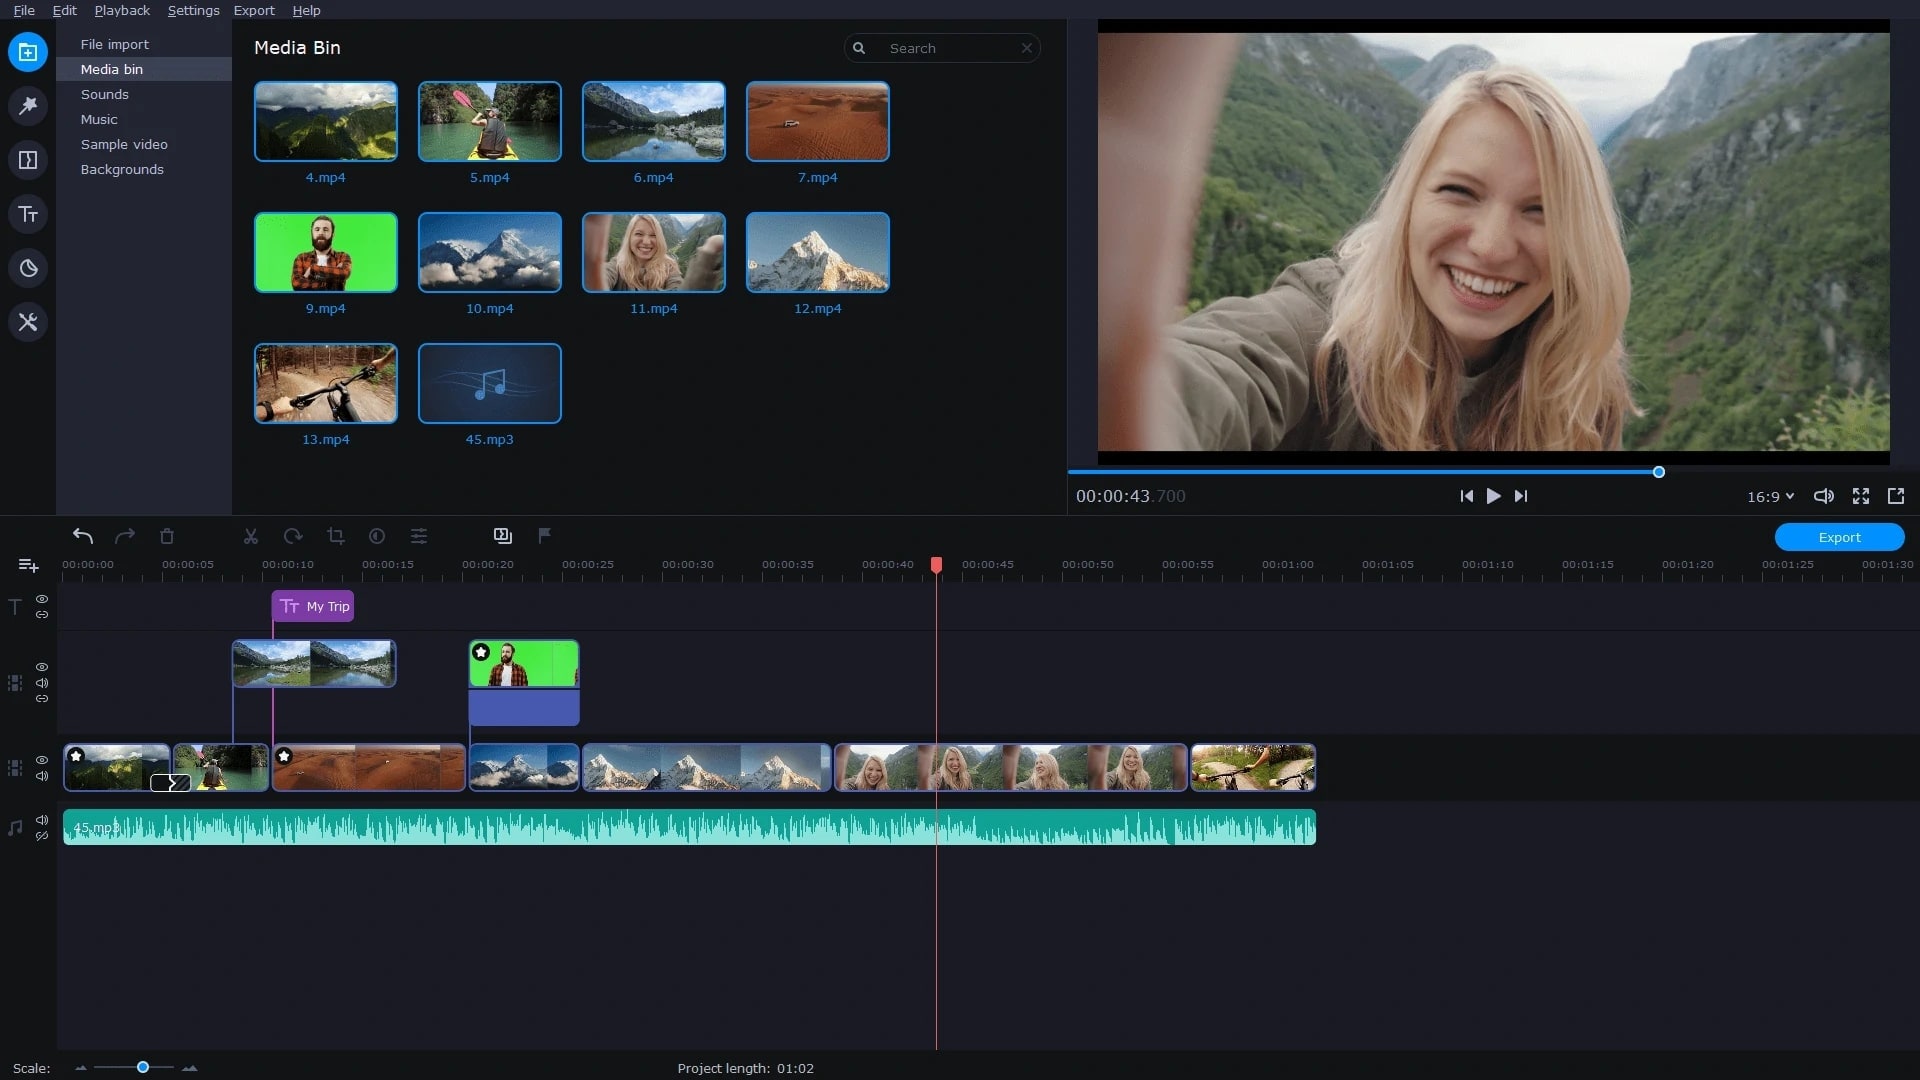
It is a brilliant tool for recording internal audio. It is helpful for bloggers or small business owners who often record How-to videos, tutorials, and briefing audios for customers and clients.
It has both free and premium versions. You can screen record conference calls, webinars, and audio calls with your customers and vendors. The recorded videos can also be referred to in the future for feedback.
It is the ultimate all-rounder for users looking for a top-quality screen capture tool on Windows and Mac.
You can separately record microphone input, internal audio, and video screen recording. You can also pre-schedule audio and video recordings.
Features:
- It supports output formats: MP4, AVI, MOV, MKV, GIF, MP3, PNG, BMP, and JPG.
- It records the screen with a microphone and Webcam.
- You can schedule recordings.
- It also offers on-screen annotation with drawing tools
- It provides you with built-in tools to edit the recording
Pros
It produces good quality videos for windows and Mac
It has a user-friendly interface.
It supports all major video file formats
Cons
The watermarks added in the free version
It is not suitable for high-end audio editing and mixing
Watermark can only be removed with the licensed version.
5. AnyMP4 Screen recorder

It is the best HD screen recorder for Windows and Mac to capture any screen activity. It captures high-quality video with different audio sources from system sounds, microphone voice, or both, record webcam, and take screenshots on your desktop.
With this screen recorder, you are provided with the best solution to record screen movements and actions from your desktop.
This screen recorder also offers you some predefined picture sizes, such as 800x600, 1024x768, etc. It lets you help you capture the screen well and view the recording on different media devices.
This recording tool can capture videos with audio in the most popular formats like MP4, MOV, AVI, MKV, FLV, etc.
You can record online video meetings, webinars, classes, lectures, and tutorials with no download option
Features:
● You can record the whole screen or customized region.
● It offers you a real-time drawing you can use to annotate your videos.
● It allows you to schedule your recordings.
● You can add a watermark while recording the screen to protect the content.
● You can also save the recorded videos as GIF animation.
● The noise suppression feature allows you to remove background noise.
Pros
It's a light-weight screen recorder
It doesn't contain ads, watermarks, or subscriptions.
Cons
Timeline mode is not available for editing recorded files.
6. Free Cam
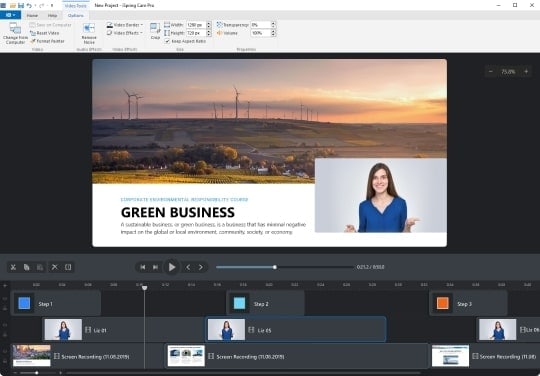
It is video recording software designed to create screen recordings, edit videos and publish them to YouTube.
It allows you to use the audio/video editing tool to trim specific sections from videos. You can also remove background noise, adjust volume, and add fade-in/out effects.
It is an easy screen recorder for Windows. It consists of a complete set of functions for creating, editing, and instantly sharing high-quality screencasts.
It is a user-friendly tool that allows you to record videos of your screen or desktop activity. The program has complete settings for perfect recordings
Features:
● You can create a recording of your entire screen or selected area.
● You can also voice-over your videos to make your lesson more informative
● It enables you to add background music to your video
● You can also highlight your mouse cursor and turn on mouse click sounds.
● It allows you to adjust volume and use fade-in and fade-out effects.
Pros
Easy to use software
It allows easy sharing to Facebook, YouTube, etc
Cons
As you increase the dimensions of the video, the quality becomes low
It doesn't provide an annotation tool
7. ShareX
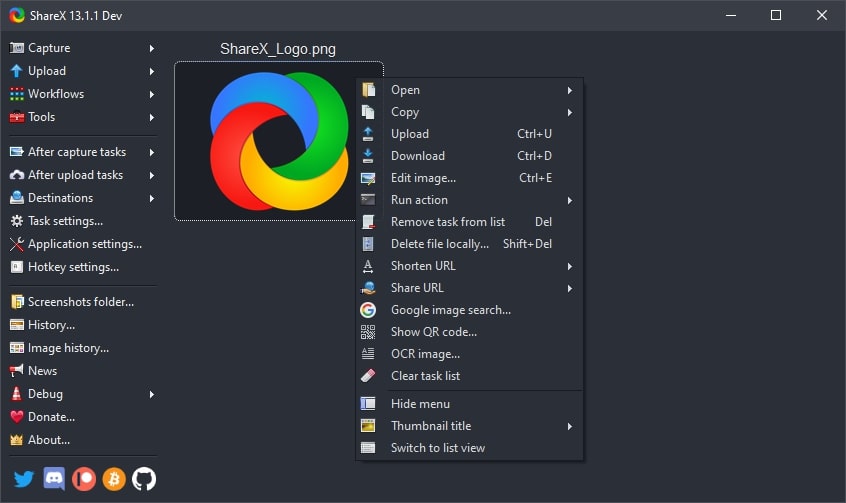
It is a free and open-source program that lets you capture or record any area of your screen and shares it with a single click.
It also enables you to upload images, text, or other types of files to many supported destinations you can choose from.
This software blows the Windows Snipping Tool out of the water and GIF. It's a video capture tool competing against paid screen capturing software.
It's a solid and essential app for anyone who needs to capture content on their screens.
Features:
● It allows you to capture the screen easily
● It offers customizable keyboard shortcuts
● You can annotate the image whenever you want.
● It lets you add watermarks.
● It's free and open-source software.
Pros
It's a powerful tool for capturing the screen
It offers lots of sharing options
Cons
It has an unappealing interface
You cannot catch games
8. CamStudio
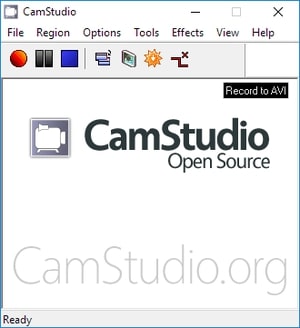
It allows users to record all screen and audio activity on their computer. It helps to create industry-standard AVI video files, and its built-in SWF Producer can turn those AVIs into lean.
1. You can use this software in the following way;
2. You can use it to create demonstration videos
3. You can make video tutorials for school or college class
4. You can use it to record a chronic problem with your computer so you can show technical support people
5. It allows you to create video-based information products you can sell
6. You can even use it to capture new tricks and techniques you discover on your favorite software program.
Features:
- It allows you to record your screen and audio to AVI files
- You can convert AVI into Flash
- It will enable you to highlight the cursor path
- You can record the screen with sound
- It also allows you to add text comments to videos
Pros
It's a free and open-source software
It has no recording limit time.
Cons
The size of the output file is large
It sometimes contains unwanted programs when installed.
How to use Uniconverter to record screen with audio?
Among screen recording and editing software, we have found Wondershare Uniconverter as the best screen recording software; this application is easy to use and packed with all necessary intuitive features required for all video problems.
Let's dive deep into the detail of how-to record screens with Wondershare UniConverter.
Step 1
First, download Uniconverter on your Windows or Mac OS and launch the application. On the main interface, go to the left and click on "Screen Recorder," Then, click on Screen recorder on the interface.
Step 2
After the screen recorder dialogue box appears, you can change the aspect ratio, frame rate, quality, and output format. Then, decide which part of the screen you want to capture. Proceed to the next step after making the necessary changes to the settings.

Step 3
To record with audio, enable the microphone. Once you are done adjusting the settings, click the Recording button to begin recording; now, you can register your screen activity without any hassle.
Step 4
When you are done with recording, press the stop button or the shortcut keys CTRL+F6 to stop the recording. You will find your recorded video in a specified file location.
Conclusion:
This article has provided a detailed guideline on how to fix the QuickTime not recording audio error. It is an excellent app for Mac users to capture the screen, but it also comes across many mistakes. This guide will probably help you solve the QuickTime audio issues quickly without any hassles.
If you're still facing the issues, switch to the QuickTime alternatives mentioned above. You can rely on any of the eight-screen recorders discussed in this article, but we suggest users install the Wondershare Uniconverter and record their computer's screen with audio.
It's best of all and offers multiple features. You can export your videos in 1000+ formats with high quality.
Download it and try it on your own.


