

- Main Cause: Compression artifacts occur due to lossy compression formats like MP4 or JPEG, which remove data to reduce file size.
- Visible Effects: Heavy compression can lead to blockiness, blurriness, color loss, and noise in images or videos.
- Fix Methods: Techniques like color correction, tone mapping, and noise reduction help restore visual quality.
- Efficient Solution: Wondershare UniConverter offers AI-powered tools to enhance images and reduce compression artifacts quickly.
A compression artifact is a noticeable loss of quality in media content such as images, video, and audio. It's caused by lossy compression standards, which can discard some of the data to make the file smaller. Thankfully, there are several methods to remove image or video compression artifacts. This can be achieved through tone mapping, color correction, and more.
So, in this comprehensive guide, I'll explain the main causes of image or video compression artifacts. Most importantly, I'll cover how to remove or reduce artefacts after compressing your video or image file. Let's help you restore all the lost details and quality!
In this article
Part 1: What Causes Compression Artifact?
Before I get into the nitty-gritty of removing compression artifacts, let's first understand what causes them. I've read several posts on Reddit about loss of quality after uploading videos on platforms like YouTube and TikTok. The thing is, most platforms use lossy compression, like H.264, to reduce file size, which can degrade quality.
Long story short, artifacts are caused by lossy compression standards. Formats such as MP4 and JPEG are designed to make those artifacts nearly impossible to see with the naked eye. However, these formats can only do so much when aggressive compression is applied. Heavily compressed data has low bitrates, leaving behind visible blocks, halo effects, and color blindness.
Part 2: How to Fix Compression Artifacts using Post-Enhancement Methods
Okay, one thing is for sure: you may have to live with compression artifacts if the image or video is heavily compressed. However, several methods can fix imperfections such as low resolution, blurriness, and noise. Below is a breakdown of some common methods:
Method 1: Perform color correction with UniConverter
One of the main effects of aggressive video or image compression is loss of color information. While compression is designed to remove unnecessary or imperceptible data, it often reduces color depth. JPEG in particular uses chroma subsampling, which separates image brightness from color information. This can significantly reduce the color resolution.
The good news is that you can restore the lost color with a professional tool like UniConverter. This Mac/Windows program offers a host of AI-powered image editing tools to eliminate compression artifacts within seconds. You don't need any practical image or video editing skills to enhance photos with UniConverter.

Image enhancement features of UniConverter:
Color Enhancer: Correct image brightness and contrast to make it look more vibrant.
Noise Reducer: Prevents image over-smoothing to make it look natural.
Image Repairer: This feature removed scratches and compression blocks.
Image Upscaler: Increase image size by 2x, 4x, or 8x without losing quality.
Light Enhancer: Automatically detects and improves poorly lit images.
How to remove artefacts with UniConverter's color correction:
Step 1:
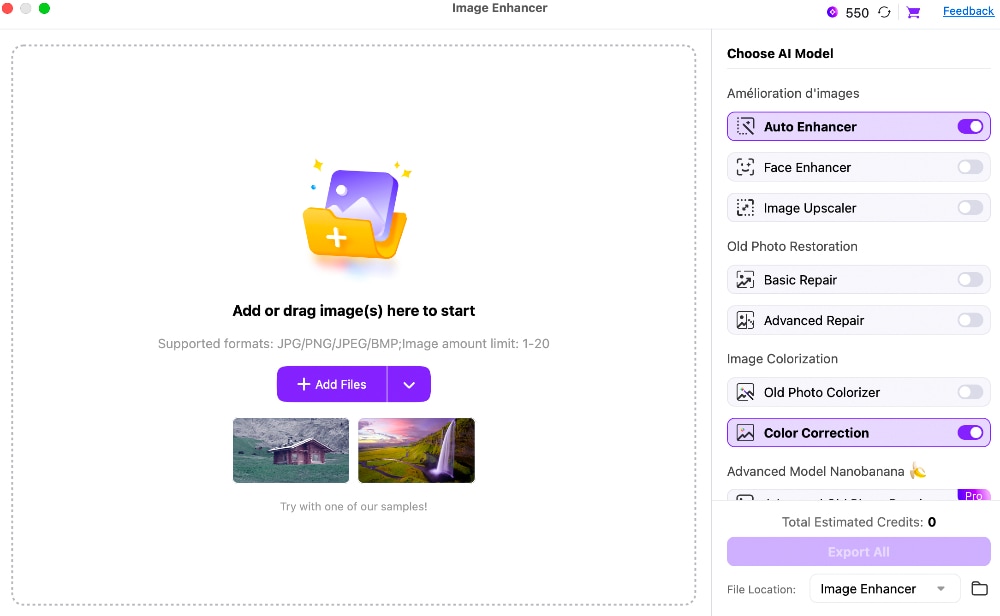
Visit UniConverter's official site and install this program on your computer. Next, tap the Image tap, and then select the Image Enhancer tool.

Step 2:
After opening the Image Enhancer, enable the Color Correction feature on the right pane. You can also enable the Auto Enhancer toggle to let the AI model automatically enhance your image.
Step 3:
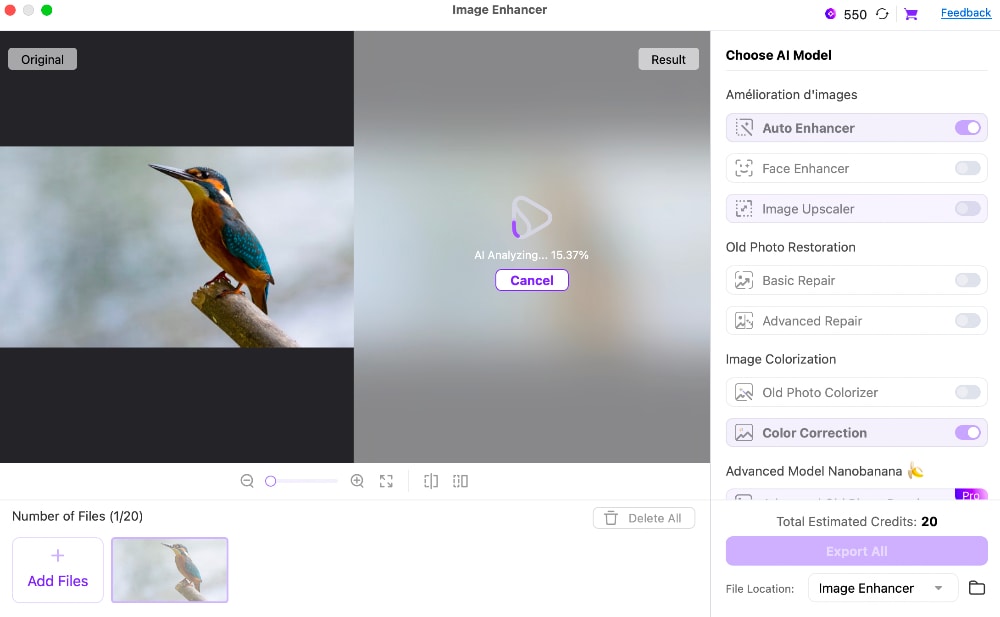
Now upload your compressed photo. UniConverter supports batch processing, which should be handy if you have an album of pictures to enhance. Click the Preview button to start analyzing and enhancing your photo.
Step 4:
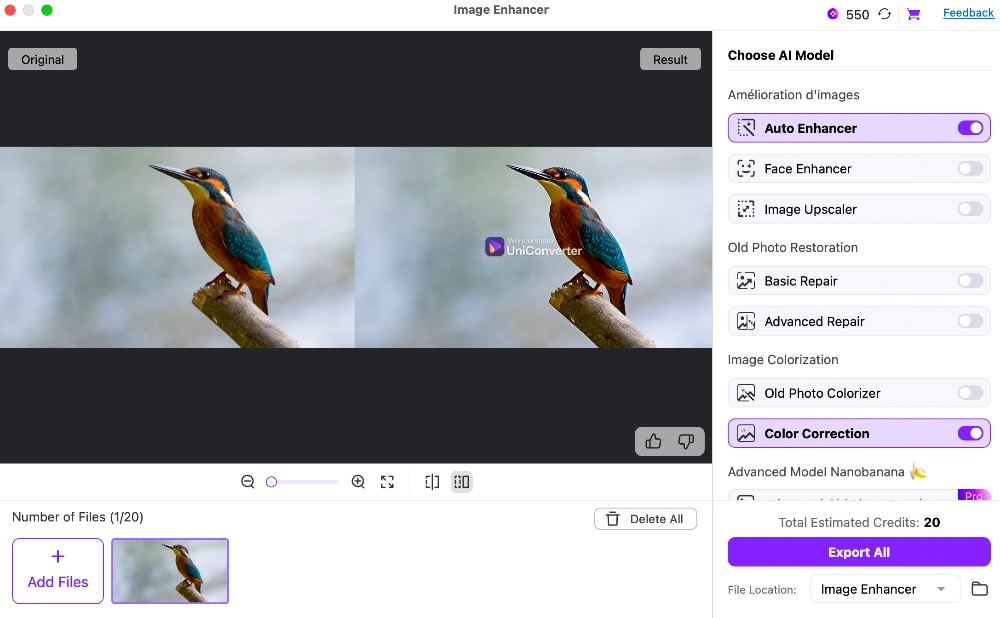
Once color correction is complete, you'll see the enhanced photo next to the original. The color details on the enhanced photo should look sharper and more vibrant. You can now choose a folder path and export the photo.

Easy Image Enhancer with One-Click Improvement
Method 2: Remove image artefacts with tone mapping
Tone mapping, or HDR mapping, is a term commonly used by photographers. It's basically a method for compressing a photo's light values. In layperson's terms, this technique can make a fairly dull photo look livelier and more vibrant by analyzing its tonal range and applying global or local tone mapping.
Many image editing programs offer tone mapping, although some may be a bit complicated for beginners. So, I want to make this as easy as possible by using Affinity tone mapping. Affinity Photos is a Mac/Windows program that offers local contrast enhancements with any photo, including raw files.
Below are the steps to use Affinity Photo tone mapping presets:
Step 1:
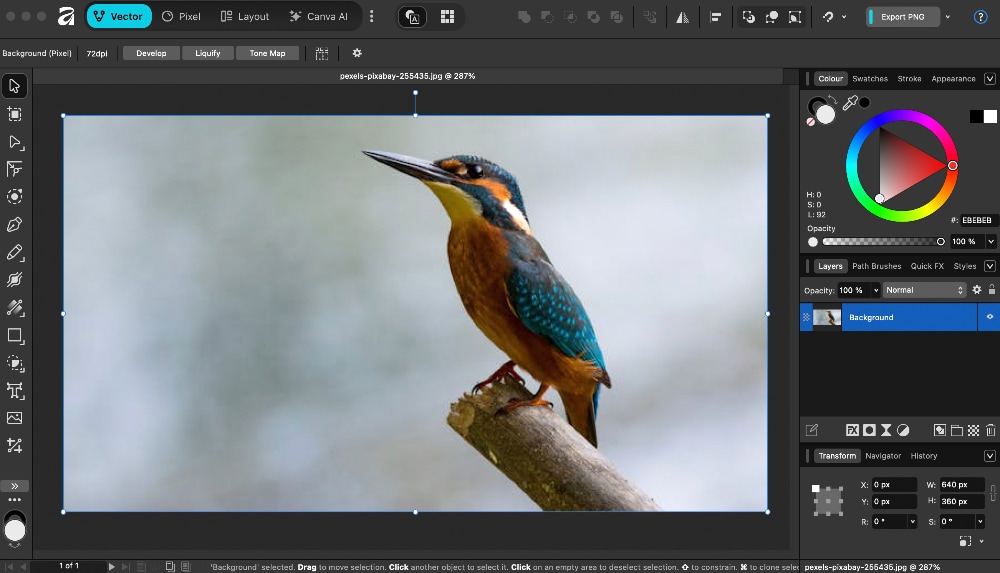
Download and install Affinity Photo on your Mac or Windows computer and then upload the photo. You can add your image by merely dragging and dropping it into Affinity Photo.
Step 2:
Next, tap the Layout button, then click Tone Map to open the tone-mapping interface. You can also find this feature in the Vector and Pixel windows.
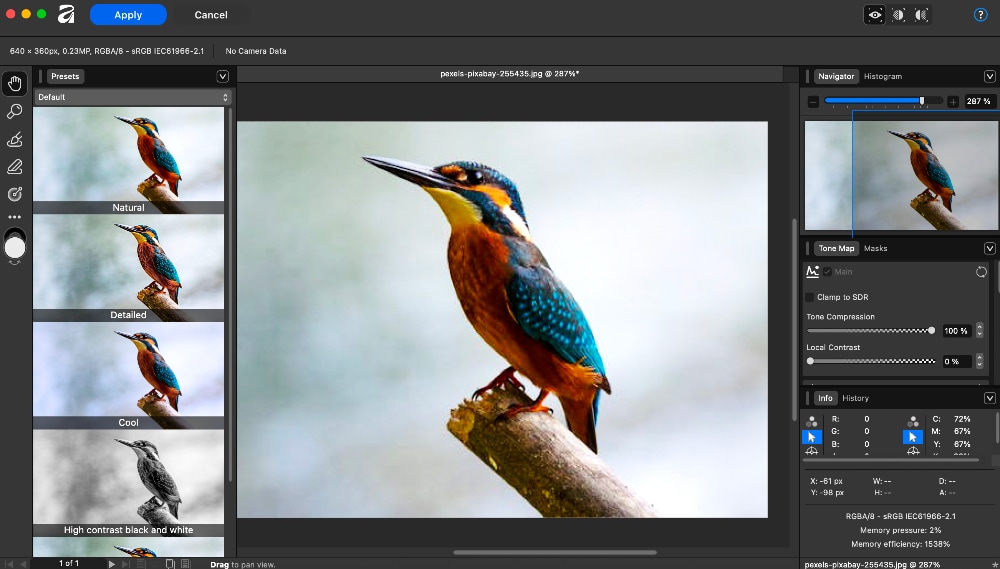
Step 3:
It's now time to adjust the Affinity tone mapping presets. I started by increasing my image exposure and saturation to make it clearer. You can also denoise the photo, adjust color, luminance, and more. Try to achieve a nice balance to avoid compromising the image quality.
Method 3: Remove image artefacts with noise reduction
Noise in a video or picture is an unwanted image that appears grainy. While low-light conditions or high ISO settings can cause noisy photos, aggressive compression is another culprit. Most of the time, you may have to zoom in on the photo or video to see the grainy veils.
Thankfully, noise reduction is a proven method for reducing compression artifacts. This technique analyzes video frames to identify and remove random noise patterns. In other words, it reduces color noise and smoothens grain to prevent excessive ghosting.
Below, I'll share a few tips on how to reduce image noise with Lightroom's AI Noise Reduction feature. Adobe Lightroom is ideal for batch-processing photos and offers several additional features, including HDR tone mapping. It's an excellent alternative to Photoshop tone mapping and image editing if you're looking for an efficient workflow and organization.
Step 1:
Download and install Lightroom on your computer. After that, upload your photo and zoom in to see the noisy grains. This will also help you see what you're doing while editing the photo.
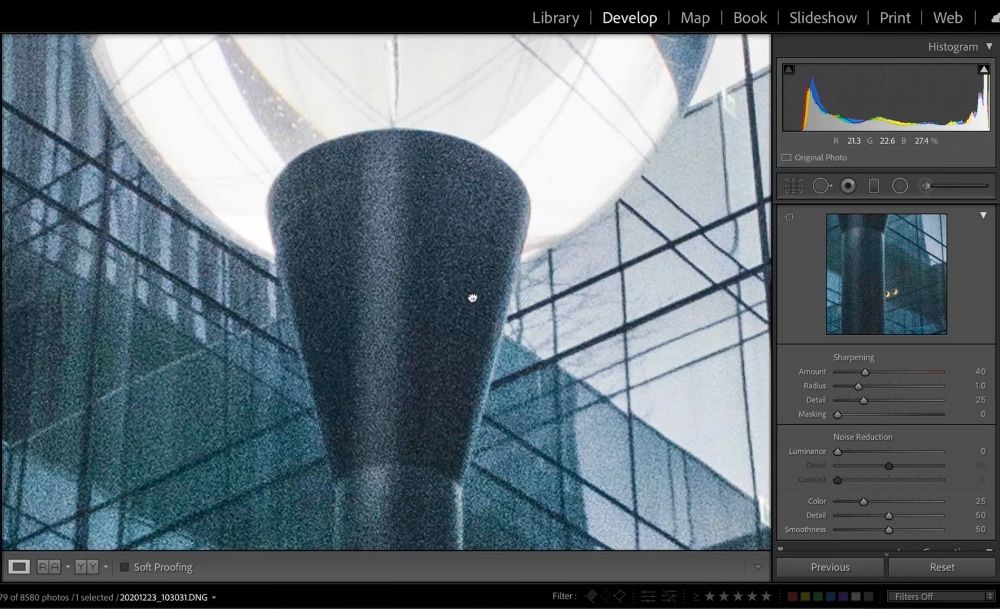
Step 2:
Lightroom AI will adjust the noise levels automatically when working with RAW images. However, for the best results, head to the right pane and find Noise Reduction under Detail. Here, you can adjust the Color and Luminance as needed.
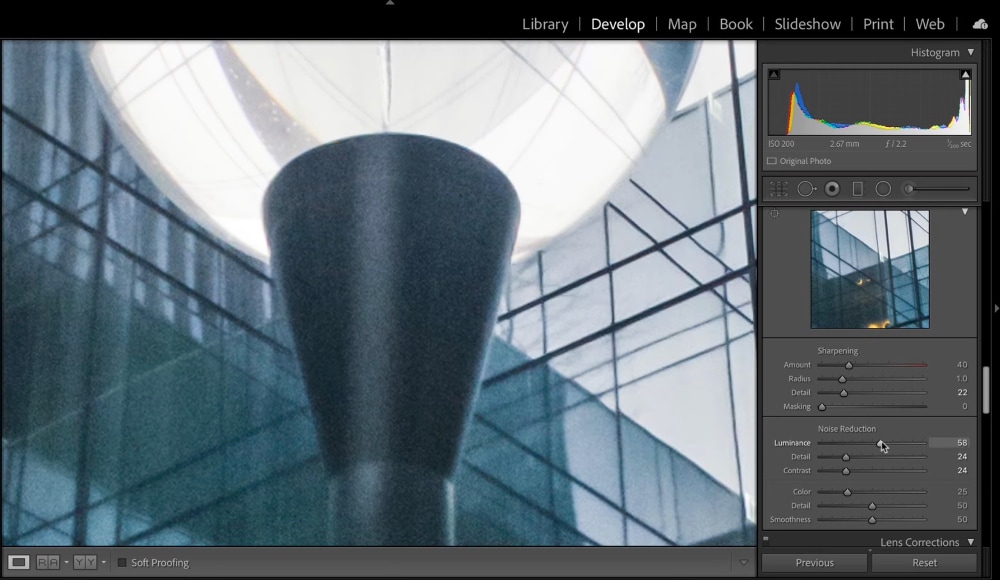
Step 3:
Play around with other adjustments like the detail, contrast, and smoothness to remove the residual noise. Try not to overdo the adjustments to make the photo look clean and natural.
Part 3: Tips to Prevent Artifacts Before Compression
Prevention is always better than cure, and that also applies to image or video artifacts. So, to prevent image quality loss after compression, I recommend working with RAW files. RAW photos capture all the sensor information without in-camera processing, preventing early-stage compression. The photo will also retain more data after compression.
When it comes to video compression artifacts, I prefer working with 4K content. This provides high bitrates, which preserve image detail and color information after compression. In short, the increased pixel density in 4K videos holds more information, keeping noise and gradients smooth after downscaling.
Another tip is to avoid repeated JPEG saving. The thing is that you can open and view JPEG files a billion times without any quality loss. However, saving the image as a new JPEG will lead to some data loss and artefacts. Therefore, it's vital to keep a master copy of your photos in a non-lossy format. PNG and TIFF are excellent choices.
Summary
See, some compression artifacts are fixable. With a studio-grade AI-powered editor, you can perform actions like noise reduction, tone-mapping, and color correction. You should try UniConverter, which provides several AI image enhancement tools to refine your compressed photo and regain lost details so as to remove compression artifacts. It's also simple to use compared to options like Lightroom and Affinity. Go ahead and experiment with different tools to find the correct fix.
FAQ
-
Can duo tone image prevent compression artifacts?
A duotone image can reduce the visibility of image compression artifacts, although it doesn't eliminate them. This technique reduces a photo to two specific colors besides black and white. This reduces the amount of color data a compression algorithm must process, making artifacts less visible. -
Can I fix compression artifacts manually?
Yes, you can fix compression artifacts manually, whether working with a video, image, or audio file. However, you must adjust multiple settings like luminance, color correction, and detail to achieve the best results. -
What's the difference between image and video compression artifacts?
Image compression artifacts are visible imperfections in a static photo. This can be noise, blocks, or blurriness. On the other hand, video compression artifacts can include mosquito noise, motion ghosting, and texture floating. -
Which media types are most affected by compression artifacts?
Images, audio, and video can all be affected. JPEG images, MP3 audio, and MPEG-style video are common examples where artifacts may appear when compression is heavy. -
What is the best way to avoid compression artifacts?
Start with the highest-quality source possible, compress only once when you can, and choose settings that balance file size with quality. For archiving, lossless or lightly compressed formats are usually safest.

