

Cutting or trimming a YouTube video can be essential for removing unwanted parts, refining content, or creating shorter clips for social media. Whether you need to cut online YouTube videos, crop a YouTube video online, or download and edit YouTube clips, there are several online and offline tools available. In this guide, we’ll explore the best methods to cut YouTube videos with precision, including using YouTube Studio, online tools, and offline software like UniConverter. Whether you're a beginner or an experienced video editor, this guide will help you cut YouTube videos online free and with accuracy.
In this article
- Part 1: How to Cut YouTube Videos Like a Pro: The Ultimate Guide
- Part 2: How to Effectively Crop Your Videos in YouTube Studio
- Part 3: How to Cut YouTube Videos Online with Precision?
- Part 4: How to Cut YouTube Videos Offline with Accuracy?
- Part 5: Bonus: Easy-to-Follow YouTube Video Downloading Instructions
- Conclusion
- FAQs
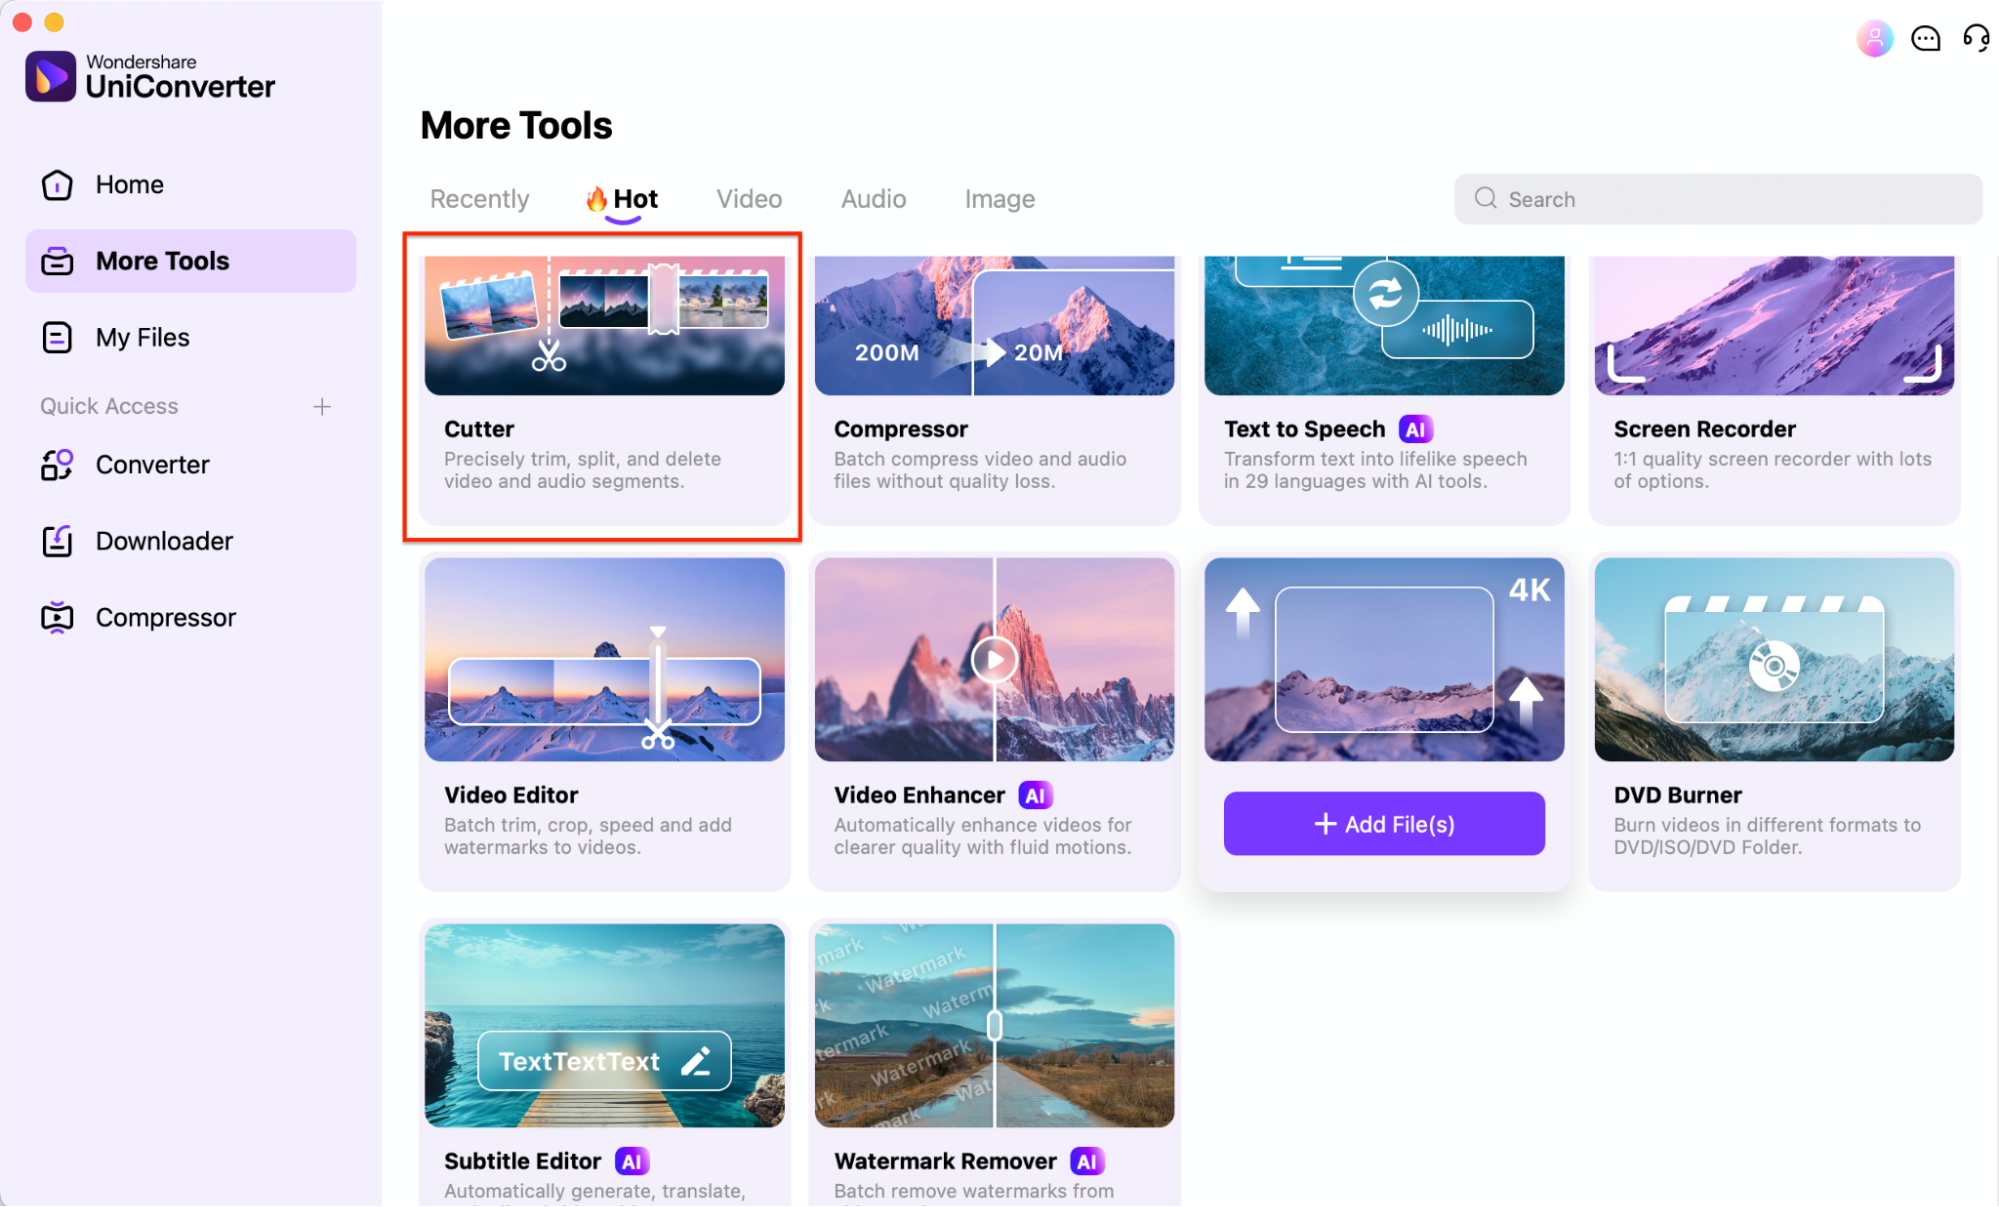
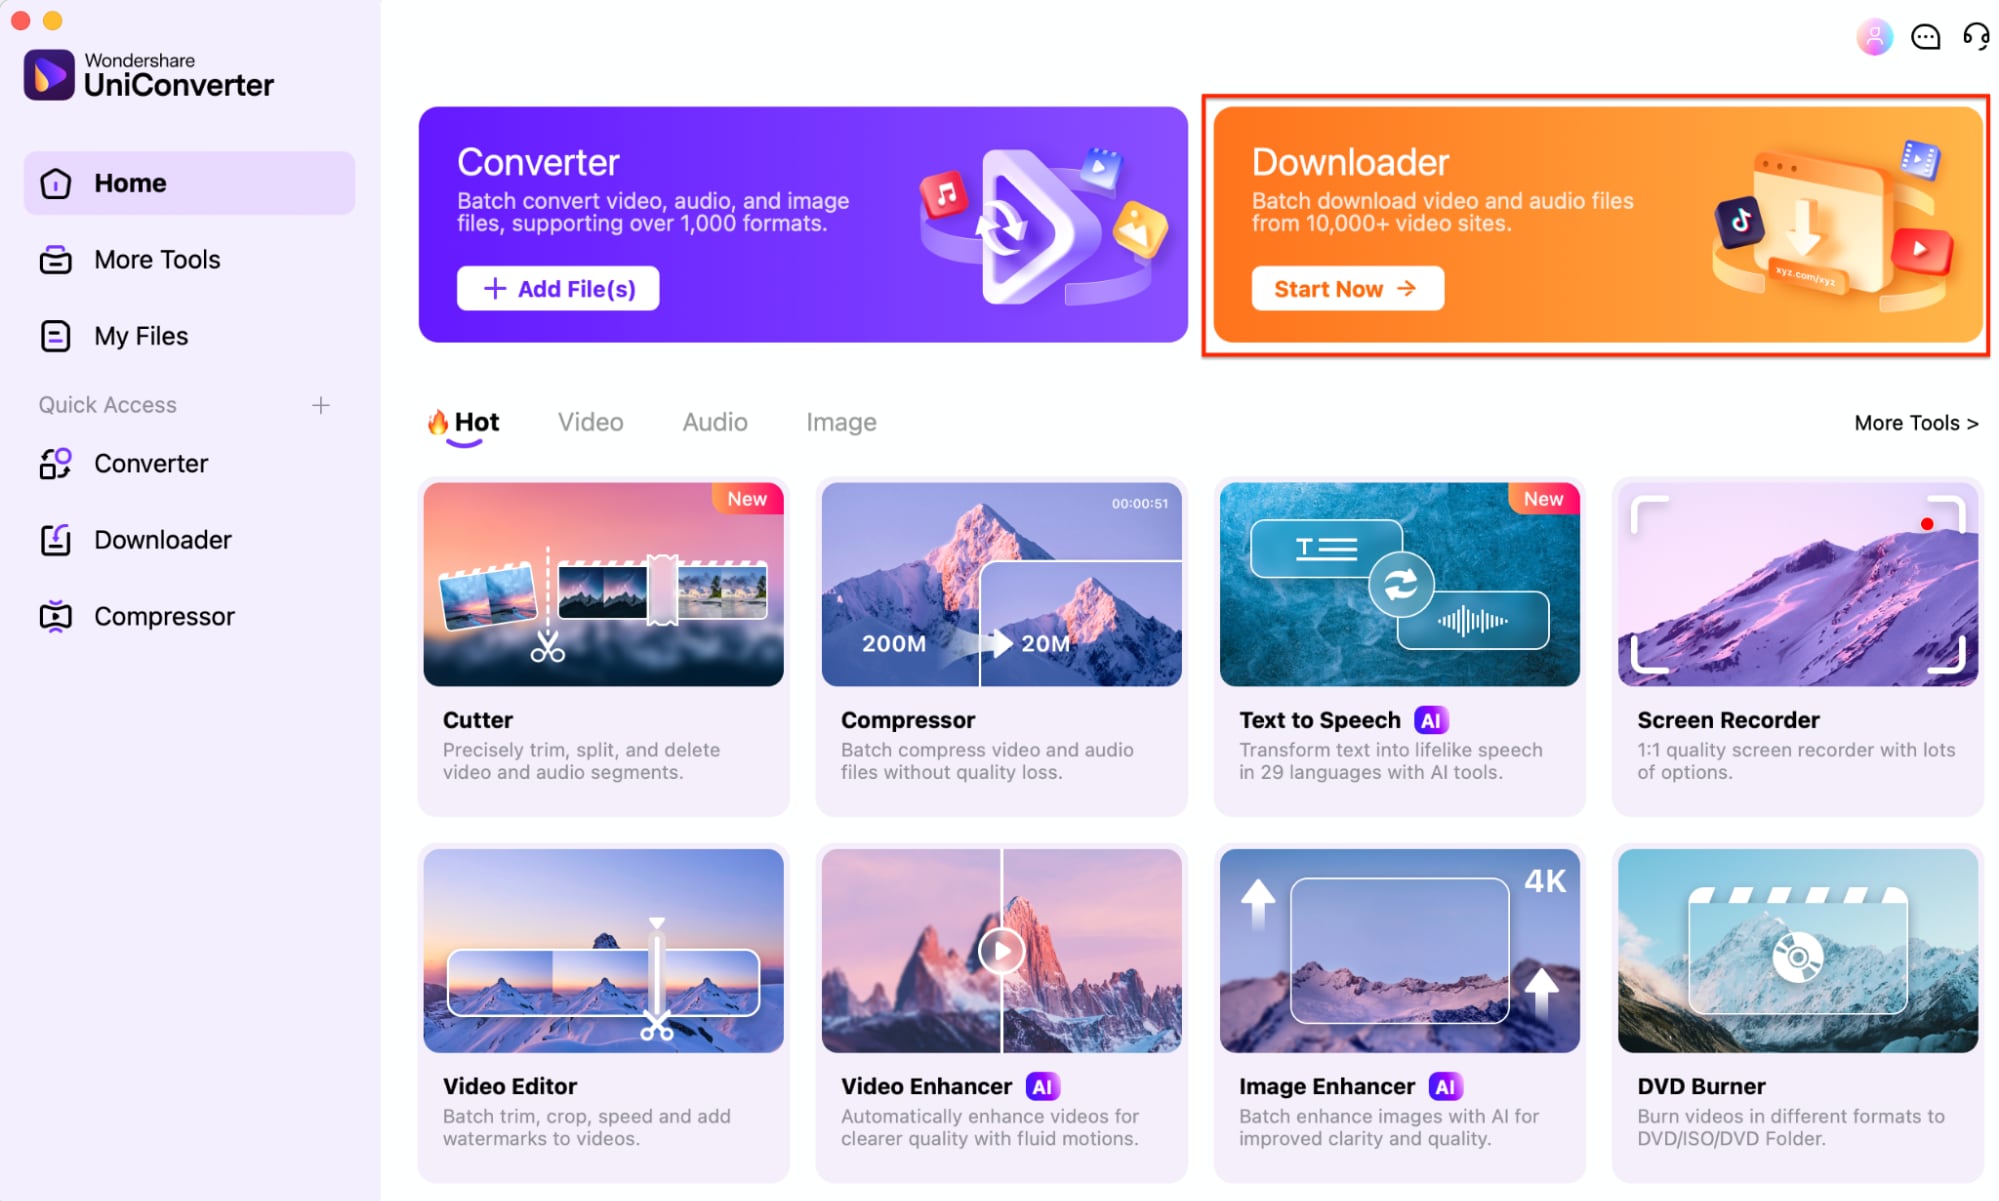
Part 1: How to Cut YouTube Videos Like a Pro: The Ultimate Guide
UniConverter – The Ultimate YouTube Video Cutter
Wondershare UniConverter is a powerful tool designed for fast and precise YouTube video cutting, whether online or offline. It offers AI-powered smart trimming, batch processing, and lossless video quality preservation, making it an excellent choice for content creators. Users can clip YouTube videos online, extract MP3 audio, and convert files to multiple formats with ease. With its intuitive interface and high-speed processing, UniConverter ensures seamless video editing for professionals and beginners alike. Whether you need to cut and download YouTube videos or edit them offline, UniConverter provides a reliable and efficient solution.

Best Video Cutter
Key Features
- Frame-Accurate Trimming – Trim YouTube videos precisely, down to the exact frame, ensuring clean and professional edits without losing quality.
- YouTube to MP3 Cutter – Convert YouTube videos into MP3 format, allowing you to extract and trim only the desired audio sections.
- Batch Video Processing – Edit multiple videos at once, making it efficient for bulk YouTube video cutting and conversion tasks.
- AI-Powered Smart Cut – Automatically detect and remove silent or unwanted sections in videos, saving time on manual trimming.
- Supports 1000+ Formats – Export trimmed YouTube videos in MP4, AVI, MOV, WebM, and many other formats, ensuring compatibility across devices.
User Reviews
- "UniConverter makes it incredibly easy to cut YouTube videos and export them in any format I need!" – Jake R.
- "The AI-powered smart trim saves so much time when cutting long videos!" – Sarah M.
- "Best tool for YouTube video trimming and downloading. The batch processing feature is a lifesaver!" – Daniel P.
Step-by-Step Guide to Cutting YouTube Videos with UniConverter
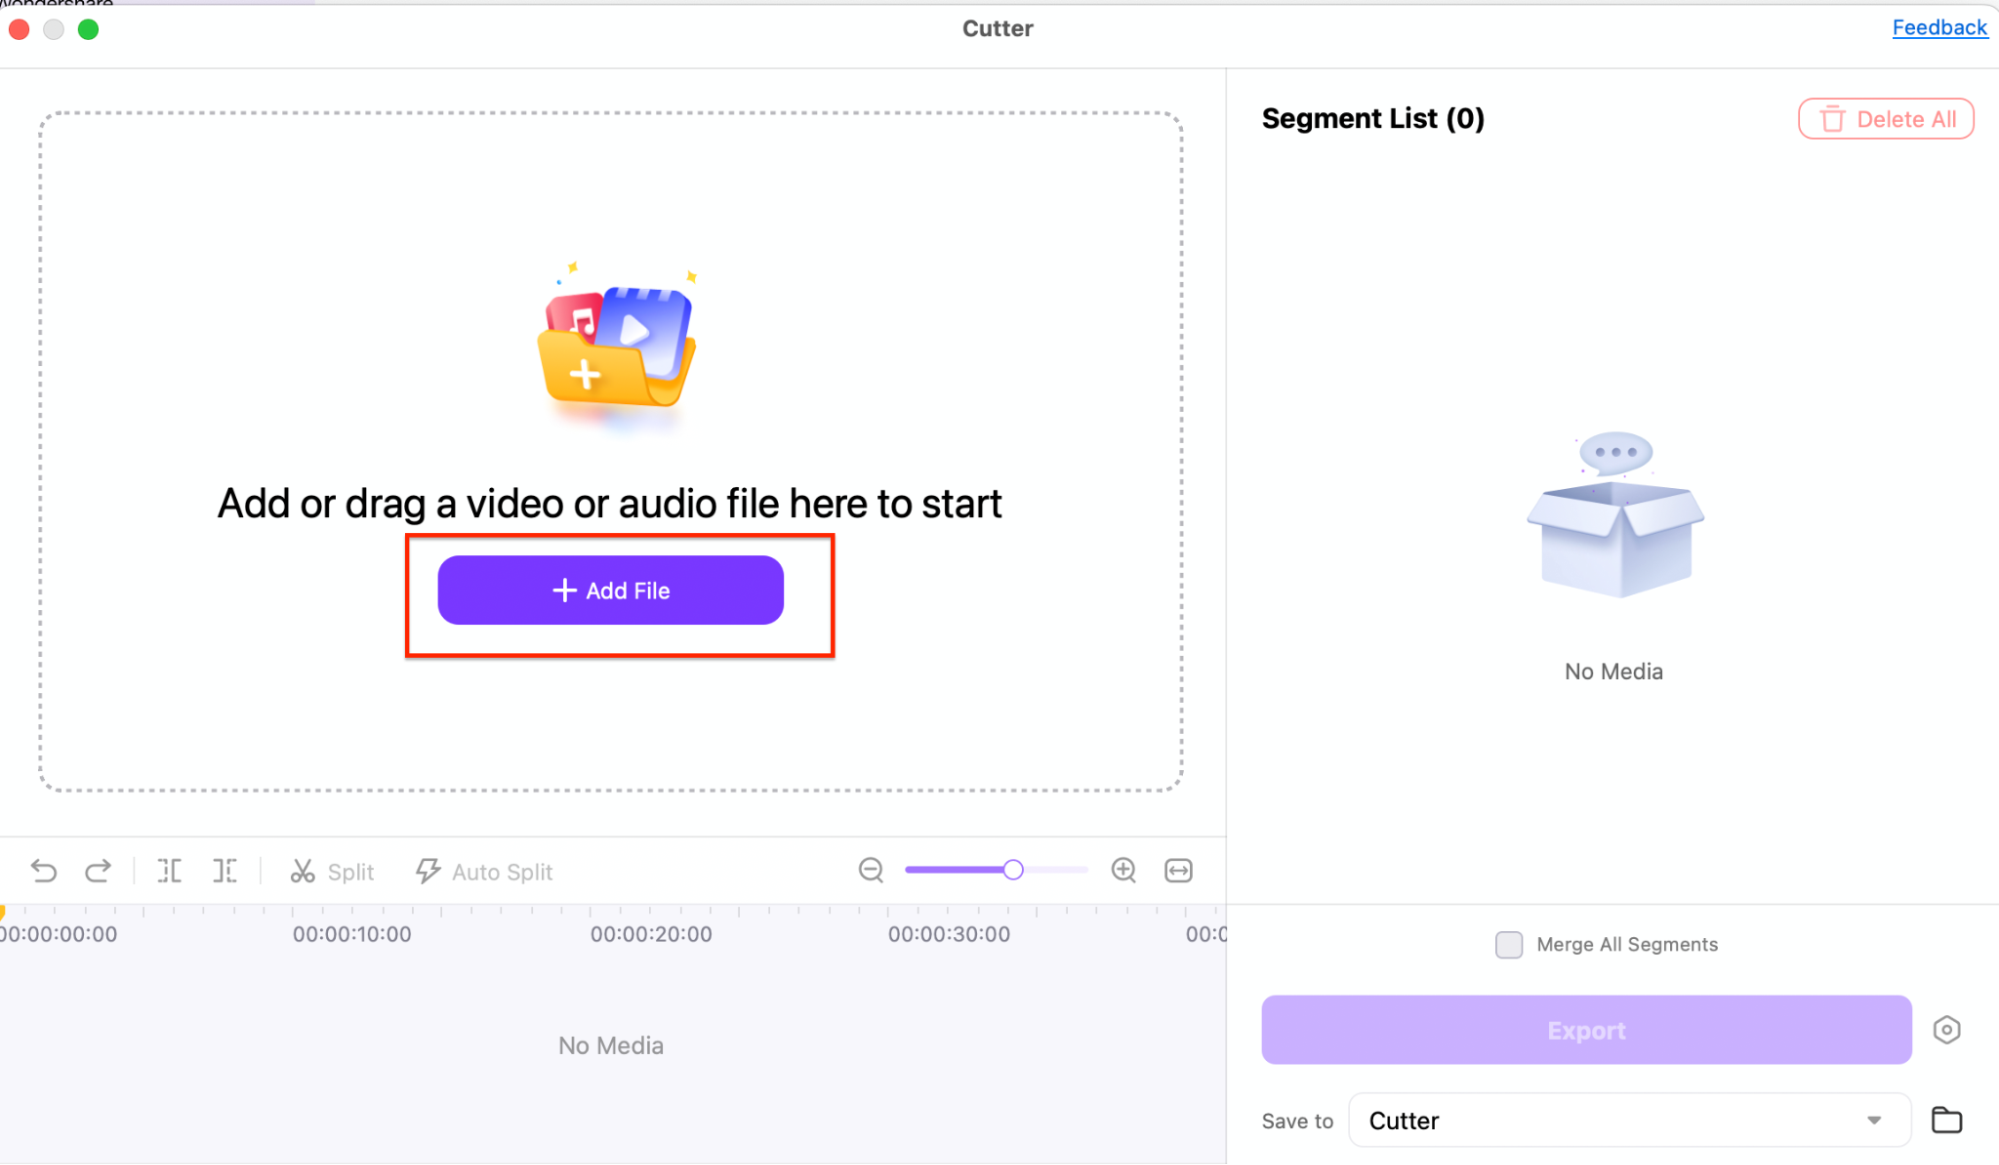
Step 1: Open UniConverter and Access the Cutter Tool
Launch UniConverter on your device and navigate to the Video Editor tab. Click on Trim & Cut to access the video cutting tool. This feature provides an intuitive timeline for precise trimming and ensures a smooth editing process.
Step 2: Upload Your Video
Click “Add File” to import the YouTube video from your device. Alternatively, if you want to cut and download a YouTube video online, simply paste the YouTube video link into the downloader. The software will automatically fetch the video for editing.
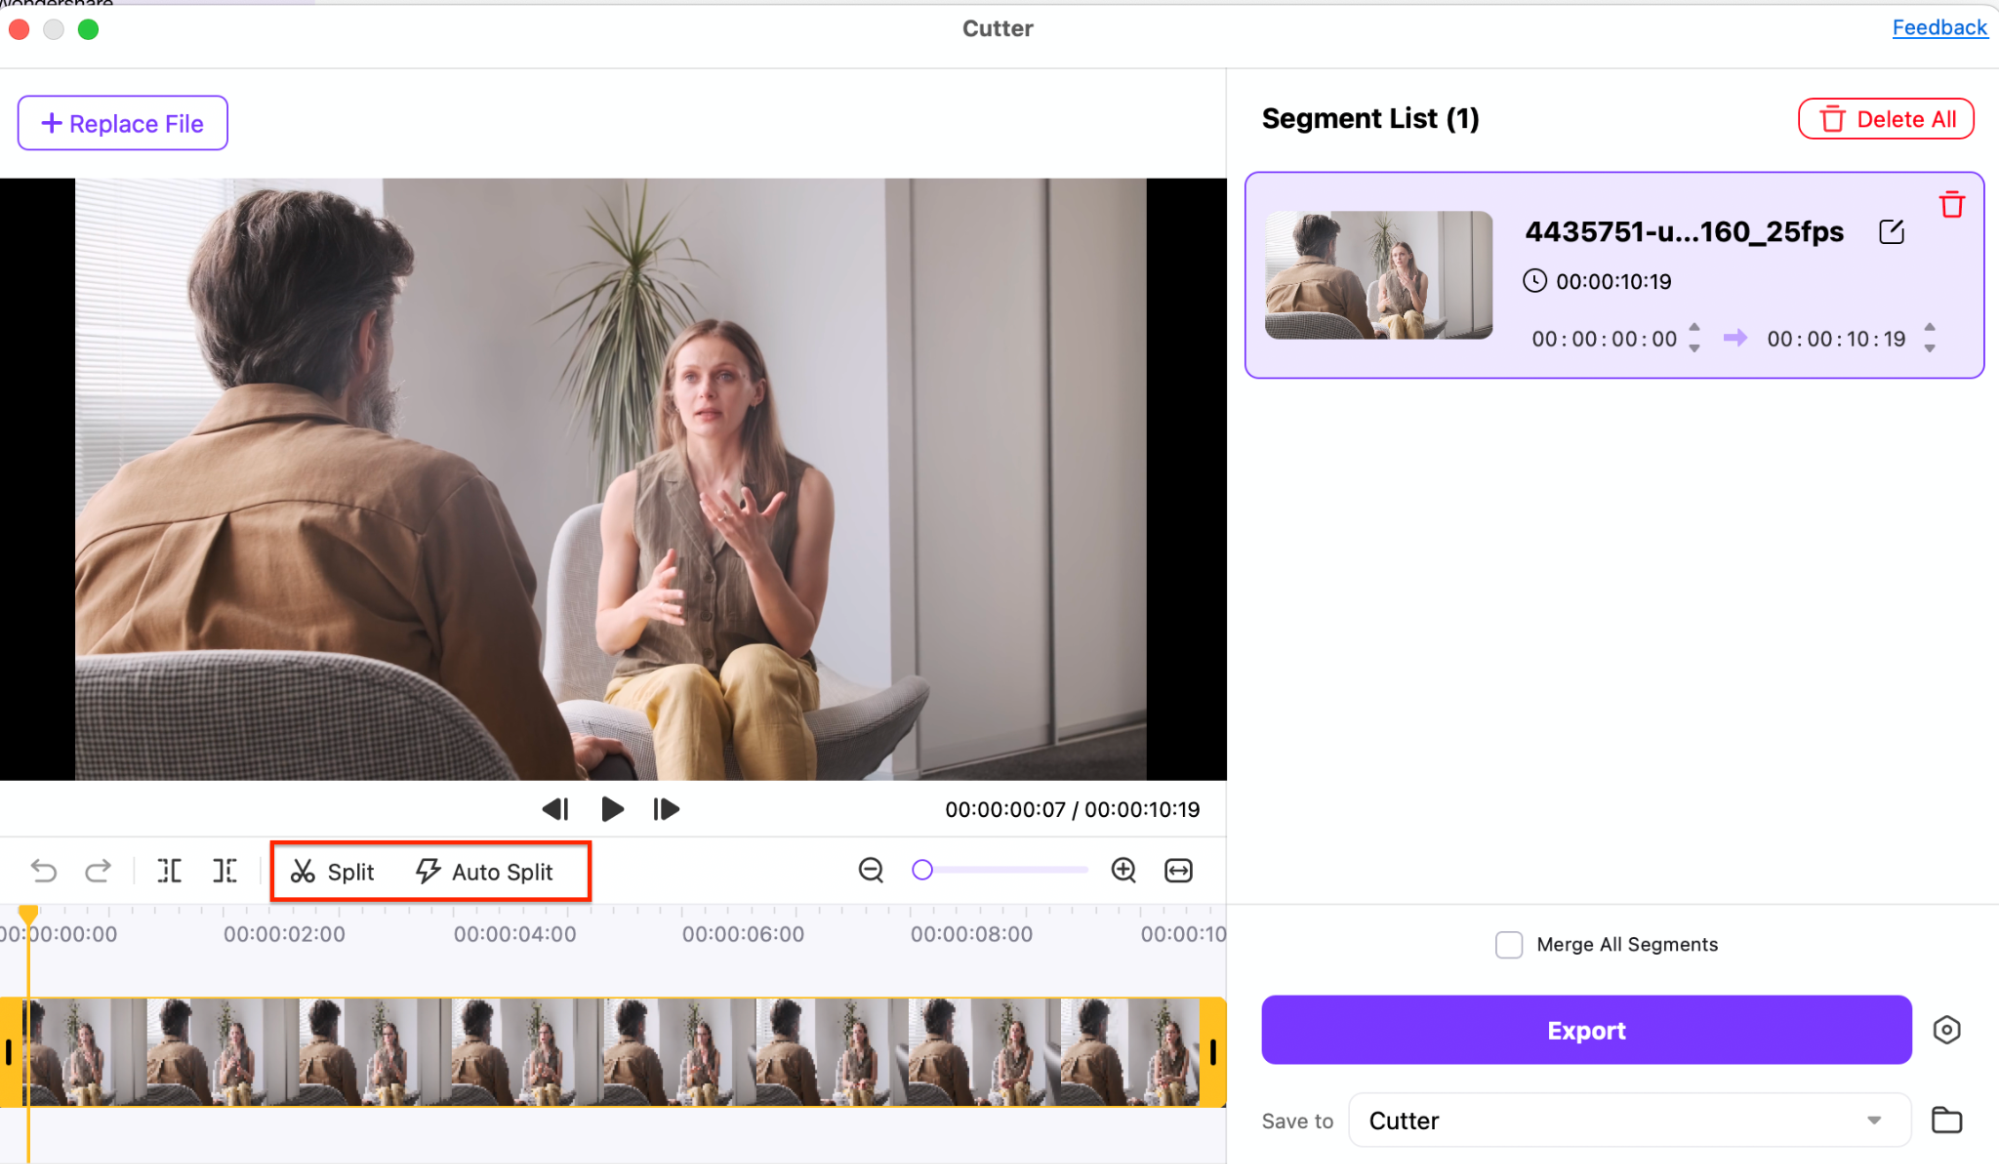
Step 3: Trim or Split Your Video
Once the video is loaded, use the timeline slider to adjust the start and end points of the video. If needed, use the Auto Split function to divide the video into multiple equal parts. This feature helps in removing unnecessary sections efficiently.
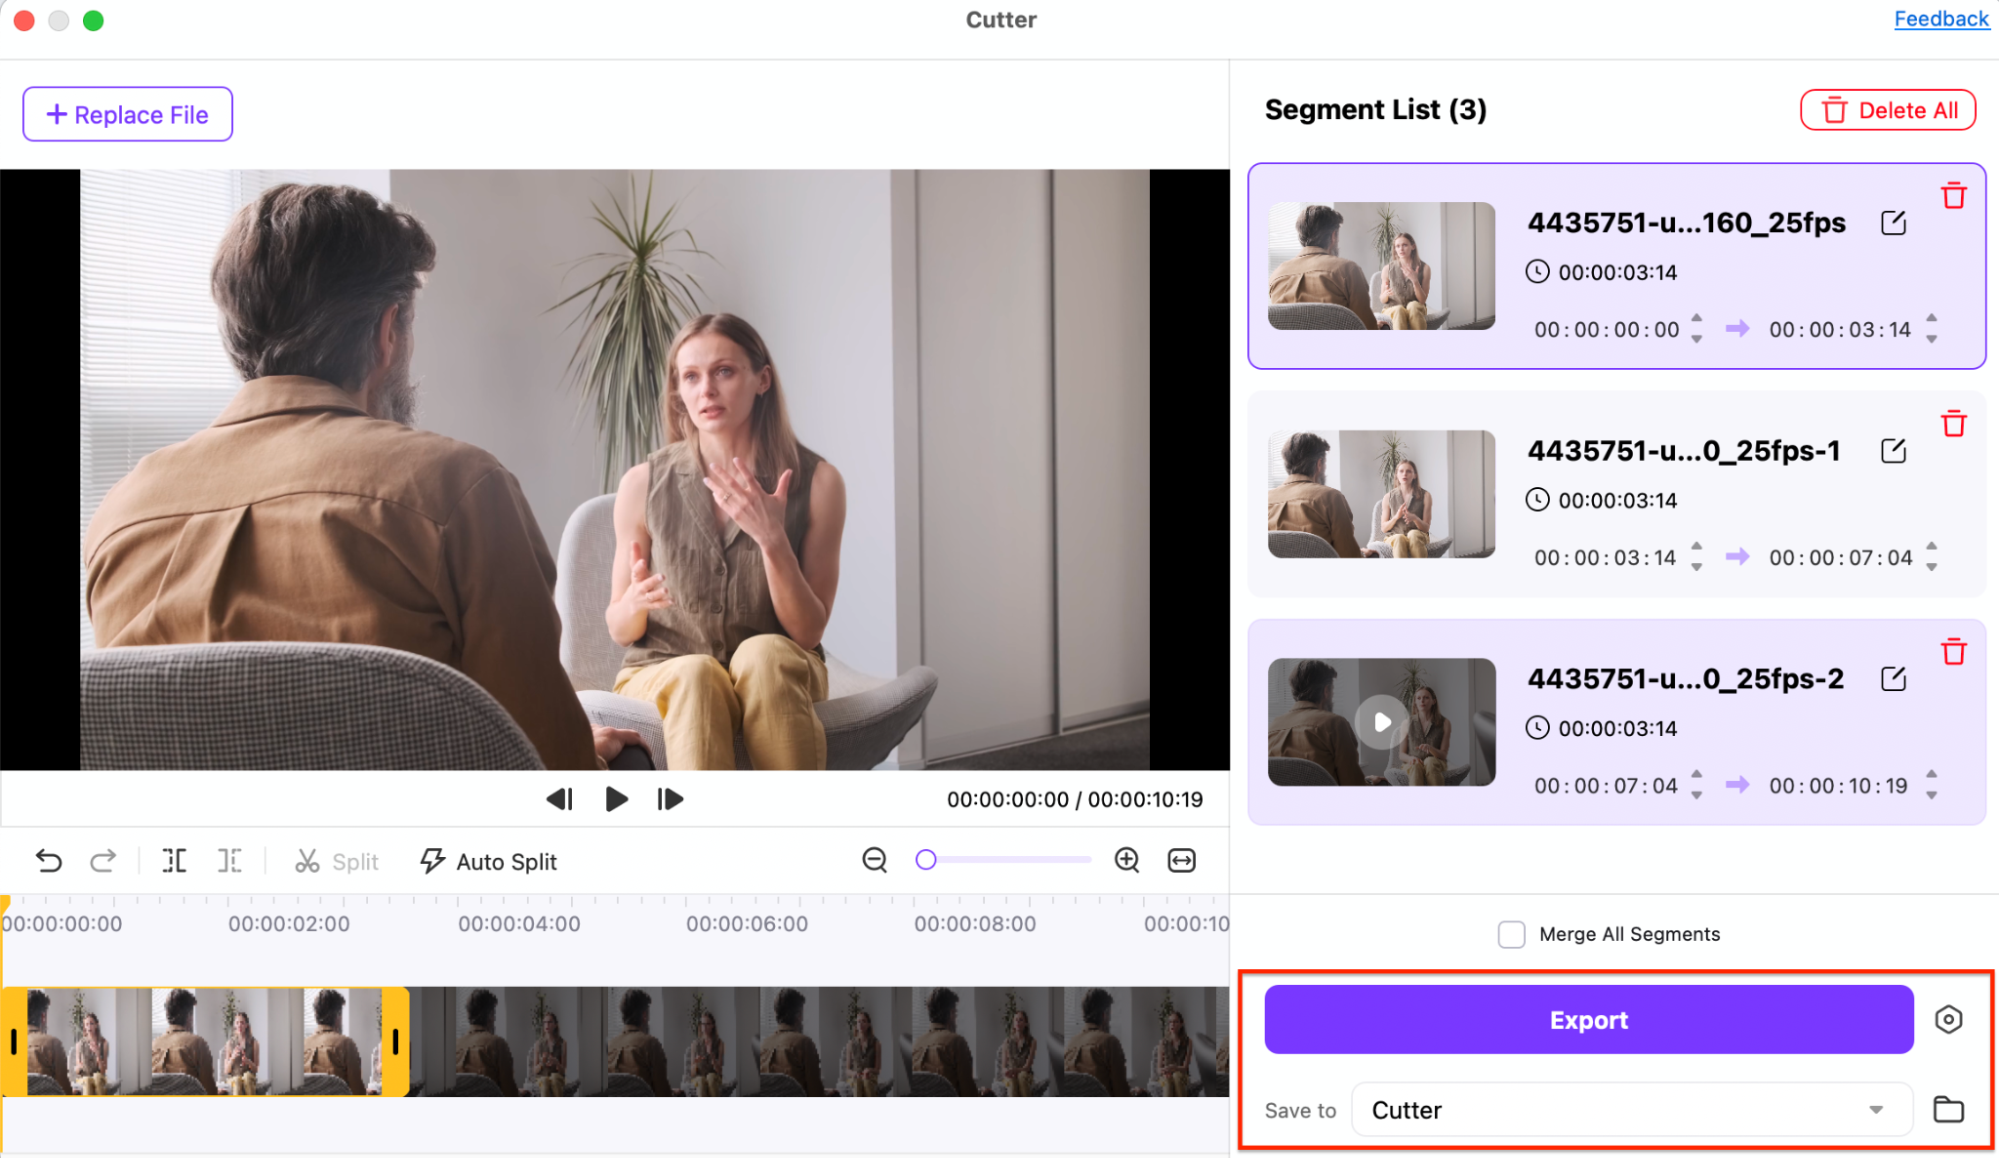
Step 4: Export and Save Your Video
Once satisfied with the trim, click on “Export”, select the desired format (MP4, MOV, AVI, etc.), and choose the destination folder. UniConverter will process and save your trimmed YouTube video without compromising quality, making it ready for sharing or further editing.
Part 2: How to Effectively Crop Your Videos in YouTube Studio
YouTube Studio offers a built-in video editor that allows users to trim and crop sections of their uploaded videos without needing external software. This feature is useful for removing unnecessary parts, adjusting video framing, and improving content flow. While it doesn't allow direct cropping of aspect ratios, you can still trim out unwanted portions for a more refined video. Follow these simple steps to crop your videos effectively within YouTube Studio.
Step-by-Step Guide to Cropping Videos in YouTube Studio
Step 1: Open YouTube Studio and Access the Video Editor
Go to YouTube Studio and sign in to your account. From the left-hand menu, click on "Content" to access your uploaded videos. Select the video you want to crop or trim, then click "Editor" in the left panel.
Step 2: Trim the Video Using the Timeline
In the video editor, locate the trim tool and use the blue sliders on the timeline to select the portion of the video you want to keep. You can also click "Split" to remove a specific section from the middle of the video. Preview your edits before finalizing.
Step 3: Share and Save Changes
Once satisfied with your trimmed video, click "Preview" to check the final cut. If everything looks good, click "Save" to apply the changes. YouTube Studio will process the edits, and your updated video will be available without requiring a new upload.
Part 3: How to Cut YouTube Videos Online with Precision?
If you want to cut YouTube videos online without downloading software, several tools provide precise trimming, cropping, and editing features. These tools allow you to trim YouTube clips, extract sections, and download edited videos easily. Below are five of the best online YouTube video cutters, including their features, reviews, and step-by-step guides.
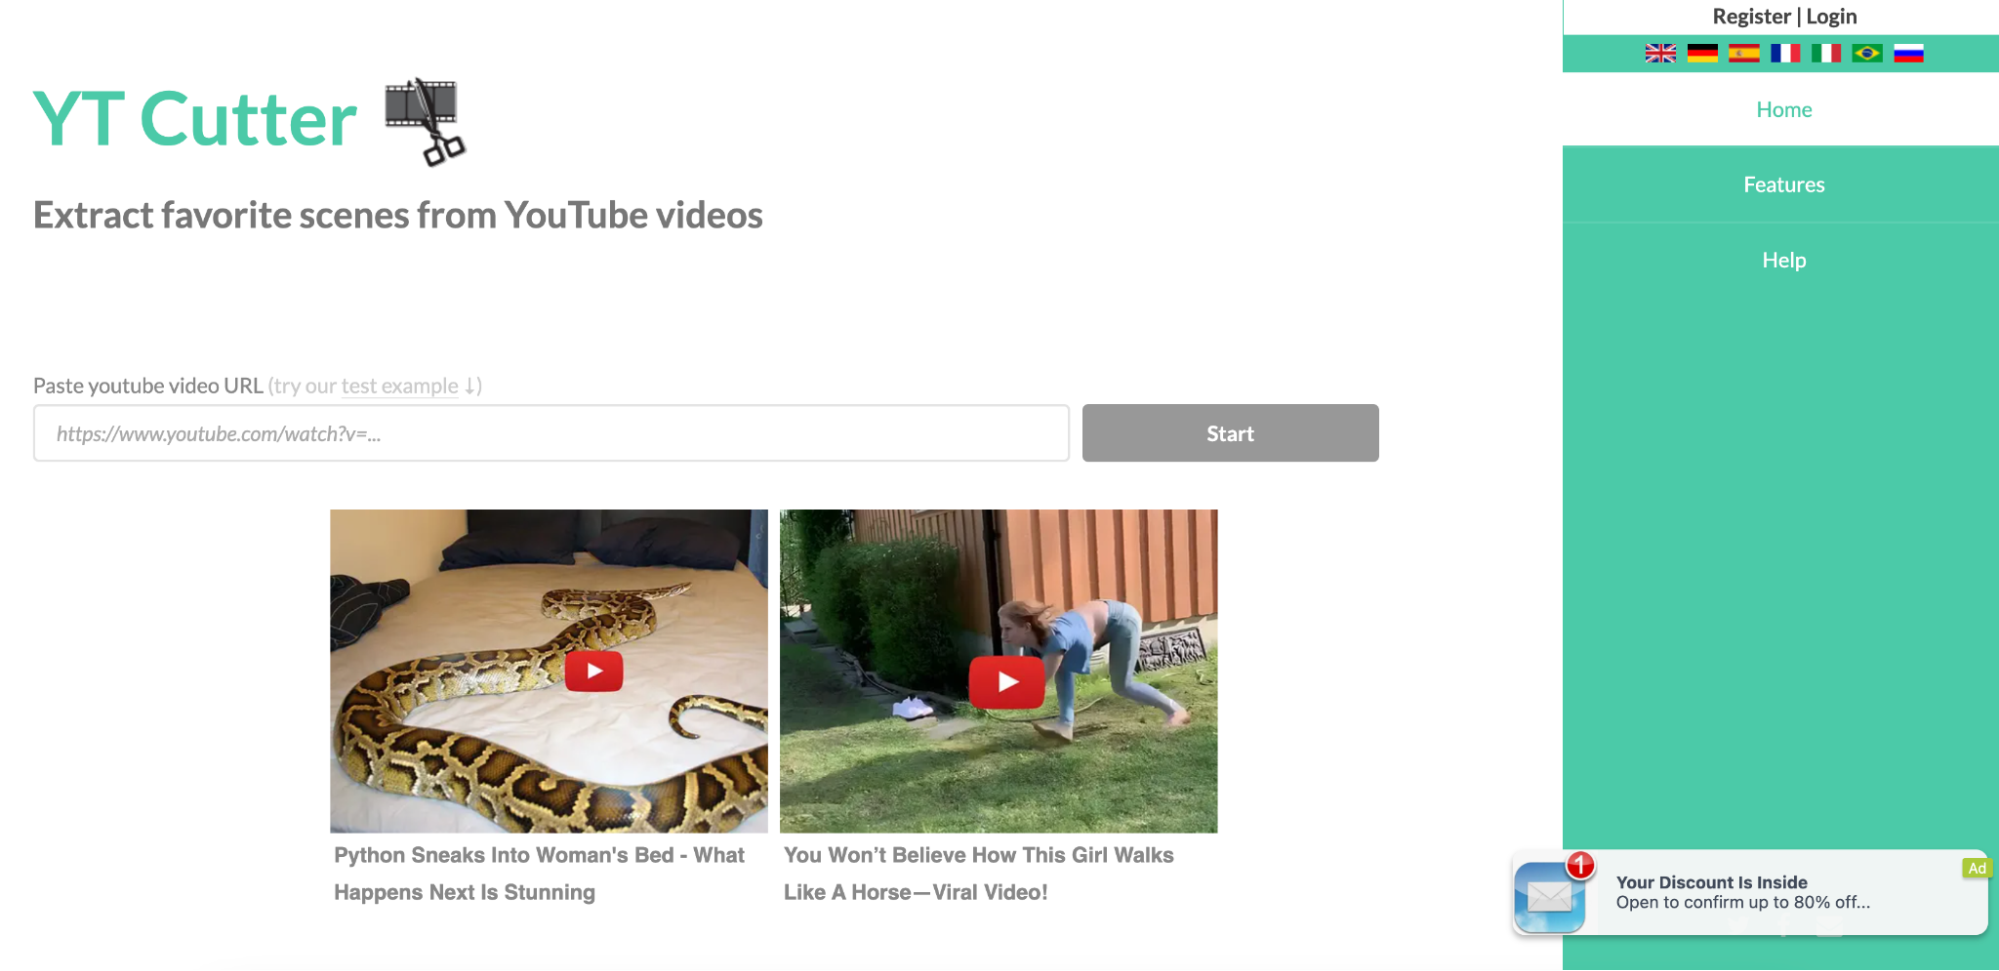
1. YT Cutter
YT Cutter is a specialized tool that allows users to clip and download YouTube videos effortlessly. It supports frame-accurate trimming, enabling precise video cuts without affecting quality. Users can extract specific portions of a video and download them as MP4, GIF, or audio files. YT Cutter is particularly useful for creating short clips from long YouTube videos for presentations, tutorials, or social media sharing.
Key Features
- Direct YouTube URL Support – Trim videos by simply pasting the YouTube video link, eliminating the need for downloads.
- Frame-Accurate Trimming – Provides precise start and end point selection for cutting videos accurately.
- Multiple Format Options – Download trimmed YouTube videos as MP4 (video), MP3 (audio), GIF, or image sequences.
- Fast Processing & No Watermark – Offers quick video trimming and downloading without adding watermarks to the final output.
- User-Friendly Interface – Designed for effortless video cutting, making it easy for beginners and professionals alike.
User Reviews
- "YT Cutter is my go-to tool for quickly cutting YouTube clips for presentations. No downloads, just paste the link and trim!" – Alex T.
- "Super easy to use, and I love that I can extract audio from YouTube videos in MP3 format. Perfect for making soundbites!" – Lisa M.
- "The ability to save clips as GIFs or MP4 files makes YT Cutter incredibly versatile. Highly recommend it!" – Daniel S.
Step-by-Step Guide to Cutting YouTube Videos with YT Cutter
Step 1: Paste the YouTube Video Link
Go to YT Cutter and paste the URL of the YouTube video you want to trim in the provided box. Click "Start" to load the video into the editor.
Step 2: Select the Trim Points
Use the start and end selection buttons or enter the exact timestamps to cut the section of the video you need. Preview the selected clip before finalizing the cut.
Step 3: Download the Trimmed Video
Once satisfied, click "Download", then select the preferred format (MP4, MP3, GIF, or image sequence). The trimmed clip will be processed and saved to your device for further use.
2. Ezgif Video Cutter
Ezgif is best known for its GIF editing features, but it also offers a free online video cutter for YouTube videos. This tool allows users to trim video clips frame-by-frame, ensuring accurate cuts. It supports MP4, AVI, WebM, and other popular formats, making it highly versatile. Ezgif is an excellent choice for those who need a fast and lightweight YouTube video cutter without advanced editing features.

Key Features
- Fast & Easy Video Trimming – Quickly cut and trim videos by selecting start and end times manually or using the slider.
- Supports Multiple Formats – Works with MP4, WebM, AVI, MOV, and more, ensuring wide compatibility.
- Frame-by-Frame Precision – Allows accurate video cutting without re-encoding, maintaining quality.
- No Watermark or Registration Required – Completely free to use without sign-ups or watermark restrictions.
- Additional Editing Tools – Includes cropping, resizing, speed adjustment, and video-to-GIF conversion.
User Reviews
- "EZGIF is my go-to tool for quick YouTube video trims! No complicated steps, just upload, cut, and download." – Ryan L.
- "Super simple and fast! I use EZGIF to quickly trim and crop YouTube videos before sharing them." – Emma T.
- "Best free YouTube video cutter! No watermarks, no unnecessary features, just straightforward trimming." – David P.
Step-by-Step Guide to Cutting YouTube Videos with EZGIF
Step 1: Upload Your Video
Visit EZGIF Video Cutter and click “Choose File” to upload your video. If you have a YouTube video, download it first and then upload it to EZGIF. Click "Upload" to proceed.
Step 2: Set the Trim Points
Once uploaded, use the timeline slider or manually enter the start and end time of the section you want to keep. Click "Cut Video" to process the trimming.
Step 3: Download the Trimmed Video
After processing, the edited video will be displayed. Click "Download" to save the trimmed video to your device, ready for further use or sharing.
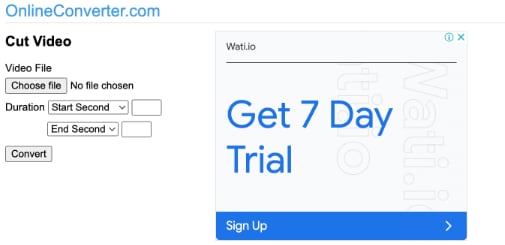
3. Video Cutter by OnlineConvert
OnlineConvert’s Video Cutter is a free online tool that allows users to trim YouTube videos with precision. Users can upload a video or paste a YouTube URL to trim and download the edited version. The tool supports various video formats, including MP4, AVI, and WebM, ensuring compatibility across different devices. With its simple and user-friendly interface, OnlineConvert is perfect for quick YouTube video cutting.
Key Features
- Supports Multiple File Formats – Compatible with MP4, AVI, MOV, MKV, WebM, and more for flexible video trimming.
- URL-Based YouTube Trimming – Users can paste a YouTube link and trim the video directly without downloading it first.
- Precise Timeline Editing – Frame-by-frame trimming ensures high-accuracy cuts without quality loss.
- Cloud Integration – Allows users to upload and save edited videos directly to Google Drive and Dropbox.
- No Installation Required – Fully web-based, eliminating the need for software downloads or registrations.
User Reviews
- "Great tool for cutting YouTube videos online! The ability to trim directly from a URL is a huge time saver." – Jason R.
- "I love how simple and fast OnlineConvert's video cutter is. No software needed, and it works on all my devices!" – Maria L.
- "This tool is perfect for quick trims. I use it to cut long YouTube videos into smaller clips for social media." – Kevin P.
Step-by-Step Guide to Cutting YouTube Videos with Video Cutter by OnlineConvert
Step 1: Upload or Paste YouTube Video Link
Visit OnlineConvert Video Cutter and choose the "Cut Video" option. Upload a video from your device, or paste a YouTube video URL to trim directly from the source.
Step 2: Set Trim Points
Use the timeline slider to select the start and end points for cutting. You can also enter exact timestamps for precise trimming. Preview the edited clip to ensure accuracy.
Step 3: Download or Save to Cloud
Click “Cut” to process the trimmed video. Once completed, download the edited file to your device or save it directly to Google Drive or Dropbox for easy access.
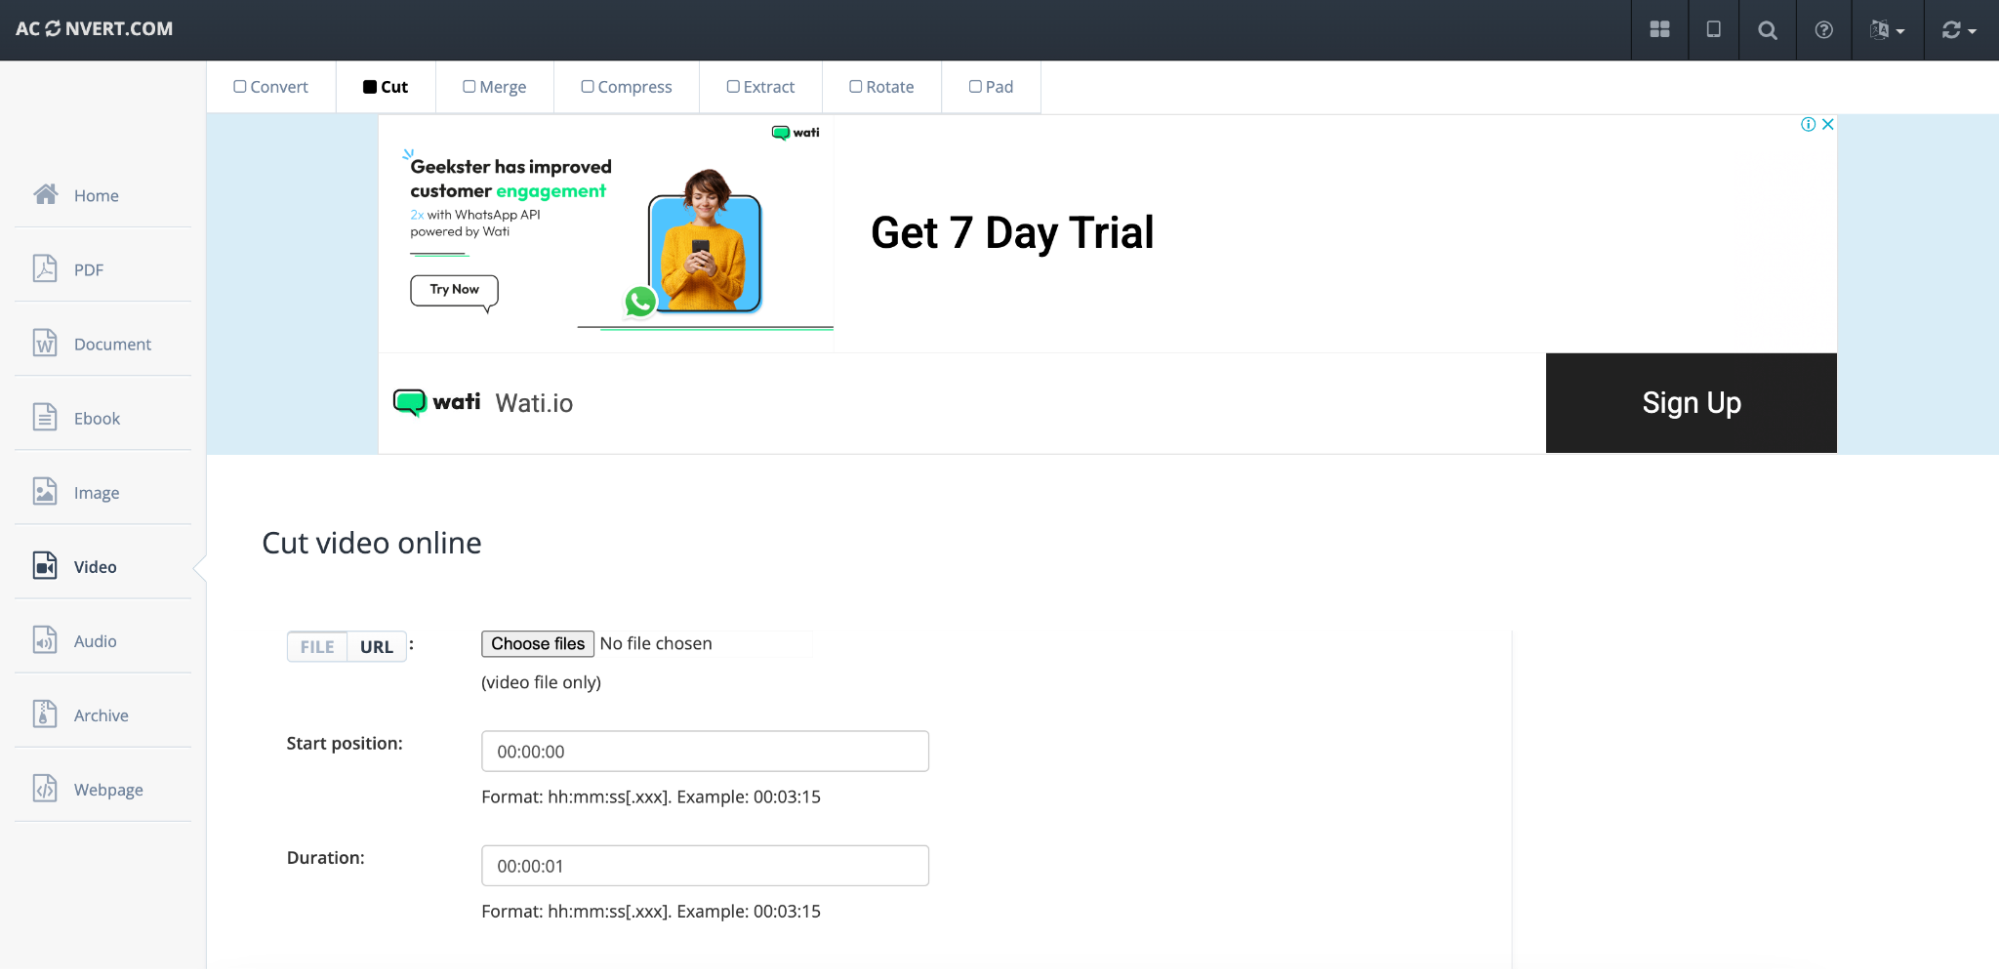
4. Aconvert Video Cutter
Aconvert provides an easy-to-use online YouTube video cutter that allows users to trim videos directly from a URL or uploaded files. The tool supports multiple video formats, enabling users to download their edited clips in MP4, MOV, AVI, and more. Aconvert also provides basic video editing features, making it a convenient option for quick YouTube video modifications.
Key Features
- Supports Multiple File Formats – Trim videos in MP4, AVI, MOV, WebM, MKV, FLV, and more, ensuring compatibility with different devices.
- Fast & Efficient Processing – Offers high-speed video trimming without compromising quality.
- Cloud-Based Editing – Works entirely online, so there’s no need to download software or store files on your device.
- Customizable Trim Settings – Allows users to manually enter start and end times for precise YouTube video cuts.
- No Watermark on Output Videos – Ensures a clean final cut without branding, even for free users.
User Reviews
- "Aconvert Video Cutter is great for quick YouTube trims! I don’t need to install anything, and the process is super smooth." – Kevin T.
- "Love how fast and simple this tool is. Just upload, trim, and download – no watermarks or unnecessary steps!" – Lisa R.
- "Perfect for cutting short clips from YouTube videos. The ability to choose exact timestamps makes it really convenient." – Daniel M.
- Step-by-Step Guide to Cutting YouTube Videos with Aconvert
Step 1: Upload Your Video
Go to Aconvert Video Cutter and click on “Choose File” to upload your YouTube video. If you have the video URL, paste it into the link box to load the video directly.
Step 2: Trim the Video
Enter the start and end times manually or use the timeline slider to select the section you want to keep. Make sure to preview the selection before cutting.
Step 3: Export and Download
Click “Submit” to start processing the trimmed video. Once the video is cut, download the file in your preferred format for further use.
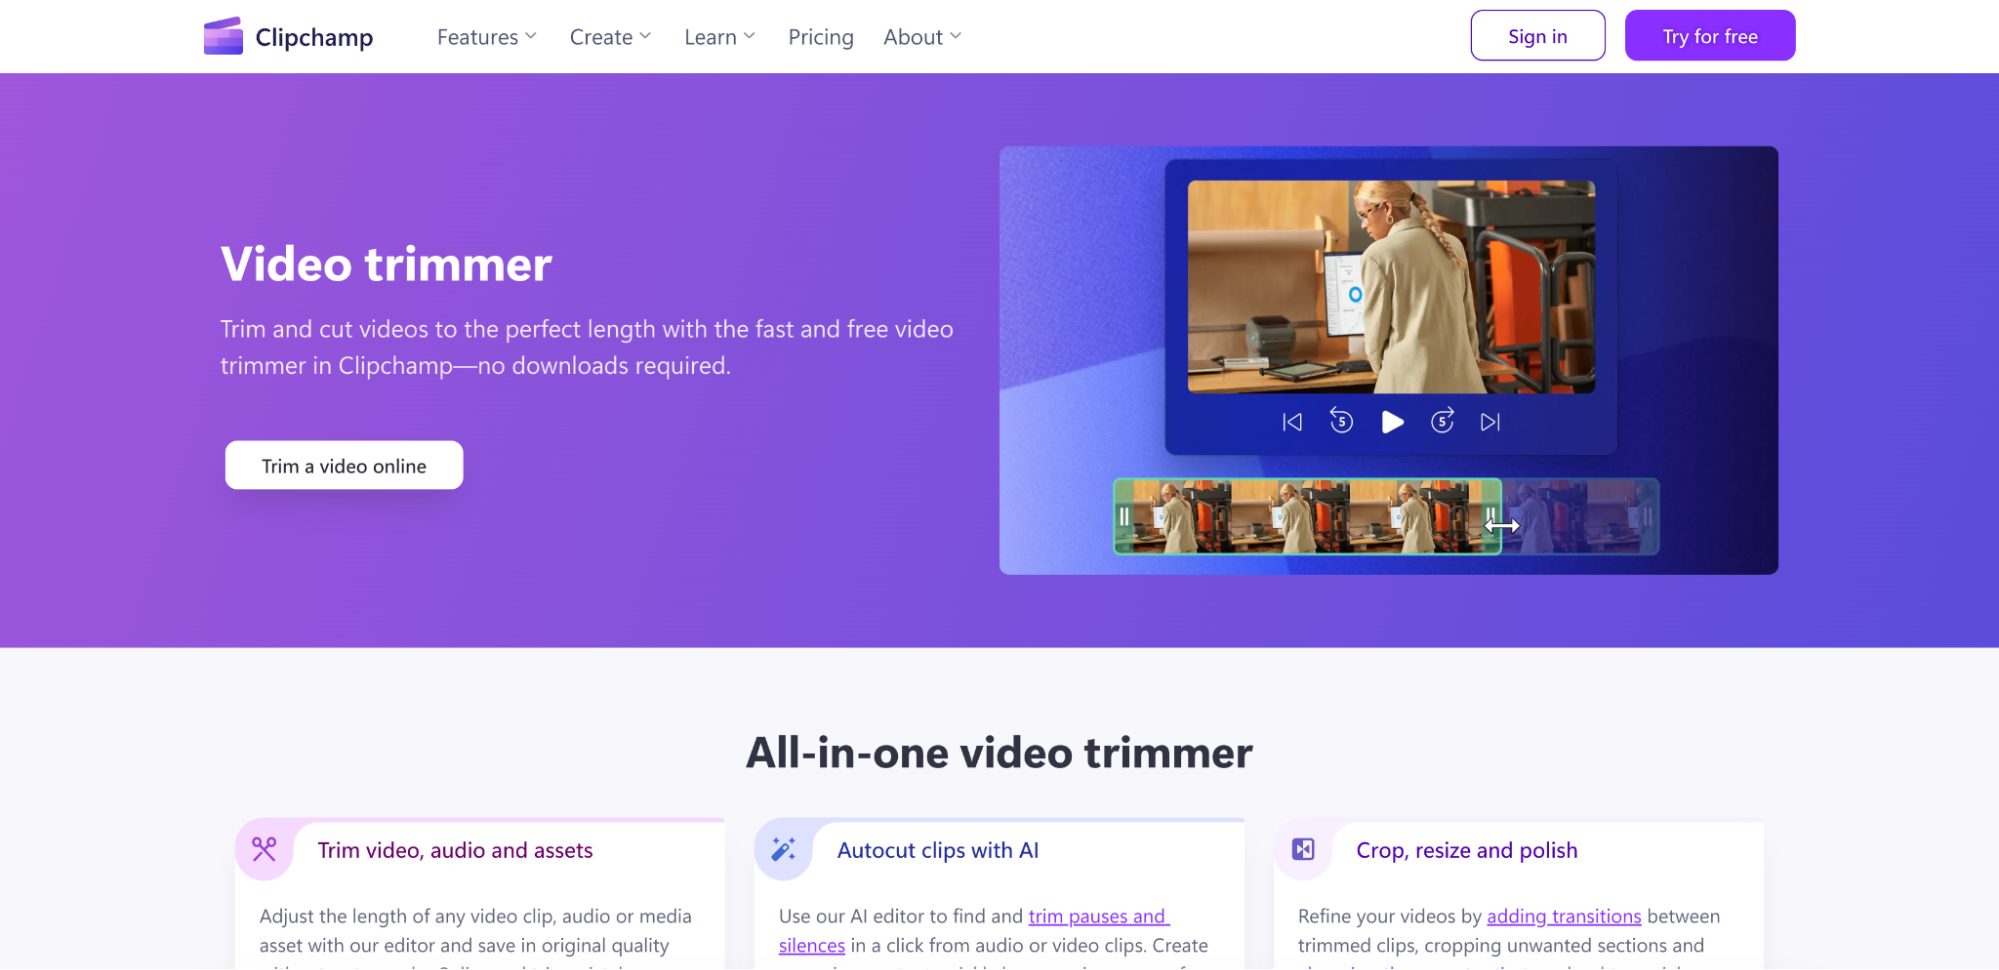
5. Clipchamp Video Cutter
Clipchamp is a powerful online video editor that includes a YouTube video cutter for precise trimming. It features drag-and-drop functionality, allowing users to split, cut, and merge videos smoothly. The tool supports multiple formats and high-resolution exports, making it ideal for content creators. Clipchamp also integrates with cloud storage and social media platforms, making video sharing effortless.
Key Features
- Drag-and-Drop Timeline Editing – Easily trim and cut YouTube videos with an interactive timeline editor.
- Multi-Format Support – Export videos in MP4, MOV, WebM, and more for high compatibility.
- AI-Powered Auto-Cut – Detects and removes unwanted silent parts automatically for smoother videos.
- Cloud Storage Integration – Save and access projects from Google Drive, OneDrive, and Dropbox.
- Instant Social Media Export – Directly share trimmed YouTube videos to platforms like TikTok, Instagram, and Facebook.
User Reviews
- "Clipchamp makes cutting YouTube videos so easy! The timeline editor is super intuitive." – Michael T.
- "Love that I can save my edited videos in the cloud and access them from anywhere!" – Jessica L.
- "The AI-powered trimming tool helps remove unnecessary pauses, saving me so much editing time." – David R.
Step-by-Step Guide to Cutting YouTube Videos with Clipchamp
Step 1: Upload Your YouTube Video
Open Clipchamp’s video editor and click "Import Media" to upload a YouTube video file. If you want to edit a YouTube video directly, download it first using a YouTube downloader.
Step 2: Trim and Edit the Video
Drag the video to the timeline editor and use the split tool or trim handles to remove unwanted sections. Adjust the start and end points for precise cutting.
Step 3: Export and Save the Video
Click “Export”, choose your preferred format and resolution, and download the trimmed video. You can also directly share it to social media platforms for quick publishing.
Part 4: How to Cut YouTube Videos Offline with Accuracy?
If you prefer to cut YouTube videos offline, several software tools allow you to trim, edit, and export videos with precision without needing an internet connection. These tools offer advanced editing features, batch processing, and high-quality exports to ensure a smooth and accurate trimming experience. Below are five of the best offline YouTube video cutters for Windows, Mac, and Linux users.
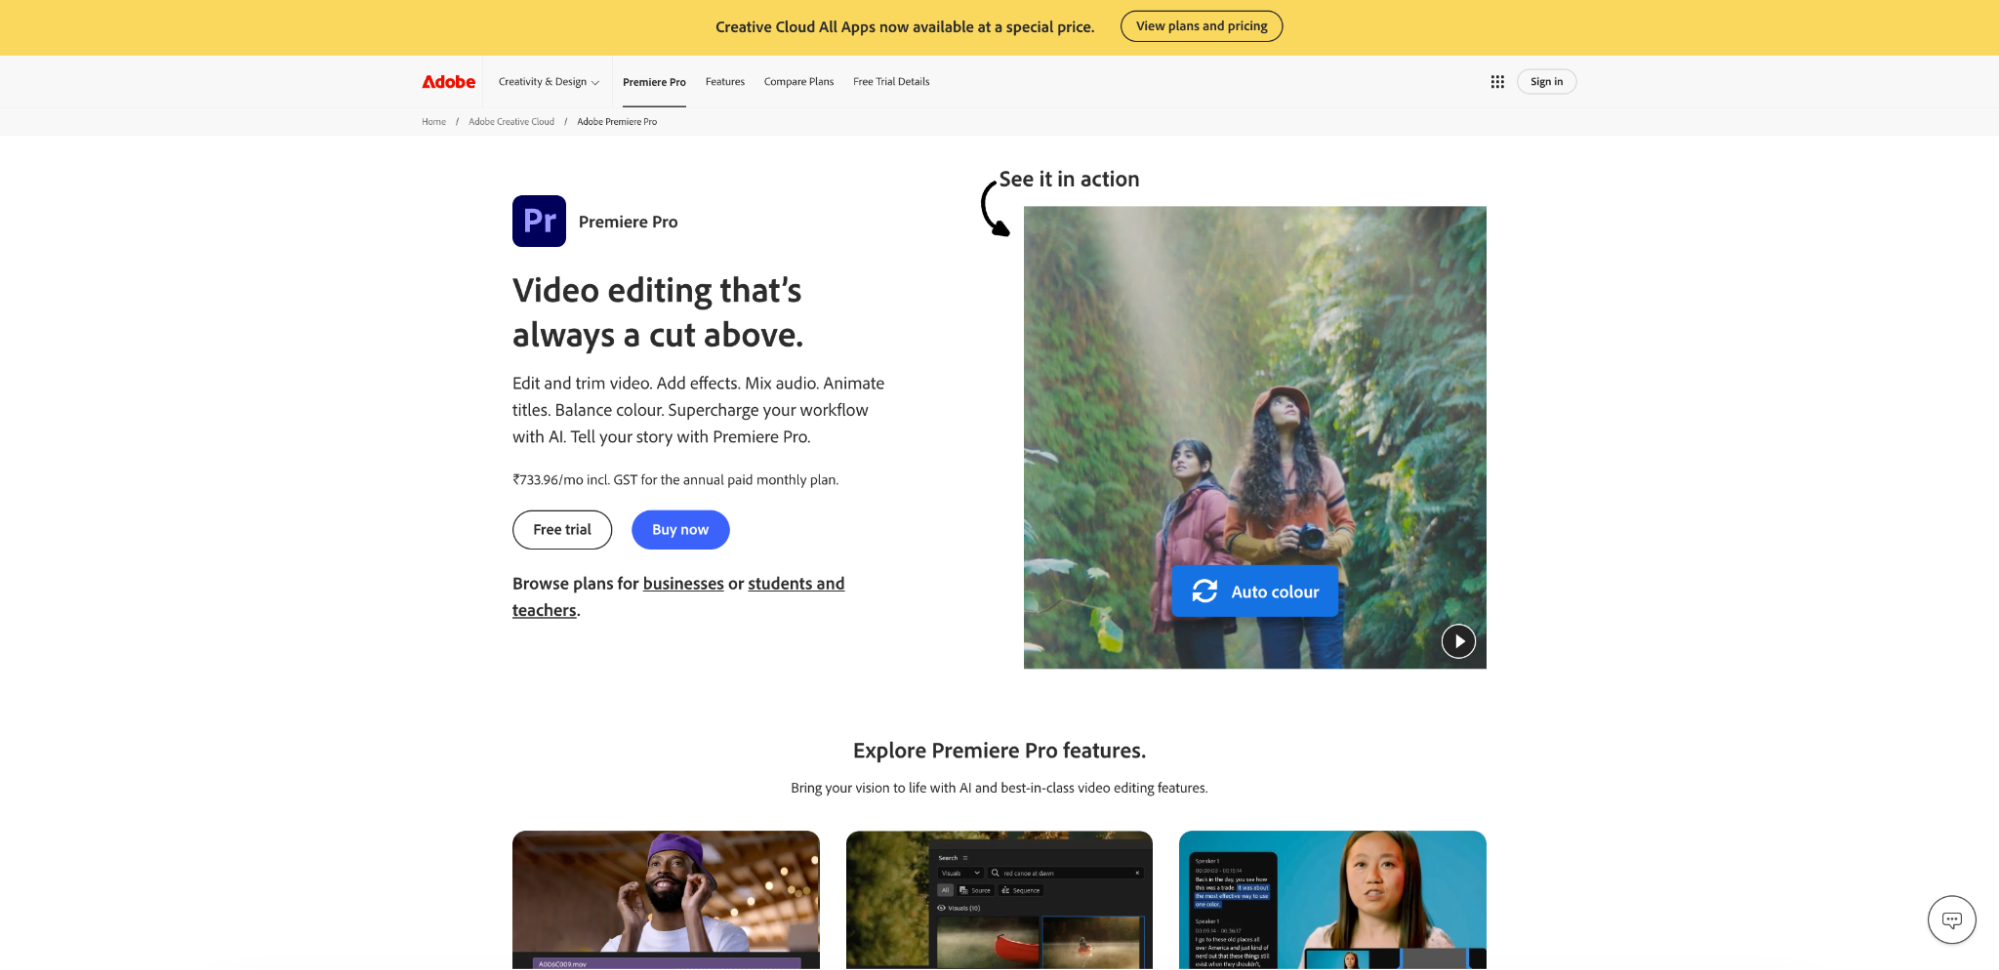
1. Adobe Premiere Pro
Adobe Premiere Pro is a professional-grade video editing software that provides advanced cutting, cropping, and timeline-based editing. It offers frame-accurate trimming, making it perfect for precise YouTube video cuts. With multi-track editing and AI-powered enhancements, users can refine their videos with high-level accuracy. Premiere Pro supports various export formats, ensuring compatibility with all major video platforms.
Key Features
- Frame-Perfect Trimming & Cutting – Offers precision-based timeline editing with frame-by-frame accuracy, allowing seamless video cuts.
- AI-Powered Auto Editing – Includes Adobe Sensei AI technology for automatic scene detection, smart trimming, and audio enhancement.
- Multi-Format & High-Resolution Support – Edit and export YouTube videos in MP4, MOV, AVI, 4K, 8K, and HDR formats.
- Advanced Audio & Video Effects – Provides color grading, background noise removal, transitions, and animations for professional editing.
- Cloud Collaboration & Integration – Sync projects across devices using Adobe Creative Cloud and collaborate with teams in real-time.
User Reviews
- "Adobe Premiere Pro is hands down the best tool for cutting YouTube videos with professional precision. The timeline editing is super smooth!" – Alex R.
- "The AI-powered features save so much time! Auto-trimming and scene detection make cutting YouTube videos effortless." – Sarah M.
- "I love the flexibility of Premiere Pro. I can edit in 4K, add effects, and even collaborate with my team in real-time." – Jason L.
Step-by-Step Guide to Cutting YouTube Videos with Adobe Premiere Pro
Step 1: Import Your YouTube Video into Premiere Pro
Open Adobe Premiere Pro and create a new project. Click on "File" > "Import", then select your YouTube video file. Drag the video to the timeline to start editing.
Step 2: Trim the Video Using the Razor Tool
Use the Razor Tool (C) to cut and split the video at specific points. Drag the edges of the video clip to trim unwanted sections and fine-tune the cut points using the timeline editor.
Step 3: Export the Trimmed Video
After making the necessary trims, click on "File" > "Export" > "Media". Choose the desired format (MP4, MOV, AVI) and resolution settings, then click "Export" to save the final video.
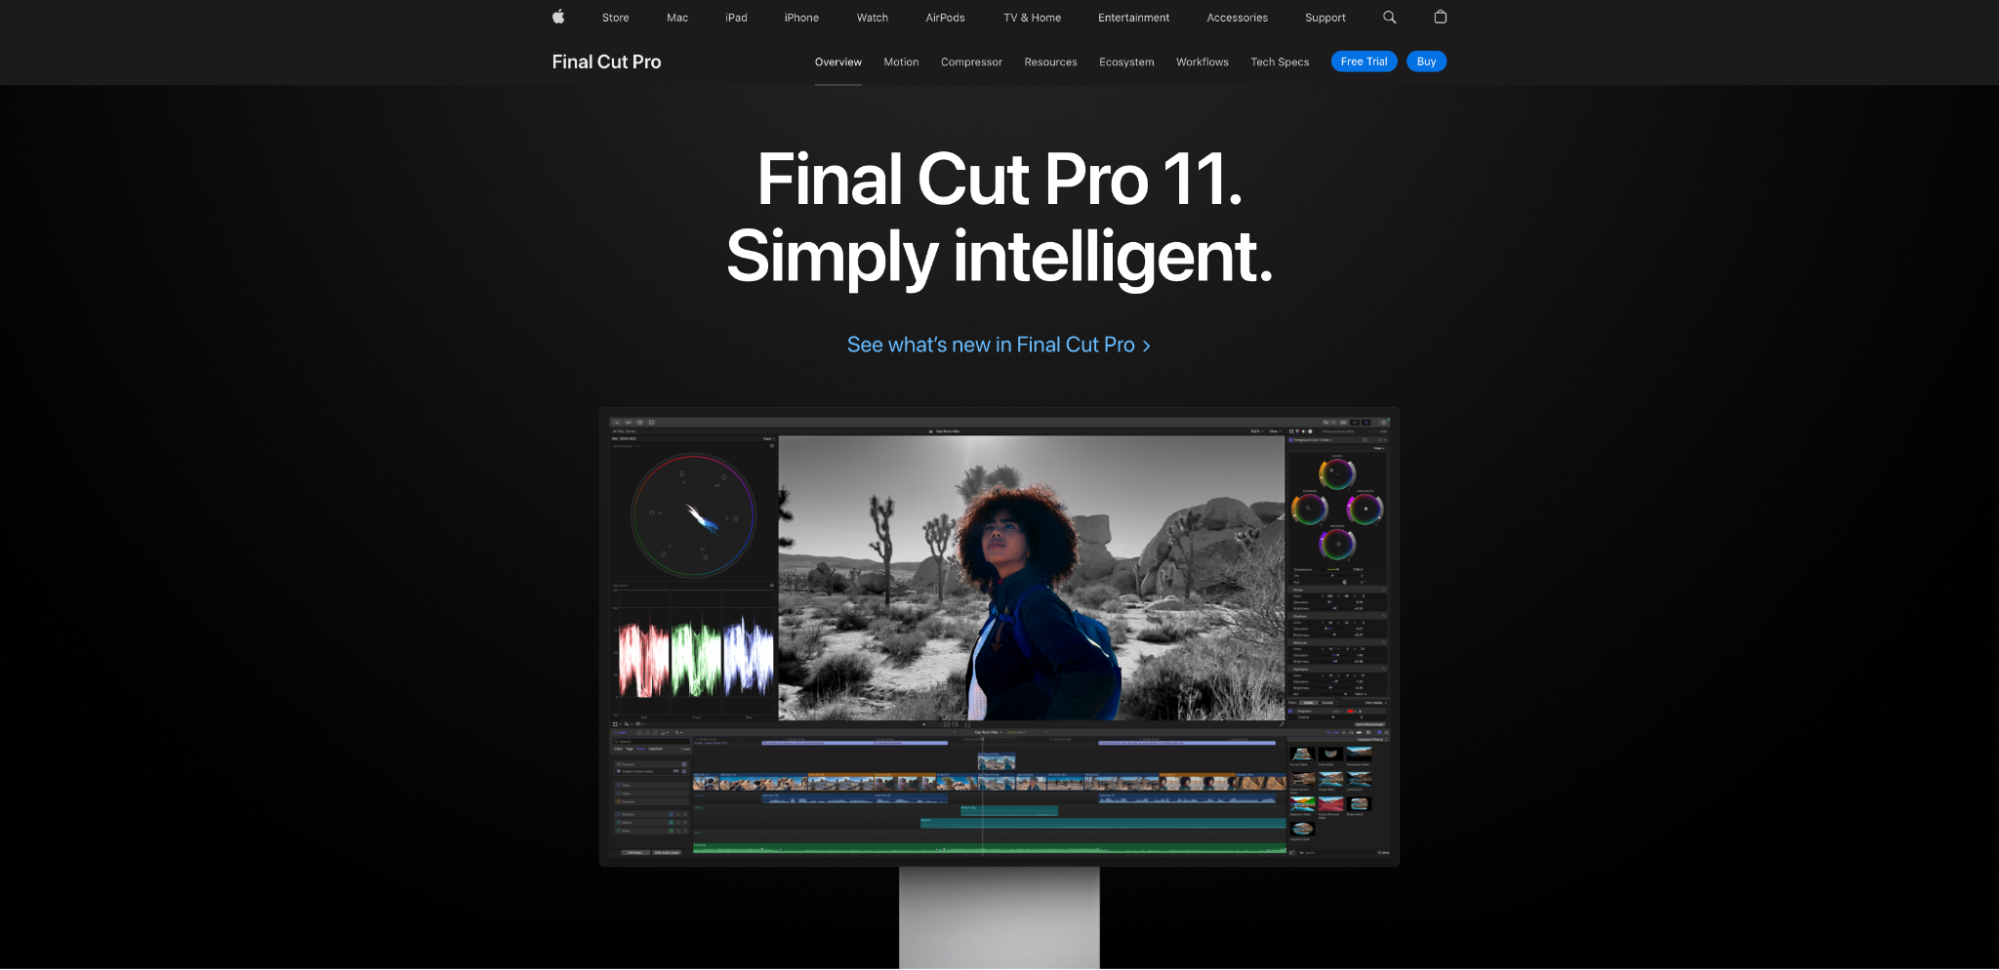
2. Final Cut Pro
Final Cut Pro is Apple’s premium video editing software, designed for high-quality YouTube video trimming and editing. It features advanced timeline editing, magnetic track adjustments, and AI-powered cropping for smooth and professional edits. The software supports 4K and 8K video trimming, making it a great choice for professional YouTube content creators. Final Cut Pro also integrates with Mac’s ecosystem, allowing seamless workflow with iCloud and Apple devices.
Key Features
- Magnetic Timeline for Seamless Editing – Allows users to easily cut, trim, and rearrange video clips without overlapping issues.
- Frame-Accurate Trimming – Provides precise frame-by-frame cutting, ensuring smooth and professional edits.
- 360° Video Editing & Multi-Camera Support – Enables trimming and editing from multiple camera angles for a seamless workflow.
- AI-Powered Smart Cropping – Automatically detects subjects and crops videos to the perfect aspect ratio for YouTube and social media.
- High-Resolution Exporting – Supports 4K, 8K, and HDR video trimming, ensuring superior video quality for YouTube uploads.
User Reviews
- "Final Cut Pro is the best tool for cutting and editing YouTube videos. The timeline editing is smooth and highly precise!" – Jason M.
- "I love the AI-powered smart cropping! It saves so much time when I need to adjust framing for different platforms." – Rachel T.
- "Perfect for professional YouTube content creation. The frame-accurate trimming is unmatched!" – Alex P.
Step-by-Step Guide to Cutting YouTube Videos with Final Cut Pro
Step 1: Import Your Video into Final Cut Pro
Open Final Cut Pro and click on “File” > “Import” to add your YouTube video to the timeline. You can also drag and drop the video file directly into the media library.
Step 2: Trim the Video Using the Timeline
Select the video clip in the timeline and use the Blade Tool (B) to cut unwanted sections. Adjust the trim points manually or use the Magnetic Timeline for seamless cutting.
Step 3: Export and Save Your Trimmed YouTube Video
Click “File” > “Share” > “Master File” and select the preferred format (MP4, MOV, etc.). Adjust resolution settings and click “Export” to save the trimmed video in high quality.
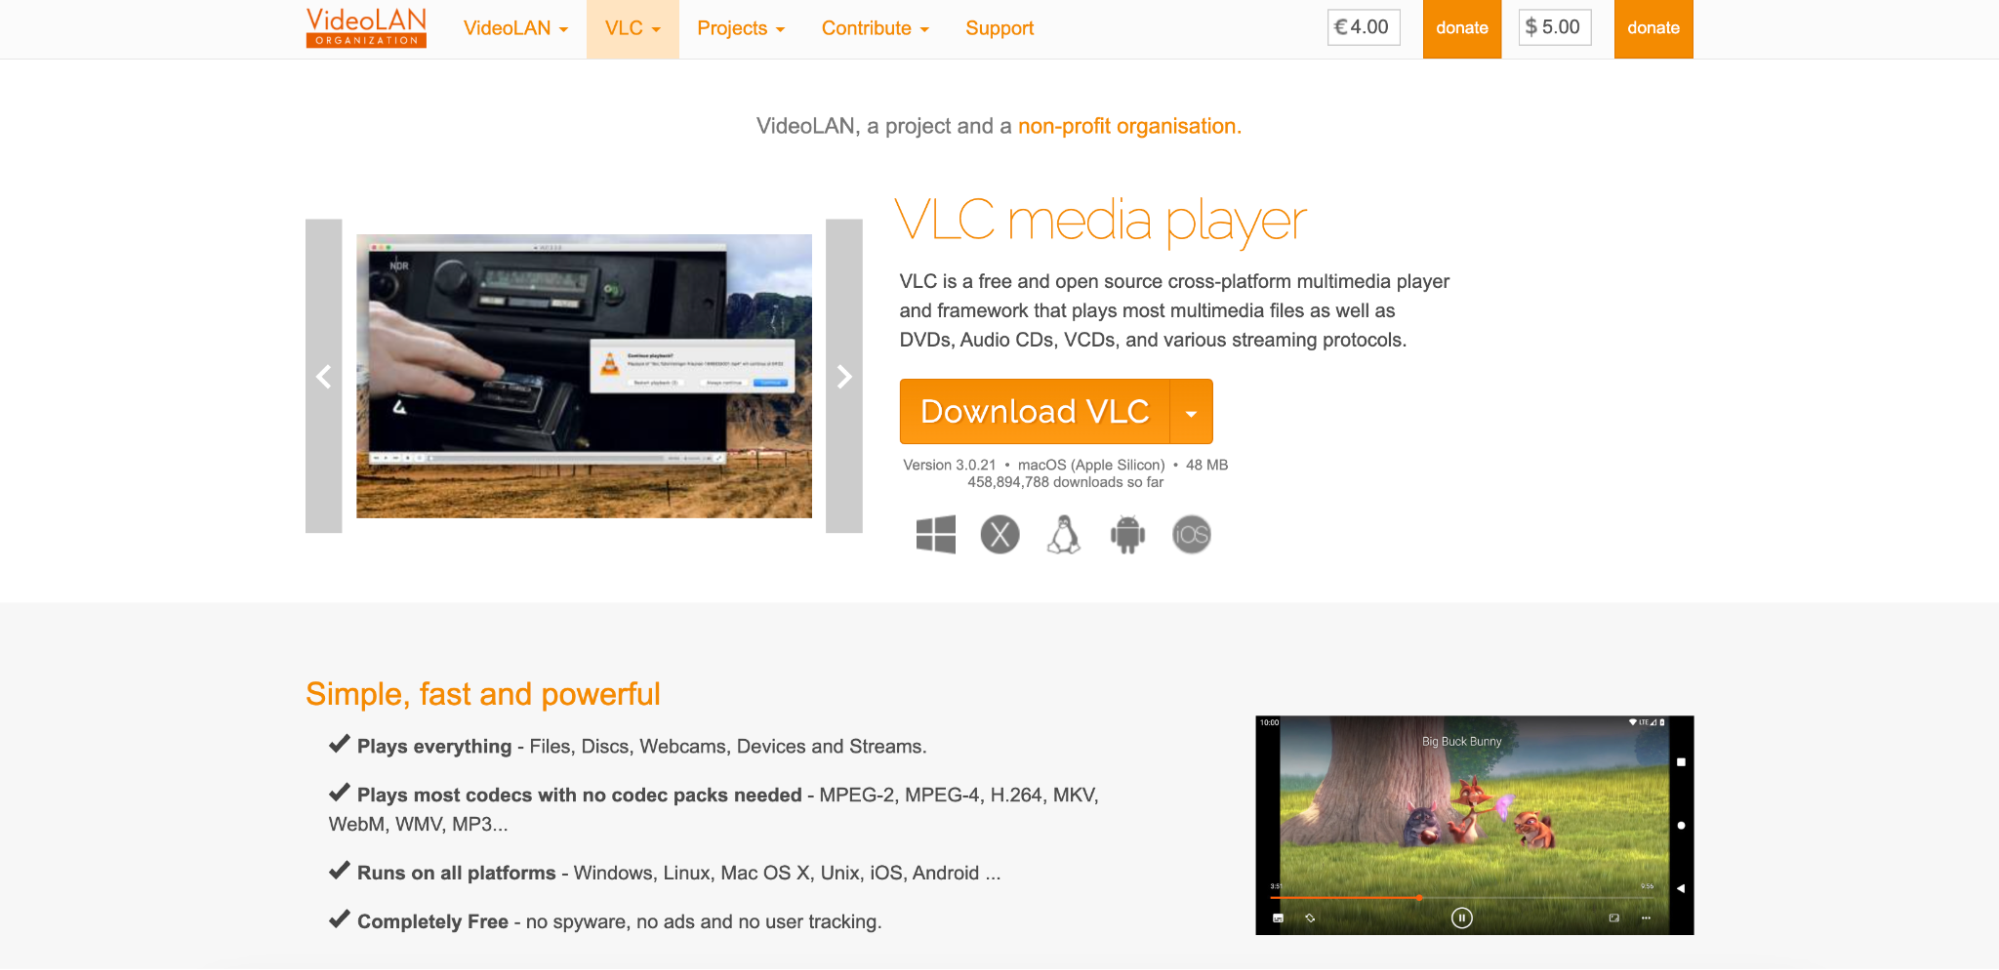
3. VLC Media Player
VLC Media Player is a free and open-source media player that also includes a basic video cutting tool. While not as feature-rich as professional editors, VLC allows users to trim YouTube videos by setting custom start and end points. It supports various file formats, making it a convenient option for quick offline YouTube video cutting. VLC is a great choice for casual users who need a simple and lightweight trimming tool.
Key Features
- Built-In Video Cutting Tool – Allows users to trim and save video clips without installing separate editing software.
- Multi-Format Support – Works with MP4, AVI, MOV, MKV, WebM, and many other formats, ensuring broad compatibility.
- Frame-by-Frame Trimming – Users can manually select specific start and end points for accurate cuts.
- Completely Free & Open-Source – No hidden costs, no watermarks, and works on Windows, Mac, and Linux.
- Lightweight & Fast Processing – Uses minimal system resources, making it ideal for older computers and quick edits.
User Reviews
- "VLC is my go-to tool for quick video trimming. No need to download additional software!" – Mike R.
- "I love how VLC lets me trim my YouTube videos offline without any complicated settings." – Sarah P.
- "It’s not a full editor, but for simple cuts and clips, VLC works great!" – Jason W.
Step-by-Step Guide to Cutting YouTube Videos with VLC
Step 1: Open VLC and Load the Video
Launch VLC Media Player and open the YouTube video you want to trim by clicking "Media" > "Open File". You can also drag and drop the video file into VLC.
Step 2: Enable the Recording Feature
Go to "View" in the top menu and enable "Advanced Controls". This will add a record button to the control panel, which you’ll use to cut the video.
Step 3: Play, Trim, and Save the Video
Play the video and press the Record button (red circle) at the point you want to start trimming. Let the video play or manually move to the end point, then press the Record button again to stop. The trimmed clip will be saved automatically in the Videos folder on your computer.
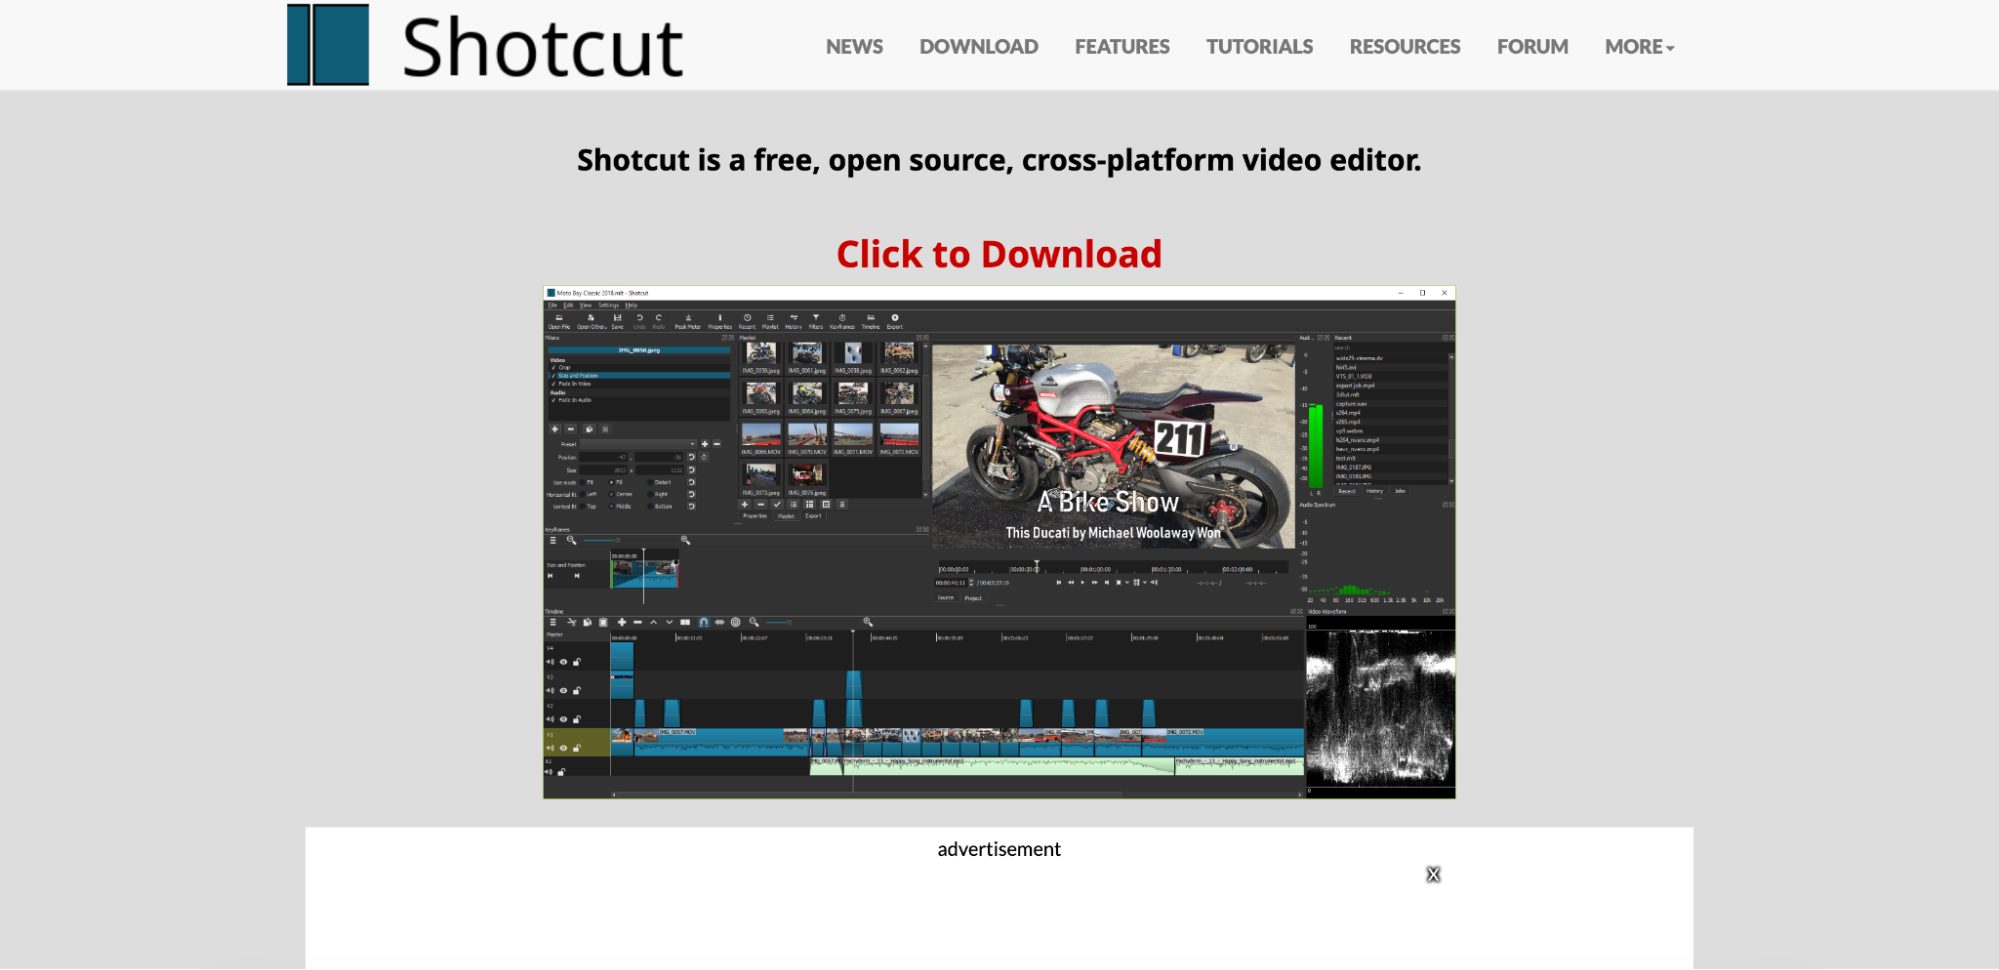
4. Shotcut
Shotcut is a free, open-source video editor that provides powerful trimming and editing capabilities for offline use. It supports frame-by-frame trimming, multi-track editing, and a wide range of video formats. The software is available for Windows, Mac, and Linux, making it accessible to all users. With no subscription fees and full offline functionality, Shotcut is an excellent choice for YouTube content creators who need a reliable offline video cutter.
Key Features
- Frame-Accurate Trimming – Allows users to cut and trim YouTube videos with precision using a timeline-based editor.
- Multi-Format Support – Supports MP4, AVI, MOV, MKV, WebM, and other popular formats for seamless video editing.
- Non-Linear Editing (NLE) Interface – Provides multi-track editing, allowing users to trim, merge, and overlay video clips.
- High-Quality Export Options – Enables video exporting in 4K, 1080p, and various resolutions without losing quality.
- Cross-Platform and Free – Works on Windows, macOS, and Linux without any subscription or watermark restrictions.
User Reviews
- “Shotcut is an excellent free video editor with powerful features. The timeline editing makes it easy to trim and refine my YouTube videos.” – Alex R.
- “I love that Shotcut supports 4K video editing! It’s lightweight and works smoothly, even on my older laptop.” – Jamie T.
- “The fact that it’s completely free and has no watermark is a game-changer! I use it for all my YouTube video edits.” – Martin L.
Step-by-Step Guide to Cutting YouTube Videos with Shotcut
Step 1: Import Your YouTube Video
Open Shotcut and click on “Open File” to upload your YouTube video. You can drag and drop the video file into the timeline for easier access.
Step 2: Trim the Video Using the Timeline
Use the playhead and trimming handles to select the portion of the video you want to keep. Click on “Split at Playhead” to remove unwanted sections.
Step 3: Export and Save the Trimmed Video
Once satisfied with the edits, go to “Export”, choose your desired format (MP4, MOV, etc.), and click “Export File” to save your trimmed YouTube video.
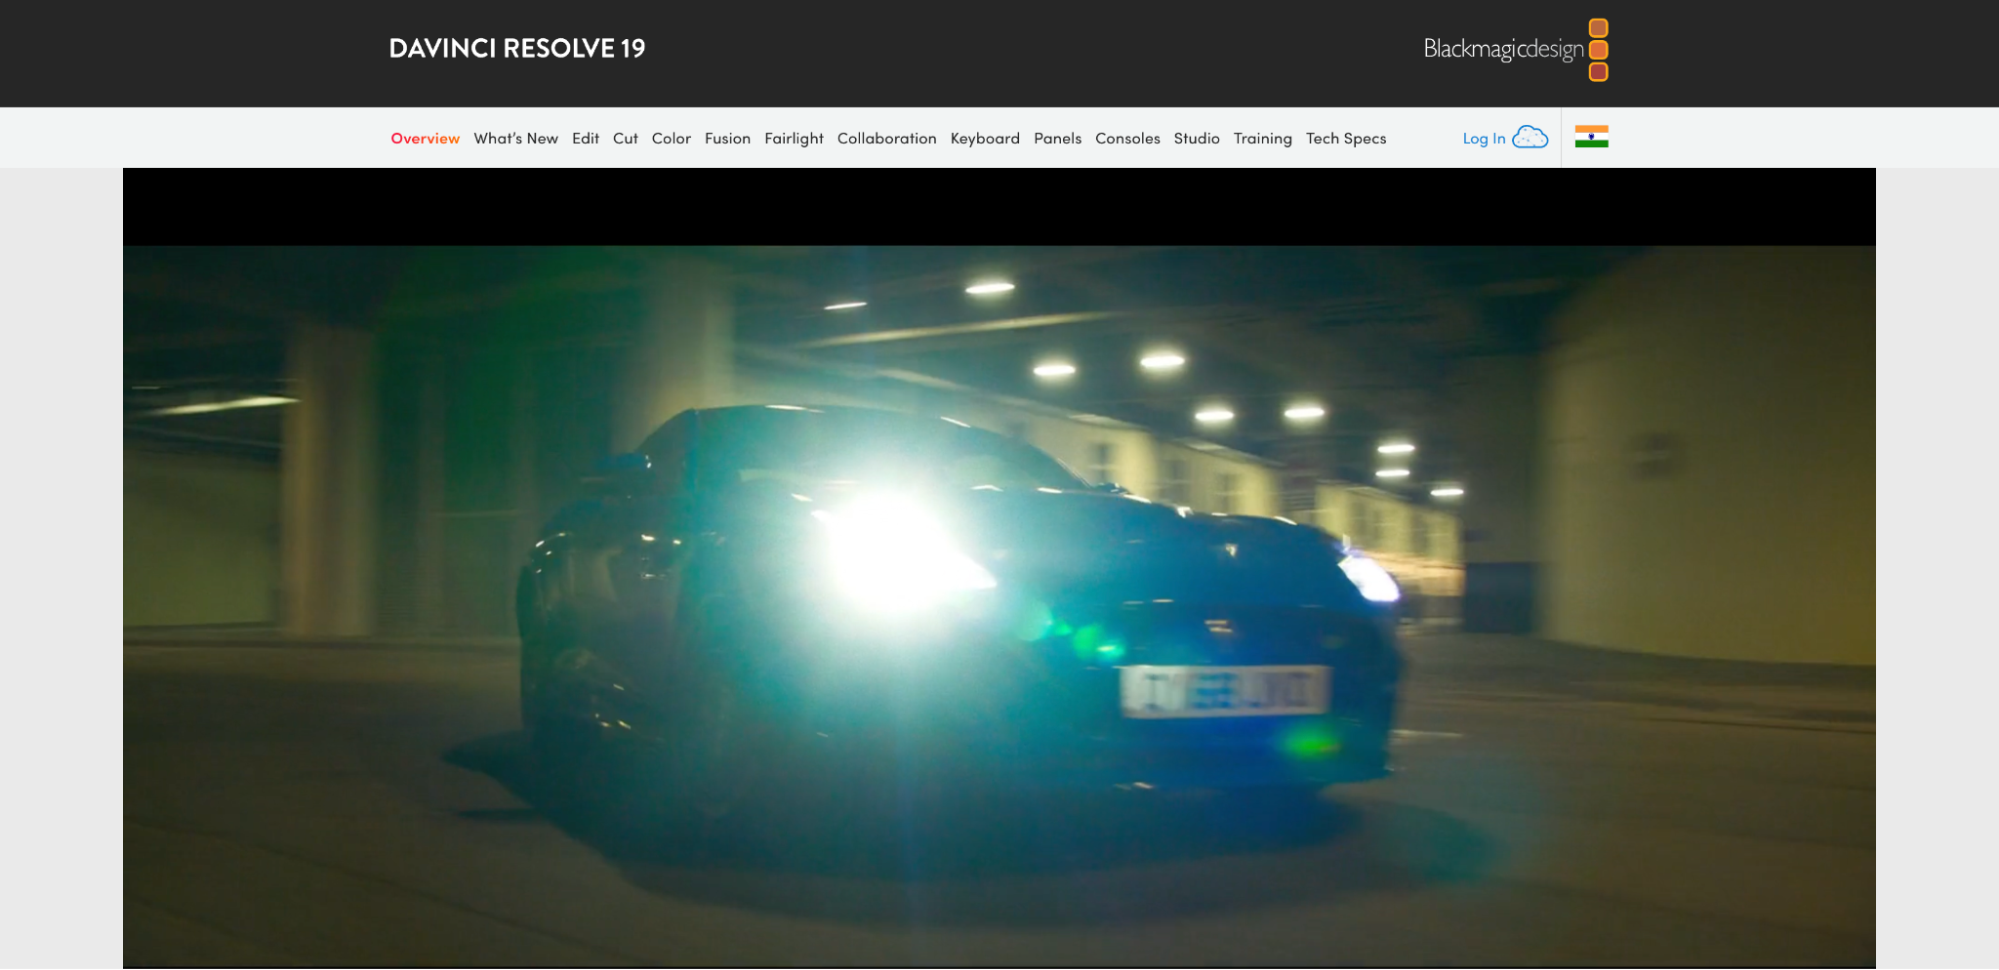
5. DaVinci Resolve
DaVinci Resolve is a professional-grade video editor that provides high-precision trimming, color correction, and advanced editing tools. It offers frame-by-frame editing, making it ideal for cutting YouTube videos with high accuracy. The software includes AI-powered features for auto-editing, noise reduction, and visual effects, making it perfect for YouTube creators. With 4K and 8K support, DaVinci Resolve is a great option for those looking for a high-end offline video editing experience.
Key Features:
- Frame-Accurate Trimming – Cut YouTube videos with extreme precision using frame-by-frame editing.
- Advanced AI-Powered Editing – Includes smart trimming, noise reduction, and auto-enhancement tools.
- Multi-Layer Editing Support – Offers professional-grade timeline editing with multiple video and audio layers.
- 4K and 8K Video Processing – Supports ultra-HD video cutting without losing quality.
- Cross-Platform Availability – Works on Windows, macOS, and Linux, ensuring compatibility for all users.
User Reviews
- "DaVinci Resolve is the best offline video cutter! I love the frame-accurate trimming, which makes my YouTube edits look professional." – Daniel P.
- "The AI-powered smart trimming is a lifesaver. It automatically detects and removes unwanted sections, saving me hours of work!" – Sarah K.
- "Unlike other video cutters, DaVinci Resolve gives me full control over my edits with multi-layer support. Absolutely worth learning!" – Mark L.
Step-by-Step Guide to Cutting YouTube Videos with DaVinci Resolve
Step 1: Import Your YouTube Video into DaVinci Resolve
Open DaVinci Resolve and go to the "Media" tab. Click on "Import Media" and select the YouTube video you want to trim. Drag the imported file into the timeline for editing.
Step 2: Trim or Cut Your Video
Go to the "Edit" tab and use the blade tool (razor) to split the video at the desired start and end points. You can also drag the timeline sliders to remove unwanted sections manually.
Step 3: Export the Trimmed Video
Once you've trimmed the video, navigate to the "Deliver" tab. Choose the output format (MP4, MOV, AVI, etc.), adjust the settings if needed, and click "Render" to save your final edited YouTube video.
Part 5: Bonus: Easy-to-Follow YouTube Video Downloading Instructions
Downloading YouTube videos for offline editing, trimming, or repurposing can be done quickly with Wondershare UniConverter. This all-in-one video editing tool allows users to download YouTube videos in various formats, cut and trim them, and export them without losing quality. Whether you need to download full-length YouTube videos or extract specific clips, UniConverter provides a fast and seamless solution.
Step-by-Step Guide to Downloading YouTube Videos with UniConverter
Step 1: Open UniConverter and Access the YouTube Downloader
Launch UniConverter and navigate to the “Downloader” tab on the home screen. This tool enables users to fetch YouTube videos directly from a URL for offline use.
Step 2: Paste the YouTube Video Link
Go to YouTube, find the video you want to download, and copy its URL. In UniConverter, click “Paste URL”, and the software will automatically analyze the link. Choose the desired video resolution and format (MP4, AVI, MOV, etc.) before proceeding.
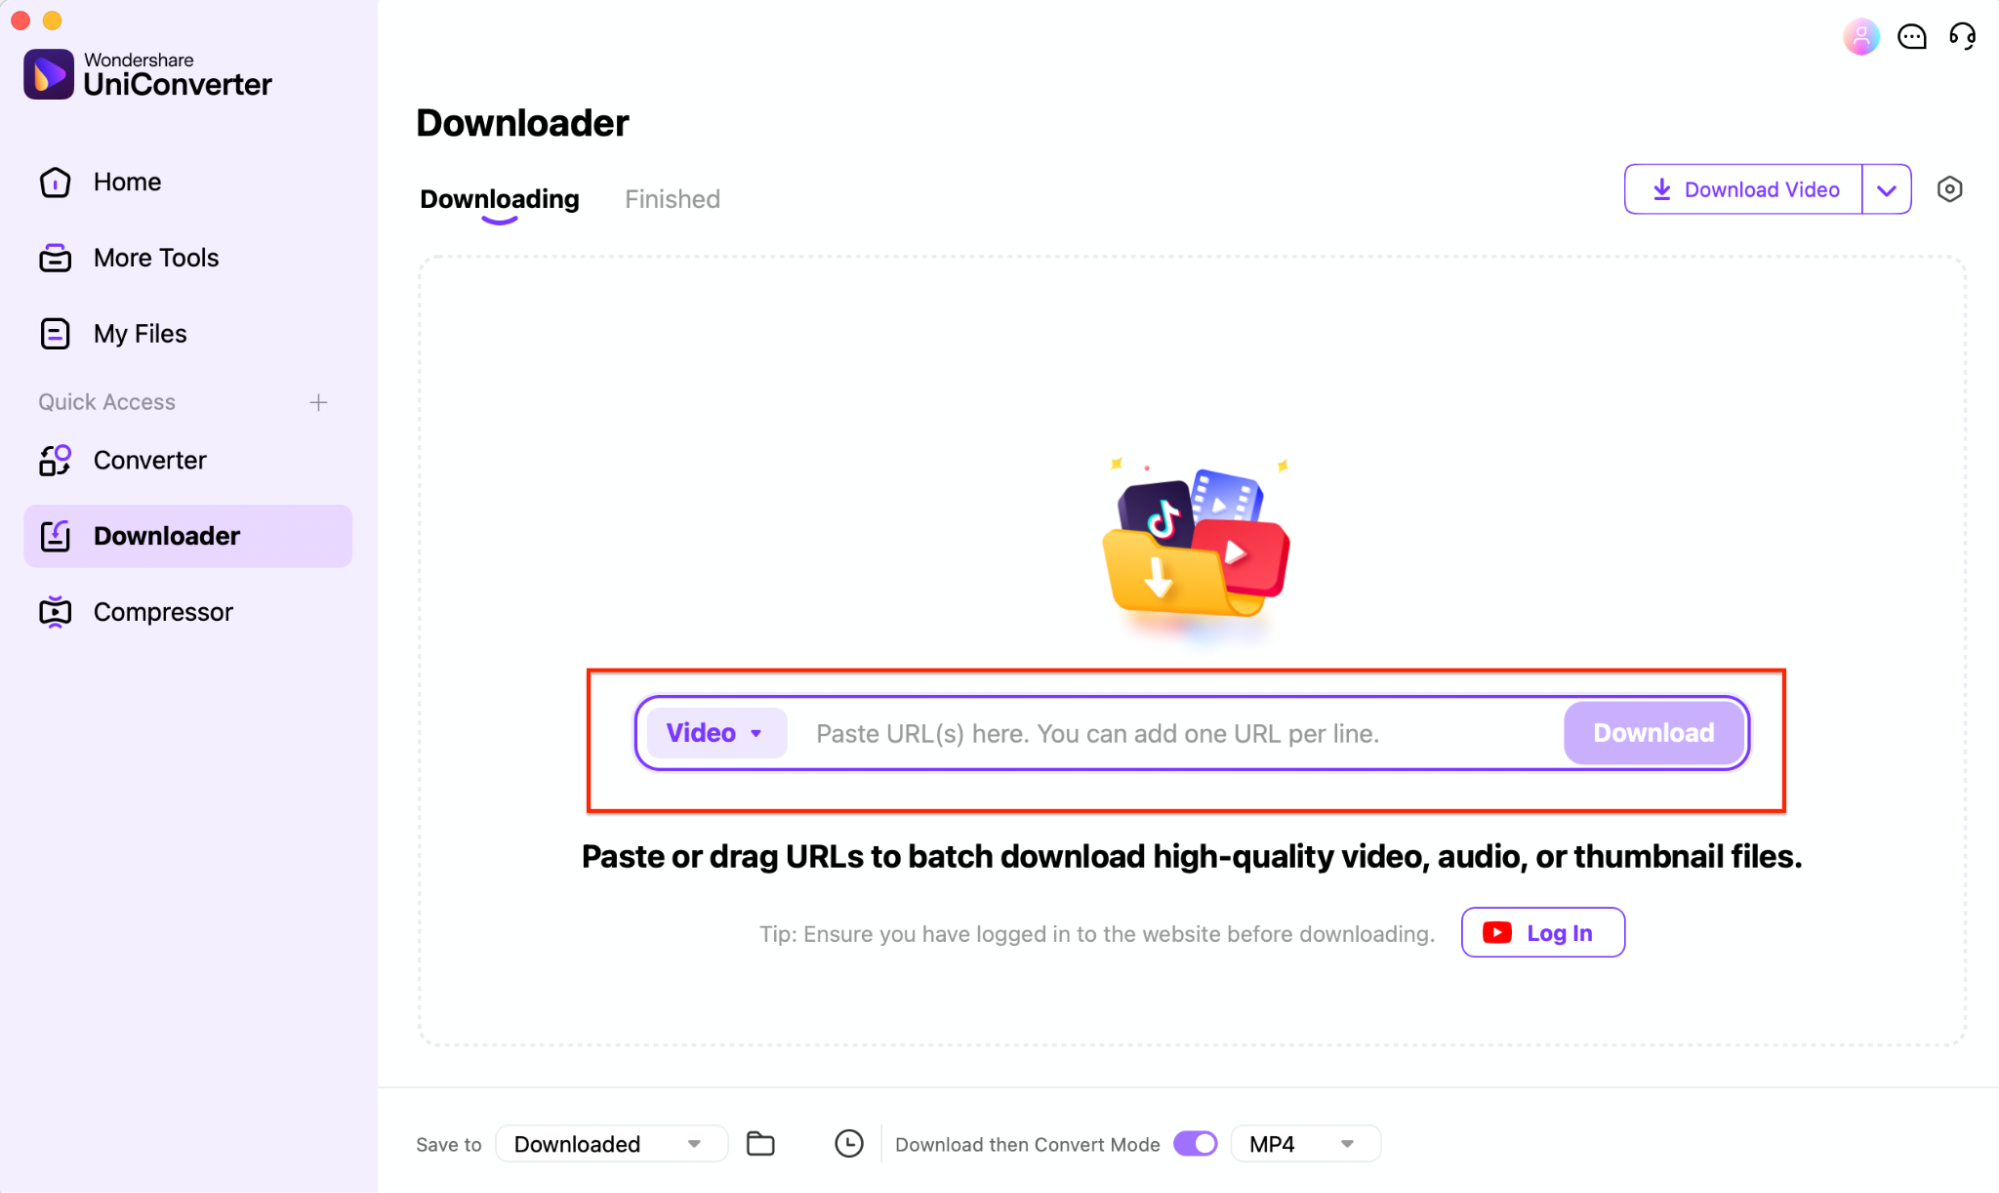
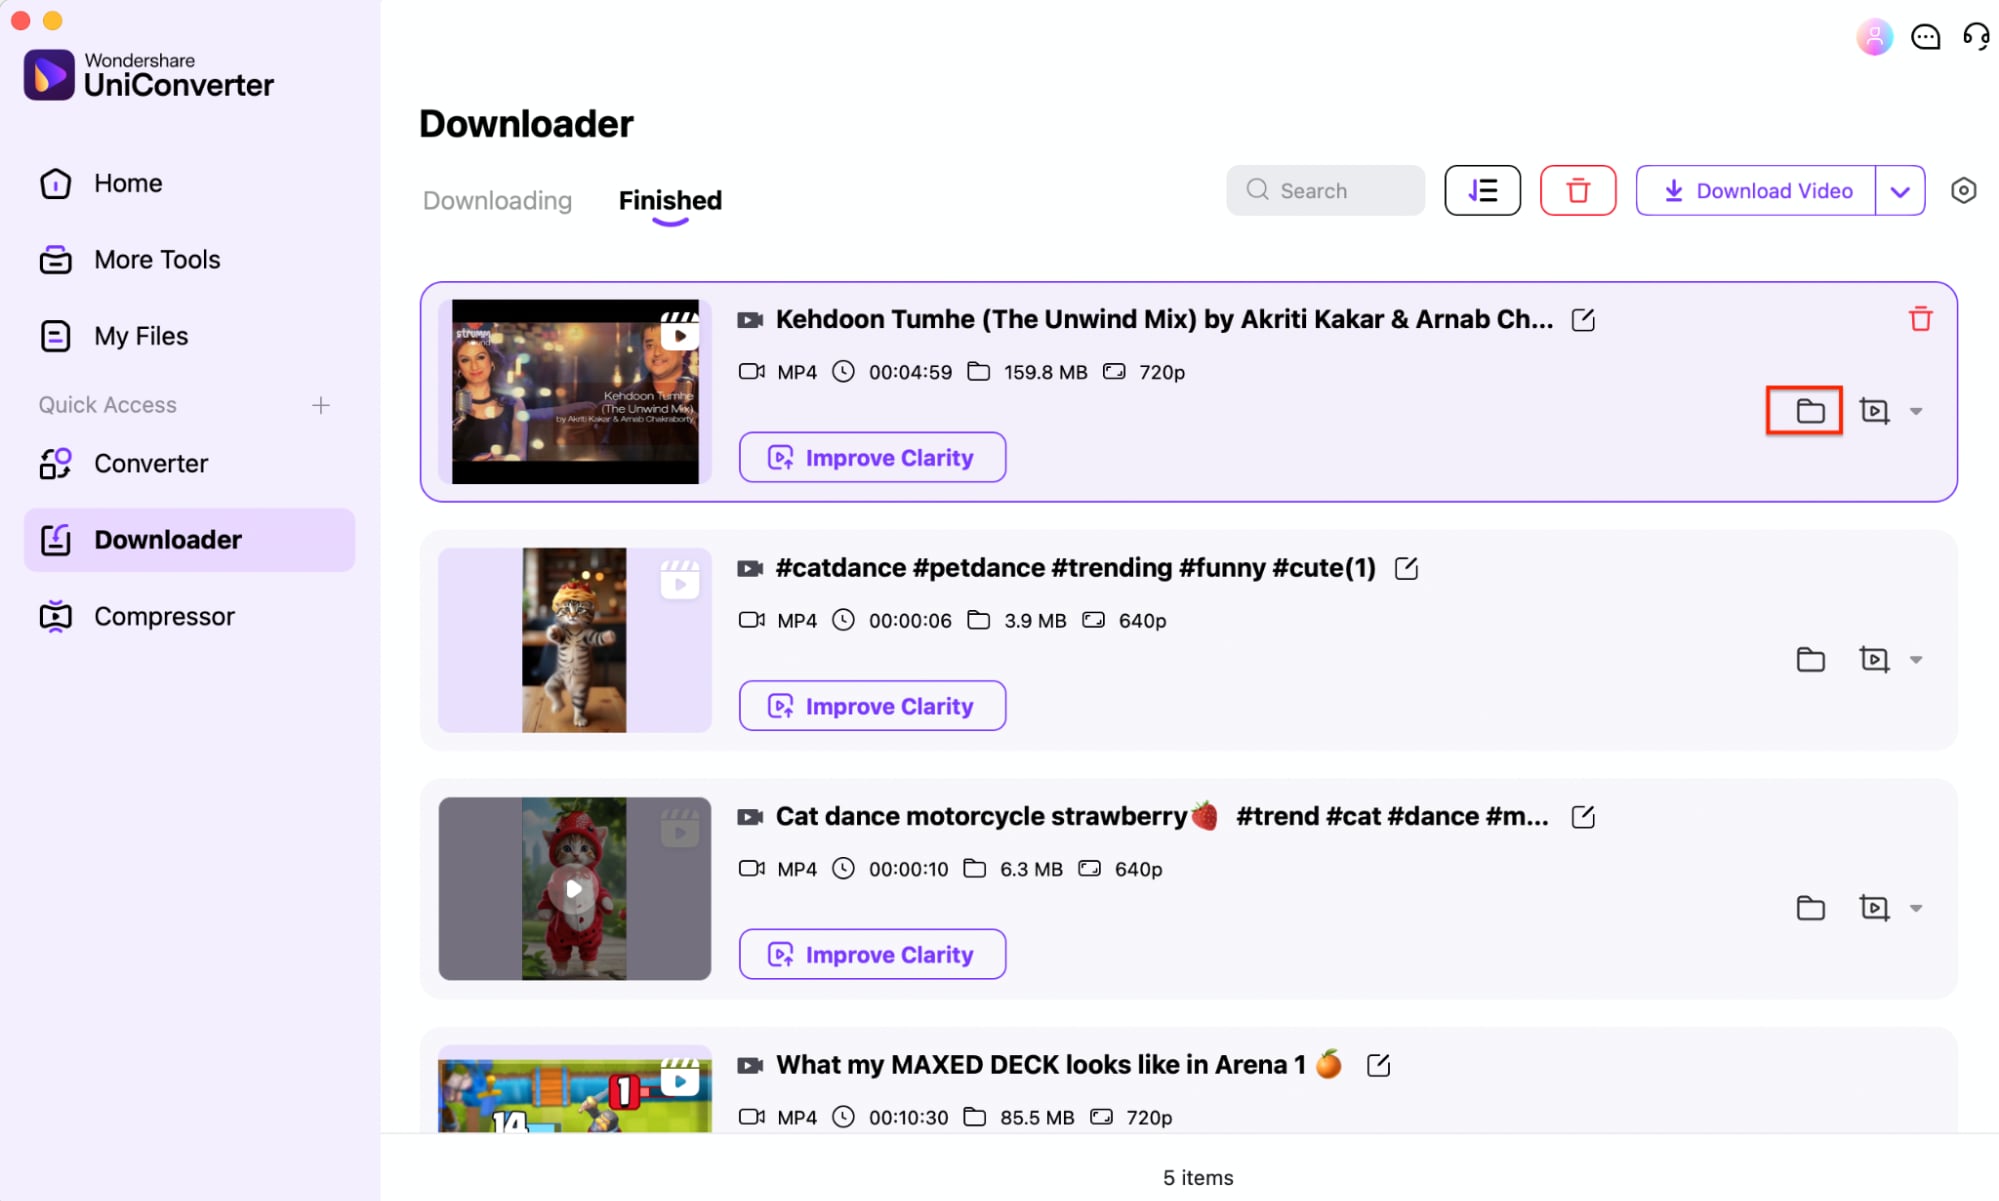
Step 3: Download the Video
Click “Download”, and UniConverter will start processing the video. Depending on the file size and internet speed, the download should complete within a few moments.
Conclusion
Cutting and trimming YouTube videos can be done easily using a variety of online and offline tools. Whether you need a quick online YouTube video cutter or a powerful offline editing software, this guide has provided the best solutions to help you trim, crop, and download YouTube videos with precision. Tools like UniConverter, YouTube Studio, and professional video editors offer advanced features for frame-accurate trimming, batch processing, and high-resolution exports. Additionally, UniConverter’s AI-powered tools provide more than just cutting – with features like AI Video Enhancer, Background Remover, and YouTube to MP3 Converter, it’s an all-in-one solution for YouTube video editing. Whether you’re a content creator, marketer, or casual user, these tools will help you refine and repurpose YouTube videos effortlessly.
FAQs
1. Can I cut a YouTube video without downloading it?
Yes! Online tools like Kapwing, Clideo, and YT Cutter allow you to trim YouTube videos directly from a URL without downloading them first.
2. Does YouTube have a built-in video cutter?
Yes, YouTube Studio provides a basic trimming tool that lets you cut out sections from your uploaded videos, but it does not allow cropping or reformatting.
3. What is the best tool to cut and download YouTube videos offline?
Wondershare UniConverter is one of the best tools for offline YouTube video cutting and downloading, offering AI-powered trimming, multiple format support, and lossless quality retention.
4. How can I crop a YouTube video’s aspect ratio?
For cropping a video’s aspect ratio, use tools like Clipchamp, Kapwing, or UniConverter, which allow you to resize and crop video frames for different platforms.
5. Can I extract audio while cutting a YouTube video?
Yes! Tools like UniConverter and Aconvert allow you to extract MP3 audio while trimming YouTube videos, making it easy to save only the necessary sound clips.

