

In today's fast-paced digital world, capturing attention quickly is crucial. Whether you're a content creator, marketer, or casual viewer, knowing how to shorten a YouTube video can help you remove unnecessary parts, create engaging highlights, or repurpose content efficiently. YouTube Studio provides a built-in trimming tool for creators, but if you need to edit other YouTube videos or prefer more advanced trimming options, desktop software offers greater flexibility. This guide covers multiple methods to trim YouTube videos on Windows, Mac, and iPhone, ensuring you can edit your videos with ease. Additionally, we’ll explore how to download and edit YouTube Shorts for seamless content creation.
In this article
Part 1: How to shorten a YouTube video in Studio
YouTube Studio provides a built-in video trimming tool, allowing creators to edit their uploaded content without needing third-party software. This feature is ideal for removing unwanted parts, improving video flow, or refining content without losing views or engagement. Follow the steps below to trim a YouTube video directly in YouTube Studio.
Step 1: Access YouTube Studio and Navigate to Content
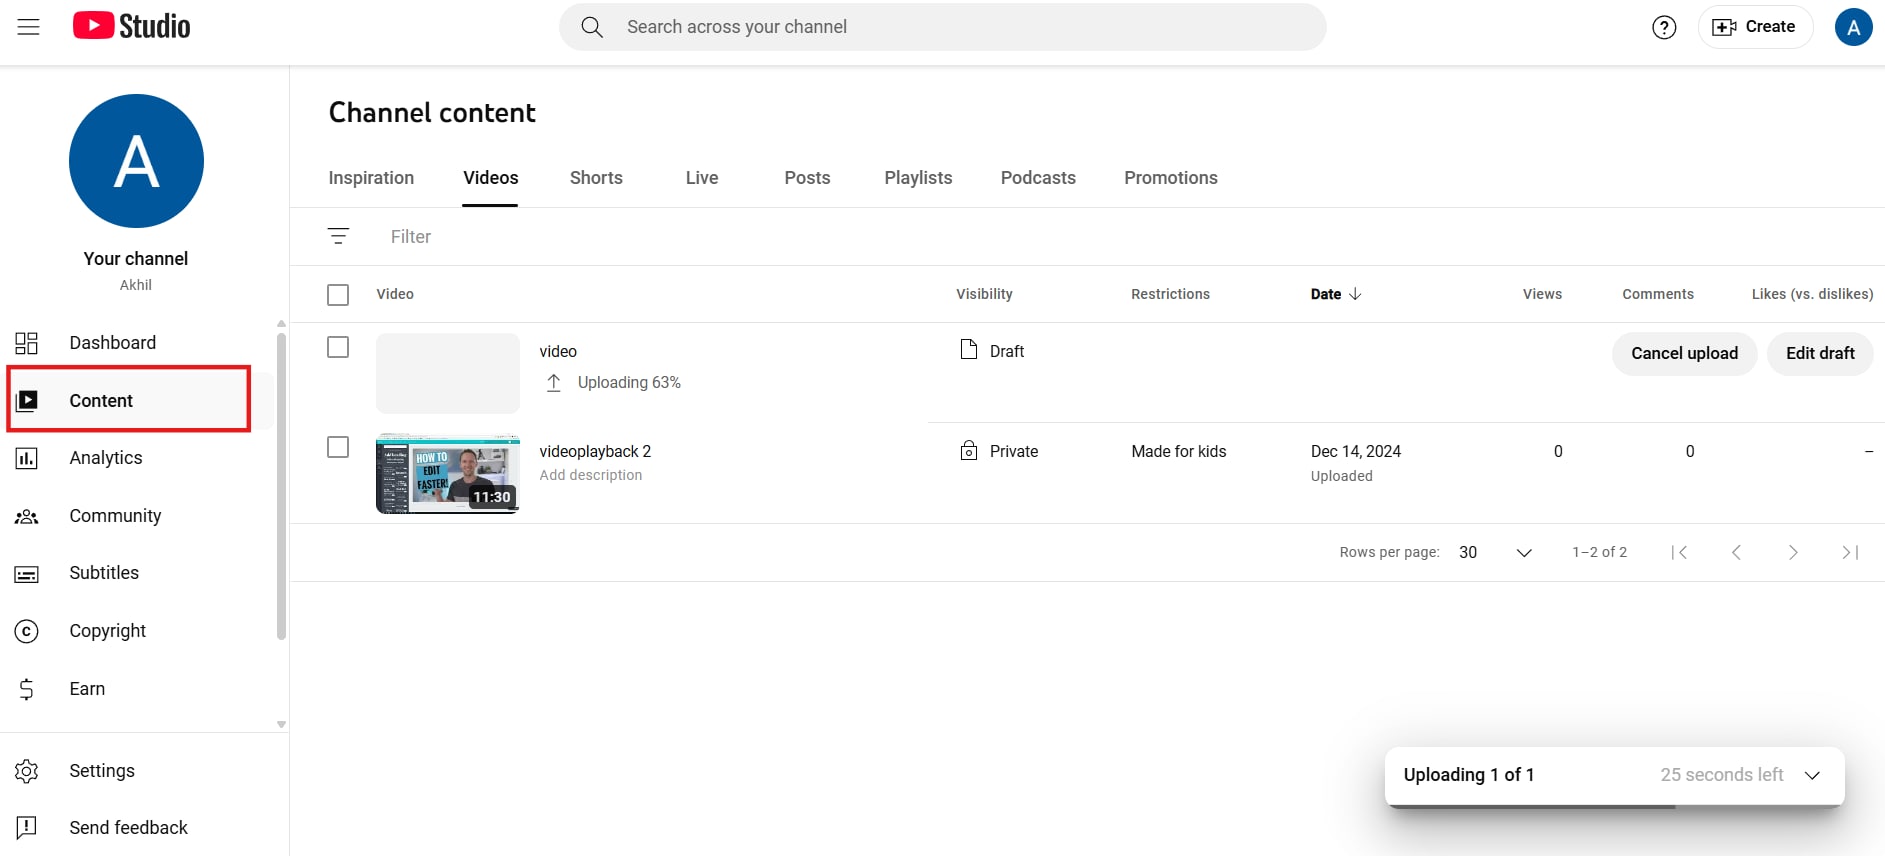
Log in to your YouTube account by clicking your profile picture and selecting "YouTube Studio." This opens the video management interface. Then, locate and select the "Content" tab on the left-hand menu. This tab displays all your uploaded videos, ready for editing.
Step 2: Navigate to the Video Editor
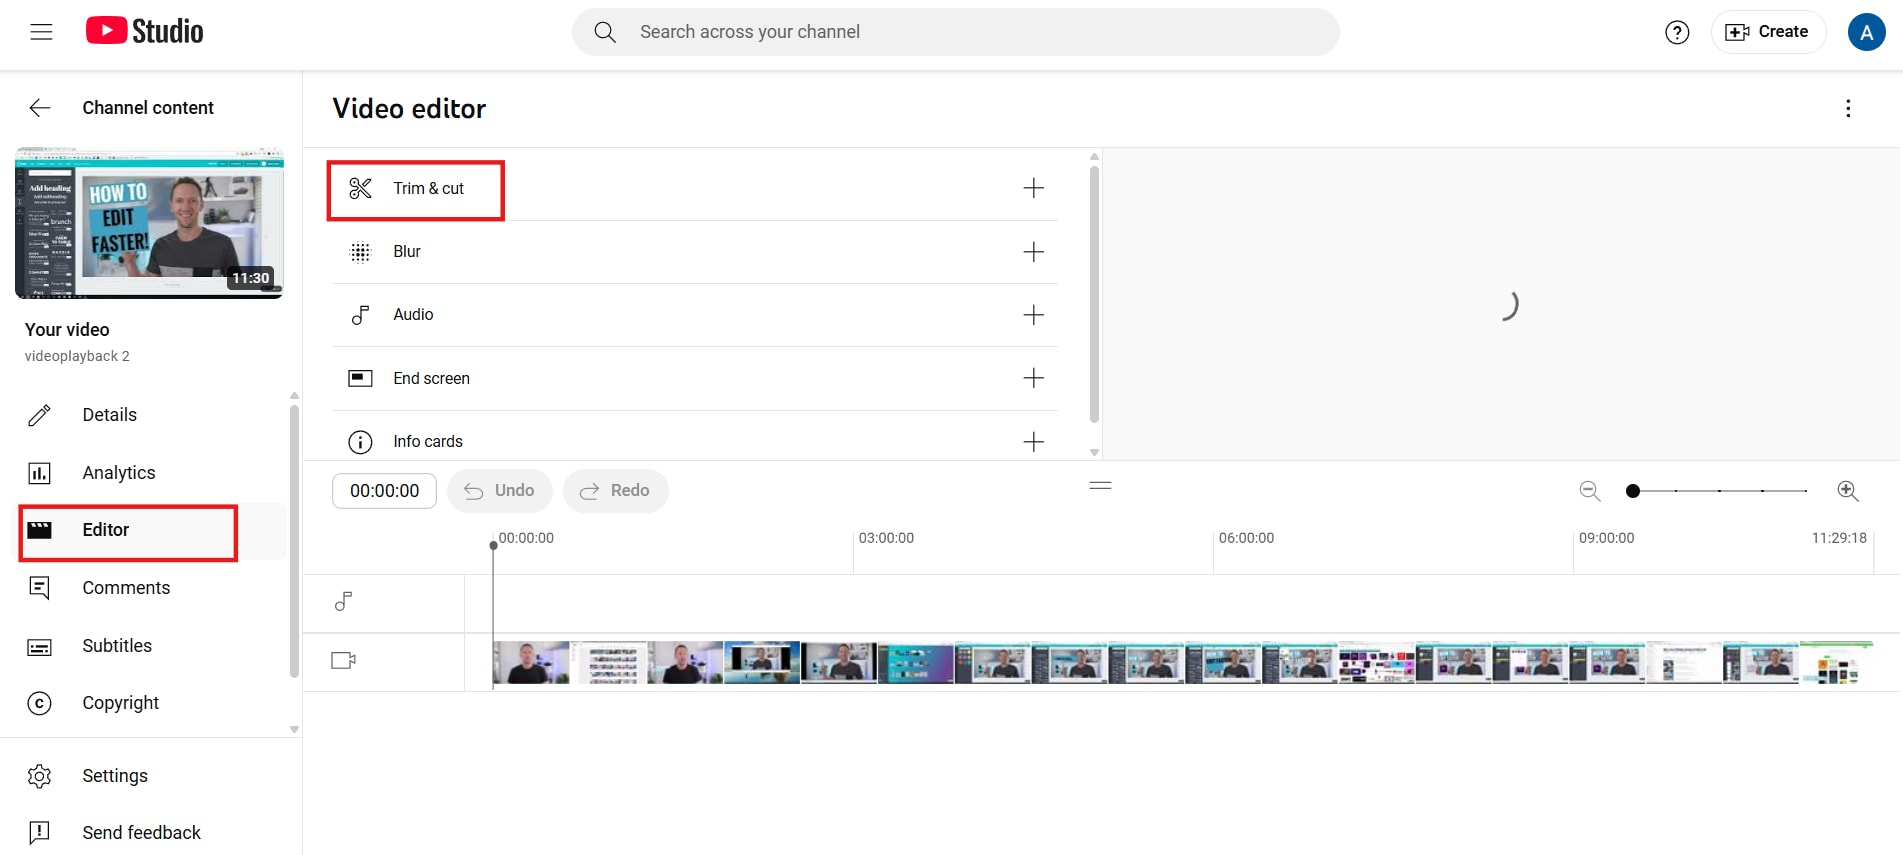
Find the video you want to shorten within the "Content" tab and click on its thumbnail or title. This opens the video's details page. Next, locate and click the "Editor" option, which includes the Trim & cut, in the left-hand menu. This action launches the YouTube Studio video editor for your selected video.
Step 3: Trim the Video
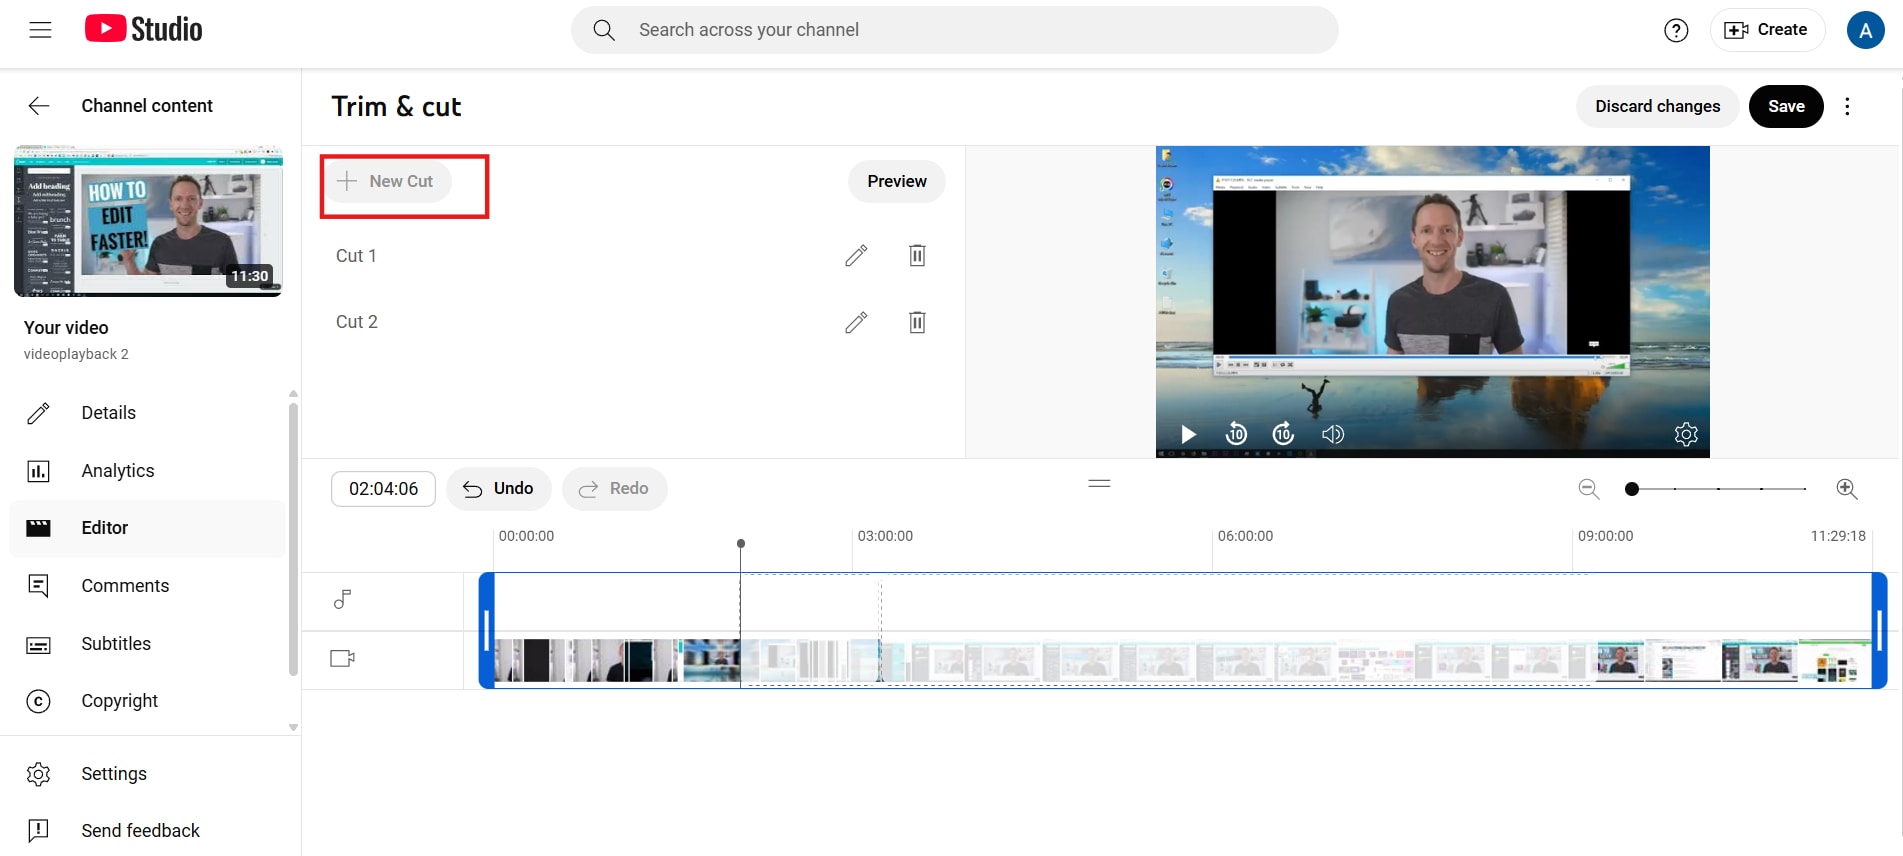
To trim the start or end, drag the blue bars on the timeline. For mid-video cuts, move the playhead, click "New Cut," move again, and click "New Cut." Select the shaded area representing the unwanted section. Then, press delete or click the 'X' to remove it.
Step 4: Preview and Save
Use the play button to review your edits and ensure they are correct. When you are satisfied with the trimmed video, click the "Save" button in the top right. YouTube will process the changes, replacing the original video with the edited version.

Part 2: The Best Way to Trim YouTube Videos
If you're looking for a more precise and efficient way to trim YouTube videos beyond YouTube Studio’s basic editing tools, Wondershare UniConverter is an excellent solution. It offers frame-accurate trimming, batch processing, and high-quality exports without losing video clarity. Whether you need to shorten a YouTube video for presentations, social media, or repurposing content, UniConverter provides a user-friendly interface with powerful editing features to streamline the process.

Best Video Cutter
UniConverter Features for Trimming YouTube Videos
- Precise Frame-by-Frame Trimming: Cut video segments with extreme accuracy, ensuring no unwanted frames remain.
- Batch Processing: Trim multiple video files simultaneously, saving you time and effort.
- Lossless Trimming: Maintain the original video quality without re-encoding, preserving the clarity and resolution.
- Auto Split: Automatically split long videos into smaller segments based on time duration or file size.
- Comprehensive Editing Tools: Access a range of editing features like cropping, merging, effects, and format conversion beyond basic trimming.
User Reviews
- UniConverter makes video editing effortless! The frame-accurate trimming is a game-changer, and I love how it maintains the original quality. – Mark J.
- Perfect tool for quick edits! I use it to trim YouTube videos before posting on social media. The interface is user-friendly and intuitive. – Emily R.
- I've tried many trimming tools, but UniConverter is the best for batch processing. It saves so much time when editing multiple clips! – Jason M.
How to Trim a YouTube Video with UniConverter
Step 1: Launch UniConverter and Access the Cutter Tool
Open UniConverter on your computer and go to the "Cutter" tool under the Home tab. Click the “Add File” button to upload the video you want to trim from your device. This ensures you can easily access the trimming features and make precise edits.

Step 2: Trim, Split, or Adjust Your Video
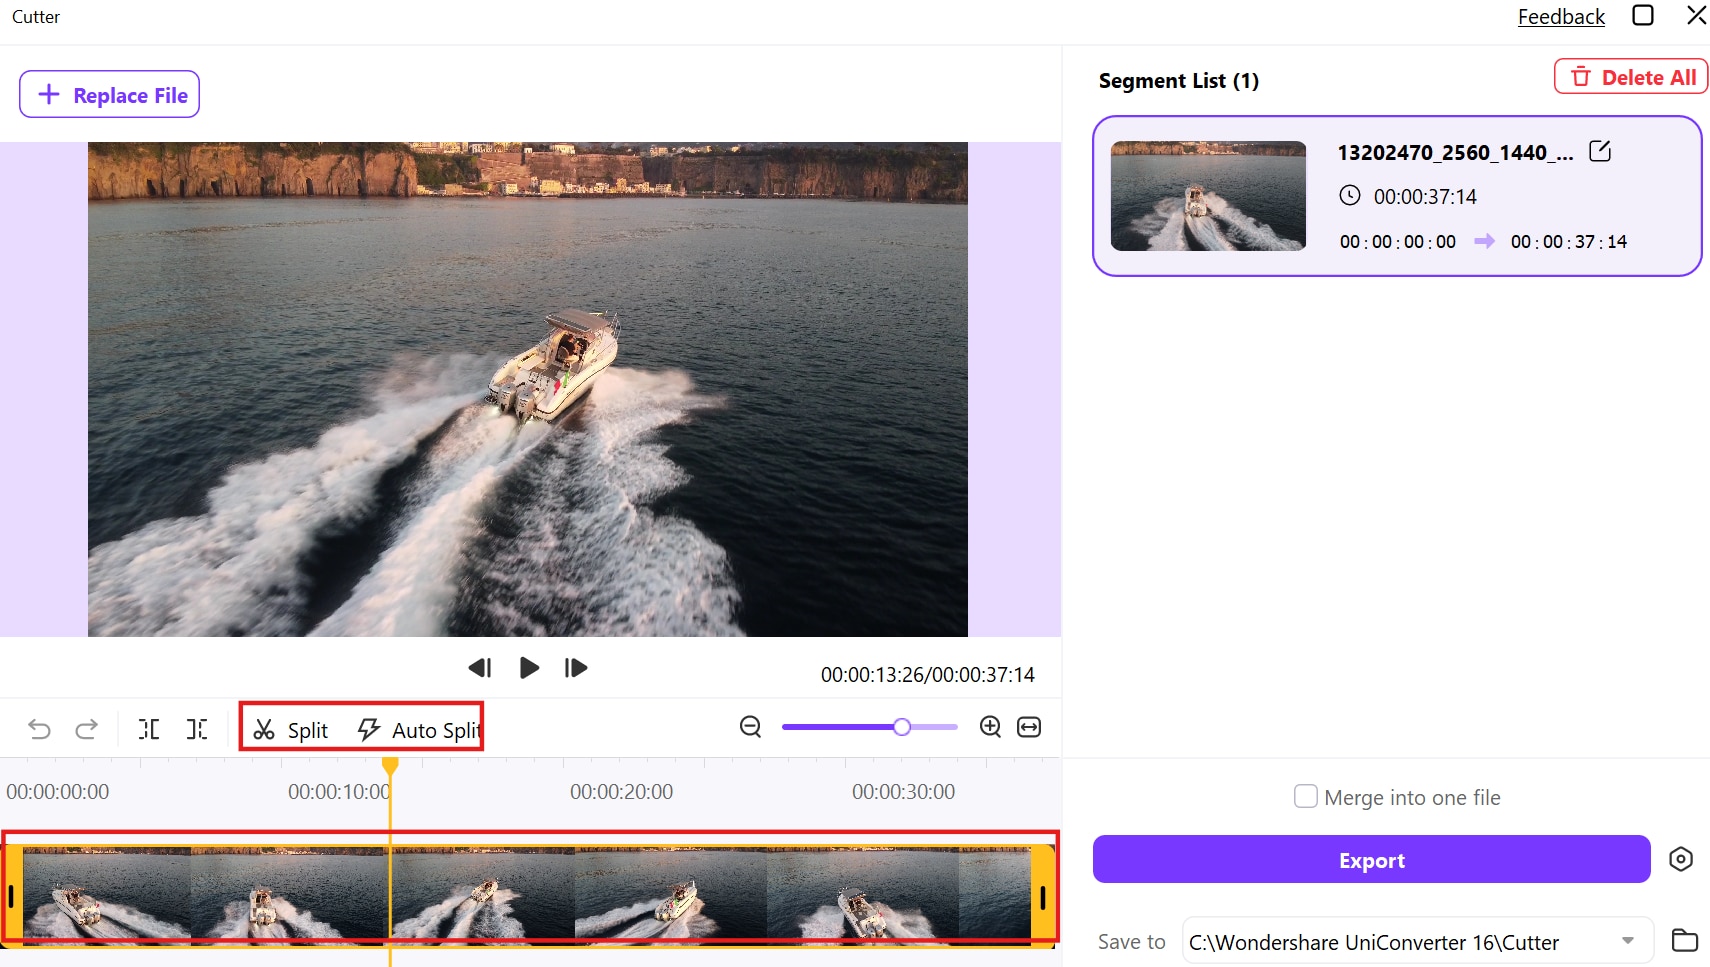
Use the timeline markers to set the exact start and end points for trimming unwanted sections. Drag the slider carefully to achieve frame-accurate cuts, ensuring smooth and precise edits. You can also enable the Auto Split function to divide the video into multiple segments automatically.
Step 3: Save and Export the Trimmed Video
After finalizing your edits, click “Export” to process the trimmed video without losing quality. Select your preferred format and destination folder before confirming the save. Once completed, the trimmed video will be available for playback, sharing, or further editing.

Part 3: How to shorten a YouTube video on Windows
While dedicated video editing software like UniConverter offers advanced features, Windows provides a simple, built-in solution for quickly trimming YouTube videos. Using the Photos app, you can easily remove unwanted segments and shorten your videos without needing to download any additional programs. This method is ideal for basic edits and quick adjustments.
Step 1: Open the Video in the Photos App
Locate the YouTube video file on your Windows computer, then right-click on it. Select "Open with" and choose "Photos" to open the video in the built-in Windows video editor.

Step 2: Start Editing
Once the video is open in the Photos app, click the "Edit & Create" button located at the top right of the window. From the dropdown menu that appears, select "Trim" to begin the editing process.

Step 3: Trim the Video
A timeline will appear at the bottom of the screen with white sliders at each end. Drag the left slider to the desired start point and the right slider to the desired end point. You can preview the selected segment by clicking the "Play" button.
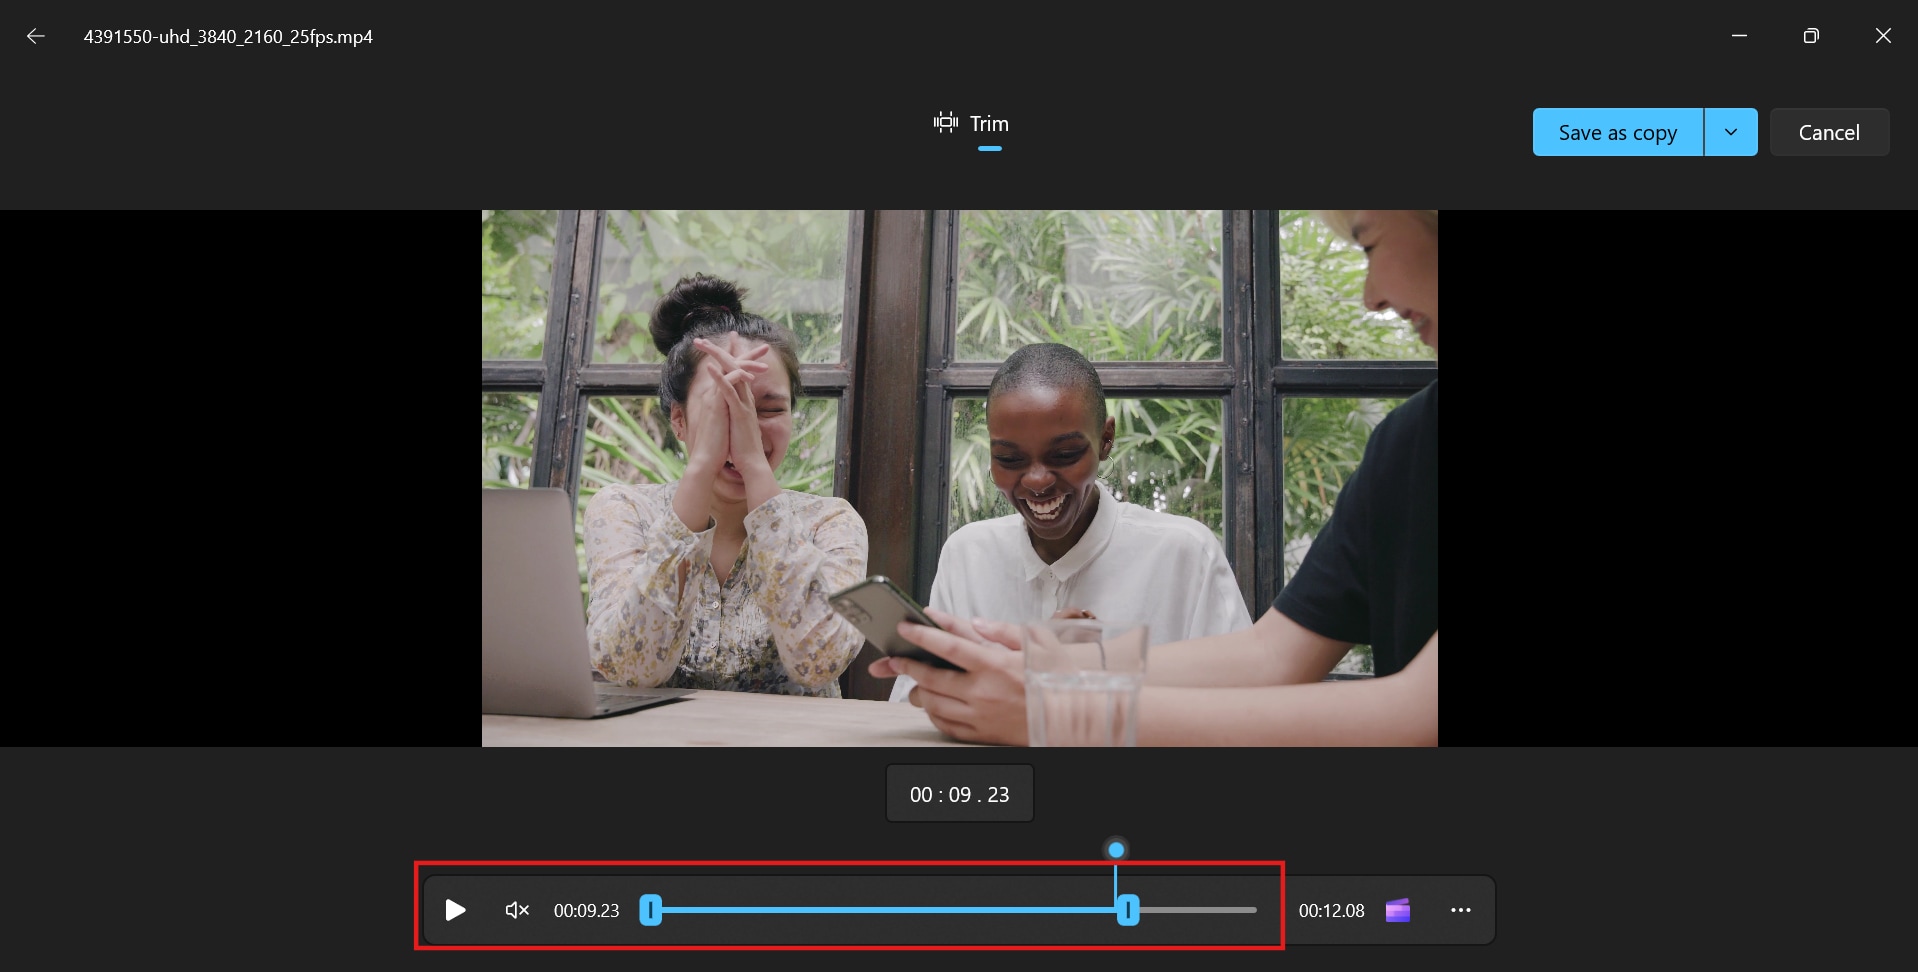
Step 4: Save the Trimmed Video
After you are satisfied with the trimmed segment, click the "Save as copy" button at the top right of the window. Choose a location to save the new trimmed video file. The Photos app will save the trimmed video as a new file, leaving the original video unchanged.

Part 4: How to shorten a YouTube video on Mac
Mac users have access to QuickTime Player, a built-in application that can perform basic video trimming. This is a convenient and straightforward method for shortening YouTube videos without needing to install additional software.
Step 1: Open the Video in QuickTime Player
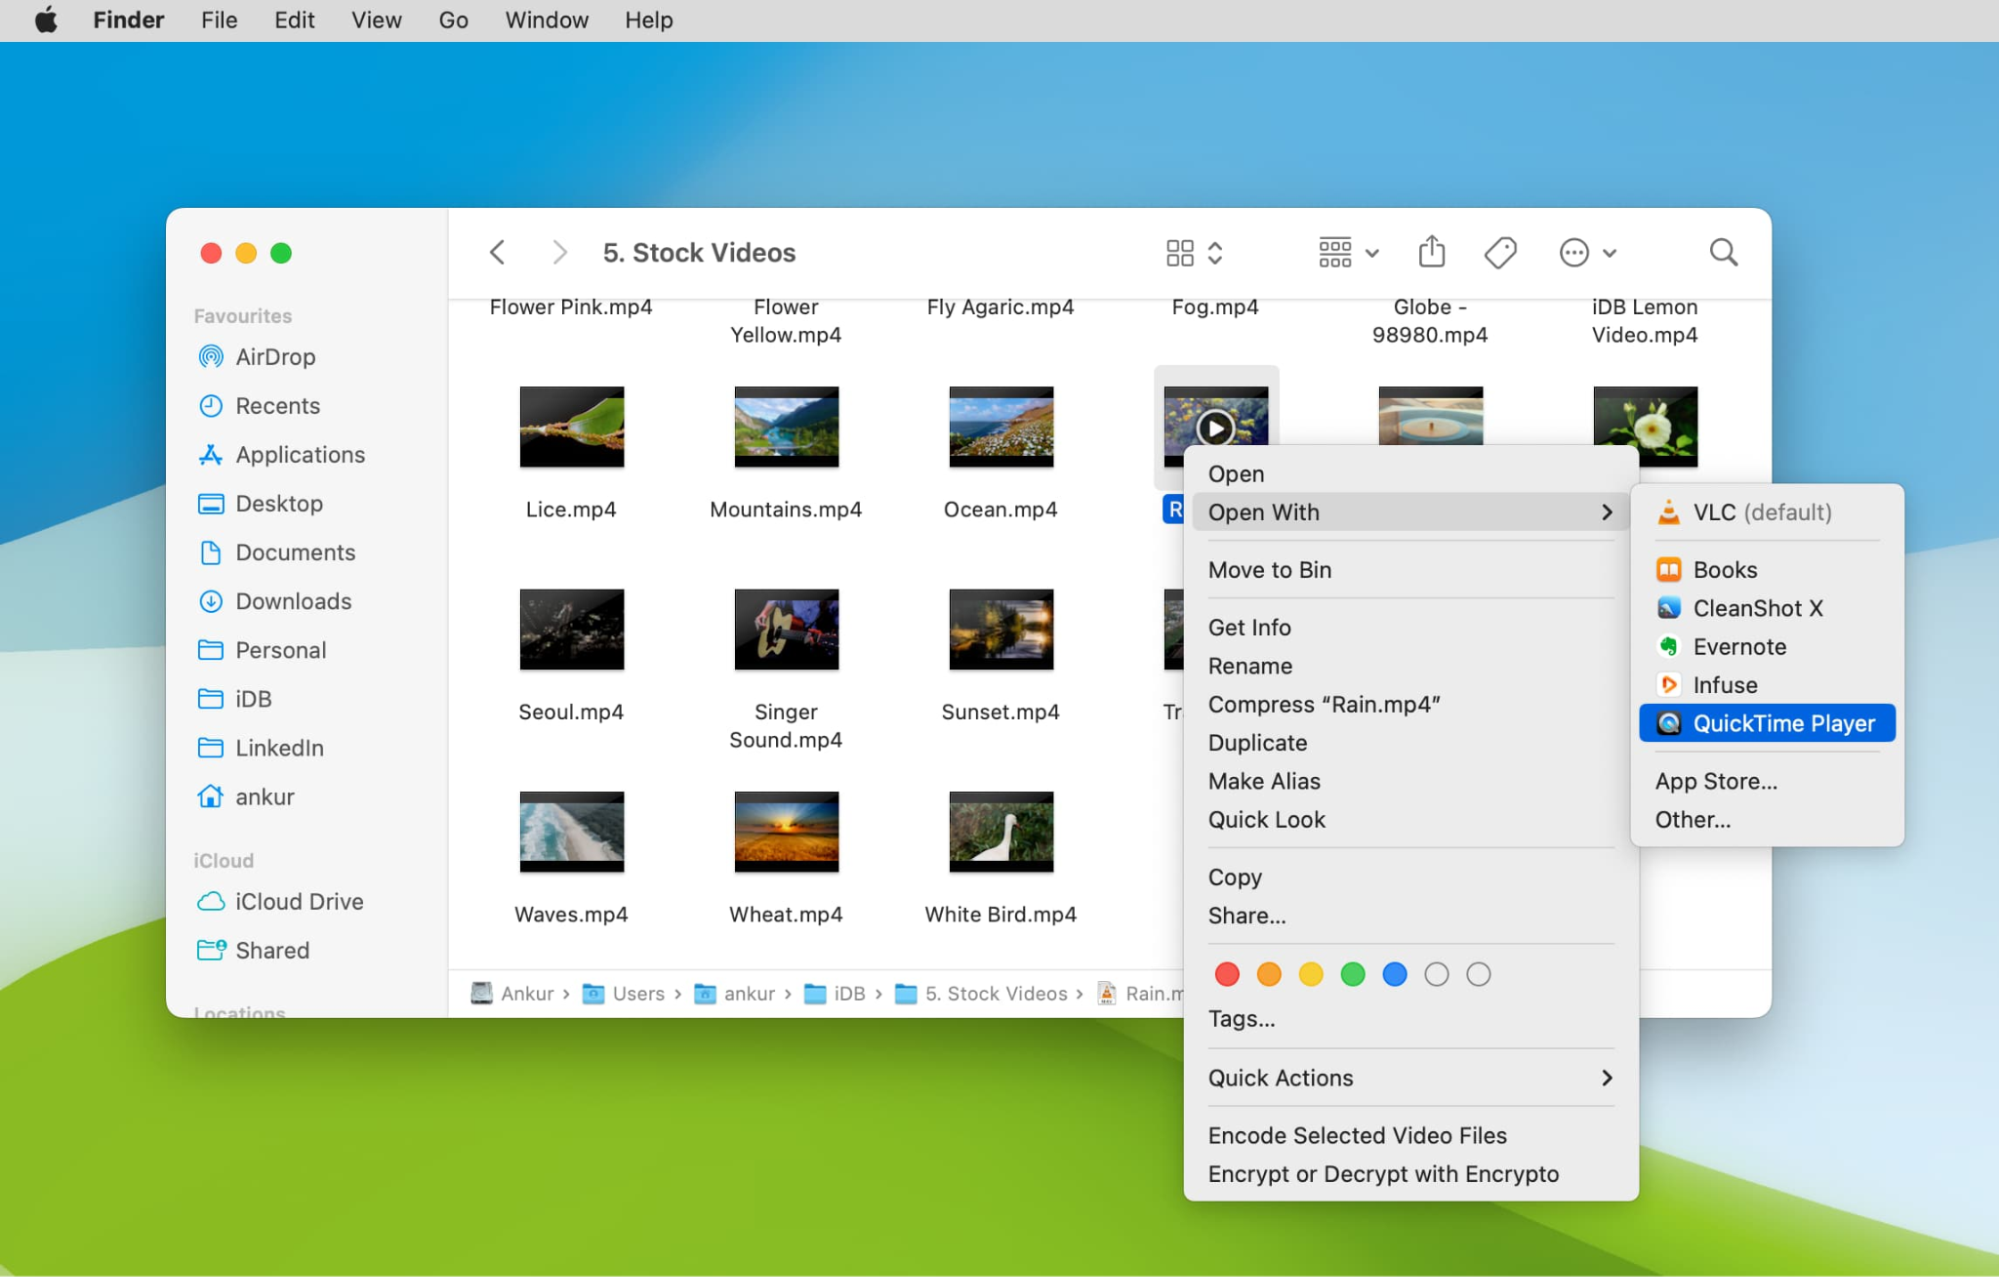
Locate the YouTube video file on your Mac and right-click on it. Select "Open With" and choose "QuickTime Player" to open the video in the built-in Mac video player.
Step 2: Start Trimming
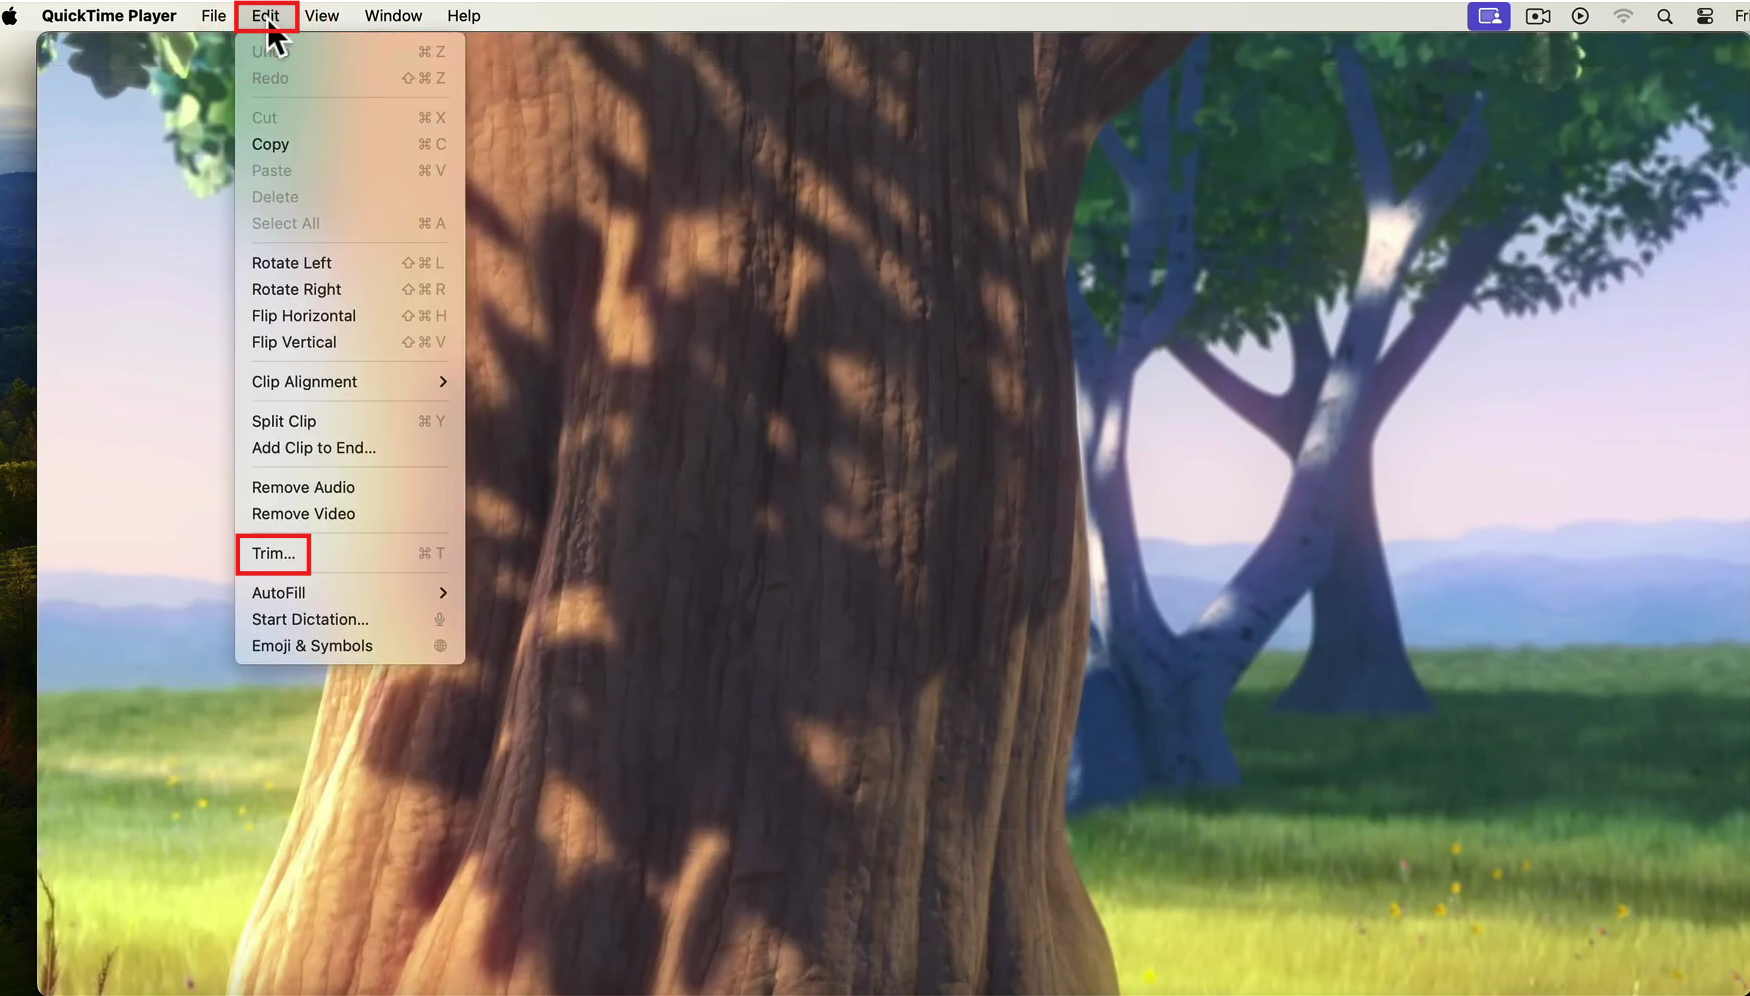
Once the video opens in QuickTime Player, go to the "Edit" menu at the top of the screen and select "Trim" from the dropdown menu to activate the trimming tool.
Step 3: Adjust the Trim Handles
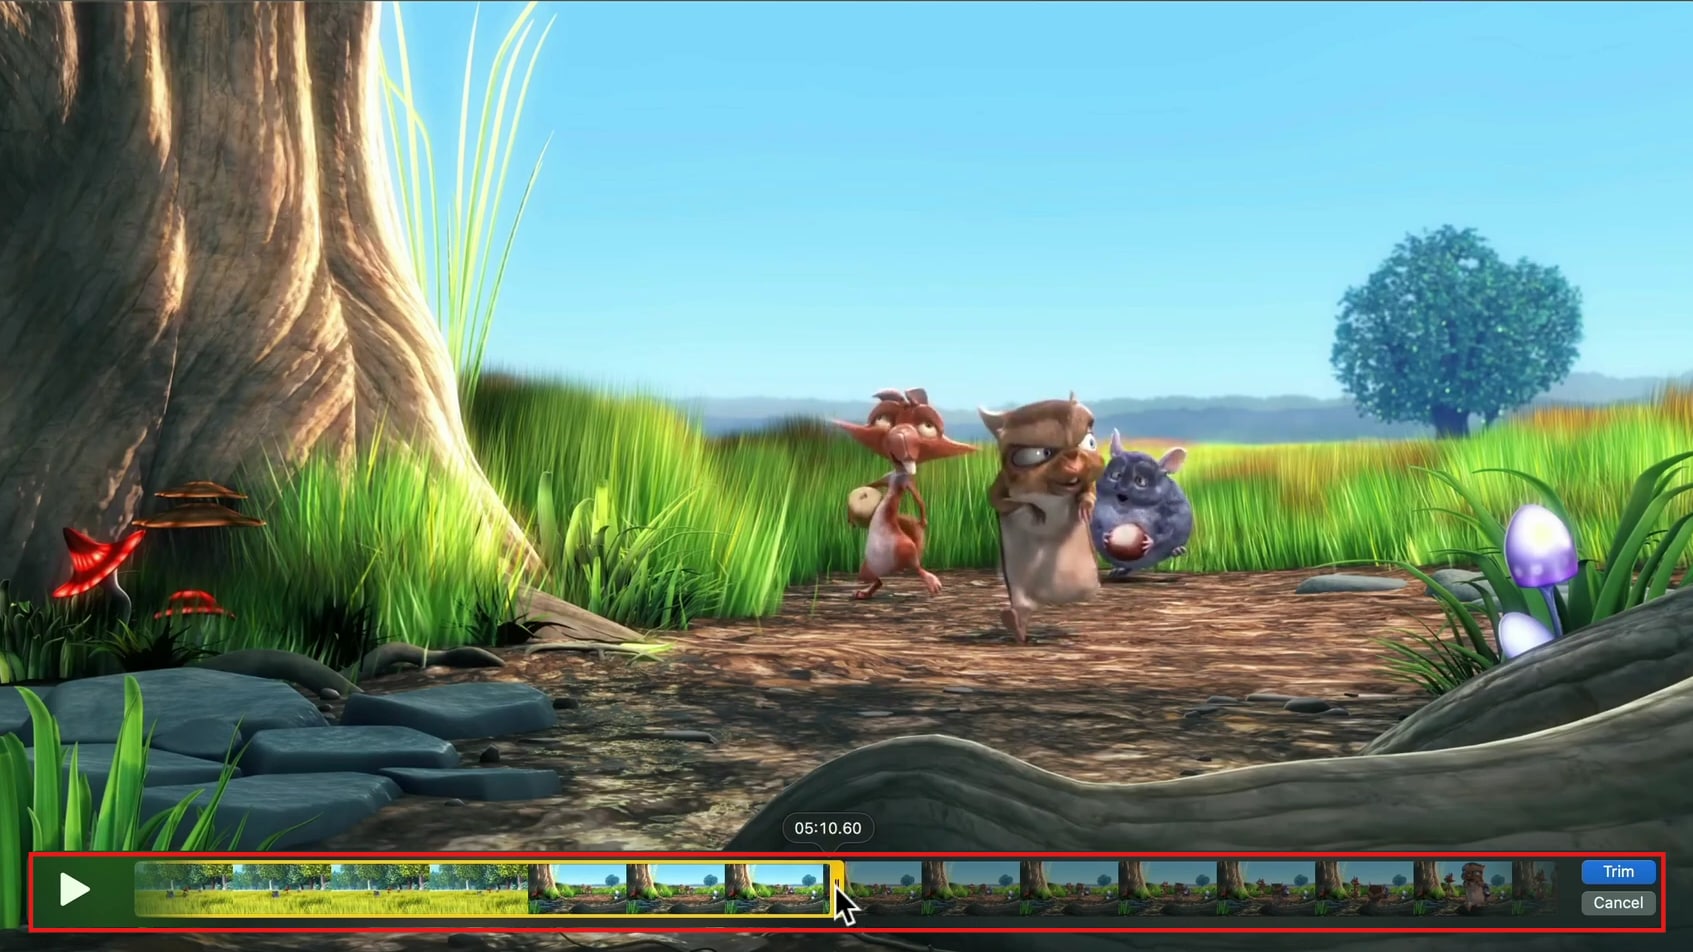
A yellow trim bar will appear at the bottom of the QuickTime window. Drag the yellow handles at the beginning and end of the trim bar to select the portion of the video you want to keep. Preview the selected segment by clicking the "Play" button.
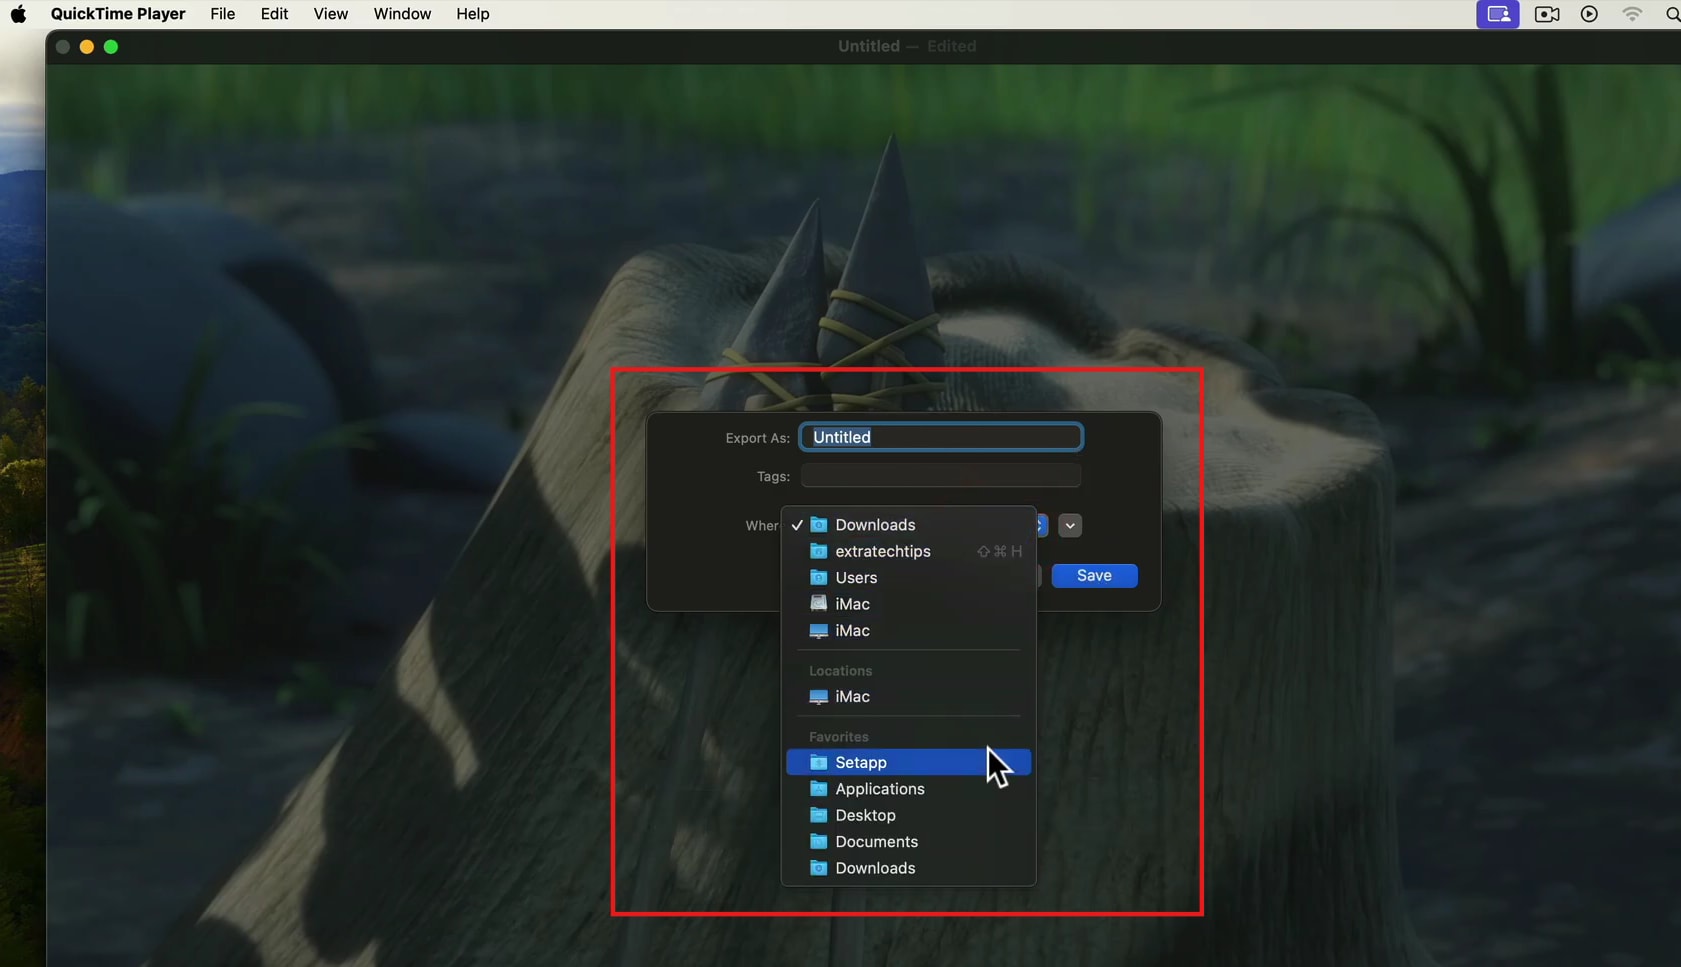
Step 4: Save the Trimmed Video
After you are satisfied with the trimmed segment, click the "Trim" button in the yellow trim bar. Then, go to the "File" menu and select "Save" or "Export." Choose a location to save the trimmed video file and give it a name. QuickTime Player will save the trimmed video as a new file, leaving the original video unchanged.
Part 5: How to shorten a YouTube video on iPhone
iPhones offer a built-in video editing feature within the Photos app, allowing users to easily trim and shorten videos directly on their devices. This is a convenient method for making quick edits to YouTube videos without needing to download any third-party apps.
Step 1: Open the Video and Start Editing
Open the "Photos" app on your iPhone and locate the YouTube video file you want to shorten. Tap on the video to open it, then tap "Edit" in the bottom of the screen to open the video editing interface.

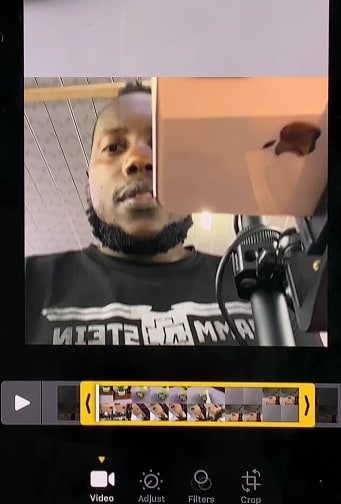
Step 2: Trim the Video
A timeline will appear at the bottom of the screen. Drag the yellow handles at the beginning and end of the timeline to select the portion of the video you want to keep. You can preview the selected segment by tapping the "Play" button.
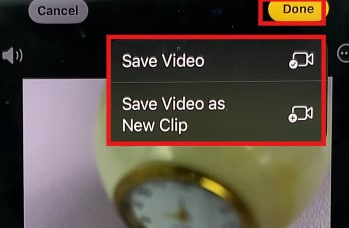
Step 3: Save the Trimmed Video
Once you are satisfied with the trimmed segment, tap "Done" in the bottom right corner of the screen. Choose "Save Video" to save the trimmed video as a new file in your Photos library, leaving the original video unchanged.
Part 6: How to Download Youtube shorts?
If you're looking to download YouTube Shorts for offline viewing or editing, Wondershare UniConverter offers a fast and efficient way to save these videos in high quality. UniConverter allows you to download YouTube Shorts directly and even convert them into various formats to suit your needs.
Step 1: Launch and Access Downloader
Open Wondershare UniConverter on your computer to begin the process. Then, navigate to the "Downloader" tab within the application to access the features for downloading YouTube Shorts.
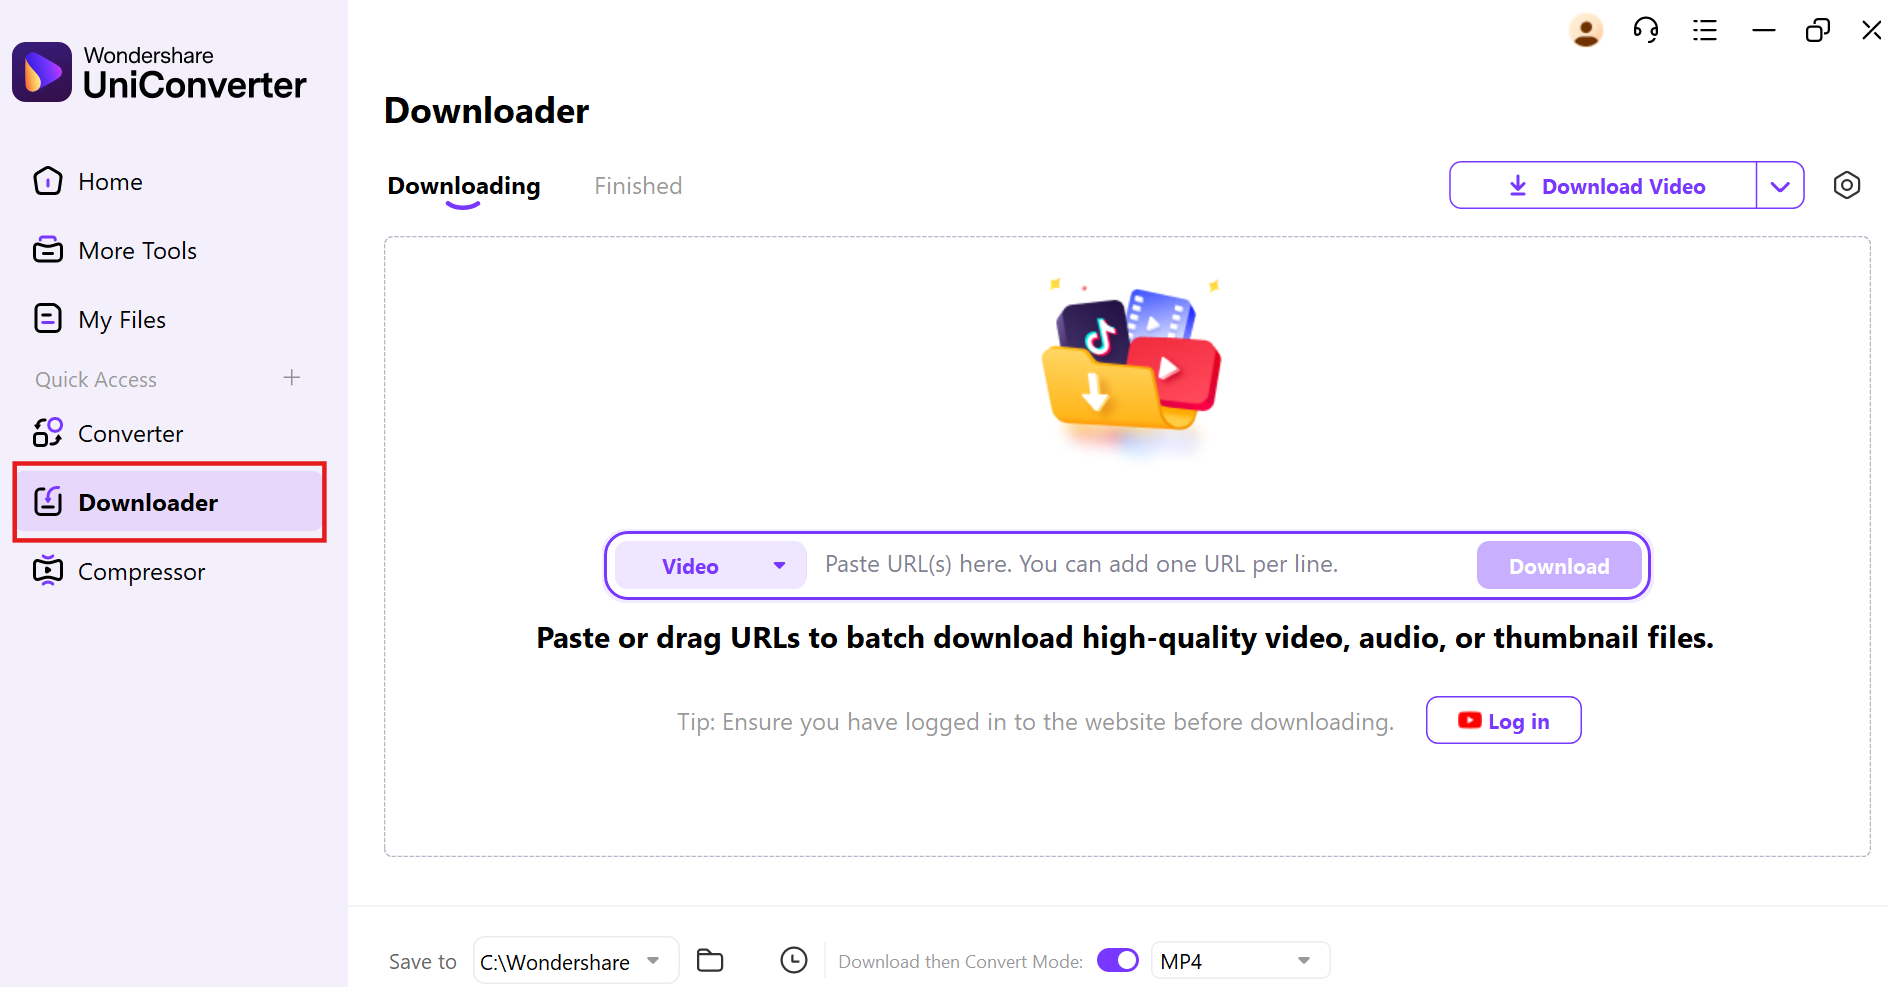
Step 2: Paste URL and Click Download
Copy the URL of the YouTube Short you wish to download. Then, within the UniConverter "Downloader" tab, paste the URL into the designated field and click the "Download" button to initiate the download process.

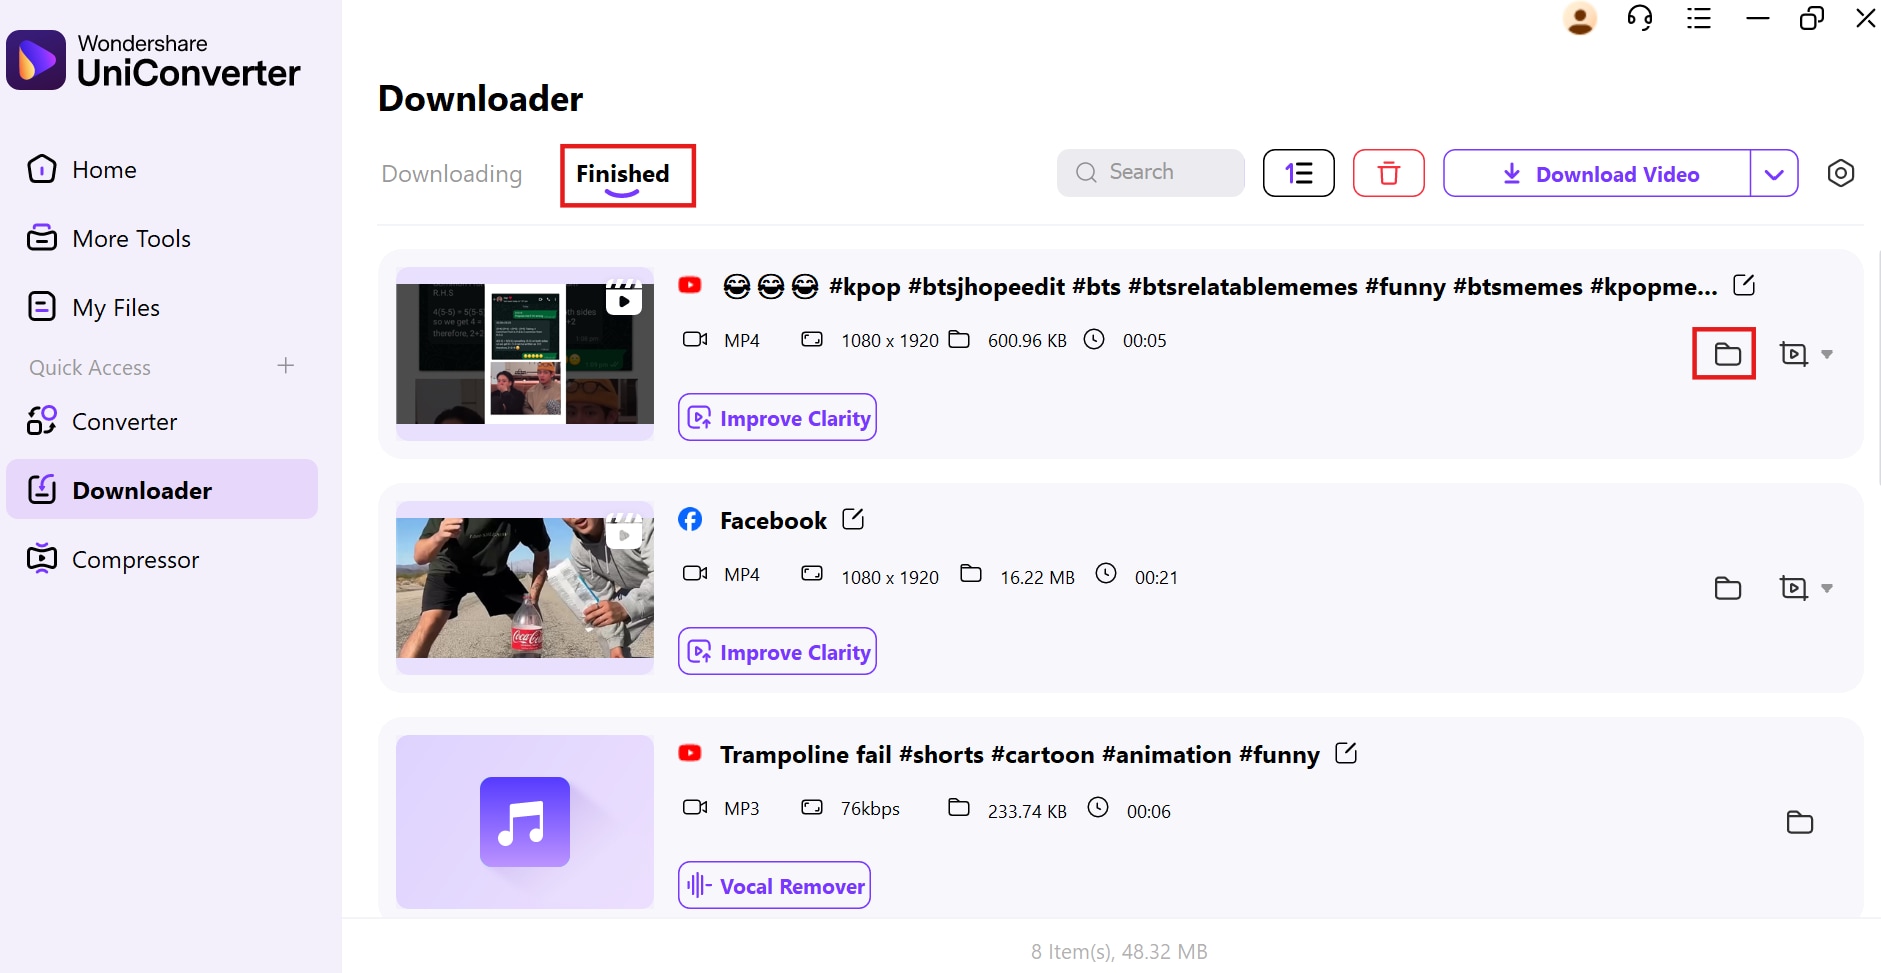
Step 3: Access Downloaded Shorts from the Finished Tab
After the download is complete, navigate to the "Finished" tab within the UniConverter "Downloader" section. You can then access the downloaded Shorts by clicking the folder icon next to each file to open the containing folder on your computer.
Conclusion
In this guide, we've explored various methods to shorten YouTube videos across different platforms, from YouTube Studio's built-in tools to desktop software like UniConverter and built-in mobile and computer options. For precise edits and batch processing, UniConverter stands out, while built-in tools offer quick, convenient solutions. Beyond basic trimming and downloading, UniConverter provides features like Video Enhancer for improved clarity and a Watermark Remover, offering comprehensive video editing capabilities. Whether you're a content creator or simply looking to refine videos, mastering these techniques ensures efficient video editing. Remember to respect copyright and use these tools responsibly to enhance your video content.
FAQs
Q1: Can I trim YouTube videos directly on the YouTube platform?
Yes, YouTube Studio allows creators to trim their own uploaded videos. You can remove unwanted segments from the beginning, middle, or end. However, this only applies to videos you've uploaded to your own channel.
Q2: What is the best software to trim YouTube videos with precision?
Wondershare UniConverter is recommended for precise trimming. It offers frame-by-frame editing, batch processing, and lossless trimming. This ensures high-quality results without losing video clarity.
Q3: How can I trim a YouTube video on Windows without installing extra software?
You can use the built-in Photos app on Windows. Open the video in the Photos app, use the trim tool, and save a copy. This method is suitable for basic trimming tasks.
Q4: Can I maintain the original video quality when trimming with UniConverter?
Yes, UniConverter offers lossless trimming. This means the original video quality is preserved without re-encoding, ensuring clarity and resolution remain intact after editing.
Q5: Can I trim YouTube videos on my iPhone?
Yes, you can trim videos using the Photos app on your iPhone. Open the video, tap "Edit," use the trim handles, and save the edited video. This is a convenient option for quick edits on mobile.

