
You shot the perfect moment, but the footage looks flat, washed out, or blue-tinted. We’ve all been there. Camera sensors rarely capture exactly what your eyes see, but the right color correction software can fix that instantly.
Whether you are touching up a quick TikTok vlog or diving into professional movie color correction, 2026 has brought a wave of AI tools that make fixing your footage effortless. In this guide, we rank the top 10 video color corrector tools—from Hollywood-grade desktop suites to a simple color correction app for your phone. Let's find the perfect color correction program to transform your videos.
UniConverter Video Color Corrector
In this article
Part 1. What is Color Correction Software? (Definition & Core Features)
At its core, color correction software is a specialized digital tool designed to adjust the light and color parameters of video footage. Unlike filters which simply overlay a "look," it fixes underlying issues in the image. It is the technical process of normalizing your video clips.
The primary goal is to make the footage look as natural and accurate as possible—exactly how the human eye perceives reality. This involves balancing several key elements:
- Exposure: Fixing footage that is too dark (underexposed) or too bright (overexposed).
- White Balance: Removing unnatural color casts (like the orange tint from indoor lights or blue tint from shadows).
- Contrast: Adjusting the difference between the darkest and brightest parts of the image to add depth.
- Saturation: Controlling the intensity of colors to ensure they aren't bleeding or muted.
Without these foundational adjustments, any creative styling you try to apply later will look disjointed and unprofessional.
Color Correction vs Color Grading – Understanding the Difference
This is a critical distinction that often confuses beginners. While the terms are often used interchangeably in casual conversation, they represent two distinct stages in the color correction video editing workflow.
| Feature | Color Correction | Color Grading |
| Primary Goal | Technical fix / Normalization | Creative styling / Aesthetic |
| Focus | Making footage look "real" and natural | Making footage look "cinematic" or moody |
| Process | Adjusting white balance, exposure, contrast, and skin tones | Applying LUTs, color tints, teal-and-orange looks, and artistic filters |
| When to use | First step in the editing process | Second step (after correction is done) |
| Example | Fixing a video shot indoors that looks too yellow | Giving a war movie a gritty, desaturated green look |
Color correction for movies ensures consistency between shots (so a scene shot at 9 AM looks the same as one shot at 11 AM). Color grading sets the emotion. Most modern color correction programs handle both distinct tasks, but understanding the order is key to a professional result.
What to Look for in a Color Correction Program

- Auto-Correction: In 2026, AI is king. Look for software that offers one-click fixes for white balance and exposure. This saves hours of manual tweaking.
- Manual Controls: AI is great, but you need control. Ensure the software has precise sliders for brightness, contrast, saturation, temperature, and hue.
- LUT Support: A Look-Up Table (LUT) is essentially a math formula that remaps colors. It is the industry standard for color correction for movies. Good software allows you to import custom LUTs for instant cinematic looks.
- Preview Mode: You cannot fix what you cannot compare. A real-time "Before/After" or side-by-side view is non-negotiable for accurate editing.
Part 2. Top 10 Color Correction Software Reviewed (Free & Paid)
We didn't just list popular names; we put these tools through their paces. To bring you this authentic review, we tested over 20 color correction programs on varied footage—from low-light indoor clips to overexposed outdoor shots. We evaluated them based on three core criteria: recovery capability (how well they fix bad lighting), workflow speed (how fast you can get a result), and learning curve. Below is our honest breakdown of the top performers in 2026.
Best for Professionals
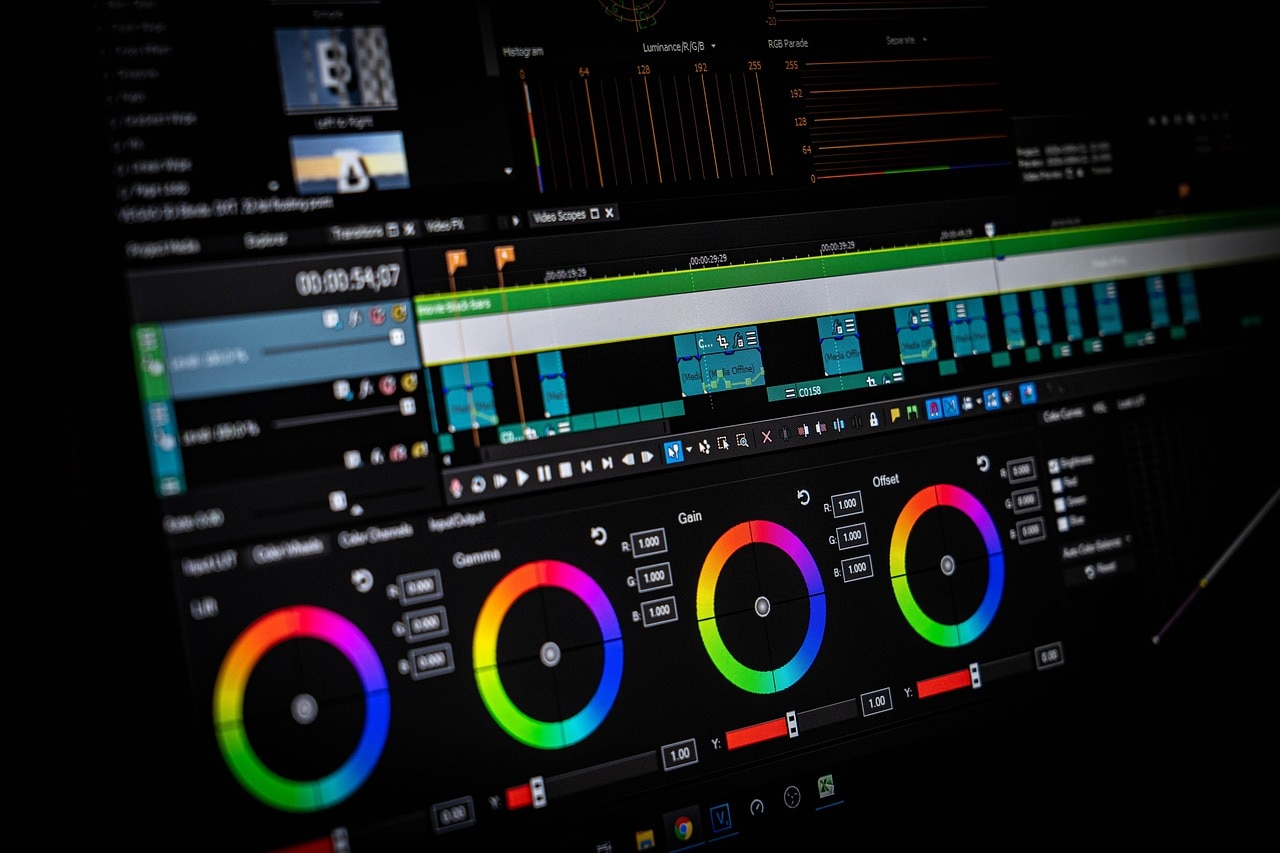
1. DaVinci Resolve 20
DaVinci Resolve remains the undisputed heavyweight champion of color correction for movies. It is the exact software used to grade blockbusters like Dune and The Last of Us.
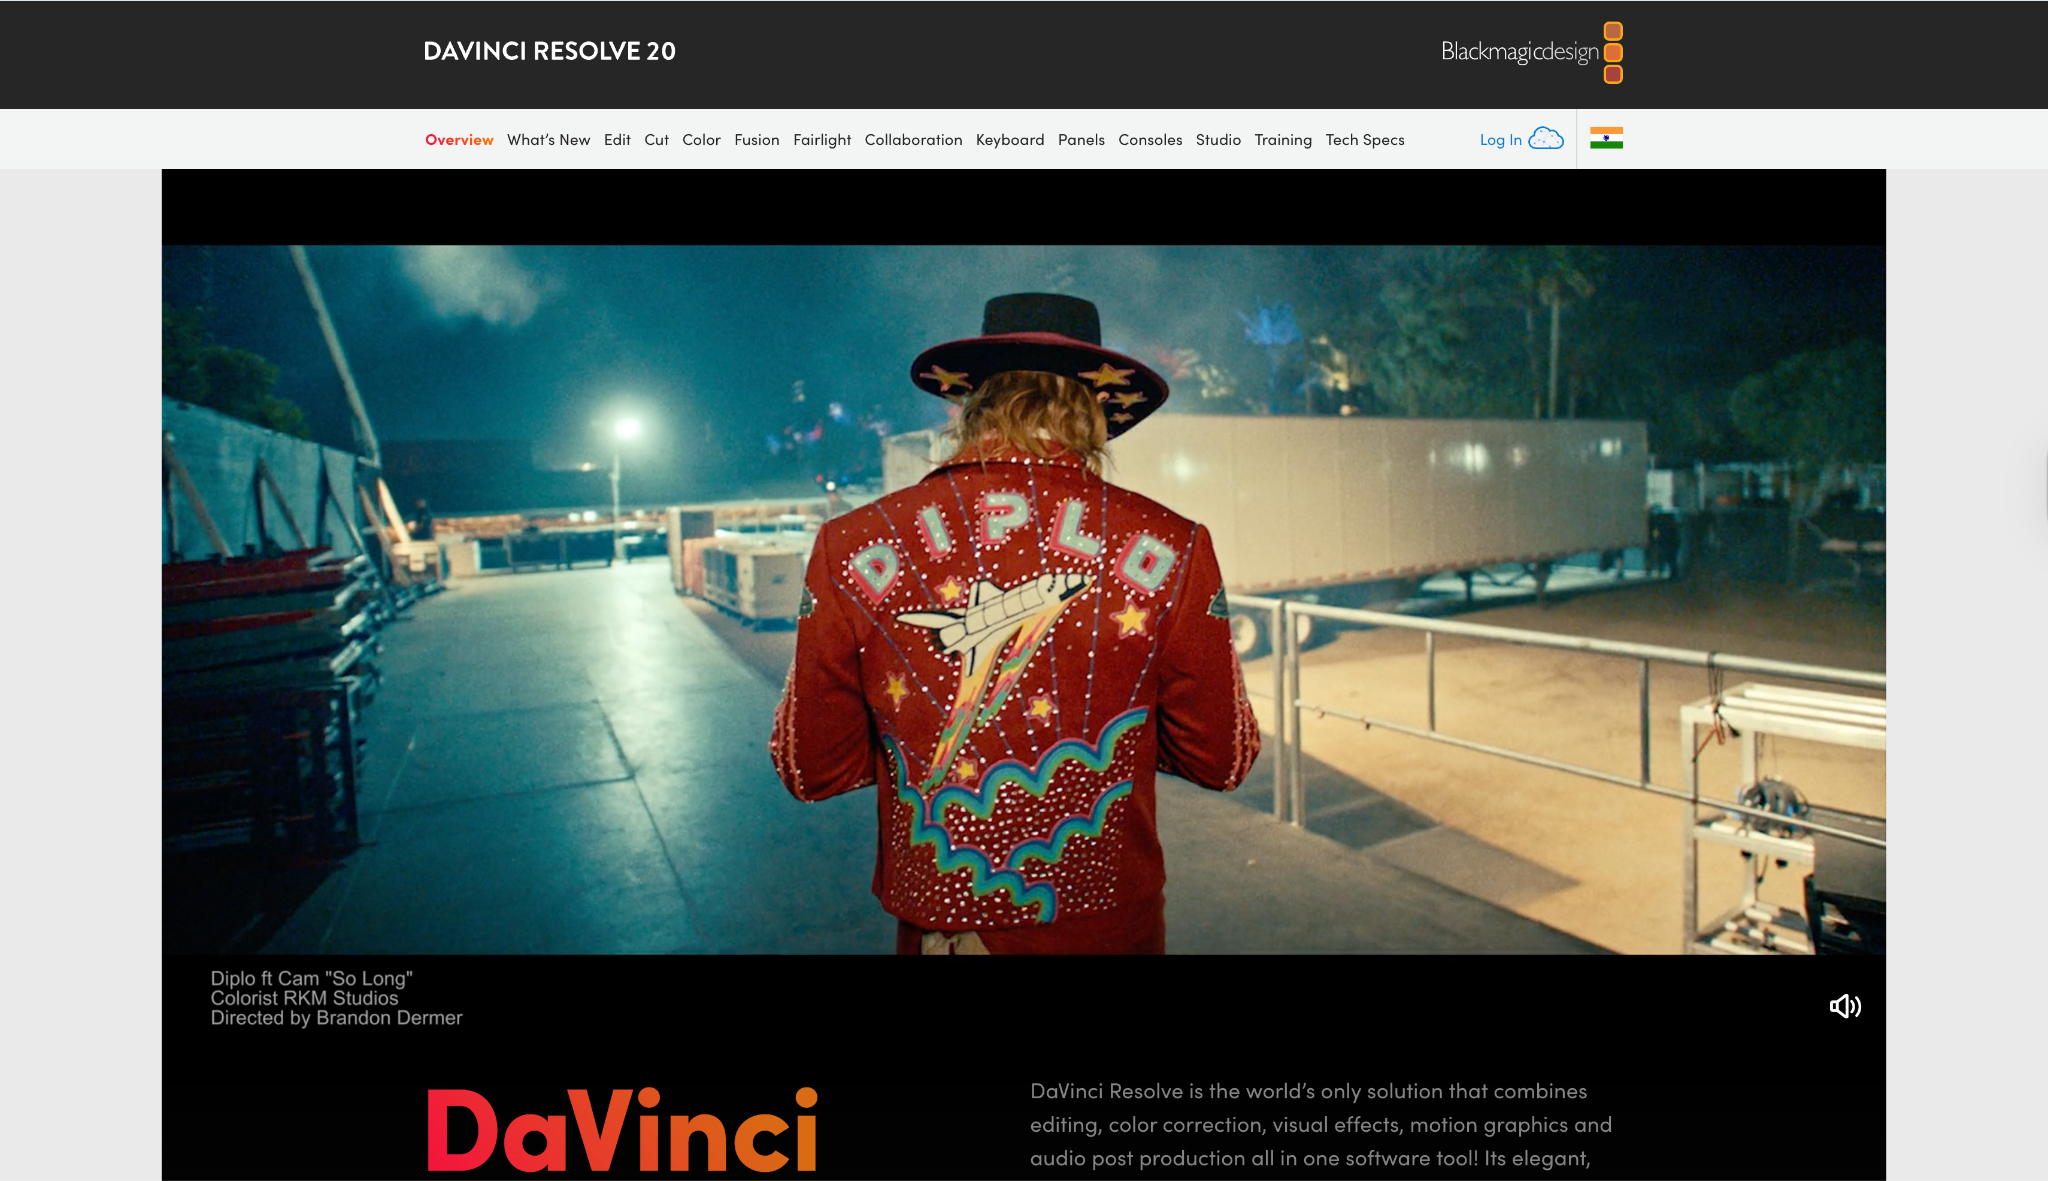
Key Features: Node-based grading workflow, Magic Mask (AI subject isolation), HDR color wheels, and the "Color Warper" for precise hue manipulation.
Platform: Windows, macOS, Linux
Best For: Professional colorists and aspiring filmmakers.
Pricing: Free (Standard); $295 (Studio One-time).
Our Verdict: If you are serious about a career in movie color correction, this is the tool to learn. It is overkill for a vlog, but essential for cinema.
2. Adobe Premiere Pro
Premiere Pro is the standard for commercial and agency work. Its "Lumetri Color" panel brings Photoshop-style sliders into video editing, making it powerful yet familiar.

Key Features: Lumetri Color panel, Auto Color (AI-powered by Adobe Sensei), and seamless integration with After Effects.
Platform: Windows, macOS
Best For: Marketing professionals and YouTubers with a budget.
Pricing: ~$22.99/mo (Subscription).
Our Verdict: It strikes a great balance. It's not as deep as Resolve, but it's faster for turning around commercial projects.
Best for Beginners
3. Wondershare UniConverter
For users who find color wheels intimidating, Wondershare UniConverter is a breath of fresh air. We tested the "Video Editor" module and found we could easily tweak brightness, contrast, and apply cinematic LUTs and effects manually. However, the real stunning feature was the AI Video Enhancer; its dedicated "Color Enhancement" model enabled us to correct video color in just one click, while the "General Denoise" and "Frame Interpolation" features instantly restored a low-res, grainy clip into a smooth 4K video.
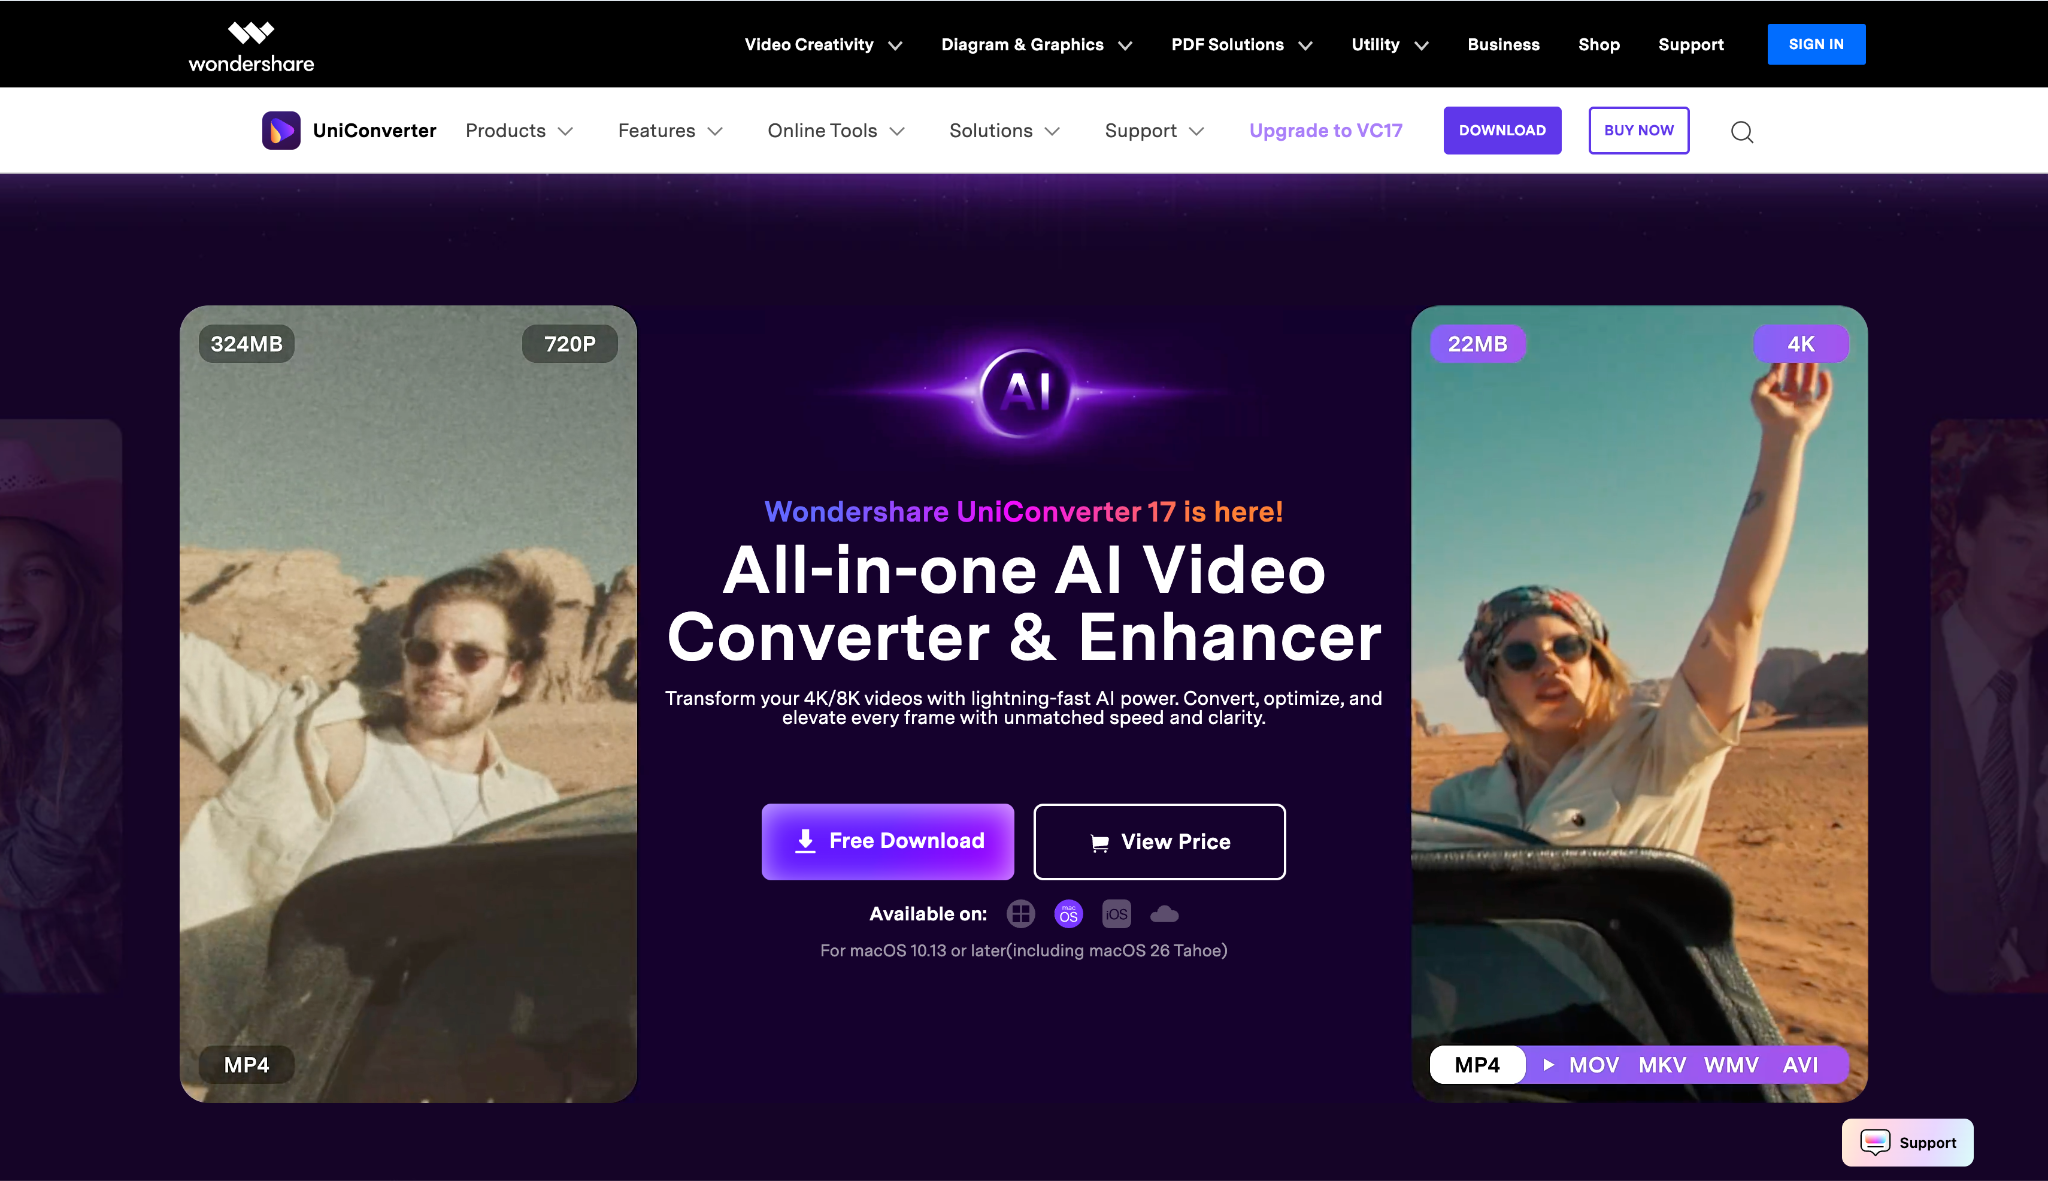
Key Features: Video Editor (Manual sliders + LUTs), AI Video Enhancer (Quality Restoration, Denoise, Frame Interpolation, Face/Animation Enhancement).
UniConverter Video Color Corrector
Platform: Windows, macOS, Online and also available on iOS (as AniSmall)
Best For: Beginners, educators, and creators who need to clean up footage quickly without learning editing theory.
Pricing: Free Trial; Perpetual & Annual plans available.
Our Verdict: This is the most efficient choice for non-editors. If you have grainy, dark footage and want it fixed in one click, UniConverter is your best bet.
4. Wondershare Filmora
Filmora bridges the gap between simple apps and pro software. We were particularly impressed by the "Color Match" tool, which successfully matched iPhone footage to a professional camera clip in just two clicks, saving hours of manual tweaking.
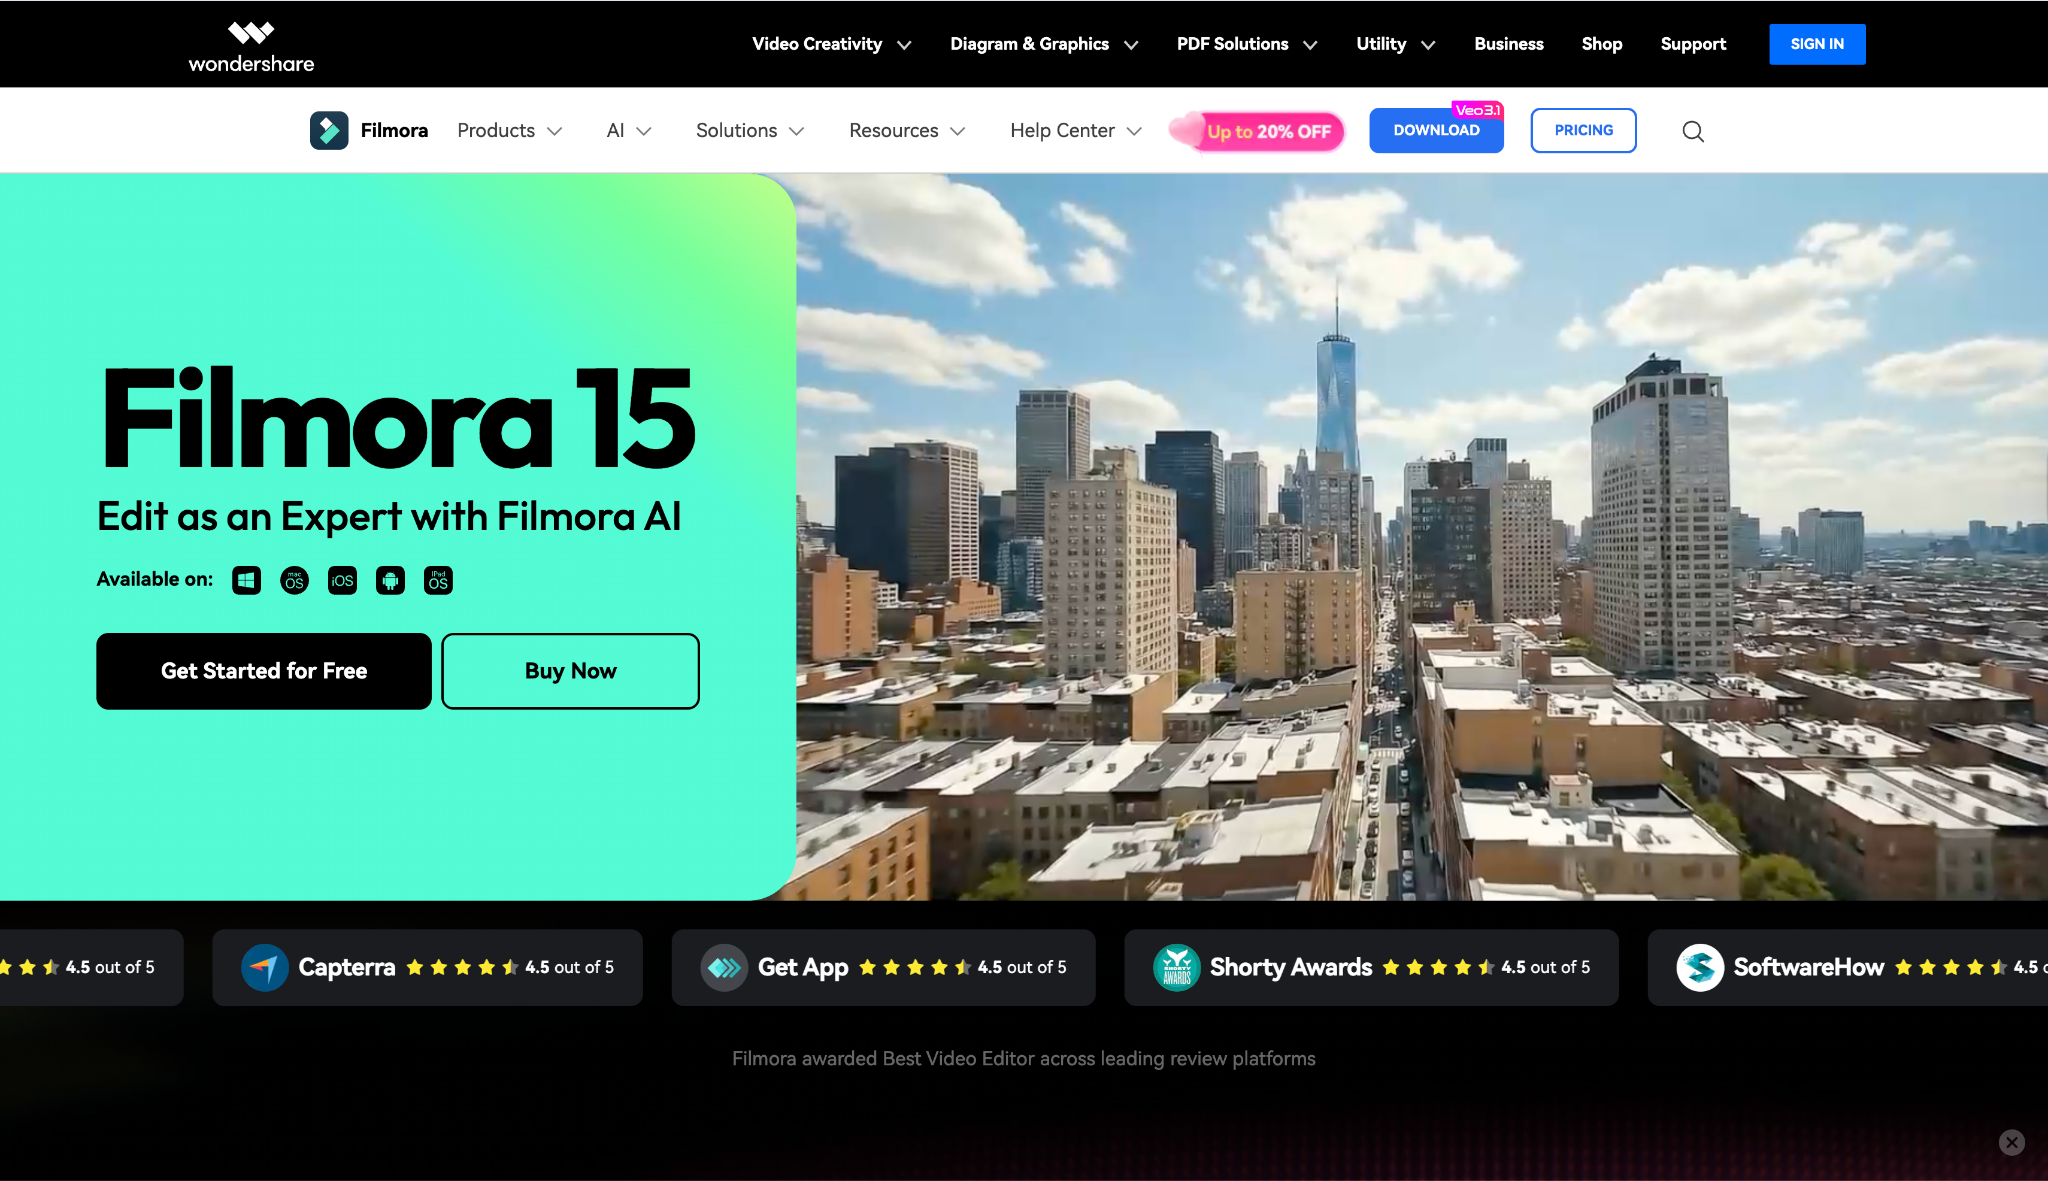
Key Features: "Color Match" tool (copies the look of one clip to another), 3D LUT support, and over 200+ creative filters.
Platform: Windows, macOS
Best For: Hobbyists and social media influencers.
Pricing: Subscription or Perpetual license.
Our Verdict: A fantastic middle-ground. It bridges the gap between simple phone apps and complex desktop software color correction.
Best Plugins
5. Red Giant Magic Bullet Colorista
If you are stuck with a basic editor but want pro colors, this plugin is the answer. It plugs directly into software like Premiere Pro.
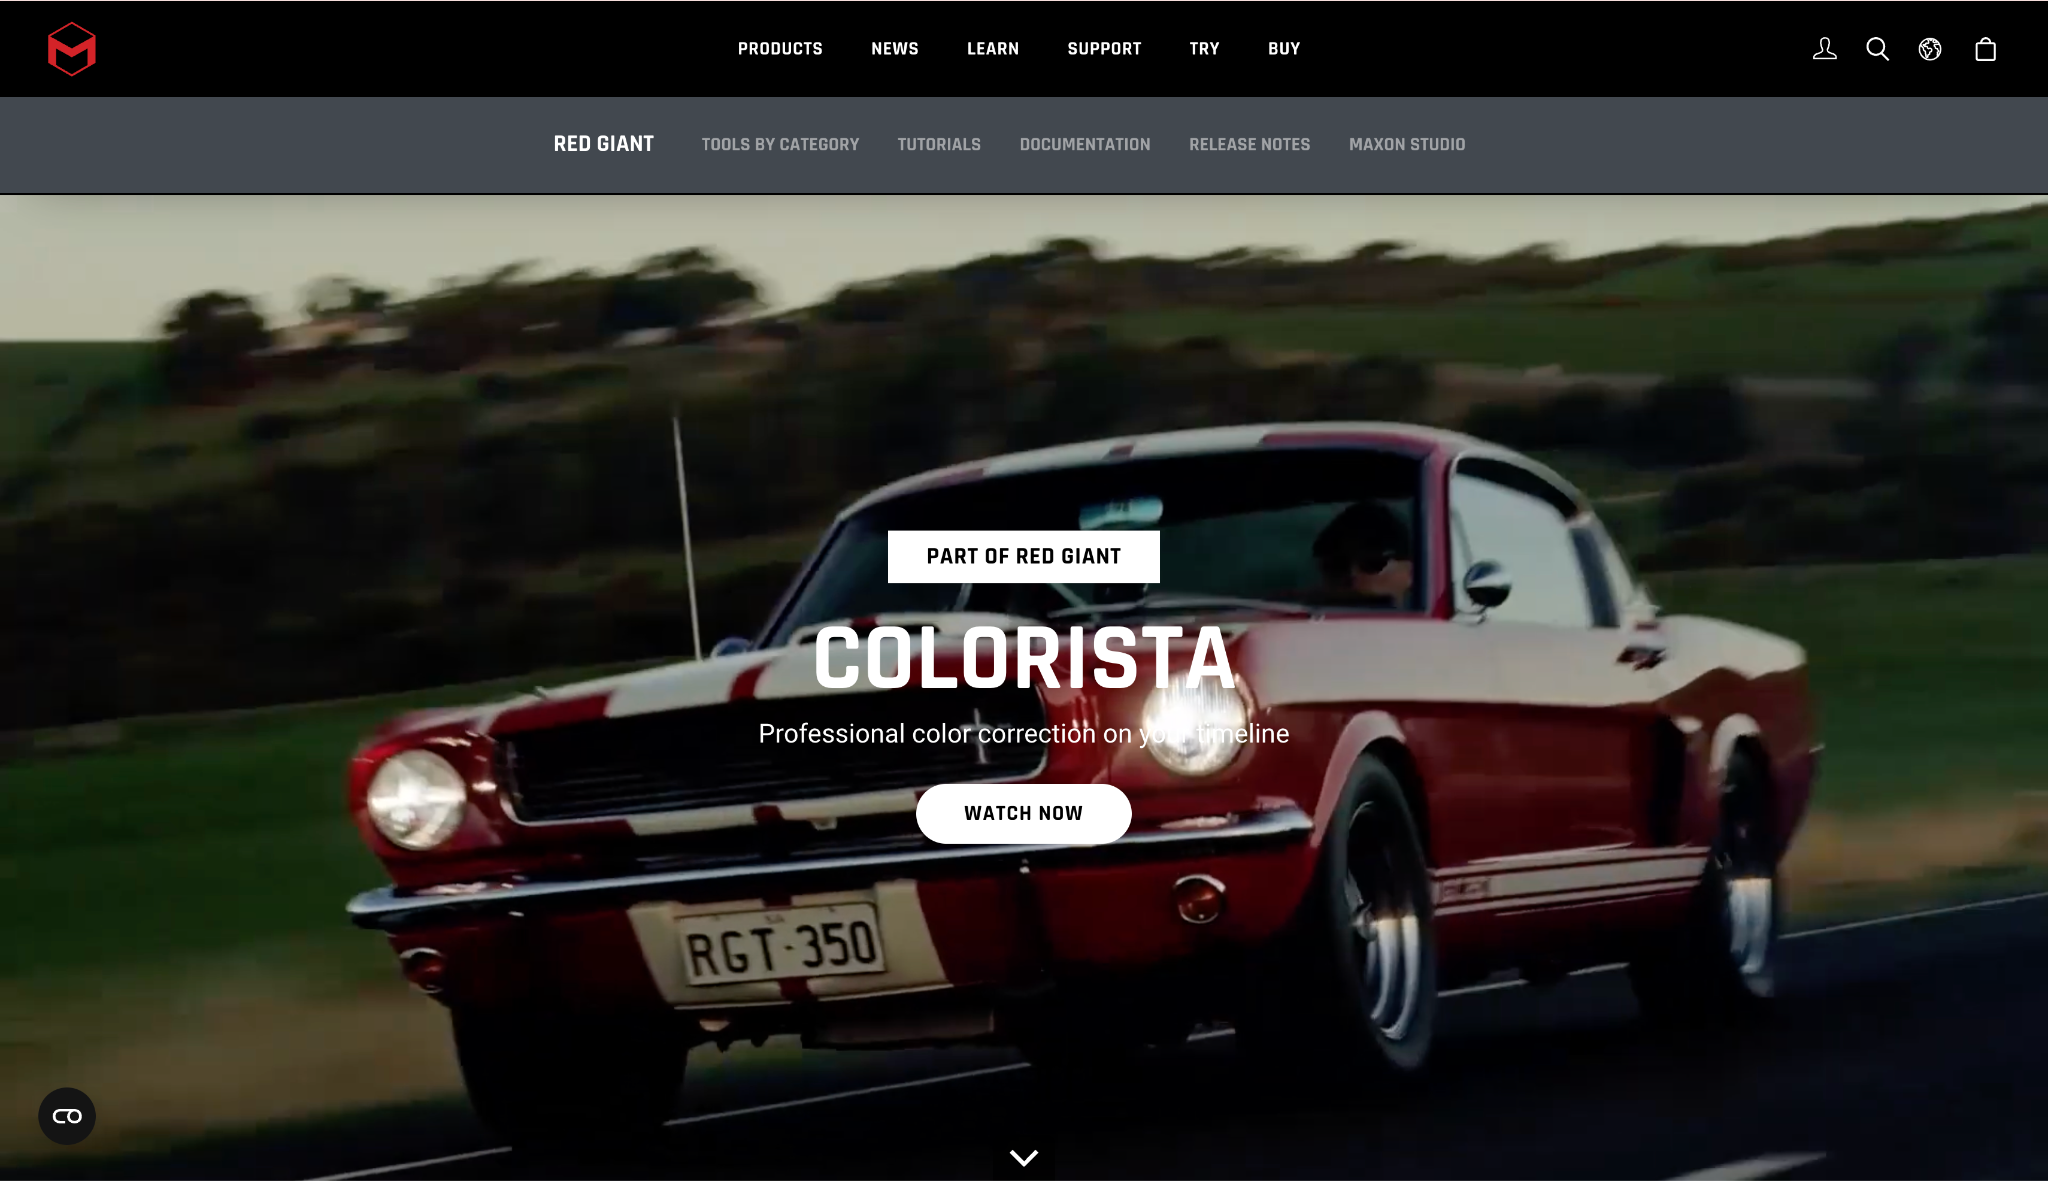
Key Features: 3-Way Color Corrector, Guided Color Correction wizard, and skin tone smoothing.
Platform: Plugin for Adobe/Apple hosts.
Best For: Editors who want Hollywood looks inside their existing timeline.
Pricing: Part of the Maxon One subscription.
Our Verdict: Essential for Adobe users who feel limited by the native Lumetri tools.
6. FilmConvert Nitrate
This plugin has one job: making digital video look like color correction film. It uses data from real camera sensors to emulate specific film stocks.
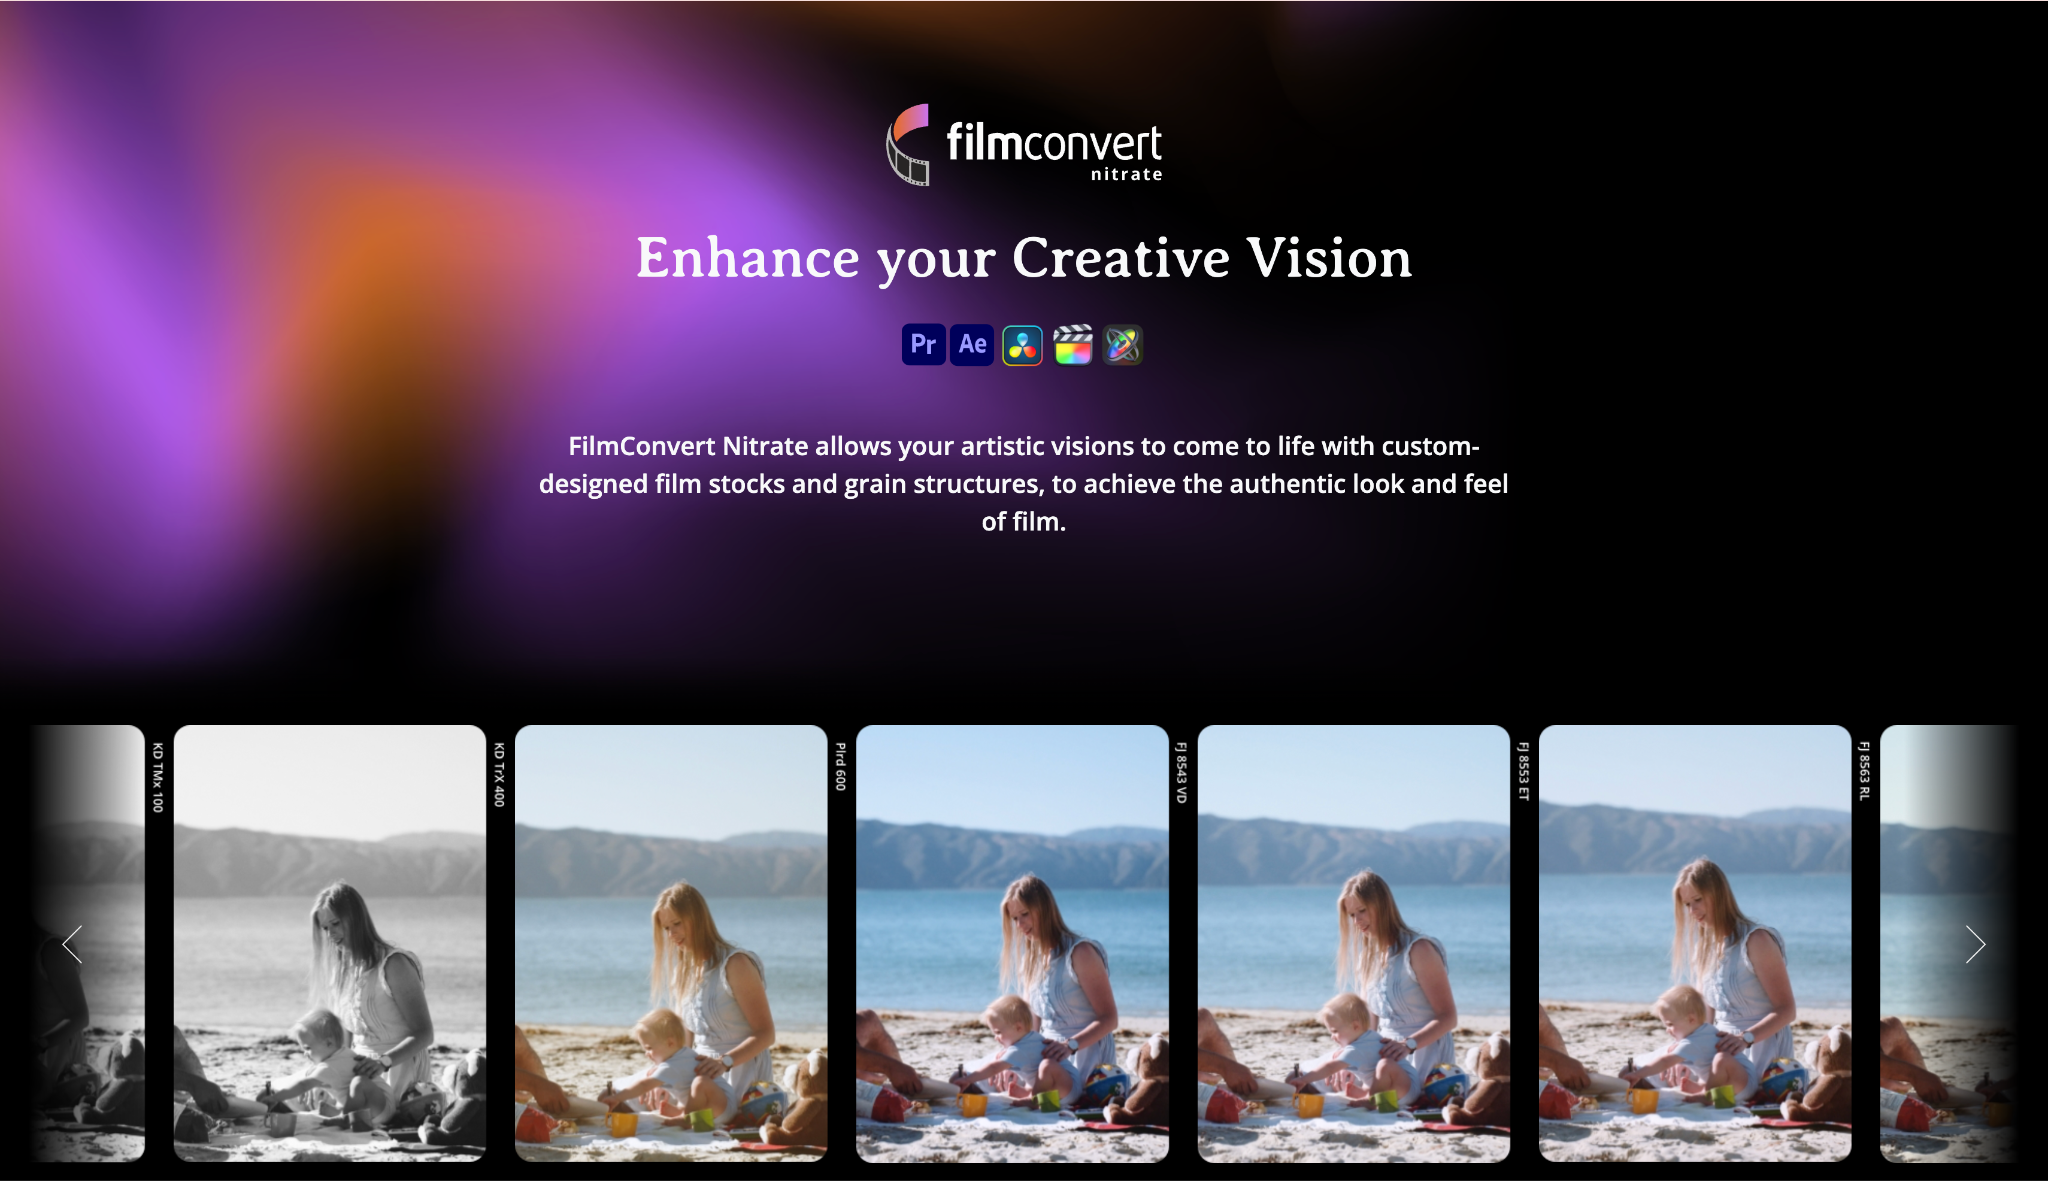
Key Features: 19 film stock emulations, real grain generation, and camera-specific profiles.
Platform: Plugin for major NLEs.
Best For: Filmmakers wanting a vintage or cinematic aesthetic.
Pricing: ~$119 (One-time).
Our Verdict: The quickest way to get the "cinema look" without grading from scratch.
Best Online Tools
7. CapCut Online
We tested this web-based editor and were shocked by the "Smart HDR" feature, which instantly recovered details in dark video. For a free tool, its speed and library of trend-focused filters are unbeatable.
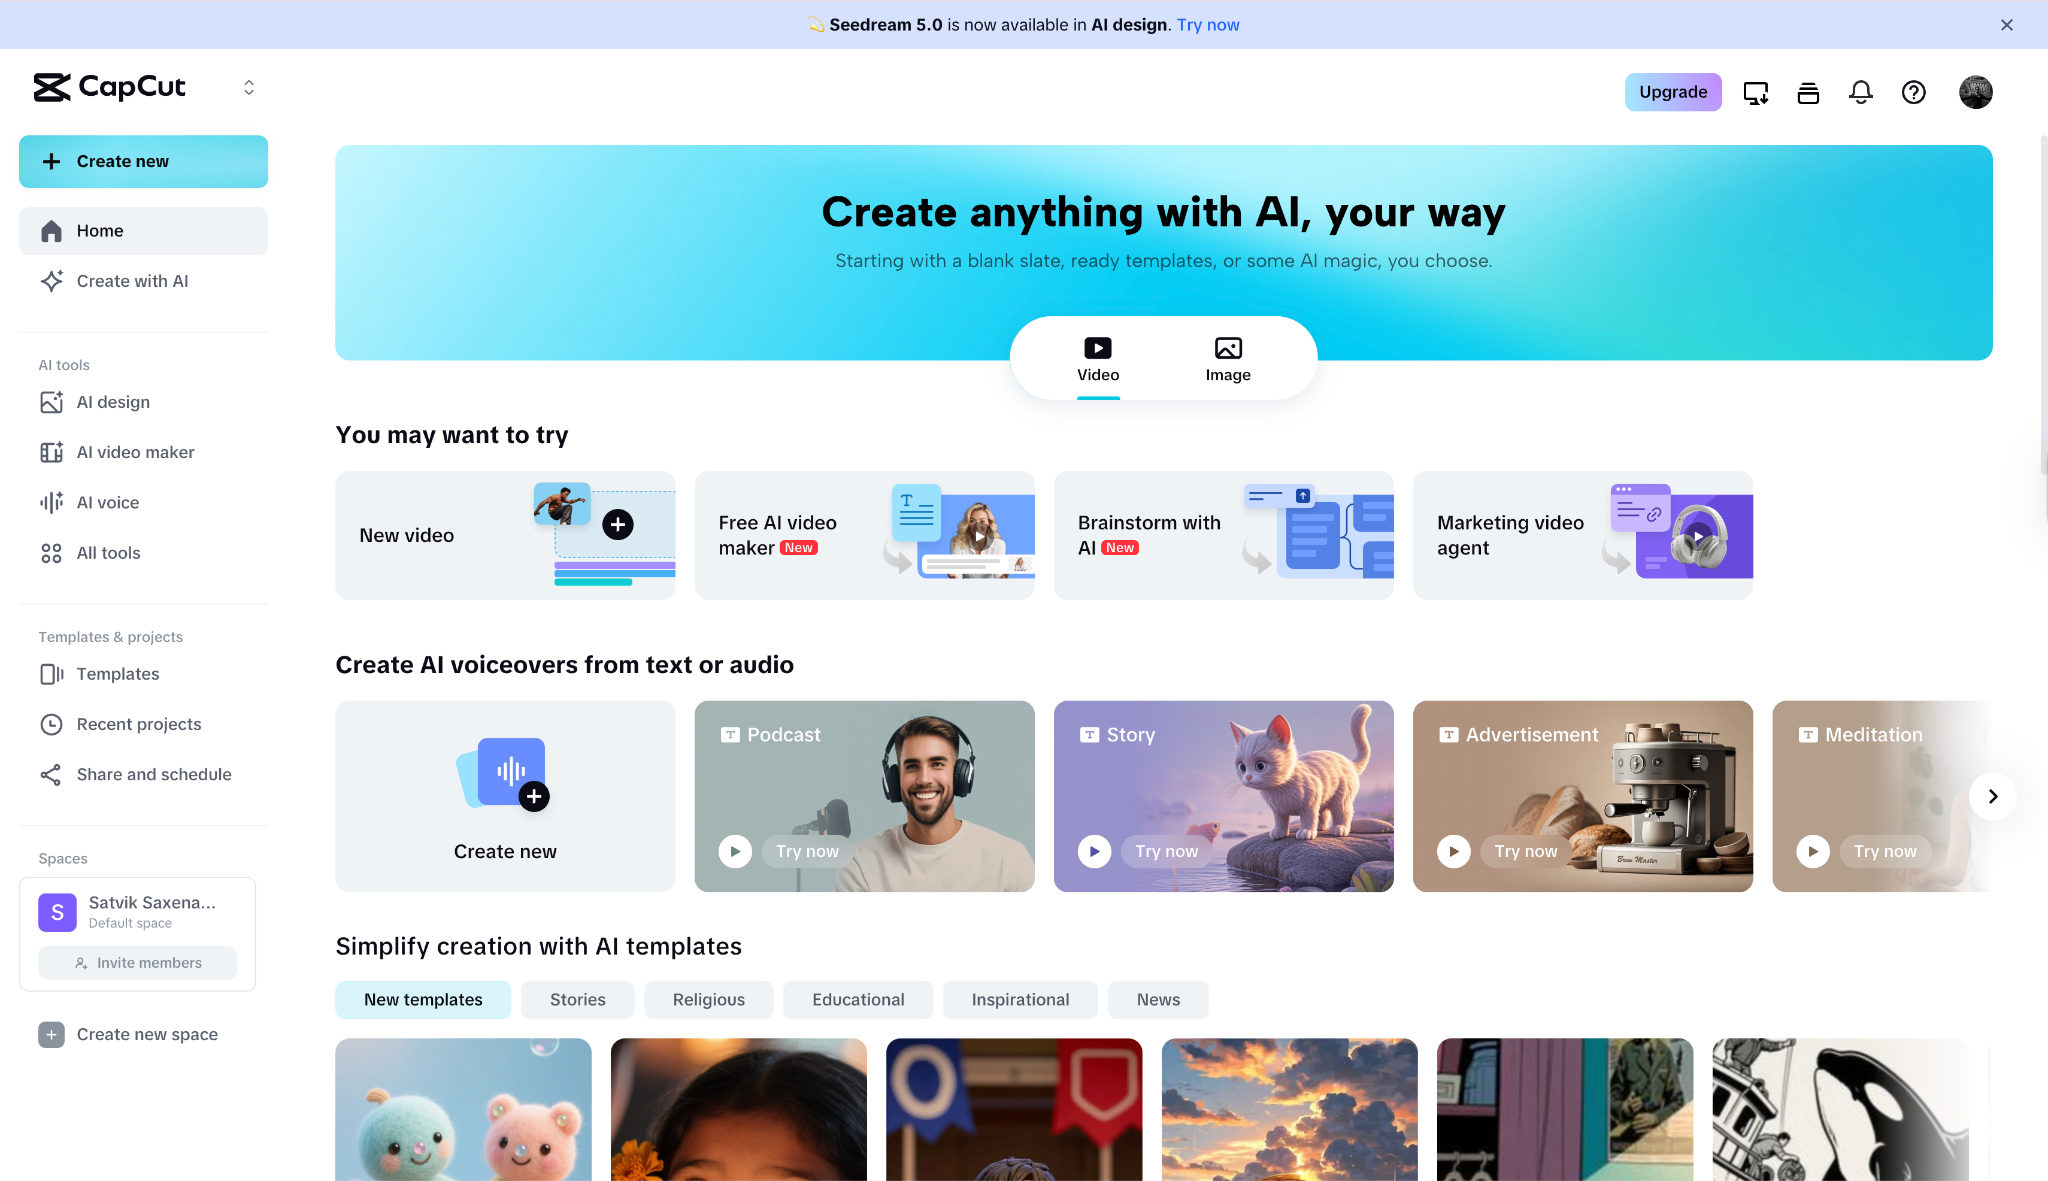
Key Features: Smart HDR, HSL (Hue/Saturation/Lightness) adjustments, and trendy filters.
Platform: Web / Desktop / Mobile
Best For: Viral social media content.
Pricing: Free (Pro features paid).
Our Verdict: The king of fast, trendy editing. Perfect for Gen Z creators.
8. Flixier
A cloud-powered editor that focuses on speed. It processes video on their servers, not your computer. We edited 4K video on an old laptop without lag, making it perfect for quick fixes on slow hardware.
Key Features: Simple sliders for Vibrance, Gamma, and Gain; real-time cloud rendering.
Platform: Web Browser
Best For: Business presentations and quick social clips.
Pricing: Free (limited) & Subscription.
Our Verdict: Great for quick fixes when you aren't at your main computer.
Best Mobile Apps
9. VSCO
Originally for photos, VSCO is now a powerhouse for video. We applied the "C1" preset, and the "Film X" engine emulated real film response to light, giving a soft, organic feel that other apps miss.
Key Features: Film-emulation presets (Kodak/Fuji), HSL control, and Fade tool.
Platform: iOS, Android
Best For: Instagram aesthetics and lifestyle vlogs.
Pricing: ~$29.99/year.
Our Verdict: If you want a color correction app that makes videos look like high-end film photography, use this.
10. VN Video Editor
With Adobe discontinuing Rush, VN Video Editor has taken the crown as the best all-around mobile editor. We were genuinely surprised by its professional "Filter" tab, which offers Curves and HSL tools usually reserved for desktop software. This allows you to isolate and adjust specific colors—like making grass greener without turning skin orange—right on your phone.
Key Features: Professional HSL color tools, Curve adjustments, LUT import support, and multi-track editing.
Platform: iOS, Android, Windows, and macOS
Best For: Vloggers and creators who need pro color control on a phone.
Pricing: Free / Pro Subscription.
Our Verdict: The perfect replacement for Premiere Rush. It offers desktop-grade color features in a mobile-friendly interface.
Part 3. Comparison Table of Top 10 Video Color Correctors (2026)
| Software | Best For | Difficulty | AI Color/Enhance Features | Price |
| DaVinci Resolve 20 | Professionals / Movies | High | Yes (Magic Mask, Face Refinement, Auto Color) | Free / $295 One-time |
| Adobe Premiere Pro | Agencies / Marketing | Medium | Yes (Auto Color, Auto Tone, Face Detection) | ~$22.99/mo (Sub) |
| UniConverter | Beginners / Restoration | Low (Easiest) | Yes (AI Video Enhancer, Denoise, Face Enhance, LUTs Presets) | Free Trial / ~$49.99/yr |
| Wondershare Filmora | Creators / Hobbyists | Low-Medium | Yes (AI Color Match, AI Smart Cutout) | ~Free / $69.99/yr |
| Magic Bullet Colorista | Pro Results in Premiere | Medium | No (Guided Color Correction Wizard) | Red Giant starts with ~$ 53.25/mo (annual plan) |
| FilmConvert Nitrate | Film Looks / Vintage | Medium | No (Sensor Matching Technology) | ~$139 (Plugin) |
| CapCut Online | Social Trends / TikTok | Low | Yes (AI Color Correction, Smart HDR) | Free / ~$19.99/mo |
| Flixier | Business / Quick Edits | Low | Yes (AI Image Enhancer) | Free / ~$23/mo |
| VSCO | Mobile Aesthetics | Low | No (Film Emulation Engine) | ~$29.99/yr |
| VN Video Editor | Mobile / Pro Control | Low-Medium | No (Manual Curves & HSL) | Free / Pro Sub |
Conclusion
Color correction software is the secret sauce that turns amateur footage into professional-looking content. It bridges the gap between what your camera sees and what your artistic vision demands.
For quick social posts, mobile apps like VSCO or CapCut work amazingly well.
For aspiring filmmakers aiming for Hollywood status, learning DaVinci Resolve is a must.
However, for high-quality color correction for movies or YouTube vlogs where speed and quality must balance, a dedicated desktop tool like Wondershare UniConverter offers the best solution.
If you want an effective and user-friendly solution, Wondershare UniConverter stands out as an excellent choice. It gives you the flexibility of manual sliders for brightness and saturation, along with powerful AI Video Enhancer features like frame interpolation and face enhancement. You can enjoy your content as it was meant to be seen—vibrant and clear. Start using the best video color corrector today and elevate your content!

