

Blurry, low-resolution images can weaken your visual impact—whether you're posting on social media or designing for print. Fortunately, in 2025, a range of free tools now let you upscale images across devices without needing pro-level skills. These AI-powered solutions improve resolution, sharpness, and clarity within seconds. Whether you're on mobile, web, or desktop, this guide walks you through the easiest ways to upscale images for free—no watermarks, no complications.
In this article
Part 1: How to Upscale Images Free on PC
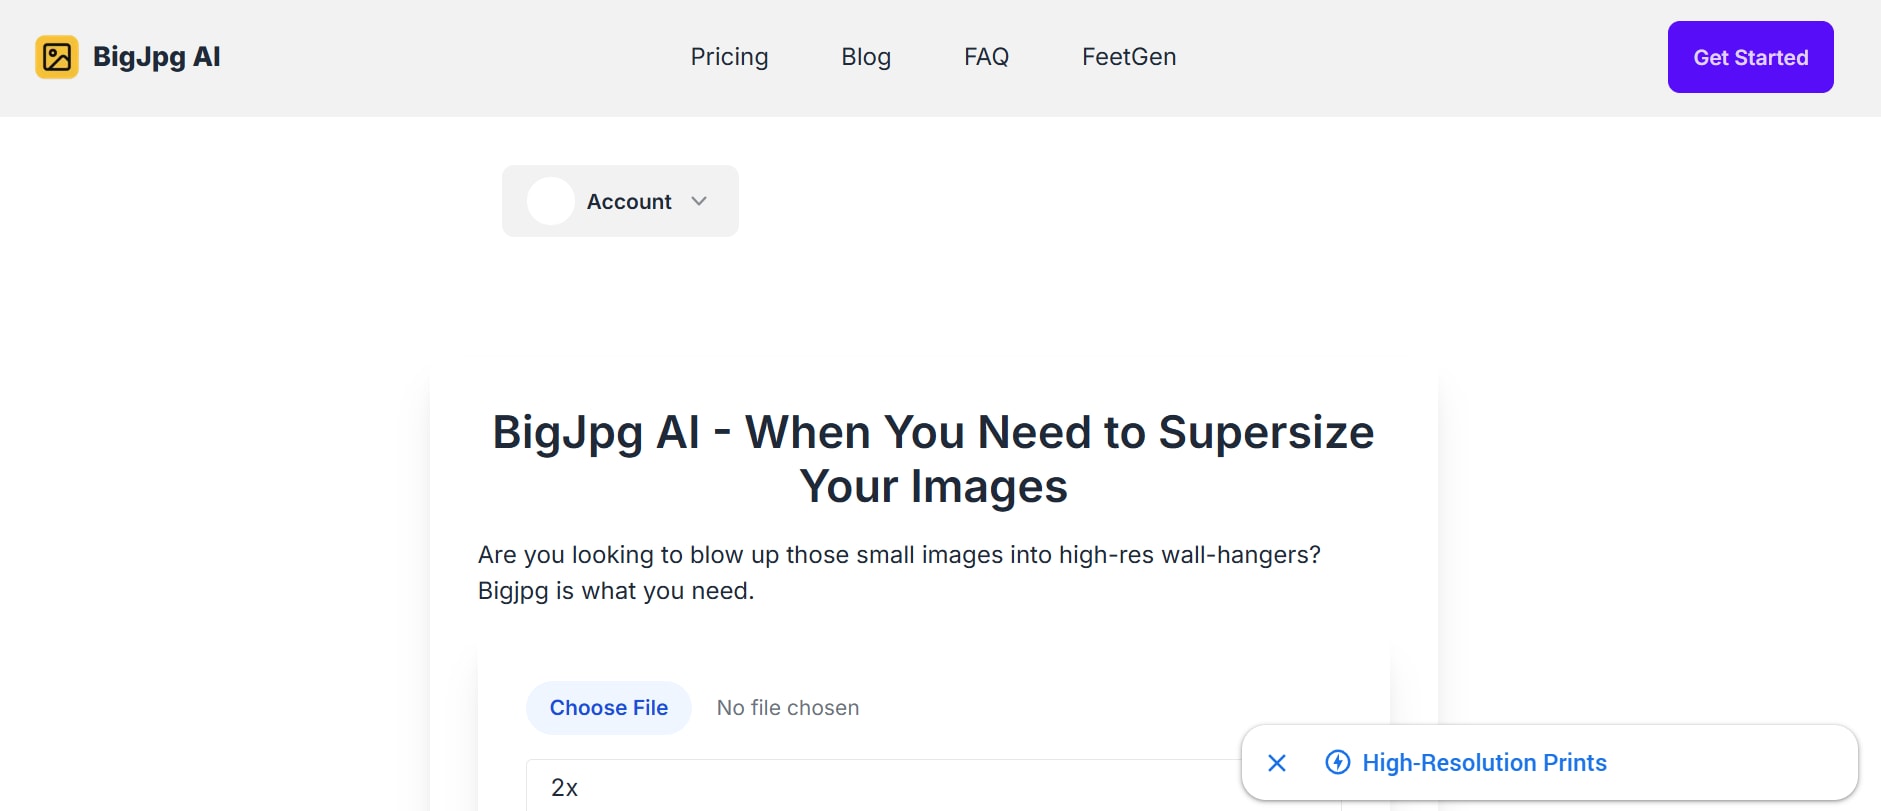
BigJPG
For PC users who want high-quality image enlargement with clean details and no noise, BigJPG is an excellent browser-based solution. It uses deep convolutional neural networks to upscale photos and illustrations while reducing blur and artifacts. Especially effective for logos, digital art, and anime-style graphics, BigJPG supports both JPG and PNG formats. Users can enhance up to 4× in the free plan without visible distortion. It’s a go-to choice when you need quick, quality upgrades right from your desktop.
Key Features:
- AI-based upscaling tailored for illustrations and photos
- Free upscaling up to 4× with noise reduction
- Supports PNG and JPG file formats
- No software installation required — works in-browser
- Retains edge clarity and soft gradients without pixelation
Step-by-Step: How to Use BigJPG on PC
Step 1: Go to the BigJPG Website
Open your preferred web browser and navigate to bigjpg.com. You'll see a simple upload interface on the homepage—no login required for basic usage. This setup makes it fast and accessible for anyone looking to enhance visuals on the fly.
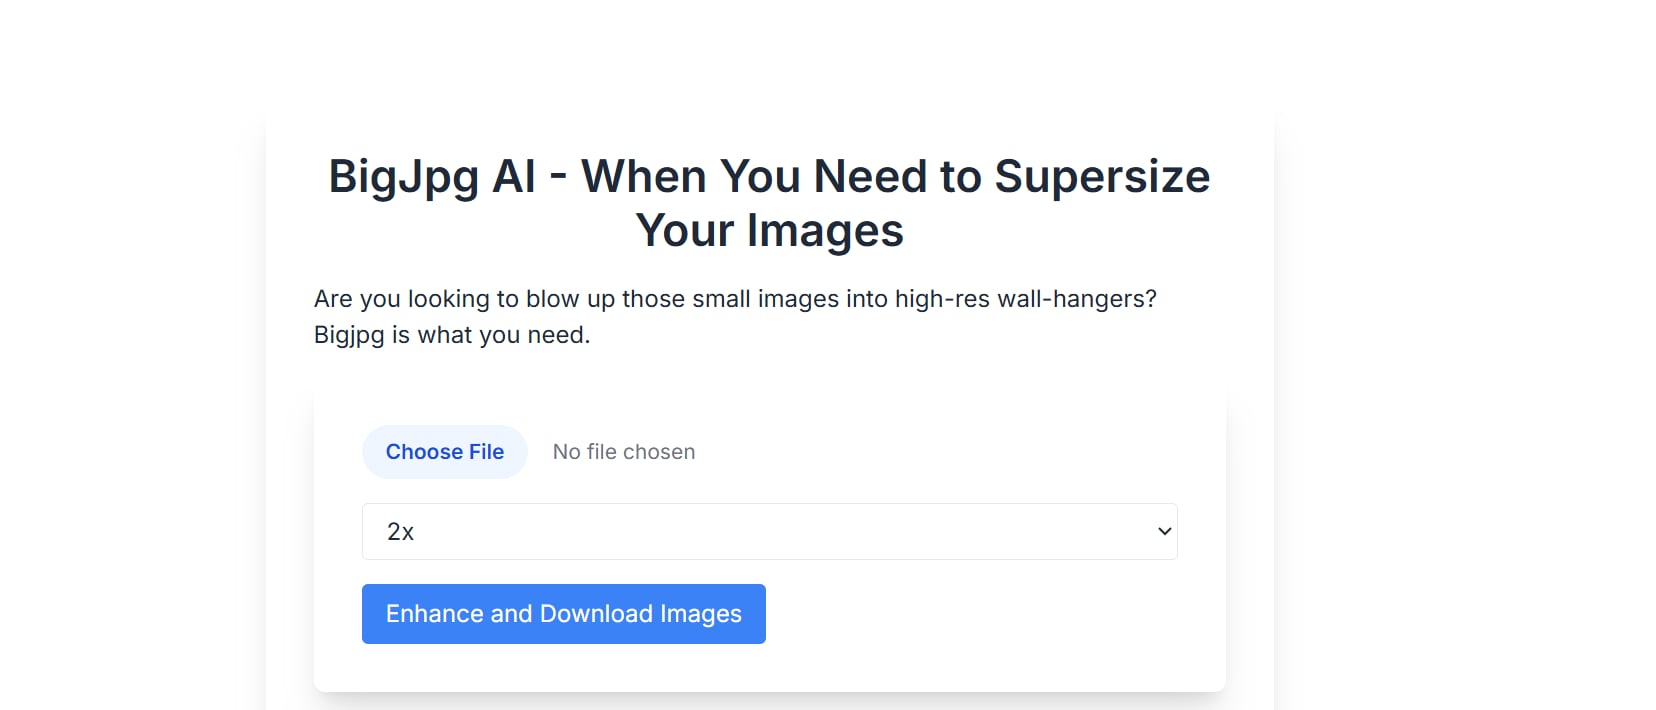
Step 2: Upload and Configure Your Image
Click the “Select Images” button and upload your JPG or PNG file from your computer. Next, choose your preferred image type (photo or illustration), scale ratio (2× or 4×), and noise reduction level. These options help the AI optimize output based on the type of visual you’re working with.
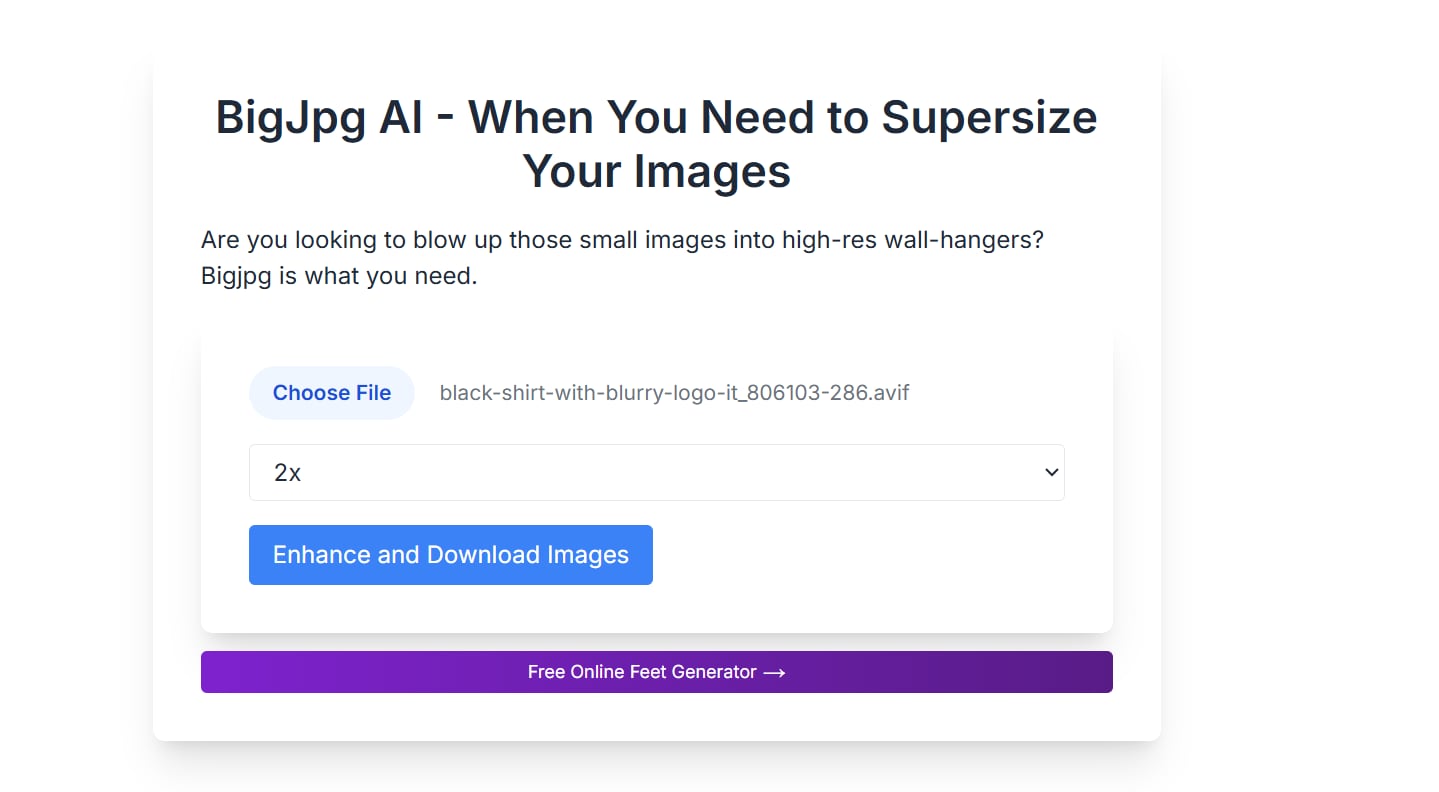
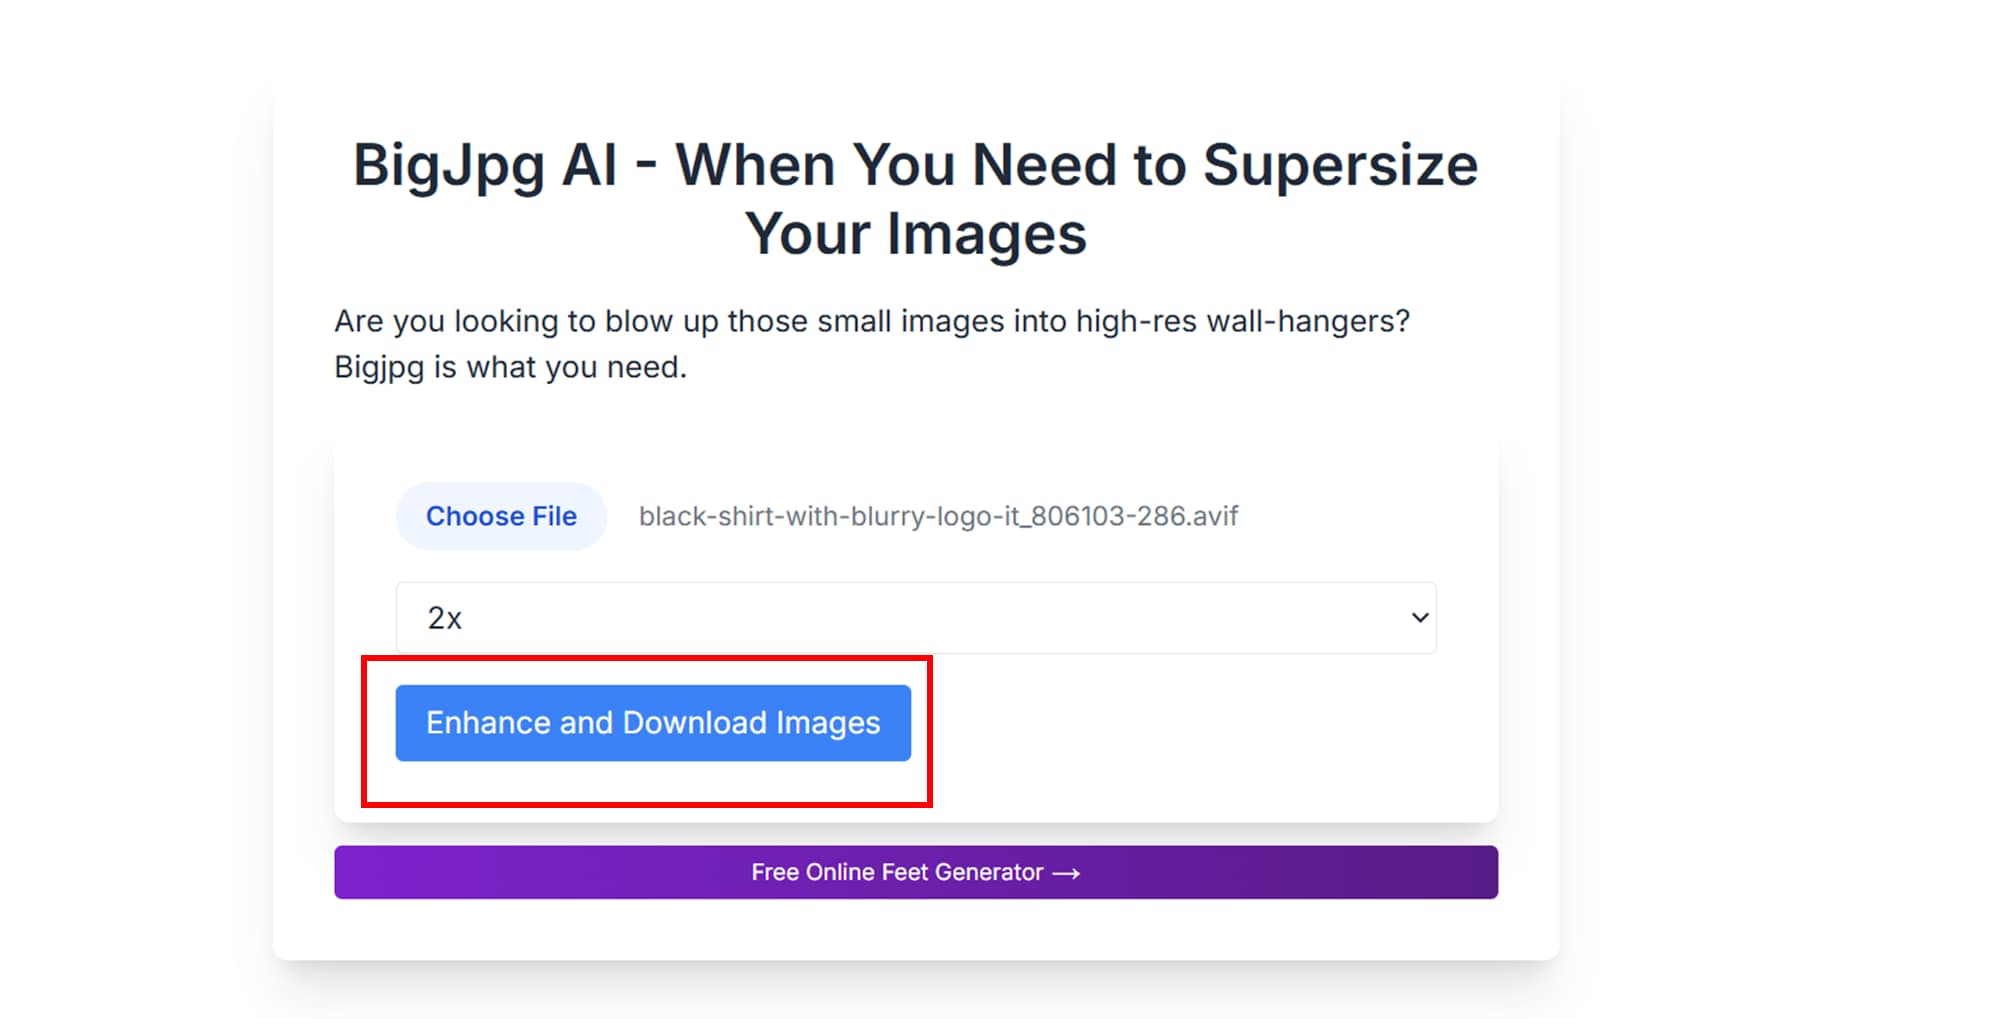
Step 3: Enhance and Download the Image
Once your settings are confirmed, click “Start” to begin processing. The AI will upscale the image and reduce noise automatically. When it's done, a download link will appear—simply click it to save your high-res, watermark-free image to your PC.
Part 2: How to Upscale Pictures with Free Online Tool
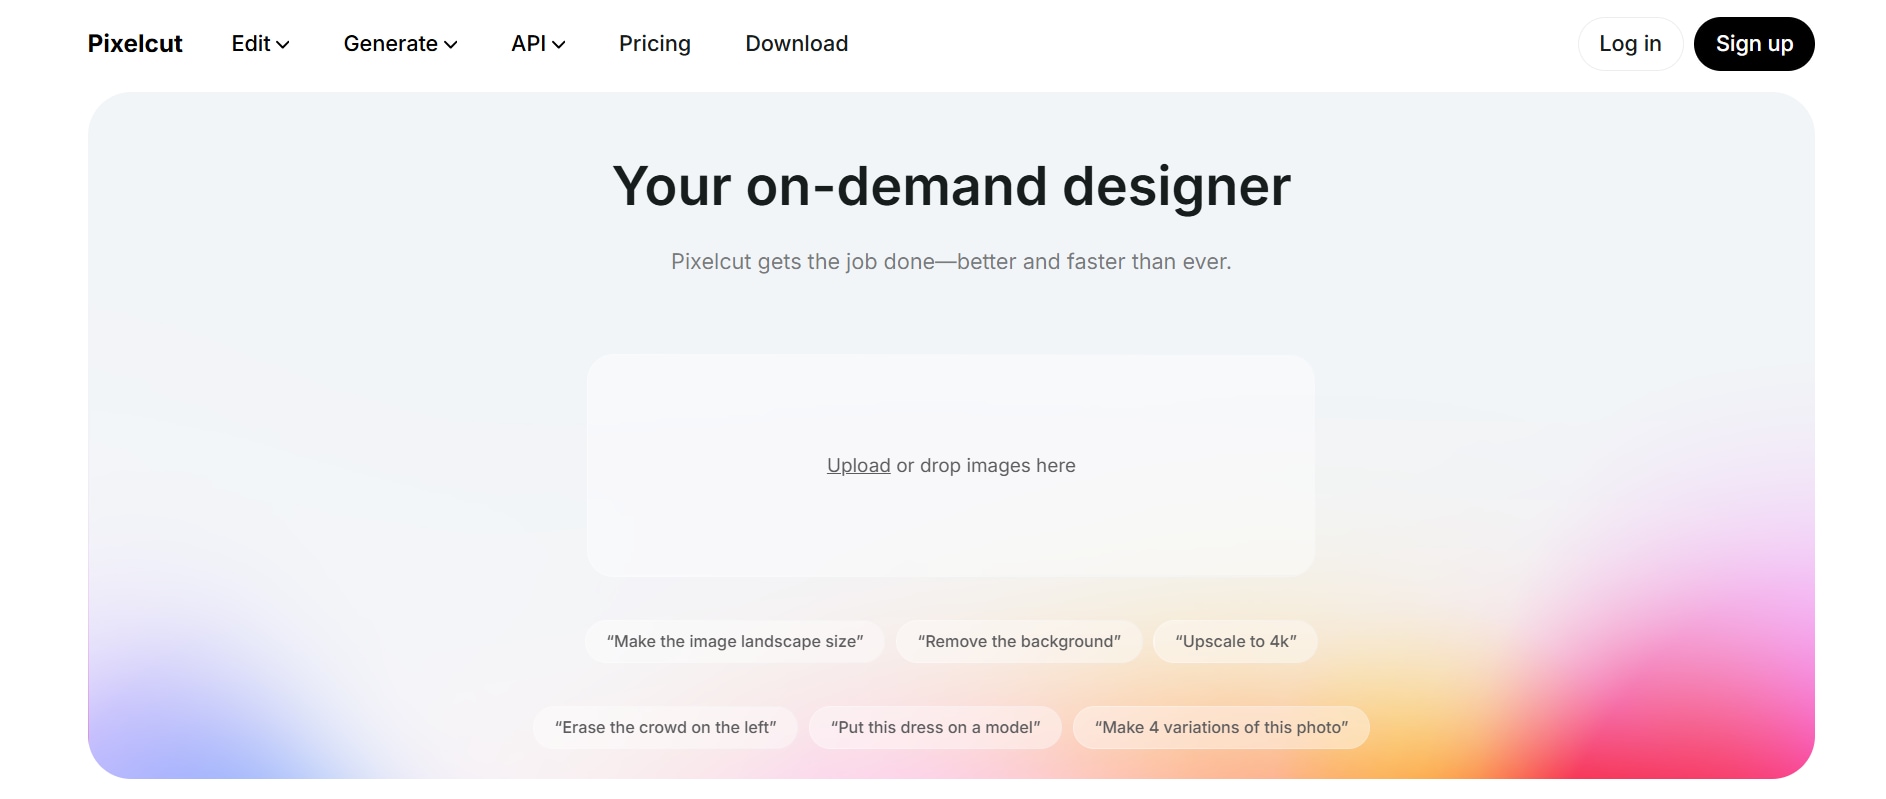
Pixelcut’s AI Image Upscaler
If you're looking for a clean, fast, and ad-free way to upscale pictures online, Pixelcut’s AI Image Upscaler is a smart pick. This free web tool uses AI to instantly enhance resolution while keeping your image crisp and natural—perfect for eCommerce, social posts, and portfolio visuals. No login is required, and it supports standard file formats like JPG and PNG. It’s especially useful for creators who want high-quality results without complexity. The interface is minimalist, making the process feel effortless even for beginners.
Key Features:
- Free AI-powered upscaling with no watermark
- Supports JPG and PNG file types
- Automatically removes blur and enhances edge clarity
- Works directly in the browser—no sign-up or install
- Suitable for product photos, social content, and portraits
Step-by-Step: How to Use Pixelcut AI Image Upscaler
Step 1: Visit the Pixelcut Upscaler Page
Open your browser and go to pixelcut.ai/upscaler. You’ll land directly on the tool’s upload screen—no ads, pop-ups, or unnecessary options. The platform is clean and user-friendly, ideal for quick enhancements.
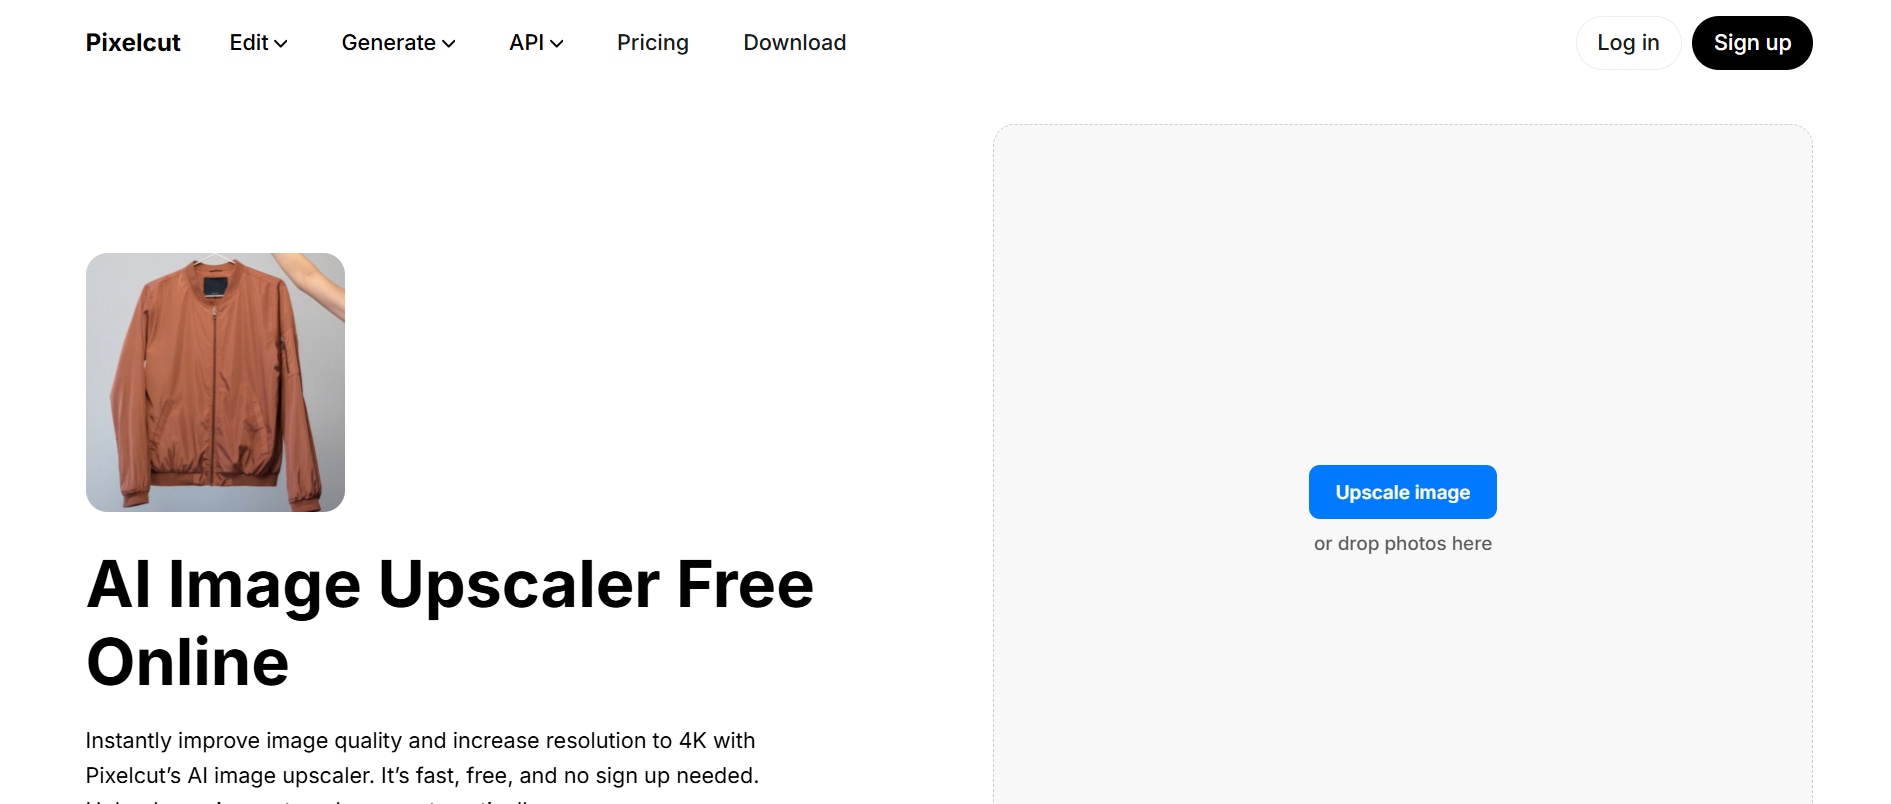
Step 2: Upload Your Picture
Click “Upload Image” and select your file from your device (JPG or PNG). The AI will immediately start processing and upscale the resolution, improving clarity and smoothness without damaging the original structure. You’ll see a side-by-side preview for comparison.
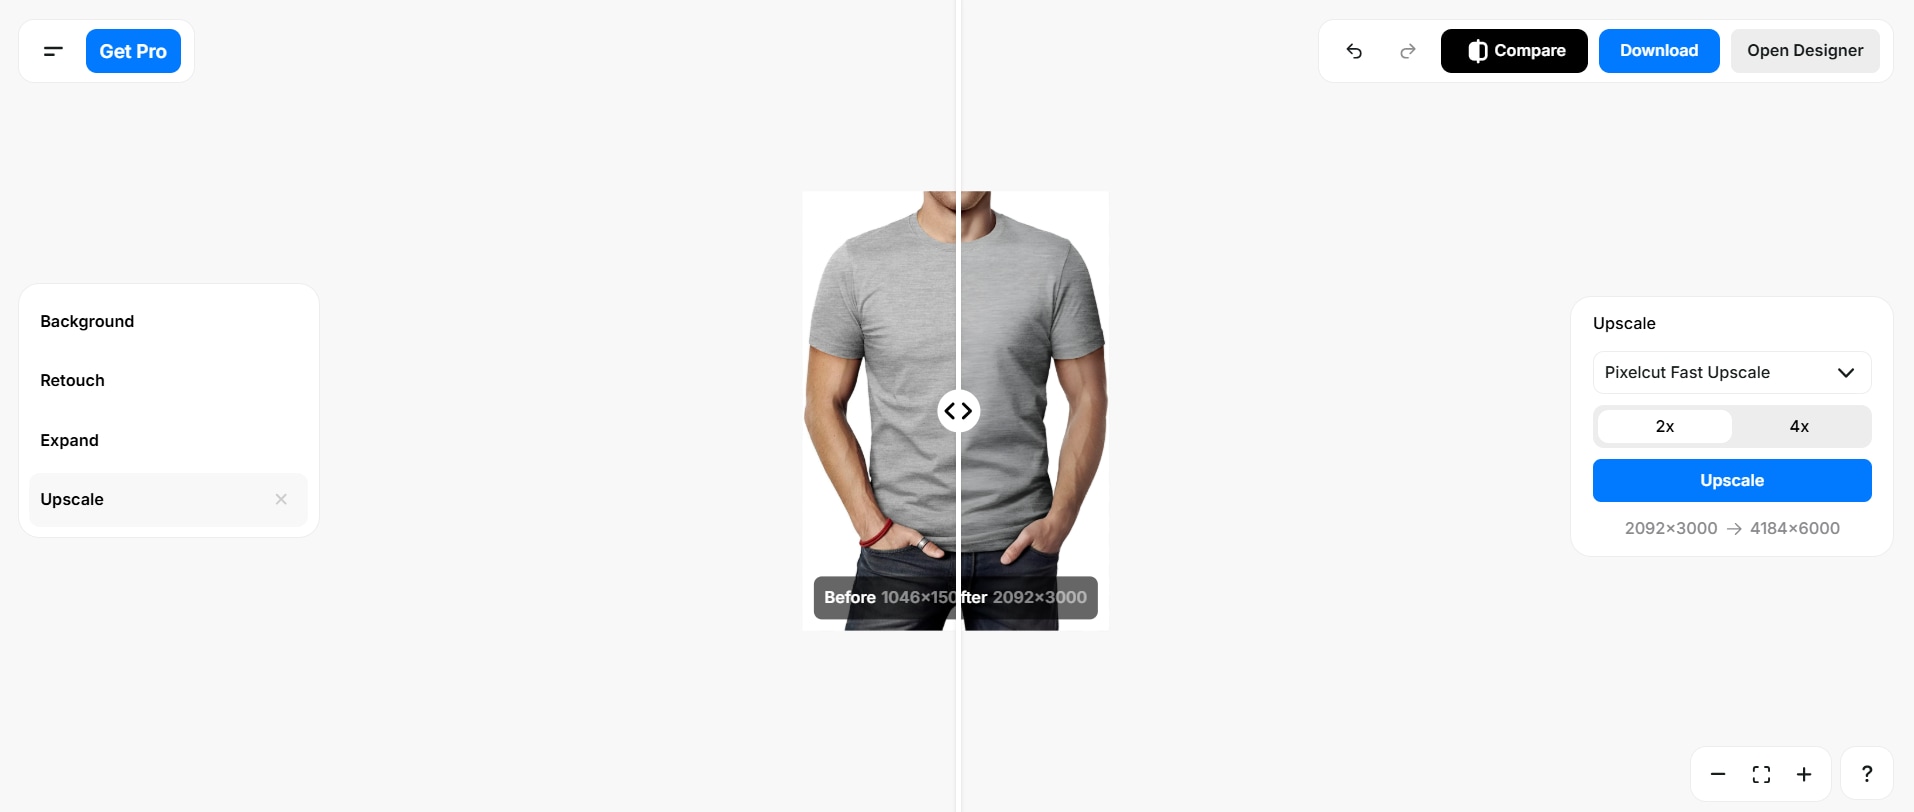
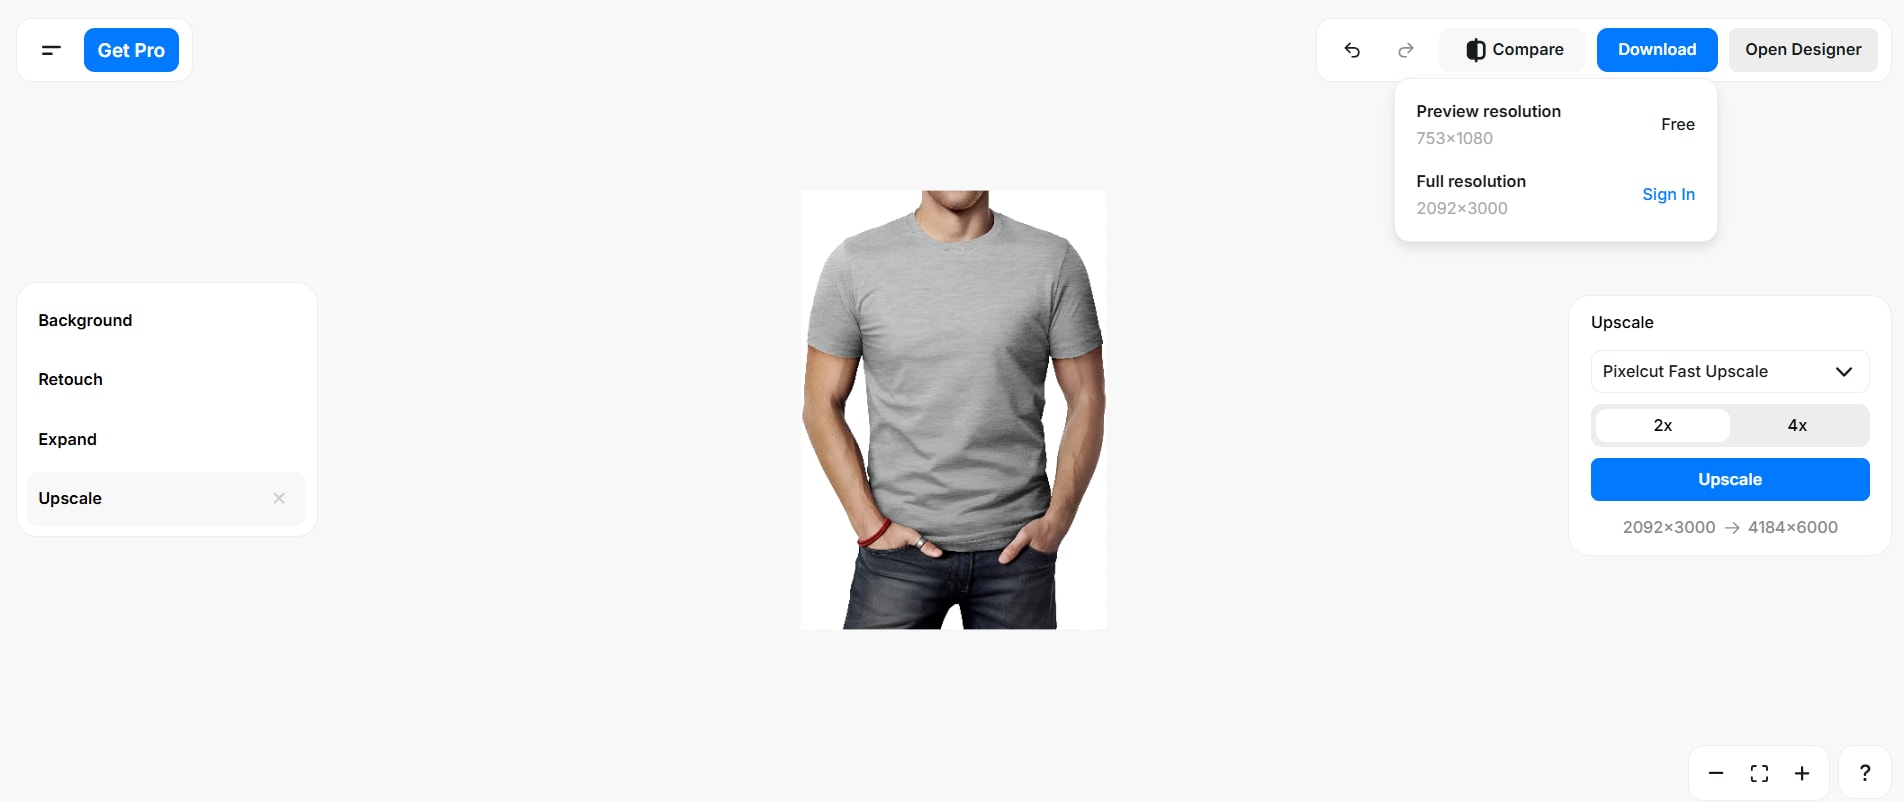
Step 3: Download the Enhanced Image
Once the enhancement is complete, click the “Download” button to save your high-resolution picture. The image will be watermark-free and ready for use across web, print, or digital platforms—all in under a minute.
Part 3: How to Upscale Photos with Free Mobile App
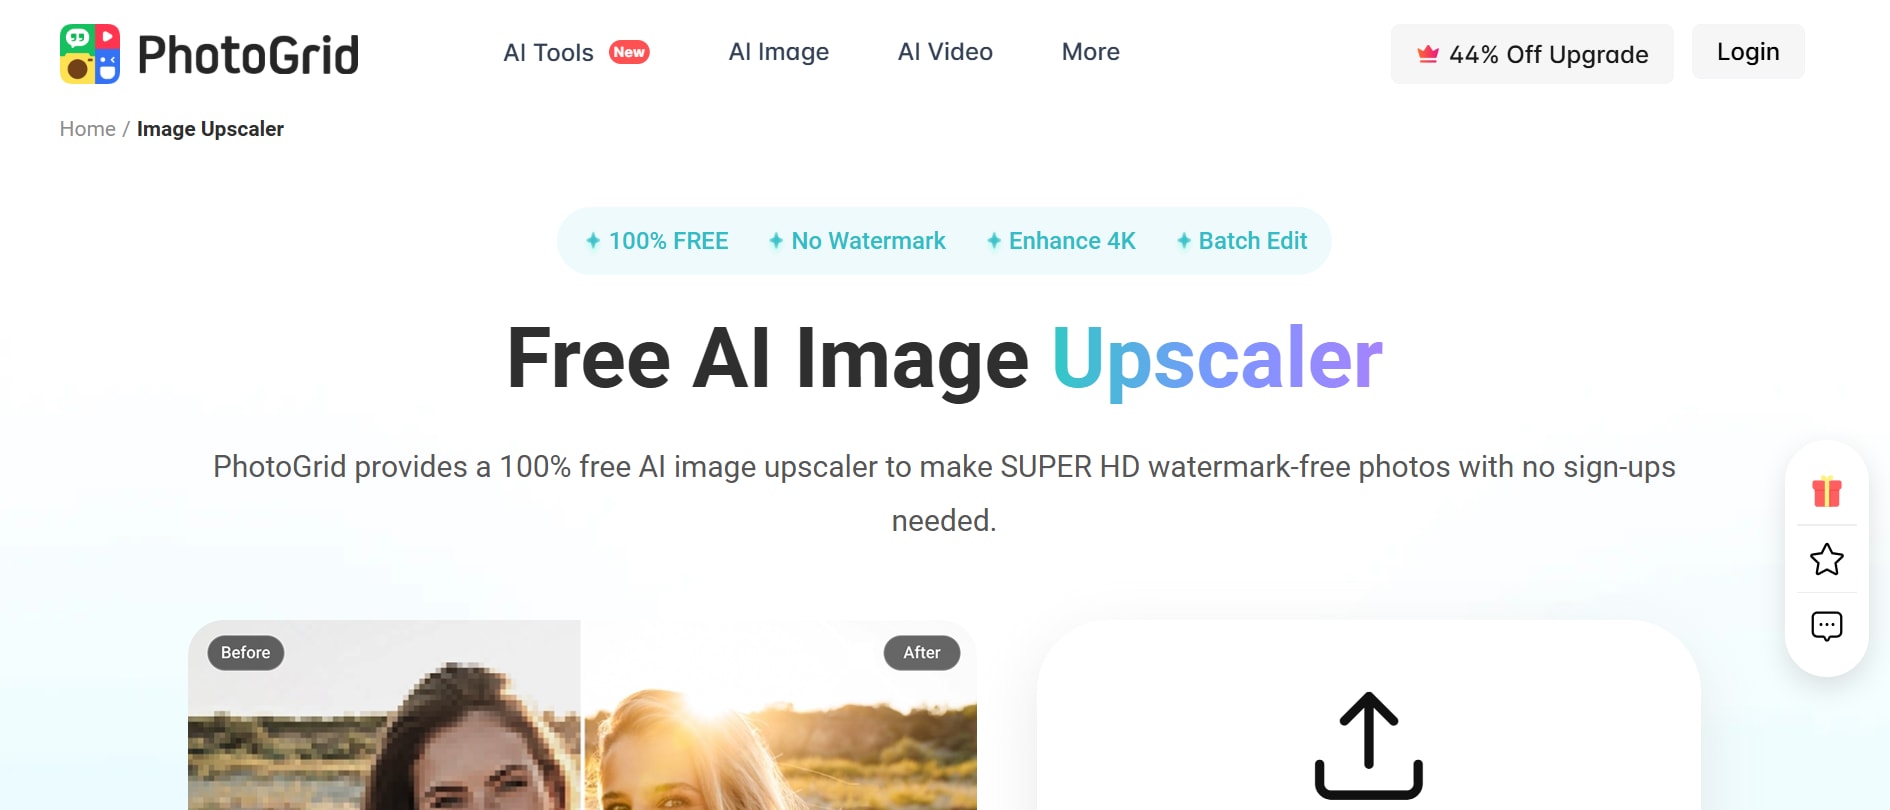
PhotoGrid Image Upscaler
Looking to enhance photos directly on your smartphone with no subscription or watermark hassles? PhotoGrid Image Upscaler offers a seamless solution. This 100% free mobile (and web) app uses AI to upscale images to 4K HD in seconds, preserving sharpness, clarity, and fine details. It supports batch processing—so you can improve multiple photos at once—and works without sign-up or ads. Users can enhance portraits, landscapes, logos, or product shots effortlessly, making it ideal for social media, print, or everyday capture.
Key Features:
- Upscales images up to 4K resolution with AI
- No sign-up, no watermark, and 100% free
- Supports batch uploading of multiple photos
- Works with JPG, PNG, JPEG, and WebP formats
- Preserves clarity, colors, and noise reduction during enhancement
Step-by-Step: How to Use PhotoGrid Image Upscaler on Mobile
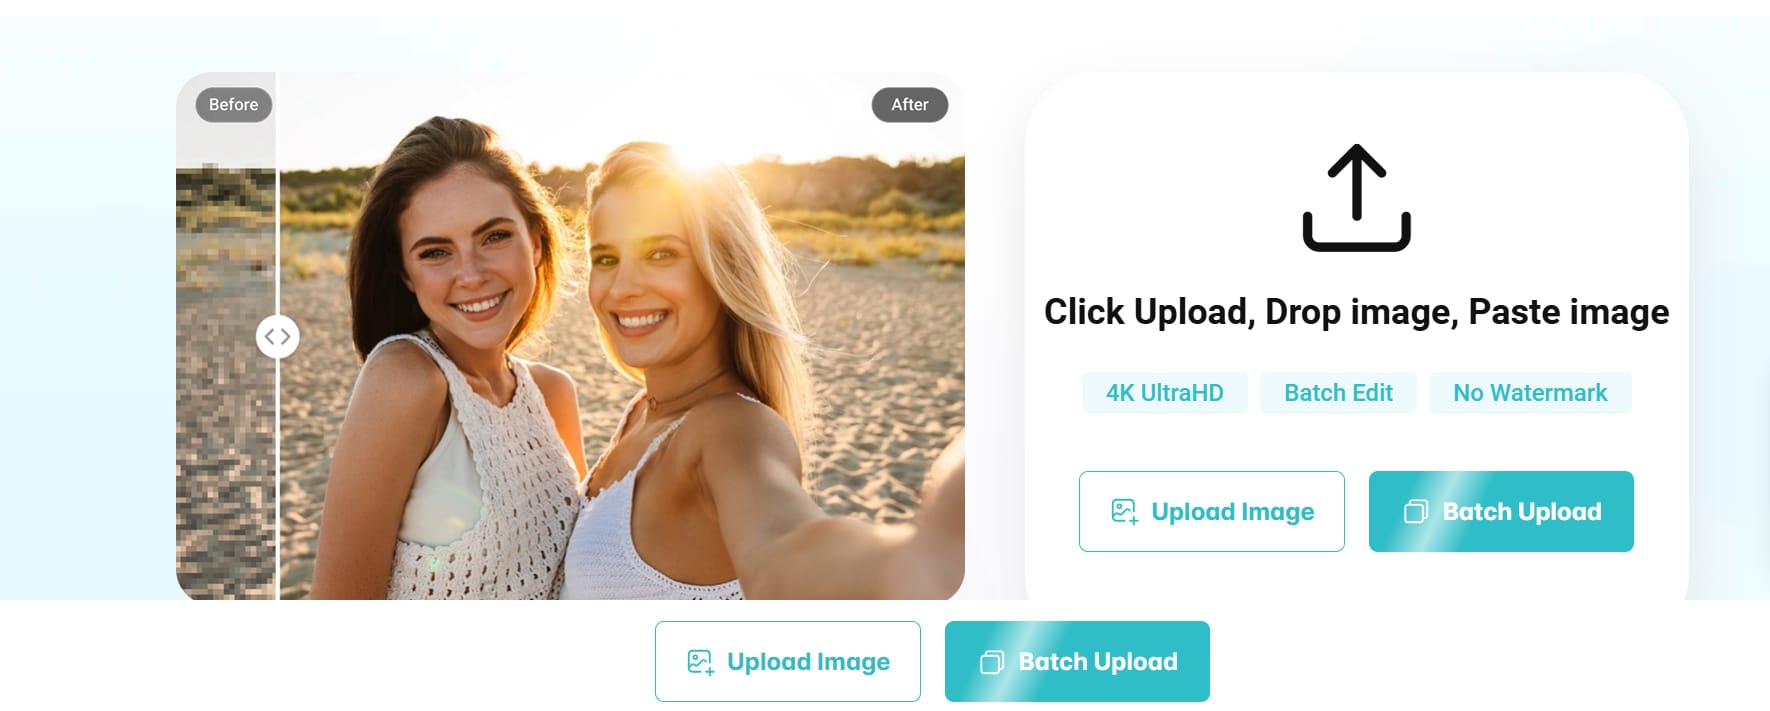
Step 2: Upload Your Photos
Tap “Upload” or drag-and-drop if on a browser. Choose one or multiple images from your gallery (JPG, PNG, or WebP). Within seconds, the AI processes each image, automatically enhancing resolution, reducing noise, and sharpening edges to 4K quality. Outputs are shown instantly for review.
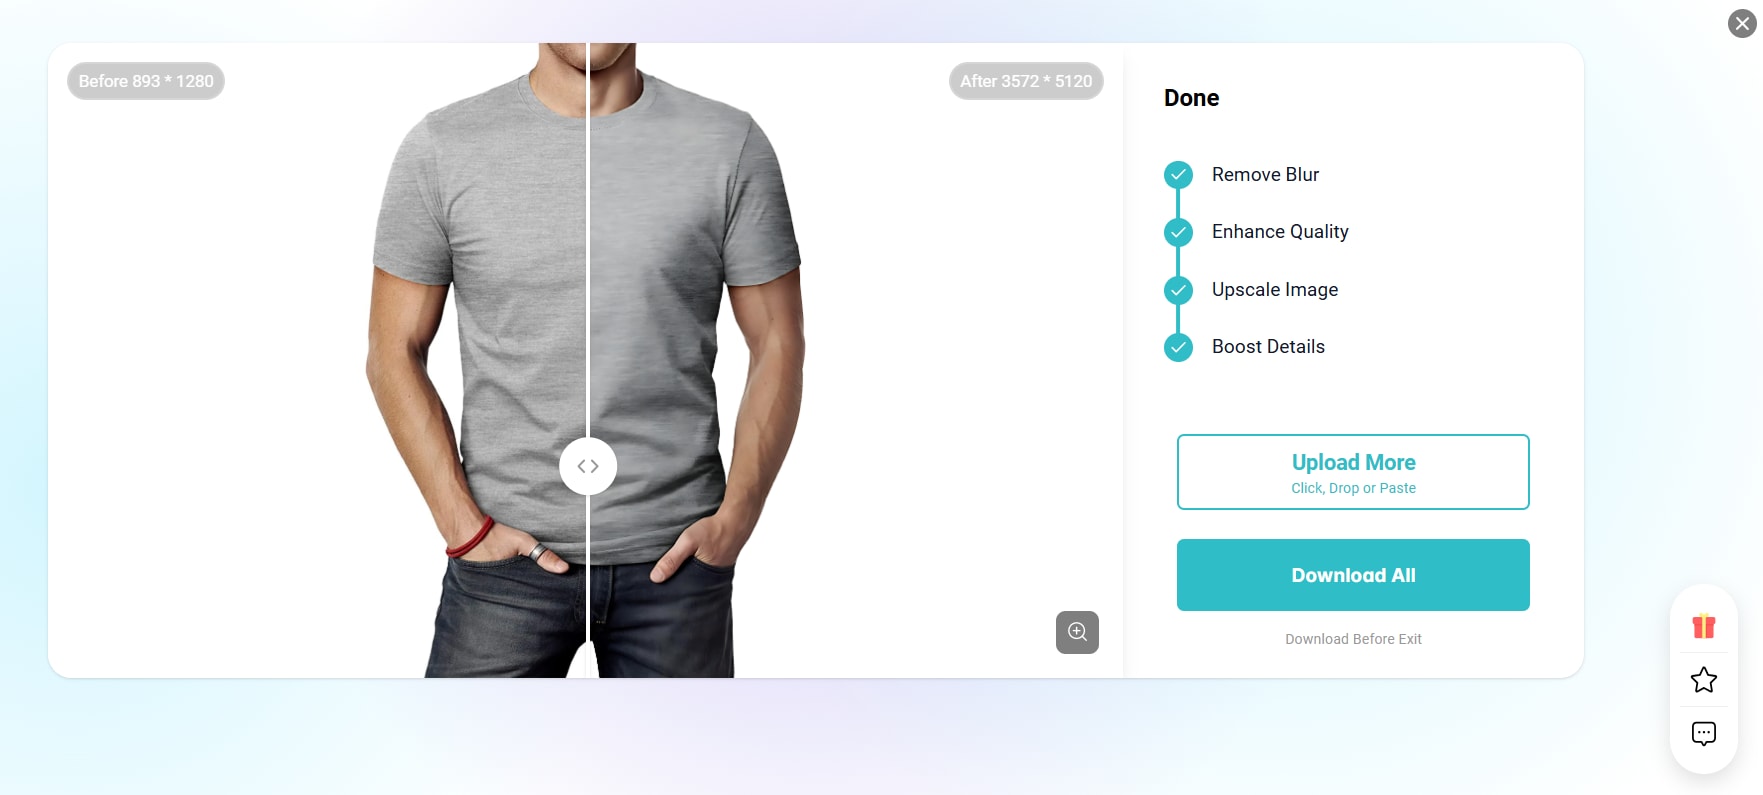
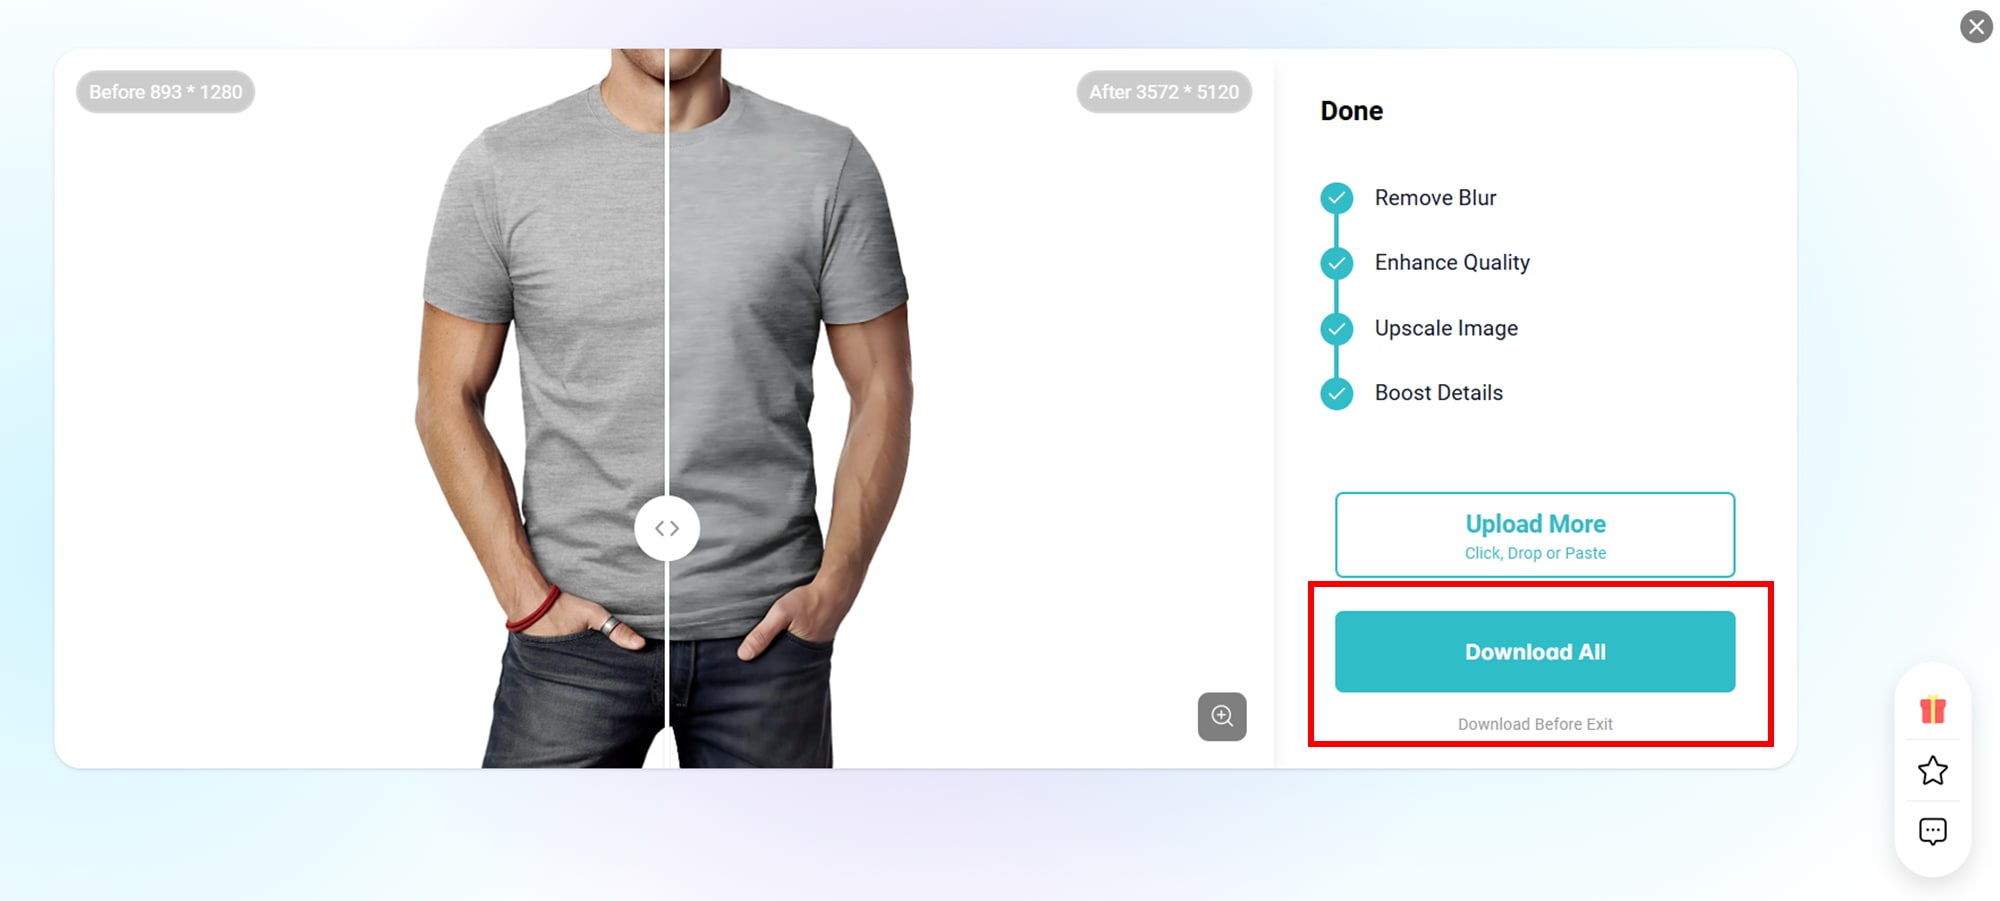
Step 3: Download Your Enhanced Photos
Once processing is complete, preview the before-and-after comparison. If satisfied, tap “Download All” to save your images to your device. The upscaled photos are watermark-free and ready for uploads to Instagram, prints, or marketing materials.
Part 4: How to Upscale Images with Free Chrome Extension
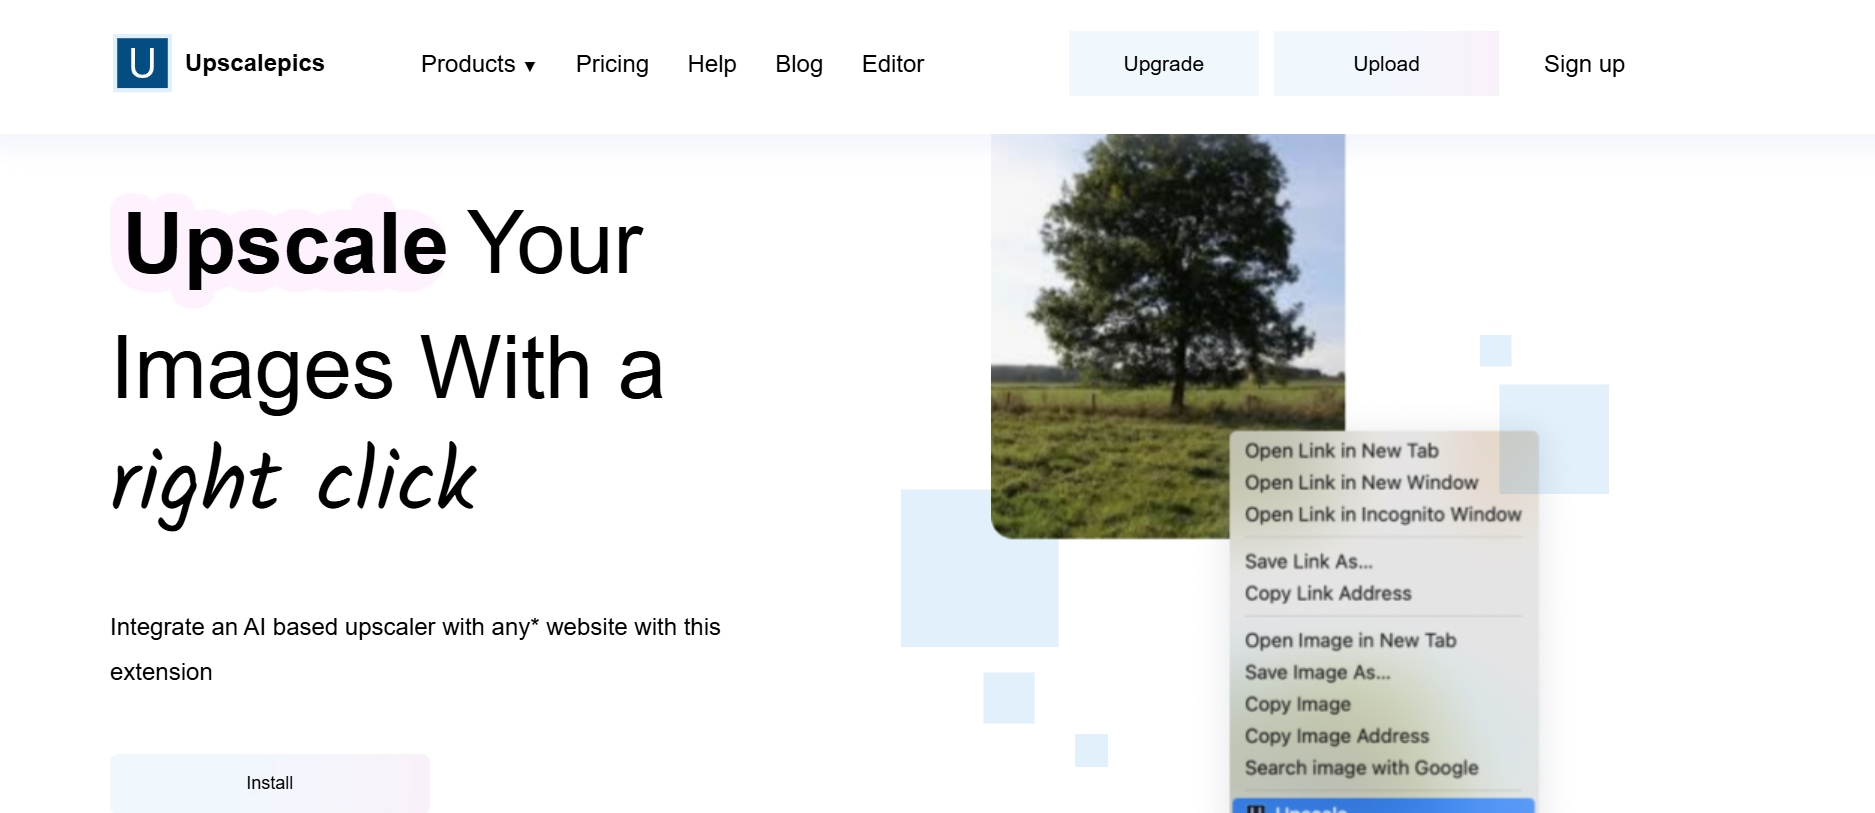
UpscalePics Chrome Extension
For Chrome users who want to enhance images directly within their browser, the UpscalePics Chrome Extension is a powerful yet easy-to-use solution. This free AI-based tool lets you upscale photos and graphics up to 4× without leaving your current tab. It supports PNG and JPG formats, delivering clean, watermark-free results—ideal for marketers, web designers, and content creators. With a simple drag-and-drop interface, UpscalePics saves time by processing images quickly and accurately.
Key Features:
- AI-powered upscaling up to 4× within Chrome
- Supports JPEG, JPG, and PNG formats
- Preserves image clarity and edge details
- Delivers watermark-free downloads
- Lightweight and fast browser integration
Step-by-Step: How to Use UpscalePics Chrome Extension
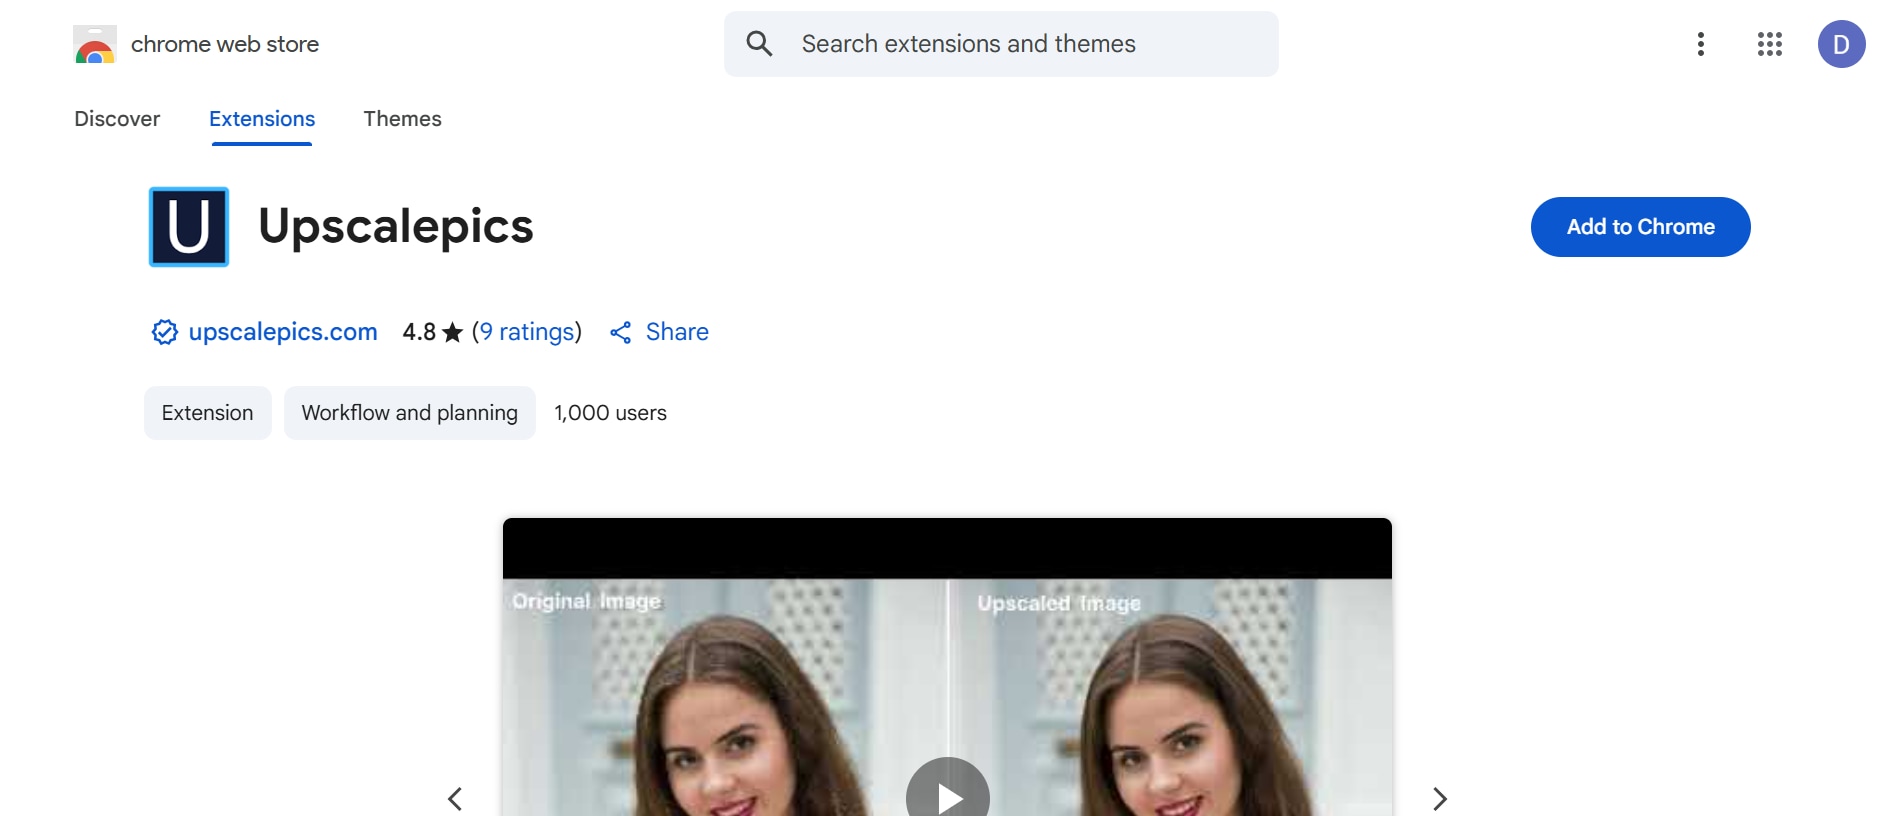
Step 1: Install the Extension
Visit the UpscalePics extension page via the link above and click “Add to Chrome” in the Chrome Web Store. Once installed, the UpscalePics icon appears next to your address bar. This seamless integration allows you to enhance images on the spot, without opening additional tools or web pages.
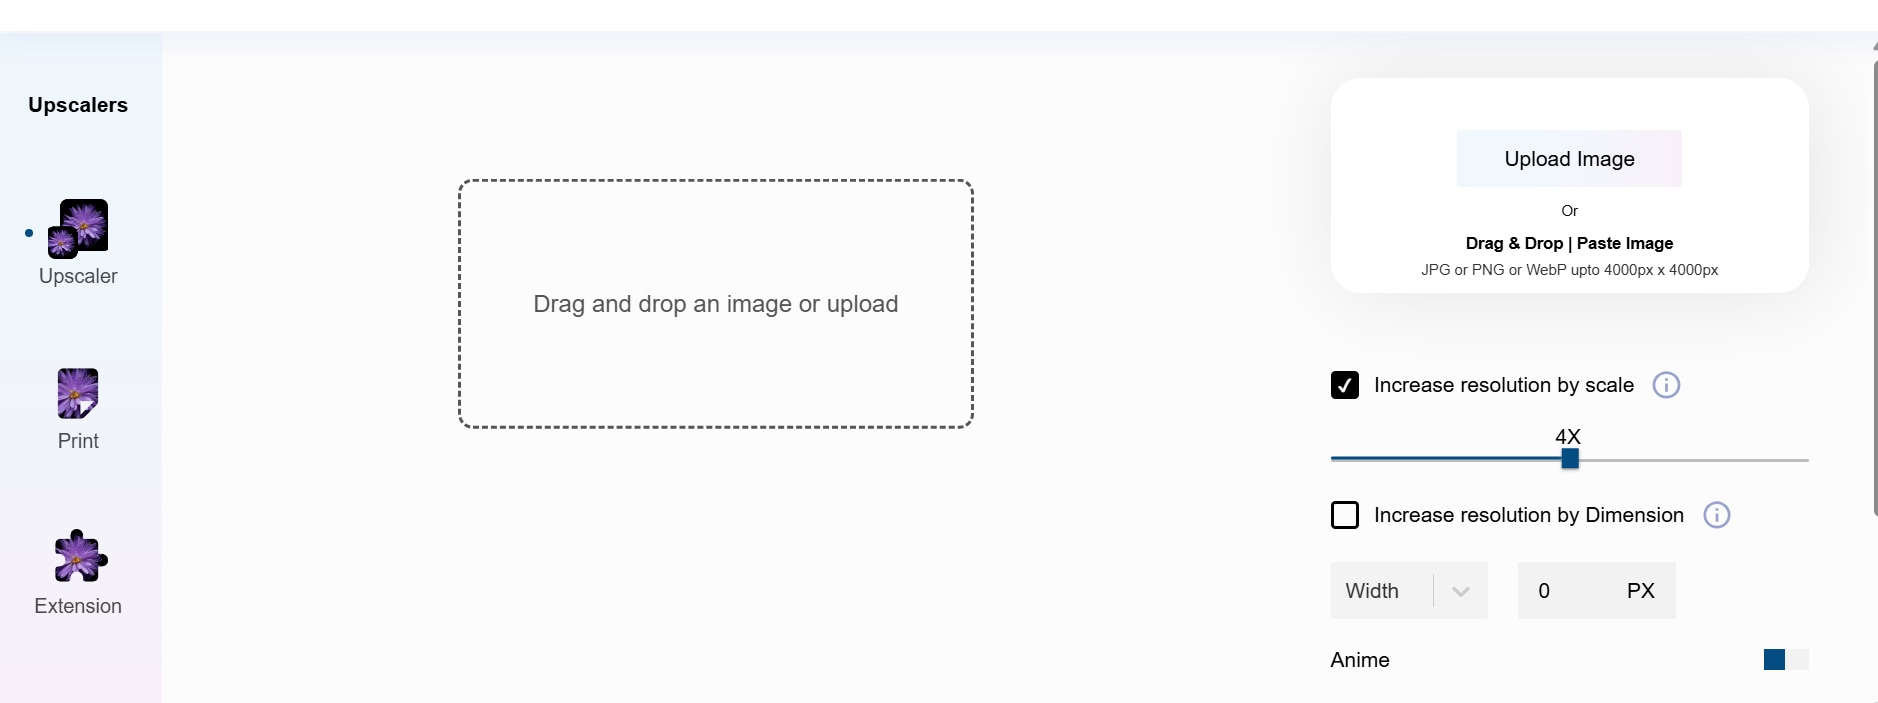
Step 2: Upload or Drag Your Image
Click the UpscalePics icon to open the resize panel. You can either drag and drop your image or click to select from your local files. The AI will automatically start processing the image to increase resolution, reduce blur, and sharpen details—all within a few seconds.
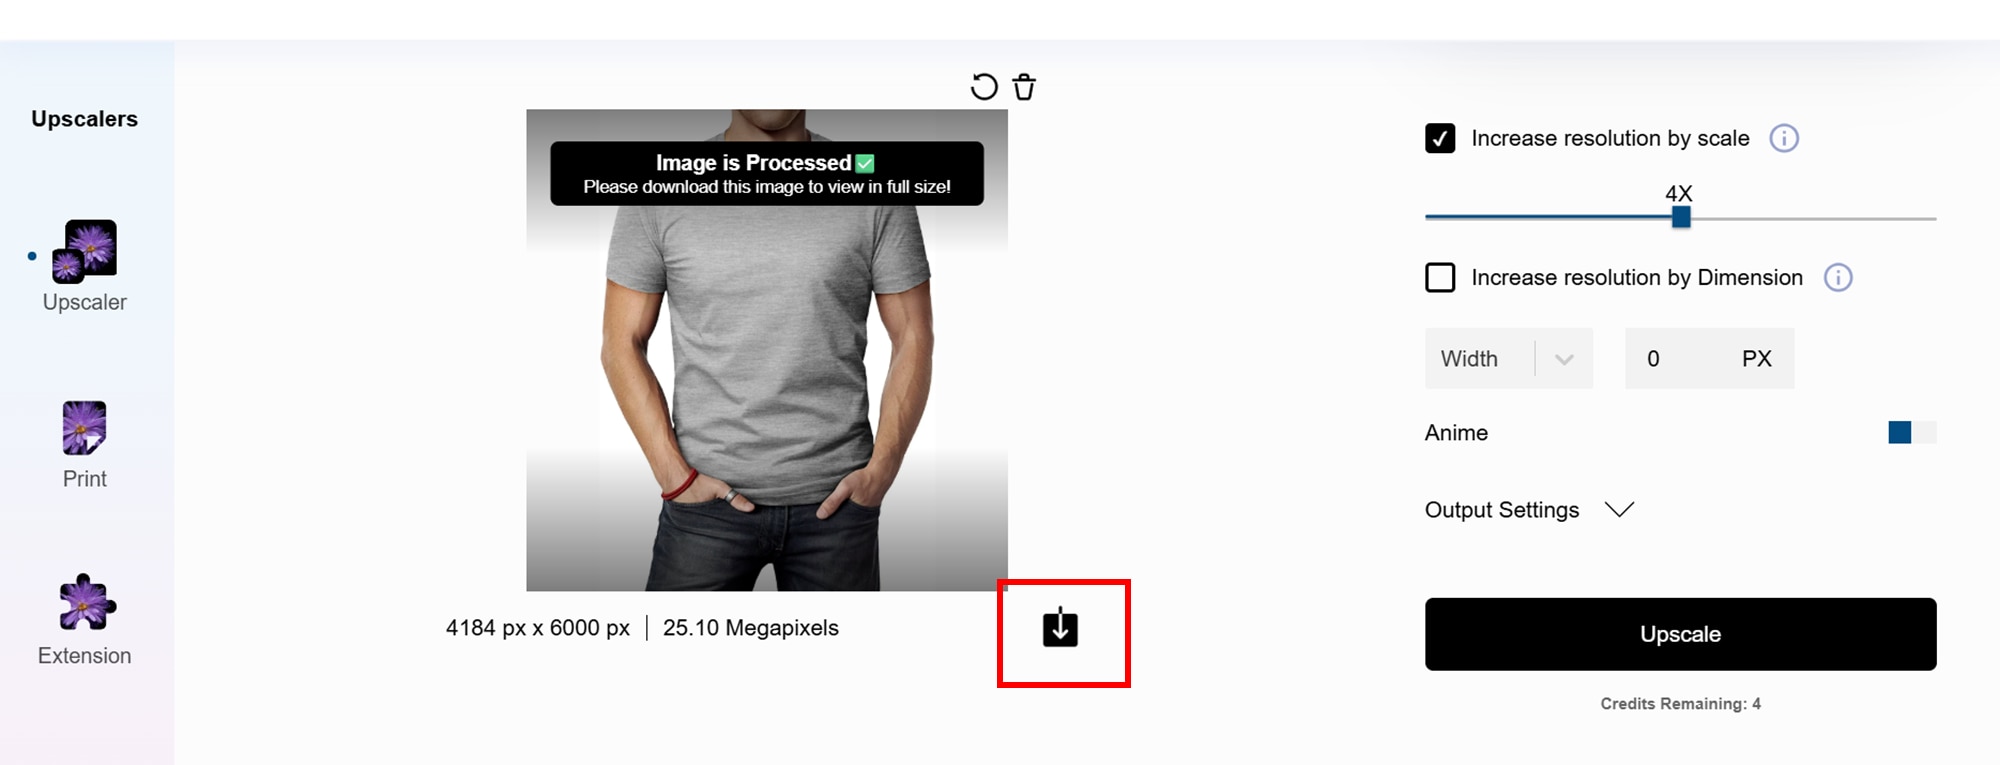
Step 3: Preview and Download
After the enhancement finishes, a preview shows the original and upscaled image side-by-side. Review the quality, then click “Download” to save the upscaled image directly to your computer. The file will be crisp, properly scaled, and ready to use for web pages, social media, or design projects.
Part 5:Bonus: How to Easily Batch Enhance Images to 8x on Desktop
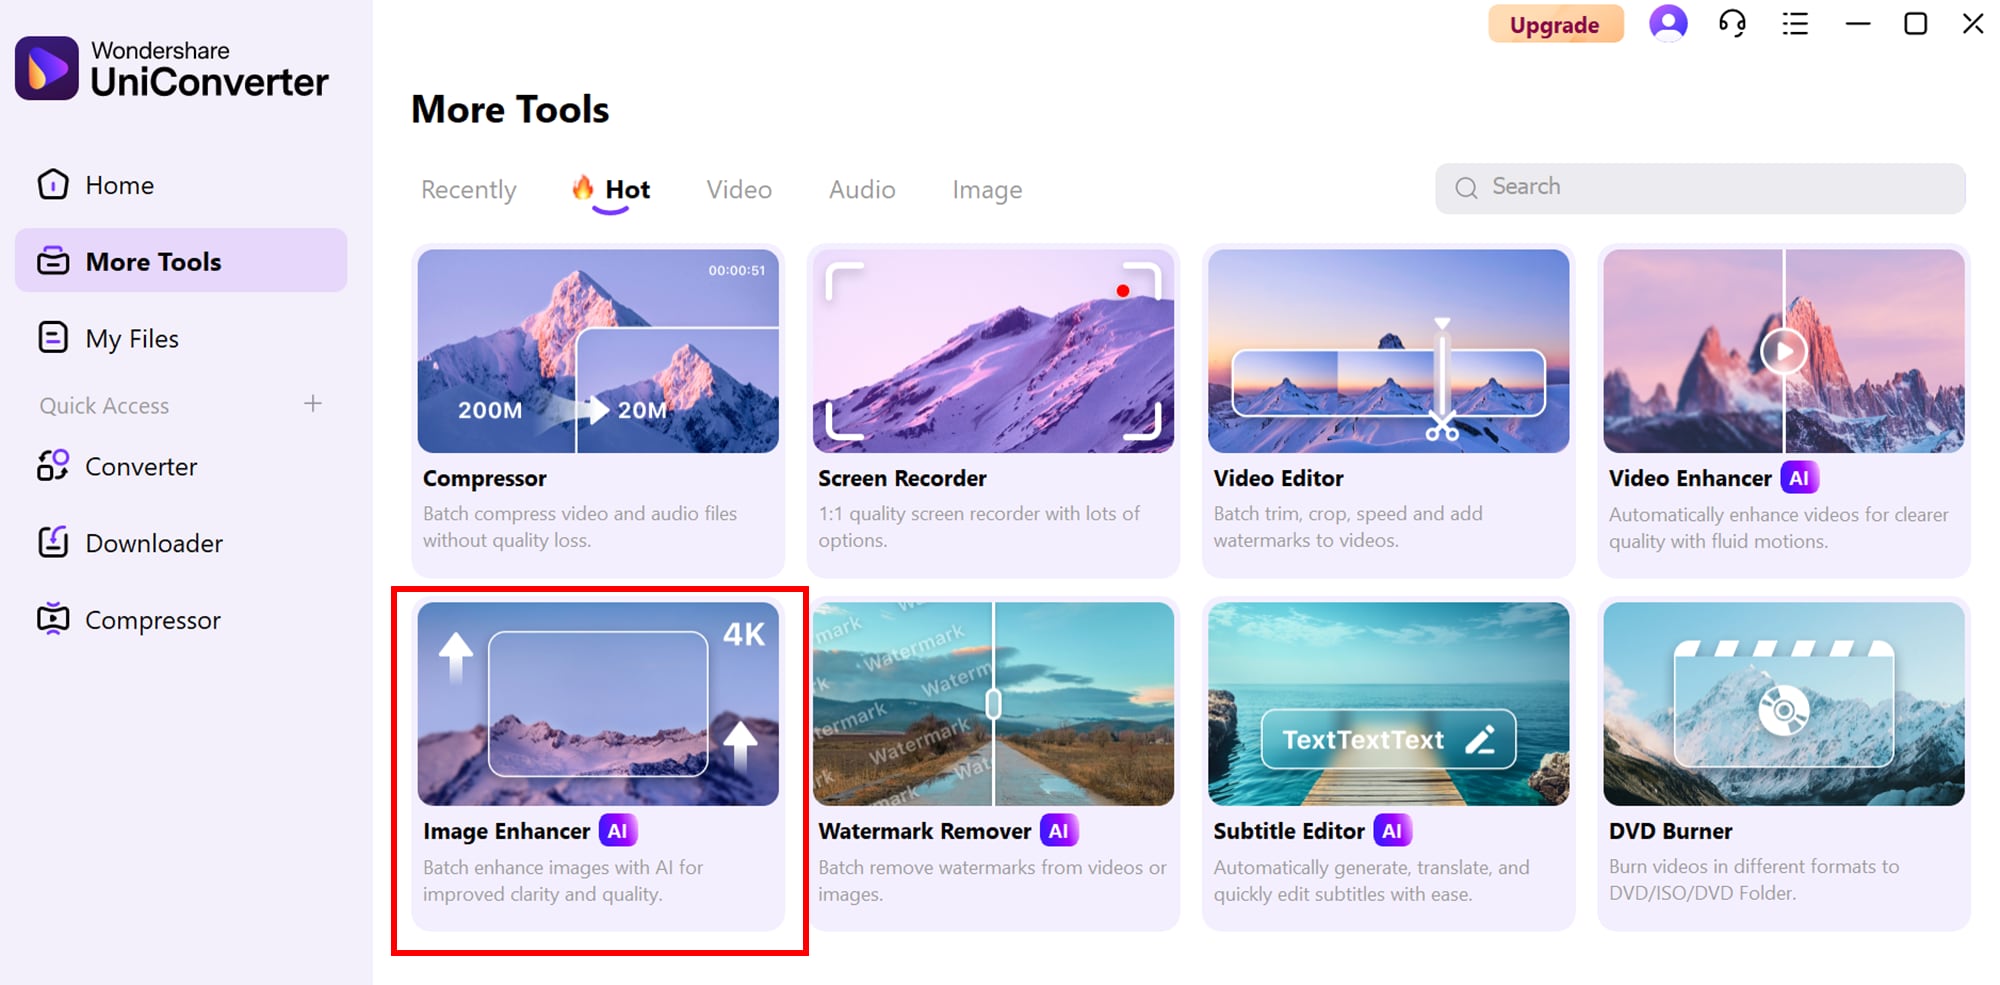
Wondershare Uniconverter
Need to upscale multiple images at once without sacrificing quality? Wondershare UniConverter makes batch enhancement fast and professional with its built-in AI Image Enhancer. Whether you're dealing with logos, product photos, or social media graphics, the tool lets you upscale up to 8× resolution while preserving detail and clarity—all without watermarks or complicated settings. It's a must-have for creators, marketers, and business users who need offline, high-volume processing.
Key Features:
- AI-powered upscaling up to 2×, 4×, and 8×
- Batch processing support for multiple files
- Compatible with PNG, JPG, WebP, and more
- Offline functionality for Windows and macOS
- Retains transparency in PNGs and avoids distortion
- Watermark-free export, even on the free version
Step-by-Step: Batch Enhance Images to 8× Using UniConverter
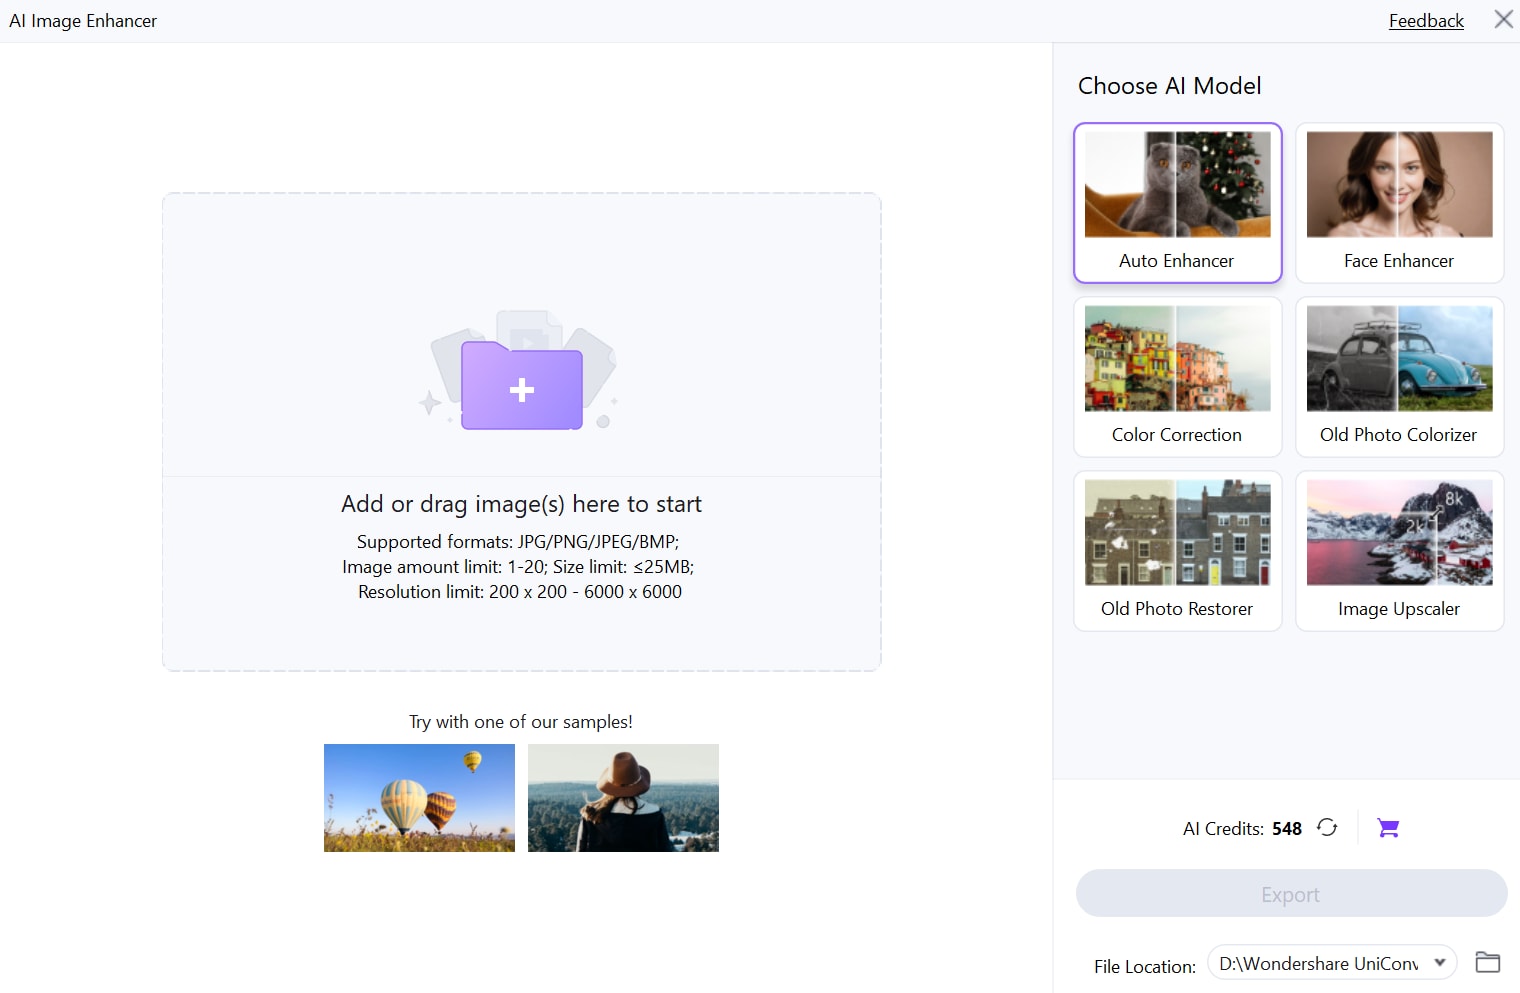
Step 1: Launch AI Image Enhancer
Install and open Wondershare UniConverter on your desktop. From the left-hand menu, go to the AI Lab section and select AI Image Enhancer. This tool is purpose-built for one-click resolution upgrades and supports high-volume image processing.
Step 2: Upload Multiple Images
Click “Add Files” and select all the images you want to upscale (JPG, PNG, WebP, etc.). Then choose your preferred upscale level—2×, 4×, or up to 8×. You can enable options like “Keep transparency” if working with logos or UI assets.
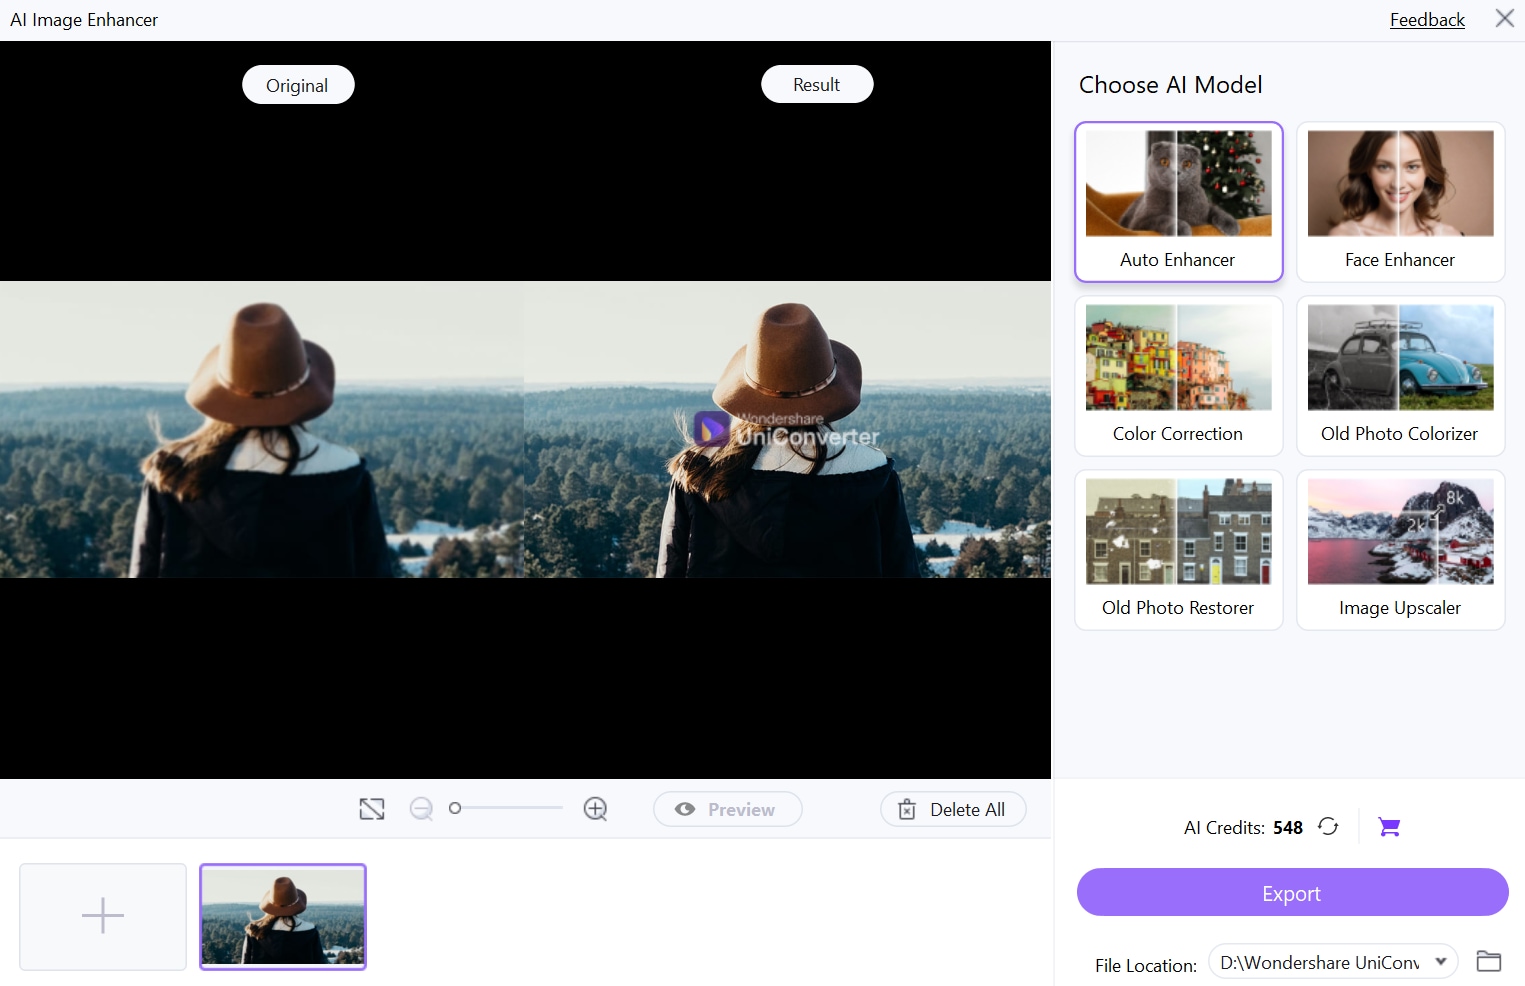
Step 3: Enhance and Export
After confirming your settings, hit “Start All” to begin batch processing. The AI model will automatically upscale each image while maintaining sharpness and proportion. Once complete, download your enhanced, high-res files—all watermark-free and ready for use.
Part 6: Final Thoughts
In 2025, upscaling images no longer requires complex design tools or expensive software. For those looking to upscale multiple images at once with maximum precision, Wondershare UniConverter stands out as a powerful desktop solution. Its AI Image Enhancer supports batch processing, 8× resolution, offline access, and watermark-free exports—making it ideal for professionals and content creators alike.
Ready to take your images from blurry to brilliant? Try Wondershare UniConverter today and transform your visuals effortlessly!
FAQs
-
1. Can I upscale images to 8× without losing transparency or sharpness?
Yes, tools like and Upscale.media allow you to upscale images up to 8× while preserving sharpness and PNG transparency. Be sure to enable “keep transparency” options when available to retain background-free visuals. -
2. Are free image upscalers safe for commercial use?
Most reputable tools like Pixelcut, VanceAI, and Let’s Enhance offer watermark-free downloads and do not claim rights to your uploads, making them suitable for commercial content. Always review their terms of use before deploying visuals in paid campaigns. -
3. Which tool is best for batch upscaling large photo sets offline?
For desktop-based, offline batch enhancement, is the most efficient tool. It supports multiple formats, handles bulk image processing, and delivers high-resolution output with zero internet dependency. -
4. Do Chrome extensions offer the same quality as desktop or mobile apps?
While Chrome extensions like UpscalePics are fast and convenient, they may lack some advanced features such as batch processing or 8× resolution found in full desktop apps. They're ideal for quick, single-image enhancements directly in-browser. -
5. Can I upscale illustrations and portraits differently?
Yes. Tools like BigJPG let you select between "photo" or "illustration" mode, optimizing the AI model accordingly. This ensures better results for different image types—portraits get sharper, while illustrations retain smooth lines and gradients.

