
To brighten a dark video without washing it out, correct the cause of the darkness instead of pushing one brightness slider across the whole frame. Underexposed footage needs a controlled lift in visible shadow detail. Grainy night footage may also need denoising. A backlit clip needs highlight protection so windows, lamps, and signs do not turn solid white. The safest workflow is to preview a short representative section, compare it against the original, and only then process the full video.
AI enhancement can simplify that balancing act, but it cannot recreate scene information the camera never captured. Completely crushed blacks, severe motion blur, and missed focus still remain limited after processing. That is why it helps to diagnose the problem first instead of treating every dark clip as the same job.

Brighten Low-Light Footage with a Preview-First Workflow
In this article
Part 1. Diagnose Why the Video Looks Dark
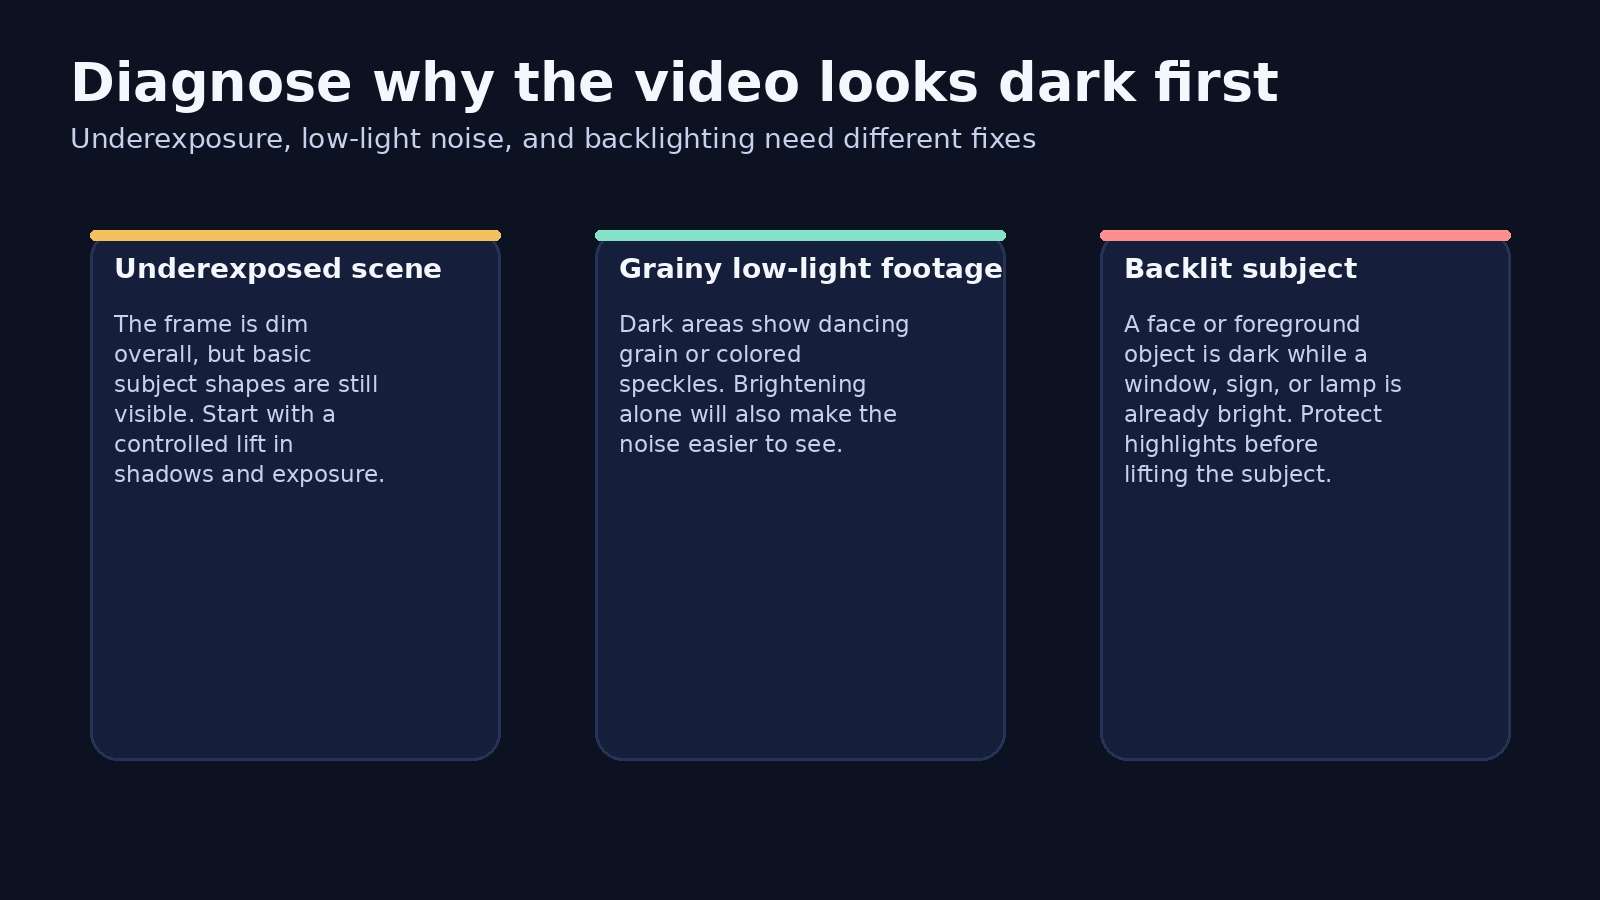
A dark-looking frame does not always have the same cause. Correct diagnosis prevents you from fixing one problem while making another more visible.
| What you see | Likely problem | Practical starting point | Main limitation |
| The whole scene is dim, but shapes remain visible | Underexposure or low light | Lift low-light footage carefully and review highlight retention | Deep shadows may contain little recoverable detail |
| Colored speckles or dancing grain in shadows | Sensor or compression noise | Denoise, then brighten only as much as needed | Strong denoising can soften texture |
| The subject is dark but a window or lamp is already bright | Backlighting or high dynamic range | Lift shadows while protecting highlights | Global brightness can clip the bright background |
| The scene is bright enough but the subject is smeared | Motion blur or missed focus | Treat blur separately instead of relying on brightness alone | Brightness does not restore missing focus detail |
| The file looks darker only on one screen | Display, player, or HDR/SDR mismatch | Check another device or player before editing | Editing may be unnecessary |
Before editing, play the original on a second device or in another player. If only one display looks dark, changing the file may produce an overbright result everywhere else. If the original itself is dark, inspect both quiet scenes and frames with movement because noise and highlight clipping can appear differently across the clip.
Part 2. Choose the Right Way to Make a Dark Video Brighter
Use manual correction for a mild, consistent exposure problem
Manual brightness, exposure, shadows, contrast, and saturation controls are useful when the clip is only slightly dim and the lighting stays consistent. Make small changes in this order: lift exposure or shadows, protect bright areas, restore contrast, and then correct saturation if colors look weak. Avoid judging the result from one frame; a setting that works indoors may clip a doorway or lamp later in the shot.
Use AI enhancement when darkness comes with noise or weak detail
A low-light video often has several linked defects. Raising luminance exposes grain, while sharpening can make compression edges harsher. An AI enhancement workflow is more practical when you need to improve visibility and overall quality together, especially for night streets, indoor phone clips, events, or older compressed footage.
Keep the outcome realistic. Enhancement may make recorded detail easier to see, but it does not reconstruct an accurate scene from black pixels. For footage where grain is the dominant defect, use the dedicated AI video denoise workflow. If the main issue is softness rather than darkness, review the separate unblur video workflow instead.

Part 3. How to Brighten a Dark Video with UniConverter
Wondershare UniConverter provides a desktop AI Video Enhancer workflow for dark or low-light footage. The current official brightening and AI Video Enhancer pages describe this task as a preview-first process: import the footage, choose the enhancement path that fits the clip, compare the result, and export only after checking brightness, noise, and detail. The desktop route is the right choice when you need the fuller model set, stronger low-light processing, or multiple files in one queue.
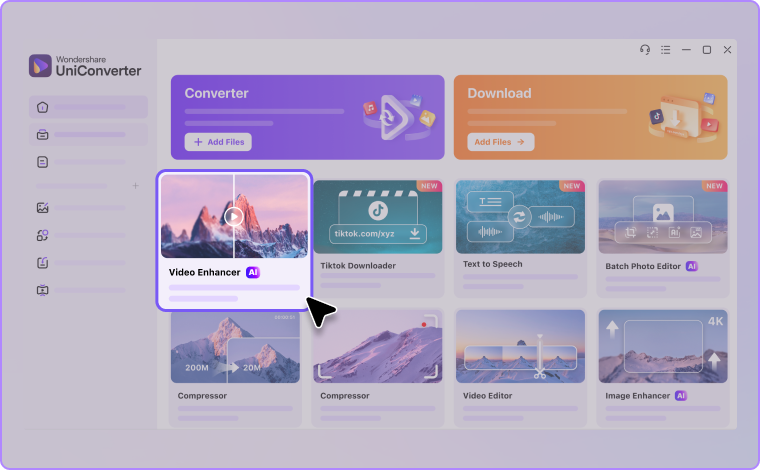
Step 1. Open AI Video Enhancer and add the dark clip
Launch UniConverter and select AI Video Enhancer. Drag the dark video into the workspace or use the add-file control to import it. Keep the original file unchanged so you can compare it with the exported result later.
Step 2. Choose the enhancement path that matches the footage
If the scene is mainly underexposed, start with the low-light or night-scene enhancement path available in the current desktop interface. If the clip is already bright enough but grain is the bigger problem, compare that result with a denoise-oriented workflow instead of stacking heavy processing immediately. Preview a section that contains both the darkest subject and the brightest light source.

Step 3. Review the preview and export the brighter video
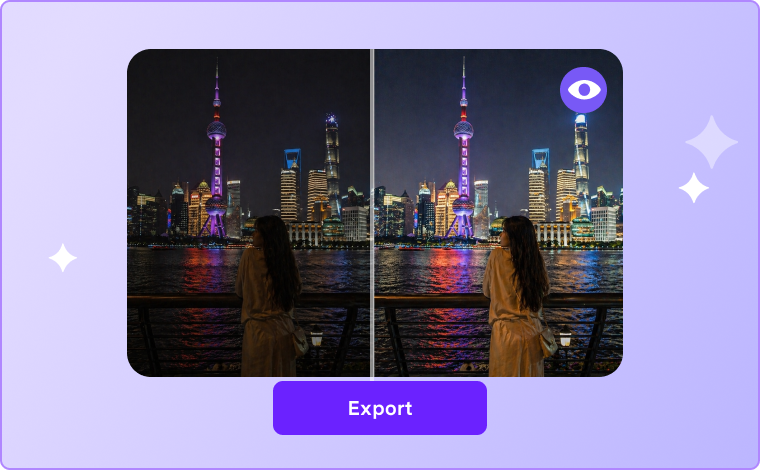
Compare the preview with the source. Check whether faces still look natural, signs and windows retain detail, grain stays acceptable, and dark objects remain distinct rather than gray and flat. If the result looks washed out or overprocessed, choose a less aggressive path or return to the original. When the balance looks right, export the enhanced version.
Part 4. Check These Four Areas Before You Export
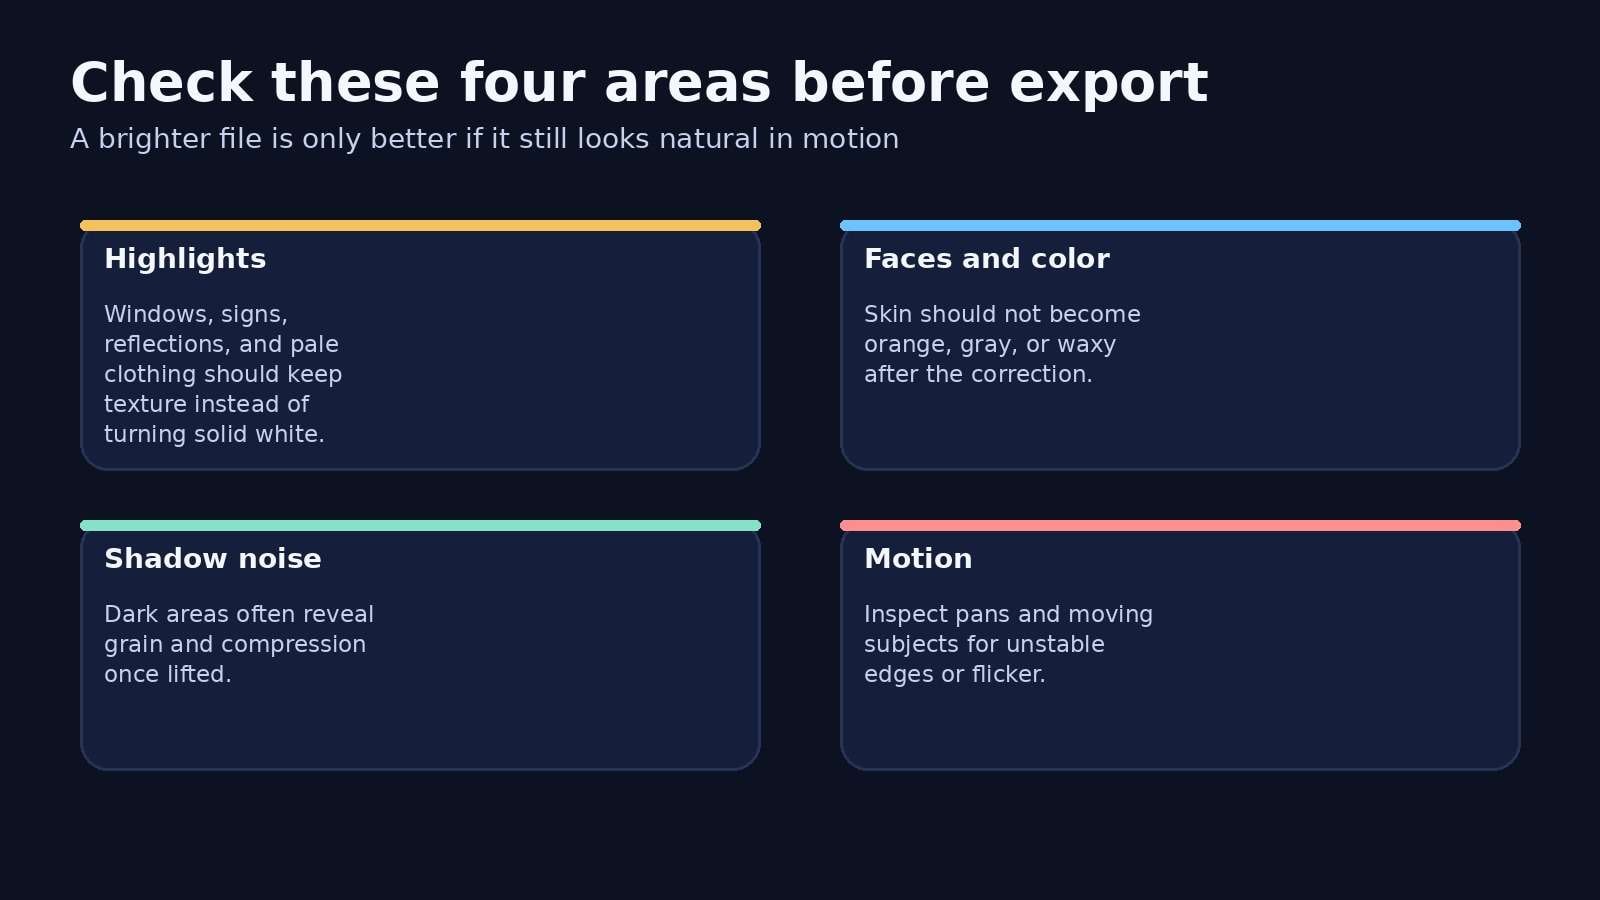
A technically brighter file is not automatically a better-looking file. Review the full preview or several representative sections at normal playback speed and at 100% view.
- Highlights: Look at lamps, windows, signs, reflections, and pale clothing. If they lose texture and turn solid white, the correction is too strong.
- Faces and color: Skin should not become orange, gray, or unnaturally smooth. Check mixed indoor lighting separately from outdoor sections.
- Shadow noise: Brightening can reveal grain and compression blocks that were hidden in darkness. Consider a restrained denoise pass only when the noise is distracting.
- Motion: Inspect moving subjects and camera pans. Brightening will not fix motion smear, and aggressive enhancement may create unstable edges from frame to frame.
For a long recording, test a short segment before processing everything. This is especially useful for concert footage, night walks, security-camera clips, and phone videos that move between differently lit spaces.
FAQs About Brightening Dark Videos
How do I brighten a video without making it look washed out?
- Avoid raising brightness alone. Protect highlights, review contrast and color, reduce visible noise when necessary, and compare a short preview before processing the full video.
Can a completely black part of a video be recovered?
- Not reliably. If the camera recorded no usable shadow detail, brightening may reveal noise or compression artifacts rather than the missing scene.
Why does my video look grainy after I brighten it?
- Brightening lifts both the image and the noise already present in dark areas. A denoise workflow can help, but excessive denoising may remove fine detail.
Should I brighten or denoise a dark video first?
- Diagnose the main defect first. If the clip is mostly underexposed, begin with low-light enhancement. If grain is already dominant, compare a denoise result and avoid stacking strong processing unnecessarily.
Conclusion
A practical brightening workflow starts by identifying the actual defect, applying the least aggressive correction, and judging the result across highlights, shadows, faces, noise, and motion. Use manual correction for mild exposure issues. Use an AI enhancement workflow when low light is accompanied by weak visible detail or distracting noise, while remembering that missing image information cannot be fully restored. UniConverter's desktop AI Video Enhancer gives you a preview-first route for this job: test a difficult section, review the result carefully, and export only after the brighter scene still looks natural.