

Imagine recording a family vacation only to find your footage shaky and distracting. You try to watch it, but the constant movement makes it frustrating. Luckily, you can remove shaking from video to make your clips smooth and enjoyable. Whether it’s a smartphone recording or footage from a camera, there are tools and techniques designed to stabilize your videos effortlessly.
By applying these methods, you can turn unstable shots into professional-looking videos without having to reshoot. From simple techniques to advanced software, removing shaking from video is now accessible to anyone wanting polished, steady results.
In this article
- Considerations for Choosing a Qualified Video Stabilizer For Perfect Results
- Advanced Techniques to Remove Shaking from Video Professionally - Desktop Solutions
- How to Remove Shaking from Video with Simple Online Tools
- Compare Software That Remove Shaking from Video: Free vs Paid
- Prevent Shaky Footage: 6 Tips to Remove Shaking from Video While Shooting
- Conclusion
- FAQ
Part 1. Considerations for Choosing a Qualified Video Stabilizer For Perfect Results
When you want to remove shaky video, choosing the right video stabilizer is crucial. The right tool not only smooths your footage but also preserves details and color accuracy. Here are key considerations to keep in mind when selecting a qualified video stabilizer:
Stabilization Accuracy: Look for software that analyzes motion precisely and compensates for shakes without distorting the image. Accurate stabilization ensures your video looks professional and natural.
Ease of Use: A user-friendly interface helps speed up your workflow, especially if you’re editing multiple clips. Intuitive controls allow quick adjustments without steep learning curves.
Compatibility: Ensure the stabilizer works with your video formats and editing software. Compatibility prevents unnecessary file conversions and potential quality loss.
Real-Time Preview: Tools with real-time preview let you see results instantly. This helps fine-tune settings efficiently and avoid repeated exports.
Advanced Features: Some stabilizers offer features such as rolling-shutter correction or horizon leveling. These extras can significantly enhance footage quality, resulting in cinematic results.
Part 2. Advanced Techniques to Remove Shaking from Video Professionally - Desktop Solutions
When basic online tools are not enough to fix heavy or complex motion issues, it's time to move to more powerful options. Mentioned below are the desktop tools to remove shaking from video without sacrificing quality, especially when working with high-resolution video:
1. UniConverter: Best Solution to Remove Shaking from Video Quickly
UniConverter is a powerful desktop solution designed to help users remove shaking from video with professional precision. Its advanced video stablilizer algorithm analyzes motion frame by frame, stabilize shaky footage while preserving clarity and detail. The tool allows you to adjust the stabilization intensity, making it suitable for mild jitters or heavily handheld recordings. This ensures your videos look polished and steady for personal projects or professional presentations.
Beyond simple shake removal, UniConverter provides additional stabilization-focused functionalities. Users can preview the stabilized footage before export, crop edges to eliminate distortion caused by strong stabilization, and maintain original resolution for high-quality results. With support for various video formats and fast processing speeds, it offers a seamless workflow to reduce shake in video. This makes it an essential tool for content creators, vloggers, and filmmakers who want perfectly smooth footage every time.

Key Features Offered by UniConverter
Replace Files: Quickly swap a video with a new one while retaining the previously applied stabilization settings. This saves time and ensures consistent results across multiple clips.
Enable/Disable Preview: Toggle the live preview to see stabilization effects in real time. It helps verify shake removal before exporting the final video.
Select File Location: Choose where your stabilized video is saved for easy organization and quick access. This keeps original and processed files clearly separated.
Further Enhancement: Apply additional adjustments like cropping or trimming after stabilization. It refines the video and eliminates minor distortions for a polished, professional result.
Steps for Stabilizing Videos Using UniConverter
As discussed, UniConverter allows its users to effortlessly remove the jitters from their videos using AI. Let us have a look at the step-by-step guide on how to use this tool:
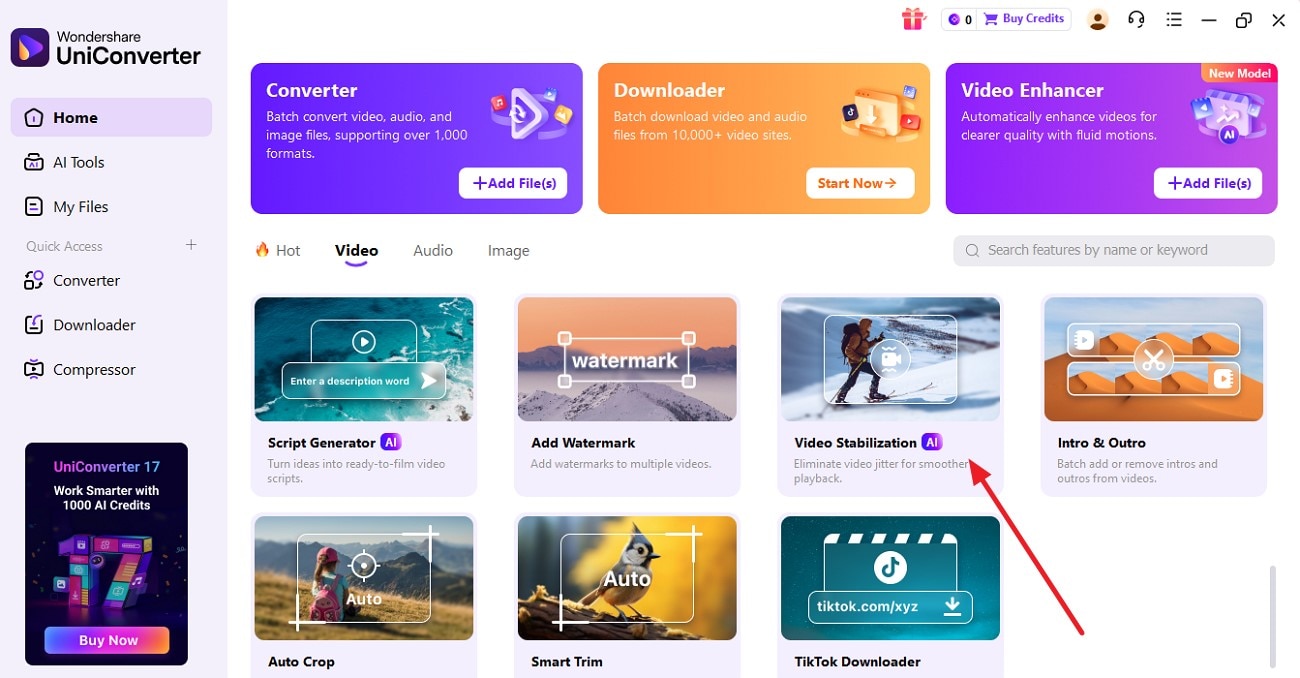
Step 1. Launch Tool Access Feature
To begin the process, launch the tool on your device and access its homepage. Acquire the “Video” section and click on the “Video Stabilization” option.
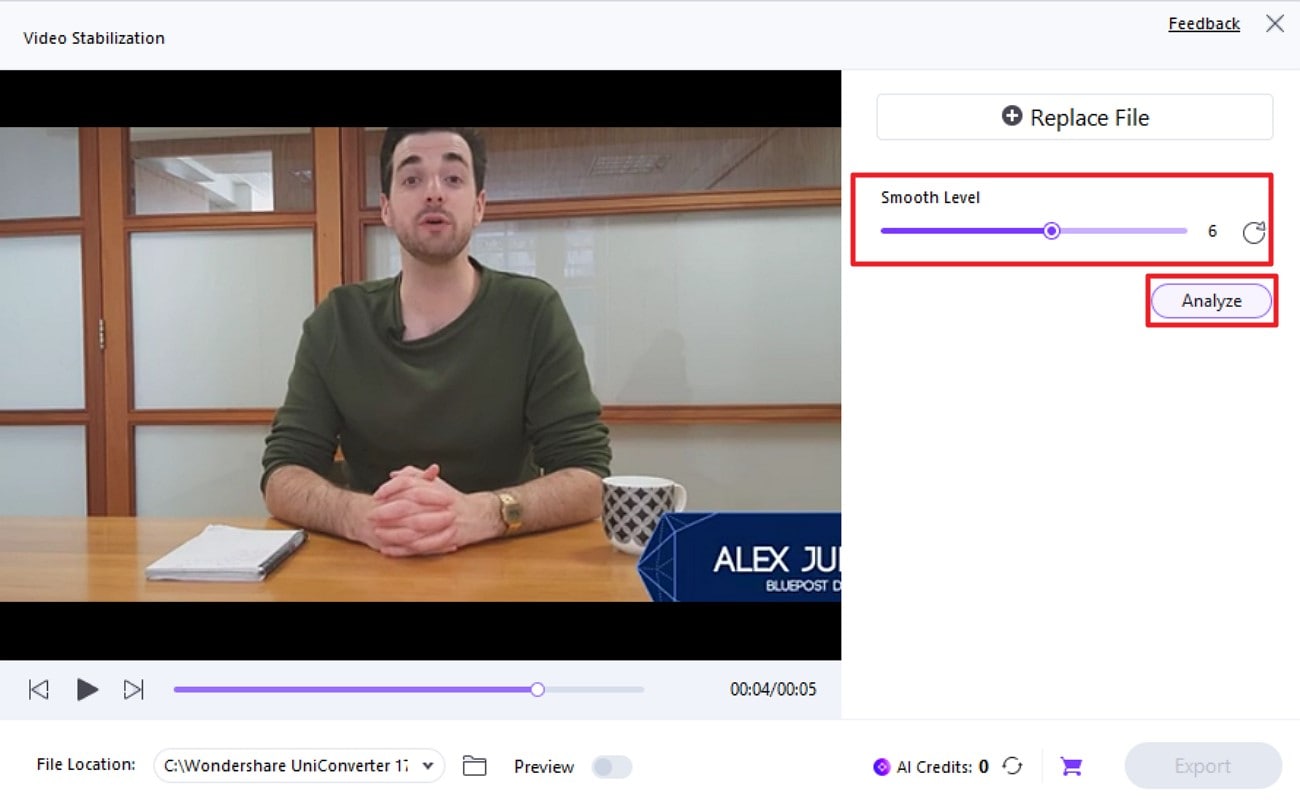
Step 2. Import The Video
In the following interface, import the video for which you want to remove the jitters. Select the smooth level by dragging the slider and pressing the "Analyze" button.
Step 3. Save Stabilized Video
Once the stabilization process is completed, preview the results within the tool and press “Export” to save the video to your device.


Remove Shaking From Video for Smooth Playback
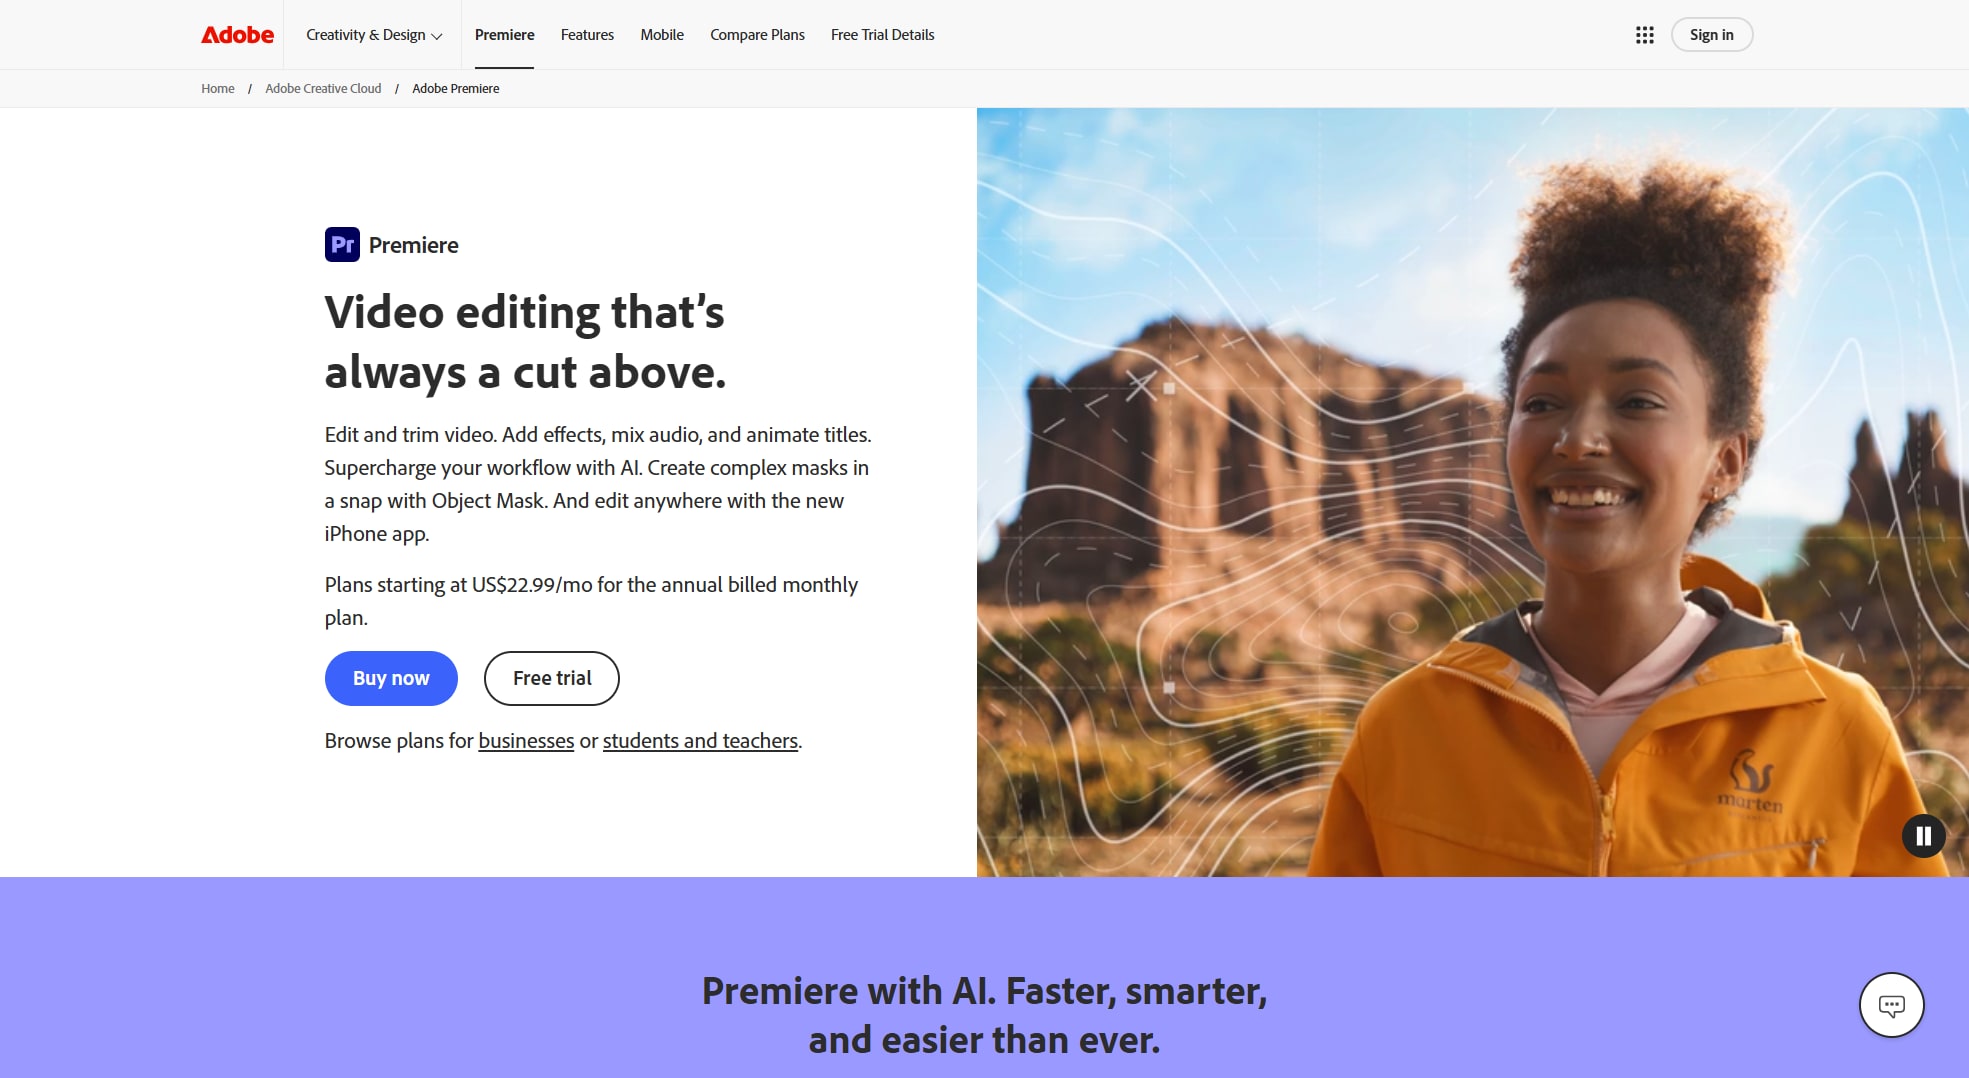
2. Adobe Premiere Pro
Adobe Premiere Pro offers a professional and powerful solution to remove shaking from video, making it a top choice for filmmakers and content creators. Its advanced stabilization tools analyze motion in each frame to smooth out handheld or jittery footage. Beyond stabilization, Premiere Pro allows precise adjustments and effects, giving users complete control over the final look.
Step‑by‑Step Guide to Remove Shaking from Video in Premiere Pro
Here is how you can remove jitters using this tool:
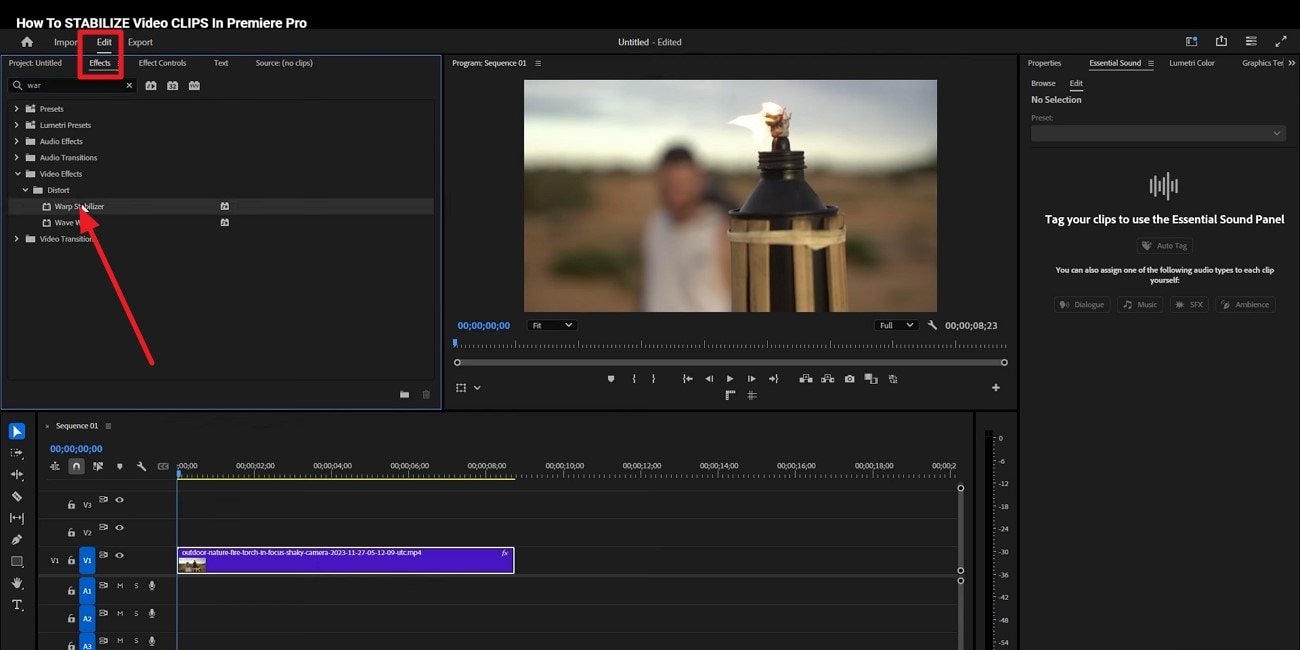
Step 1. Start by launching the tool and importing the video to the tool’s interface. Drag it to the editing timeline and head to the toolbar on the top-left corner to select the “Edit” section. Next, enable the “Effects” section and expand “Distort.” Now, locate the “Warp Stabilizer” effect and drag it to the timeline over the video to apply it.
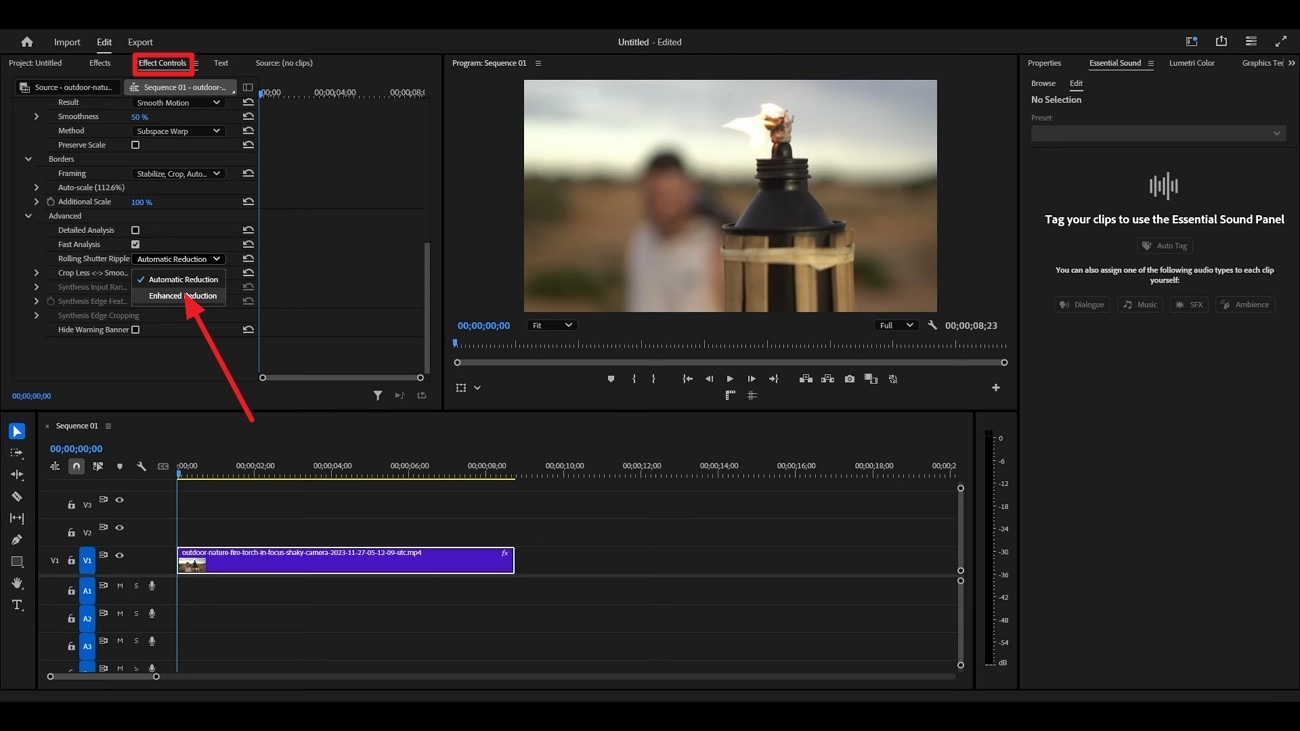
Step 2. Access the “Effects Control” section and expand the drop-down menu to select “Enhanced Reduction.” Once the video is stable, export it to your device successfully.
Key Features
Users get the ability to import multiple videos in one timeline and apply stabilization.
The tool lets you preview the applied stabilization effect within its interface.
You can also crop and trim unwanted parts of the video using this efficient tool.
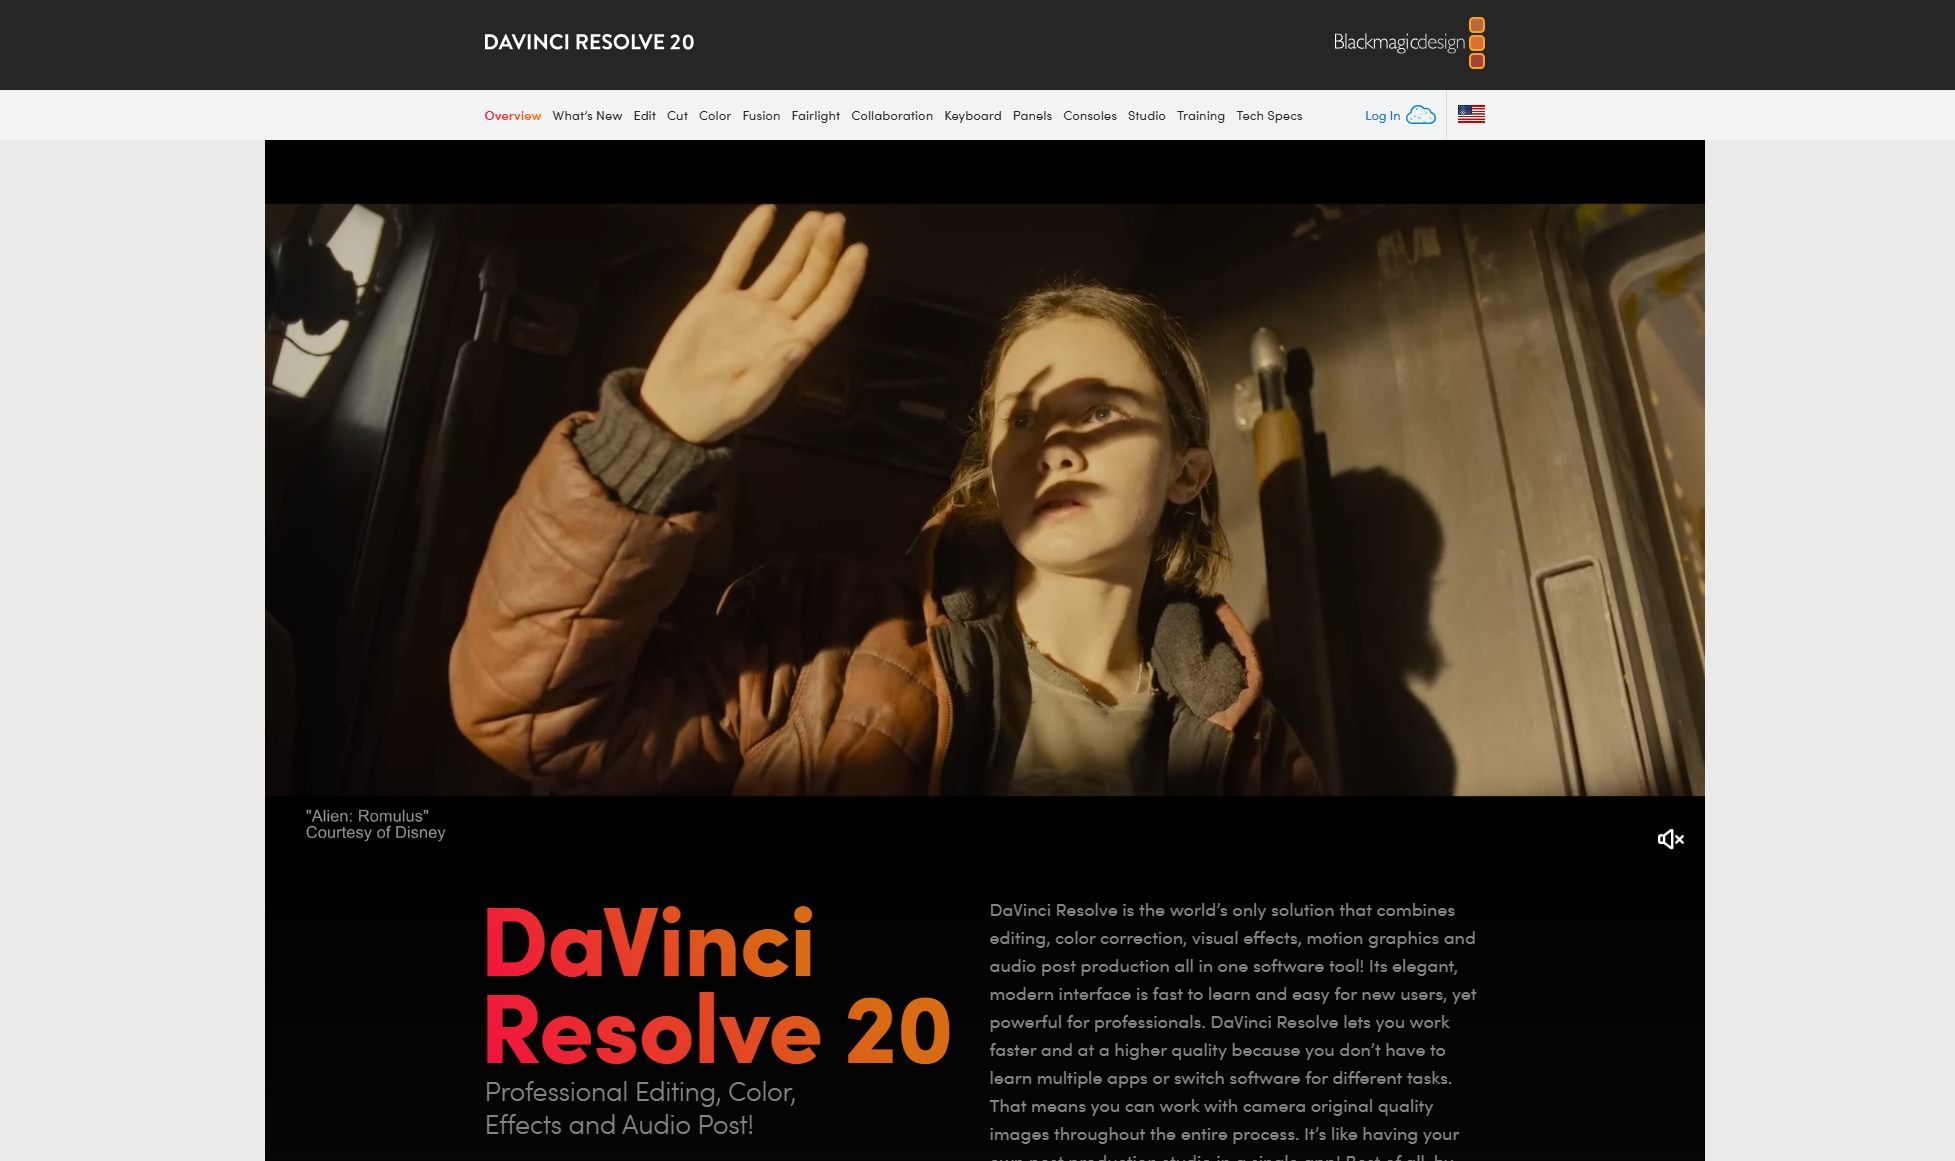
3. DaVinci Resolve
DaVinci Resolve offers a professional-grade solution for video stabilization, making it an ideal choice for filmmakers and content creators who need precise control over shaky footage. Its advanced motion analysis and stabilization algorithms allow users to DaVinci Resolve remove camera shake while maintaining image clarity and smooth motion. It transforms jittery recordings into polished, cinematic-quality videos.
Follow the instructions provided below to learn how to apply stabilization using this tool:
Steps Guide to Remove Shaking from Video in DaVinci Resolve
Access Davinci Resolve and import your shaky video to be stabilized.
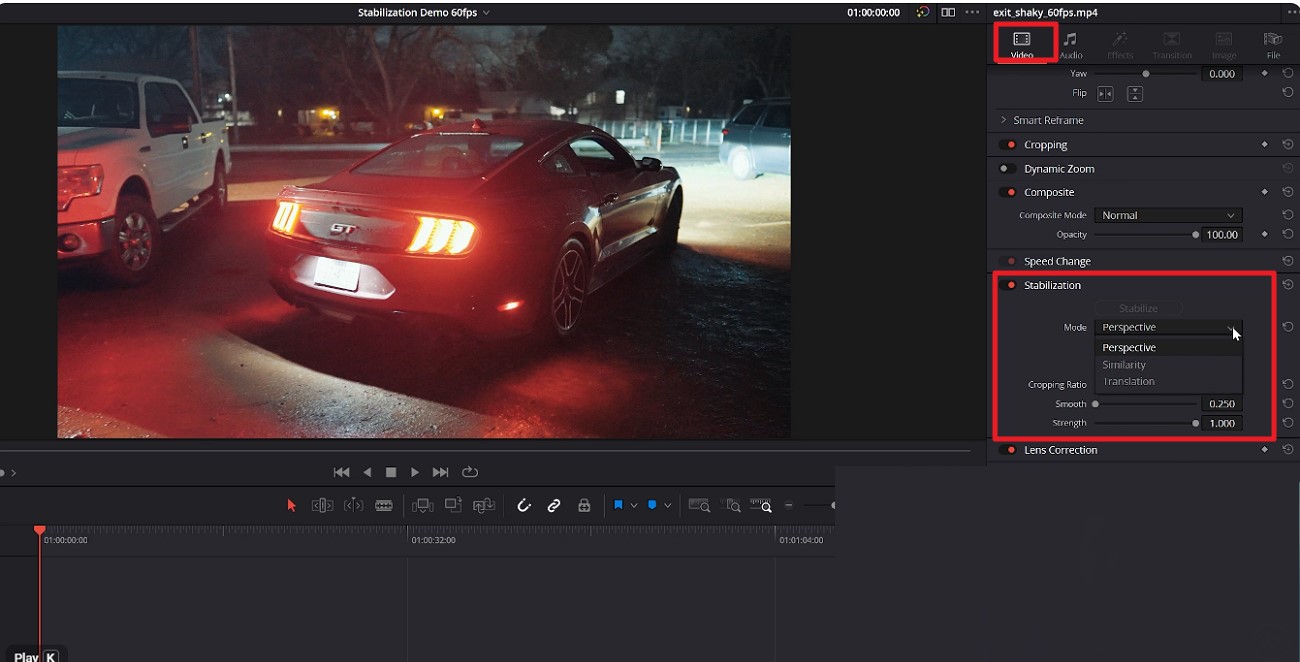
After you have imported the video to the tool's interface, head to the "Video" panel on the right and turn the toggle on for "Stabilization."
Then, select the Mode and other options, such as Crop ratio and Strength, by dragging the sliders.
Once done, hit the "Stabilize" button to execute the process. When the stabilization is successfully completed, export the video to your computer.
Key Features
Handles 4K, 6K, and RAW footage while maintaining video quality.
Supports a wide range of video formats such as MP4, MOV, and more for seamless workflow.
The tool includes advanced audio editing, syncing, and mixing for polished post-production.
Part 3. How to Remove Shaking from Video with Simple Online Tools
Whether you’re editing a vlog, tutorial, or social clip, the following online tools make it easy to reduce shake in video while preserving clarity:
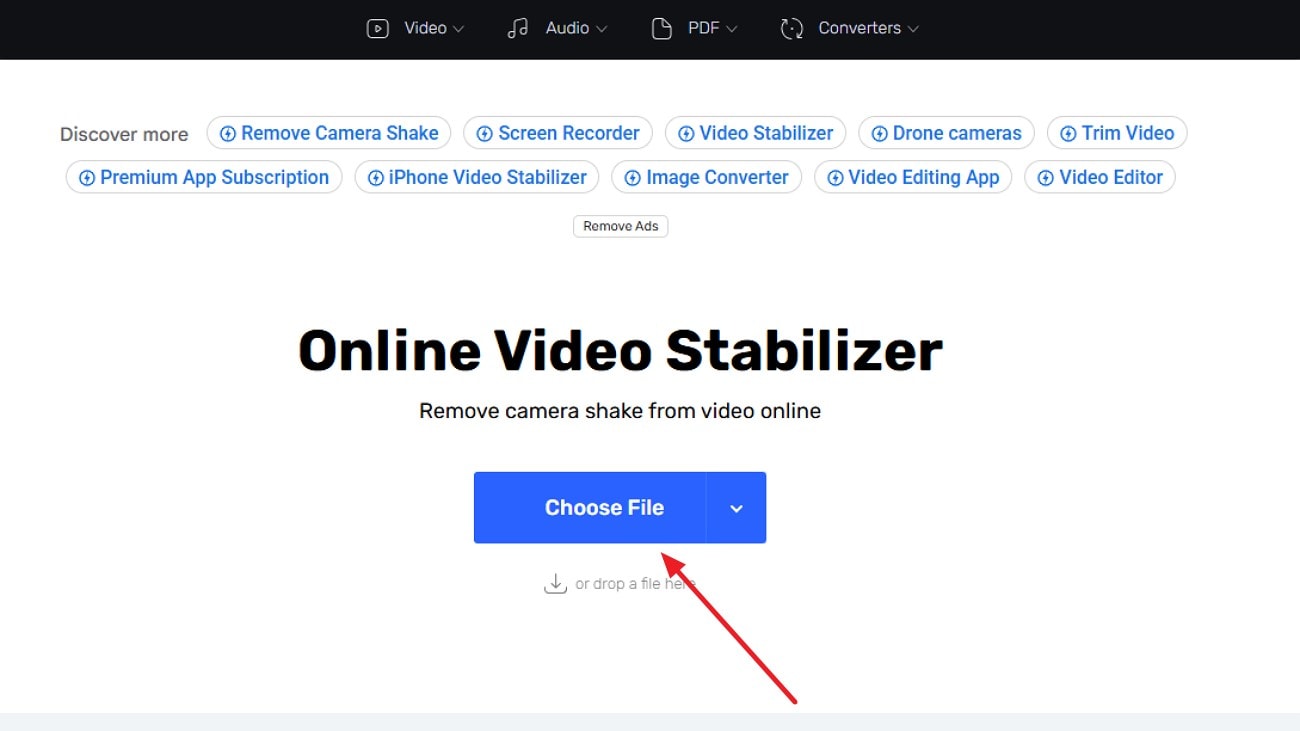
1. Online Video Stabilizer
This free, browser-based tool makes video shake removal easy by letting you upload shaky footage and stabilize it in just a few clicks. It supports a wide range of formats and helps smooth out unwanted movement without installing software, perfect for quick camera shake fixes before sharing.
Steps Guide on Using Online Video Stabilizer
To learn how to use this tool for shake removal, read the steps provided next:
Step 1. Begin by accessing the tool on your browser and pressing the “Choose Files” button to upload your unstable video to the interface.
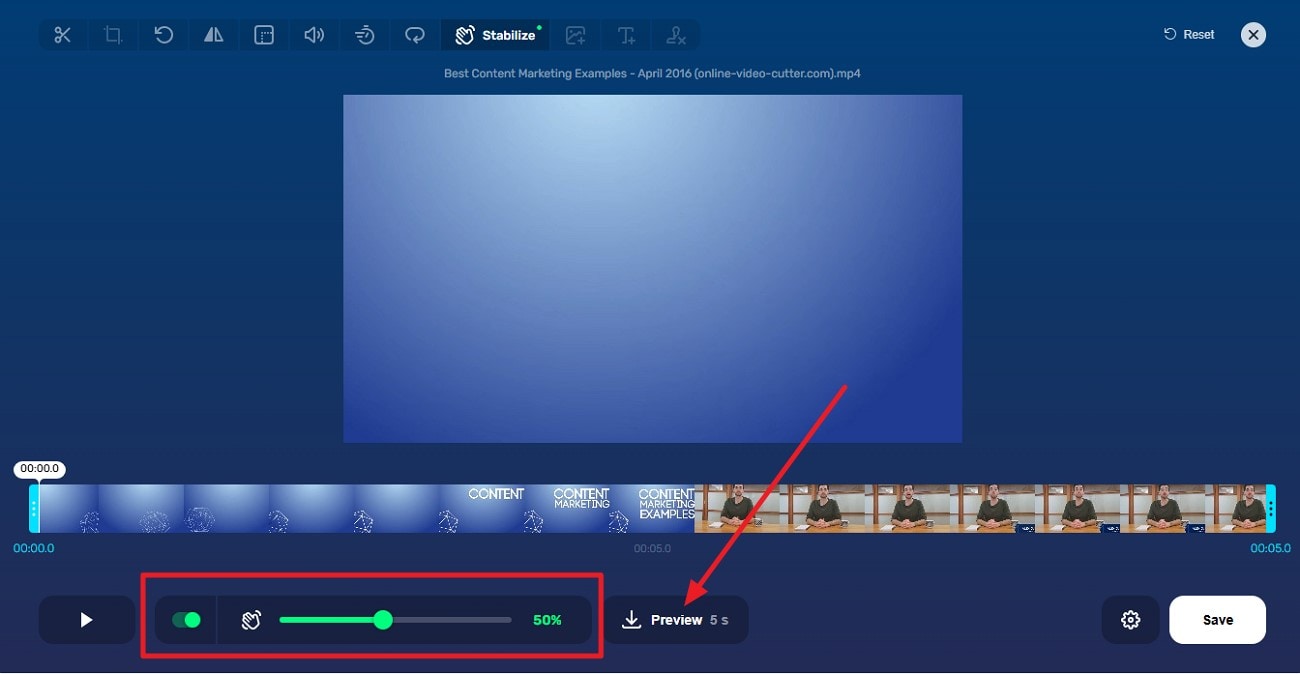
Step 2. Once the video is uploaded, enable the “Stabilizer” by turning its toggle on. Now, adjust the stabilization intensity by dragging the sliders. Press the “Preview” button to execute the process. Once the stabilization is completed, the video will be automatically downloaded to your device.
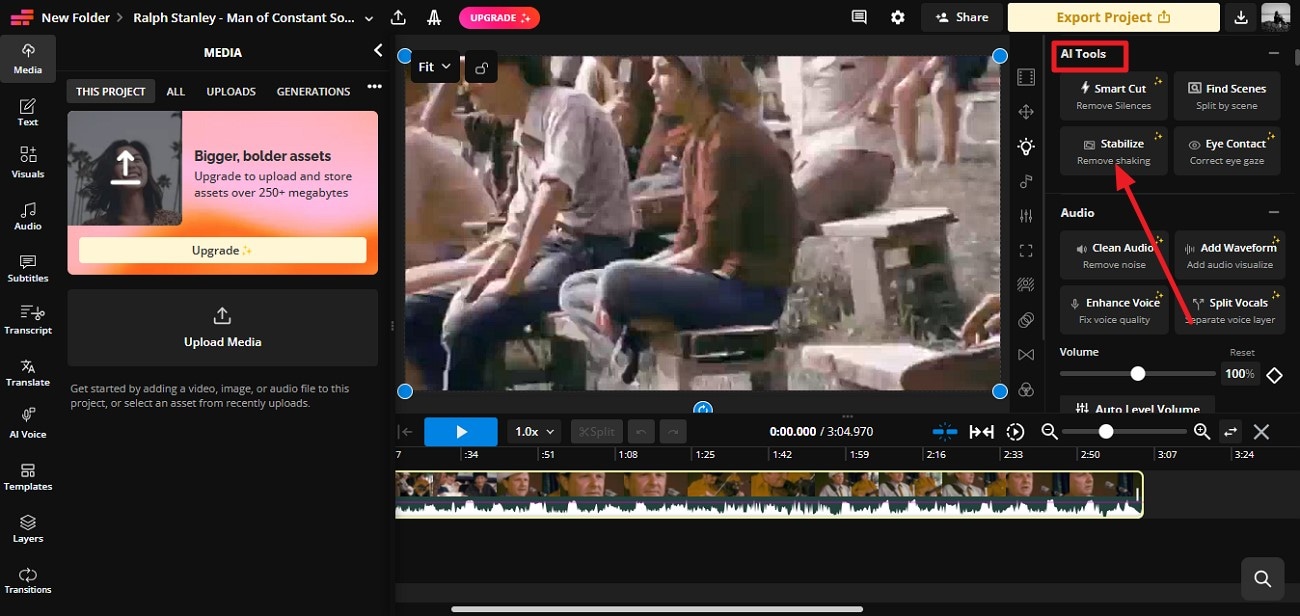
2. Kapwing Video Stabilizer
Kapwing’s online stabilizer delivers simple camera shake reduction with one-click AI smoothing, helping turn unsteady clips into polished videos. Integrated into a full editor, it pairs stabilization with other enhancements like text and filters, ideal for creators wanting smooth results right in their browser.
Steps Guide on Using Kapwing Video Stabilizer
Follow the steps mentioned below to learn how to use this tool for video stabilization:
Step 1. Start by accessing the tool in your browser and pressing the "Upload Video" button to import your unstable video.

Step 2. Once the video is imported, access the "AI Tools" from the right and click on the "Stabilize" option. When the video is done, press the "Export" button to download the footage successfully to your device.
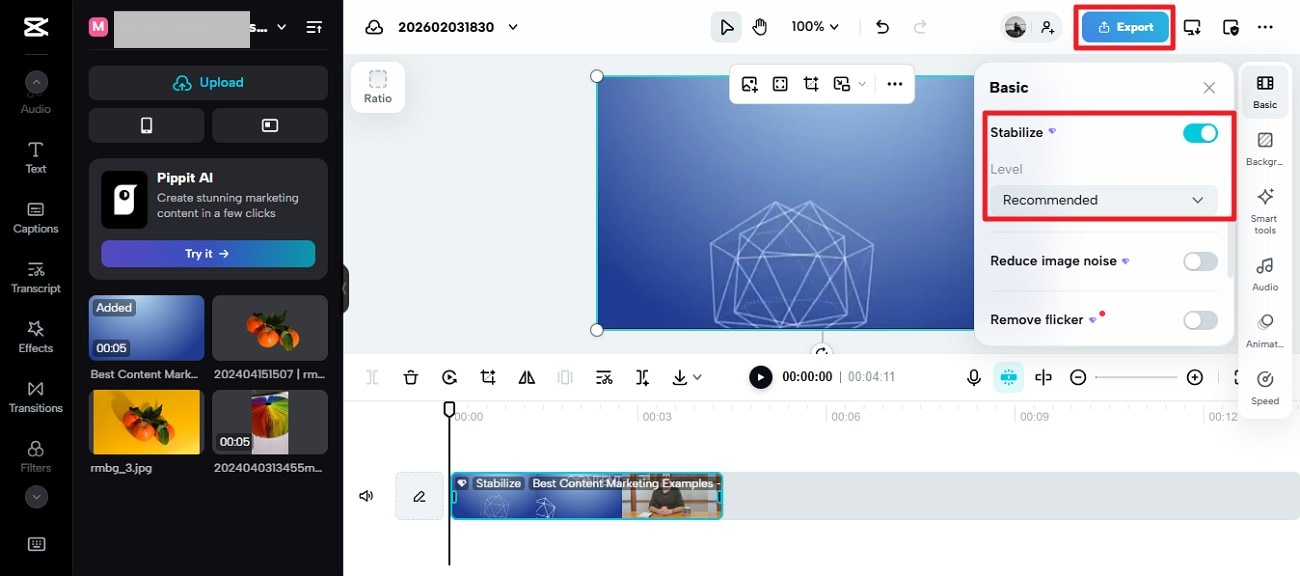
3. CapCut Video Stabilization
It uses advanced AI to reduce shake in video automatically, detecting motion and steadying clips with minimal effort. With optional parameter tweaks for precision and export quality choices, it’s a versatile choice for refining handheld footage.
Steps Guide on Using CapCut Video Stabilizer
Read the steps provided next and learn how to stabilize video using CapCut:
Step 1. Once you have accessed the tool on your browser, press the “Create New” option located within the interface to upload the video.

Step 2. After the video is uploaded, access the “Basic” option from the right and enable the “Stabilize” features. Select the level for the options provided to begin the process. Once the stabilization is completed, press the “Export” button to save the video successfully to your device.
4. Stabilizo
Stabilizo is a dedicated video shaking removal online platform that focuses on smoothing jittery footage in a straightforward way. Just upload your shaky video and let its built-in stabilizer analyze and adjust the motion to produce cleaner, steadier results in minutes with no downloads required.
Steps Guide on Using Stabilizo
If you do not know how to use this tool for video stabilization, read the steps provided next:
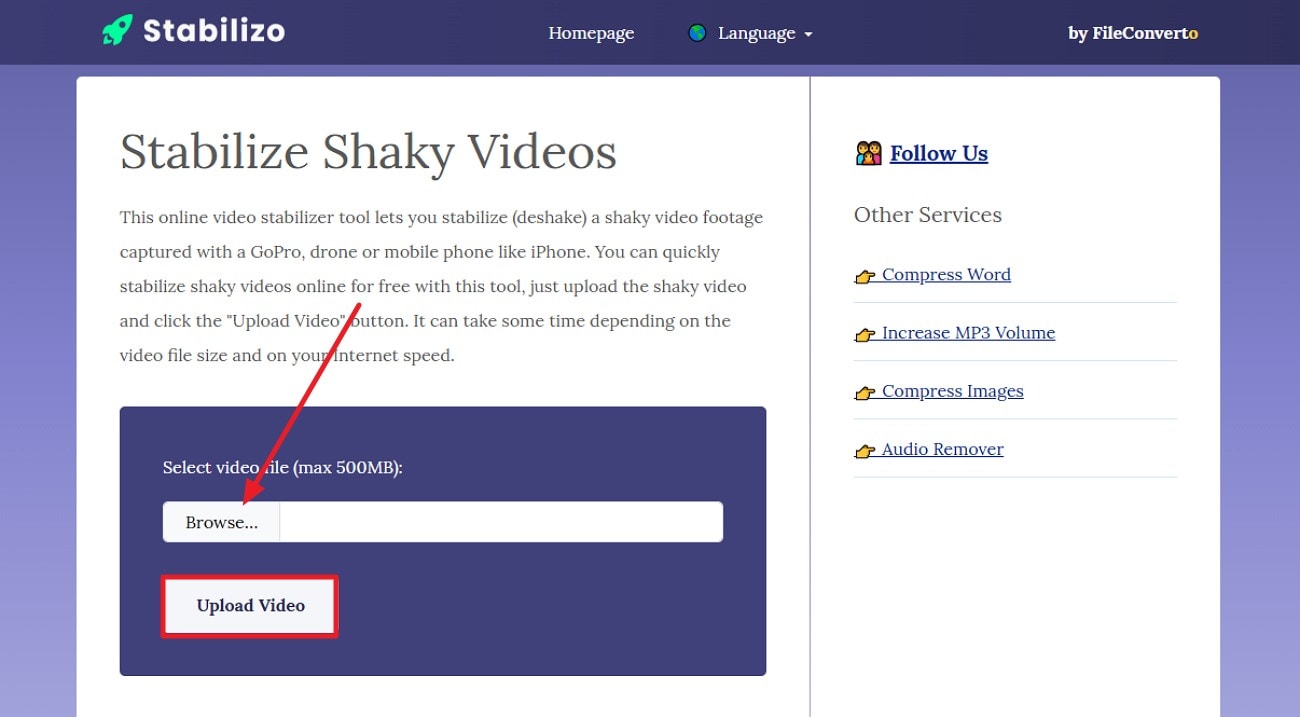
Step 1. Begin by opening the tool on your browser and selecting the “Browse” option to add the video. Press the “Upload Video” button to successfully upload the video to the tool’s interface.
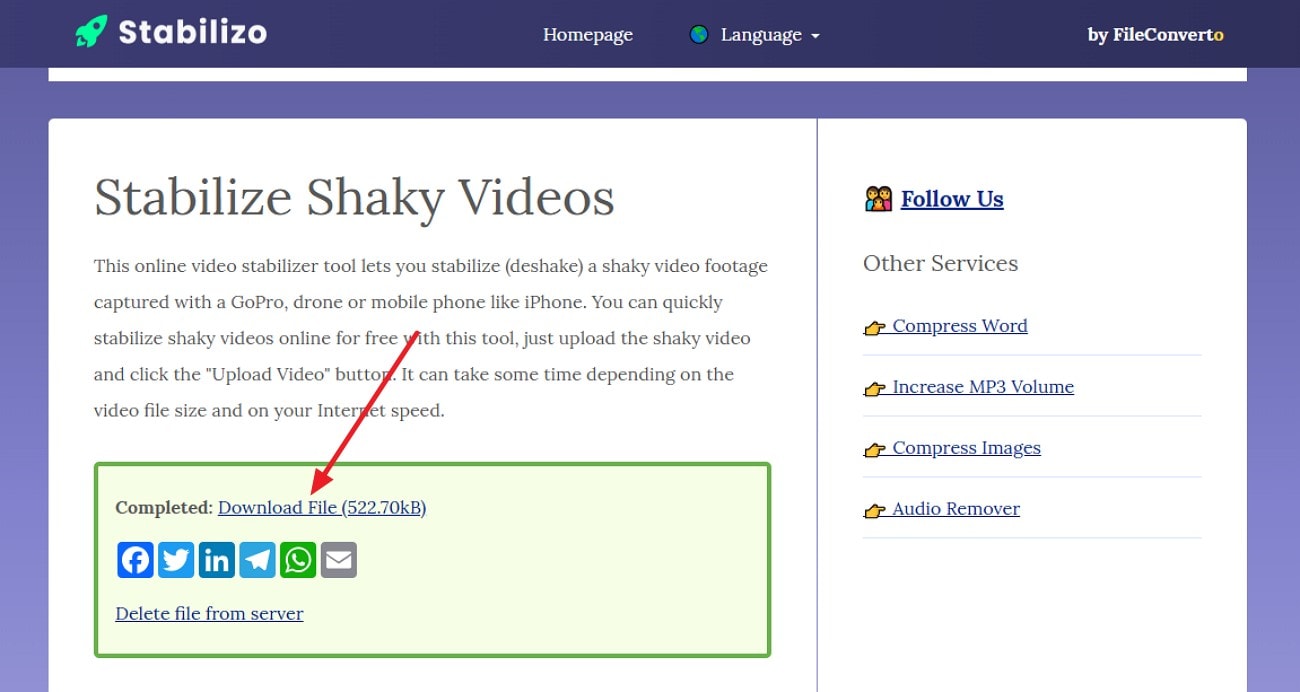
Step 2. Once the video is stabilized, press the “Download File” button to successfully save it to your device.
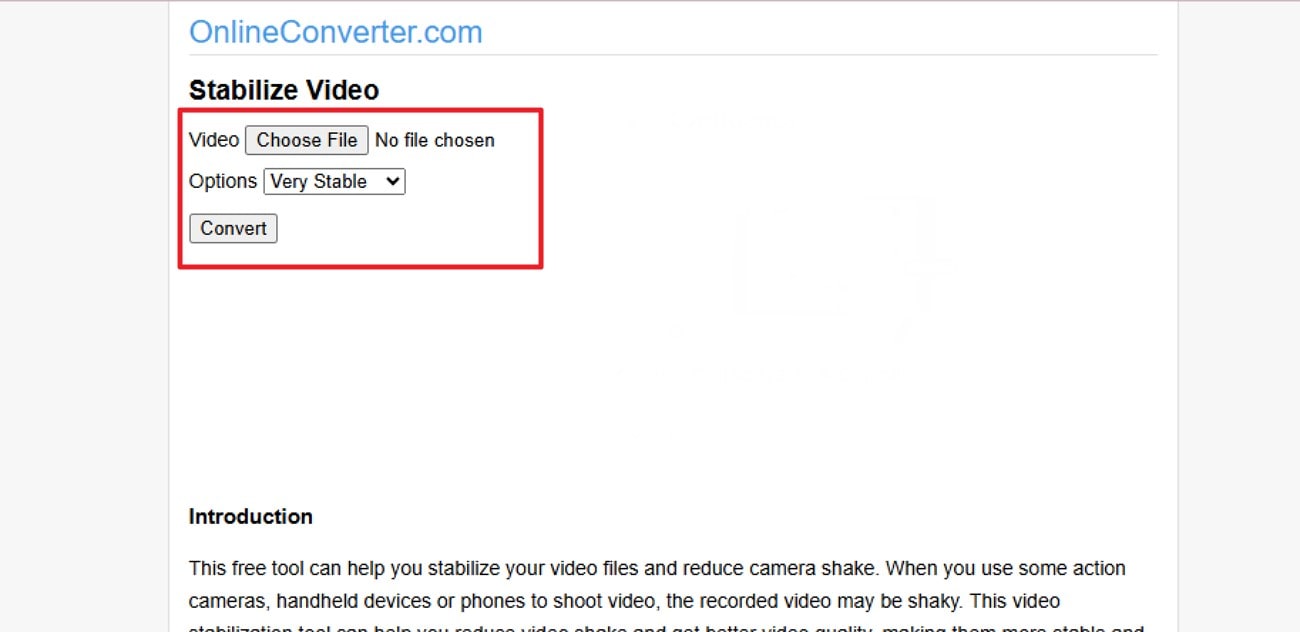
5. OnlineConverter
This free stabilization tool helps reduce camera shake by offering multiple levels of smoothing from light to strong. It accepts standard formats like MP4 and MOV and balances stability improvements with preserving video quality, making it a practical browser option for quick fixes.
Steps Guide on Using Online Converter to Stabilize Video
If you do not know how to use this tool, read the steps mentioned below:
Step 1. Once you have accessed the tool on your browser, press the “Choose File” button to upload your video. Next, select the stabilization option from the drop-down menu and hit the “Stabilize” button.
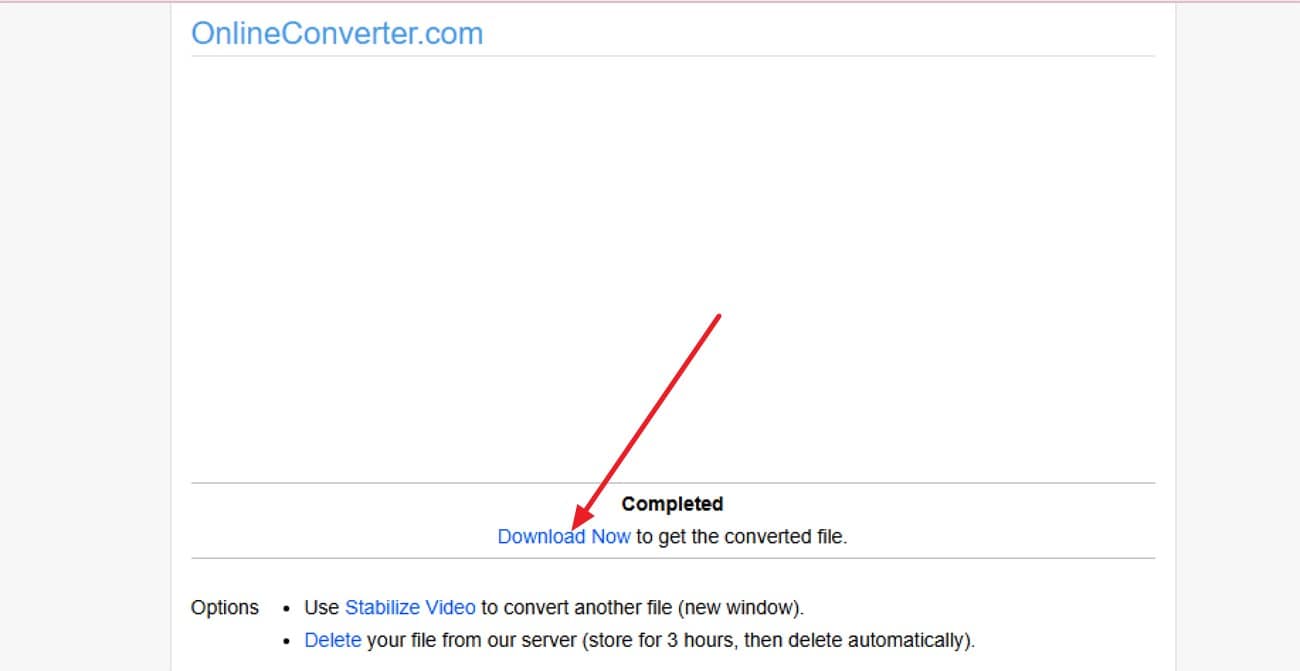
Step 2. When the stabilization process is successfully completed, press the “Download Now” option to successfully save the results to your device.
Part 4. Compare Software That Remove Shaking from Video: Free vs Paid
When deciding how to reduce camera shake, it's essential to weigh the differences between free and paid solutions. Mentioned below is a comparison table between the free and the paid options:
| Free Online Tools | Basic Free Desktop Tools | UniConverter (Paid) | Professional Paid Software | |
| Ease of Use | Very simple interface, minimal steps. | Moderate learning curve | Intuitive, beginner-friendly interface with clear stabilization options and preview, suitable for all users. | Professional interface, packed with features, but it can be overwhelming for beginners. |
| Stabilization Quality | Can remove mild shake; struggles with heavy or erratic motion. | Better than online tools, but may still leave a slight jitter on complex footage. | An advanced stabilization algorithm ensures smooth results for mild to vigorous camera shake. | Excellent stabilization, ideal for professional projects; may over-crop. |
| Advanced Controls | Few or no controls for intensity or preview. | Some control over stabilization strength | Full control over stabilization intensity, live preview before export, and adjustable crop for best results. | Extensive control, frame-by-frame adjustments, multiple stabilization modes, but a steeper learning curve. |
| Format Support | Supports popular formats (MP4, MOV) but has limited options. | Limited format support | Supports nearly all formats, including MP4, MOV, AVI, MKV; seamless import/export. | Extensive professional format support, including RAW and high-resolution codecs. |
| Additional Editing Tools | Very limited; mainly stabilization only. | Basic trimming or cropping may be included. | Includes cropping, trimming, preview, and AI-powered enhancements besides stabilization. | Advanced post-production features, color grading, and effects add complexity. |
Part 5. Prevent Shaky Footage: 6 Tips to Remove Shaking from Video While Shooting
Before trying to fix camera shake reduction in post-production, the best approach is to prevent shaky footage while shooting. Using the proper techniques and tools during filming can save time and preserve video quality. Here are six practical tips to keep your footage stable:
Use a Tripod: A sturdy tripod anchors your camera, eliminating hand movement. It's essential for stationary shots and professional-looking videos.
Gimbal Stabilizer: A handheld gimbal counteracts shakes during movement. Perfect for walking shots or dynamic scenes.
Proper Grip & Posture: Hold the camera close to your body and bend your elbows slightly. This reduces tremors and provides natural stability.
Slow, Smooth Movements: Avoid sudden pans or tilts. Gentle movements create cinematic flow and minimize jitter.
Optical Image Stabilization (OIS): Use cameras or lenses with built-in stabilization. OIS corrects small shakes in real time for smoother footage.
Weighted Rig or Shoulder Mount: Adding weight or using a shoulder rig distributes camera mass evenly. This is helpful for longer handheld shoots and heavy cameras.
Conclusion
To wrap it up, this article provided a complete guide on how to remove shaking from video effortlessly. The article suggested various online and offline tools that let you get the job done. However, if you are looking for a solution that enables you to remove jitters in no time while keeping the quality intact, use UniConverter. This AI-powered tool lets users adjust stabilization levels to their preferences.
FAQs
-
1. How can I remove shaking from a video easily?
You can use desktop software like UniConverter, which offers advanced stabilization tools to quickly smooth handheld footage while preserving overall video quality. -
2. Can I stabilize videos online without installing software?
Yes. Some online tools provide basic video stabilization, but they often have file size limits and deliver less precise results compared to desktop solutions. -
3. Which tool is best for professional video stabilization?
UniConverter is a strong choice for professional use, offering frame-by-frame analysis, adjustable stabilization intensity, and high-quality exports suitable for both professionals and casual creators. -
4. Does stabilization reduce video quality?
Some tools may slightly crop or adjust frames during stabilization. However, software like UniConverter minimizes quality loss while effectively removing camera shake. -
5. Is it possible to preview the stabilization before exporting?
Yes. Most advanced stabilization tools allow previews before export. UniConverter, for example, provides real-time previews so you can ensure the results look natural.

