

VLC Media Player is a versatile, free, and open-source tool that supports a wide range of video formats. While it’s primarily known for playing media, VLC also offers basic video editing features, including the ability to trim videos. In this guide, we’ll walk you through how to trim videos in VLC on Windows, Mac, and Mobile, as well as explore alternative tools for more advanced editing needs.
In this article
Part 1: How to Trim Videos in VLC on Windows
VLC Media Player is a powerful tool that does more than just play videos; it also allows you to trim video in VLC quickly and easily. Whether you're editing personal clips or professional content, VLC offers simple yet effective trimming features. Follow these straightforward steps to get started.
Step 1: Download and launch VLC
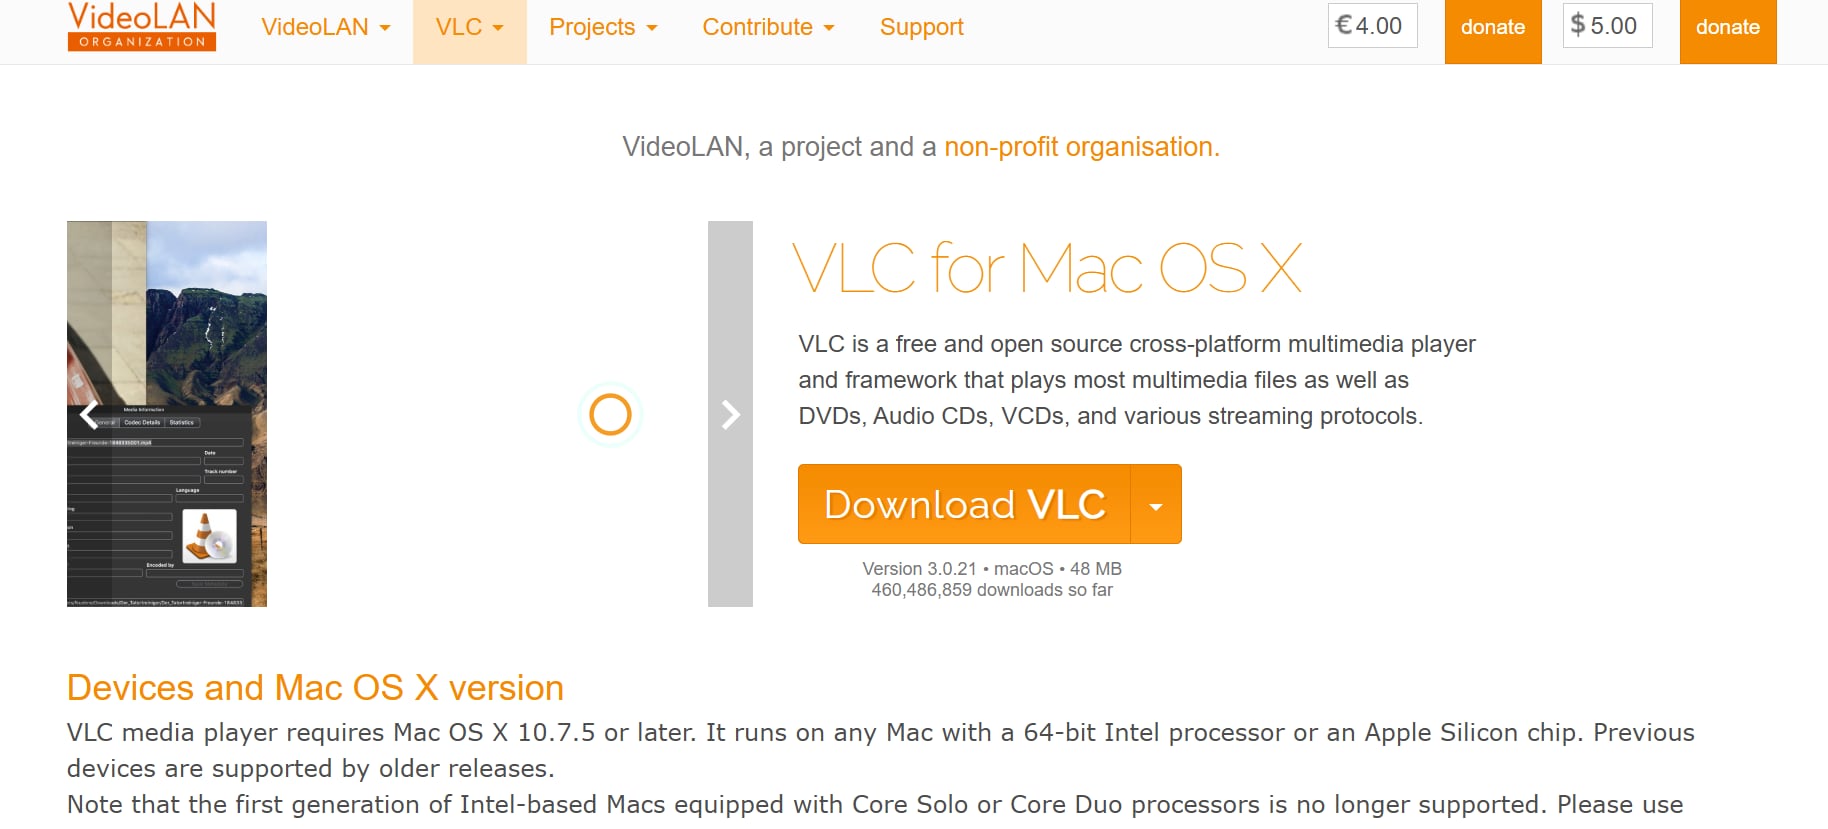
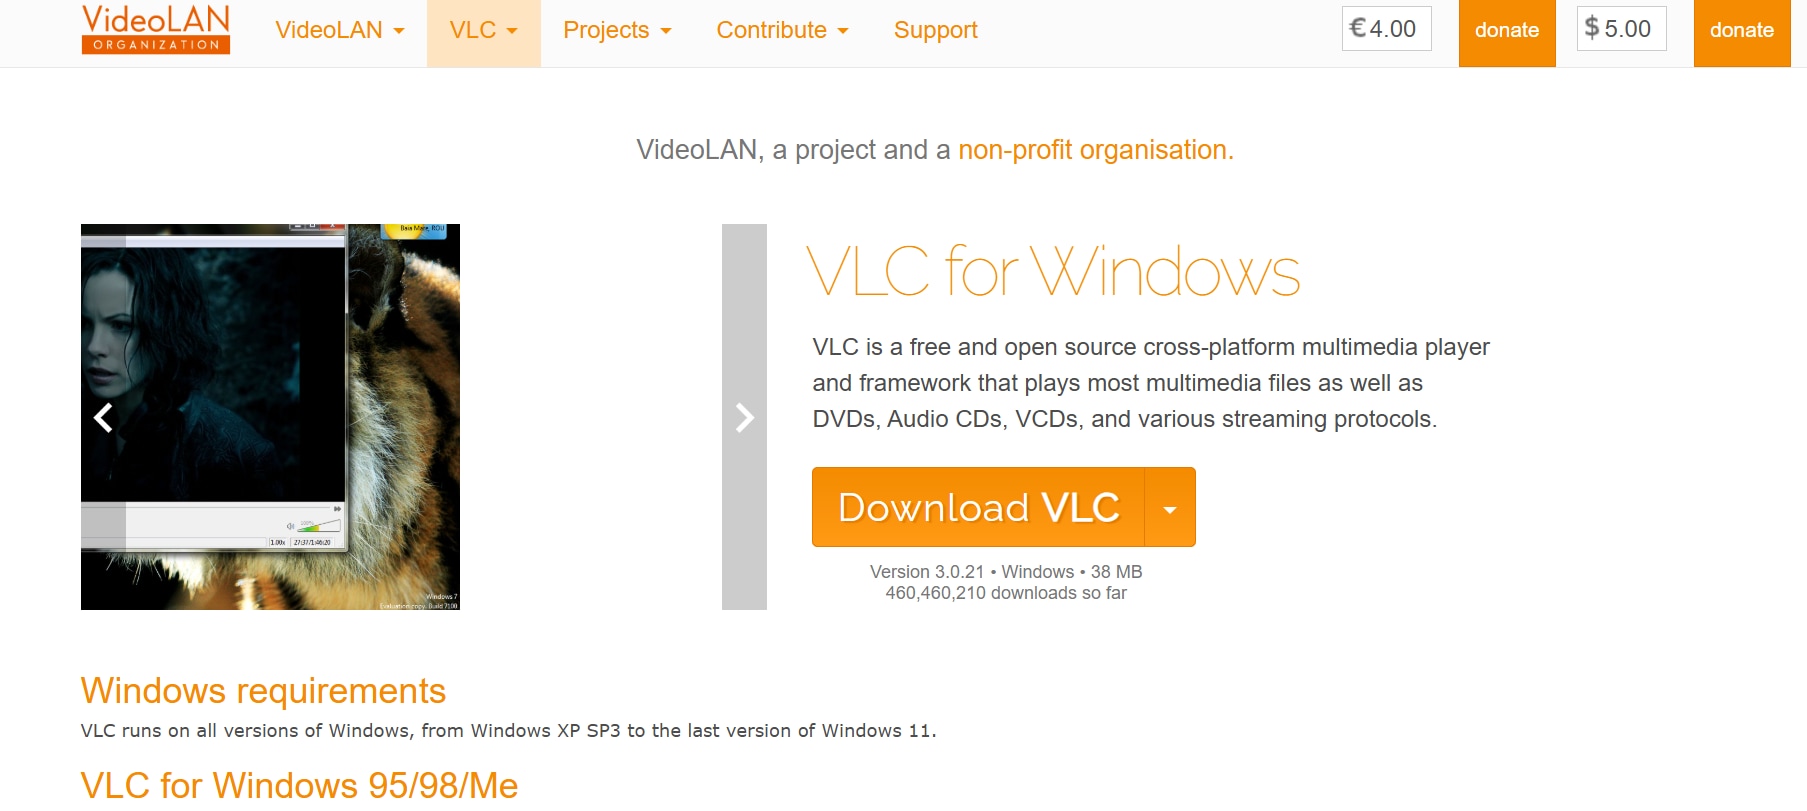
To trim a video with VLC, first ensure you have the software installed. Head to the official VideoLAN website and safely download the latest version of VLC Media Player. Once downloaded, install the software following the on-screen instructions, then open VLC to begin editing.
Step 2: Open your video in VLC
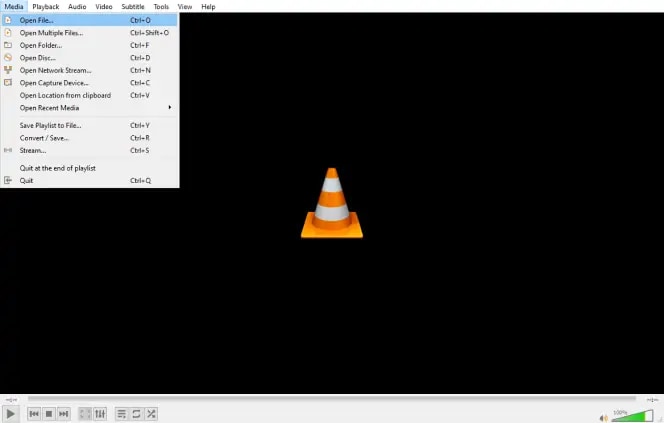
Next, you'll need to open the video file that you want to trim. There are several easy ways to do this: drag and drop the video file directly into VLC's interface; click on Media in the top-left corner, then choose Open File and select your desired video; or simply press Ctrl + O, locate your video, and open it in VLC.
Step 3: Activate VLC's editing controls
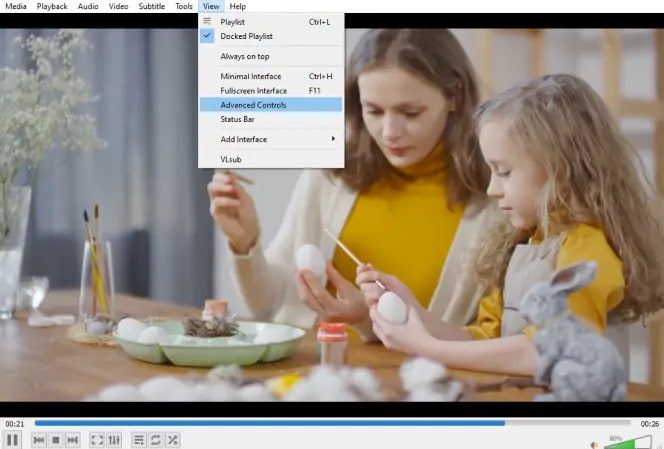
Before you trim your video, activate VLC's built-in editing features. Navigate to the View menu at the top of the VLC window and select Advanced Controls from the dropdown menu. You'll notice additional editing controls appear just below the playback screen, including the crucial Record button.
Step 4: Trim and save your video
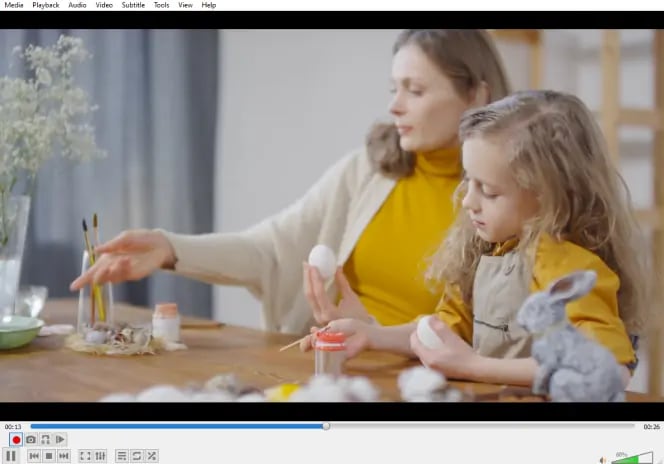
Move the playback slider to your desired starting point and press the Record button. Let the video play or advance frame-by-frame to your endpoint, then click Record again to stop. The trimmed video automatically saves to your default Videos folder (C:\Users\Username\Videos). Locate and rename the file as needed, and you've successfully trimmed your video using VLC.
Part 2: How to Trim Videos in VLC on Mac
VLC isn’t just for Windows users; it's equally effective to trim video Mac VLC without needing extra software. Whether you're shortening clips for social media or editing professional videos, VLC provides a straightforward solution. Here's how to trim videos on your Mac using VLC’s intuitive tools.
Step 1: Install and launch the software
Download VLC Media Player from the official VideoLAN website. Ensure you select the "Mac" version from the dropdown menu next to the download link. Install the software and launch it. This ensures you have the latest version of VLC, which is crucial for optimal performance and compatibility.
Step 2: Add the video to the playlist or open it
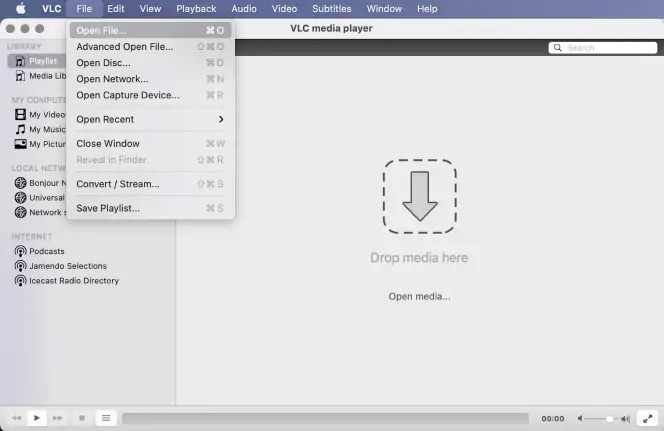
Drag and drop your desired video file into the VLC playlist; it should begin playing automatically. Alternatively, navigate to "File" > "Open File..." or press "Command + O" to open a file browser and select your video. This step is essential for loading the video into VLC, preparing it for the trimming process.
Step 3: Trim the clip
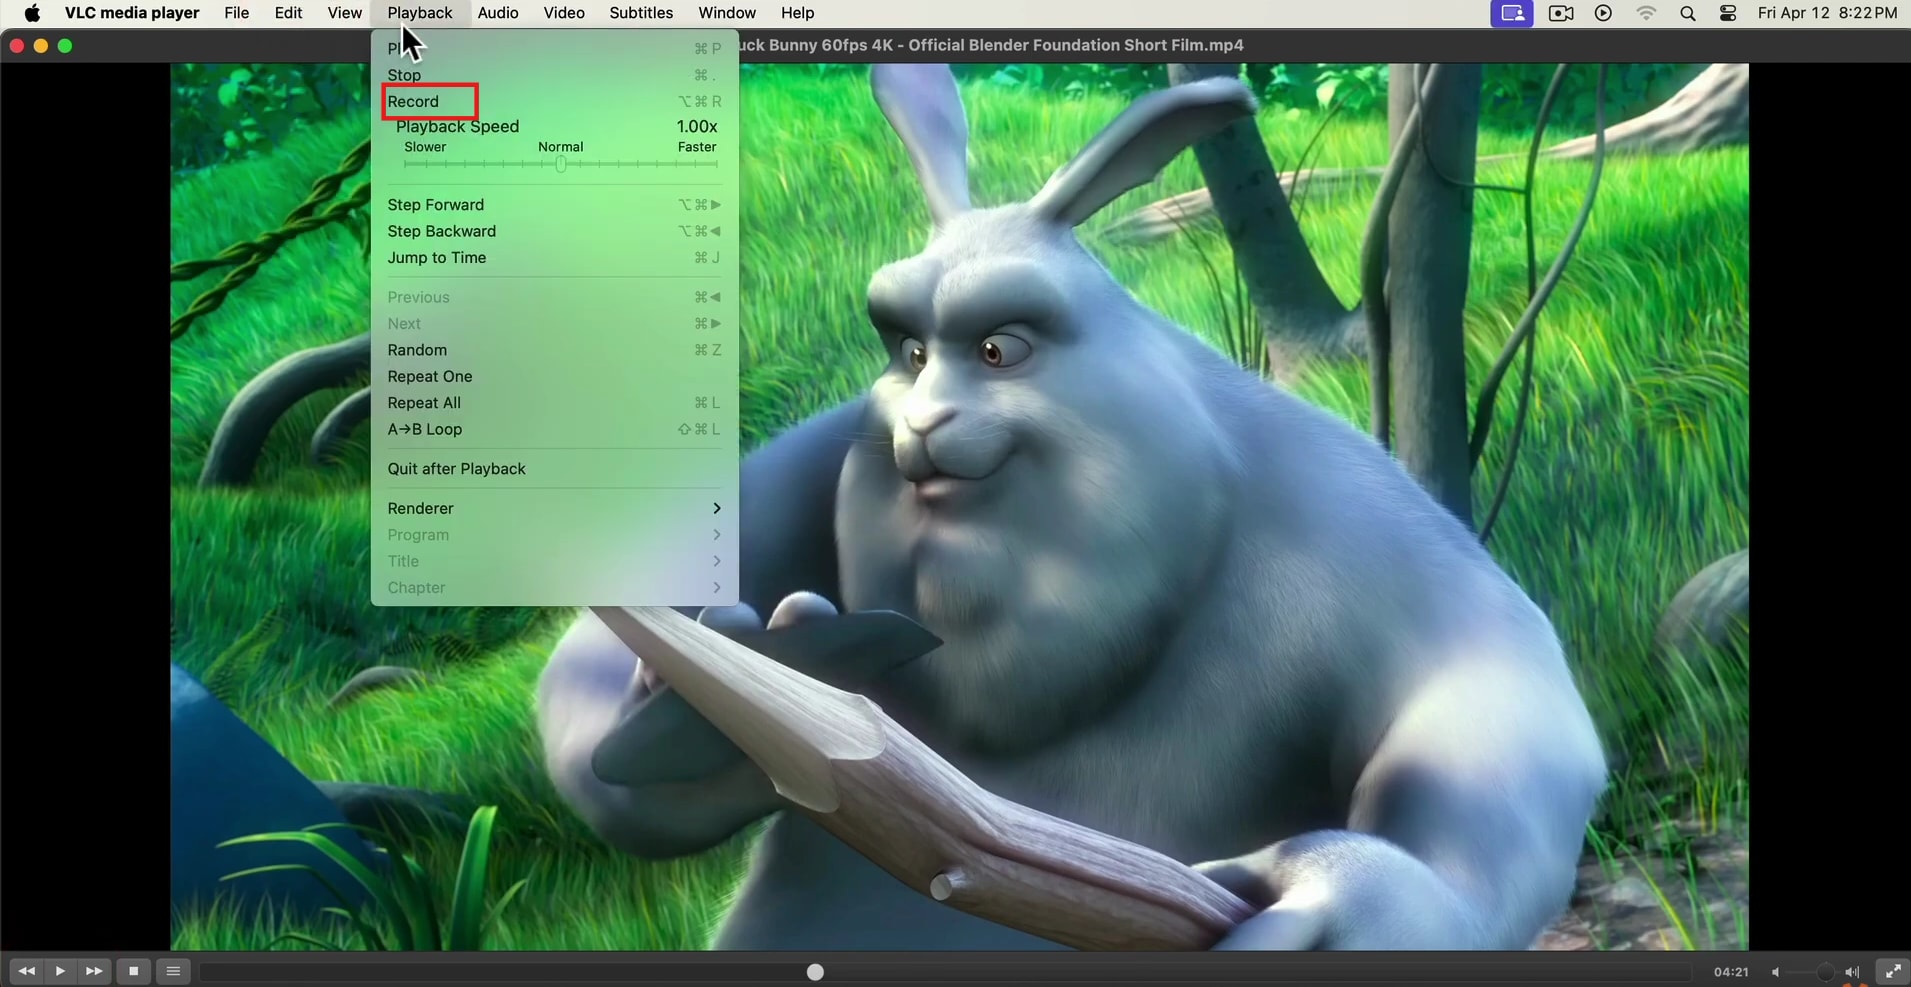
Use the scroll bar or playback controls to find the precise starting point for your trim. Once located, go to "Playback" > "Record" or press "Option + Command + R" to begin recording. Play the video until you reach the desired end point, then pause and repeat the "Playback" > "Record" step to stop recording. This method effectively captures the segment between the start and end points of your recording.
Step 4: Locate the Trimmed Clip
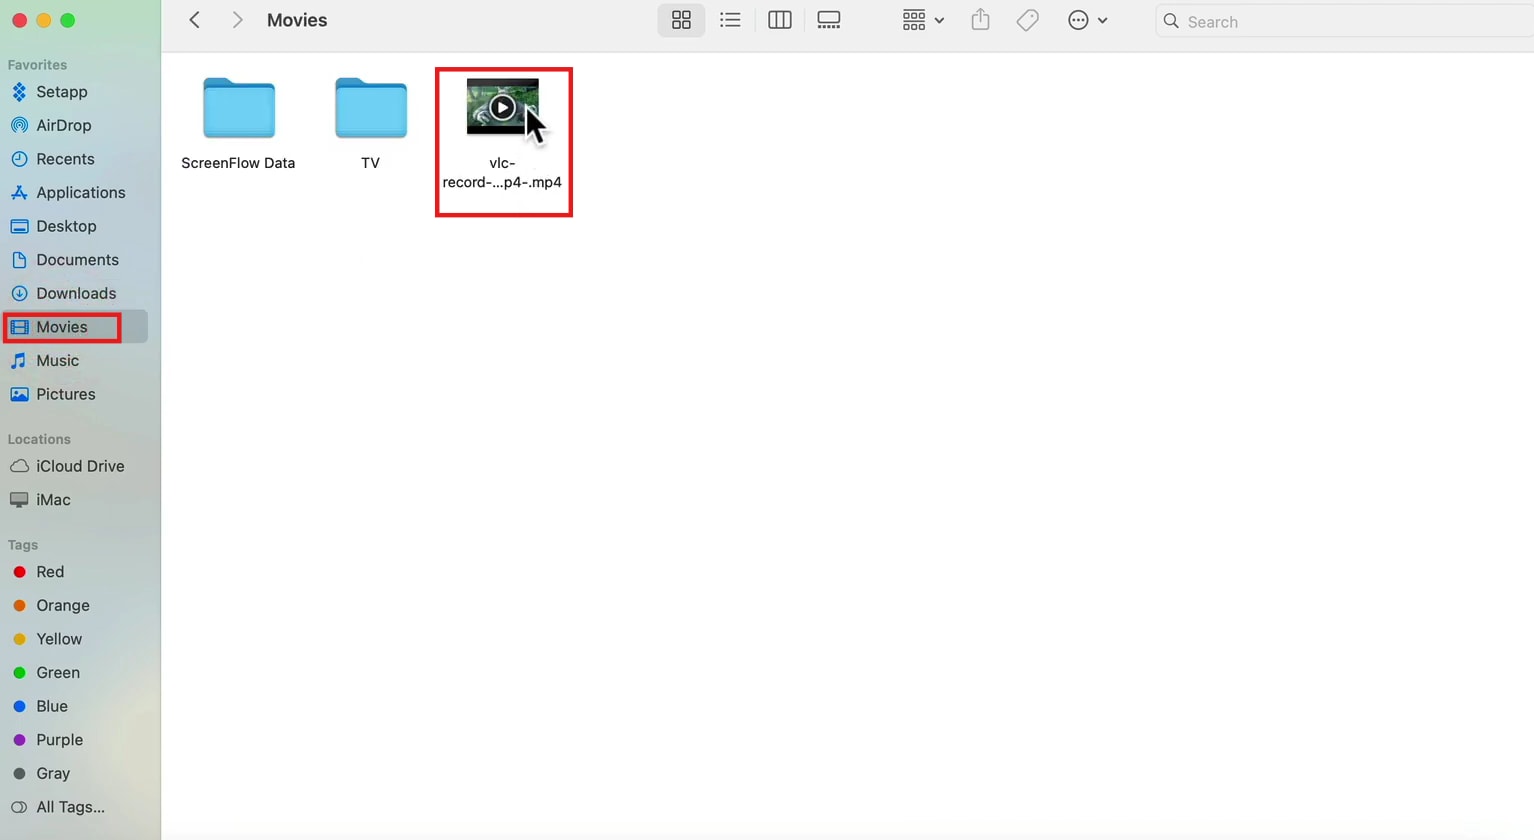
Your trimmed video file, named "vlc-record," will be saved in your default "Movies" folder unless you've customized the save location in VLC's "Preferences." Check this folder immediately after recording to verify the file's presence. This final step ensures you can quickly access and manage your newly trimmed video clip.
Part 3: How to Trim Videos in VLC App
For users on mobile platforms, the ability to trim with VLC directly on your device offers a convenient solution for quick edits. While the VLC mobile app may not have the full suite of desktop editing features, it provides a straightforward method to trim and save video segments. Here's how you can trim videos using the VLC app on your smartphone or tablet:
Step 1: Download and open VLC app
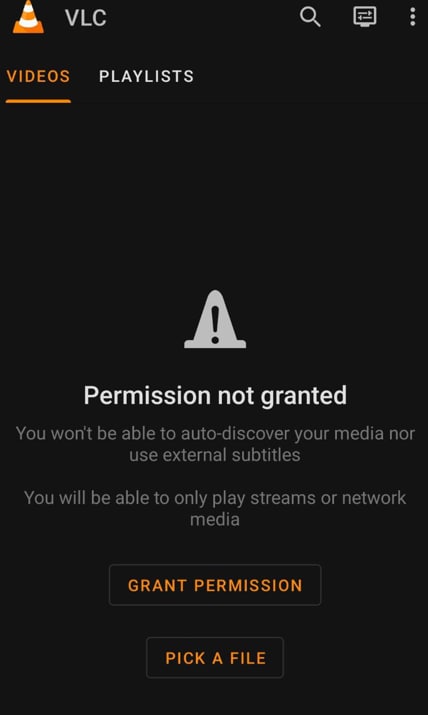
If you haven't already, download the VLC for Mobile app from your device's app store (Google Play Store or Apple App Store). Open the app and allow the necessary permissions to access your video files.
Step 2: Locate and open the video
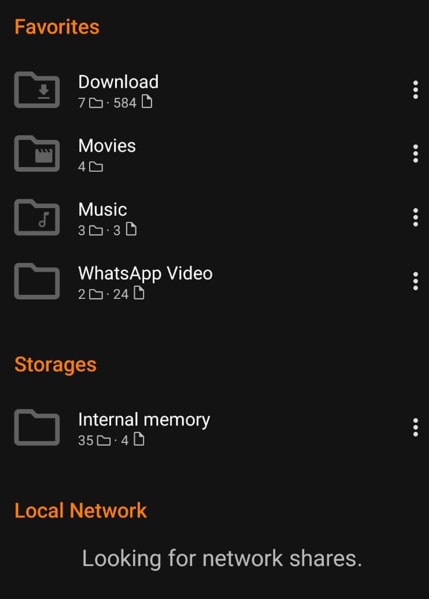
Navigate to the location of the video file you wish to trim within the VLC app's interface. This may involve browsing your device's storage or accessing a network location. Tap on the video file to open and begin playback.
Step 3: Screen record and manage the clip
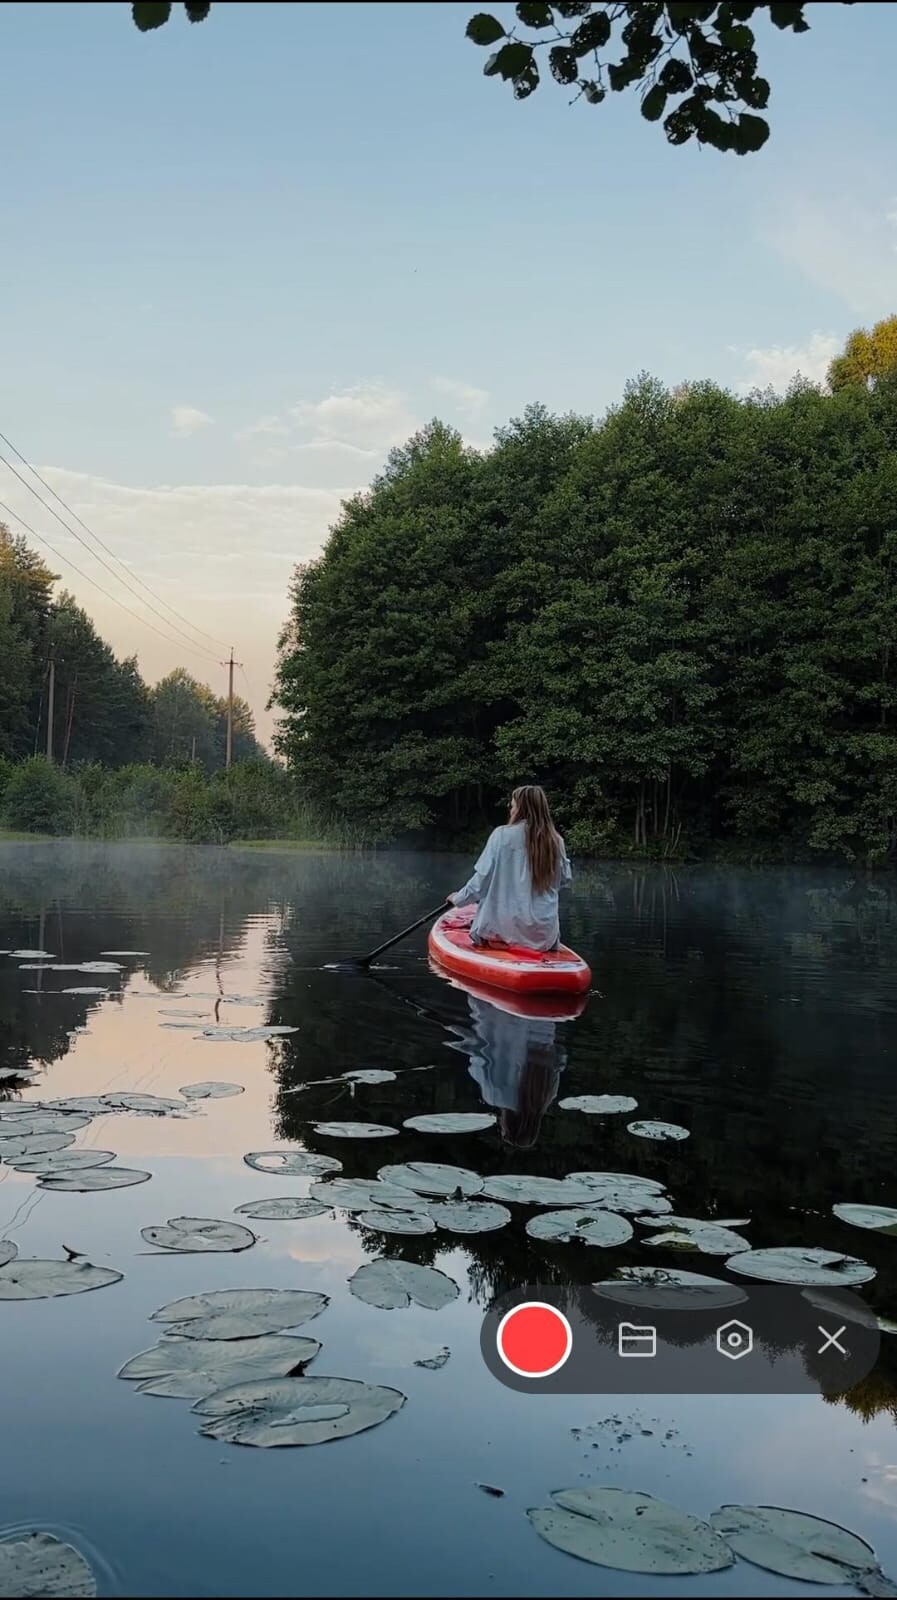
The VLC mobile app itself doesn't offer direct trimming. Therefore, use your device's built-in screen recording. Start recording, play the desired video segment, and stop recording. The recorded clip will save to your device's gallery. Use your device's built-in editor or a third-party app to further refine the clip, like cropping unwanted screen portions.
Part 4: Explore Alternative Way to Trim Videos in VLC
UniConverter
While VLC offers basic trimming, dedicated video editing software provides more advanced features and precision. UniConverter is a powerful and versatile video editing software, providing a comprehensive alternative to trim video with VLC. Designed with user-friendly controls and robust editing capabilities, UniConverter simplifies precise video trimming tasks. It supports multiple formats and offers lossless editing, ensuring your videos maintain high quality after trimming. Its intuitive interface makes it suitable for both beginners and professionals.

Best Video Cutter
Features:
- Precise Frame-by-Frame Trimming: Allows for extremely accurate cuts, ensuring no unwanted frames remain.
- Batch Processing: Trims multiple video files simultaneously, saving time and effort.
- Lossless Trimming: Maintains the original video quality without re-encoding, preserving clarity.
- Auto Split: Automatically splits long videos into smaller segments based on time duration or file size.
- Comprehensive Editing Tools: Includes cropping, merging, effects, and format conversion beyond basic trimming.
Steps to Trim Videos with UniConverter
Step 1: Launch UniConverter and open the cutter tool
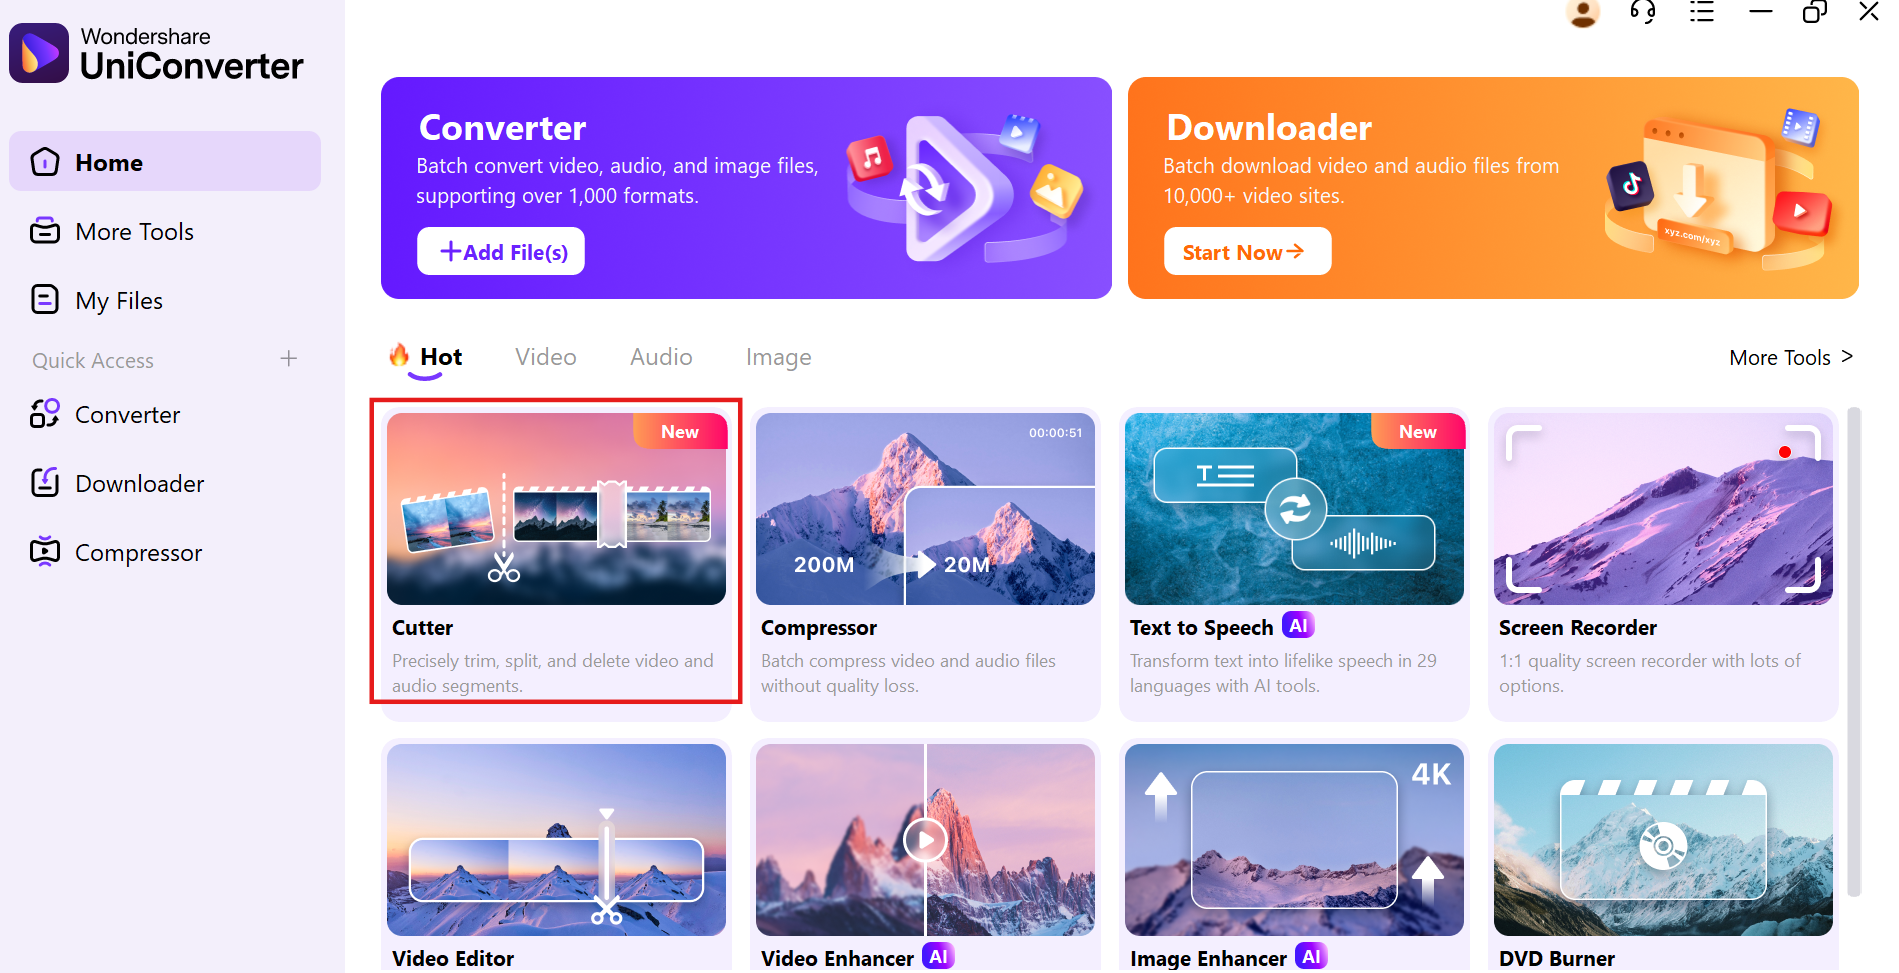
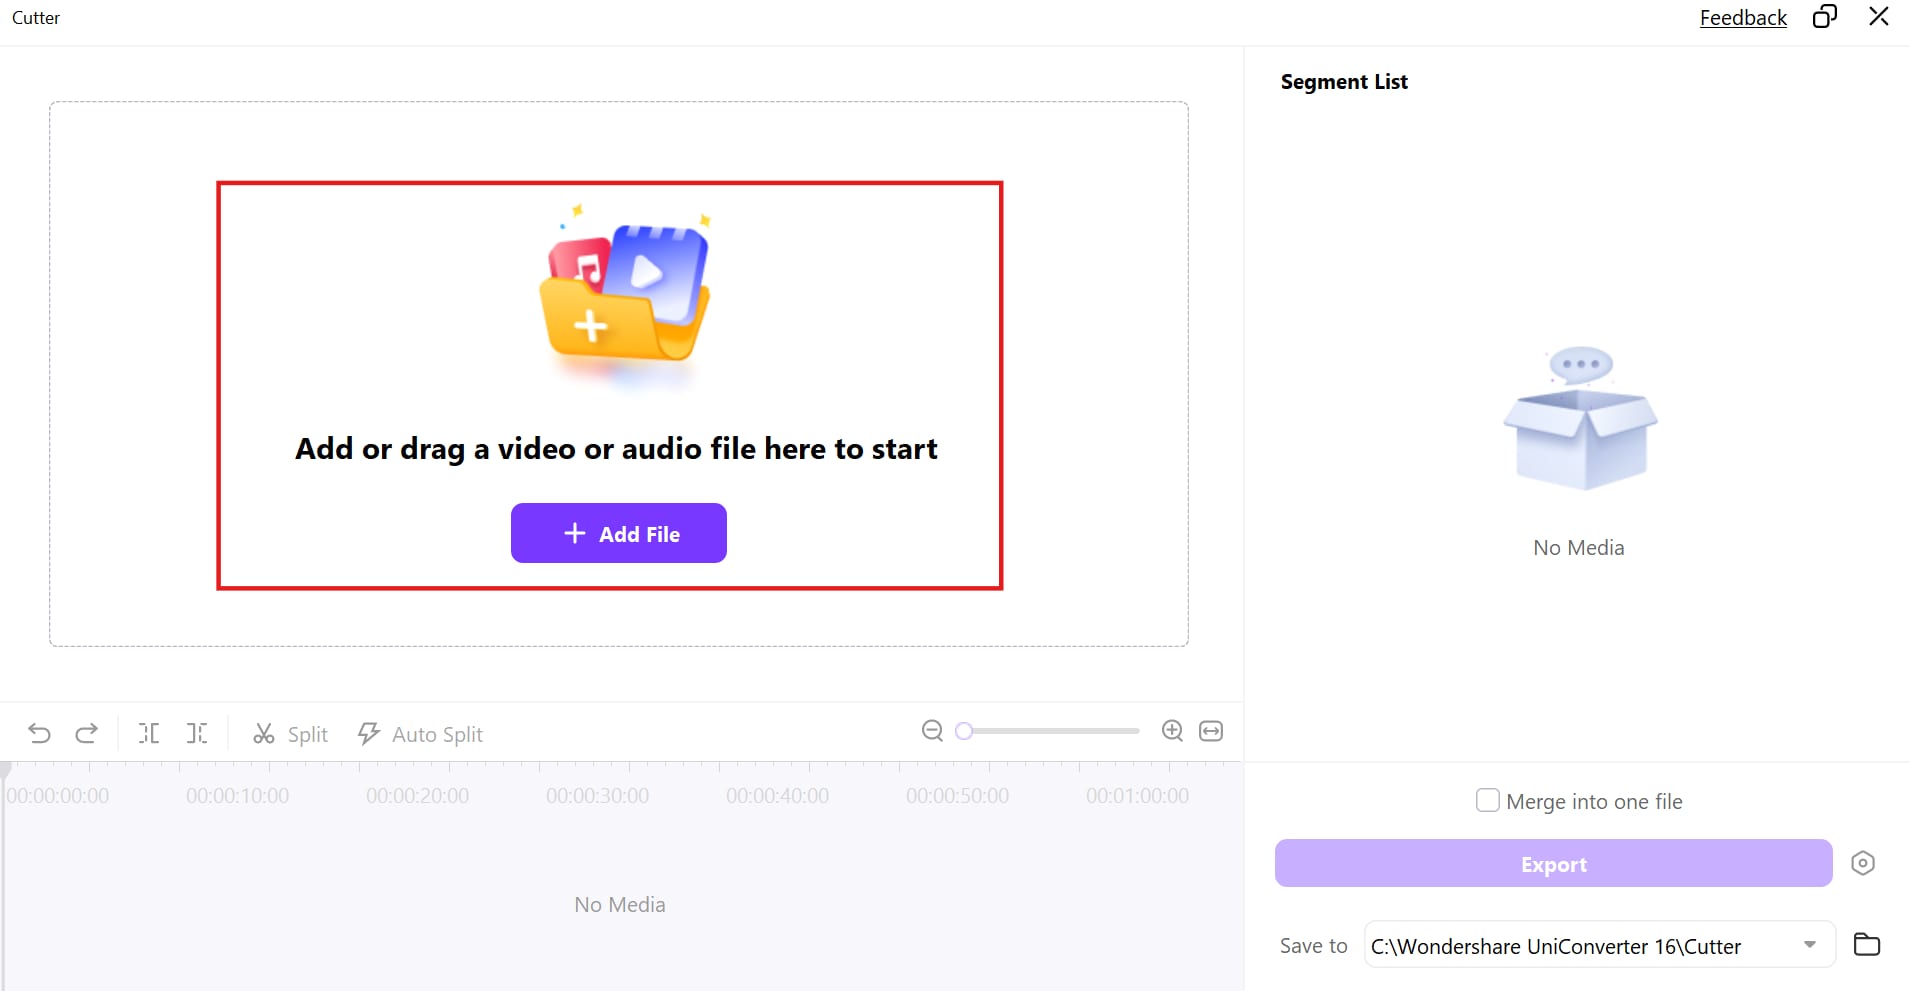
Open UniConverter on your computer and navigate to the Home tab. Under the Hot section, select Cutter to access the dedicated trimming interface. Here, you can precisely trim, split, or delete unwanted sections from your video or audio files.
Step 2: Import your video
Click the + Add File button or drag and drop your video file directly into the workspace. The video will load instantly, displaying clearly in the Segment List area. You can now easily select segments to trim, split, or edit based on your preferences.
Step 3: Precisely trim or split the video
Use the timeline markers to select exactly which part of the video you want to retain. You can manually adjust the start and end points, use the Split function to divide the video at the playhead location, or conveniently use the Auto Split function to segment the video based on duration or quantity. After confirming your selections, the segments will appear clearly listed and ready for final adjustments.
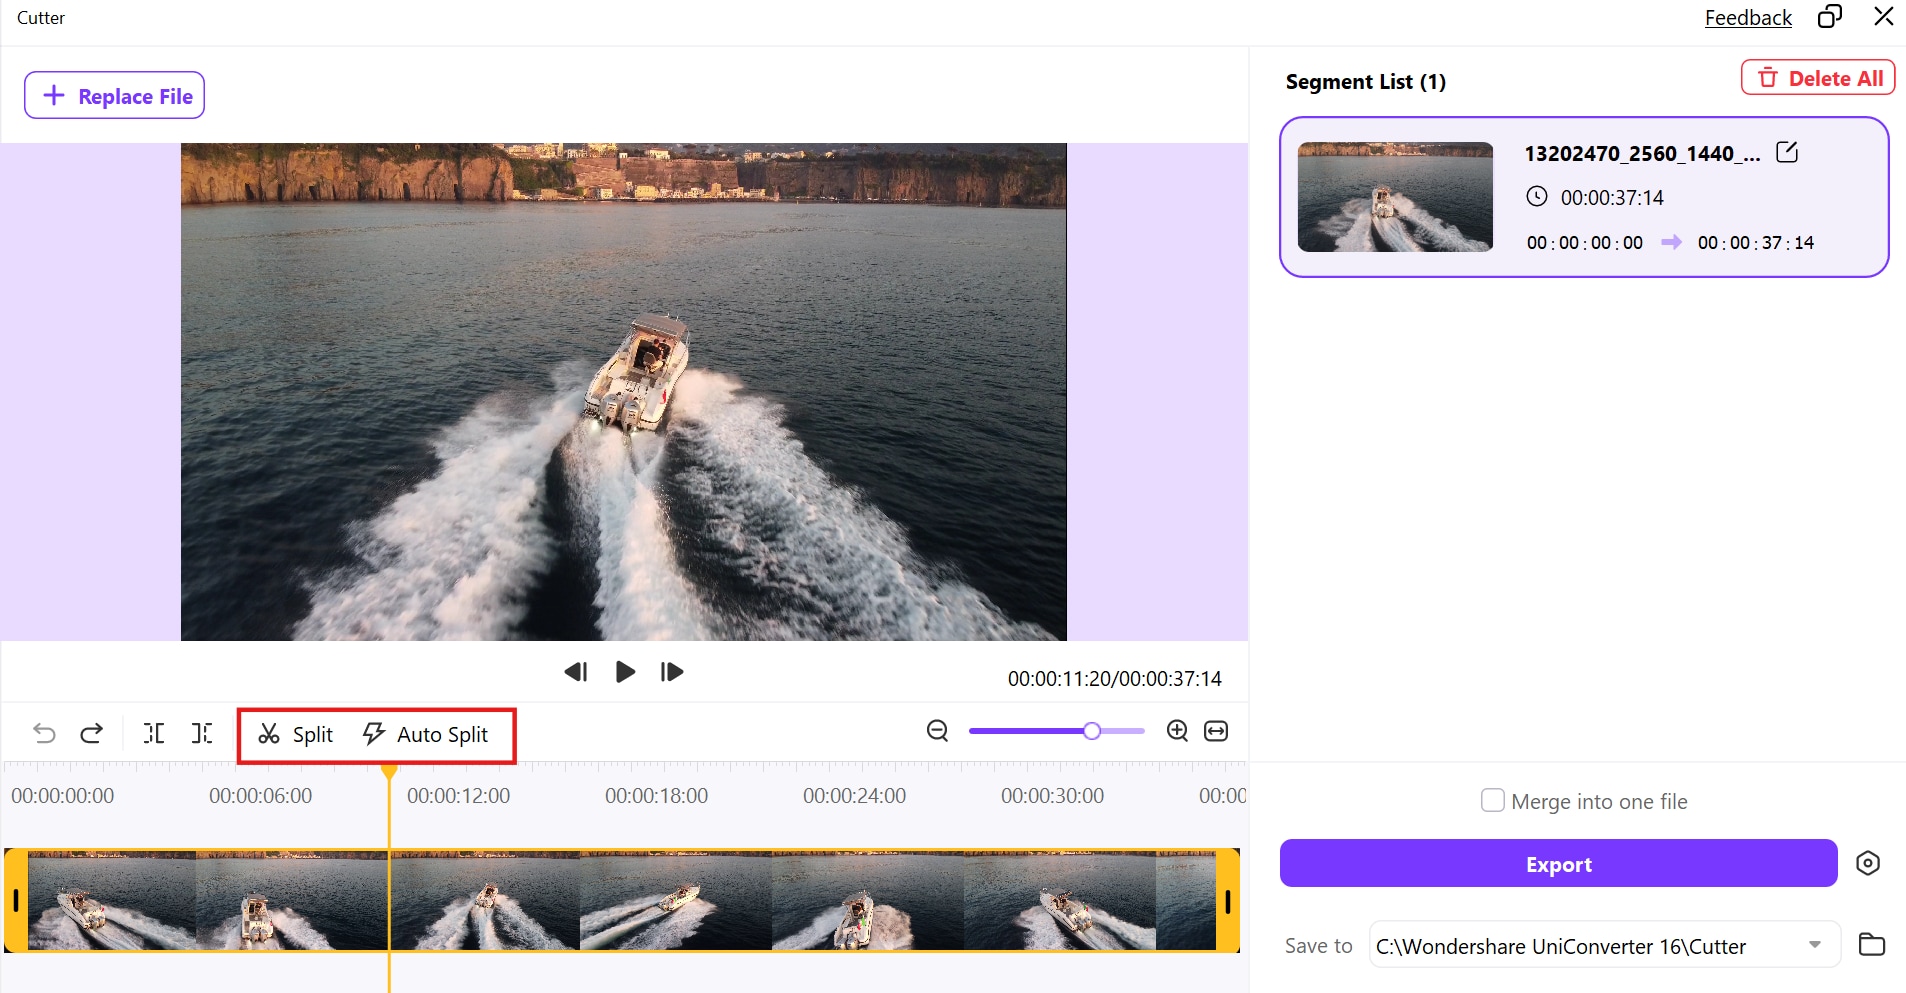
Step 4: Export your trimmed video
Double-check your edited segments listed in the Segment List to ensure accuracy. Click the Save to button to specify the output folder for your trimmed video. Finally, click Export to save your edited video file, making it instantly available for playback, sharing, or further editing.

Conclusion
VLC Media Player is a simple yet effective tool for trimming videos on Windows, Mac, and mobile devices. While its recording-based trimming method works for basic edits, it lacks precision and advanced features. If you need high-quality, lossless trimming with frame-by-frame accuracy, tools like UniConverter provide a more professional solution. Whether you’re using VLC or an alternative, selecting the right tool depends on your editing needs. Beyond video trimming, UniConverter offers additional powerful features like video stabilization for smoother footage and a subtitle editor for adding or customizing captions, making it a versatile all-in-one video editing solution.
FAQs
1. Can I trim a video with VLC on Windows?
Yes, you can trim a video with VLC on Windows using the recording function. Simply enable advanced controls, play the video from the desired start point, record the segment, and stop when you reach the end.
2. Can I trim a video in VLC on my phone?
Yes, the VLC mobile app allows you to trim in VLC by recording a selected portion of the video. However, this method is less precise compared to desktop editing software.
3. Is VLC good for trimming long videos?
While you can trim video in VLC, it’s not ideal for long videos as it lacks precise cutting options. A dedicated video editor with a timeline-based interface is better suited for longer content.
4. How do I trim video in VLC without losing quality?
To trim video in VLC, use the recording function, which saves the selected portion without re-encoding. This method ensures the output maintains the original quality without compression.
5. Where does VLC save trimmed videos?
After you trim a video with VLC, the recorded segment is automatically saved in the default Videos folder on Windows or the Movies folder on Mac, unless you change the output location.

