

As video content becomes more prevalent in both personal and professional settings, managing video file sizes is crucial for quick sharing, uploading, or storage. Whether you're trying to shorten a long video, reduce file size for easier storage, or create smaller clips for social media, there are various tools and methods available to achieve this without sacrificing quality. In this guide, we'll explore the safest ways to shorten video file sizes, the differences between compression and shortening, and the best methods to do it effectively.
In this article
Part 1: Is it Safe to Shorten Video File Size Online?
When shortening a video file size online, it is important to consider the safety of your data. Many online tools provide a quick and easy way to trim or compress videos, but not all of them can be trusted with your content. Some tools may not have the necessary security measures in place to protect your files, potentially putting your data at risk. It’s essential to choose platforms that prioritize encryption and follow strict privacy policies, ensuring your files remain safe from third-party access.
Another factor to keep in mind when using online tools is the potential compromise in video quality. Free video editing tools often come with limitations, such as low-quality output or watermarks added to the final video. Before using a tool, make sure to read reviews and verify that the tool meets your quality expectations. Some tools may even reduce the resolution or compress the video too much, which could negatively affect the content’s clarity.
Finally, while online tools can be convenient, they may not always be the best option for larger files or high-quality videos. Many free online platforms have file size limits, meaning you may not be able to upload videos above a certain size. Additionally, processing times for large videos can be slower compared to offline software. To ensure the best outcome, look for reliable recommendations, check the platform’s speed and reliability, and avoid using tools that require unnecessary personal information or offer suspicious deals.
Part 2: 3 Ways to Shorten Video File Size without Losing Quality
Method 1: Using UniConverter to Shorten Video File Size
UniConverter is a versatile and user-friendly tool that allows you to shorten video file sizes without compromising quality. It supports a variety of video formats and uses advanced compression algorithms to reduce file sizes while maintaining the original video quality. The software offers an intuitive interface, making it easy for both beginners and professionals to compress videos. Additionally, it allows you to customize settings, such as resolution and bitrate, giving you control over the final output.

Best Video Cutter
Key Features of UniConverter:
- Lossless Compression: Compress videos without losing any quality, ensuring the final video looks as good as the original.
- Multiple Format Support: Supports a wide range of formats like MP4, MOV, AVI, and more, making it versatile for various editing needs.
- Customizable Settings: Allows you to adjust the resolution, bitrate, and format for more control over the video’s size and quality.
- Batch Processing: Compress multiple videos simultaneously, saving time for users working on large projects.
- GPU Acceleration: Uses GPU hardware acceleration for faster compression and processing, making the process quicker without sacrificing quality.
User Reviews:
- "UniConverter has been a game-changer for compressing my videos. The process is fast, and the quality stays intact. It's my go-to tool for all video editing needs!" – John D.
- "I use UniConverter to reduce the file sizes of videos I upload to YouTube. It works great, and I can compress videos without losing any quality. Highly recommend!" – Linda R.
- "Easy to use and delivers excellent results. I’ve tried several tools, but UniConverter stands out for its simplicity and performance." – Mike S.
Step-by-Step Guide for Shortening Video File Size Using UniConverter:
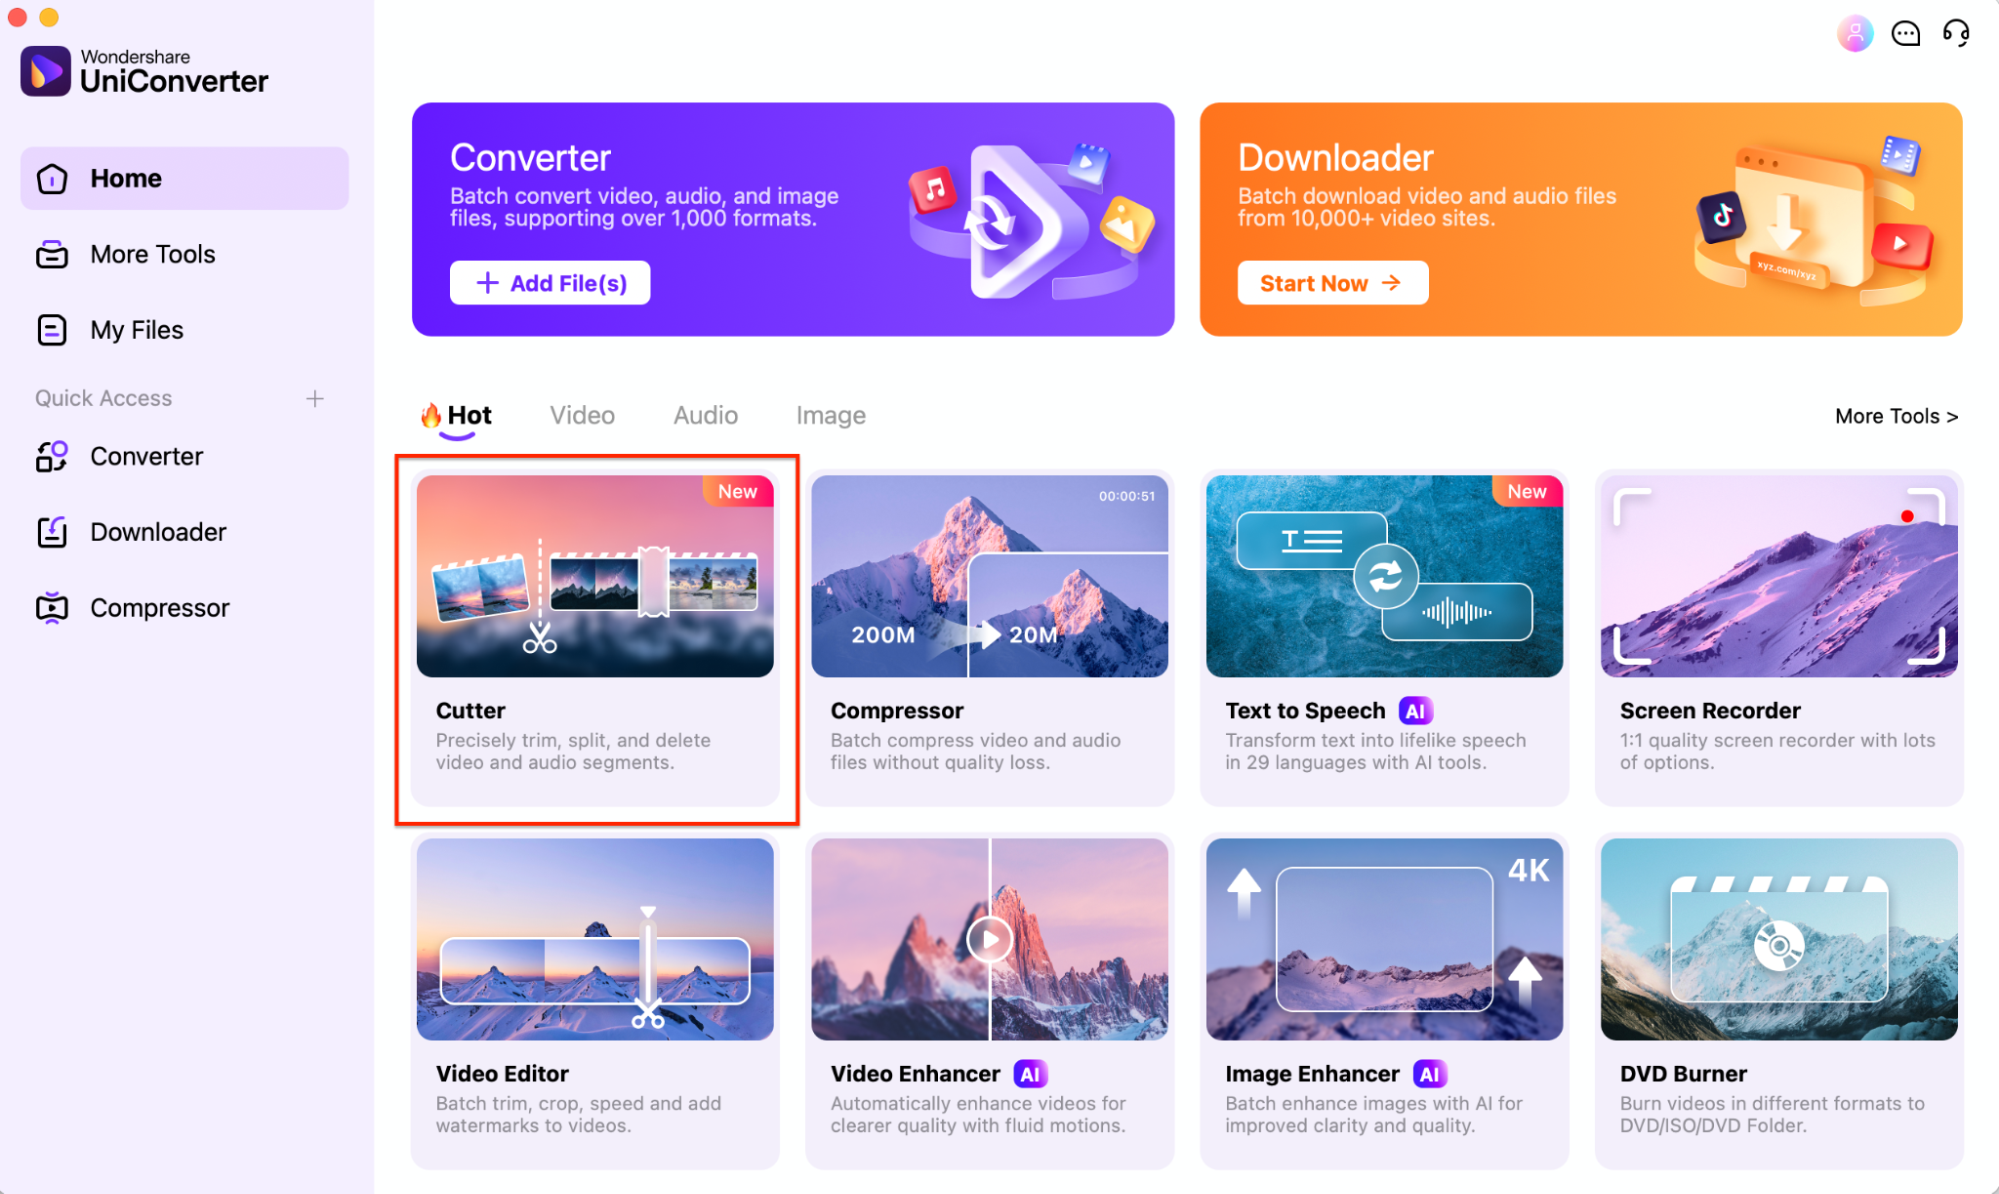
Step 1: Launch UniConverter and Access the Cropping Tool
Open UniConverter on your computer and navigate to the "Cutter" tool located under the Home tab. Once you're in the cutter section, click the “Add File” button to upload the video that you wish to crop. This will bring you directly to the video editing interface, allowing you to easily access the crop feature and begin editing your video.
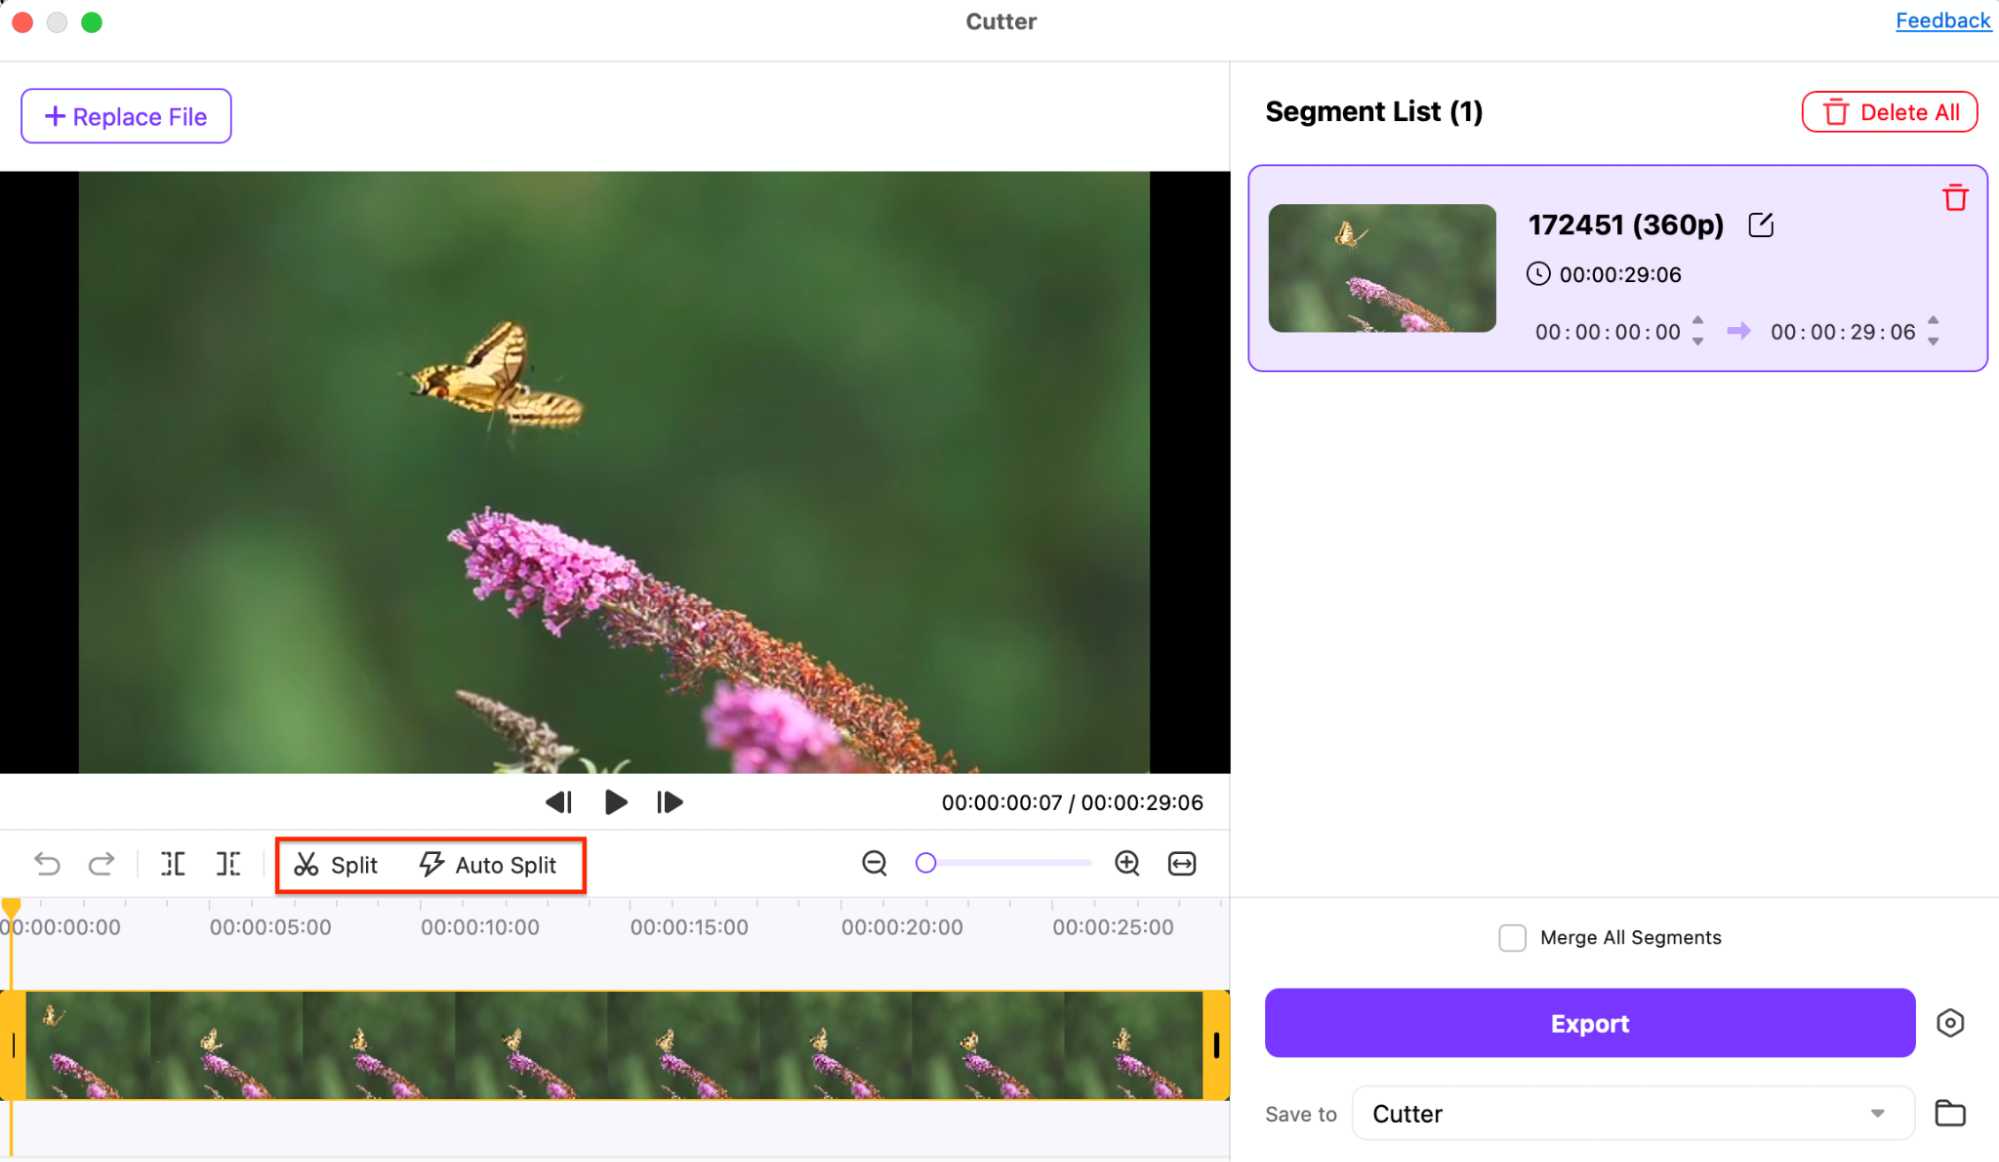
Step 2: Crop, Adjust, or Resize Your Video
In the editing interface, click on the Crop button to enter the cropping settings. Adjust the crop area by dragging the corners of the crop box to select the portion of the video you want to keep. You can also adjust the aspect ratio or resize the crop box to fit your needs. For precise edits, preview the video to ensure that the right parts are selected before confirming the crop.
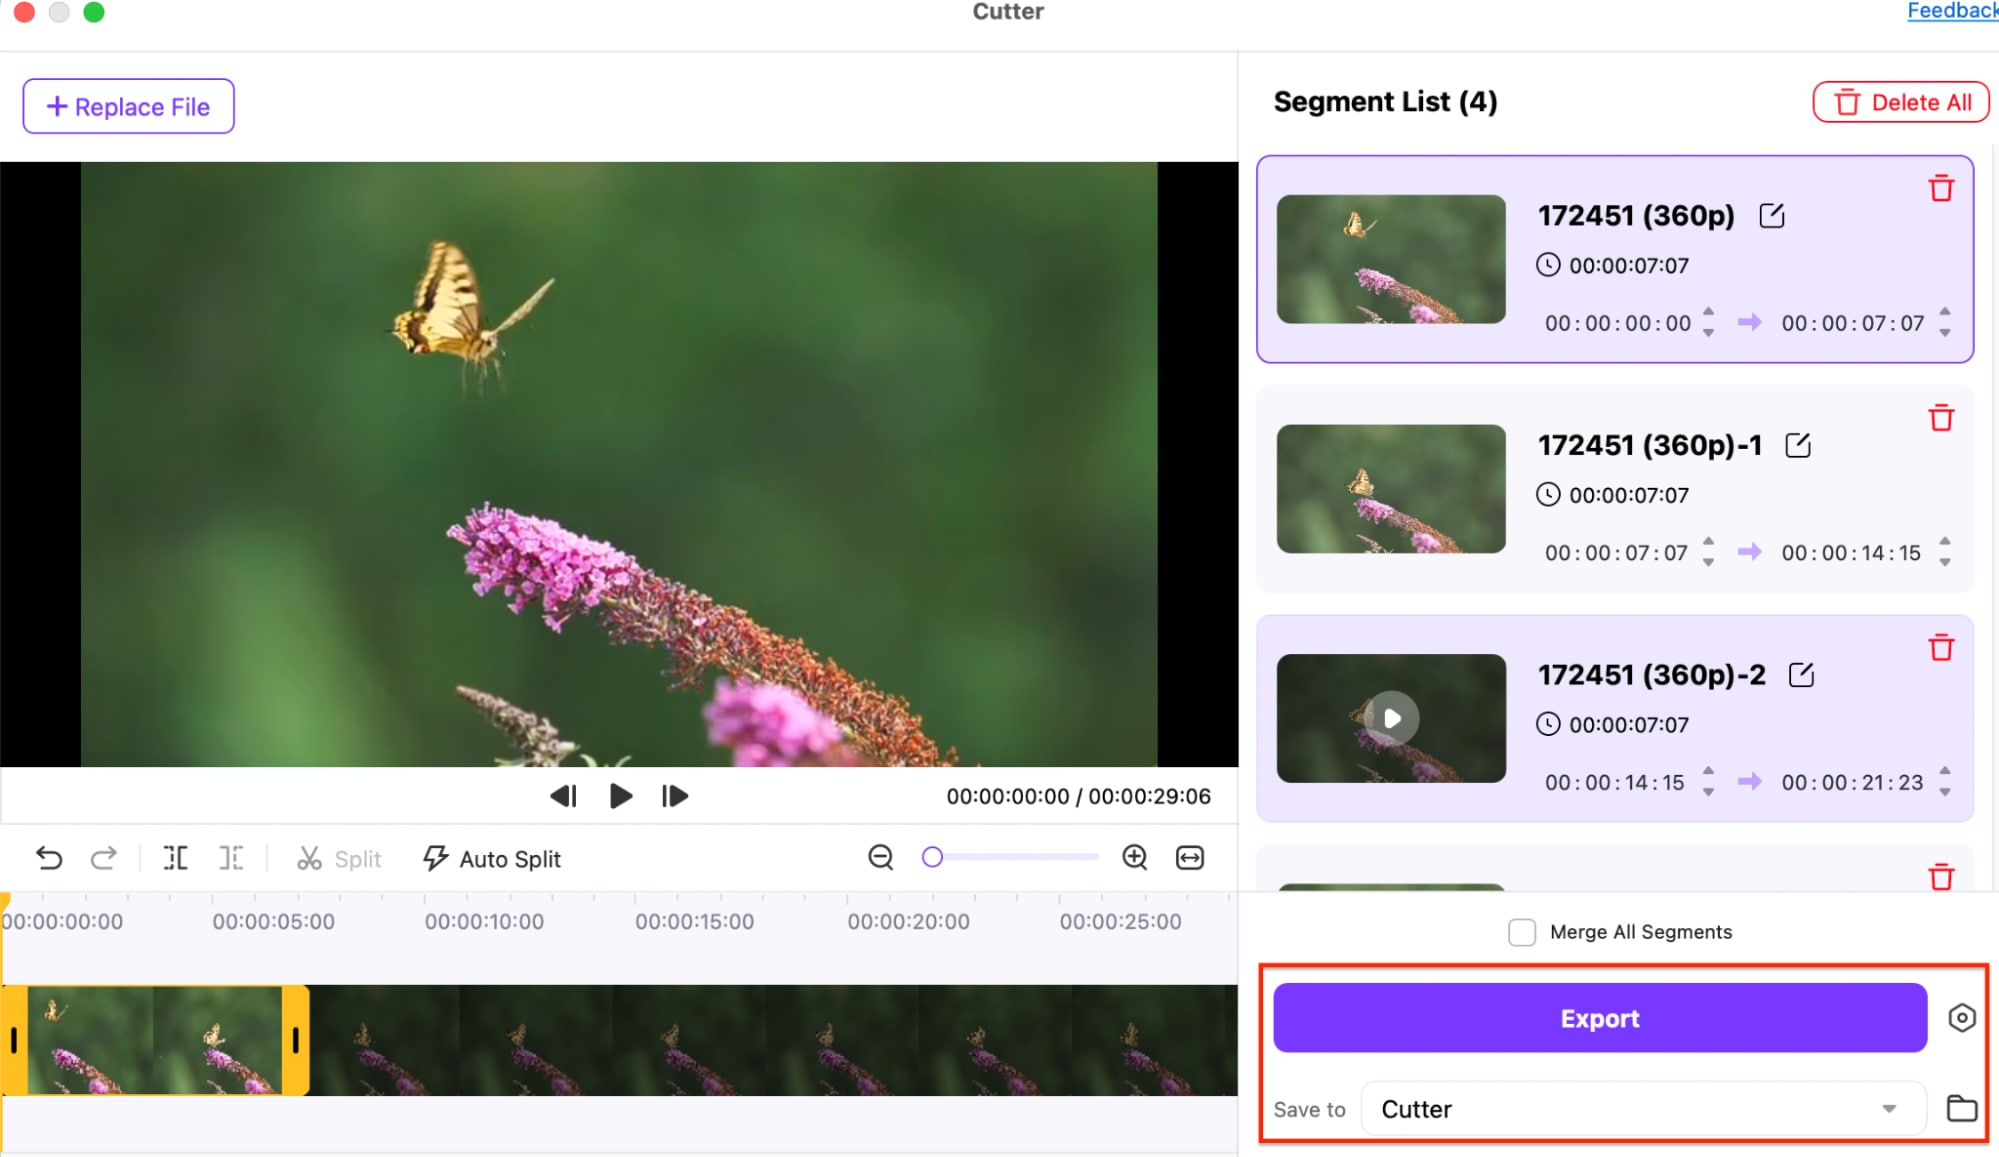
Step 3: Save and Export the Cropped Video
Once you're happy with the cropped video, click OK to confirm your edits. Then, choose your desired output format, resolution, and destination folder. Finally, click Start All to begin processing the cropped video. Once complete, the video will be saved and ready for use, whether for sharing, playback, or further editing.
Methond 2: Using Online tool to Shorten Video File Size
1. InVideo
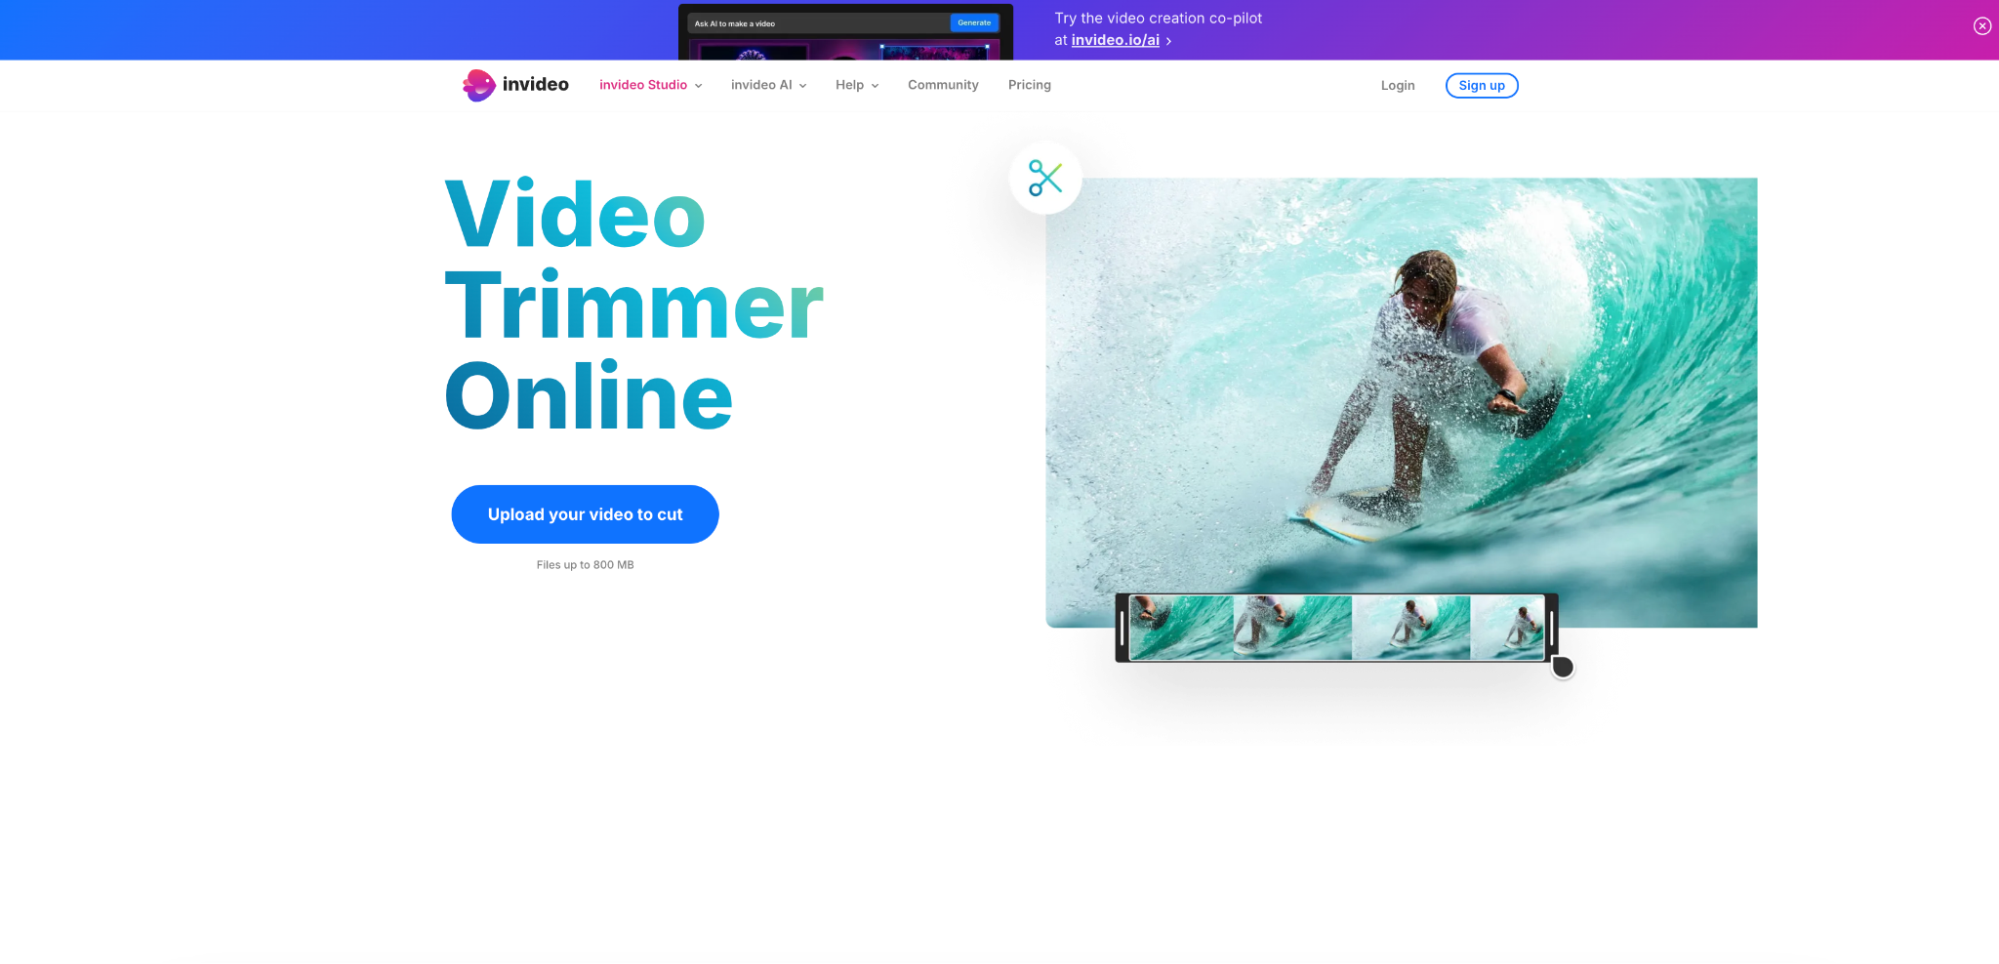
InVideo is a powerful online video editing tool that helps users reduce video file size effortlessly. It provides a simple and intuitive interface, making it easy for both beginners and professionals to compress videos for social media platforms, YouTube, and more. InVideo also offers various editing options, allowing users to trim, resize, and optimize videos without losing quality. Whether you need to compress an MP4 file or trim long videos, InVideo simplifies the process.
Key Features:
- Video Compression: Reduce file size without compromising video quality.
- Custom Resizing: Choose from multiple predefined aspect ratios or custom dimensions.
- Video Editing Tools: Includes trimming, text addition, and transitions.
- Multiple Format Support: Works with MP4, MOV, and AVI files for flexible video handling.
- Cloud-based Editing: No need to download software; you can edit directly in the browser.
Reviews:
- "InVideo is an excellent tool for video editing and compression. It made shortening my video file size fast, easy, and without losing quality." — Sarah T.
- "I love how InVideo has so many customization options. I could easily reduce my video file size while keeping the resolution high." — Michael D.
- "It’s a great tool for both beginners and professionals. Compressing and editing videos on InVideo is incredibly straightforward." — Anna M.
Step-by-Step Guide for Shortening Video File Size Using InVideo:
Step 1: Sign up and upload your video
Create an account on InVideo and sign in. Then, click on “Create New Project” and upload your video file by clicking the “Upload” button.
Step 2: Choose video resizing options
After your video is uploaded, choose the "Resize" option, and select your desired output resolution or custom settings to reduce the file size.
Step 3: Export and download
Click "Export" once you're satisfied with the resized video. You can download it in the chosen format without a watermark (if logged in).
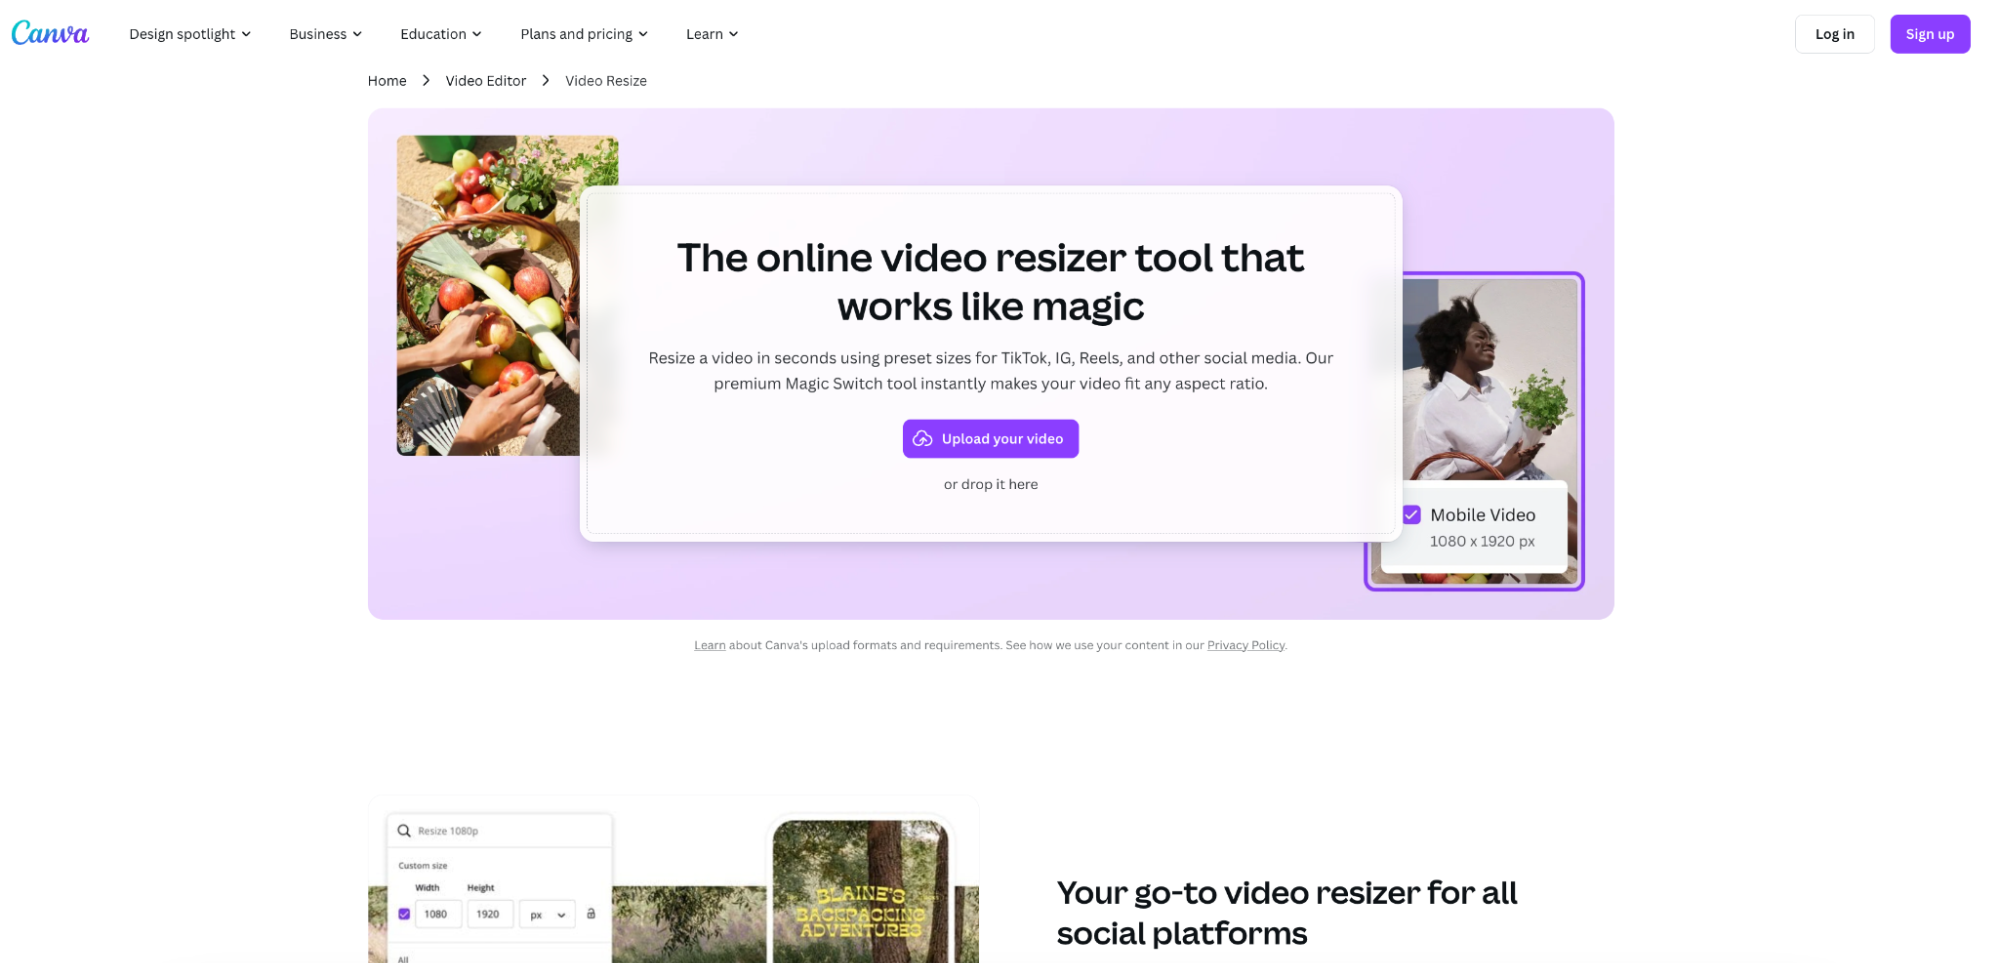
2. Canva video resizer
Canva’s Video Resizer is an easy-to-use tool designed for compressing and resizing videos. Ideal for content creators, this tool enables users to adjust the video dimensions, which helps to reduce the file size while ensuring optimal quality. Canva is great for quickly shortening videos to fit social media platform requirements such as Instagram, Facebook, or YouTube. It's cloud-based, so there's no software download needed.
Key Features:
- Easy Resizing: Adjust video size for various social media platforms.
- No Software Installation Required: Completely cloud-based tool for instant access.
- High-Quality Output: Resize videos while maintaining good quality.
- Template Integration: Choose from a library of pre-designed templates for quick edits.
- Drag-and-Drop Interface: Simple, intuitive user interface for effortless editing.
Reviews:
- "Canva’s video resizer is easy to use and helped me shrink my video file size for faster upload times. It's a great feature for anyone working with social media content." — Lisa F.
- "I’ve used Canva for years, and the video resizing feature is incredibly convenient for reducing file sizes quickly." — John P.
- "Super simple to use and effective. My video was resized and ready for upload in a few minutes!" — Emma L.
Step-by-Step Guide for Shortening Video File Size Using Canva:
Step 1: Sign in and upload video
Log in to your Canva account, and on the homepage, click "Create a Design" and select the video file you want to resize by clicking "Uploads" and then "Upload Media."
Step 2: Resize your video
Select your uploaded video and resize it by clicking on the “Resize” option. Choose from preset sizes or customize the dimensions.
Step 3: Export the resized video
Click on the "Download" button to export the resized video in MP4 format, and save it to your device.
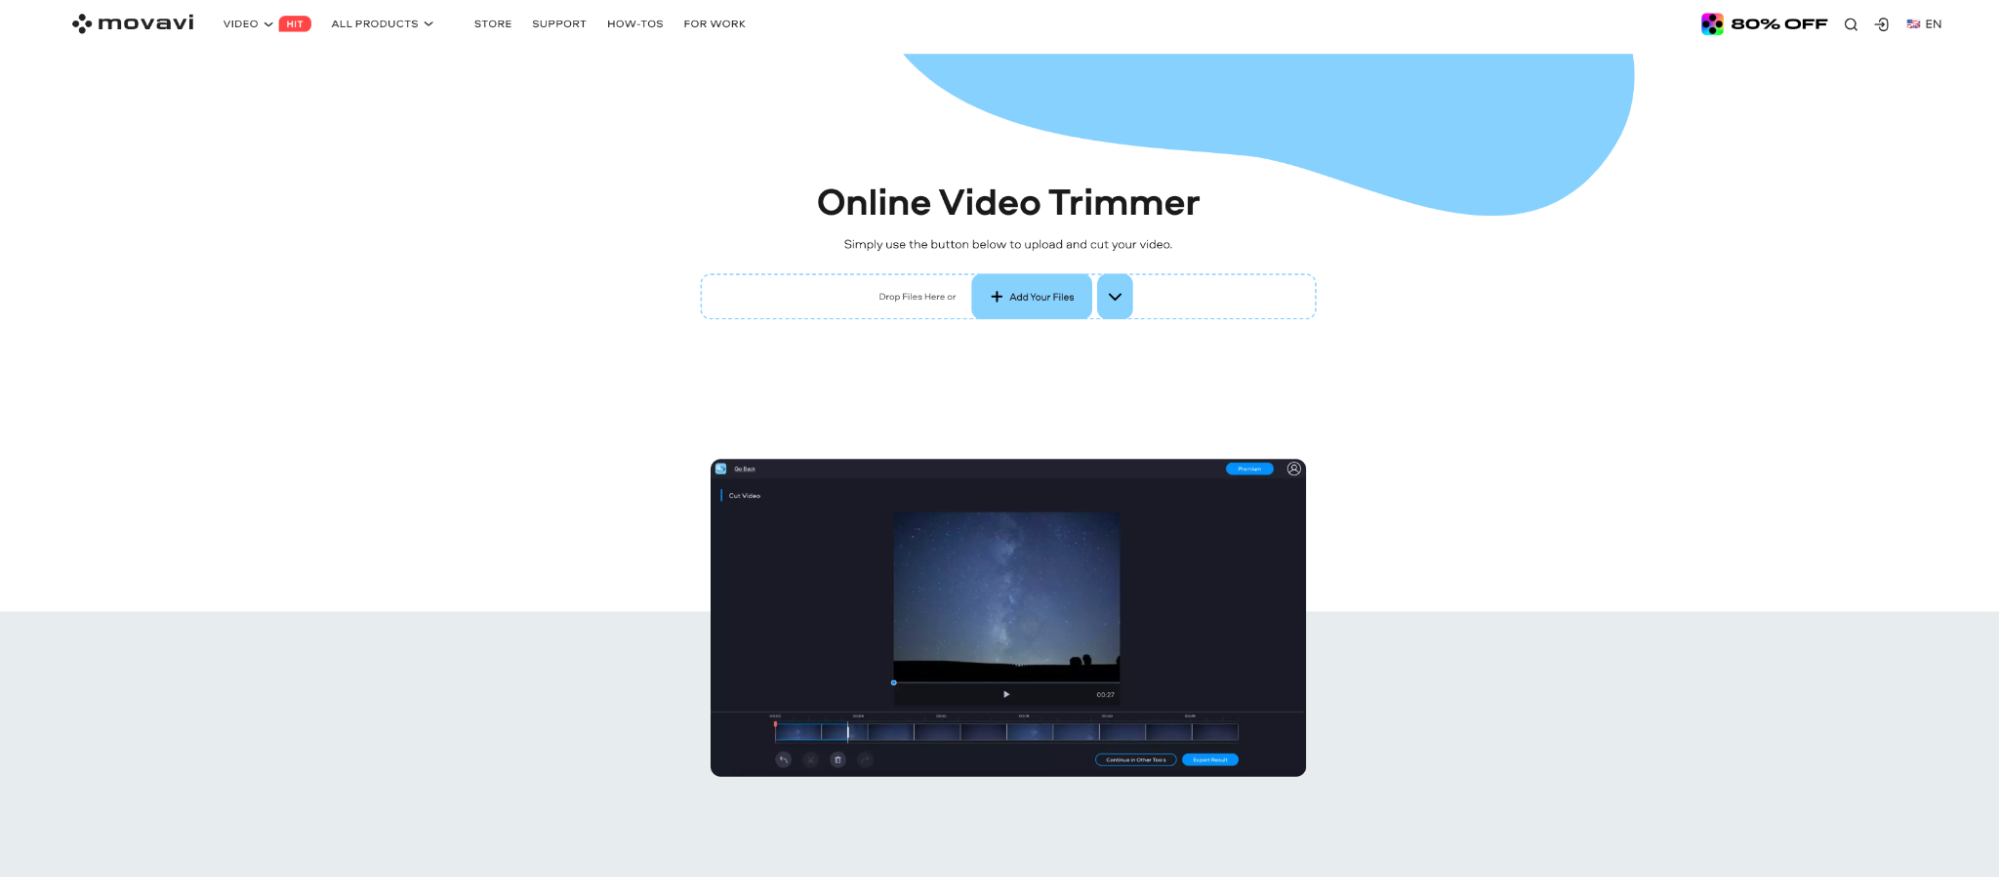
3. Movavi Video Trimmer
Movavi Video Trimmer is a robust tool for cutting and resizing videos to reduce their file size. It supports all popular video formats, including MP4, MOV, and AVI. Movavi provides a high-quality output even after compression, making it an excellent choice for those who need to reduce video file sizes for storage or sharing. Its intuitive interface allows users to quickly edit and optimize their videos without complex settings.
Key Features:
- Effortless Video Cutting: Trim unwanted sections from videos to reduce file size.
- High-Speed Compression: Compress videos quickly without quality loss.
- Multiple Formats Supported: Handles a variety of video formats like MP4, MOV, AVI.
- Basic Editing Tools: Offers tools to crop, rotate, and adjust the video.
- Preview Feature: Preview the video before exporting to ensure it’s as desired.
Reviews:
- "Movavi helped me reduce my video file size without losing quality. It’s incredibly fast and works great for video editing." — Greg H.
- "It’s a fantastic tool for quickly trimming large video files. I can’t recommend Movavi enough for both video editing and compression." — Julia T.
- "Movavi offers an intuitive interface and high-quality results. The file size reduction options are straightforward and effective." — Rick S.
Step-by-Step Guide for Shortening Video File Size Using Movavi:
Step 1: Upload your video
Open Movavi Video Trimmer on your browser, then click the “Choose File” button to upload your video.
Step 2: Trim or resize video
Use the trimming tool to cut unwanted sections, and adjust the video resolution by selecting the settings that fit your needs for size reduction.
Step 3: Export the trimmed video
Once you’ve made the adjustments, click "Export" to save your resized video in the desired format.
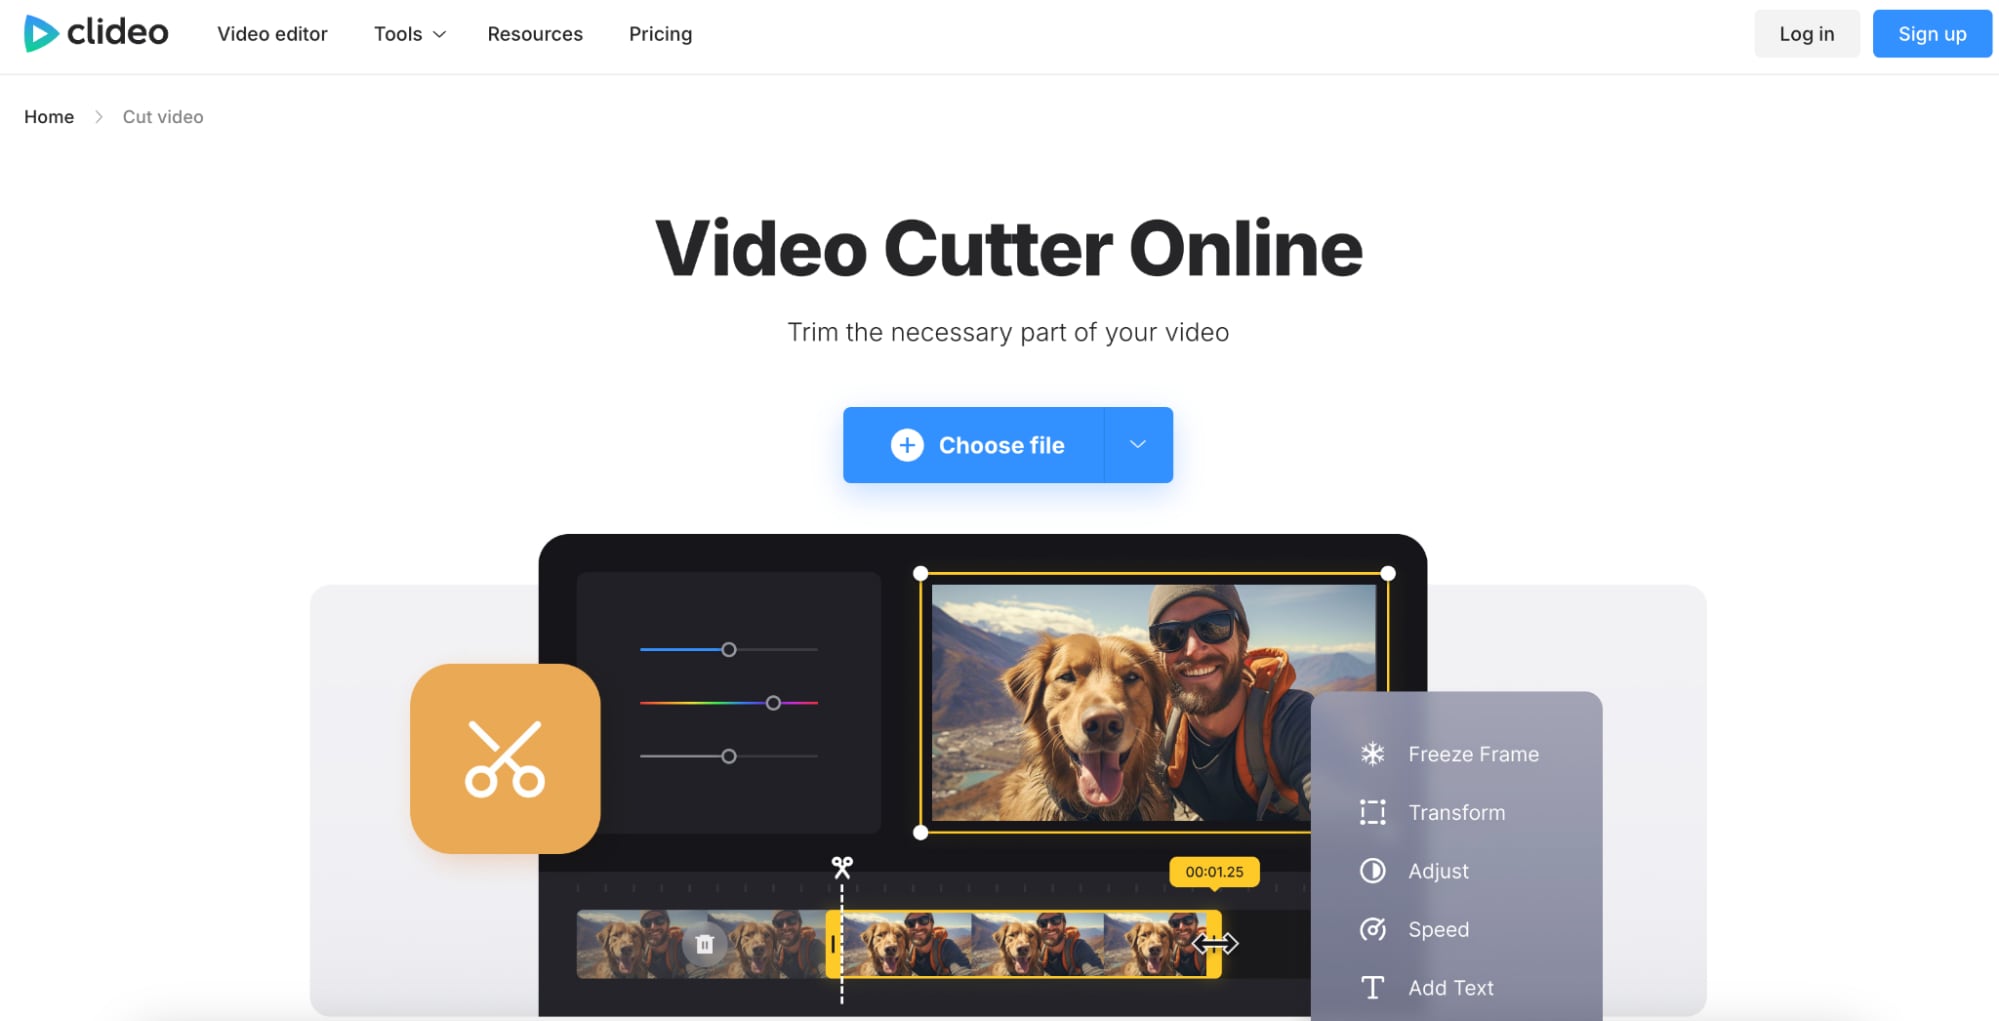
4. Clideo Video Cutter
Clideo is a simple, web-based video cutter tool that helps users shorten videos and reduce file sizes quickly. It supports a wide range of formats, including MP4 and AVI, and provides a straightforward interface that is accessible to both beginners and professionals. Users can upload their video files, trim them down to the desired length, and export them without watermarks on the free version.
Key Features:
- Easy Video Trimming: Quickly trim your videos to reduce file size.
- Supports Multiple Formats: Works with MP4, AVI, MOV, and more.
- Cloud-based Tool: No software installation required, completely browser-based.
- Free Export Option: Export videos without watermarks even in the free version.
- User-Friendly Interface: Simple, drag-and-drop interface for fast video edits.
Reviews:
- "Clideo is fantastic for quick trims and reducing video size. It’s fast and doesn’t add any watermarks to the final video!" — Hannah K.
- "I’ve used Clideo several times to resize videos. It works flawlessly and reduces video size without compromising quality." — Daniel F.
- "I love how easy Clideo makes video trimming. It was the perfect solution for my large video file size!" — Sarah R.
Step-by-Step Guide for Shortening Video File Size Using Clideo:
Step 1: Upload your video
Visit the Clideo website, click on “Choose File” to upload the video you want to resize from your device, Google Drive, or Dropbox.
Step 2: Set trimming points
Use the timeline to select the start and end points for trimming, adjusting the video’s length to reduce the file size.
Step 3: Download the resized video
After trimming, click “Cut” to process the video. Download the resized video once the process is complete.
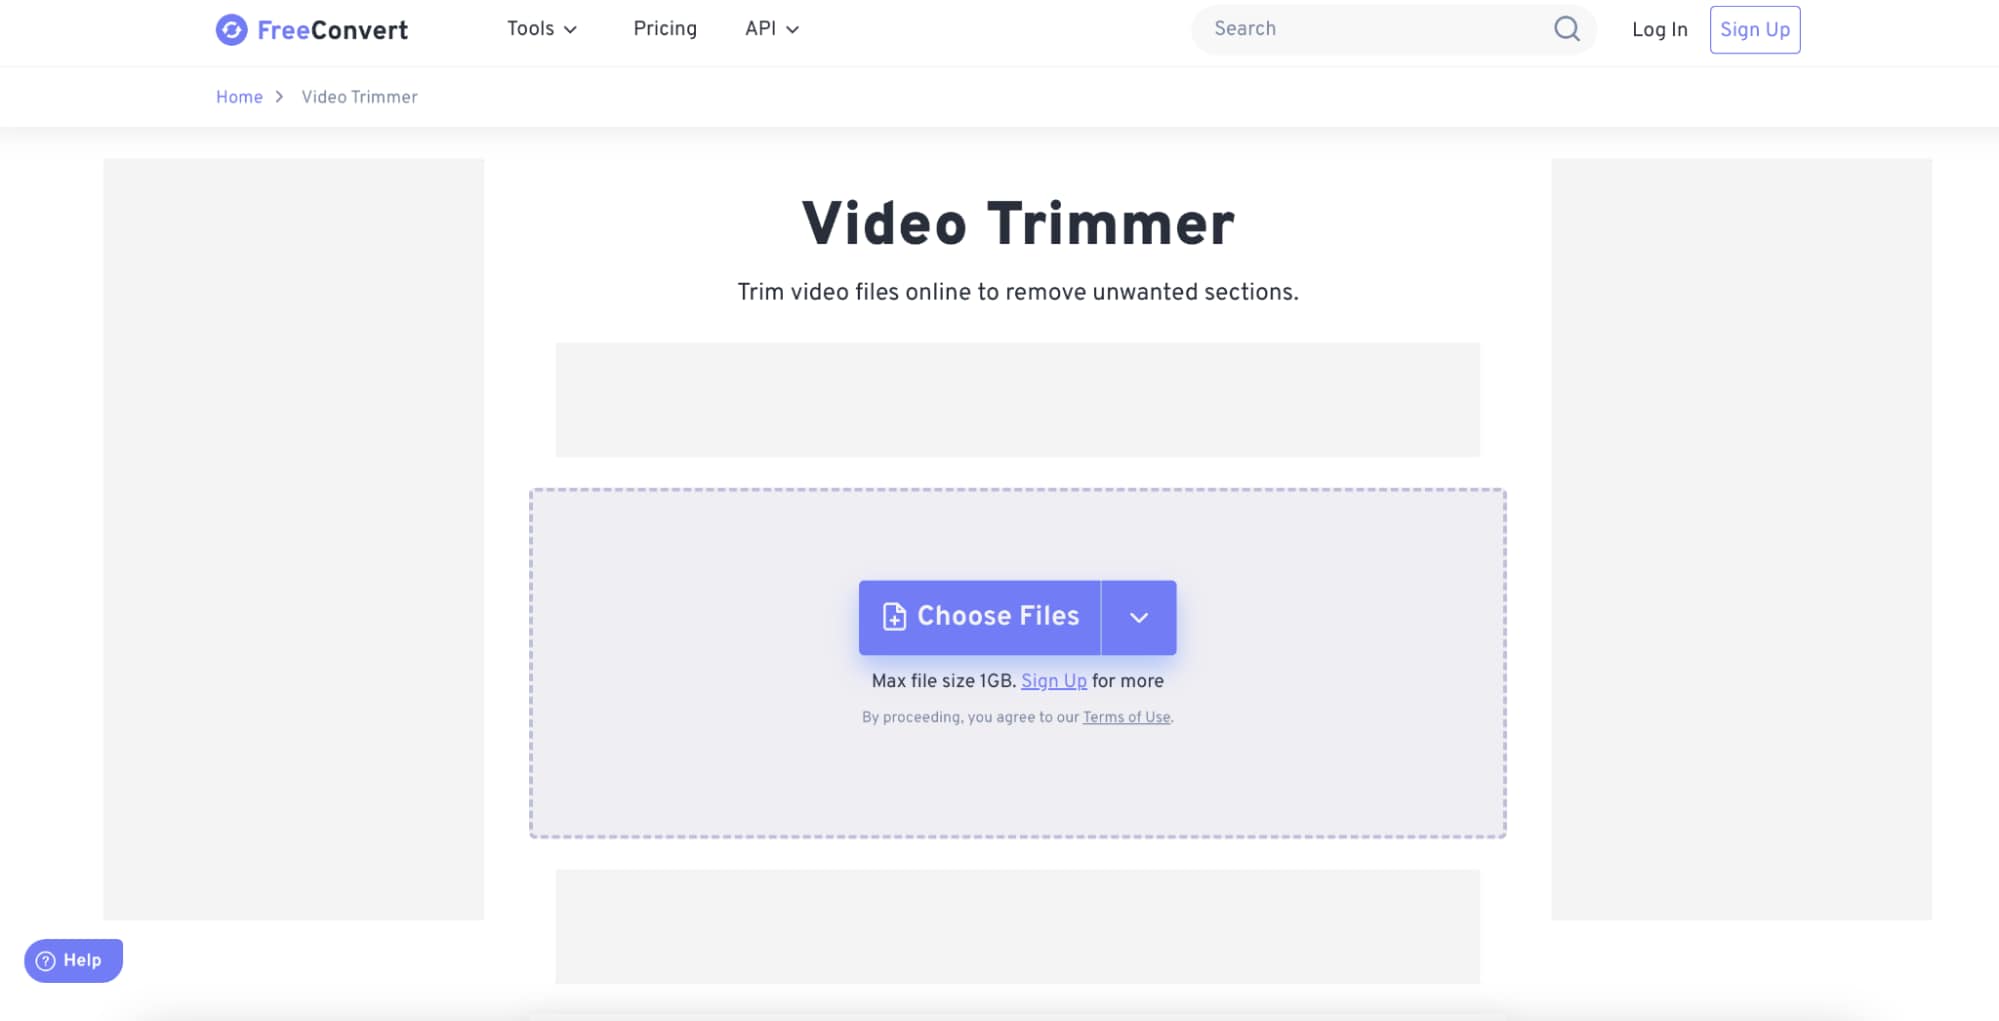
5. FreeConvert Video Trimmer
FreeConvert is an online video trimming tool that helps users reduce the file size by cutting out unwanted parts of the video. It supports various video formats and provides quality compression without affecting the video resolution. FreeConvert is an ideal tool for people looking for a quick and free solution to compress MP4 files and other video types for sharing on platforms like YouTube or social media.
Key Features:
- Lossless Compression: Reduces file size without compromising video quality.
- Multiple Video Format Support: Compresses MP4, AVI, MOV, and many other formats.
- Trim and Cut Options: Allows you to cut out sections to make videos shorter and smaller.
- Cloud-based Compression: Works entirely in the browser with no installation needed.
- High-Speed Processing: Compress videos quickly, even large files, for fast results.
Reviews:
- "FreeConvert made it so easy to trim my video and reduce its size. It’s simple and works perfectly for small adjustments." — Ben W.
- "Great free tool for trimming videos and reducing file size! I was able to upload my video much faster after using FreeConvert." — Jessica C.
- "The trimming tool works great, and the file size reduction was smooth. Highly recommend FreeConvert for anyone needing quick edits." — Mark L.
Step-by-Step Guide for Shortening Video File Size Using FreeConvert:
Step 1: Upload your video
Go to FreeConvert, click on “Choose Files,” and upload the video file from your device or cloud storage service.
Step 2: Set trimming parameters
Choose the “Trim Video” option and select the desired portion to reduce the video’s length and file size. Optionally, you can adjust the resolution or quality.
Step 3: Download the resized video
Once you have selected the desired settings, click "Convert," then download the trimmed video file after the processing is completed.
Method 3: Using App to Shorten Video File Size
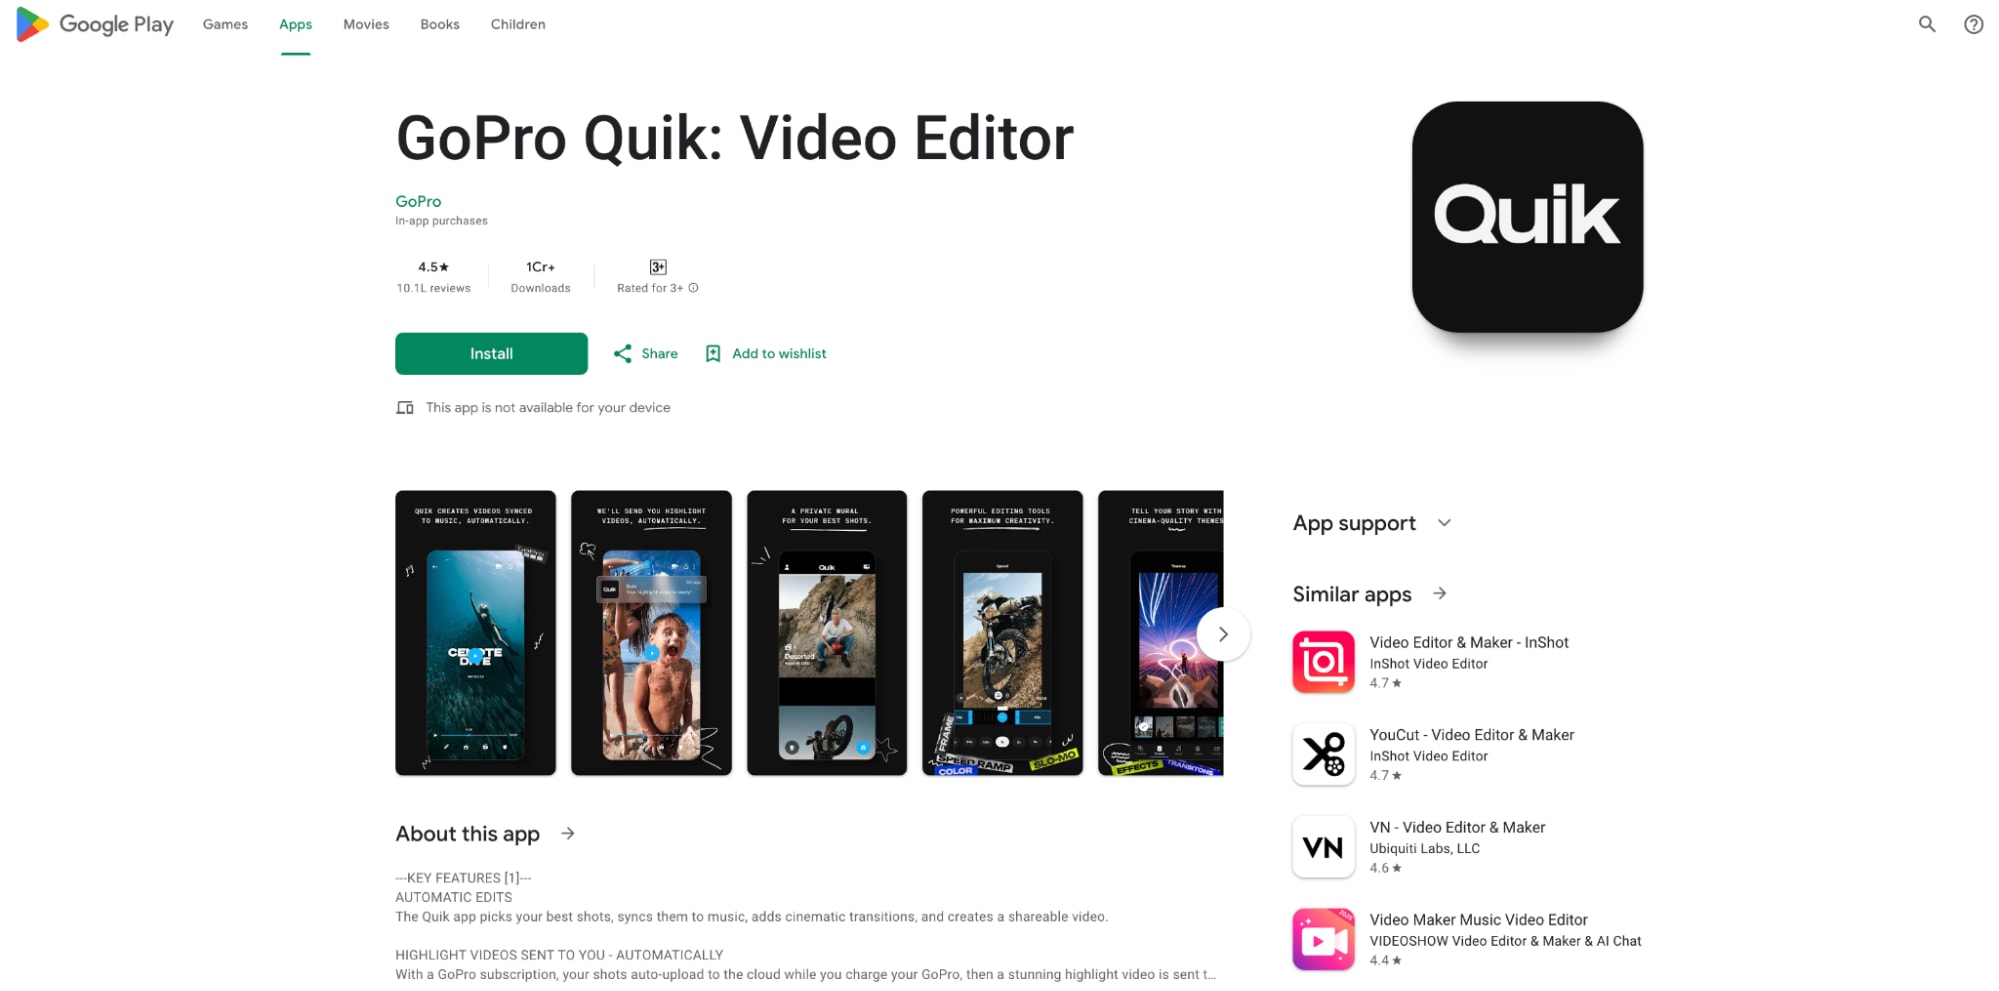
1. Quik GoPro App
Quik by GoPro is an intuitive video editing app designed for both beginners and professionals. The app allows users to quickly shorten videos by trimming, cutting, and resizing clips directly on their mobile devices. It also features automatic video editing with the ability to add transitions, music, and effects. With a simple user interface, Quik is an excellent choice for fast edits and file size reduction for videos shot with GoPro cameras, or any other source.
Key Features:
- Automatic Video Editing: Automatically analyzes your videos and creates edits based on the selected theme.
- Customization Options: Allows manual trimming, cutting, and adding music to your video.
- Multi-Clip Editing: Supports the ability to work with multiple clips, making video trimming seamless.
- Cloud Sync: Allows you to sync videos across devices via the GoPro cloud.
- Free to Use: Available for free with all essential trimming features included.
Reviews:
- "Quik makes video editing so easy! I love how it automatically selects the best moments in my videos and trims them perfectly." – Kelly J.
- "Great for quick edits and for social media posts. It’s fast and provides cool effects, but I’d like more customization options." – Tom W.
- "This app is amazing for trimming and editing on the go. It has everything I need without complicated steps." – James F.
Step-by-Step Guide for Shortening Video File Size Using Quik Gopro:
Step 1: Download and Open the App
Download Quik from the App Store (iOS) or Google Play (Android) and open the app. Sign in or create a GoPro account if needed.
Step 2: Upload Video to the App
Tap on the “Create New Video” option, select the video from your gallery or import a new one from your device to start editing.
Step 3: Resize and Export the Video
After editing, tap the “Save” button to export the resized video. Select your desired resolution and download it in MP4 format.
2. InShot (Android & iOS)
InShot is a powerful video editor for both Android and iOS that allows users to easily trim and resize videos. It supports a wide range of video formats and provides numerous editing tools like adding music, text, and stickers. InShot enables users to reduce the file size by adjusting the resolution and bit rate. It’s especially popular for social media content creation, providing an easy-to-use interface and a variety of customization options.
Key Features:
- Easy Trimming and Splitting: Intuitive timeline editor for precise video trimming and splitting.
- Wide Range of Filters: Includes a variety of effects and filters to enhance video appearance.
- Aspect Ratio Adjustments: Resize videos to fit different social media platforms like Instagram and TikTok.
- Text and Music Addition: Add text, voiceovers, and background music to your videos.
- No Watermark in Free Version: Offers a free version without a watermark, which is rare for mobile apps.
Reviews:
- "InShot is a powerhouse for editing videos on my phone. The trimming tool works great, and the music options make my edits even better." – Sam M.
- "I use InShot to trim videos for my Instagram and TikTok. It’s simple and intuitive. Just wish there were more advanced options." – Lily S.
- "Great app for quick edits, but some features like aspect ratio changes could use more flexibility for professional work." – Chris D.
Step-by-Step Guide for Shortening Video File Size Using InShot:
Step 1: Install and Open the App
Install InShot from the App Store (iOS) or Google Play (Android). Open the app and grant necessary permissions.
Step 2: Import and Resize the Video
Tap on the “Video” option, select your video, and then use the trimming tool to adjust the video’s length and resolution to decrease the file size.
Step 3: Save and Export the Video
Once you’re satisfied with the edits, tap the “Save” button, select the desired resolution, and export the video to your gallery.
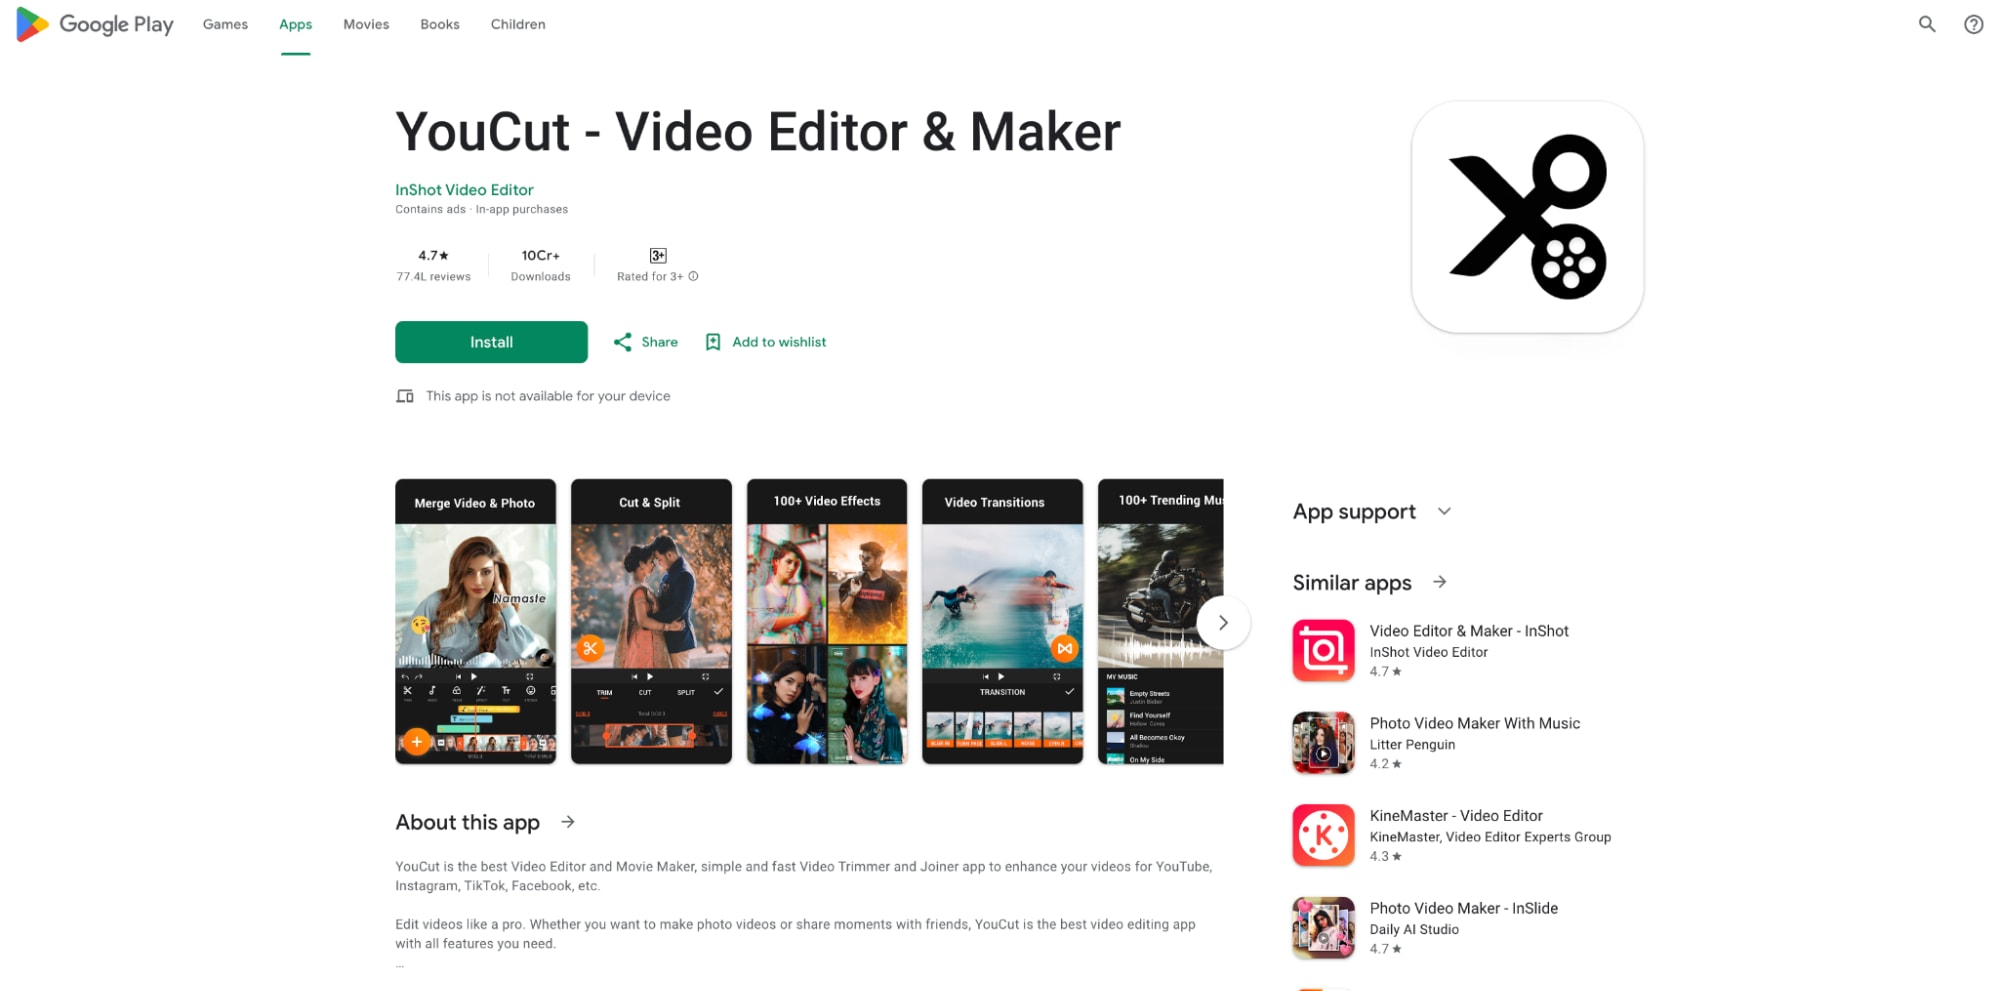
3. YouCut - Video Editor & Maker
YouCut is a video editing app for Android users that offers a simple solution to trim and shorten videos. It features an easy-to-use interface, perfect for those who want to quickly cut out sections of their video to reduce file size without compromising quality. YouCut provides advanced editing tools like video effects, transitions, and music overlays, as well as the ability to adjust the video’s resolution, making it ideal for social media videos.
Key Features:
- Fast Trimming: Efficiently cuts and trims videos in various formats without compromising quality.
- No Watermark: YouCut doesn’t add a watermark to videos in the free version, unlike many similar apps.
- Audio Editing: Provides the ability to adjust the volume and add background music.
- Video Compression: Reduces video size while maintaining good quality for faster sharing.
- Video Merging: Supports merging multiple video clips into one, perfect for project editing.
Reviews:
- "YouCut is the best mobile video cutter I've used. It doesn’t add a watermark, and it’s free!" – Laura T.
- "Perfect for basic trimming and merging videos. I like the fast processing, and it's simple to use." – Mark P.
- "I use this app for my YouTube videos, and it works flawlessly for trimming and merging. Highly recommend it!" – Henry R.
Step-by-Step Guide for Shortening Video File Size Using YouCut:
Step 1: Install and Open the App
Download YouCut from Google Play (Android) and open it. Grant necessary permissions to access your media files.
Step 2: Import Video and Trim
Tap the “+” icon to import the video you want to resize. Use the trimming tool to cut unwanted sections of the video.
Step 3: Export the Video
Tap “Save” to export the video. Choose your preferred resolution, and the video will be saved in the reduced file size.
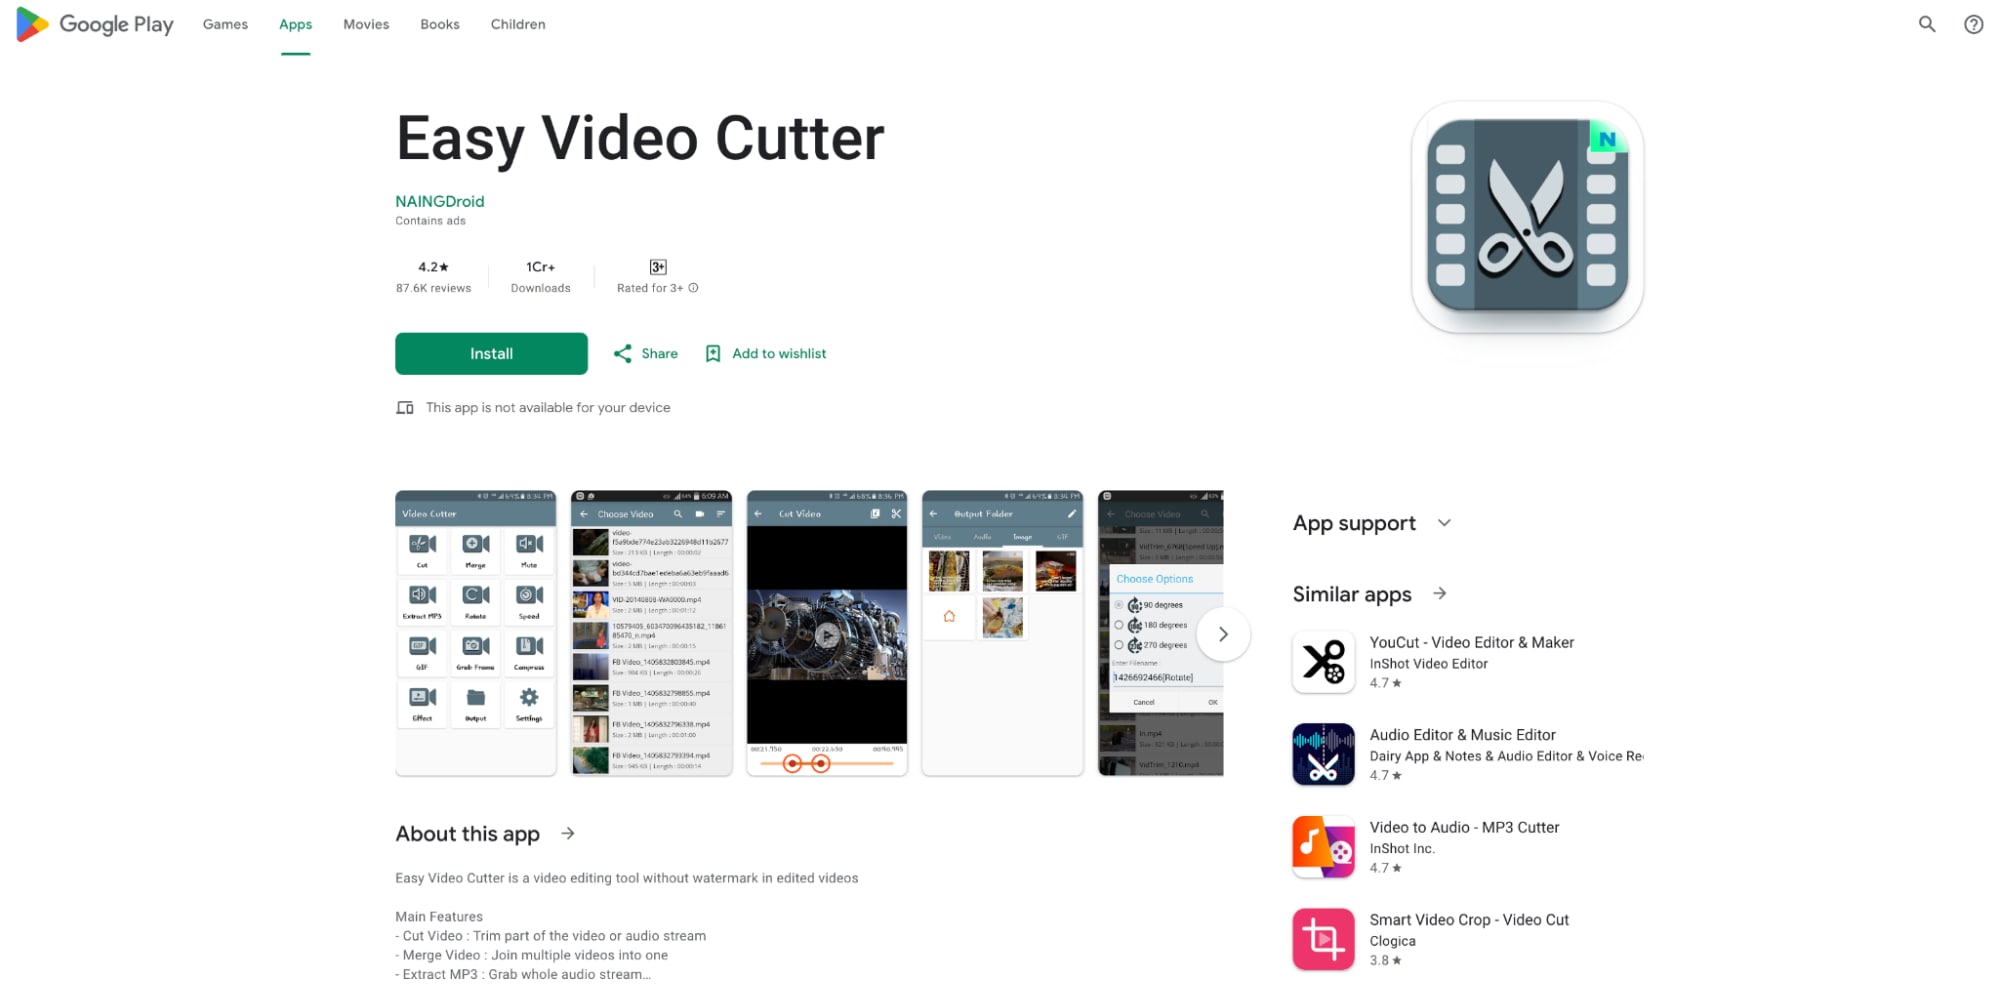
4. Easy Video Cutter
Easy Video Cutter is an Android app that provides a straightforward solution for cutting videos. It allows users to trim videos, split large clips, and change formats to reduce the file size. The app supports multiple video formats and offers a user-friendly interface that makes the editing process quick and hassle-free. Easy Video Cutter also lets users resize and crop videos with ease, making it perfect for on-the-go editing without complex tools.
Key Features:
- Multiple Format Support: Handles video formats like MP4, AVI, and MOV for trimming and cutting.
- Simple Interface: User-friendly design that makes trimming quick and hassle-free.
- Video Cropping: Allows users to crop videos to a custom size or aspect ratio.
- Audio Editing: Users can edit the audio tracks within the video, adjusting volume or removing sound.
- Quick Processing: Trims videos fast without sacrificing quality or requiring long processing times.
Reviews:
- "Easy Video Cutter is incredibly straightforward. No unnecessary features, just the trimming tools I need. Works great!" – Alex N.
- "Love the simplicity of this app. I was able to cut my video in just a few seconds without issues." – Jenny B.
- "It’s a simple tool that does what it promises – trimming videos quickly and without fuss. Great for short video edits." – Rachel K.
Step-by-Step Guide for Shortening Video File Size Using Easy video cutter:
Step 1: Install and Launch Easy Video Cutter
Download and open Easy Video Cutter from the App Store (iOS) or Google Play (Android). Open the app and grant permissions to access your media.
Step 2: Import and Edit the Video
Select the video from your gallery, use the trimming tool to adjust its length, and select the resolution for file size reduction.
Step 3: Save the Edited Video
Tap on “Save” to export the video after trimming and resizing it. The video will be saved in a smaller file size.
5. KineMaster Video Editor
Kinemaster is a feature-rich video editing app available for both Android and iOS users, designed to help create professional-grade videos. It offers an intuitive interface for trimming, cutting, and resizing videos with various advanced tools like multi-layer video editing, transitions, effects, and audio adjustments. Kinemaster enables users to reduce video file sizes by adjusting the resolution and bitrate while maintaining high quality. It’s perfect for users looking for a powerful app that balances simplicity with advanced editing capabilities.

Key Features:
- Multi-layer Video Editing: Offers multi-track video editing, perfect for more detailed video projects.
- Frame-by-Frame Trimming: Provides precise trimming down to the frame, allowing for detailed cuts.
- Audio and Visual Effects: Includes a wide range of audio, transition, and visual effects to enhance videos.
- High-Quality Export: Allows users to export videos in high resolutions (up to 4K).
- Chroma Key Feature: Adds green screen effects, enabling users to create more professional video edits.
Reviews:
- "Kinemaster is fantastic for mobile video editing! The multi-layer feature and frame-by-frame trimming really set it apart." – Mia S.
- "I’ve used Kinemaster for creating YouTube content. The export quality is impressive, and the app is easy to use." – Jason C.
- "Great app for mobile editing! A bit complex for beginners, but once you get the hang of it, it’s powerful." – Emily L.
Step-by-Step Guide for Shortening Video File Size Using KineMaster:
Step 1: Download and Open Kinemaster
Download Kinemaster from Google Play or the App Store. Open the app and create or sign in to your account.
Step 2: Import and Trim the Video
Tap “Create New Project,” select your video, and use the trim tool to shorten the video length. Adjust the quality settings to reduce the file size.
Step 3: Export the Video
Tap the export button, select your desired video resolution, and save the trimmed video to your gallery.
Part 3: Compression vs. Shortening Video File Size: Key Differences Explained
When dealing with video file size, it’s essential to understand the difference between compression and shortening.
Compression: Compression reduces the overall file size by encoding the video more efficiently, which involves reducing the bitrate or resolution. This method maintains the entire length of the video but sacrifices some quality, especially if high compression settings are applied. Compression is best for those who need to maintain the full length of a video while reducing its size for storage or upload purposes.
Shortening: Shortening a video involves trimming or cutting parts of the video to make it shorter, thereby reducing the file size. By removing unnecessary sections or unused parts, this method directly lowers the video file size without altering the quality of the remaining footage. Shortening is ideal when specific parts of the video are not required, such as removing long intros, unnecessary pauses, or repetitive content.
Key Differences:
- Compression affects the quality, but the video length remains unchanged, making it ideal for general file size reduction.
- Shortening directly reduces the length of the video, and therefore, the size, without affecting the video quality in the retained sections.
- Compression is better when file size needs to be reduced across the entire video, while shortening is perfect for cutting out irrelevant parts.
Both methods are useful depending on whether you need to keep the full content of a video or simply remove parts of it to save space.
Conclusion
Shortening video file sizes is essential for easier sharing, uploading, or storing content, and with the right tools, it can be done efficiently without compromising quality. Tools like UniConverter offer both compression and trimming features, ensuring that you can reduce video sizes with minimal quality loss. Additionally, UniConverter's features like AI watermark remover and AI video enhancer provide added value for those looking to refine their videos further while reducing size. Whether you choose a software solution, an online tool, or an app, knowing the differences between compression and shortening methods will help you make the best choice for your needs.
FAQs
What’s the difference between compressing and shortening a video?
Compression reduces the file size by encoding the video more efficiently, affecting its quality, while shortening simply trims parts of the video to reduce length and file size without affecting the quality of the retained content.
How can I shorten my video without losing quality?
Using tools like UniConverter or other video cutters, you can trim videos without quality loss. These tools allow you to remove unnecessary parts of the video while maintaining the original quality.
Are there any free tools for shortening video file sizes?
Yes, there are several free online tools available for shortening video file sizes, such as InVideo, Movavi Video Trimmer, and Clideo, which allow you to trim and resize your videos quickly.
What file formats can I use when shortening video file sizes?
Most tools, including UniConverter, support a variety of formats such as MP4, MOV, AVI, and more, making it easy to trim or compress videos in your preferred format.
Can I shorten videos on my phone?
Yes, apps like InShot, Kinemaster, and Quik GoPro are perfect for shortening videos directly on your phone without the need for a computer. These apps offer easy-to-use tools for trimming and resizing videos.

