
Process Ray-Ban Meta Videos with UniConverter
Ray-Ban Meta video quality depends on more than the “3K” label. The glasses, selected frame rate, lighting, head movement, phone platform and the app used for sharing can all change the final result. This guide separates the official specifications from practical file checks, then shows what to do when a clip is too large, will not open or looks worse after upload.
In this guide
Part 1. Ray-Ban Meta Gen 1 vs Gen 2 Video Quality and Specs Part 2. What Does 3K Video Mean on Ray-Ban Meta Gen 2? Part 3. Why Is the Ray-Ban Meta Video Aspect Ratio Different From Phone Video? Part 4. What Is the Ray-Ban Meta Video Format? Part 5. Why Does Ray-Ban Meta Video Look Blurry or Worse After Upload? Part 6. When to Convert, Compress, or Enhance Ray-Ban Meta Video Part 7. FAQs about Ray-Ban Meta Video QualityRay-Ban Meta Gen 1 vs Gen 2 Video Quality and Specs
Check generation and capture mode before conversion
Ray-Ban Meta searches focus on generation-specific resolution, aspect ratio, file format, and why clips look different after transfer or upload. Separate Gen 1 from Gen 2 claims and distinguish the camera’s capture setting from the imported file properties. Compare the original imported clip with the uploaded version before resizing, cropping, or converting.
When it fails: If the video is blurry, cropped, or incompatible, check low-light motion blur, stabilization crop, platform recompression, container, codec, and frame rate in that order.
Check generation and capture mode before conversion: Separate Gen 1 from Gen 2 claims and distinguish the camera’s capture setting from the imported file properties. Compare the original imported clip with the uploaded version before resizing, cropping, or converting.
The clearest generational change is capture flexibility. Meta's original Ray-Ban Meta announcement described the current Gen 1 model as using a 12 MP ultra-wide camera for 1080p video. The current Gen 2 product specifications list 3K Ultra HD at 30 fps, 1080p+ at 30 or 60 fps, and 720p+ at 120 fps. Meta also states that Gen 2 captures more than twice as many pixels as the previous generation.
| Video detail | Ray-Ban Meta Gen 1 | Ray-Ban Meta Gen 2 |
|---|---|---|
| Maximum advertised quality | 1080p video | 3K Ultra HD |
| Frame-rate choices | Use the device's fixed/current capture behavior; Meta does not allow resolution adjustment | 3K at 30 fps; 1080p+ at 30/60 fps; 720p+ at 120 fps |
| Best practical use | Everyday POV clips and social sharing | 3K for detail, 60 fps for smoother motion, 120 fps for high-frame-rate capture |
| Settings control | Resolution is not adjustable | Resolution and frame rate can be changed in supported video settings |
For Gen 2, open the Meta AI mobile app and go to Glasses > Device settings > your glasses > Media > Video settings. Meta documents this path on its AI glasses capture and video settings page. Available choices may change with device software, so check the app rather than relying on an old screenshot.
What Does 3K Video Mean on Ray-Ban Meta Gen 2?
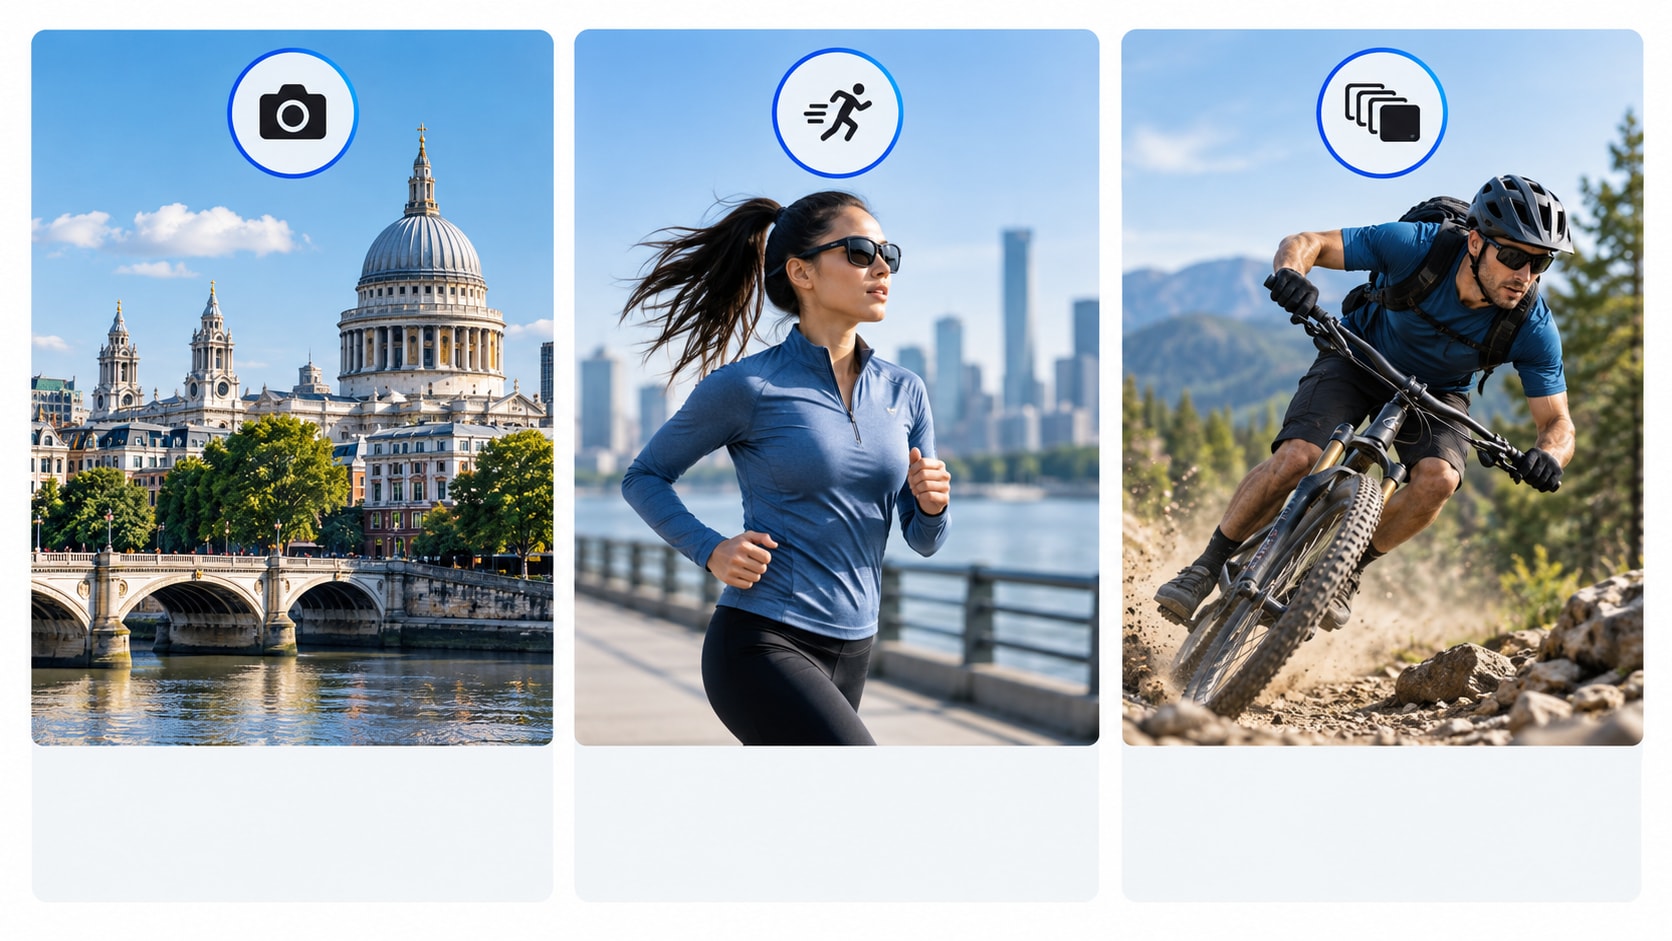
“3K” is Meta's name for the highest-resolution Gen 2 recording mode. It provides more captured pixels than Gen 1 and gives you more room for reframing, light cropping or viewing on a larger screen. It does not mean every frame will automatically look sharper: focus, available light, head movement, stabilization, lens cleanliness and platform compression still matter.
Meta's product page currently publishes the 3K mode and frame rate but does not provide a universal width-by-height value for every exported file in that specification table. Do not substitute the 3,024 × 4,032 photo dimensions for video dimensions. To confirm the exact ray ban meta video resolution of your own clip, inspect the imported file on your phone or computer and note its width, height and frame rate.
Which mode should you choose? Select 3K/30 when detail matters and the scene is reasonably well lit. Choose 1080p/60 when smoother motion matters more than maximum resolution. Use 720p+/120 only when you specifically need high-frame-rate footage and accept the lower resolution.
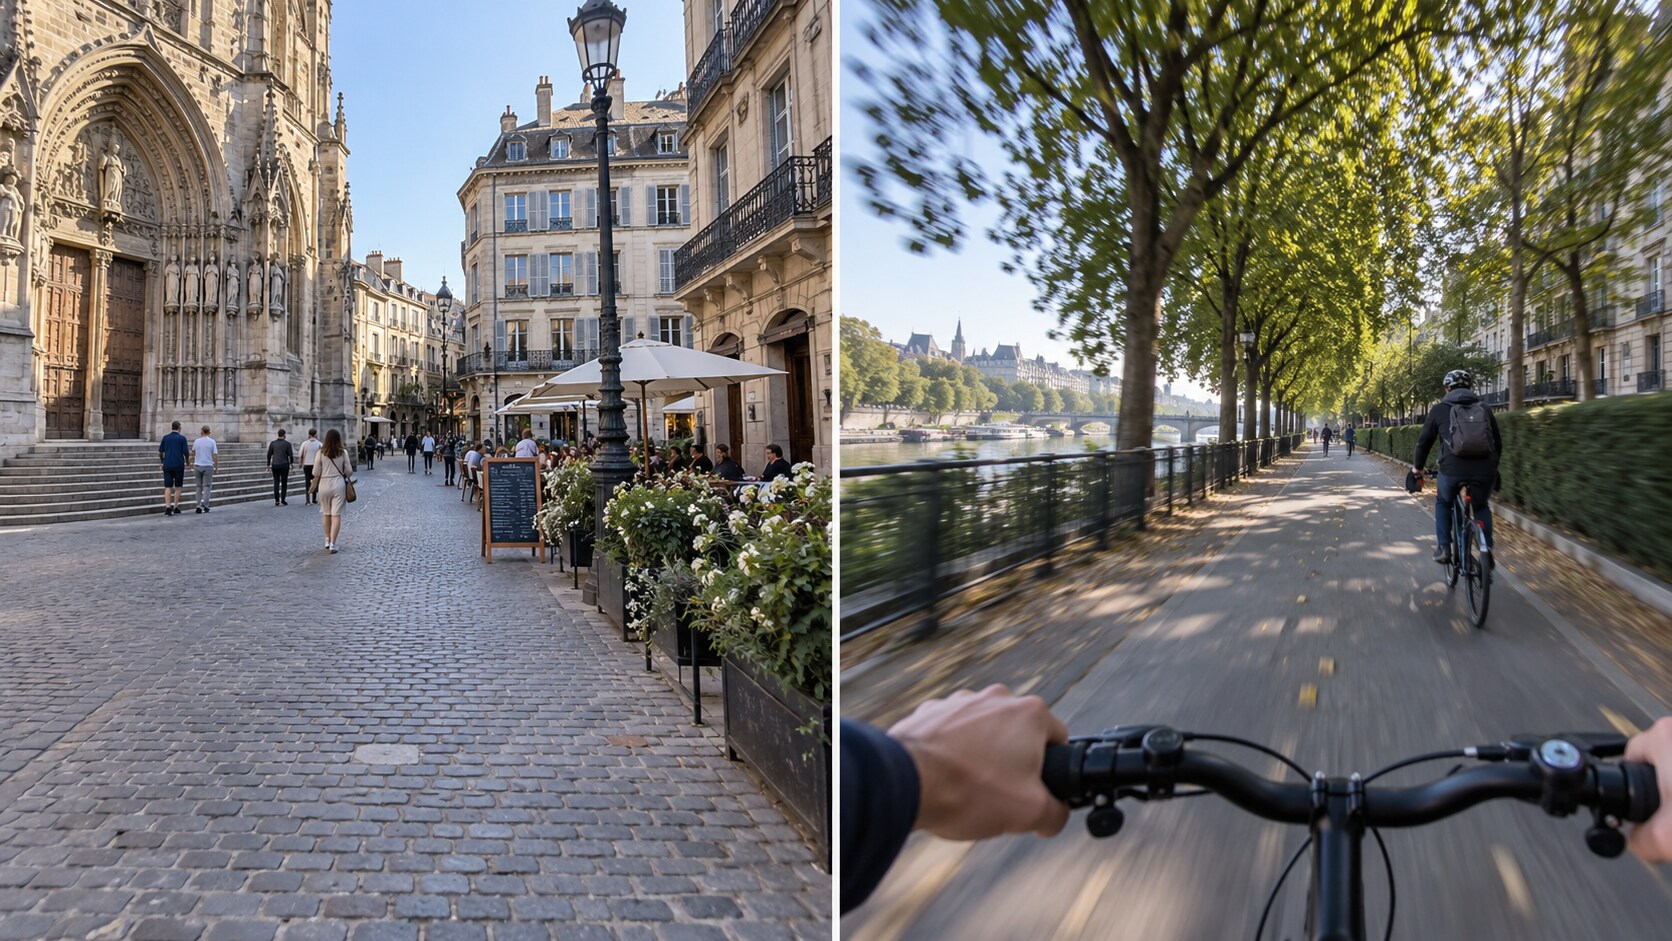
Why Is the Ray-Ban Meta Video Aspect Ratio Different From Phone Video?
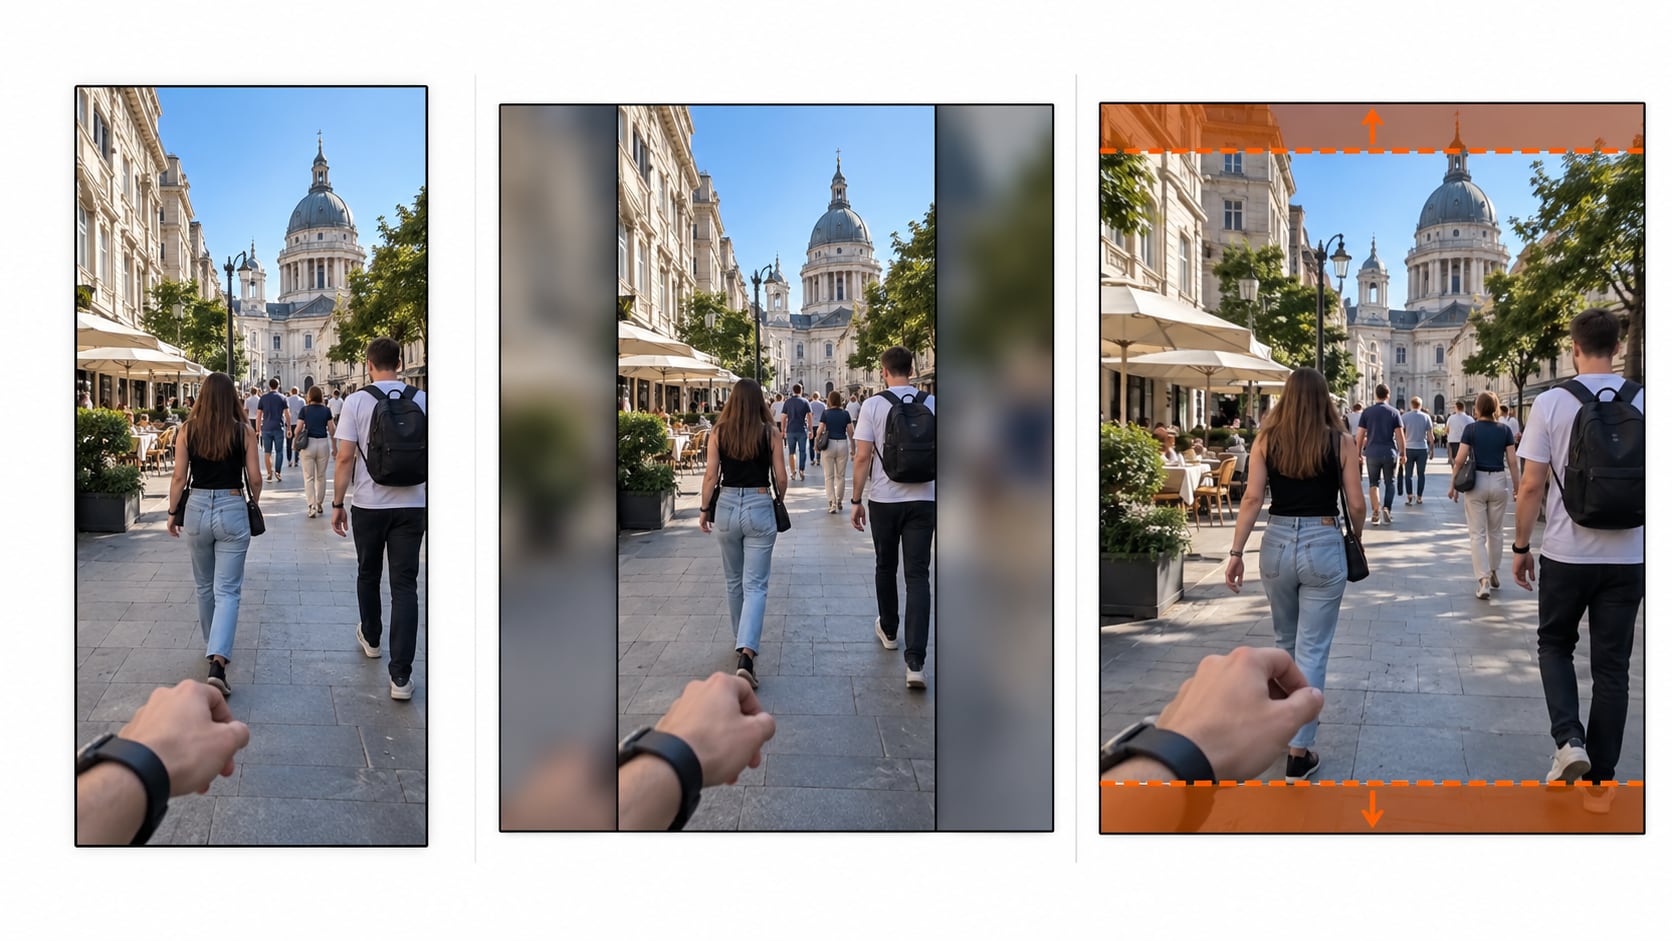
Ray-Ban Meta footage is designed around a hands-free, first-person capture experience and commonly arrives as portrait-oriented media. That makes it convenient for vertical social posts, but it can look narrow, pillarboxed or aggressively cropped inside a 16:9 landscape project.
Do not assume one fixed aspect ratio from the marketing term “3K.” Resolution tells you the pixel dimensions; aspect ratio is the relationship between width and height. Firmware, capture mode and export handling can affect the file you receive. Check the actual dimensions first, then choose one of these editing approaches:
- Keep portrait: best when the destination is a vertical feed or Story-style layout.
- Fit inside 16:9: preserves the full frame but adds side space, which can be filled with a blurred background or design layer.
- Crop to 16:9: fills a landscape frame but removes content from the top and bottom; preview the subject position before exporting.
What Is the Ray-Ban Meta Video Format?
Meta's current help page explicitly covers Ray-Ban Meta and describes imported video as MP4 on Android and HEVC on iOS. Read that wording carefully: MP4 is a container, while HEVC (H.265) is a video codec. The help page does not publish a complete container-plus-video-codec-plus-audio-codec matrix for every phone, device generation and recording mode.
That means the most reliable answer to “What is the Meta glasses video format?” is to verify the imported file itself. On Windows, open Properties > Details. On macOS, use QuickTime Player > Window > Show Movie Inspector. A tool such as MediaInfo can show the container, video codec, audio codec, resolution, frame rate and bitrate in one place.
| What to check | Why it matters | Common fix |
|---|---|---|
| Container | Some apps accept MP4 more reliably than less common containers | Rewrap or convert to MP4 when required |
| Video codec | HEVC may fail in an older player or editor even when the file extension looks familiar | Convert to H.264 MP4 for broader compatibility |
| Resolution and orientation | Determines project fit and whether a landscape export needs padding or cropping | Match the project or preserve portrait orientation |
| Frame rate | A 30, 60 or 120 fps source should be interpreted correctly by the editor | Match the timeline or intentionally conform the clip |
Why Does Ray-Ban Meta Video Look Blurry, Shaky or Worse After Upload?
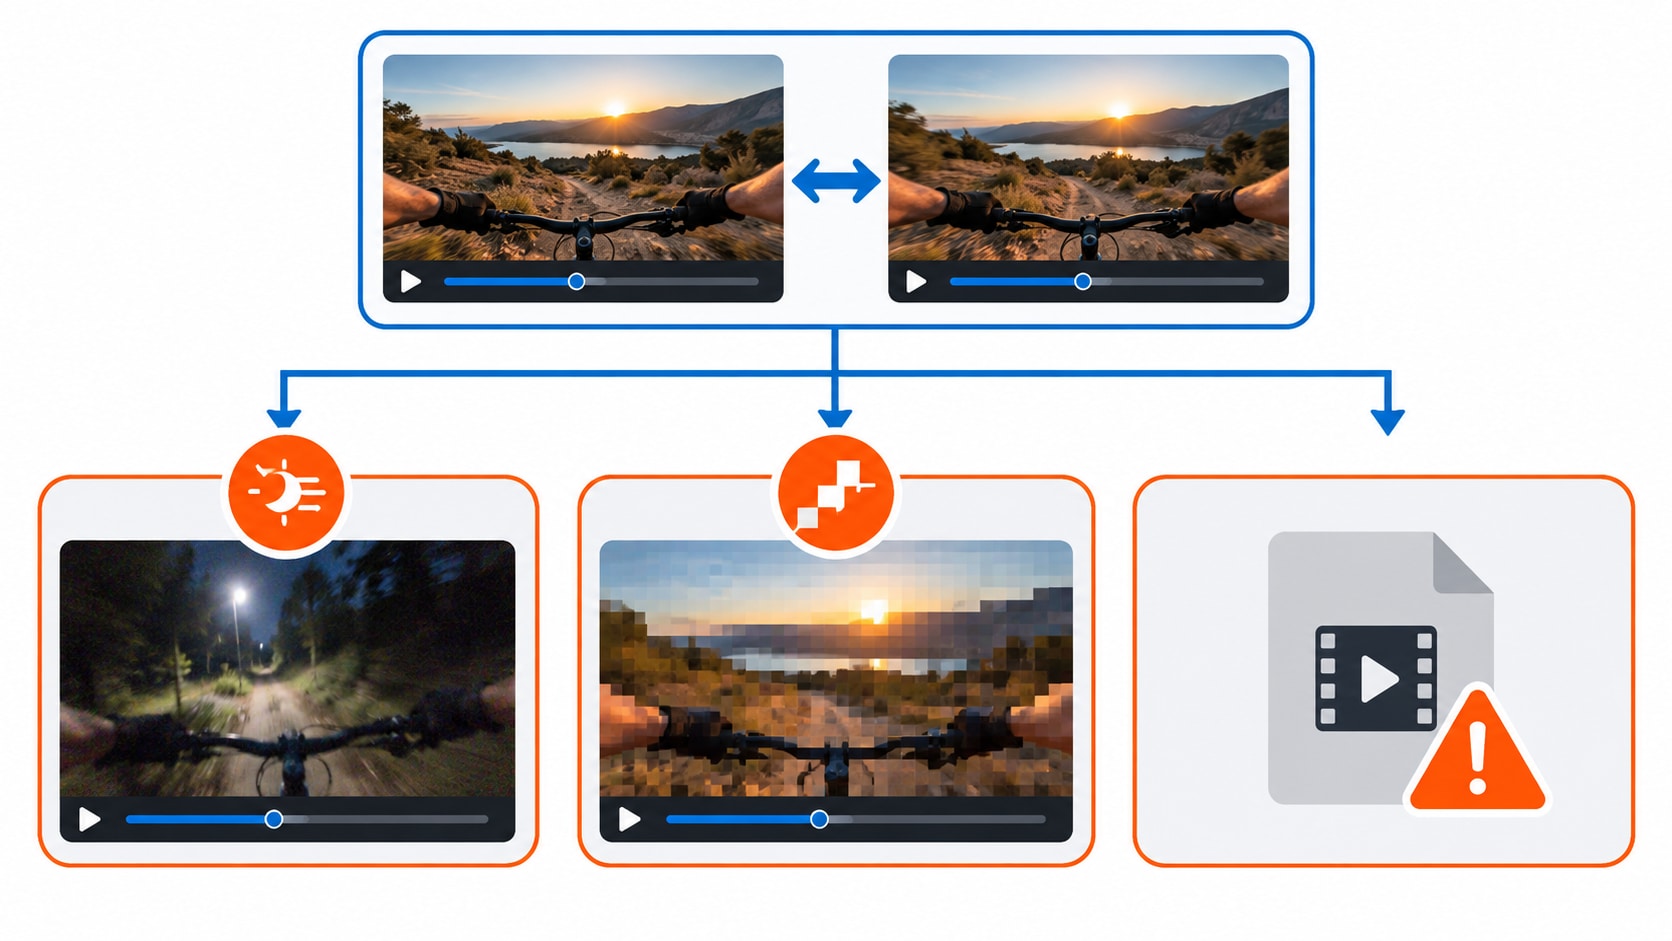
First compare the imported original with the uploaded version. If the local file is already soft, likely causes include low light, motion blur, head movement, digital stabilization crop, a dirty camera lens or a lower-resolution/high-frame-rate capture mode. If only the uploaded copy looks worse, the platform probably resized or recompressed it.
- Low light: a small wearable camera may raise sensitivity, producing noise and reduced fine detail.
- Fast head movement: higher resolution cannot recover detail lost to motion blur or rapid viewpoint changes.
- Wrong project setup: stretching a portrait clip to fill a landscape frame can make it look soft or awkwardly cropped.
- Repeated exports: every lossy transcode can remove more detail, especially at an unnecessarily low bitrate.
- Social upload: a platform may create a smaller delivery copy even when the original looks clear on the phone.
When to Convert, Compress or Enhance Ray-Ban Meta Video
Choose the tool based on the defect. Conversion changes compatibility; compression reduces file size; enhancement attempts to improve visible quality. One process should not be presented as a substitute for another.
| Problem | Best first action | What to preserve or check |
|---|---|---|
| Clip will not open or import | Convert the local video to a broadly compatible MP4/H.264 workflow | Orientation, resolution, frame rate and audio |
| 3K file is too large | Compress the video with a target size or quality-oriented setting | Textural detail, motion, audio and upload requirements |
| Original is noisy, dim or soft | Try AI Video Enhancer on a short preview | Faces, edges, halos, noise, color and natural texture |
| Only the social copy is blurry | Re-export once using the platform's preferred dimensions and avoid unnecessary intermediate encodes | Compare the exported local file before uploading |
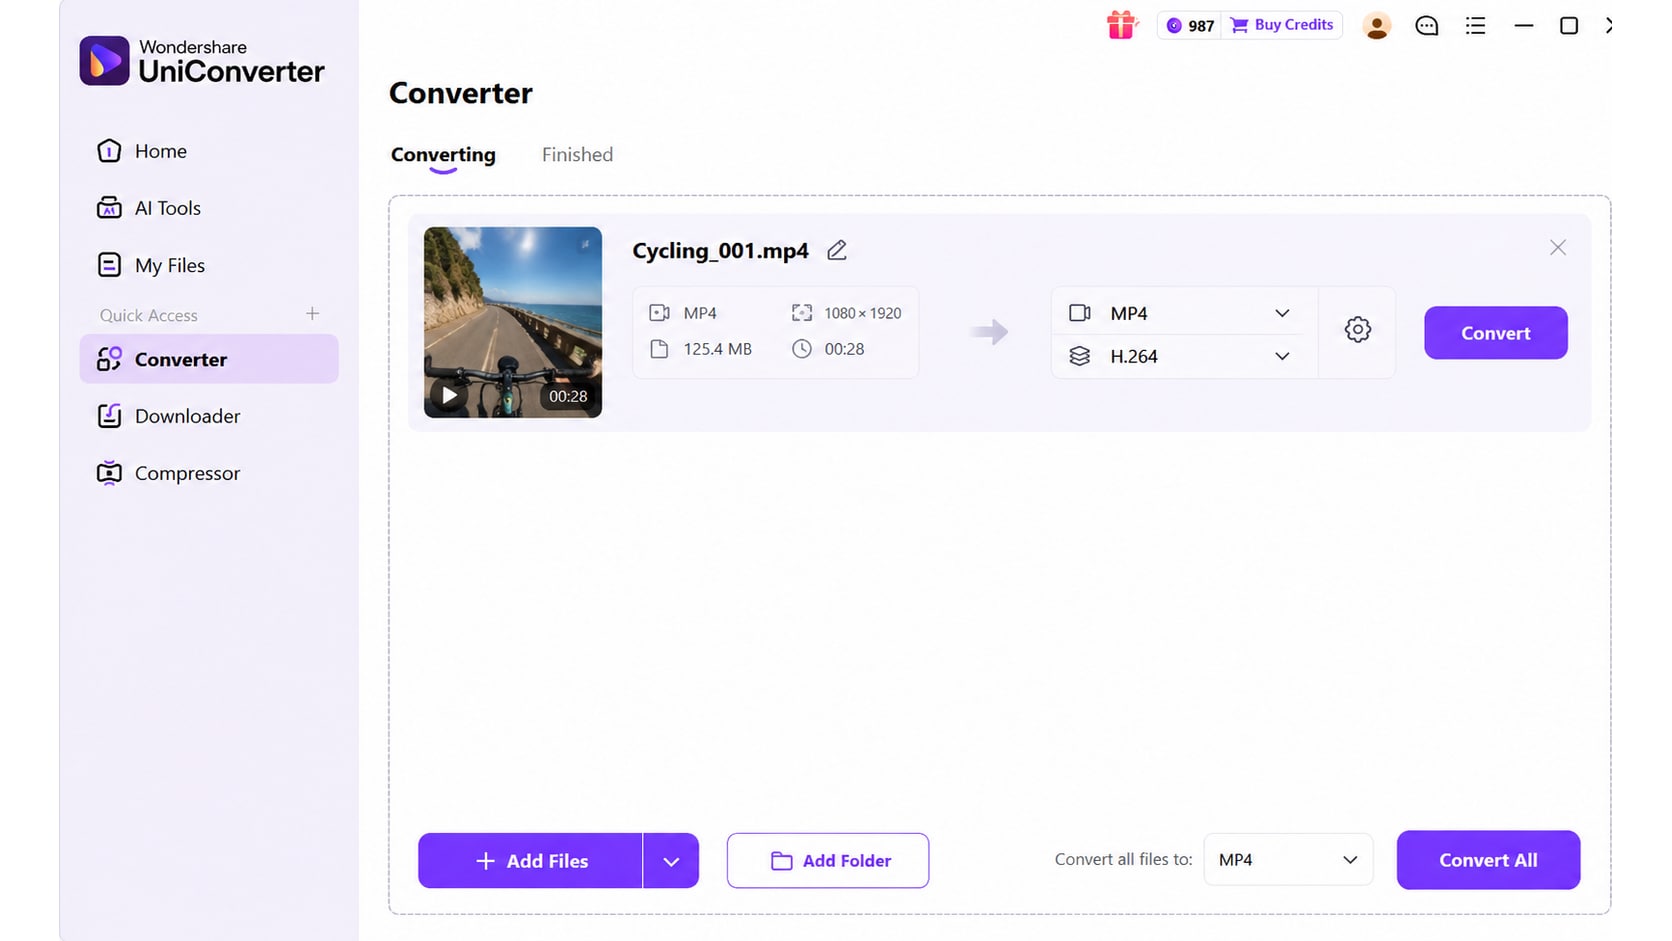
Convert an incompatible Ray-Ban Meta clip
- Import the local video into UniConverter's Converter.
- Choose MP4 with H.264 when the destination needs broad compatibility. Keep the original resolution, orientation and frame rate unless the target app requires something else.
- Convert the file, open the result in the target player or editor, and compare duration, orientation, audio sync and visible detail with the source.
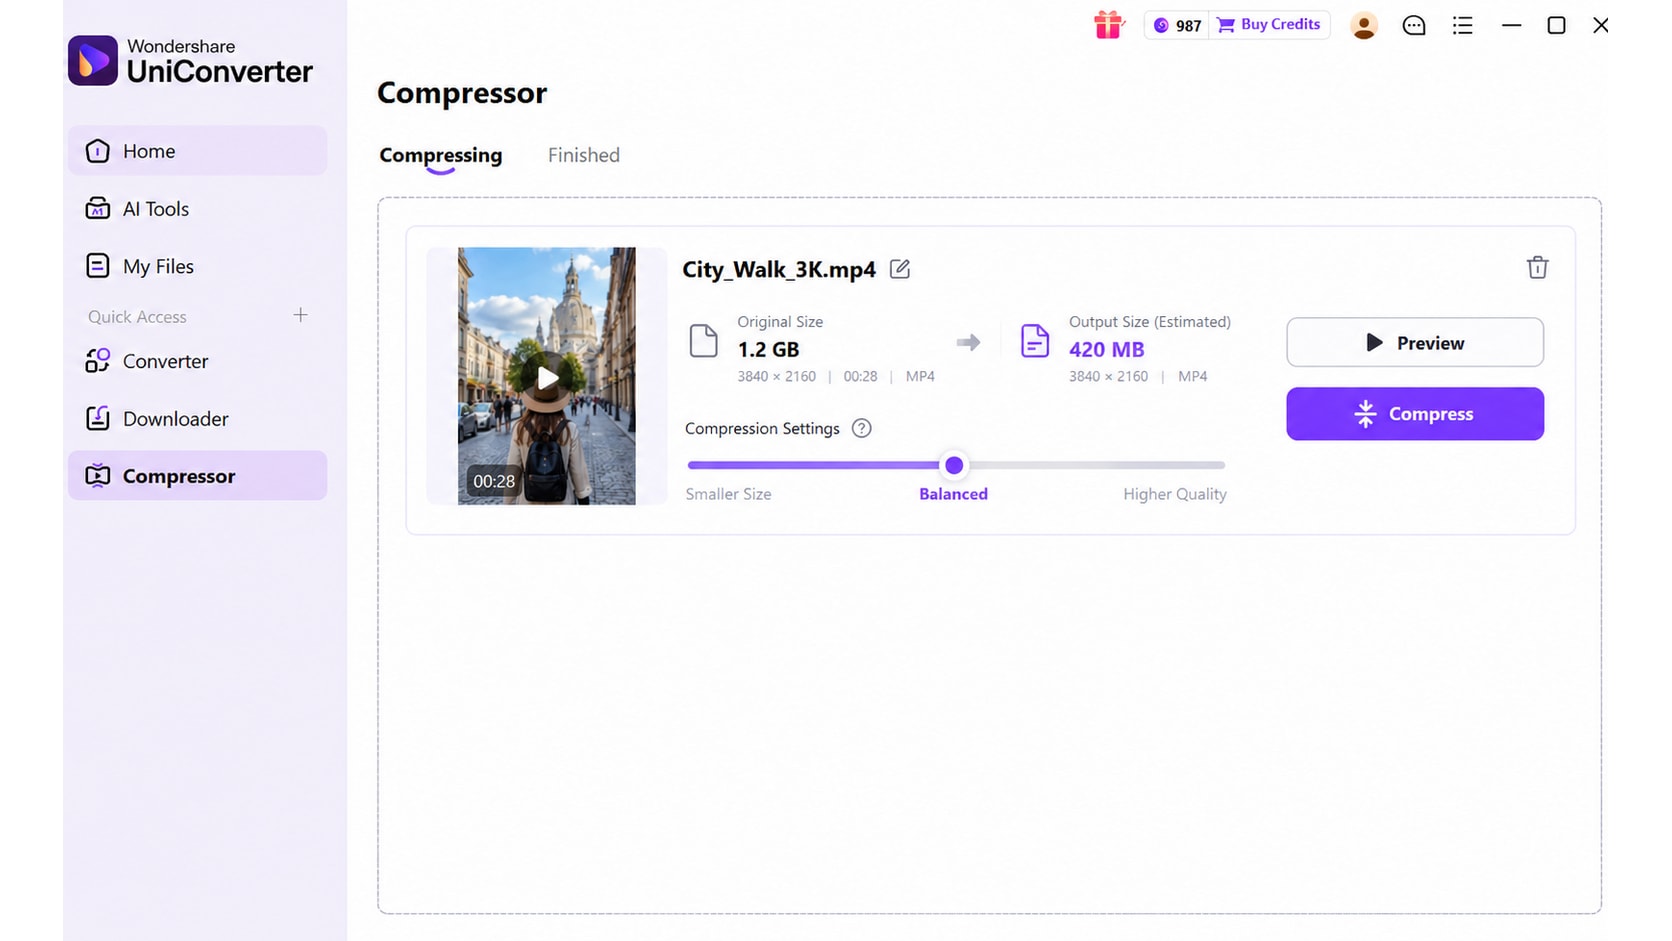
Compress a large 3K clip
- Add the imported 3K file to Video Compressor.
- Choose a compression mode and review the estimated output. Start conservatively when fine detail matters; aggressive reduction can introduce blocking or smear motion.
- Use Preview where available, compress, then compare motion, edges and texture at full-size view before replacing or deleting the original.
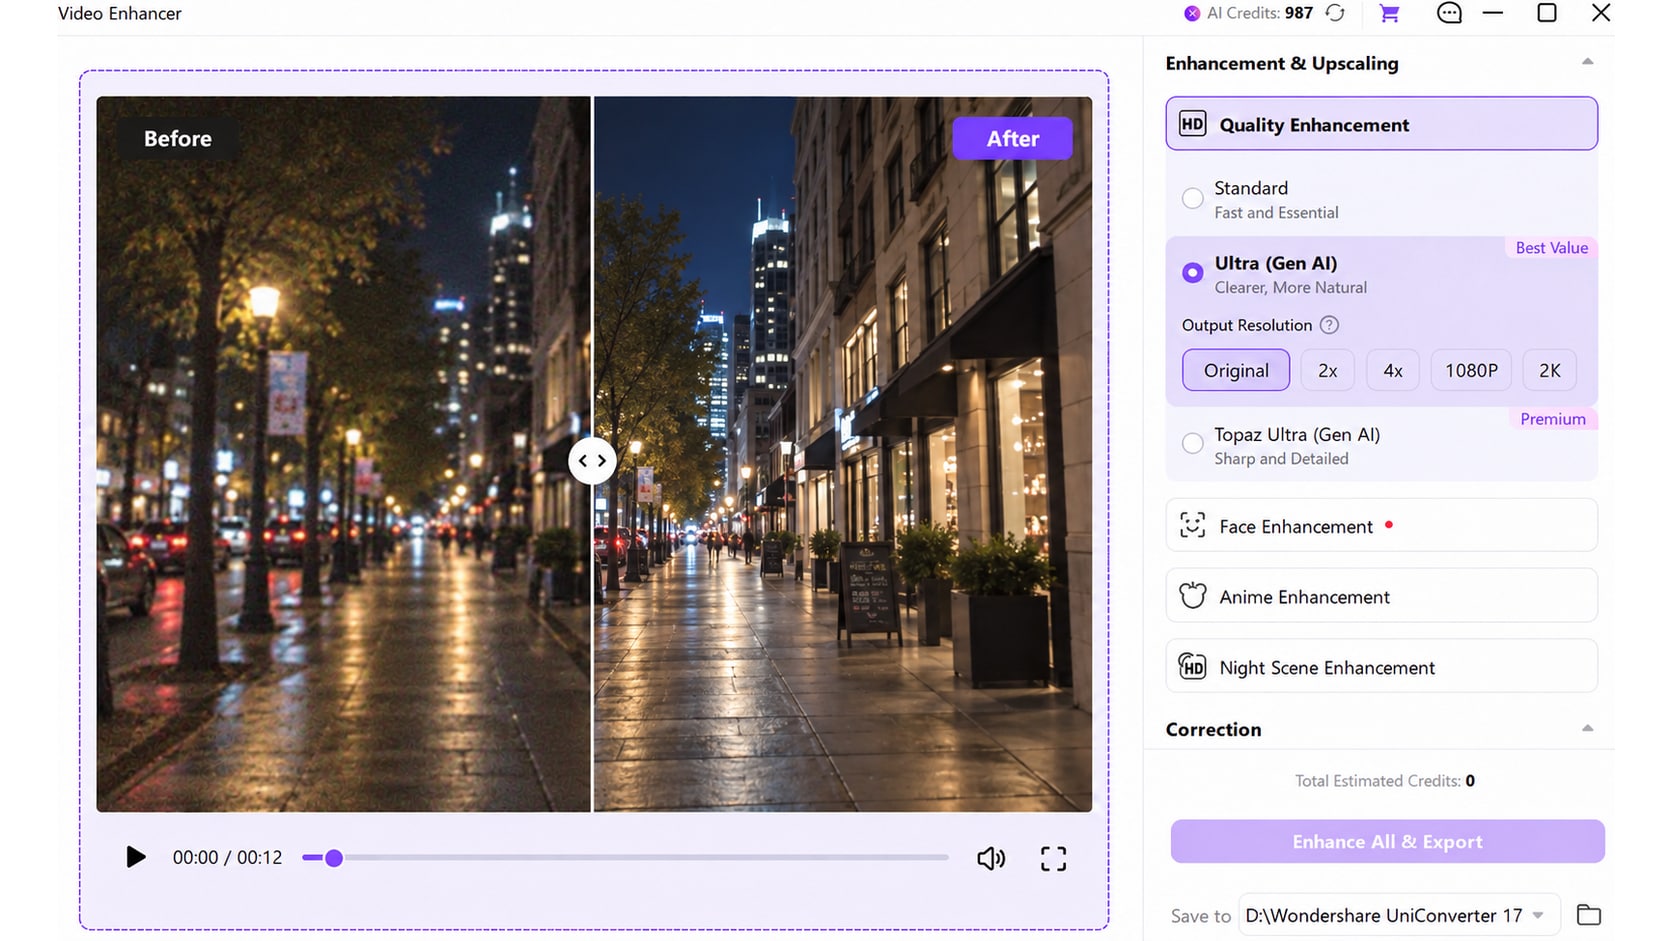
Enhance only when the source needs it
Enhancement is appropriate when the imported original—not just the uploaded copy—has low-light noise, weak detail or poor overall clarity. In UniConverter Desktop, add the clip to AI Video Enhancer, choose a model that matches the visible defect, preview a representative segment and export only after checking for halos, artificial skin texture or over-sharpened edges. Enhancement cannot reconstruct detail that the camera never captured, and it will not fix an incompatible codec by itself.
Keep the original file. Convert, compress or enhance a copy. A smaller file or sharper-looking preview is not automatically better if it changes orientation, removes motion detail, causes audio drift or adds artificial texture.
Frequently Asked Questions
Does every Ray-Ban Meta video use the same format?
No. The generation and capture mode affect the file properties; inspect an imported sample when the exact container and codec matter.
Why can the aspect ratio change after upload?
The platform may crop or resize the original. Compare the imported source with the published copy before changing the source file.