

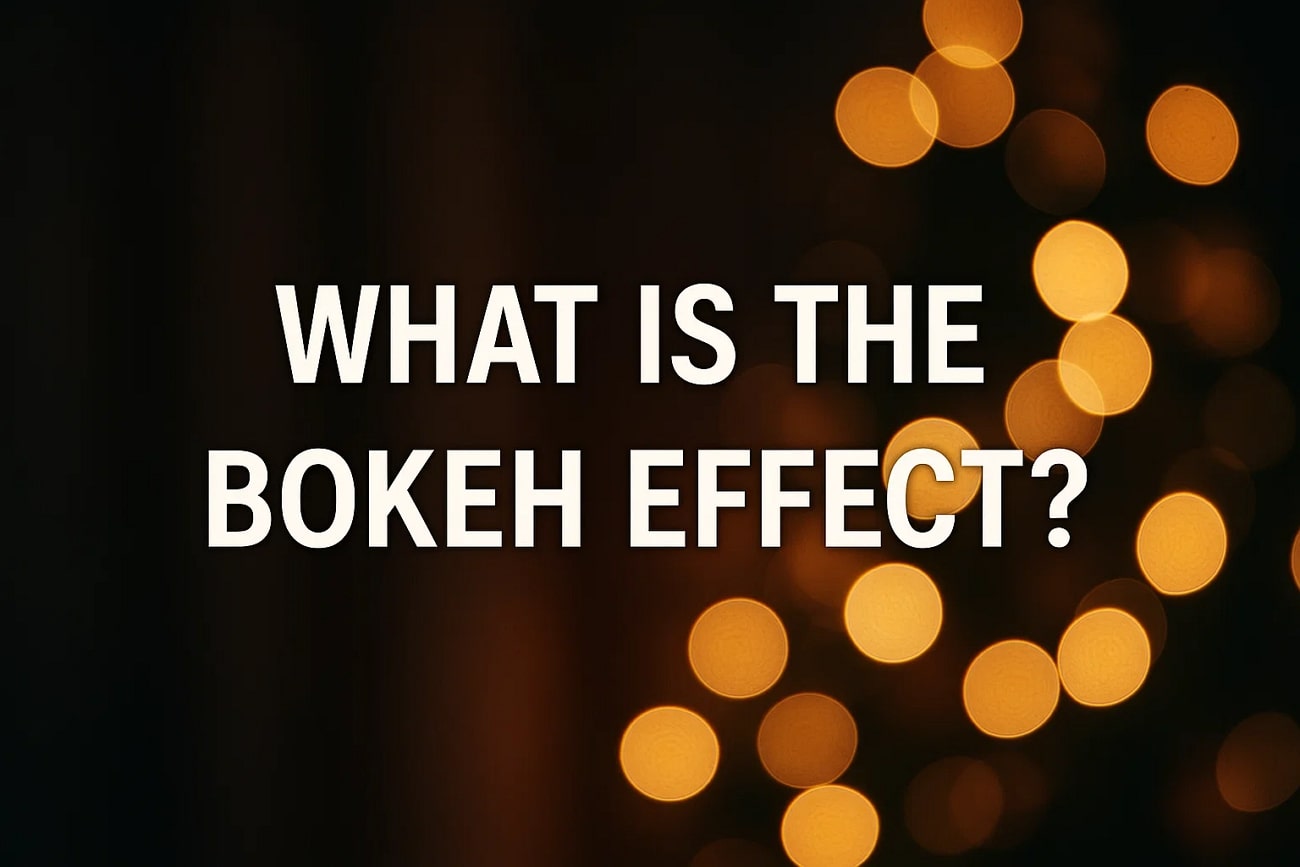
Ever taken a portrait photo only to find the background clutter stealing all the attention? Maybe you have admired those dreamy Instagram shots where the subject pops everything behind and melts into a soft, glowing blur. However, no matter how hard you try, your pictures just don’t look the same. That's because what you are missing is not just a blur, it's the bokeh effect.
The good news is you don't need an expensive DSLR pro editing software like Photoshop to get this effect. Whether you are using a smartphone or just starting with photo editing tools, this guide will walk you through everything you need to know. You'll learn everything from understanding what bokeh really is to adding it once you capture the image with this simple guide.
In this article
Part 1. Understanding Bokeh – What It Really Is
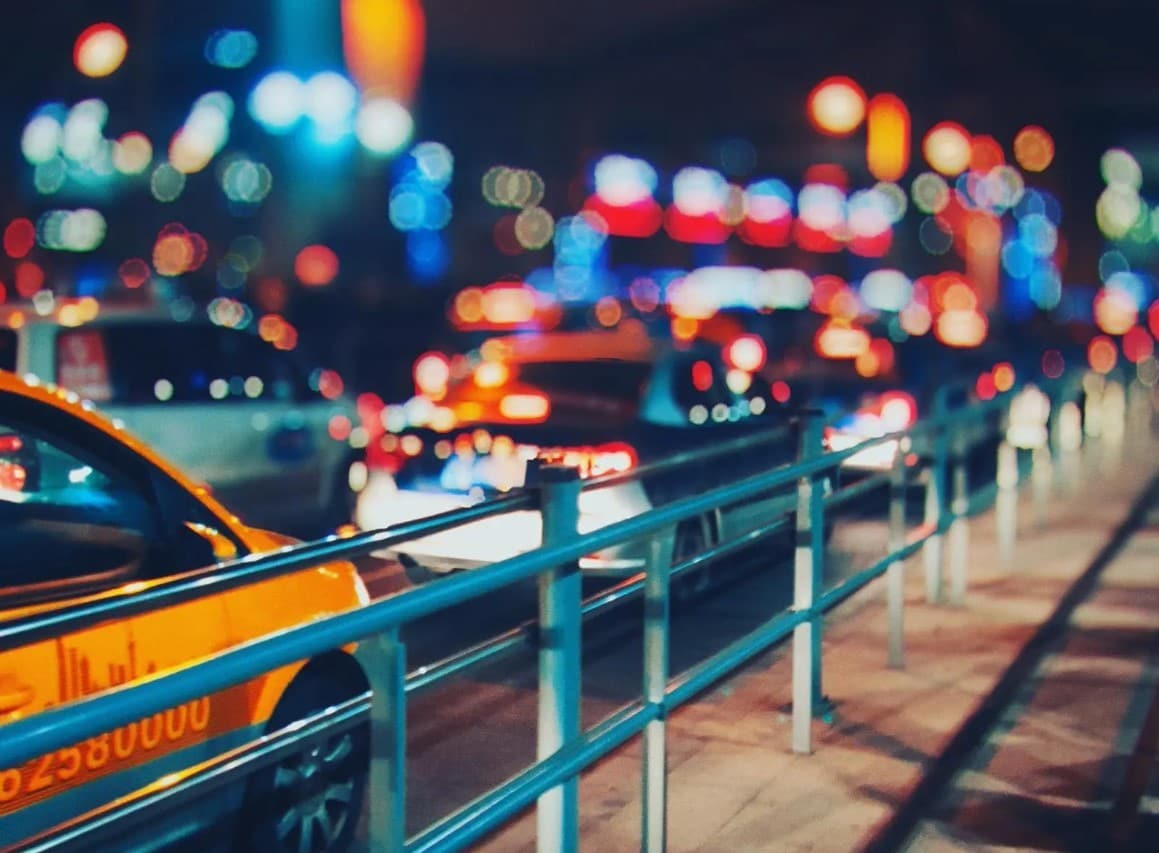
Derived from the Japanese language, the word bokeh (暈け or ボケ) signifies a blur or haze. In photography, it denotes soft, blurred regions while the subject remains sharply focused. Although blur may seem like an error, the bokeh effect is an artistic method that introduces depth, feeling, and visual appeal to a photograph. This effect specifically pertains to the visual appeal of that blur.
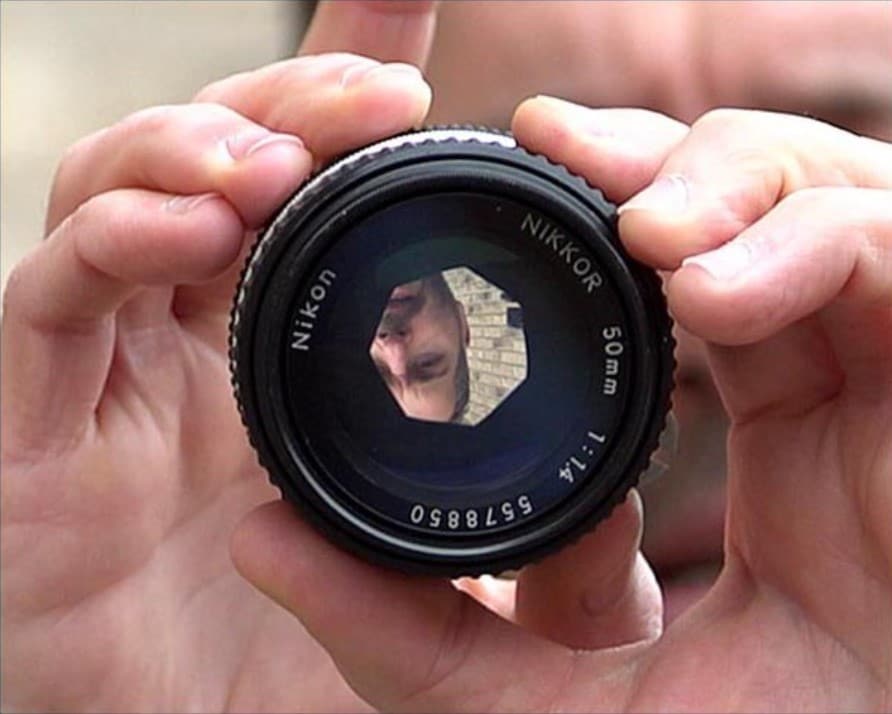
A good bokeh appears smooth, creamy, and natural, while a poor bokeh can be harsh or distracting. It's most often created when shooting with a wide aperture, allowing a shallow depth of field that separates the subject from the background.
Part 2. Why and When You Should Use the Bokeh Effect
Before we get to know how to get this effect on your images, it's necessary to learn why we should use blur bokeh in the first place. The following section will cover a few reasons why you need to add it to your images:
Focus & Emphasis in Portraits
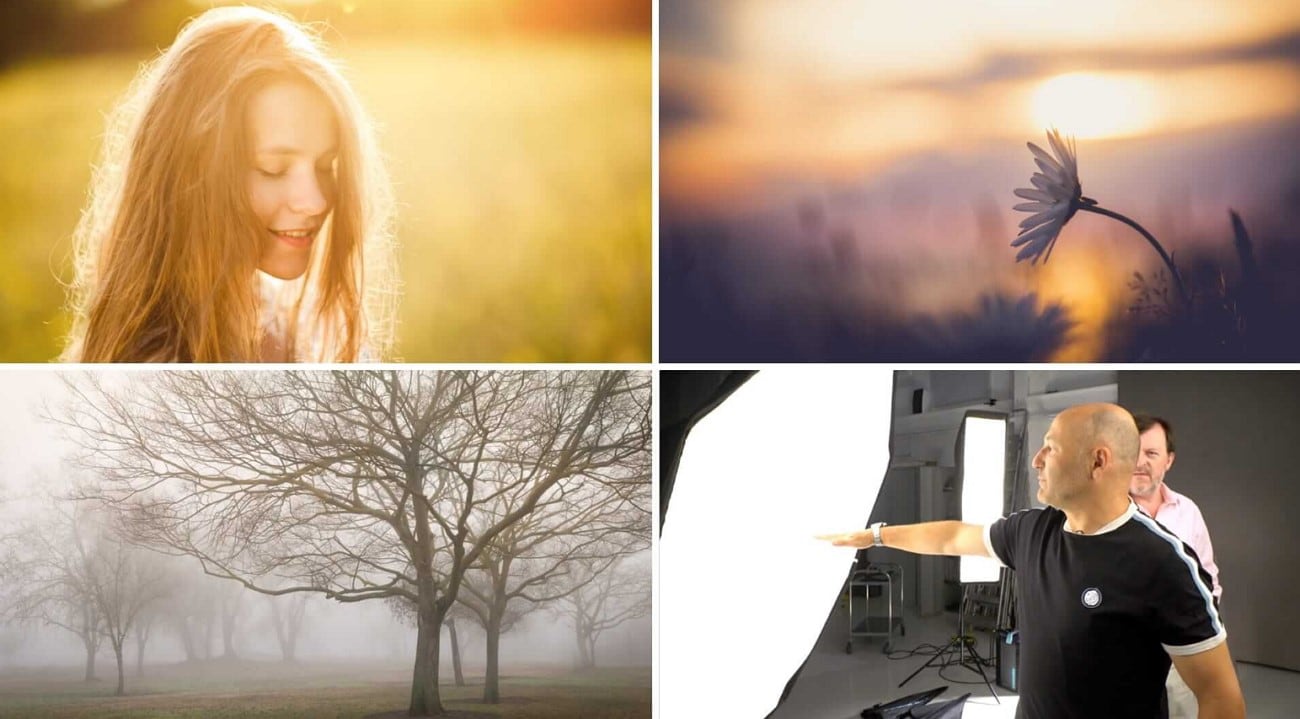
It naturally draws the attention of viewers to the subject by blurring everything else in the frame. This sharp contrast between the focused subject and the soft background makes the portrait more engaging.
Mood, Motion, & Drama
Bokeh can evoke different moods based on how it is used, like a soft, circular blur to add romance and nostalgia, while dynamic blur suggests movement or action. It transforms a static image into a storytelling moment with emotional depth.
Softening & Glow Effects
In harsh lightning or a cluttered scene, it softens the background elements and turns bright spots into gentle glows. You can create a visually pleasing image that feels smooth, warm, and more defined.
Spotlight & Depth Enhancement
Bokeh helps stimulate a spotlight effect by emphasizing the foreground and subtly fading the background. This layering effect adds depth, making the photo look more three-dimensional and professional.
To Achieve an Artistic or Dreamy Look
Individuals use bokeh creatively to turn an ordinary scene into an abstract, dreamy composition. It allows light, shape, and texture to blend in soft and beautiful ways, which is perfect for expressing visual poetry.
Part 3. Tips to Take Bokeh Photos with Your Phone
After you understand when to apply this Japanese bokeh effect, it's essential to comprehend how to create it. A few given tips can assist you to capture stunning images with this beautiful effect:
Open Up the Lens: Utilize the camera of your phone with the largest accessible aperture, like f/1.8 or smaller. This will lessen the field's depth, resulting in a beautifully blurred background while keeping the subject in focus.
Close Focus
You should try to move your camera physically closer to your subject. The shorter the focus distance, the stronger the bokeh effect will be around the background.
Background Distance
Keep your subject far from the background and at least try to be a few feet away if possible. The greater the speckle is, the smoother and more prominent the blur will become.
Use Gentle Lighting
Shoot in diffused natural light, such as during golden hour or under the cloud cover. This avoids harsh highlights or shadows that can ruin the soft bokeh effect.
Light Up the Scene
Include light or reflective texture behind your subjects, such as fairy lights, streetlights, or sunlight through leaves. These will turn glowing orbs and patterns when out of focus, which enhances the effect.
Part 4. 4 Easy to Use Tools to Add Bokeh Effect Without Photoshop
Now that you know the tips, you might be wondering where to add this effect without using complex editing tools. The upcoming section will provide you with a few reliable editing tools to help you add bokeh in photos:
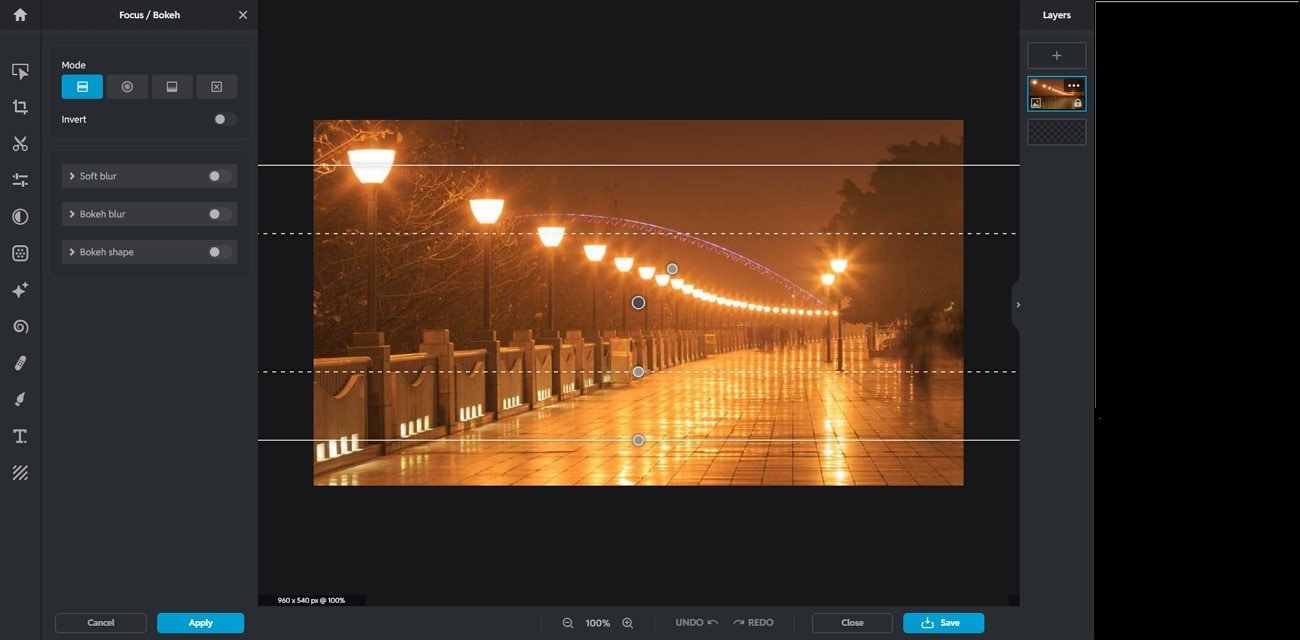
1. Pixlr
When it comes to bokeh photography, you can use this AI-powered tool that offers a wide range of effects, such as the Bokeh one. You can use its 3 different modes, which include symmetric tilt, offering 3 different blur types. Radial and Linear are also modes that allow you to add the bokeh effect in a circular and linear form.
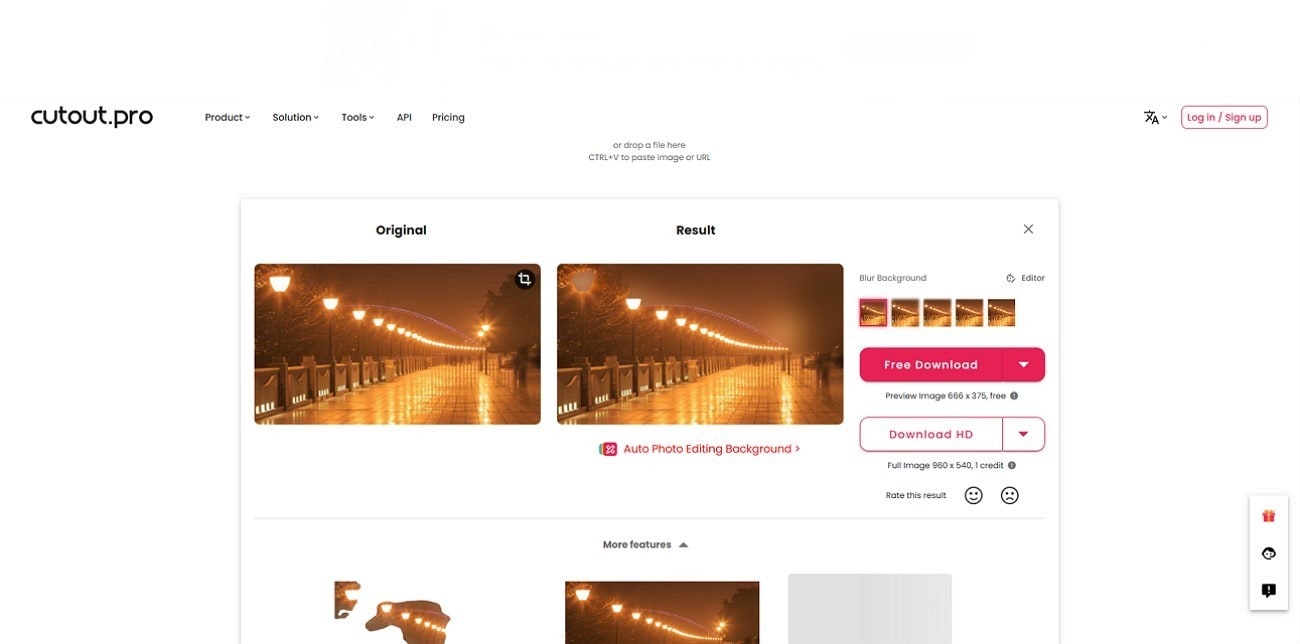
2.Cutout.Pro
This tool is also used to add the bokeh effect, as it offers an AI blur background tool, which immediately turns the lights into hazy mode. Users just have to add an image with lights in it using the drag-and-drop feature, and the tool automatically turns it into that effect. It allows you to save the image for free in 666 x 375 resolution.
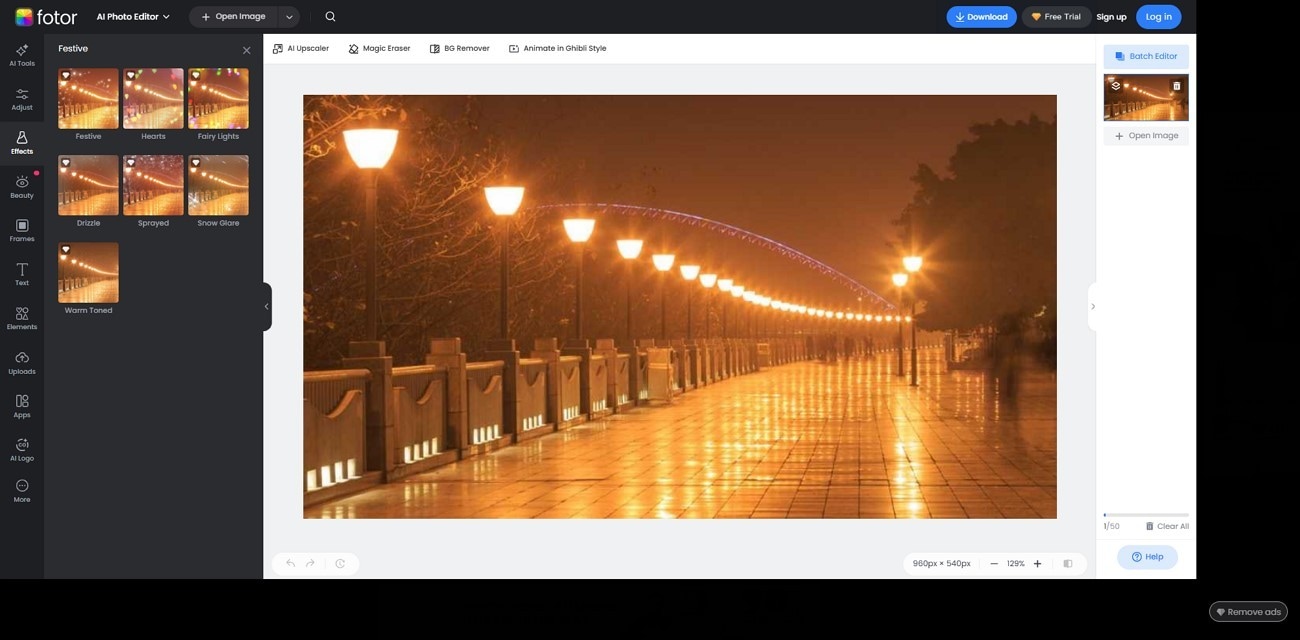
3. Fotor
To get the colorful bokeh background, Fotor offers you an Effect tool that instantly adds it to your picture. You can choose between 7 different effects, which include Festive, Warm Toned, Fairy Light, and many more. Other than that, you can download the edited image in PNG and JPG, two different formats. It lets you see the estimated quality and size of the picture before you download it.
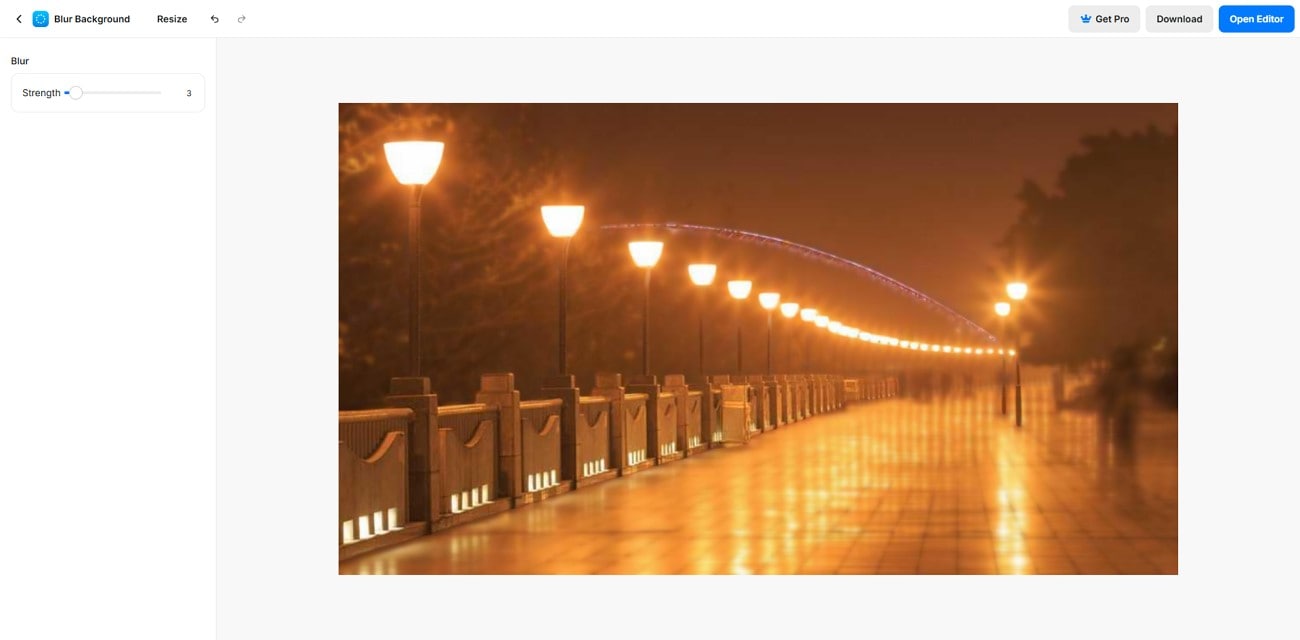
4. Pixelcut
Another tool is Pixelcut, which lets you add a gold bokeh background with its advanced AI technology. Users just have to upload the image, and the tool separates the main subject from the background, allowing you to edit it separately. Moreover, it enables you to adjust the intensity of how blurry you want the picture with its Blur Strength toolbar.

Easy to Use Batch Image Color Corrector for Win and Mac
Part 5. Fixing Bokeh Photo Colors in Bulk (Quick Batch Editing Tools)
After you add the bokeh effect to your images, there are times when the colors just fade, and they don't look vibrant. For that, you can use UniConverter, which offers the Image Enhancer with various other tools such as Color Correction. It allows you to add any type of picture you have, as it supports a wide range of formats such as JPG etc.

Apart from this, using the Color Correction tool, you can extract the color cast from the picture and correct the brightness. The tool offers sample images for you to check its results before you upload your own photo. Unlike other tools, it provides a batch processor, allowing you to add up to 20 pictures at a time and correct their brightness at once.
Key Features
Face Enhancer: If you have a face in the image, you can use this tool that analyzes the facial features and makes it sharp and defined.
Old Photo Colorizer: Users can use black and white photos and add colors to them by simply using this tool.
Preview Image: Once you edit the photograph, UniConverter lets you see the before and after results to see if the results are worth considering.
Image Upscaler: With various options, such as 2X and 8X, you can upscale the images without losing any details.
Old Photo Restorer: For pictures with scratches or stains, this tool lets you retain the original photos and removes discolorations.
A Complete Detailed Guideline to Use the Color Correction
Now that you know the features of this tool if you have a bokeh picture of this issue and want to resolve it, follow the given guide:
Step 1
Access the Home Tab and Choose an Image Enhancer
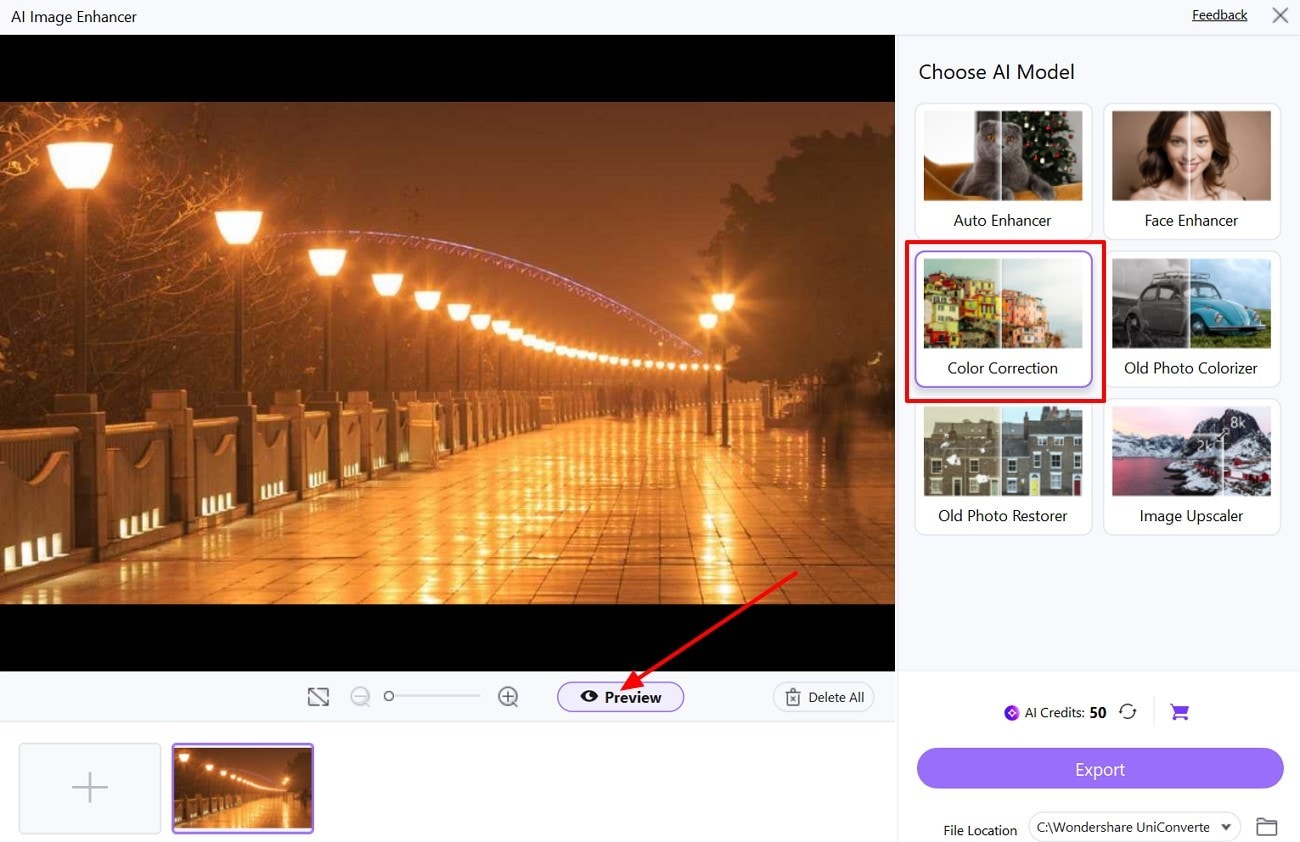
Access the tool on your device and go to the “Home” tab from the side panel. Press the “Image” tab from the main interface and grab the “Image Enhancer” tool.

Step 2
Add the Target Faded Bokeh Photo
From the next screen, press the “Add or Drag Image(s) Here to Start” button and insert the bokeh effect picture that has lost its colors.

Step 3
Choose the Color Correction Tool and Preview It
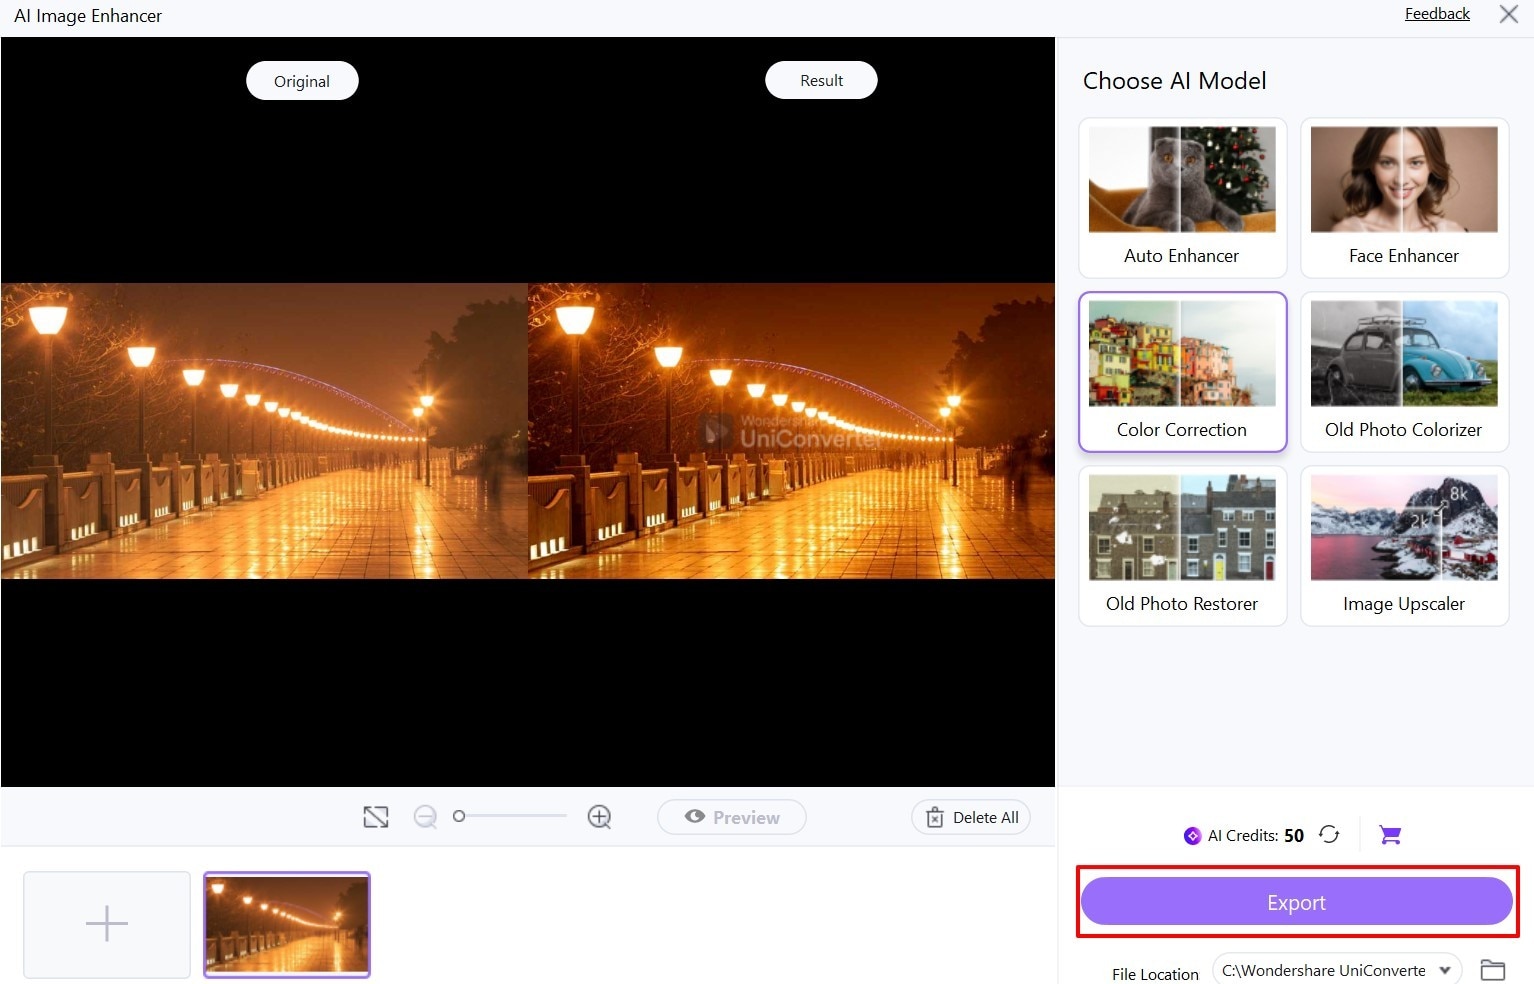
Once you add the photo, pick the “Color Correction” tool from the right side of the screen and hit the “Preview” button to start the process.
Step 4
Check the Results and Download the Picture
It will take a few minutes, and the tool will show both the original and the result pictures. So, check the results and click the "Export" button to save the corrected bokeh photo on your device.
Conclusion
Whether you are using a professional camera or just a smartphone, the bokeh filter can instantly elevate pictures. It adds depth, drama, and a dreamy artistic touch, from highlighting subject to creating stunning backdrops. Therefore, this guide has introduced you to various tools that offer this effect. Nevertheless, some of them don't provide a batch processing feature so you can use UniConverter, a more reliable and simpler tool.
Easy to Use Batch Image Color Corrector for Win and Mac
FAQs
-
1. Does bokeh only work in portrait photography?
No, it is not limited to portraits; it also enhances macro, food, product, and even nature photography by drawing attention to the subject. Any time you want to separate your subject from the background, bokeh can be a powerful visual feature. -
2. Why do some bokeh effects look soft and creamy while others appear harsh or unnatural?
The quality of it depends on factors like the lens design, aperture size, and lighting in the background. Harsh and unnatural bokeh often results from poor lens optics or overly aggressive digital processing in smartphones. -
3. What’s the real difference between regular blur and bokeh in photography?
While both involve a lack of sharp focus, bokeh specifically refers to the quality and aesthetic of that blur, especially in how the light appears. Regular blur might simply indicate a soft or out of focus image, but bokeh is about making that blur look beautiful and intentional. -
4. Can I record the video with bokeh, or is it only for still photos?
Many flagship phones now offer cinematic or portrait video modes that simulate a bokeh effect while filming using real-time depth processing. While it is impressive, the effect still looks artificial, depending on the lighting and movement in the scene.

