Social Media
- TRY IT FREE TRY IT FREE
- 1. Adobe Premiere Tips+
-
- 1.1 export premiere pro
- 1.2 premiere editing
- 1.3 premiere pro export for instagram
- 1.4 premiere pro compress video
- 1.5 export avi premiere pro
- 1.6 4k video from adobe premiere
- 1.7 gopro video from adobe premiere
- 1.8 best format to export from premiere pro
- 1.9 adobe video maker
- 1.10 premiere to avid
- 1.11 adobe premiere export mov
- 1.12 import mkv to adobe premiere
- 1.13 premiere prores
- 1.14 Adobe Premiere vs Final Cut Pro
- 1.15 Best Premiere Pro
- 2. Youtube Tips+
-
- 2.1 youtube video editor
- 2.2 youtube video editor app
- 2.3 youtube video editor free
- 2.4 youtube video editor online
- 2.5 youtube music editor
- 2.6 avs video editor youtubers
- 2.7 easy video editor for youtube
- 2.8 y2mate mp4
- 2.9 youtube clip editor
- 2.10 youtube video format
- 2.11 youtube srt
- 2.12 mxf youtube
- 2.13 youtube video maker free
- 2.14 youtube video maker app
- 2.15 youtube converter dailymotion
- 3. Facebook Tips+
- 4. Instagram Tips+
- 5. Twitter Tips+
- 6. Whatsapp Tips+
Edit Youtube Videos with YouTube Video Editor Step by Step
by Christine Smith • 2026-01-21 18:55:24 • Proven solutions
The usage of social media platforms is increasing massively among people. Everyone is familiar with YouTube, and many creators are already earning their living from this platform. Many beginners are looking forward to making YouTube videos. After making the videos, you have to edit the particular video to make it more presentable to the audience. Good edited video will bring more viewers to your channel. There are many YouTube video editor applications available that can help you to make amazing videos for your channel.
- Part 1. Best YouTube Video Editor Alternative to Edit YouTube Videos Recommended
- Part 2. How to Edit YouTube Videos with YouTube Video Editor Step-by-Step
- Part 3. 4 Alternatives to YouTube Video Editor on Windows Recommended
- Part 4. 5 Alternatives to YouTube Video Editor on Mac Recommended
Part 1. Best YouTube Video Editor Alternative to Edit YouTube Videos Recommended
The best application that you can use is Wondershare UniConverter (originally Wondershare Video Converter Ultimate). This application has various advanced features that can help you to make your videos presentable. You can also convert your videos into 1,000+ formats through this software. The conversion speed is 90 times faster than compared to any other software. Trimming, cropping, applying effects on your videos can be done through Wondershare UniConverter. With fantastic editing tools, your videos can stand out.
 Wondershare UniConverter - Your Complete Video Toolbox

- Edit videos with trimming, merging, editing subtitle, adding watermarks, etc.
- Download YouTube online videos and playlists to MP3, MP4, M4V, MOV and other 1000+ formats.
- Convert YouTube videos to 1000+ formats without losing quality.
- Change video resolution, bit rate, frame rate, video format, file size to reduce HD/4K video size.
- Batch process to add and compress multiple files at a time.
- Additional video-related functions including Fix video metadata, Cast to TV, Burn DVD, Video Download, etc.
- Supported OS: Windows 10/8/7/2003/XP/Vista, Mac 10.14 (Mojave), 10.13, 10.12, 10.11, 10.10, 10.9, 10.8, 10.7, 10.6.
Step 1 Download and Install YouTube Video Editor Alternative.
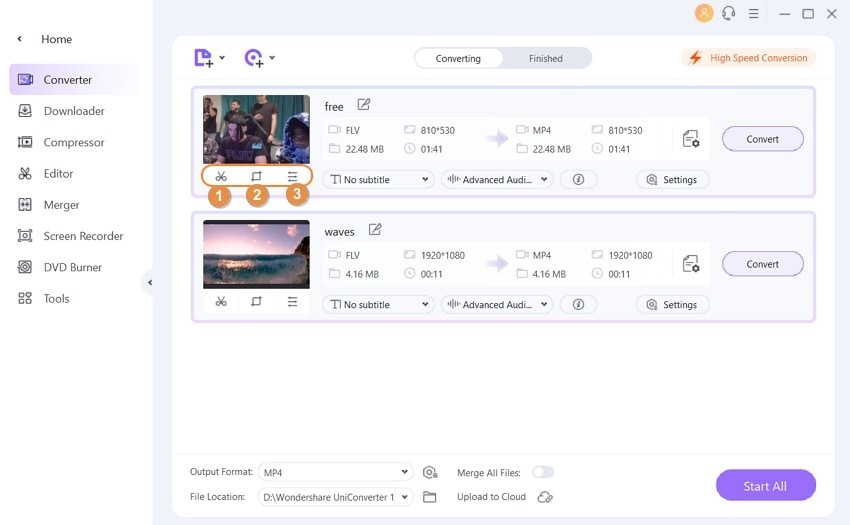
Install Wondershare UniConverter on your device and then launch it. On the top midsection of the screen, you will see the option, Convert or Burn. Click on the Convert option and add the video that you want to convert and share to YouTube.
Step 2 Edit the Videos on YouTube Video Maker and Editor.
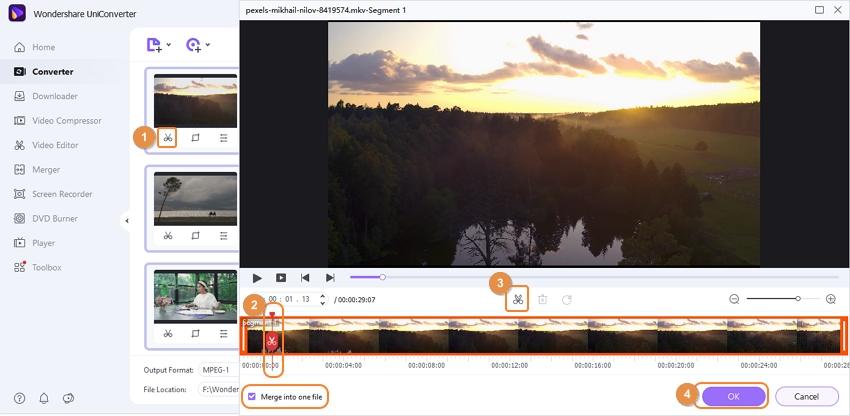
You will see a few icons below the video thumbnail, and these icons will allow you to cut, trim, merge and apply effects to the video. Let’s say you want to trim the video, so click on the scissor icon and adjust the trimming slider. Move the slider as per your need and then simply click on the “Ok” button. Just like that, you can use other options and apply effects, wallpapers, subtitles, adjust audio, and crop video.
Step 3 Save the Converted Video.
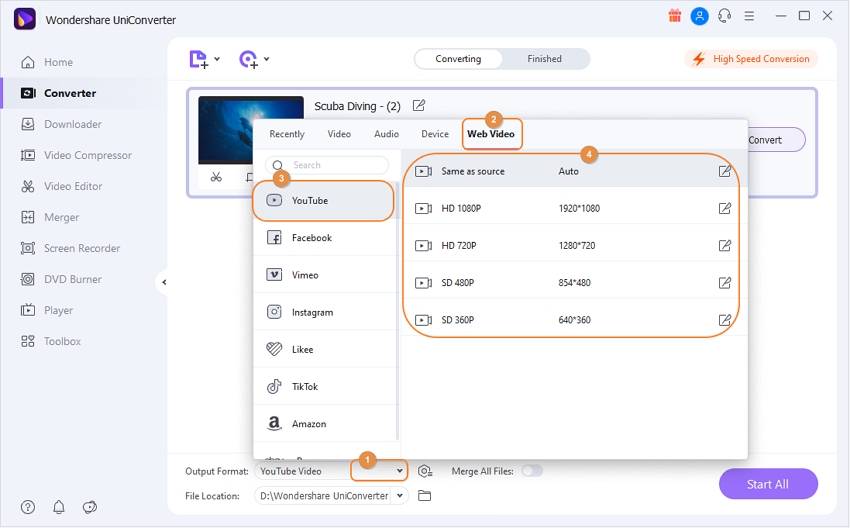
Now click on the inverted triangle next to the Output Format: and then select the “Video > YouTube” tab. Choose the output format and then click on the “Convert” button. That’s it.

Tips
If you are looking for more editing functions, just move to Video Editing Guide >> to learn more.
Step 4 Share Directly to YouTube.
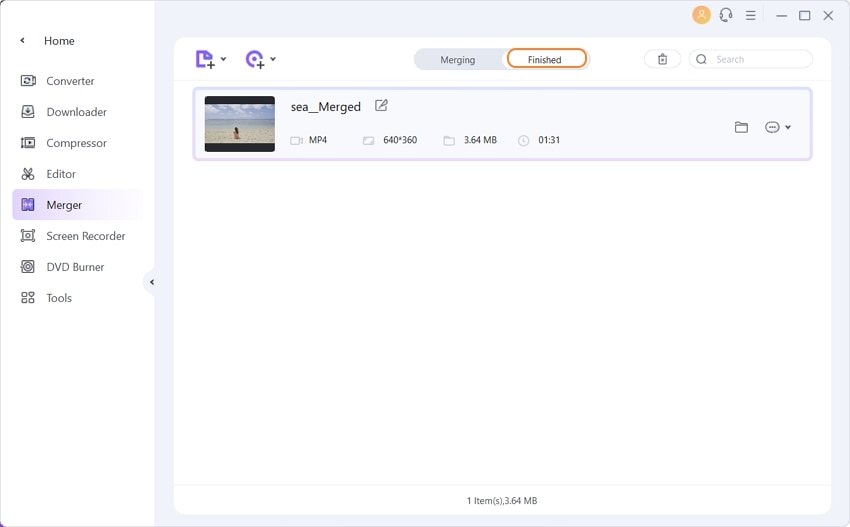
Once you are done and are ready to upload the video, click on the Finished tab and then hit the Share button, which is available there next to the converted video. Now click on “YouTube” and then enter your login credentials. Finally, you can now share the edited video on YouTube.
Part 2. How to Edit YouTube Videos with YouTube Video Editor Step-by-Step
YouTube videos should be explicit and perfectly edited. Good editing done in the videos can attract more audience, and your channel growth can be hyped up effectively. Many people are a beginner in this field, and they are unable to perform good editing in their videos. This can affect the growth of the channel. To avoid this, you can use the YouTube Video Editor Application and easily edit the desired video. The interface of this application is user-friendly, and you can easily edit your videos even if you are a beginner. There are lots of amazing features that can help you to edit your videos properly.
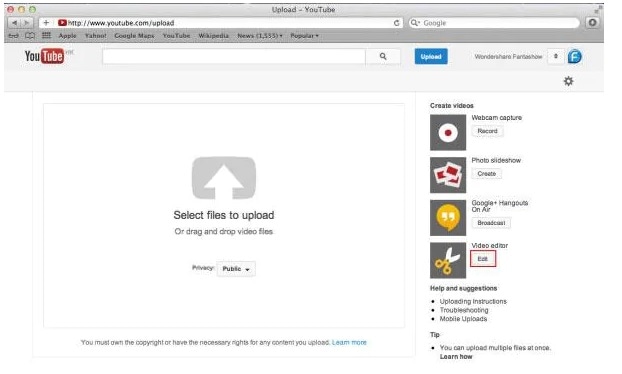
Step 1: Access the YouTube Video Editor.
Sign in to Google or the YouTube account. You can directly access the YouTube Video Editor from the YouTube studio.
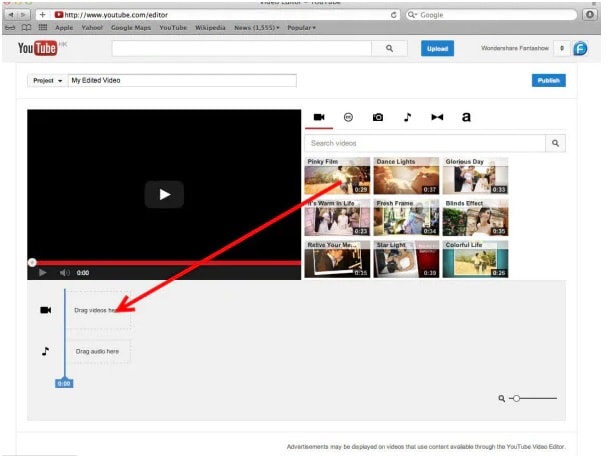
Step 2: Add the desired videos to your timeline.
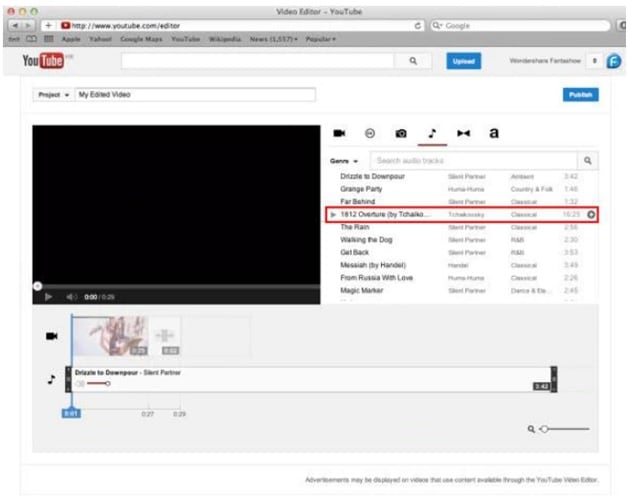
After getting access to the editor, your videos will appear on the screen. Whatever videos you want to edit you can simply drag the video into the timeline. You can also click on the plus icon present on the top right corner on every video.
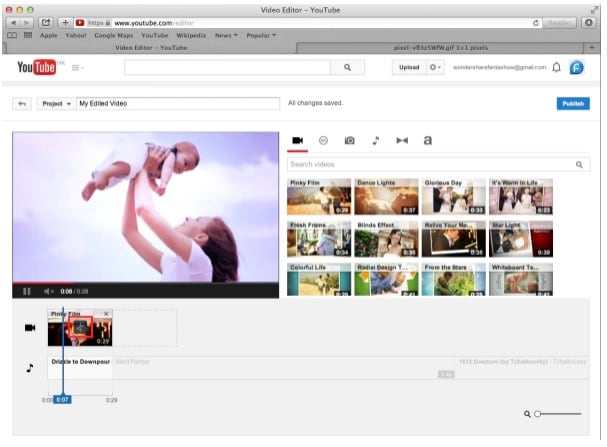
Step 3: Edit videos according to your preference.
With the YouTube editor, you can perform functions like trim/ split/ cut, add desired filters, change the settings of the videos, add music, add text, and add a transition.
Trim/ split/ cut and change video settings
To perform these activities, you can click on the scissors icon present on your video. Then cut or split the video according to your desire. You can also cut the duration with the cursor over the option if you want. If you want to change the setting of your video, you can go with the ‘Quick fixes’ and adjust the contrast, brightness, rotation, etc. you can also provide slow motion and zoom effect in your videos through this option.
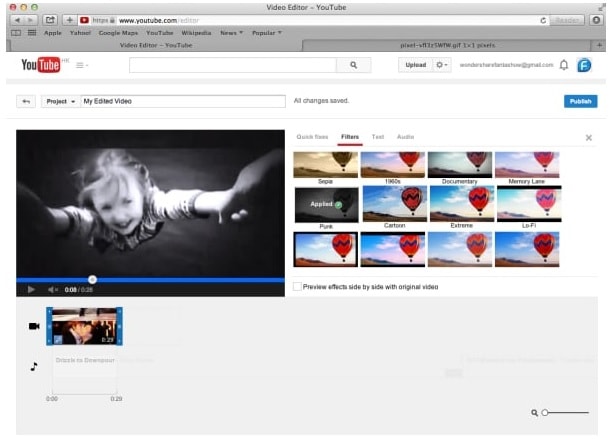
Add filters and text to the video
To add stunning filters to your videos, you can just double click on your video and choose the ‘filter’ option present. Choose the desired filters and apply them. To add text in the videos, you can click on the ‘Text’ tab and then select the ‘Enable text.’ Enter the desired text in the text bar and customize the font, color, position accordingly.
Add music and transition to the video
To add the licensed music track to your video, you can go back to the editor interface then select the audio tab. Select the preferred song from the song library. Drag and drop the selected song to the timeline of the soundtrack. If you add various clips together, you will need a transition effect. You can choose from 16 given transitions into your video.
Part 3. 4 Alternatives to YouTube Video Editor on Windows Recommended
There are many video editing tools available for windows. You can use them as great alternatives for the YouTube video editor. Some amazing editing software that you can go for are:
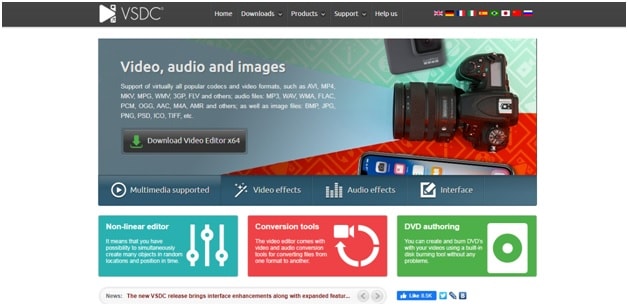
This video editing software is a great way to edit your desired videos. There are various features available in this software, and you can get many numbers of filters, transitions, overlays, etc. with these fantastic options, you can easily make your video more enhancing. The interface of this software is user friendly.
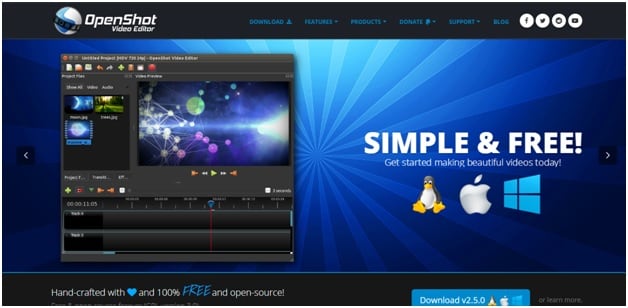
This software is for the people who are a beginner in the editing field. In this software, you get the basic editing options to make your videos smooth and straightforward. You can do trimming, cutting, and rotation of the videos easily using OpenShot. You can add the desired soundtrack to your videos too.
If you want to go with the professional-level editing, you can go with this software. There are many advanced features that you can use in this software to edit your videos. It supports a multi-track timeline option where you can edit many videos together. With the advance level of editing, you can make your videos professional.

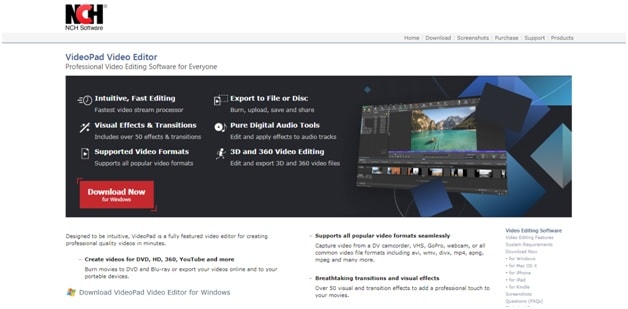
This software is perfect for the windows and offers you the essential editing tools that are required to make your video perfect. There are about 50 transitions available in this software. The editing time is much less than compared of other software. This editing software is also used by many gamers to edit their gaming videos.
Part 4. 5 Alternatives to YouTube Video Editor on Mac Recommended
Many people are looking for video editing software that can be supported in the Mac devices. Top alternative video editor YouTubers use to edit their videos are:
This is a great software that can be installed in your Mac devices. You can simply edit your desired YouTube videos through this, and with the help of the text-adding feature, you can also insert the texts in your videos. It provides 12 top studio-quality effects, which can make your videos look interesting. You can also create the slide show if you want.
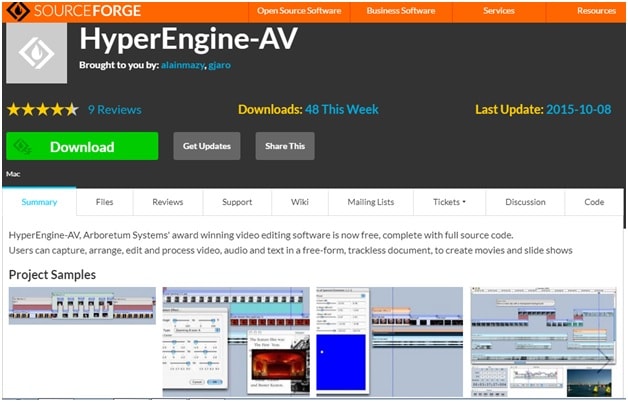
The interface of this software is straightforward, and as a beginner, you can master the software usage quickly. This software provides you one step editing and awesome sound editing tools for your videos. It also supports the editing of the 4k video. You can select from the 10 given filters to improve the video presentation. This application is used to edit short clips as long videos of 1 to 2 hours cannot be supported.
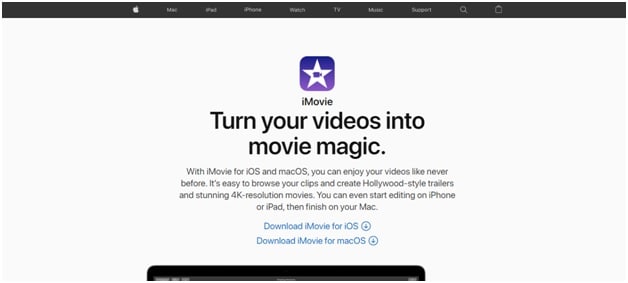
This application is the best free 3D modeling that you can get for your videos. All the basic tasks like sync audio, mixing of the soundtracks, and splitting the video can be done through this. This application is used by many people to get amazing results within no time. The editing doesn’t take much time in this application. Many professionals use this application to edit their videos.
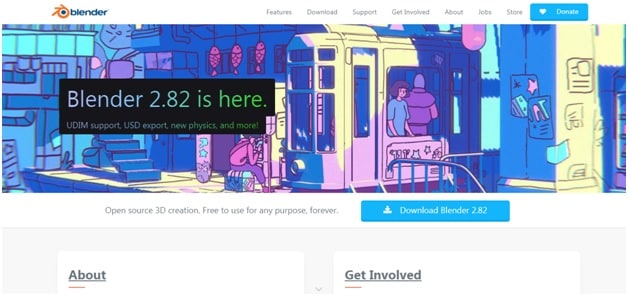
It is the most powerful application that you can go to for your Mac devices. This supports a lot of editing features and has a multi-layer timeline where you can add extra edit effects together to make your editing period short. Its free version also offers a various number of editing features for the beginners. You can get a professional-quality video through this application.

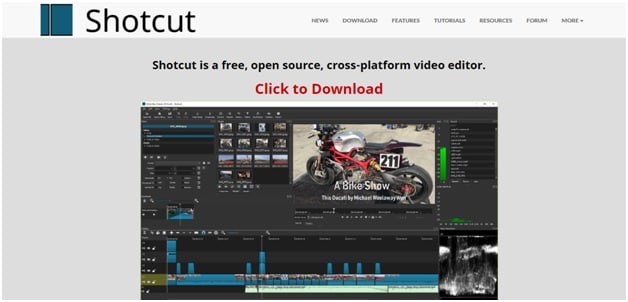
- Shotcut
This application has many advanced features like three-way color-correcting, surround sound of 5.1, various number of filters, etc. this is a very popular video editor YouTubers use nowadays. This also supports 4k video format. The installation and interface are quite simple, and anyone can use it. You get lots of features for the free version.
Conclusion
YouTube is the most widely used platforms all around the world. People all around the world post videos, and if you also like having a channel, you can also get access to some of the best YouTube video editing tools. One tool that you can consider getting for the best results is Wondershare UniConverter. Apart from editing, it also allows you to directly share the videos on YouTube and other social media platforms.


Christine Smith
chief Editor