

Ever wondered why posting a simple GIF on Instagram feels way harder than it should be? From formats not uploading to GIFs turning blurry or refusing to appear in the Feed, users often get stuck before they even figure out how to make a GIF on Instagram that actually works.
This guide clears up all the confusion by breaking down where GIFs are allowed, what technical rules Instagram enforces, and how to post them without errors. Whether you’re trying to add a fun sticker to Stories, upload a smooth looping GIF to your Feed, or drop an animated reply in the comments, this walkthrough helps you fix the frustrations and finally share GIFs the way you want.
In this article
- Where Can You Actually Post GIFs on Instagram?
- Instagram's Technical Requirements for GIFs & Videos
- How Post GIF Stickers on Your Instagram Story (The Easiest Way)
- How Post a GIF to Your Instagram Feed (The Conversion Method)
- How Post a GIF in Instagram Comments
- Bonus: How to Make GIFs for Instagram in Batch from Videos or Photos
- Conclusion
- FAQs
Part 1: Where Can You Actually Post GIFs on Instagram?
Instagram does support GIFs—but not in the way most people expect. Here’s a clear breakdown of where GIFs actually work and what Instagram allows in 2025:
Supported Places
Instagram Stories & Reels:Instagram supports GIFs inside Stories and Reels through its built-in GIPHY search, allowing you to add animated stickers instantly. This system ensures that all GIFs load smoothly because they’re optimized directly by Instagram.
Instagram Feed (Directly):GIPHY’s support page confirms that when you share a GIF from the GIPHY app to Instagram, it automatically converts into a 15-second MP4 video for the Feed. This conversion is required because Instagram only accepts video files for animated posts.
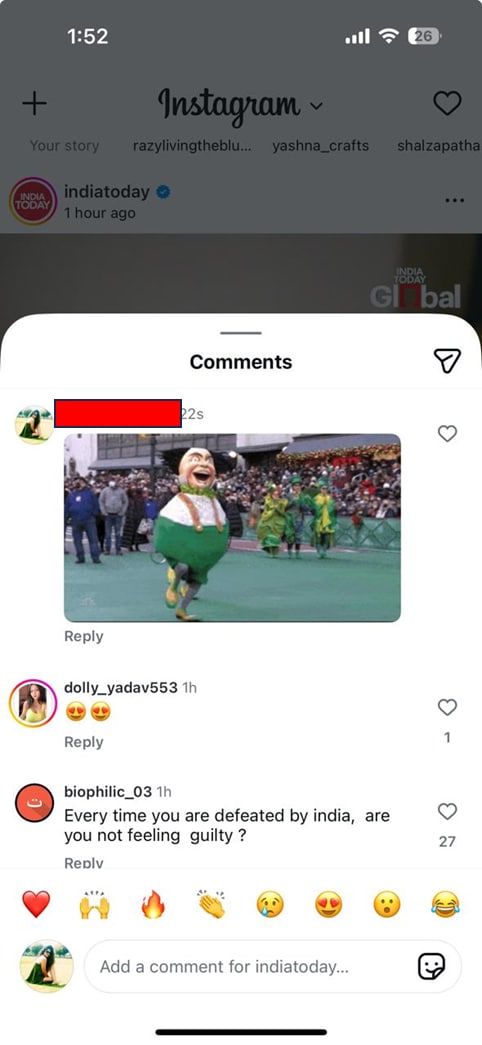
Instagram Comments:You can post GIFs in Instagram comments using the platform’s native GIPHY-powered library, making it easy to react with animations in any conversation. This feature ensures compatibility since it uses only Instagram-approved GIF sources.
GIFs Not Supported Natively
Instagram Feed (Directly):Instagram does not allow users to upload .gif files directly into the Feed because the format is completely unsupported. If you try, the upload will fail or Instagram will simply refuse the file.
For Feed/Reviews/Reels (as video):For any animated upload, Instagram requires the content to be in a video format like MP4 since the platform processes all animations as videos. This rule keeps playback consistent across all types of posts.
For Stories/Reels (as stickers) & Comments:You must use the built-in GIPHY search because Instagram does not allow custom GIF uploads inside Stories, Reels, or comments. This ensures that only GIFs meeting Instagram’s content and quality guidelines appear in the interface.
To Get Your Own GIFs on Instagram:The only official method is uploading them through a verified GIPHY creator account so they become searchable as stickers and comment GIFs across Instagram. Once approved, your GIFs automatically sync into Instagram’s global library for users worldwide.
Part 2: Instagram's Technical Requirements for GIFs & Videos
Posting GIFs on Instagram isn’t as straightforward as it seems—different sections of the app treat GIFs differently, which leads to confusion for most users. To help you avoid those upload errors, here’s a clear breakdown of Instagram’s technical requirements so you know exactly what works where:
For GIFs in Stories, Reels & Comments (via GIPHY)
When you're using Instagram’s built-in GIPHY library, you don’t handle the file directly, but if you plan to upload your own GIFs to GIPHY for Instagram use, they must meet the exact technical rules below, which ensures your GIF displays properly across all Instagram surfaces.
- File Size: File Size must be under 100MB to keep the GIF lightweight enough for fast loading in Instagram’s sticker and comment system.
- Dimensions: Dimensions should have a width between 480px and 1280px so your GIF renders clearly on all screen sizes while allowing flexibility in height.
- Frame Rate: Frame Rate should be 30 FPS or less to maintain smooth performance and prevent any playback issues on Instagram.
- Duration: Duration must be 15 seconds or less so the GIF loads quickly and stays fully compatible with Instagram’s sticker timing limits.
For Converted Videos (for Feed, Reels, or Reviews)
When posting a GIF to your Feed or Reviews, you must convert it into a video, and the following requirements ensure Instagram accepts the file without compression issues or upload errors.
- File Size: File Size must be under 100MB because keeping your GIF-converted video small ensures faster uploads and better clarity, even though Instagram technically supports files up to 4GB.
- Dimensions: Dimensions should have a width between 480px and 1280px to keep the converted GIF sharp and properly framed in the Feed while allowing height to vary.
- Frame Rate: Frame Rate should be 30 FPS or less so the animation avoids choppiness and maintains a natural-looking loop on Instagram.
- Duration: Duration must be 15 seconds or less since a shorter runtime preserves the original GIF-like feel and helps reduce compression artifacts, even though Instagram allows longer videos.

Easy to Use GIF Maker for Instagram
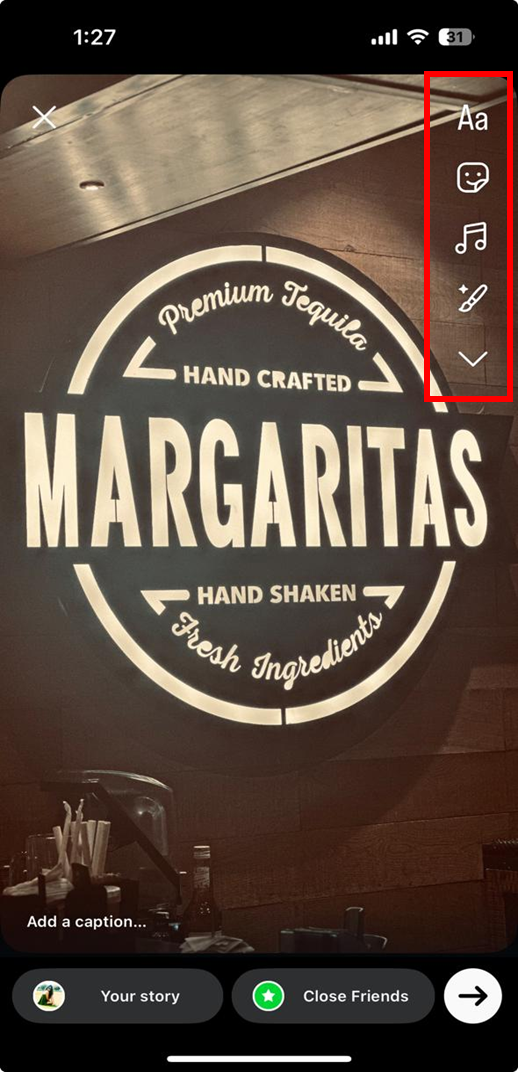
Part 3: How Post GIF Stickers on Your Instagram Story (The Easiest Way)
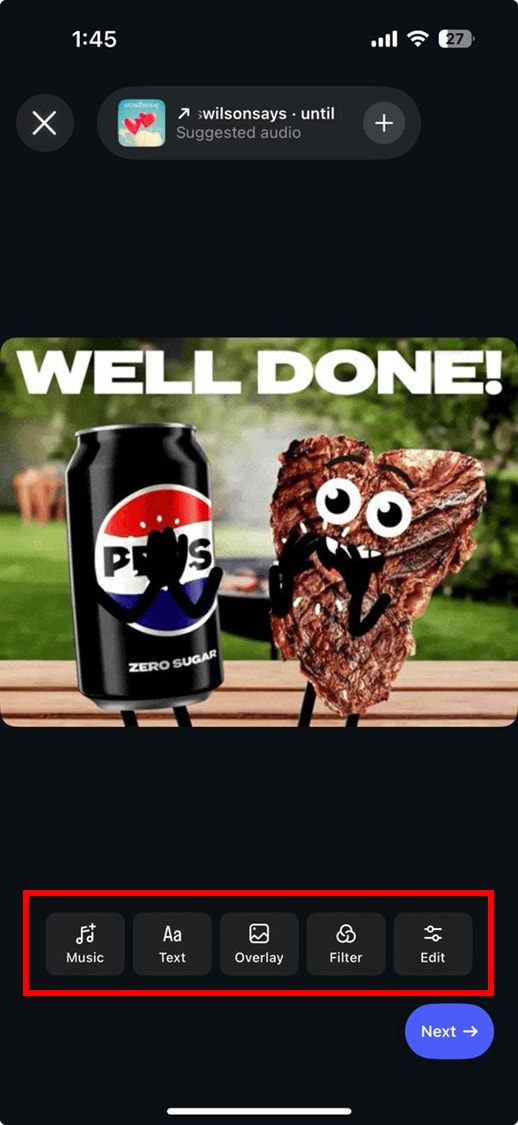
Posting a GIF to your Instagram Story is surprisingly simple once your GIF is properly converted and saved to your gallery. Follow this quick method to upload it smoothly and get your animated Story live in just a few taps:
Step 1: Open the Story creator from the + button
Tap the + button at the bottom of your screen and select Story from the menu that appears. This takes you straight into the Instagram Story editor where you can begin creating your post.
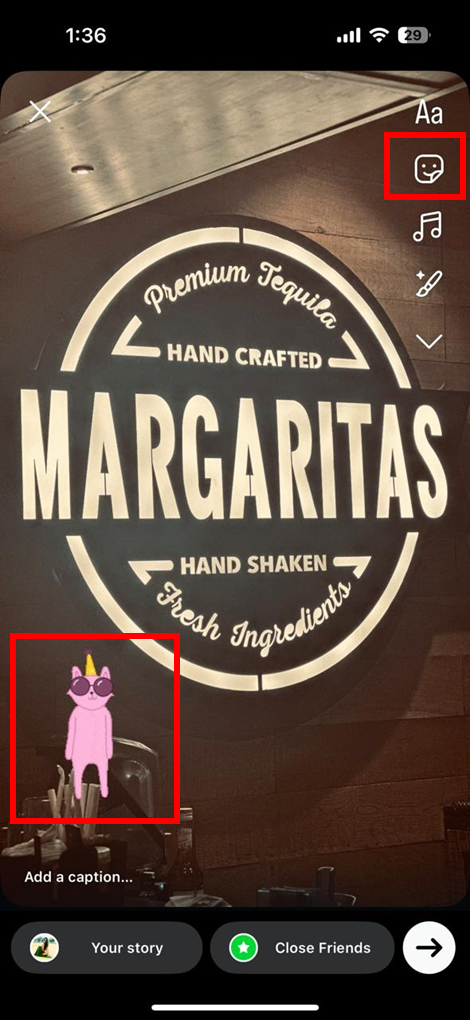
Step 2: Choose your converted GIF from your gallery
Tap the emoji icon placed at the right hand side of the panel. From here click the GIF icon. You can choose GIF from the numerous options or simply select from the camera roll by clicking photos. If it’s your first time using this feature, Instagram may ask for permission to access your photos. Once it opens, simply choose your converted GIF (saved as a video) from the gallery or from the GIF templates.
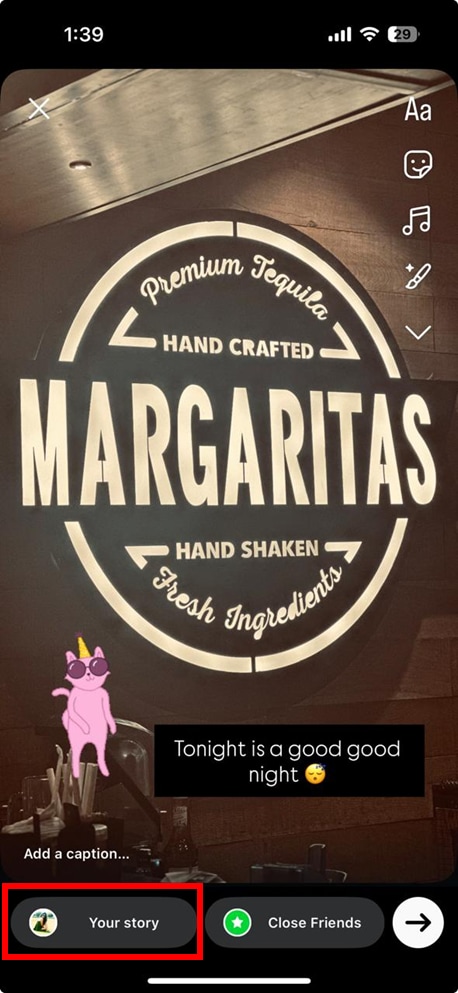
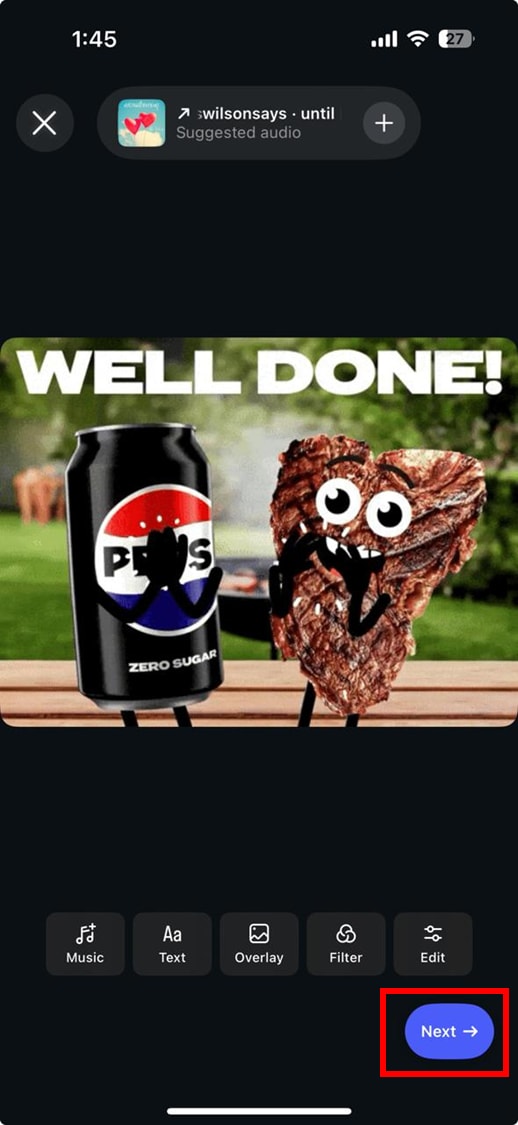
Step 3: Add effects and publish your Story
Customize your Story by adding text, stickers, filters, or any other effects you like. When you’re ready, tap the arrow button in the lower-right corner and then tap Share to post your GIF Story instantly by clicking “Your story” placed at the bottom of the screen.
Part 4: How Post a GIF to Your Instagram Feed (The Conversion Method)
Posting a GIF to your Instagram Feed isn’t possible unless it’s first converted into an MP4 video. Once your GIF is properly formatted, uploading it is quick, clean, and just like posting any normal video.
Uploading Your Converted GIF Video (3-Step Guide)
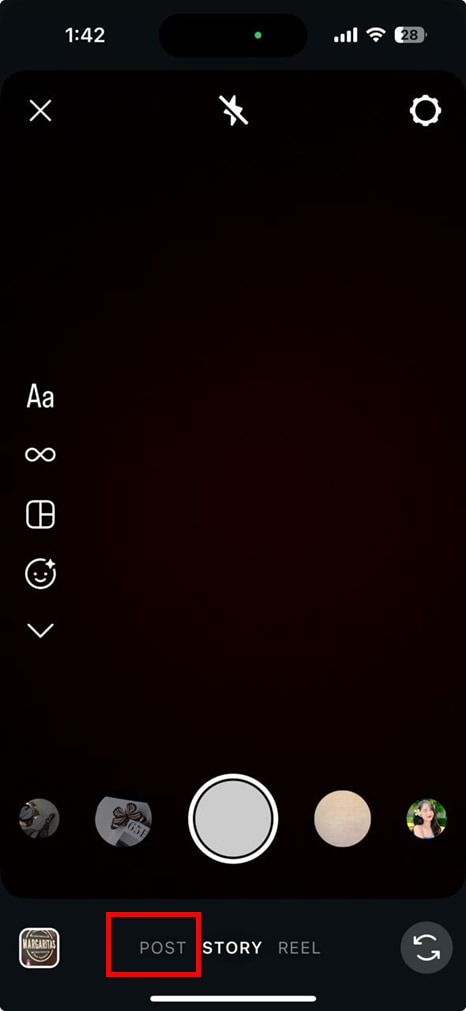
Step 1: Open Instagram and Select the MP4 File
Tap the + icon on the home screen → choose Post → pick the converted MP4 GIF from your camera roll.
Step 2: Move to the Editing Screen
Tap Next to access editing tools where you can add filters, adjust brightness, trim the clip, or refine its length.
Step 3: Finalize and Continue to Posting Options
Once edits are done, tap Next again to reach the final sharing settings, where you’ll prepare your video for posting.
Writing Your Caption and Adding Enhancements
Step 1: Craft a Clear, Supportive Caption
Write a caption that explains the GIF’s meaning, tone, or context so viewers instantly understand the vibe.
Step 2: Boost Visibility With Hashtags & Tags
Add 3–5 targeted hashtags (#LoopVideo, #GIFPost, #InstagramVideo) and tag relevant creators, brands, or collaborators.
Step 3: Add Location & Emoji Enhancements
Include a location tag for better reach and place a few fitting emojis to match the GIF’s mood without overdoing it.
Fine-Tuning Your Post Settings
Step 1: Select the Best Cover Frame
Pick a frame that represents your GIF well, ensuring your feed grid looks clean and visually appealing.
Step 2: Adjust Sharing Options
Enable “Also share to” if you want to cross-post to other platforms for extra reach.
Step 3: Finalize in Advanced Settings & Preview
Use Advanced Settings to write alt text, hide likes, or disable comments, then preview the post to confirm square framing and smooth looping before tapping Share.
Part 5: How Post a GIF in Instagram Comments
Before you drop a GIF in someone’s comments, Instagram now makes it incredibly simple with its built-in GIF search powered by Giphy. Whether you want to react, joke, or highlight a moment, you can add an animated response in just a few taps—here’s how:
Step 1: Open Instagram and Go to the Post You Want to Comment On
Start by logging into your Instagram account, then scroll through your Feed or use the Search tab to find the post you want to engage with. Tap the post to open it fully so you can access the comment features.
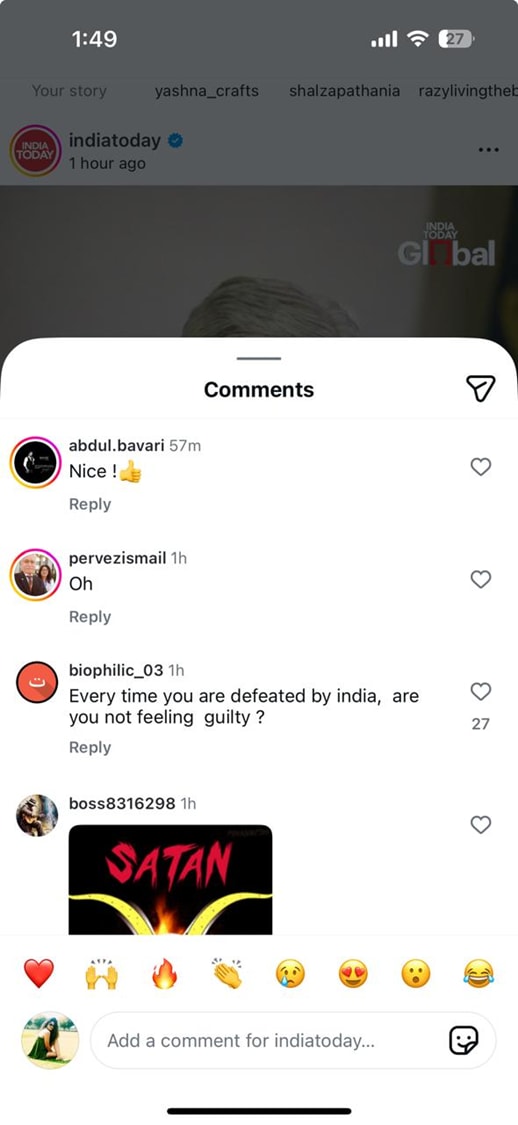
Step 2: Tap the Comment Icon and Select the GIF Button
Tap the speech bubble icon below the post to open the comment box. You’ll see a GIF button beside the text field—tap it to open Instagram’s built-in GIF library. Use the search bar to type keywords, emotions, reactions, or phrases to find the perfect GIF.
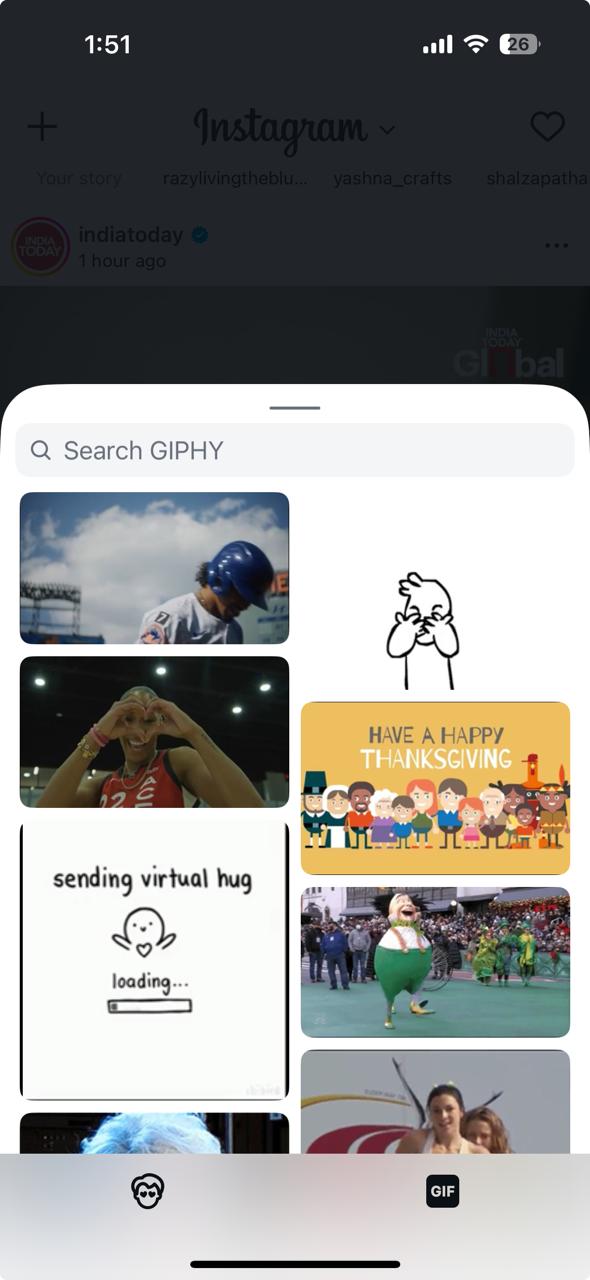
Step 3: Choose Your GIF and Post Your Comment
Scroll through the results and tap the GIF that best fits your response. Instagram will automatically place it into the comment box—just tap Send to publish it. Your GIF instantly appears under the post as an animated comment.
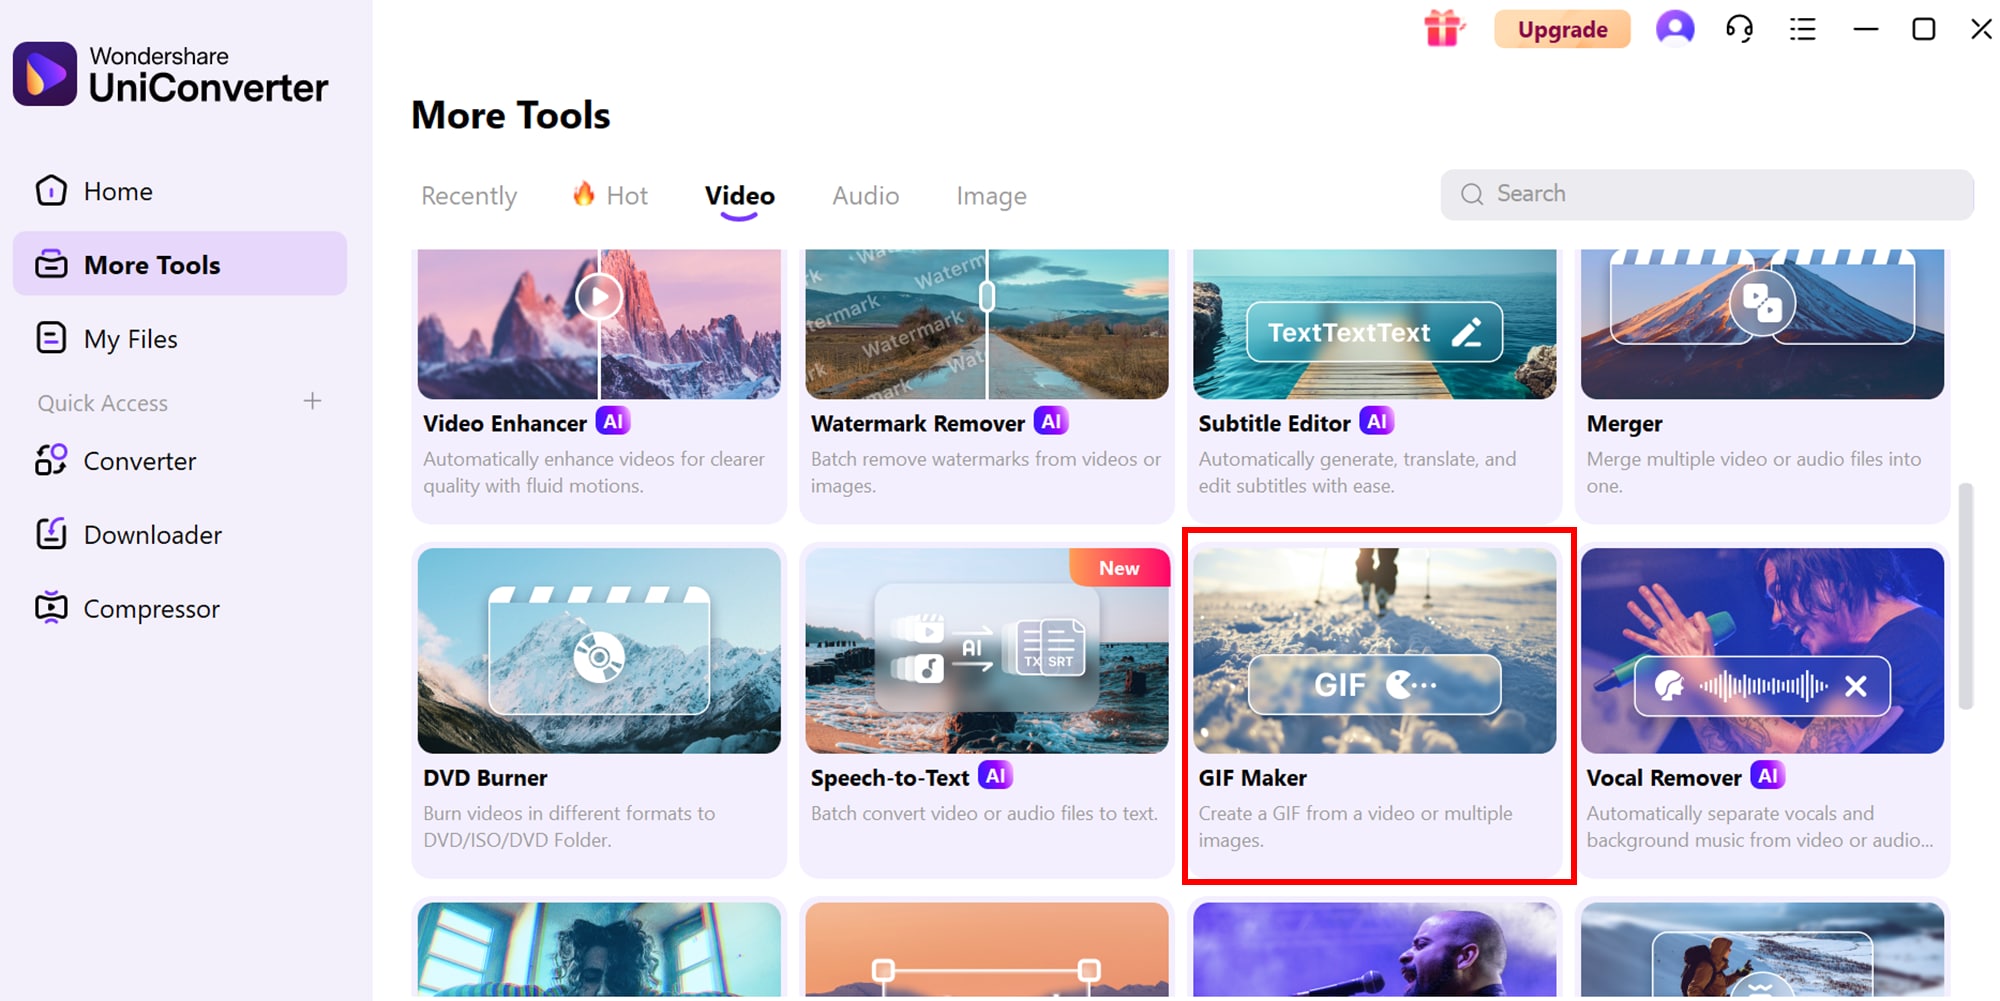
Part 6: Bonus: How to Make GIFs for Instagram in Batch from Videos or Photos
If you love posting fun reactions or short looping moments on Instagram, GIFs are your best friend. Wondershare UniConverter makes the whole process effortless, letting you convert videos or photos into polished GIFs with just a few clicks. Whether you're new to editing or just want a faster workflow, it delivers professional-level results without the learning curve.
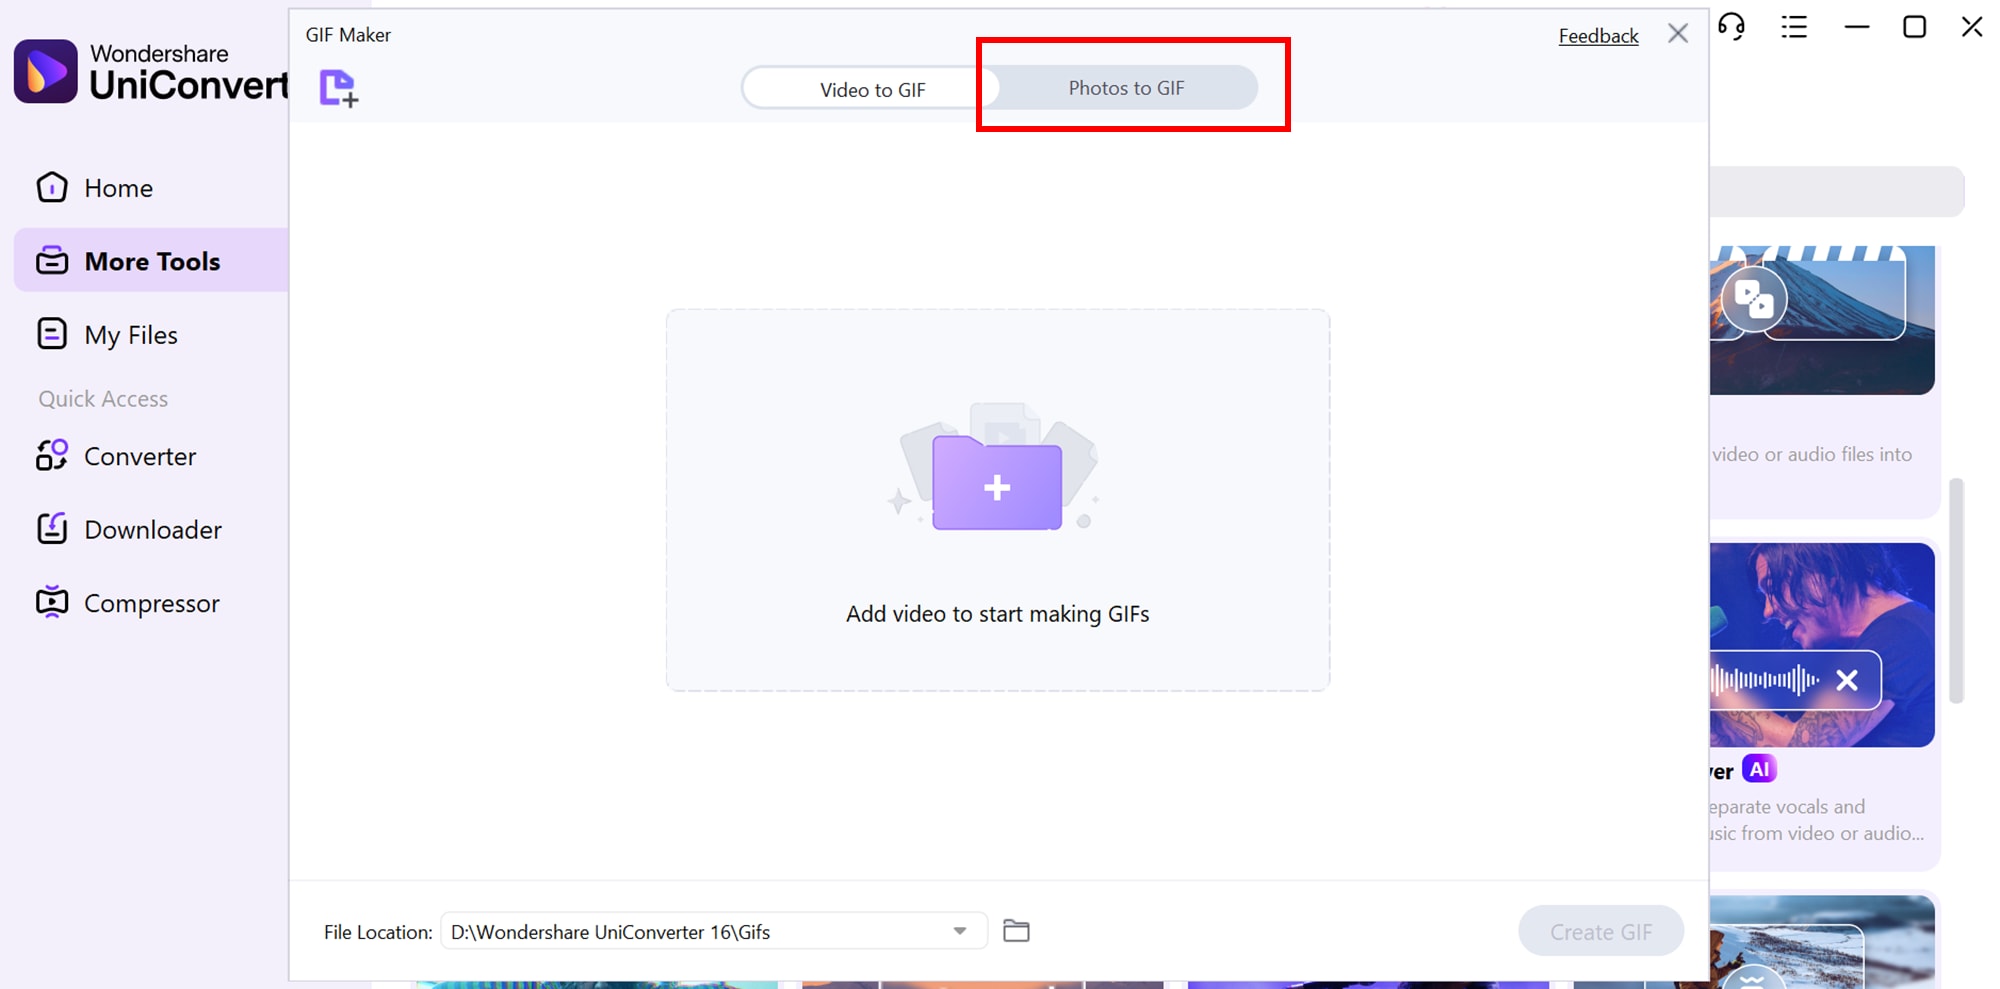
Simple Steps to Create GIFs from image:
Step 1: Upload Your Photos or Video
Open Wondershare UniConverter and select the GIF maker feature.

Upload the series of images you want to convert. The tool supports multiple formats, making it versatile for any media you have.
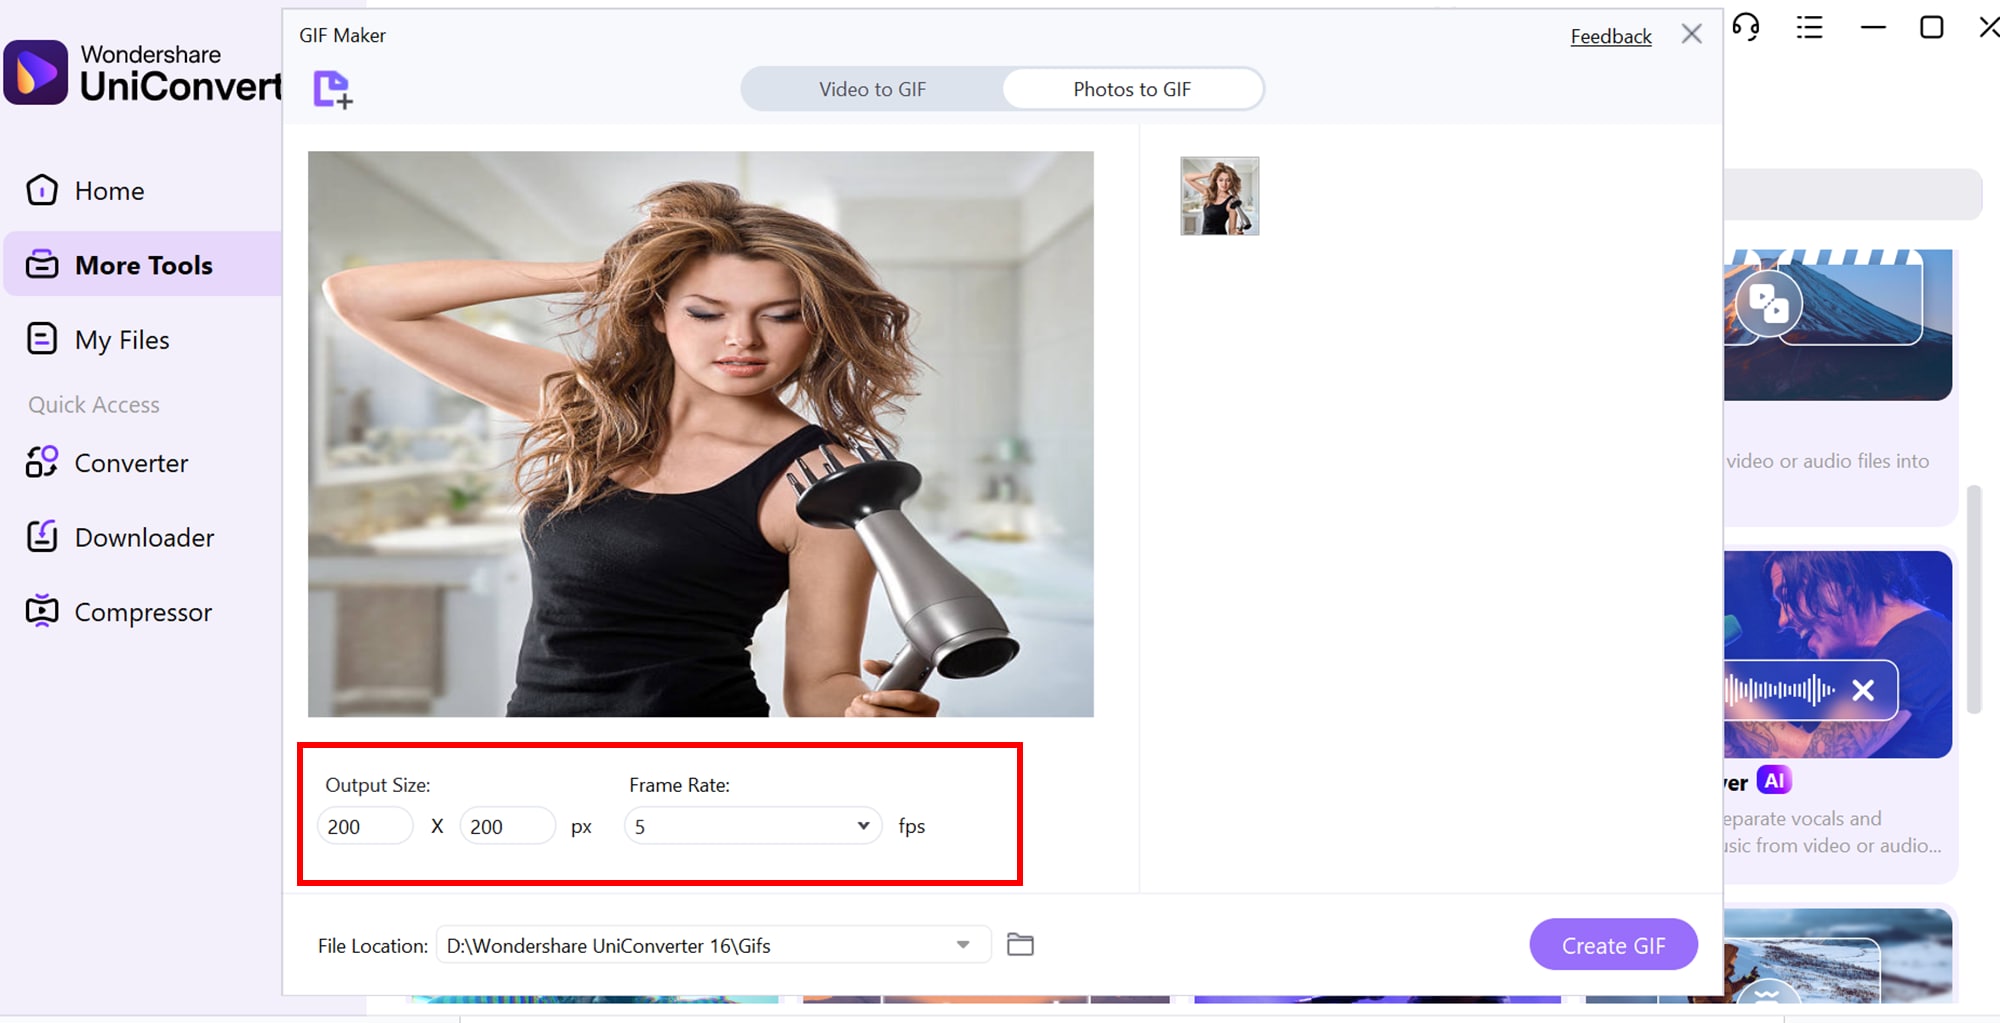
Step 2: Edit and Customize
Set the output size, frame rate, and file location in the bottom-left area. UniConverter makes editing straightforward with a clean, drag-and-drop interface.
Step 3: Save and Upload
Once everything is set, click on create GIF. Your GIF is now ready to entertain friends or your community.
Simple Steps to Create GIFs from video:
Step 1: Add Your Video
Launch Wondershare UniConverter and switch to the Video to GIF tab.
Click the + icon or Add Files button at the top-left corner to import the video you want to convert. You can select any video clip from your device, whether it’s a short recording or a longer clip you plan to trim. UniConverter supports almost all common video formats, so you don’t need to worry about compatibility.
Step 2: Select Clip and Customize
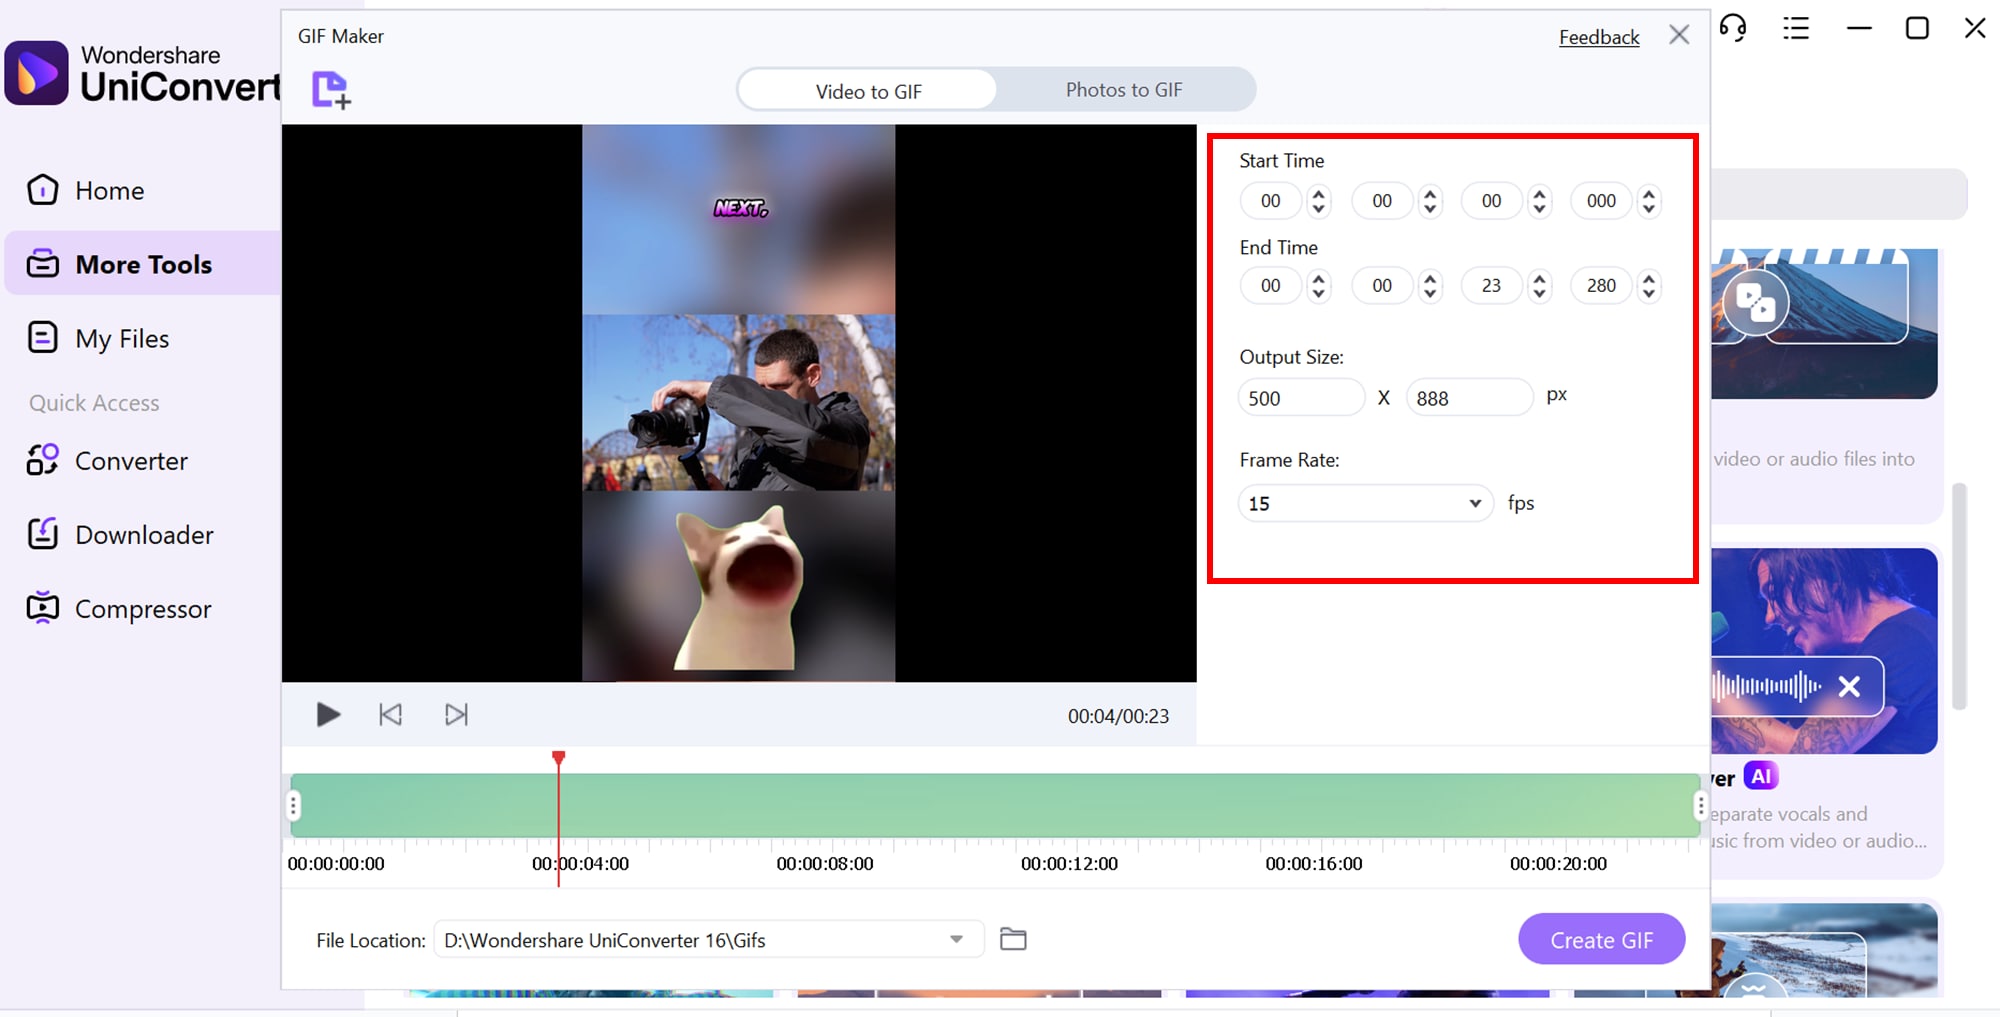
Step 3: Create and Save GIF
Once everything is set, click Create GIF to generate your file. The GIF will be saved to your chosen location, ready for sharing. You can now upload it to Instagram or other platforms and enjoy a high-quality, shareable GIF.
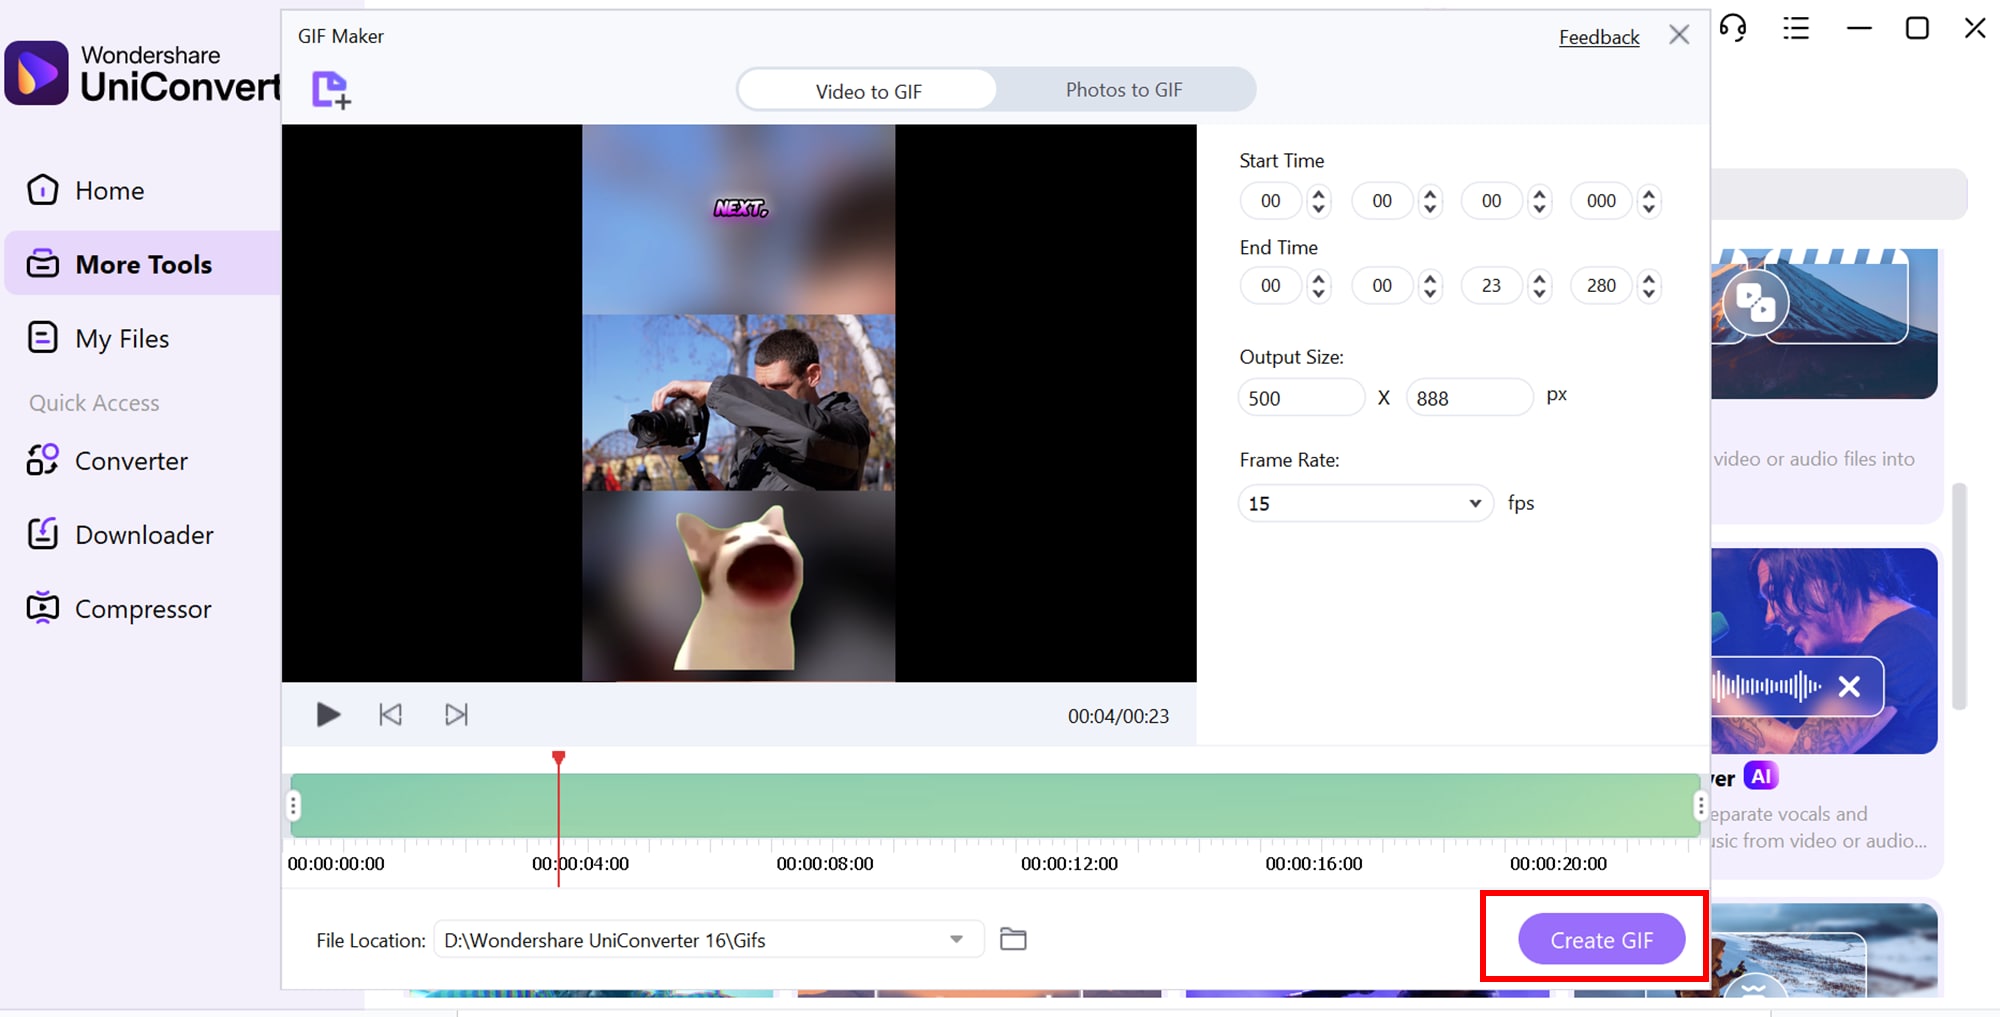
Pro Tip: Keep GIFs short (5–15 seconds) for faster uploads and smoother playback. Adjust the frame rate for a balance between file size and smooth motion.
Easy to Use GIF Maker for Instagram
Conclusion
GIFs remain one of the easiest ways to capture attention, tell quick stories, and add personality to your online content. Whether you're sharing reactions, tutorials, or funny moments, a well-made GIF can stand out instantly. As online visuals continue to evolve, creators need tools that help them produce high-quality content without wasting time. A smooth workflow makes all the difference when you're turning raw clips or photos into polished loops. That’s exactly where Wondershare UniConverter shines, providing fast, reliable, and beginner-friendly GIF creation so your posts always look their best.
FAQ
-
1. Can I loop a GIF multiple times before posting it on Instagram?
Yes, but only if you convert it into a video first. Most video editors let you duplicate the clip to create a seamless loop that plays several times before finishing. This ensures your final upload feels more dynamic and catches more viewer attention. -
2. Why does my GIF lose quality when I upload it to Instagram?
Instagram compresses all uploads to reduce file size, which can lower clarity. To minimize quality loss, export your video in high resolution before uploading. Using balanced bitrate settings during export can also help preserve details. -
3. Can I add music to a GIF before posting it?
Not directly to a .gif file, but you can add music after converting the GIF into an MP4. Instagram Reels and Stories also let you choose music from their built-in library. This gives you more creative options to match the animation’s mood. -
4. What’s the best way to create a transparent-background GIF for social media?
Use a graphics tool that supports PNG sequences or transparent video export. This ensures your final animation maintains its cutout look without unwanted backgrounds. Transparent GIFs are especially useful for overlays, reactions, and sticker-style posts. -
5. How can I turn long videos into short GIF-style clips quickly?
The easiest method is to trim, crop, and convert the video into a short looping animation using a video converter tool. Wondershare UniConverter is great for this because it lets you cut, compress, and convert clips into smooth GIFs within minutes. With just a few edits, you can transform long recordings into engaging micro-moments.

