
Mobile-first content dominates the modern digital landscape. Vertical formats rule platforms like TikTok, Reels, and Shorts. However, viewing these 9:16 clips on widescreen displays often causes immense visual frustration. Attempting to force a vertical clip onto YouTube, a television, or a corporate presentation usually results in ugly black bars. Sometimes, improper editing leaves pixels awkwardly stretched or cuts off the subject entirely. The solution involves learning how to successfully convert portrait video to landscape using smart editing techniques. By leveraging background blurring, smart cropping, and a reliable video ratio changer, creators can seamlessly adapt any vertical footage for horizontal viewing.
Table of Contents
Part 1. Understanding Aspect Ratios: Why the Transition is Tricky
A vertical video (portrait) utilizes a 9:16 aspect ratio, meaning it is taller than it is wide. Conversely, a horizontal video (landscape) relies on a 16:9 aspect ratio. Understanding these pixel dimensions is crucial for modern media production. Different platforms require specific framing formats to display content correctly.
| Platform | Recommended Ratio |
| YouTube | 16:9 |
| TV | 16:9 |
| Facebook Feed | 1:1 / 4:5 |
| 16:9 | |
| Website Hero | 16:9 |
| Presentation | 16:9 |
Understanding these dimensions helps identify the 3 common editing pitfalls creators face.
The Stretch
Manually stretching a vertical clip to fit a widescreen player ruins the aspect ratio entirely. This method pulls the pixels horizontally, creating severe distortion. Faces look unnaturally wide, and background elements become warped and unrecognizable.
The Crop
Zooming in to fill the screen often cuts off vital visual information. Pushing a vertical frame into a horizontal space means sacrificing the top and bottom portions. This approach frequently decapitates the speaker's head or eliminates important on-screen graphics.
The Black Bars
Leaving the video as-is creates an unprofessional, empty look on widescreen players. Known as pillarboxing, these black bars appear on the left and right sides of the footage. It wastes valuable screen real estate and immediately signals a lack of editing effort.
Part 2. Top Techniques to Convert Portrait Video to Landscape
Editing techniques offer creative ways to transition from portrait video to landscape without sacrificing quality.
Method 1: The "Blur Background" Technique
Concept: This highly effective editing method involves duplicating your original vertical video track to create two identical layers. The bottom background layer is intentionally stretched to completely fill the wide horizontal screen and then heavily blurred. Meanwhile, the original vertical footage sits perfectly crisp and clear in the exact center, eliminating distracting black bars without cutting off any important visual details.
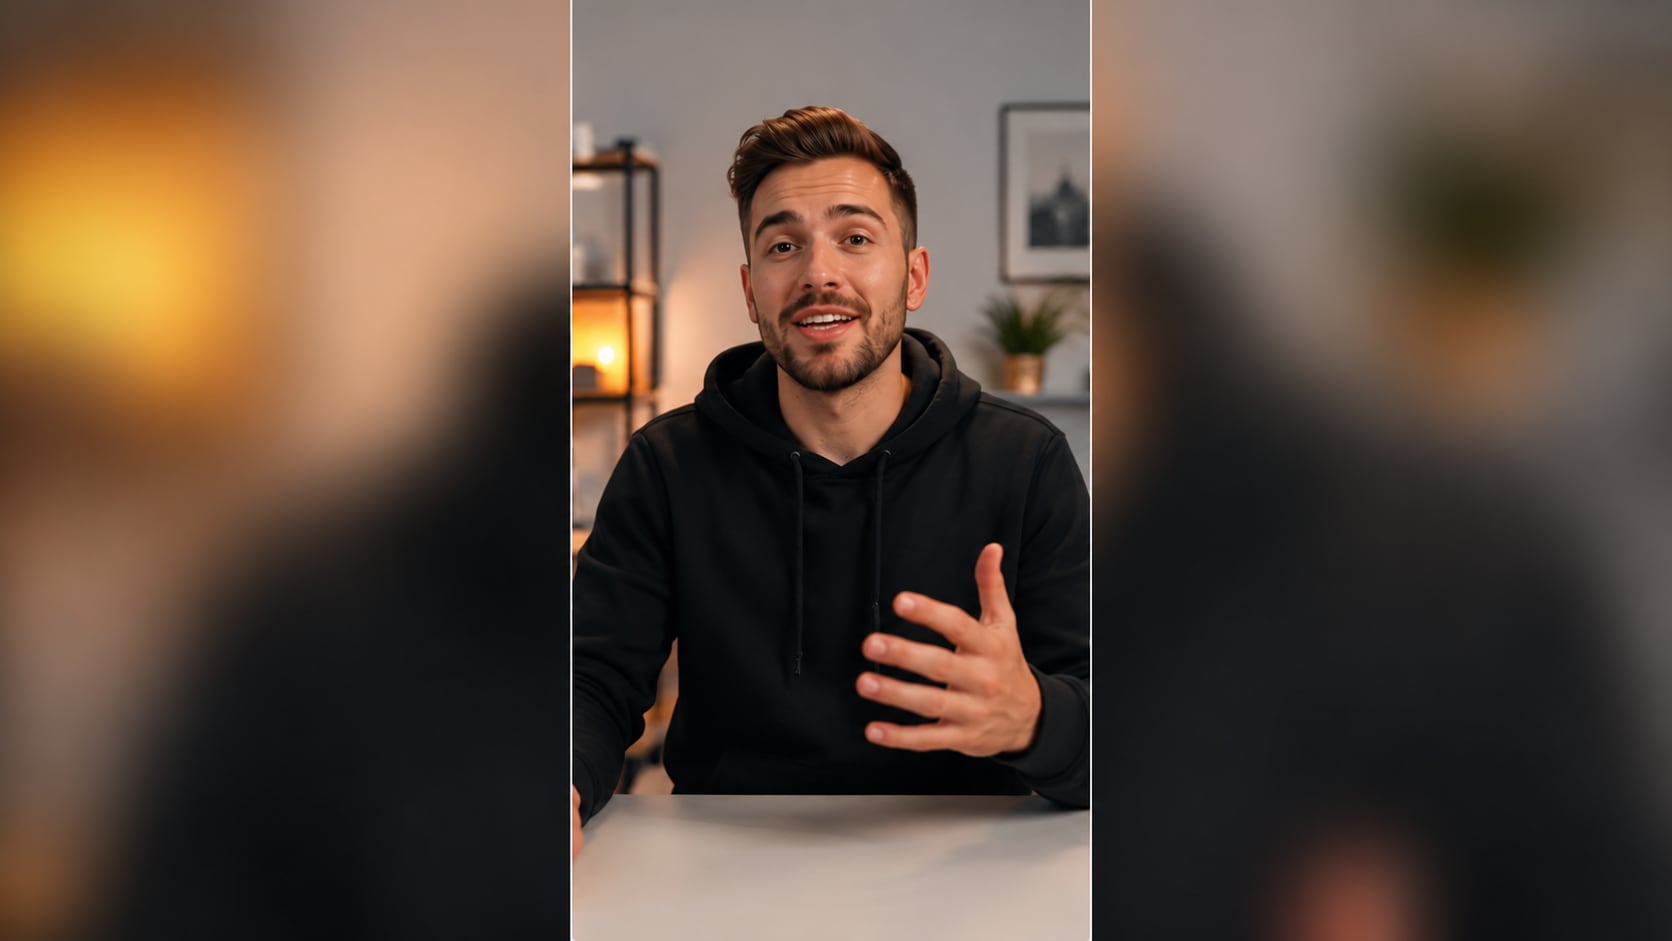
Best For: Fast action clips, talking heads, or situations where cropping out any part of the original frame is impossible.
Method 2: AI Auto-Reframing
Concept: Artificial intelligence technology thoroughly analyzes your raw footage to intelligently track the primary moving subject across the screen. Upon successfully changing the dimension to a horizontal format, the smart virtual camera automatically pans from side to side seamlessly. This advanced automated process guarantees that your main subject remains perfectly centered throughout the entire playback duration, eliminating tedious manual keyframing tasks.
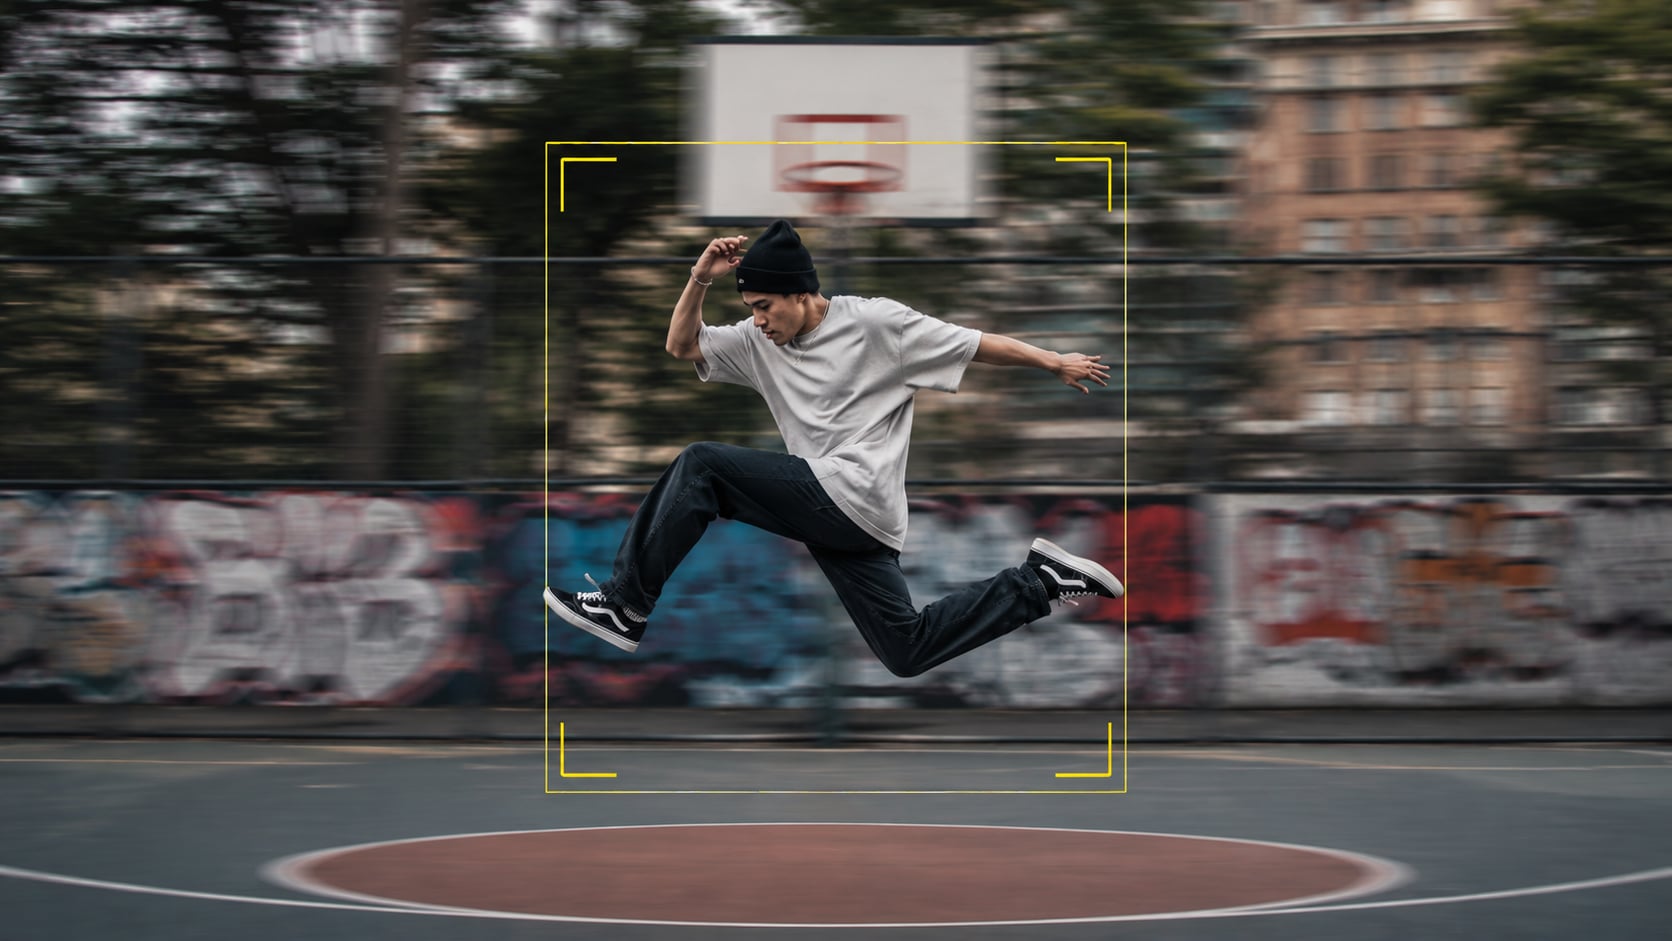
Best For: Dance routines, sports highlights, or any footage featuring significant lateral movement.
Method 3: Strategic Cropping & Zooming
Concept: This straightforward technique involves manually zooming into the exact center of the vertical video until the left and right edges physically touch the far sides of the newly established horizontal frame. While this effectively removes black bars entirely, it forcefully crops out the top and bottom sections of your clip, requiring careful spatial awareness to ensure important elements remain visible.
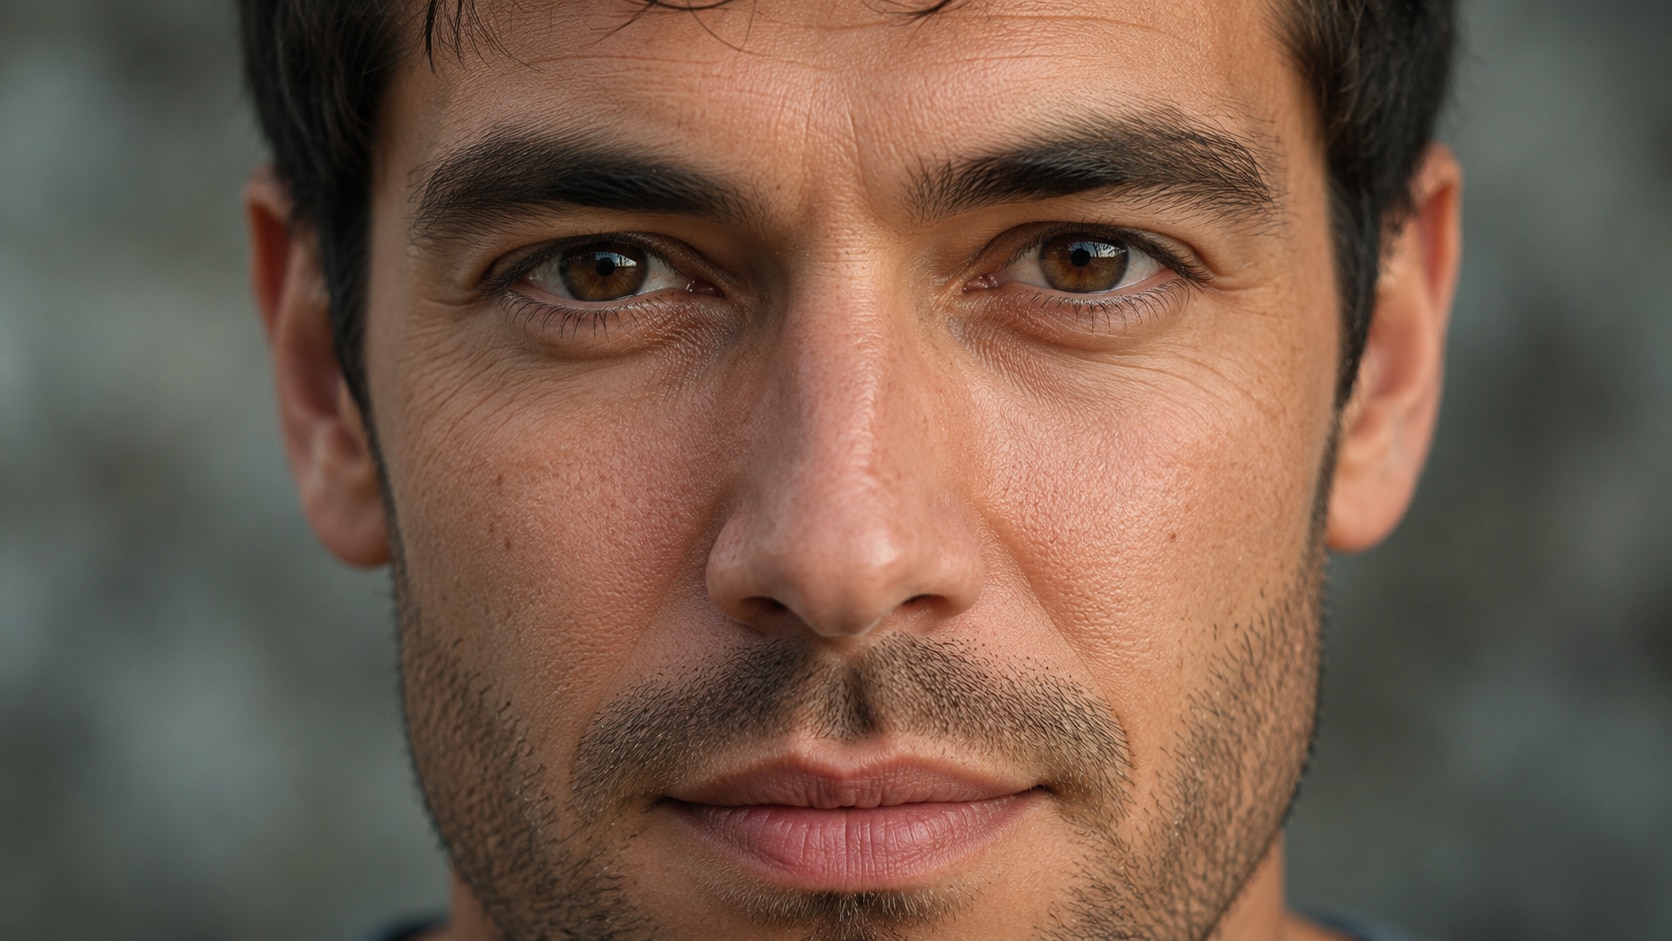
Best For: Videos originally shot in high 4K resolution where the subject remains dead-center with plenty of headroom. Caution is advised, as zooming in on low-resolution clips causes severe pixelation.
Part 3. How to Convert Portrait Video to Landscape on Desktop
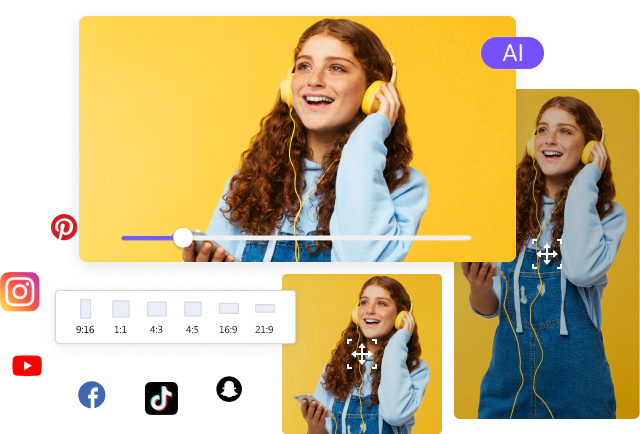
When altering aspect ratios, basic web applications often struggle with large file sizes or require paid subscriptions to remove watermarks. For a professional and offline solution, Wondershare UniConverter serves as a highly capable, all-in-one desktop editor. It features an advanced AI-powered Auto Crop tool that automatically tracks moving subjects, eliminating the guesswork associated with manual reframing. With fast offline rendering, zero internet dependency, and robust batch-processing capabilities, this desktop software allows creators to seamlessly adjust video dimensions without sacrificing the original visual quality.
Step-by-Step Guide: Changing Aspect Ratios Using Desktop Software
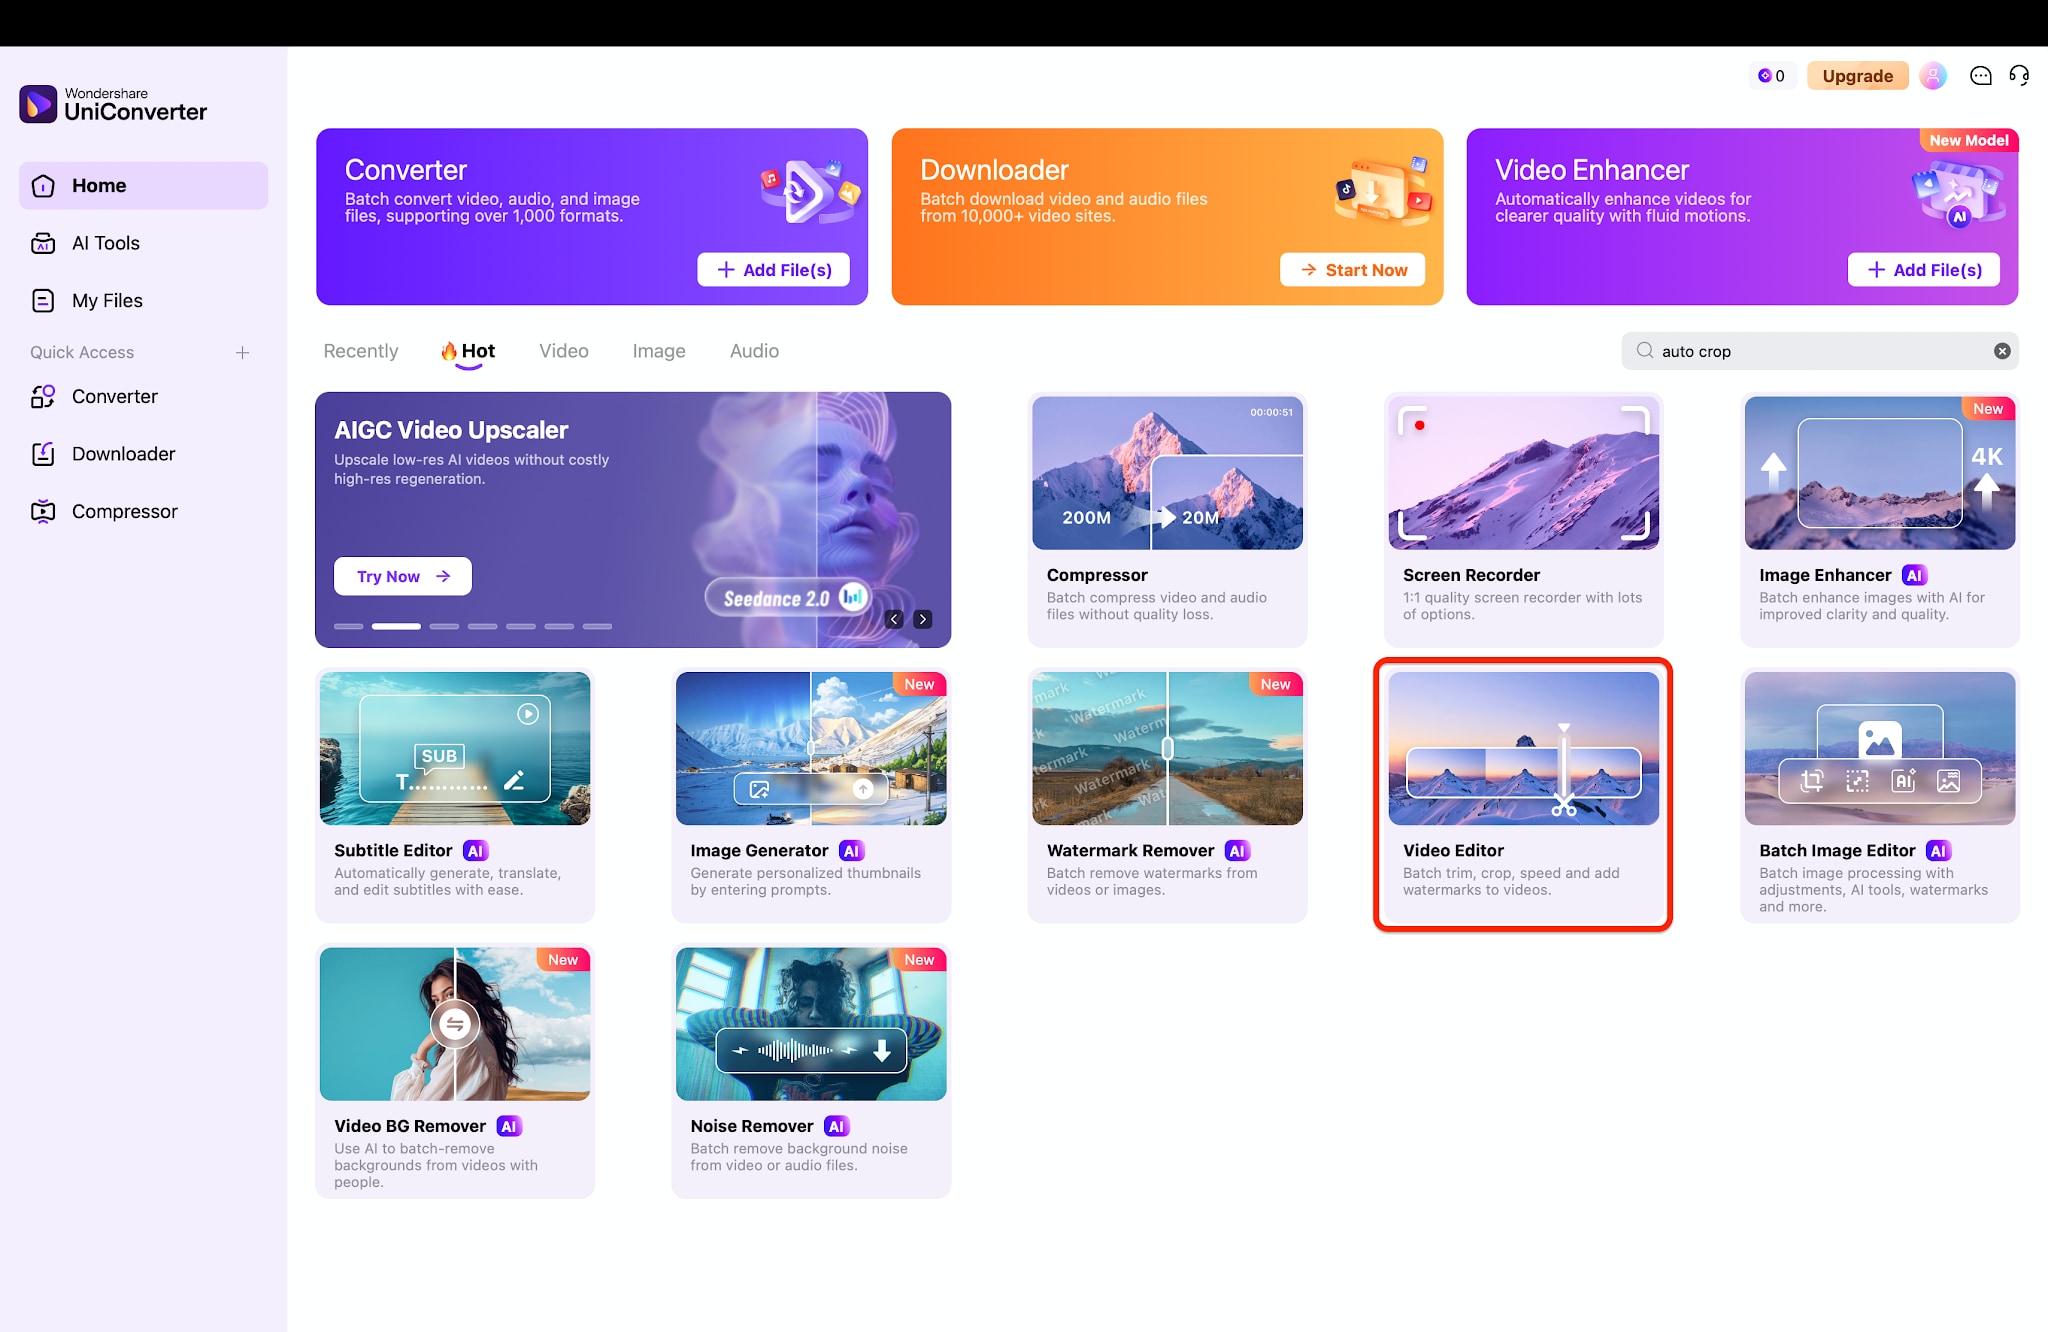
Step 1: Launch the Video Editor and Import Media
Open Wondershare UniConverter and select the Video Editor tool directly from the main home screen. Click the Add File/Folder button in the center of the workspace to upload your vertical video. The software loads your media into the interface, so you can begin adjusting the aspect ratio.
All-in-One Multimedia Processing Tool

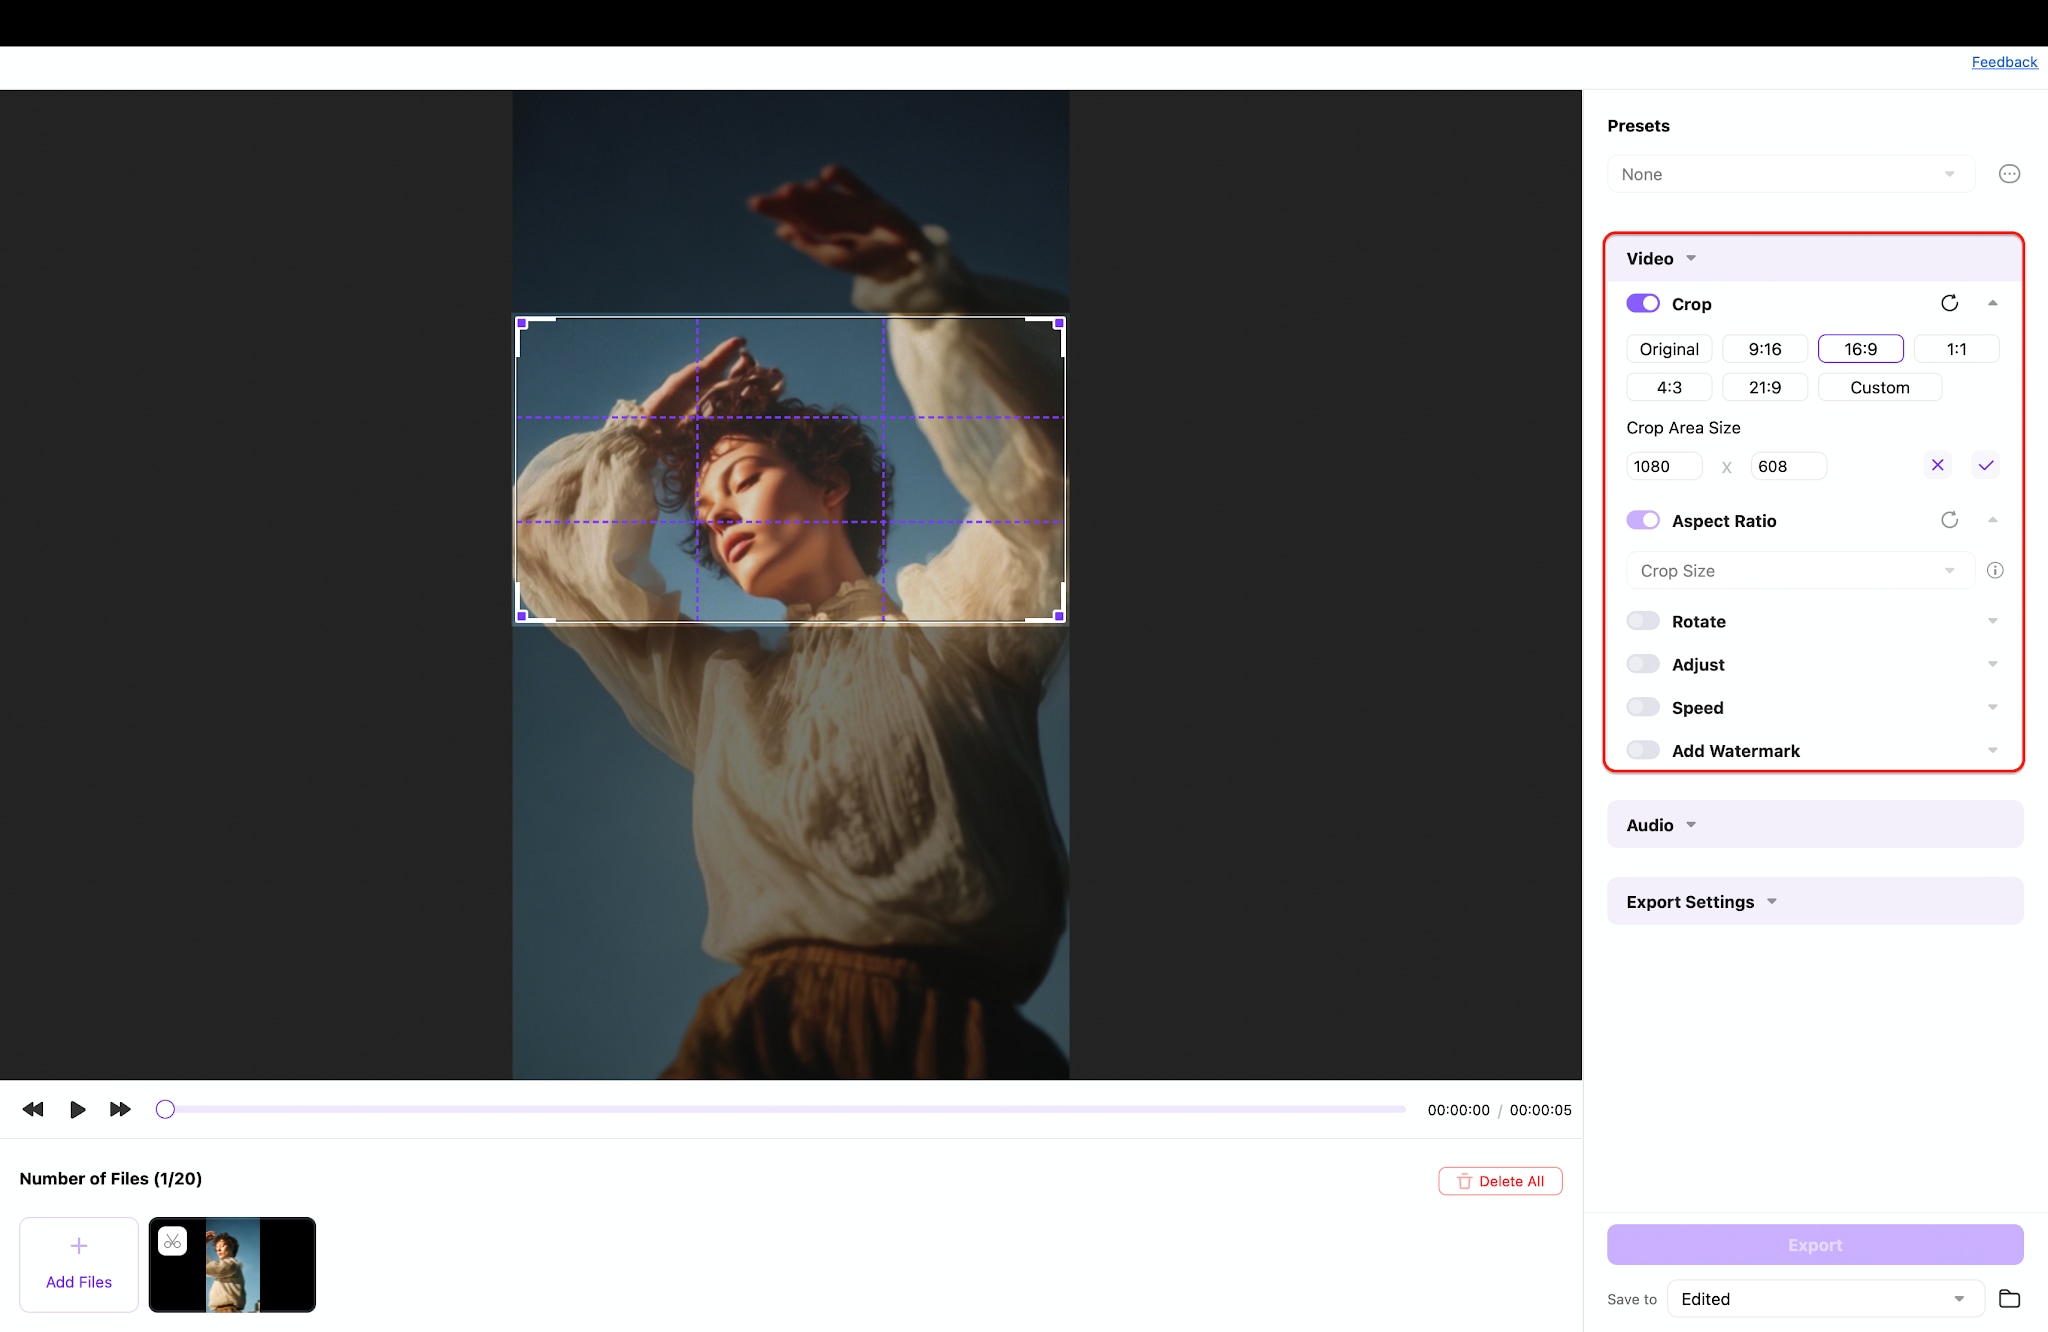
Step 2: Apply the 16:9 Crop Ratio
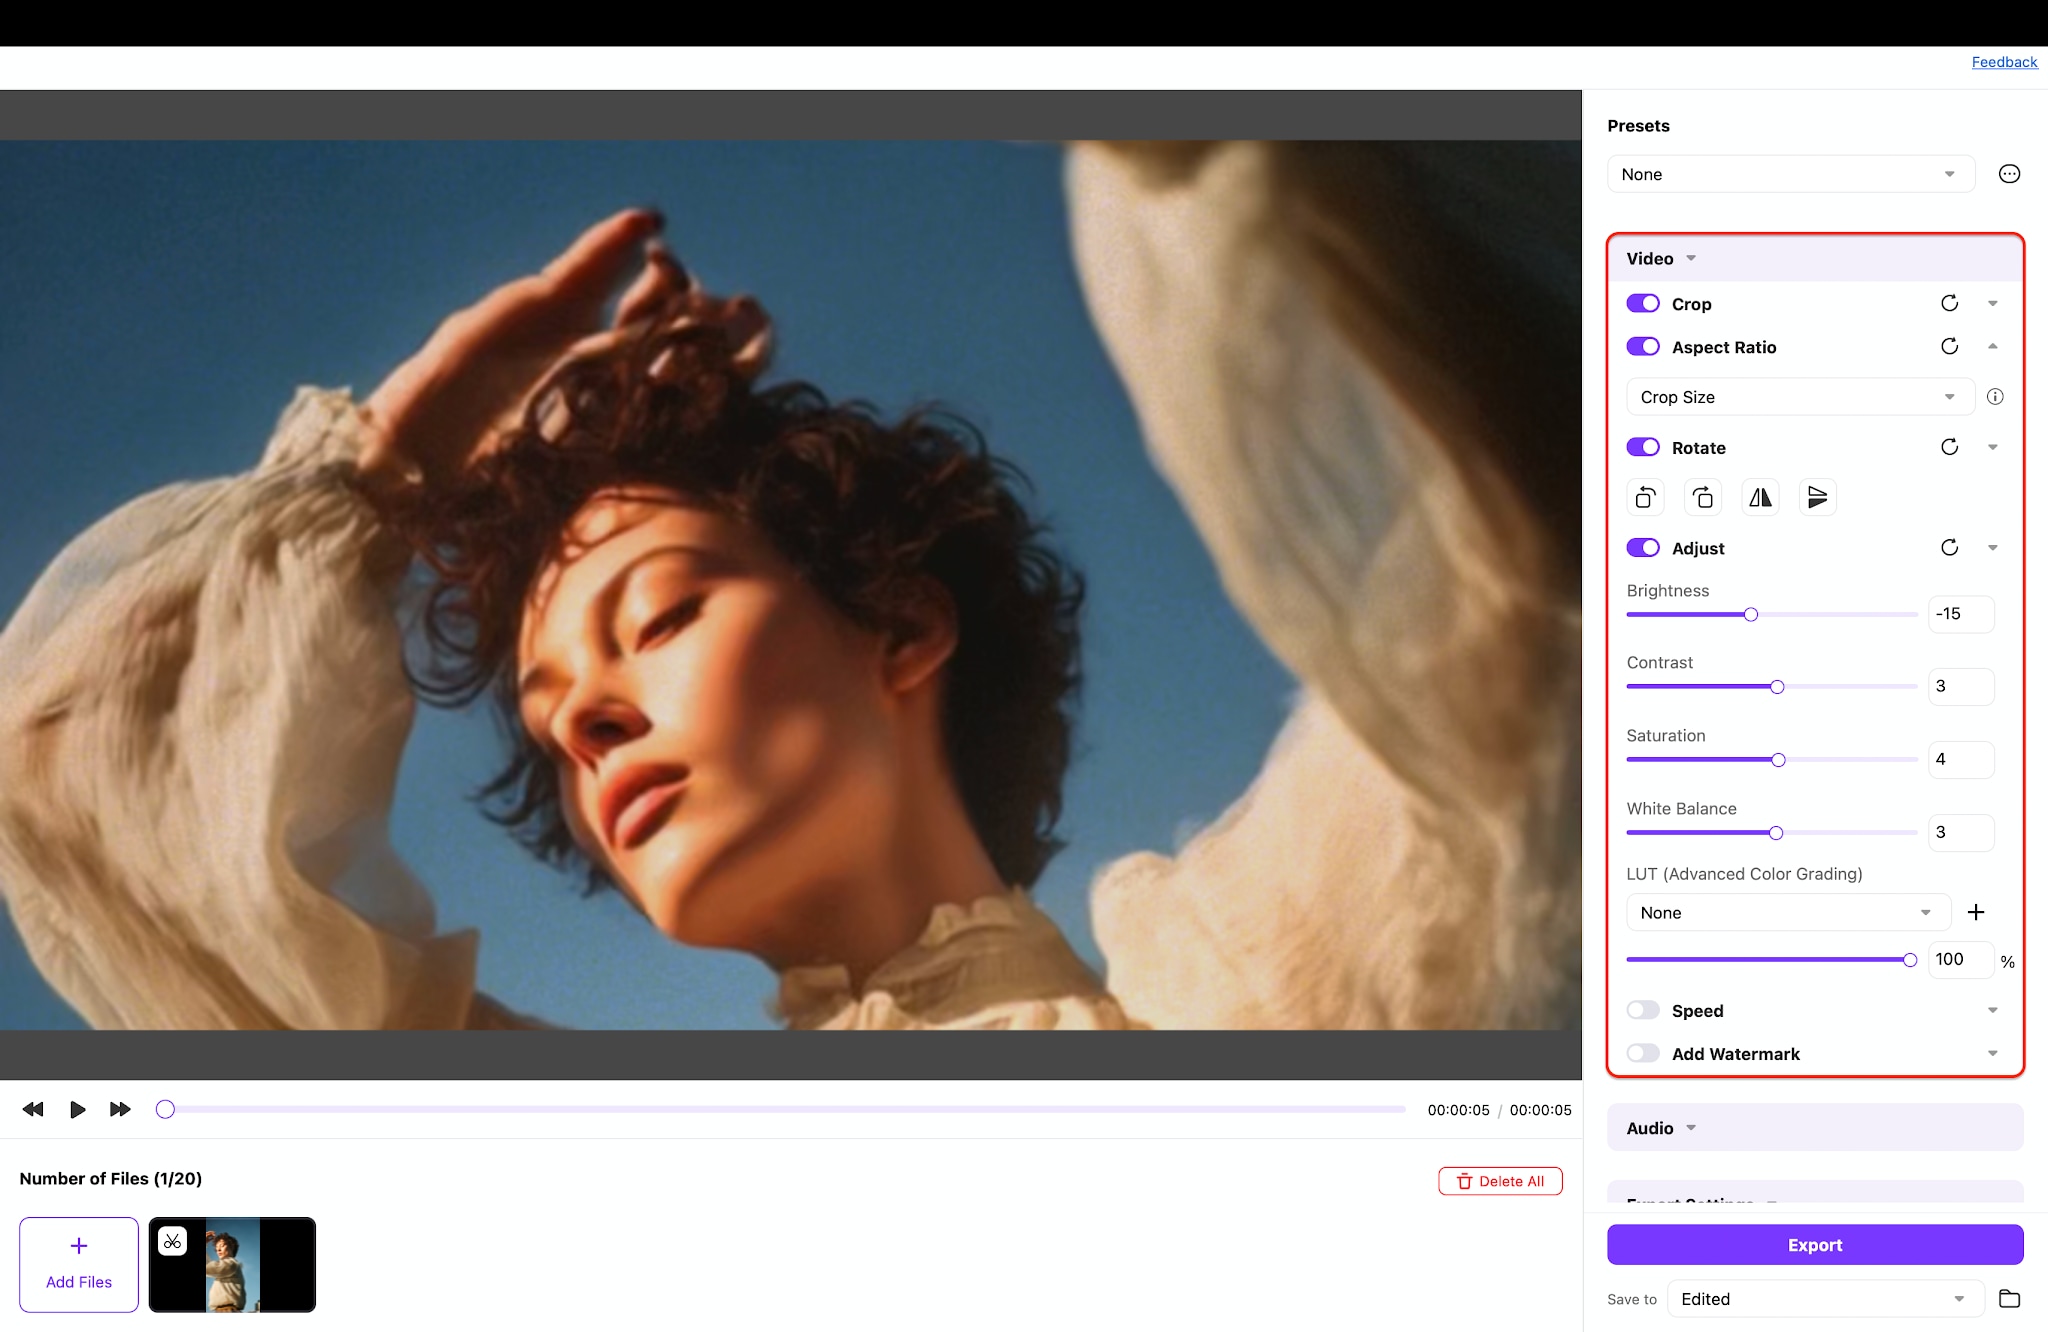
Navigate to the right-hand panel under the Video tab and toggle on the Crop feature. Select the 16:9 preset button to automatically apply a widescreen crop box over your portrait footage. Drag this bounding box to ensure your primary subject stays centered within the new frame.
Step 3: Fine-Tune the Visual Adjustments
Enhance your video's visual appeal by toggling on the Adjust switch located further down the menu. Use the individual sliders to manually correct the brightness, contrast, saturation, and white balance. These practical color correction tools help you achieve a balanced aesthetic before exporting the final file.
Step 4: Configure Export Settings and Render
Scroll down and expand the Export Settings tab to choose your desired final output format. Customize your file naming structure using the Rename section to keep your converted projects organized. Click the purple Export button at the bottom right to process and save your landscape video.
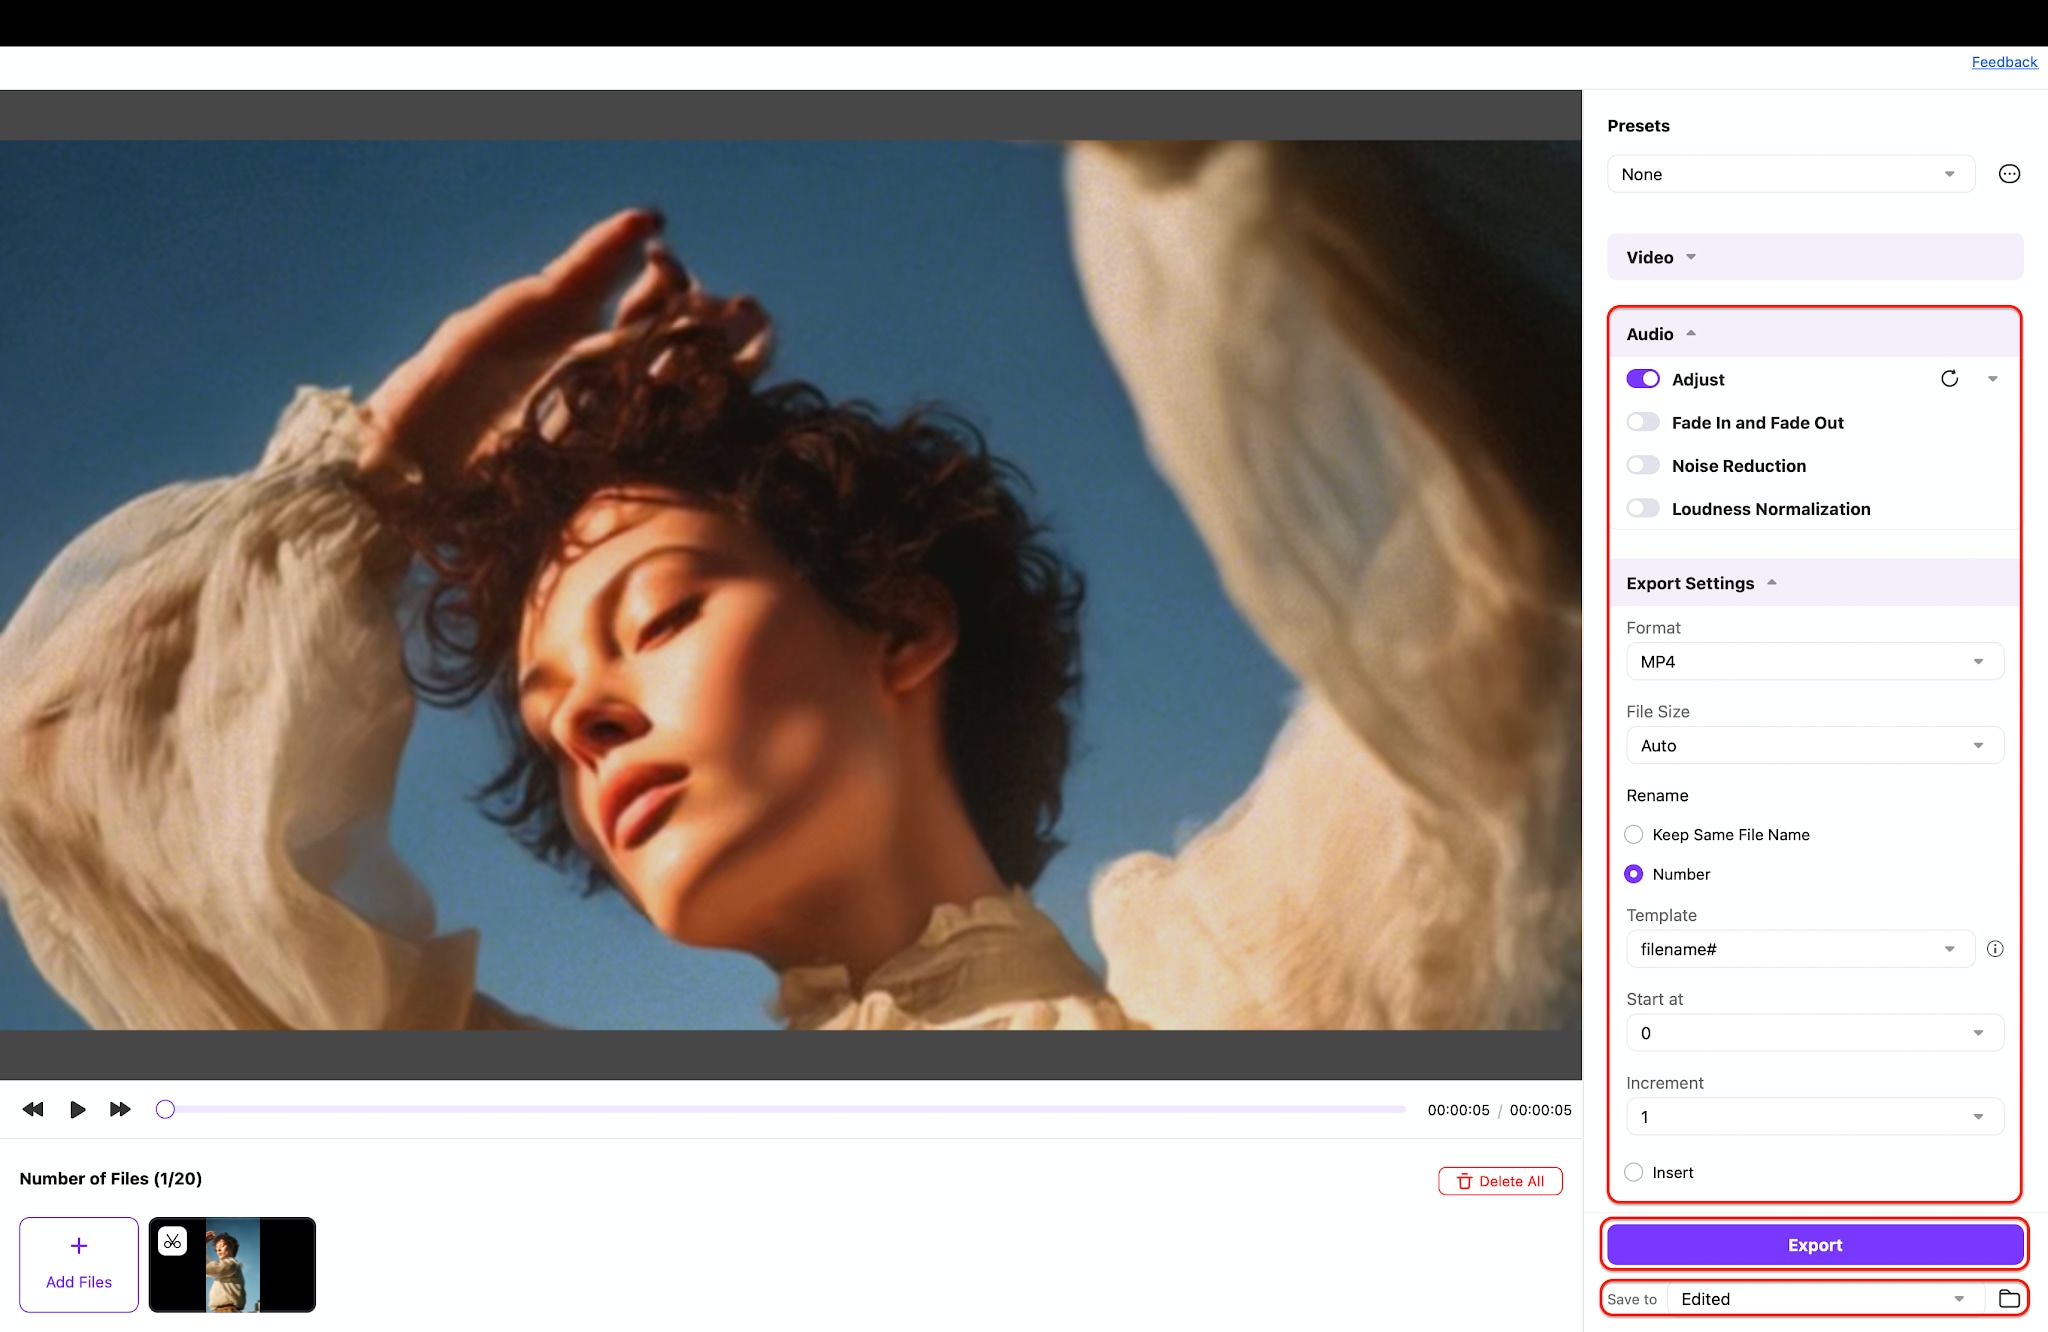
Pro Tip: Toggle on the Noise Reduction feature under the Audio tab to eliminate distracting background sounds like fan noise, ensuring your video sounds clear and professional.
Part 4. Web-Based Editors for Quick Ratio Adjustments
Finding the right online tool can feel overwhelming when you need a fast fix away from your main computer. To help you compare your options at a glance, the table below breaks down the top free web platforms based on their export quality, upload limits, and watermark policies.
| Tool | Best For | Max Free Upload | Free Export Quality | Watermark |
| Clideo Video Resizer | Quick social media resizing | 500MB | 720p (Standard HD) | Yes |
| Kapwing | AI tracking & team editing | 250MB | 720p (Standard HD) | Yes |
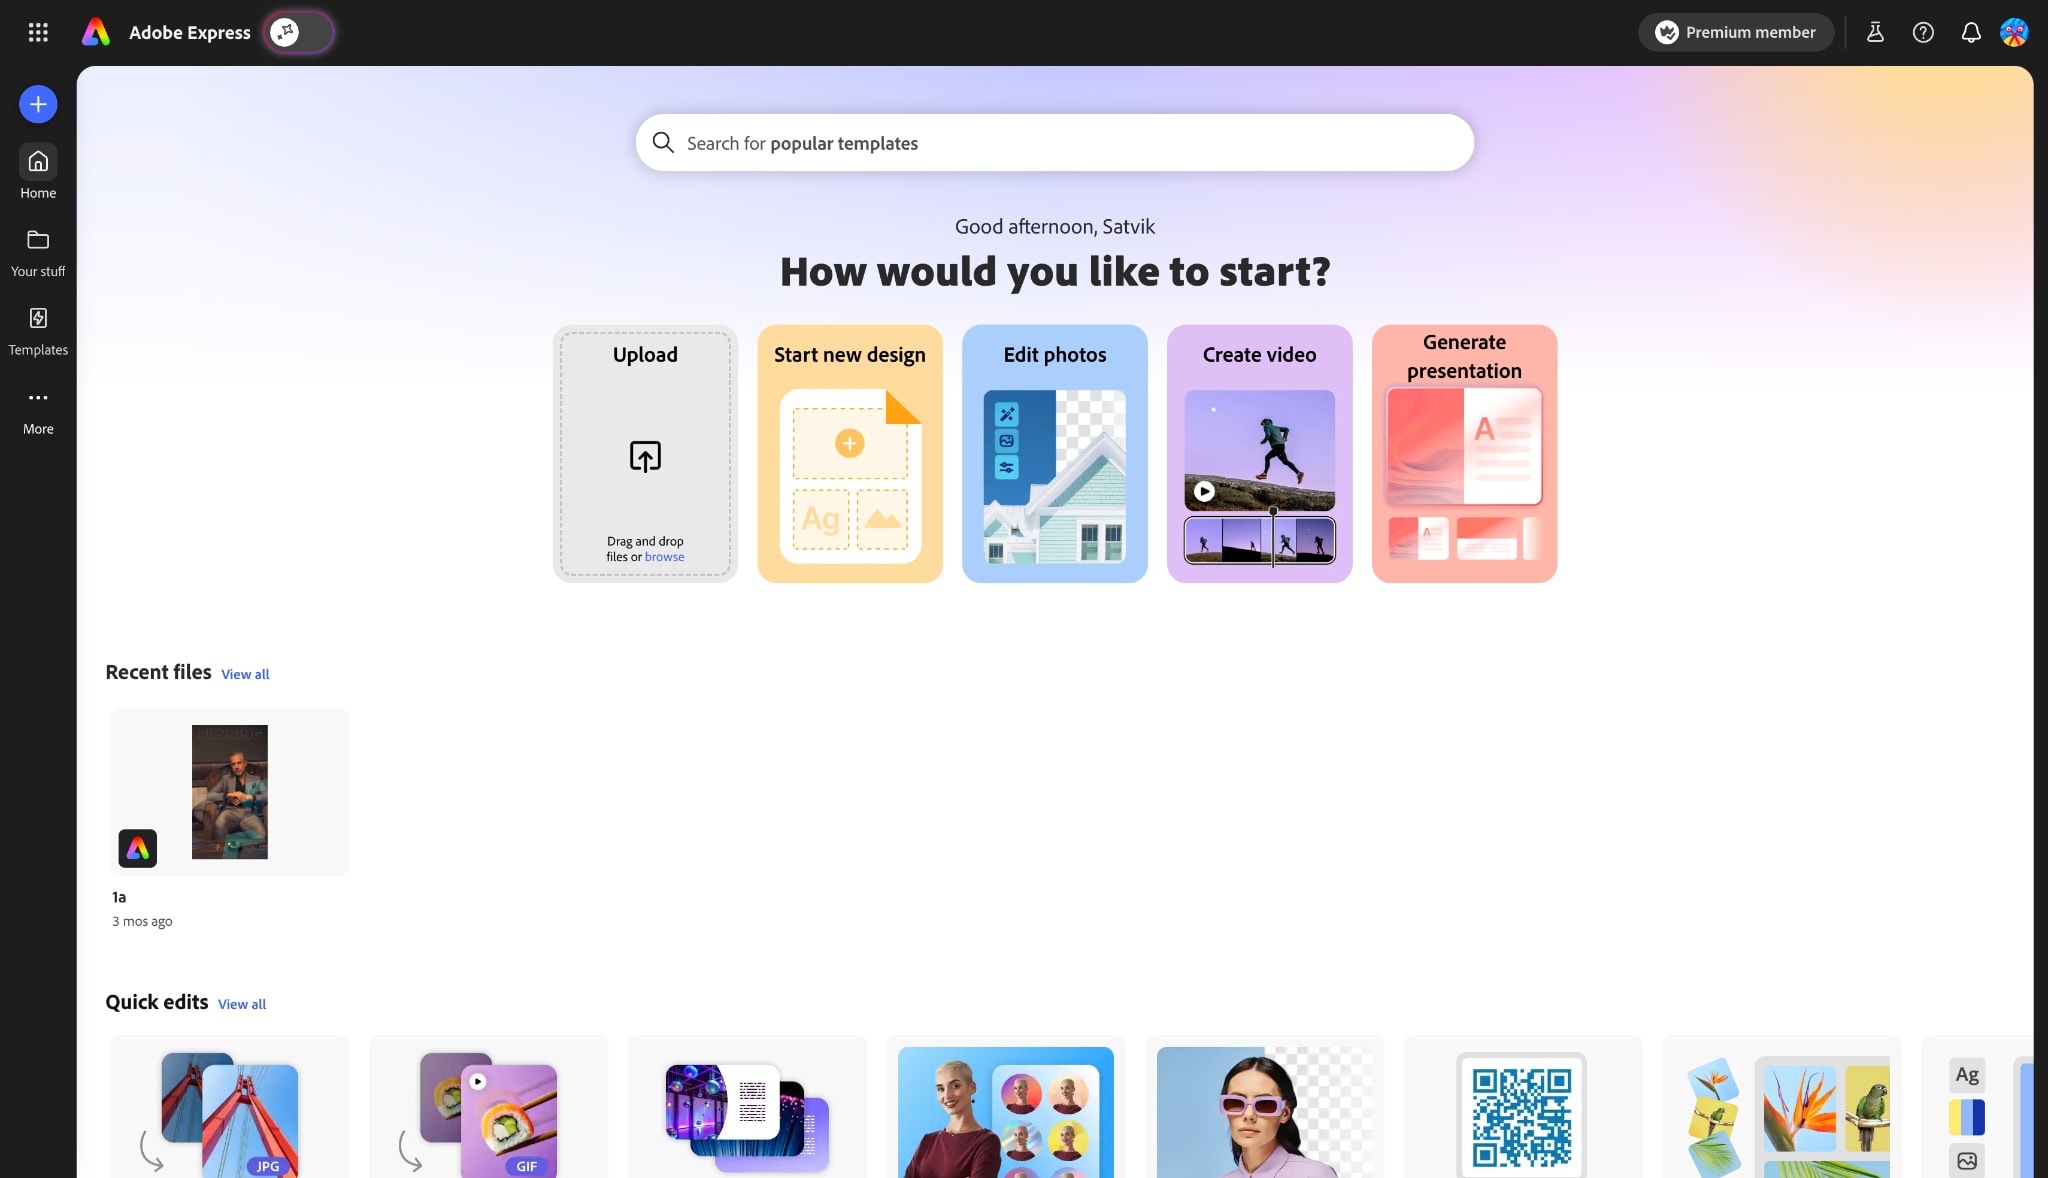
| Adobe Express | Reliable drag-to-fit framing | 1GB | 1080p (Full HD) | No |
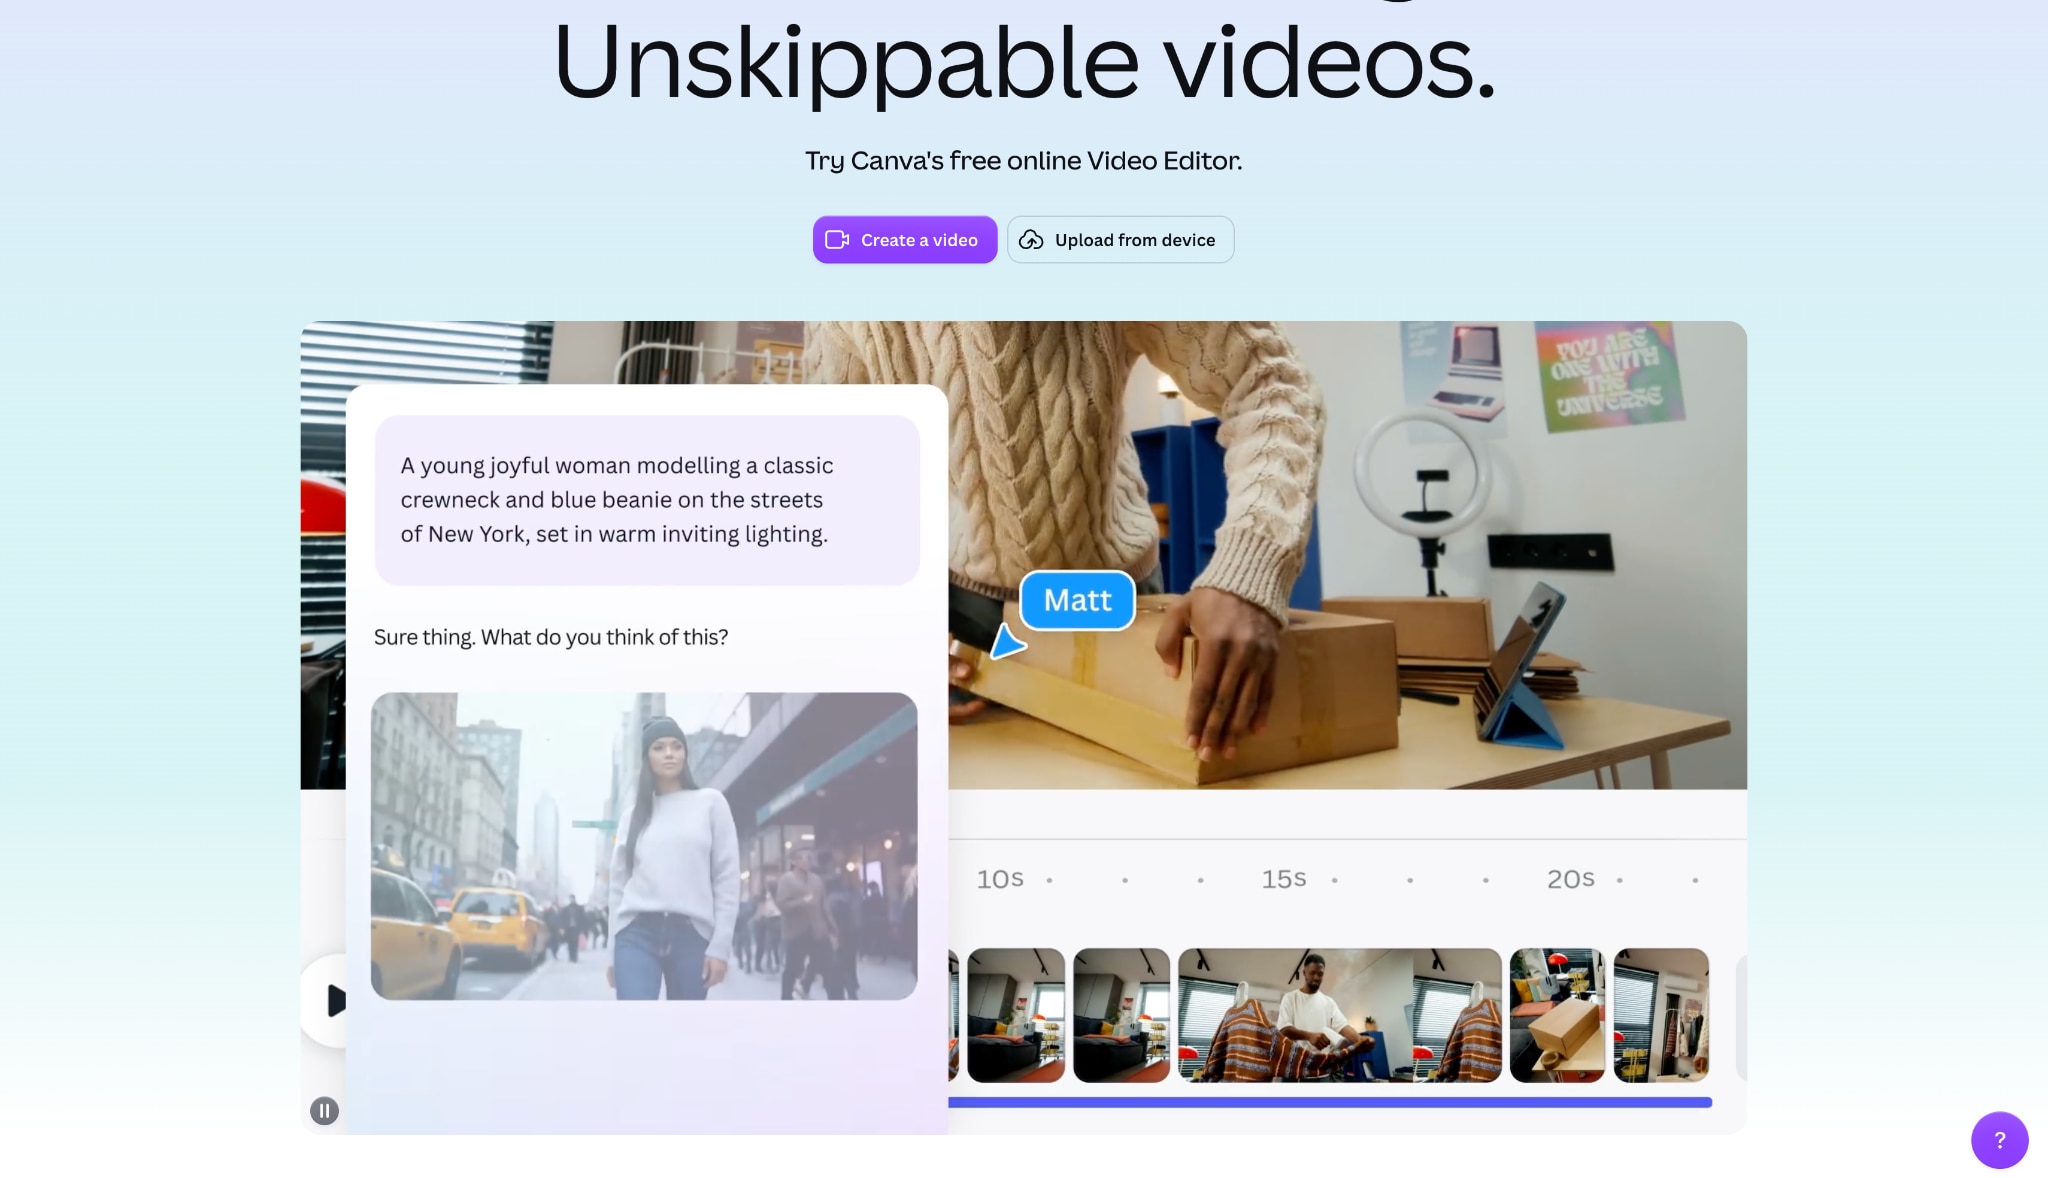
| Canva Video Editor | Adding graphics & overlays | 1GB | 1080p (Full HD) | No |
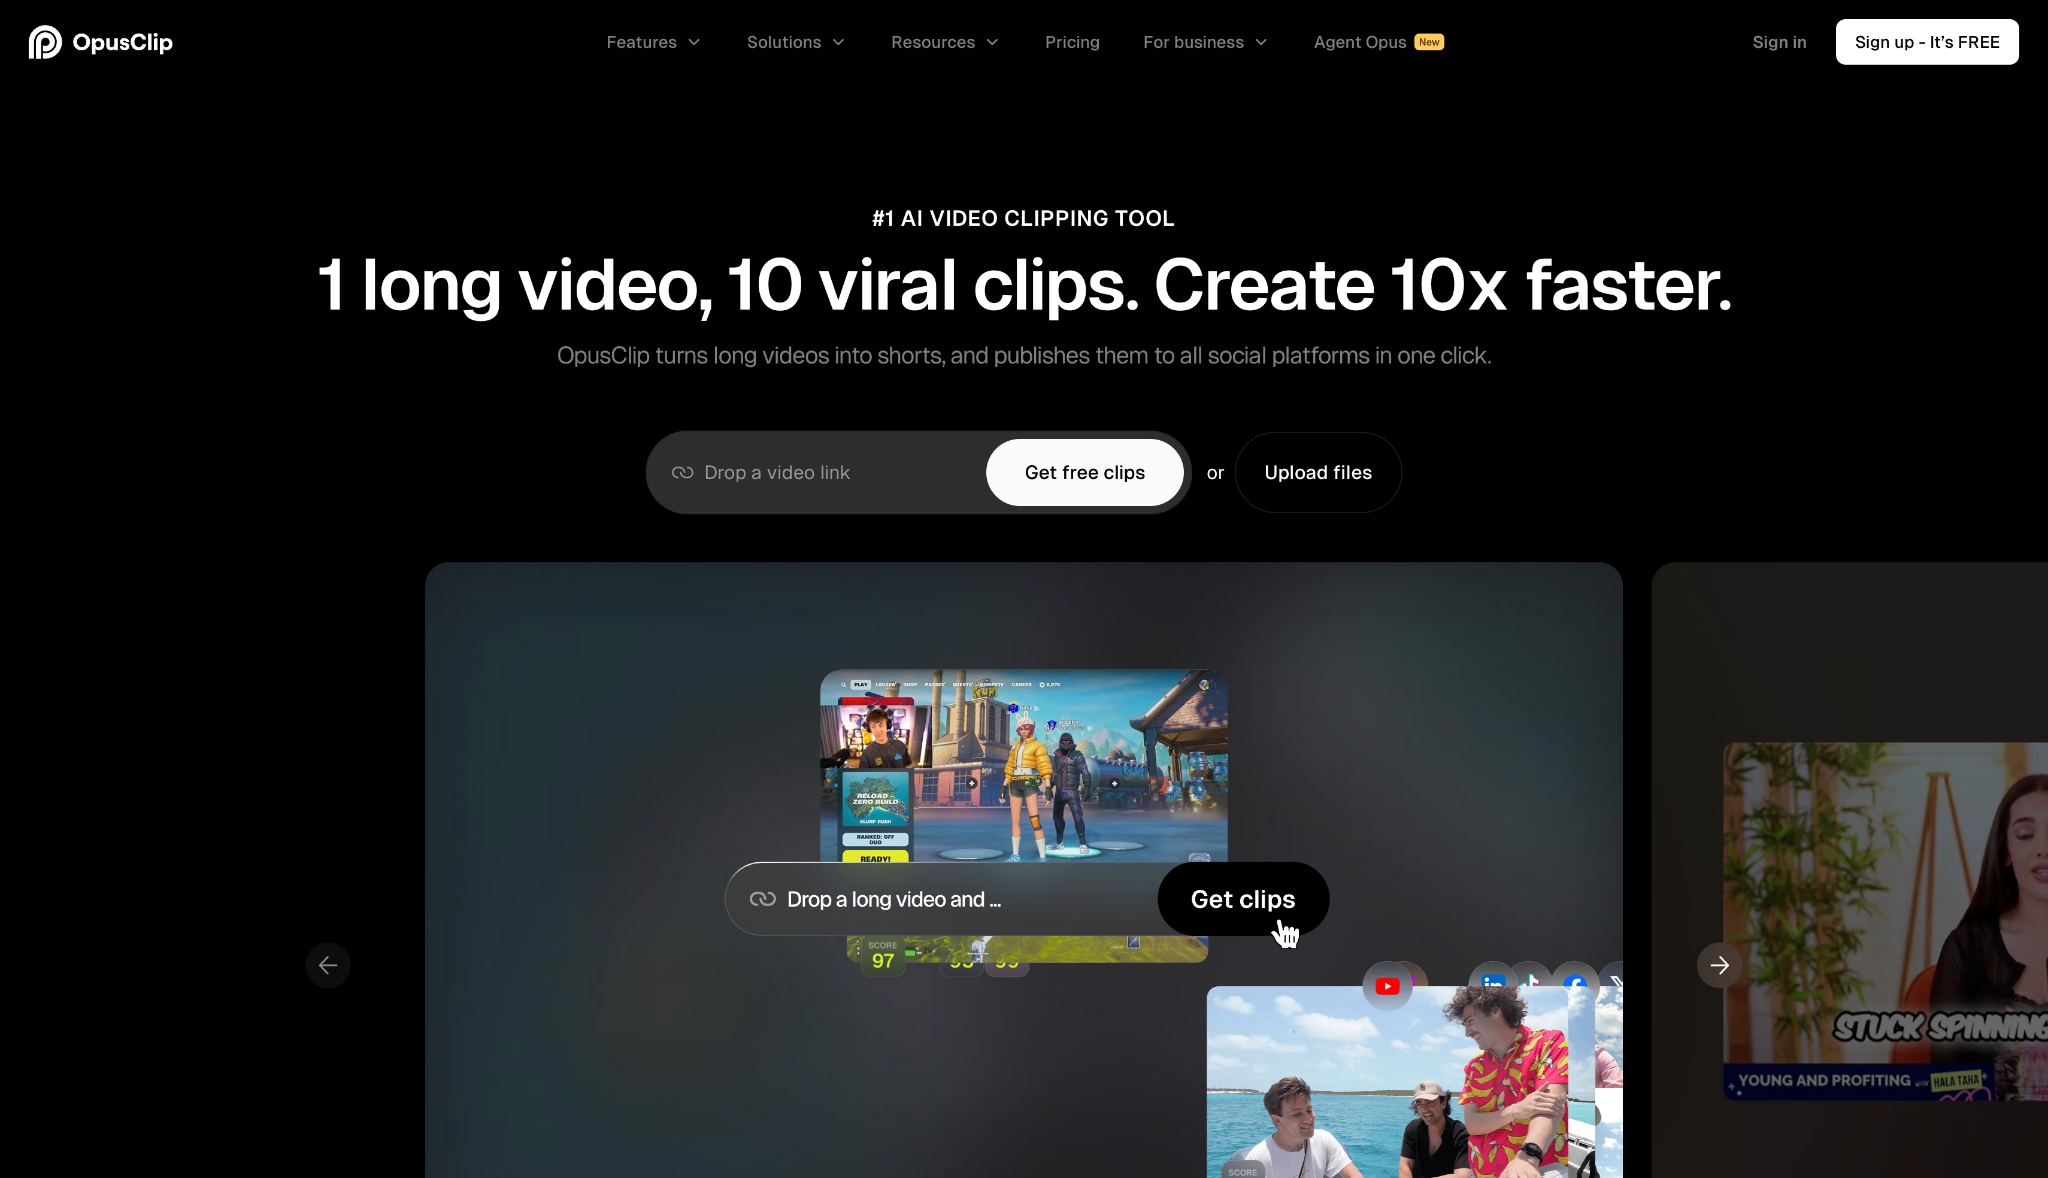
| OpusClip | AI-driven auto-reframing | Credit dependent | 1080p (Full HD) | Yes |
Editing on the go sometimes requires immediate, lightweight solutions. Browser-based tools act as a temporary fix for short, low-resolution clips. While lacking the heavy-duty processing power of desktop software, these 5 cloud-based platforms help users change video dimensions directly within a web browser.
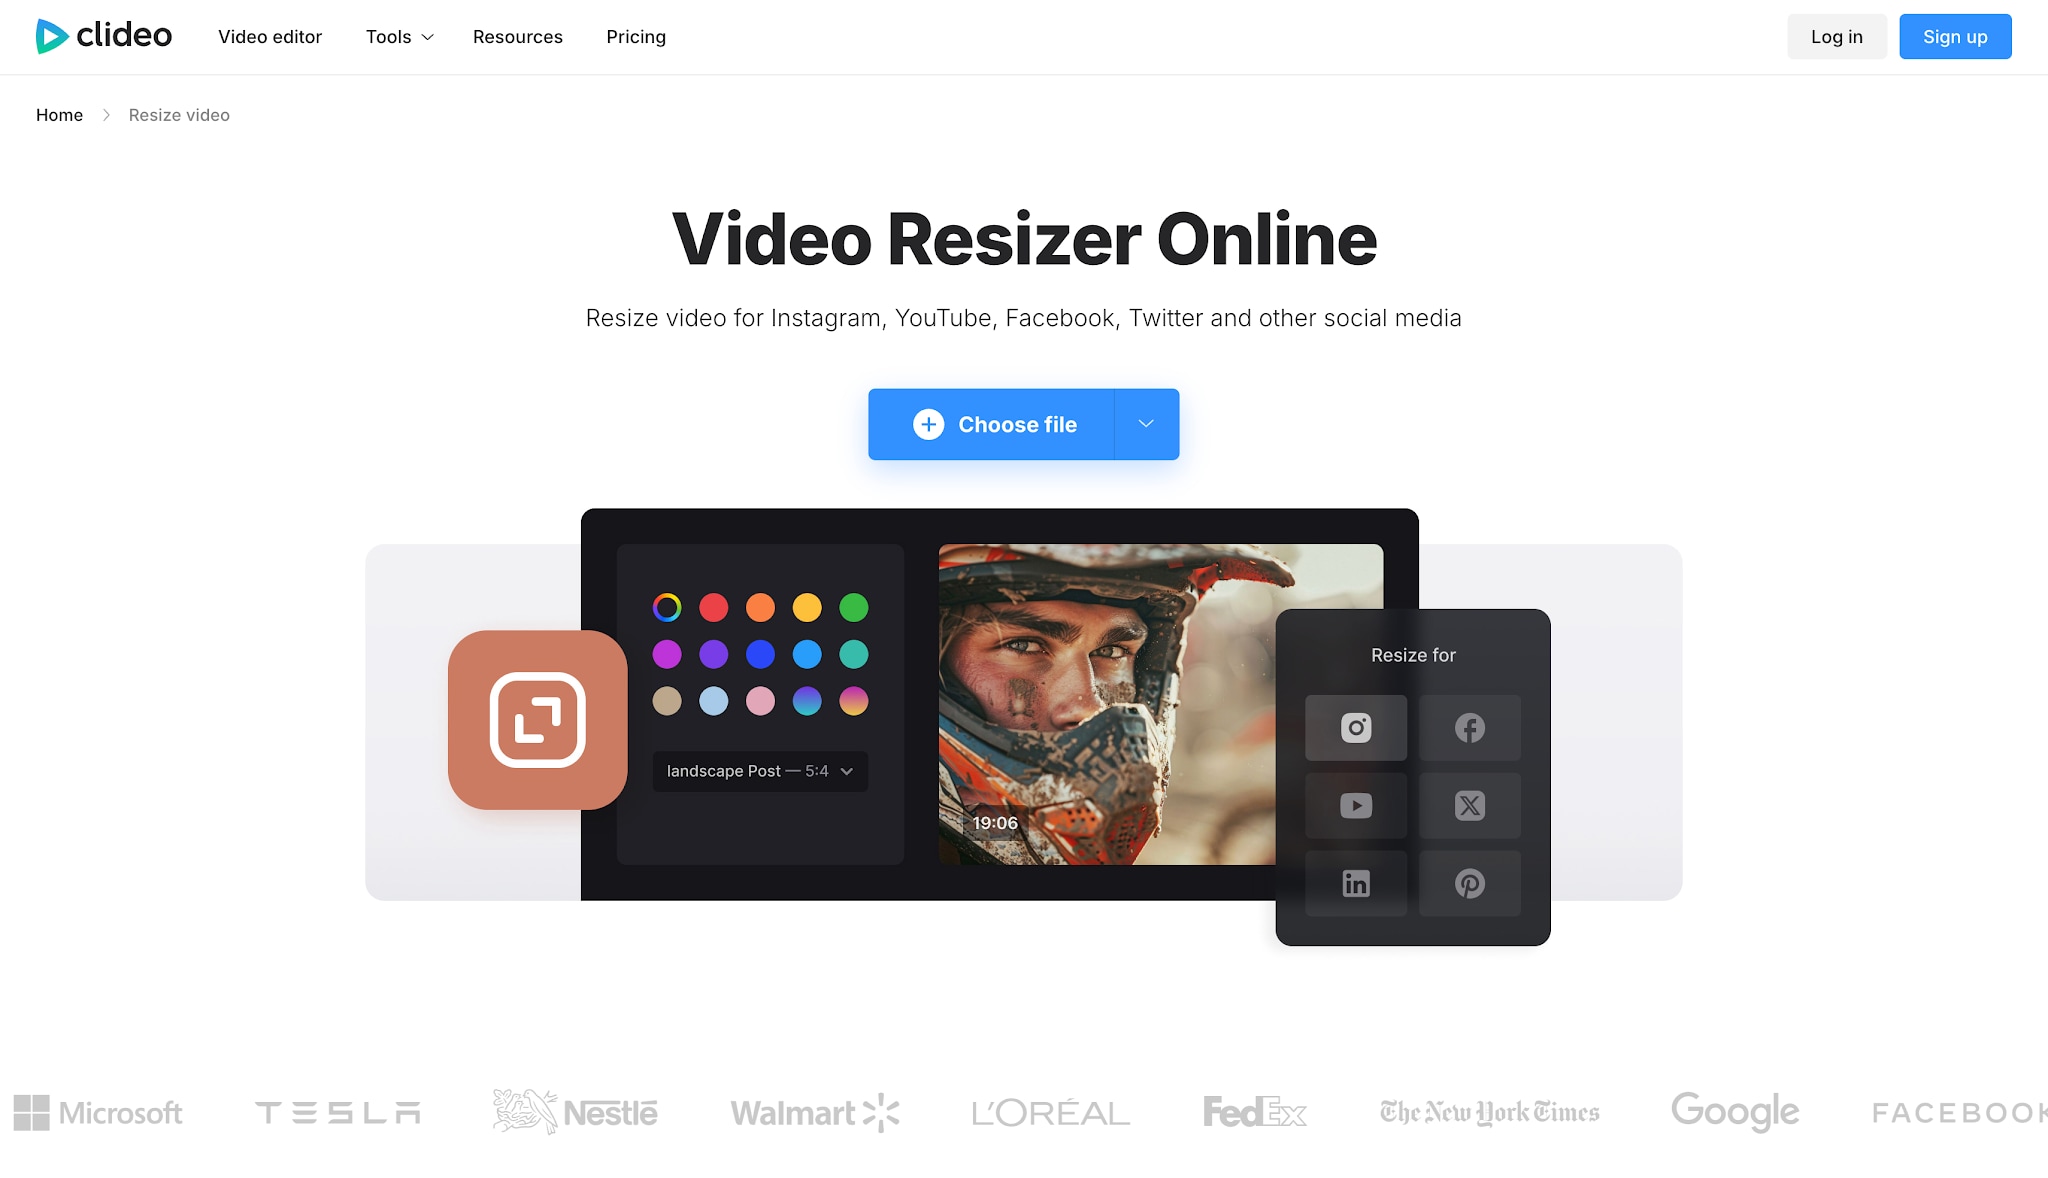
How it works: Clideo provides a highly straightforward, browser-based interface designed specifically for rapid aspect ratio adjustments. You simply upload your vertical clip and select a dedicated social media preset, such as sixteen by nine for YouTube. The platform automatically fills the remaining empty widescreen space by seamlessly applying a blurred background effect or adding traditional black bars to complete the visual transformation.
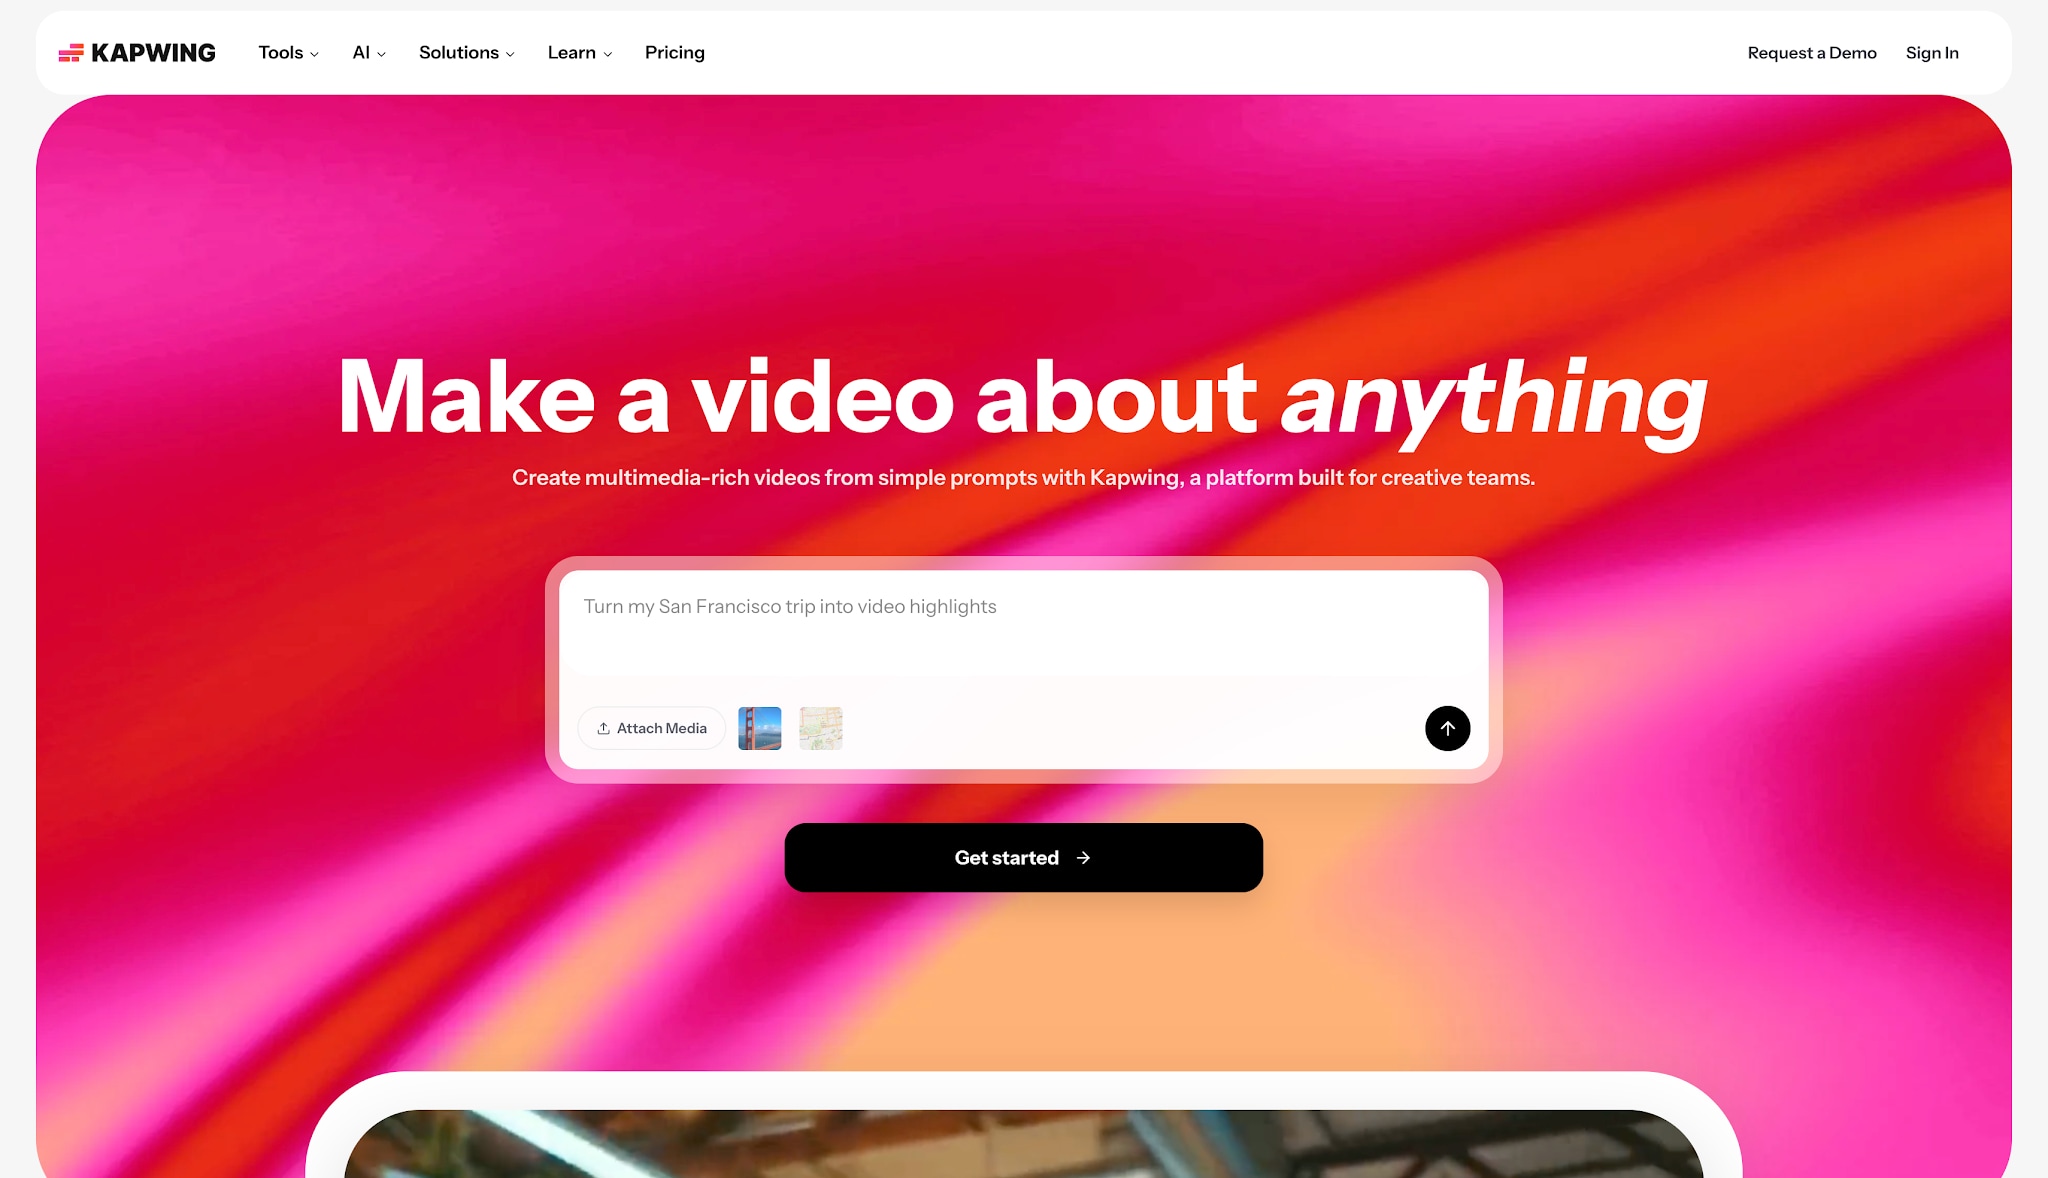
How it works: Kapwing operates as a robust online studio equipped with helpful artificial intelligence features tailored for modern creators. When converting a vertical video into a horizontal format, you can utilize its smart tracking tool. This advanced feature automatically analyzes the uploaded footage and actively keeps the primary speaker perfectly centered, ensuring dynamic subject visibility without requiring tedious manual camera panning adjustments.
How it works: The web-based version of Adobe Express provides an incredibly accessible quick action video resizer tool for immediate adjustments. After uploading your media clip, you can quickly select an optimized landscape preset from the main interface. From there, you simply drag and position the video manually within the newly expanded frame, ensuring the most important visual elements fit perfectly before exporting.
How it works: While recognized primarily as a popular graphic design platform, Canva also allows creators to effortlessly drop a tall vertical video directly onto a wide sixteen by nine canvas workspace. Once positioned, you can easily fill the remaining empty background space using solid brand colors, custom graphic templates, or stylish blur effects to create a cohesive and professional horizontal viewing experience.
How it works: OpusClip operates as a highly specialized artificial intelligence tool designed specifically for analyzing and repurposing vertical media content. It utilizes advanced auto-reframing technology to seamlessly convert tall footage into a standard widescreen format. Throughout this automated conversion process, the system actively ensures that the primary subject remains fully visible, completely eliminating the constant need for any manual cropping or positioning.
Part 5. Pro Tips for Filming & Editing Your Videos
Successful conversions start long before the editing process begins. Applying professional filming techniques ensures maximum flexibility in post-production.
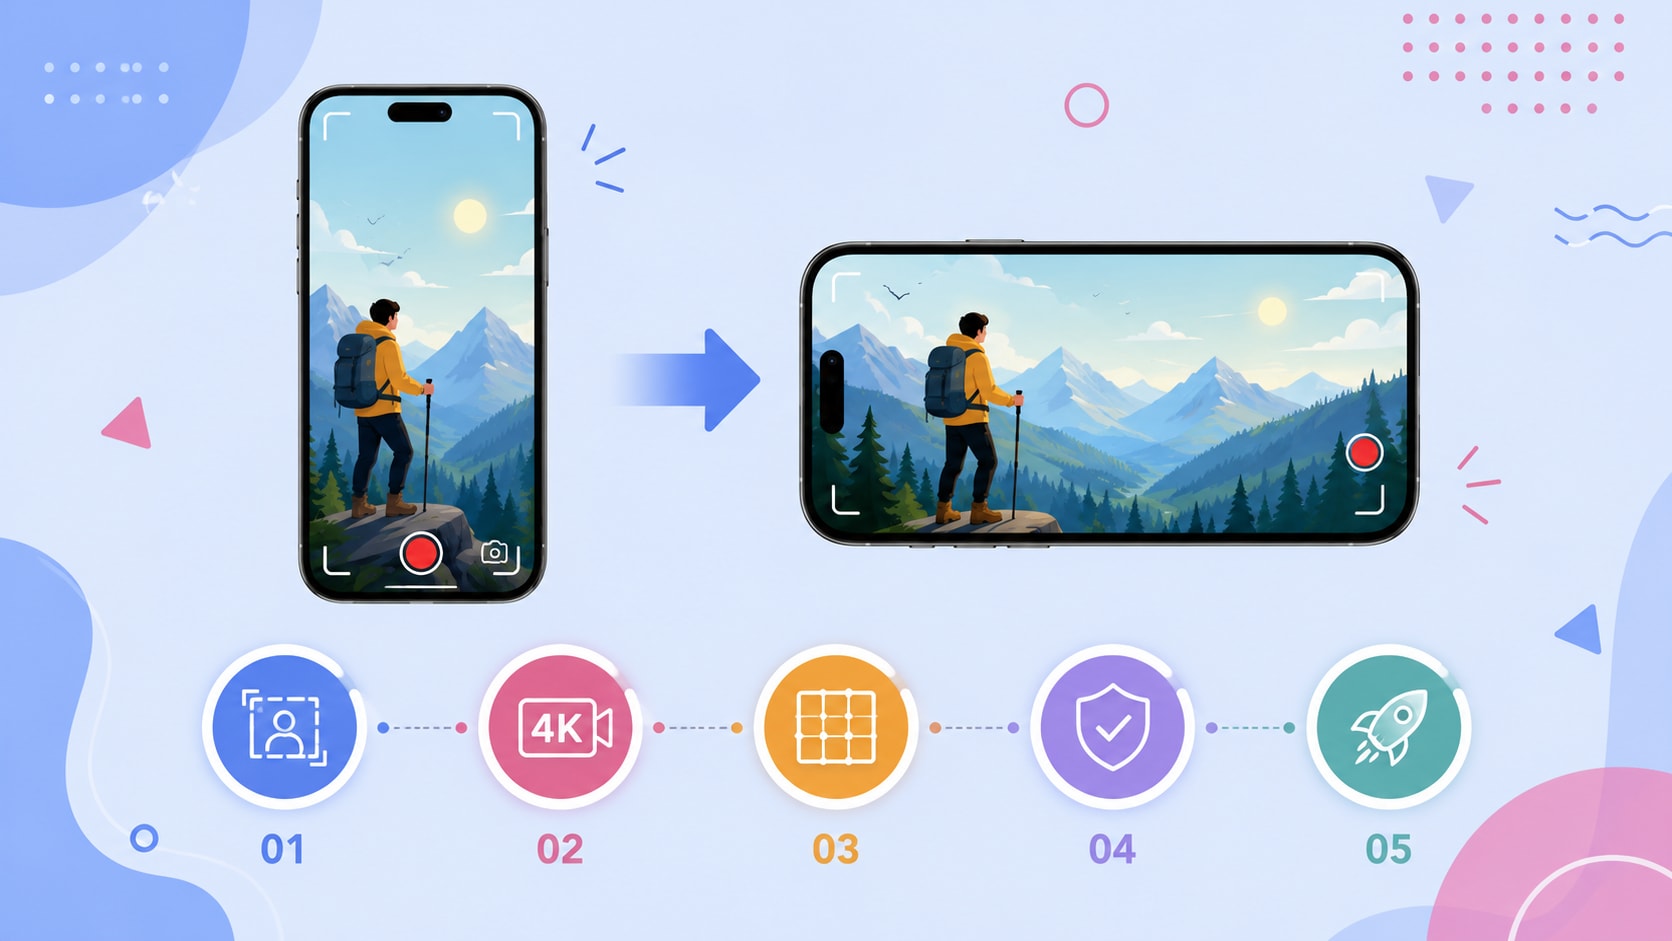
Shoot with Editing in Mind: Planning ahead saves hours in post-production. Framing a subject with plenty of "headroom" and lateral dead space allows for a seamless transition from a portrait video to landscape later on.
Record in the Highest Resolution Possible: Capturing footage in 4K resolution provides significant pixel density. This density prevents the media from becoming blurry or pixelated when cropping a vertical clip into a horizontal frame.
Utilize the Rule of Thirds: Positioning subjects along grid intersections ensures they look natural. This composition technique works effectively regardless of the final aspect ratio chosen during editing.
Maintain Technical Integrity: Keeping the original frame rate unchanged prevents jerky playback issues. Preserving the source bitrate avoids blocky compression artifacts on large television displays. Furthermore, avoiding repeated re-encoding protects the visual quality across multiple project saves.
Optimize Export Settings: Efficient codecs like H.264 or H.265 beautifully balance manageable file sizes with crisp web playback. Enabling hardware acceleration during the export process maximizes rendering speeds without placing destructive strain on computer processors.
Part 6. Conclusion
Adapting content for different viewing environments doesn't have to mean settling for ugly black bars or stretched graphics. By understanding aspect ratios and applying intelligent editing strategies, any media file can look professional across all platforms. Utilizing the blurred background method seamlessly fills empty space, while AI tracking tools ensure dynamic subjects remain perfectly framed. Equipping a reliable video ratio changer makes this entire workflow fast and efficient. Start applying these techniques to your next project, and watch your vertical footage transform into a pristine, cinematic widescreen experience.