

GIFs have become a staple for online communication, widely used across social media and messaging platforms to express emotions, reactions, or even to share funny moments. If you’ve ever wanted to know how to change video to GIF, this guide is for you. From free online tools to desktop converters, we’ll show you the best ways to change a video to a GIF quickly and easily.
In this article
Part 1: Why Using Online Tools to Make Your Youtube Videos into GIF
Creating GIFs from YouTube videos is quick and easy with online tools. Here are the key benefits of using them:
No Need for Software Installation
Online tools allow you to convert YouTube videos into GIFs directly in your browser. This means there's no need to install heavy software on your computer, saving time and space on your device.
Quick and Simple Process
Most online tools are designed to be user-friendly, with a simple process to convert videos to GIFs in just a few clicks. You only need to upload your video or provide a YouTube link to begin the conversion.
Free of Charge
Many online GIF-making tools offer free versions that allow you to convert YouTube videos into GIFs without any costs. Premium features are often available for a fee, but basic conversion is often free.
Instant Previews
Online tools usually provide real-time previews of your GIFs. This allows you to tweak your GIF's settings, such as frame rate, start and end time, and size, before finalizing and downloading it.
Versatile Use
These tools often support a variety of video formats, not just YouTube, allowing you to create GIFs from different types of videos, including MP4, MOV, AVI, and more. This gives you flexibility in choosing the source of your GIF.

Easy to Use Versatile Video to GIF Covnerter
Part 2: 5 Must Try Free Online Tools To Make Your Youtube Videos into GIF
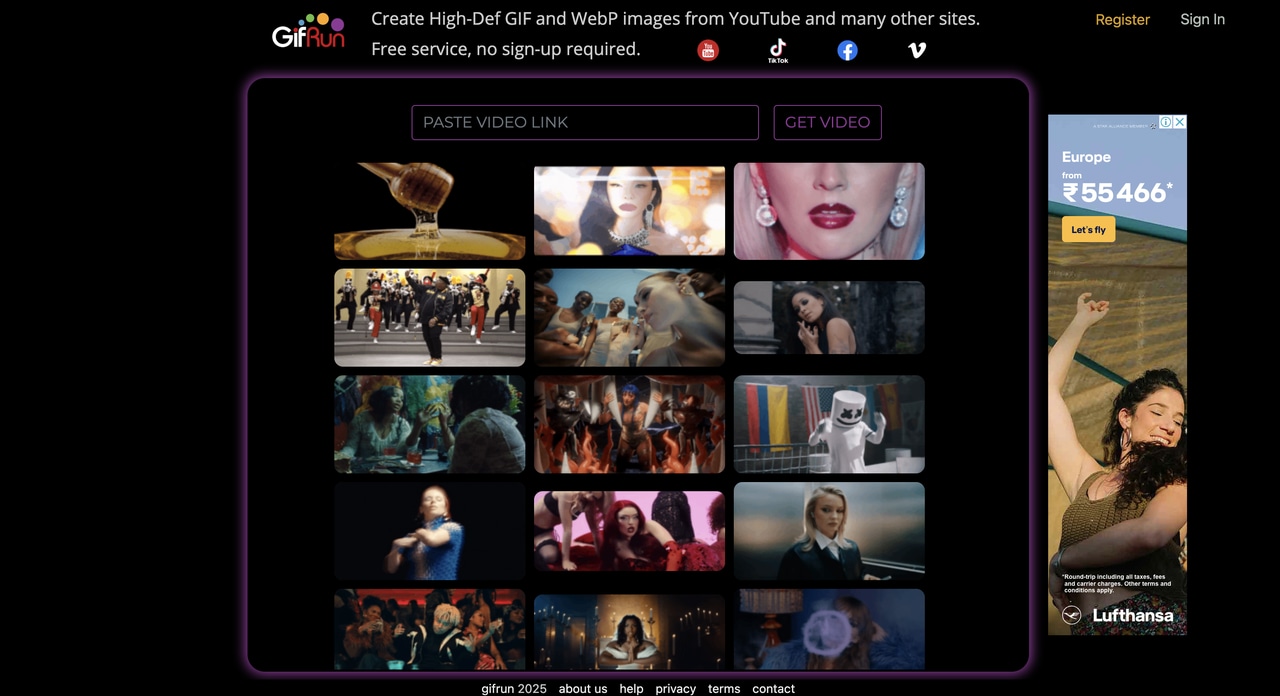
1.GifRun
GifRun is a fast and simple online tool that lets you create GIFs from YouTube videos. You can directly paste a YouTube URL, select the video section you want to convert, and easily download the resulting animated GIF. The platform also offers customization options like adjusting the GIF duration and adding text to the GIF for extra flair. It’s ideal for quickly making GIFs for social media sharing.
Key Feature:
- Customizable Start and End Times: Precisely select the part of the YouTube video you want to convert into a GIF.
- GIF Text Overlay: Easily add captions or custom text to personalize your GIF.
- Quick Export: Generate and export GIFs quickly with minimal processing time.
- Social Media Sharing Integration: Share your GIFs directly to platforms like Facebook and Twitter.
- High-Resolution GIFs: Produce high-quality, clear GIFs with minimal pixelation, even for longer video segments.
Pros & Cons:
Step Guide:
Step 1: Paste YouTube Video URL
Go to GifRun's website and paste the YouTube video URL into the provided box. The tool will automatically fetch the video from the URL.
Step 2: Select the Start and End Time
Set the portion of the video you want to convert into a GIF by selecting the start and end times. You can adjust the duration as needed.
Step 3: Generate and Download the GIF
Click on "Create GIF" to generate the GIF. Once the conversion is complete, click "Download" to save your GIF to your device.
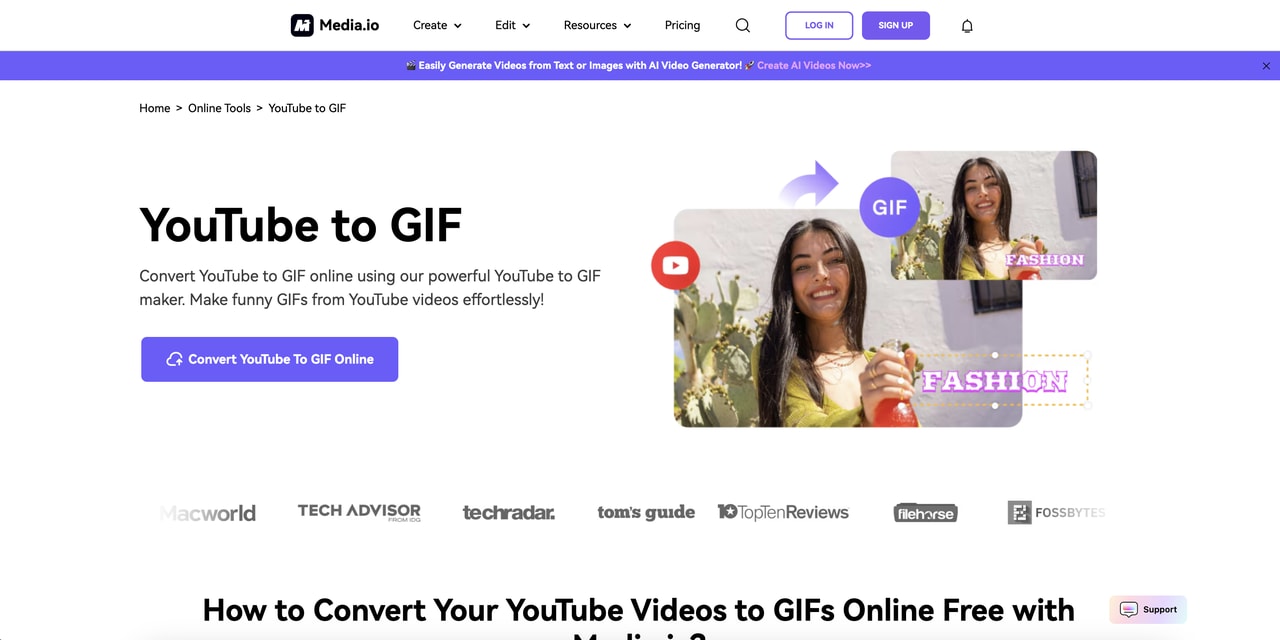
2.Media.io
Media.io is an intuitive online tool that allows you to convert YouTube videos into high-quality GIFs. Simply paste the YouTube video URL, select the video segment you want to turn into a GIF, and Media.io handles the rest. You can adjust the output size, quality, and loop settings. It’s a great option for quick and hassle-free GIF creation with a straightforward interface.
Key Feature:
- Multiple Video Format Support: Convert YouTube videos into GIFs, and also support videos from other platforms like Vimeo or local files.
- Advanced Customization: Adjust GIF frame rate, resolution, and looping settings to meet your needs.
- User-Friendly Interface: Simple, clean layout for easy navigation and quick GIF creation.
- No Account Required: Use the tool without creating an account for a fast and hassle-free experience.
- Supports Different Languages: Available in multiple languages for broader accessibility.
Pros & Cons:
Step Guide:
Step 1: Upload Your Video
Visit Media.io's Video to GIF Maker. Click "Choose File" to select a video from your computer, or drag and drop the video onto the page.
Step 2: Set GIF Preferences
Trim the video by adjusting the start and end times to select the desired GIF segment. Customize the output by selecting resolution (144p, 240p, 360p, or 480p) and frame rate (1 to 30 fps). Optionally, add text overlays to your GIF.
Step 3: Create and Save Your GIF
Click "Create GIF" to generate the GIF. Once processed, download the GIF to your device or save it directly to Dropbox.
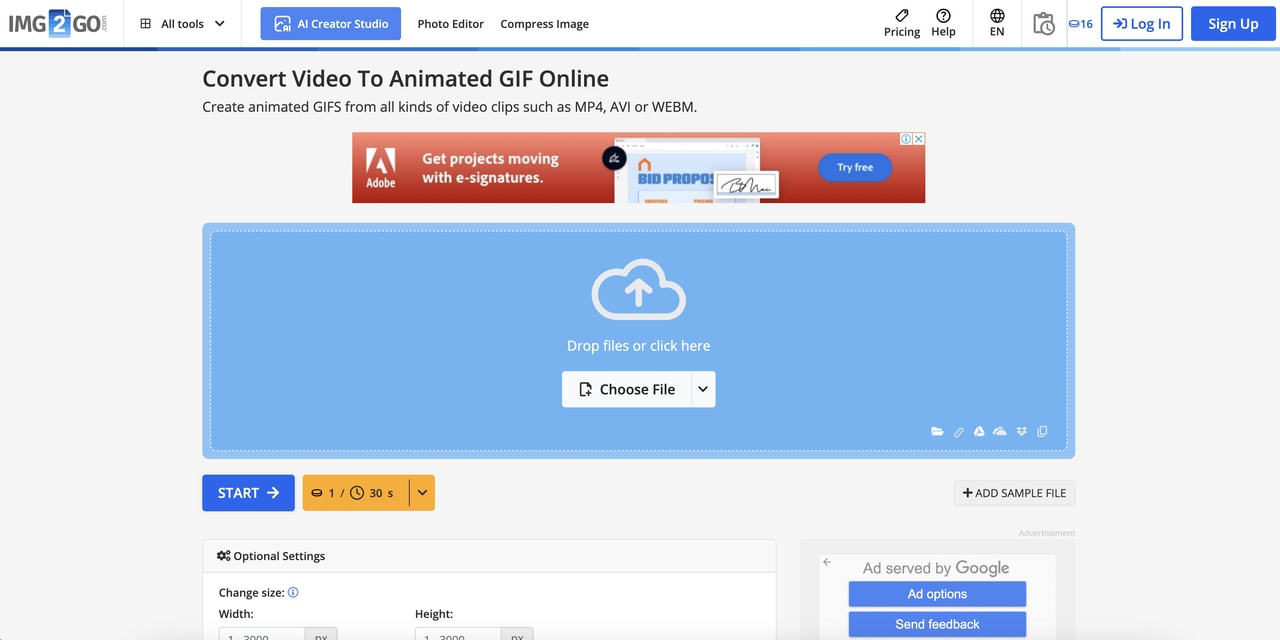
3. IMG2Go
IMG2Go is an easy-to-use online platform that allows you to convert YouTube videos into GIFs. With its straightforward interface, you can upload a video URL, customize the start and end points, and adjust the output quality of your GIF. It also allows you to resize and crop your GIF, making it a versatile tool for creating GIFs for various platforms.
Key Feature:
- Batch Processing: Convert multiple video clips into GIFs simultaneously to save time.
- Custom Frame Selection: Fine-tune exactly which frames to include in the GIF for better results.
- Cloud-Based Convenience: No downloads needed, work directly from your browser.
- GIF Editing Tools: Resize, crop, and adjust GIF speed after conversion for full customization.
- Output Quality Control: Choose the resolution and quality of the GIF for tailored file size and clarity.
Pros & Cons:
Step Guide:
Step 1: Upload Your Video
Go to IMG2Go's Video to GIF Converter. Click "Choose File" to upload a video from your device, or drag and drop it directly into the upload box.
Step 2: Adjust GIF Settings
Trim the video by setting the start and end times to select the desired segment for the GIF. Optionally, adjust the frame rate and add text or effects to customize the GIF.
Step 3: Convert and Download
Click "Start" to convert the video into a GIF. Once the conversion is complete, download the GIF to your device.
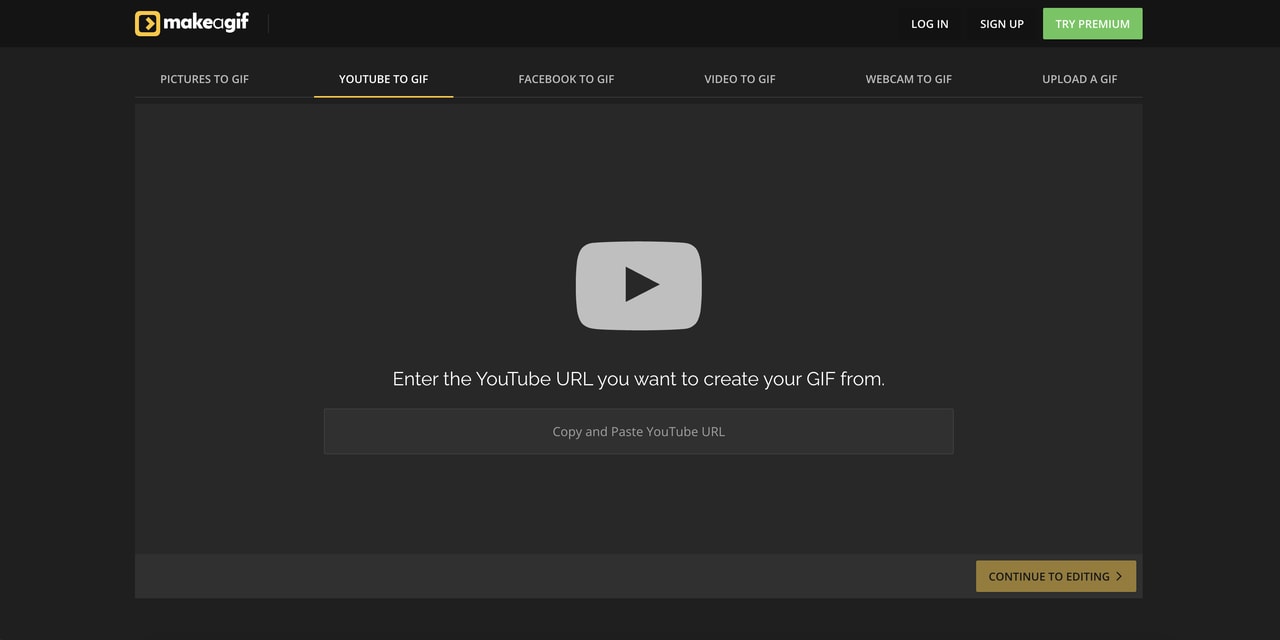
4. makeagif
MakeAGif is a popular and simple tool for creating GIFs from YouTube videos. By pasting a YouTube video URL, users can trim the clip to select the desired part, add text, and adjust the frame rate. MakeAGif makes it easy to share GIFs directly on social media platforms and is perfect for creating reaction GIFs or memes from YouTube clips.
Key Feature:
- GIF Preview Before Download: Preview your GIF before saving or sharing to ensure it meets your expectations.
- Create GIFs from Other Sources: Besides YouTube videos, you can create GIFs from images, webcam recordings, and other sources.
- Advanced GIF Options: Set the number of loops, duration, and speed for the perfect GIF.
- Customizable Duration: Adjust the video’s clip length to choose the exact time you want the GIF to represent.
- Social Media-Ready: Directly share your GIF to popular platforms like Twitter, Facebook, or Instagram.
Pros & Cons:
Step Guide:
Step 1: Upload Your Video
Navigate to MakeAGif's Video to GIF page. Click "Choose File" to upload a video from your device, or paste a YouTube or Facebook video URL to import directly.
Step 2: Customize Your GIF
Trim the video by setting the start and end times to select the desired segment. Add captions, stickers, or effects to personalize your GIF.
Step 3: Create and Share Your GIF
Click "Create GIF" to generate your animated image. Once created, download the GIF to your device or share it directly on social media platforms.
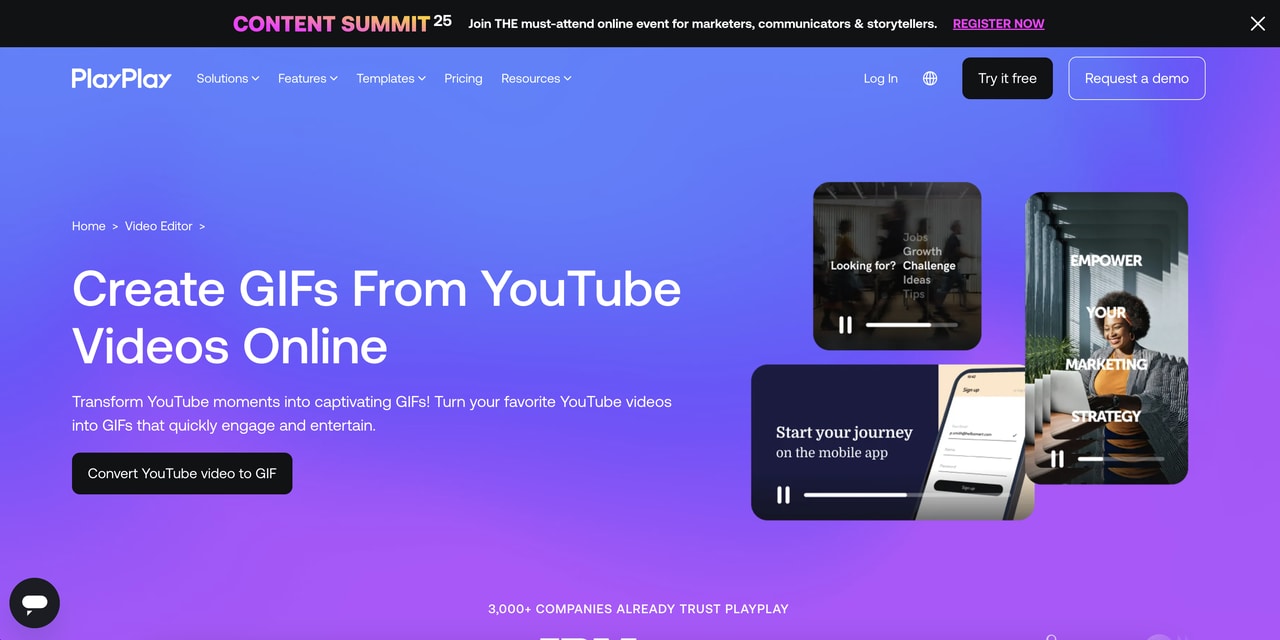
5.PlayPlay
PlayPlay is an online video editing tool that allows users to convert YouTube videos into GIFs. It provides an intuitive user interface, making it easy to trim, edit, and export GIFs with a variety of customization options. The tool also includes the ability to add text overlays and effects to the GIFs, making it a great choice for marketing or social media content creation.
Key Feature:
- Templates for GIF Creation: Access various templates to enhance the GIF’s design or presentation before conversion.
- Multiple Resolutions and Sizes: Adjust the resolution of your GIF to optimize for social media or web use.
- Real-Time Preview: View your GIF in real-time as you edit to make sure it meets your needs before downloading.
- Customization Options for Text and Stickers: Add text, stickers, or other elements to enhance the GIF.
- Cloud-Based with No Downloads Required: Create and store GIFs entirely in the cloud without needing additional software.
Pros & Cons:
Step Guide:
Step 1: Upload Your Video
Navigate to PlayPlay's GIF creation tool. Log in to your PlayPlay account and start a new video project. Upload your video by selecting it from your files or dragging and dropping it into the platform.
Step 2: Edit and Customize Your GIF
Trim your video to capture the desired segment for your GIF. Resize the video and choose the appropriate format for your intended use. Enhance your GIF by adding text, emojis, stickers, and other dynamic elements.
Step 3: Export and Share Your GIF
Once your GIF is ready, download it in GIF format. Share your GIF across various platforms, including social media, websites, or internal communications.
Easy to Use Versatile Video to GIF Covnerter
Part 3: Limitations of Online Tools
While online tools for converting YouTube videos to animated GIFs are convenient and free, they do come with some limitations. These tools often have certain restrictions that can affect your GIF creation experience. Here are the key limitations to consider when using online tools to make a YouTube video a GIF:
File Size Limits
Most free online tools have strict file size limits, which can be a challenge when turning a YouTube video into a GIF with high resolution or long duration. Larger files may either not be supported or take longer to process.
Limited Customization Options
While some online tools provide basic features to convert YouTube video to animated GIF, they often lack advanced editing tools for detailed customization, such as precise control over frame rates, resolution, or quality adjustments.
Slower Conversion Speeds
Online GIF converters can sometimes be slow, especially when converting video to animated GIF from long YouTube clips. This can be frustrating when you need quick results, especially if you are working with large or high-quality videos.
Watermarks on Free Versions
Many online GIF makers, such as MakeAGif, add watermarks to your final GIF when using their free version. If you want to remove the watermark, you often need to upgrade to a paid plan, which may not always be desirable.
Dependence on Internet Connection
Because these tools are cloud-based, a stable internet connection is required to create animated GIF from YouTube video. If your connection is slow or unreliable, the GIF creation process may be interrupted or delayed.
Part 4: Advanced Optional Tools for Better GIF Conversion
While online tools are convenient, they often come with limitations like slow speeds, watermarks, or restricted customization options. For those who need more advanced control over their GIF creation process, desktop tools offer a powerful alternative. These tools allow for higher quality, faster conversion, and more customization to achieve the perfect animated GIF. Here's why desktop tools may be the better choice for professional-level GIF conversion:
Benefits of Using Desktop Tools:
Higher Quality GIFs
Desktop software allows for high-quality GIF creation with minimal loss of resolution, ensuring that your GIFs look clear and smooth, even for high-definition videos.
Faster Processing
Since desktop tools don’t rely on internet speed, they typically provide faster processing, especially when working with large video files. This can save time compared to online tools, where uploading and converting can be slow.
Full Control Over Customization
With desktop tools, you have greater flexibility in adjusting the resolution, frame rate, size, and even the specific frames that you want to include in your GIF. This ensures a more personalized and professional result.
Batch Processing
Many desktop tools support batch processing, allowing you to convert multiple videos into GIFs at once, which is a huge time-saver.
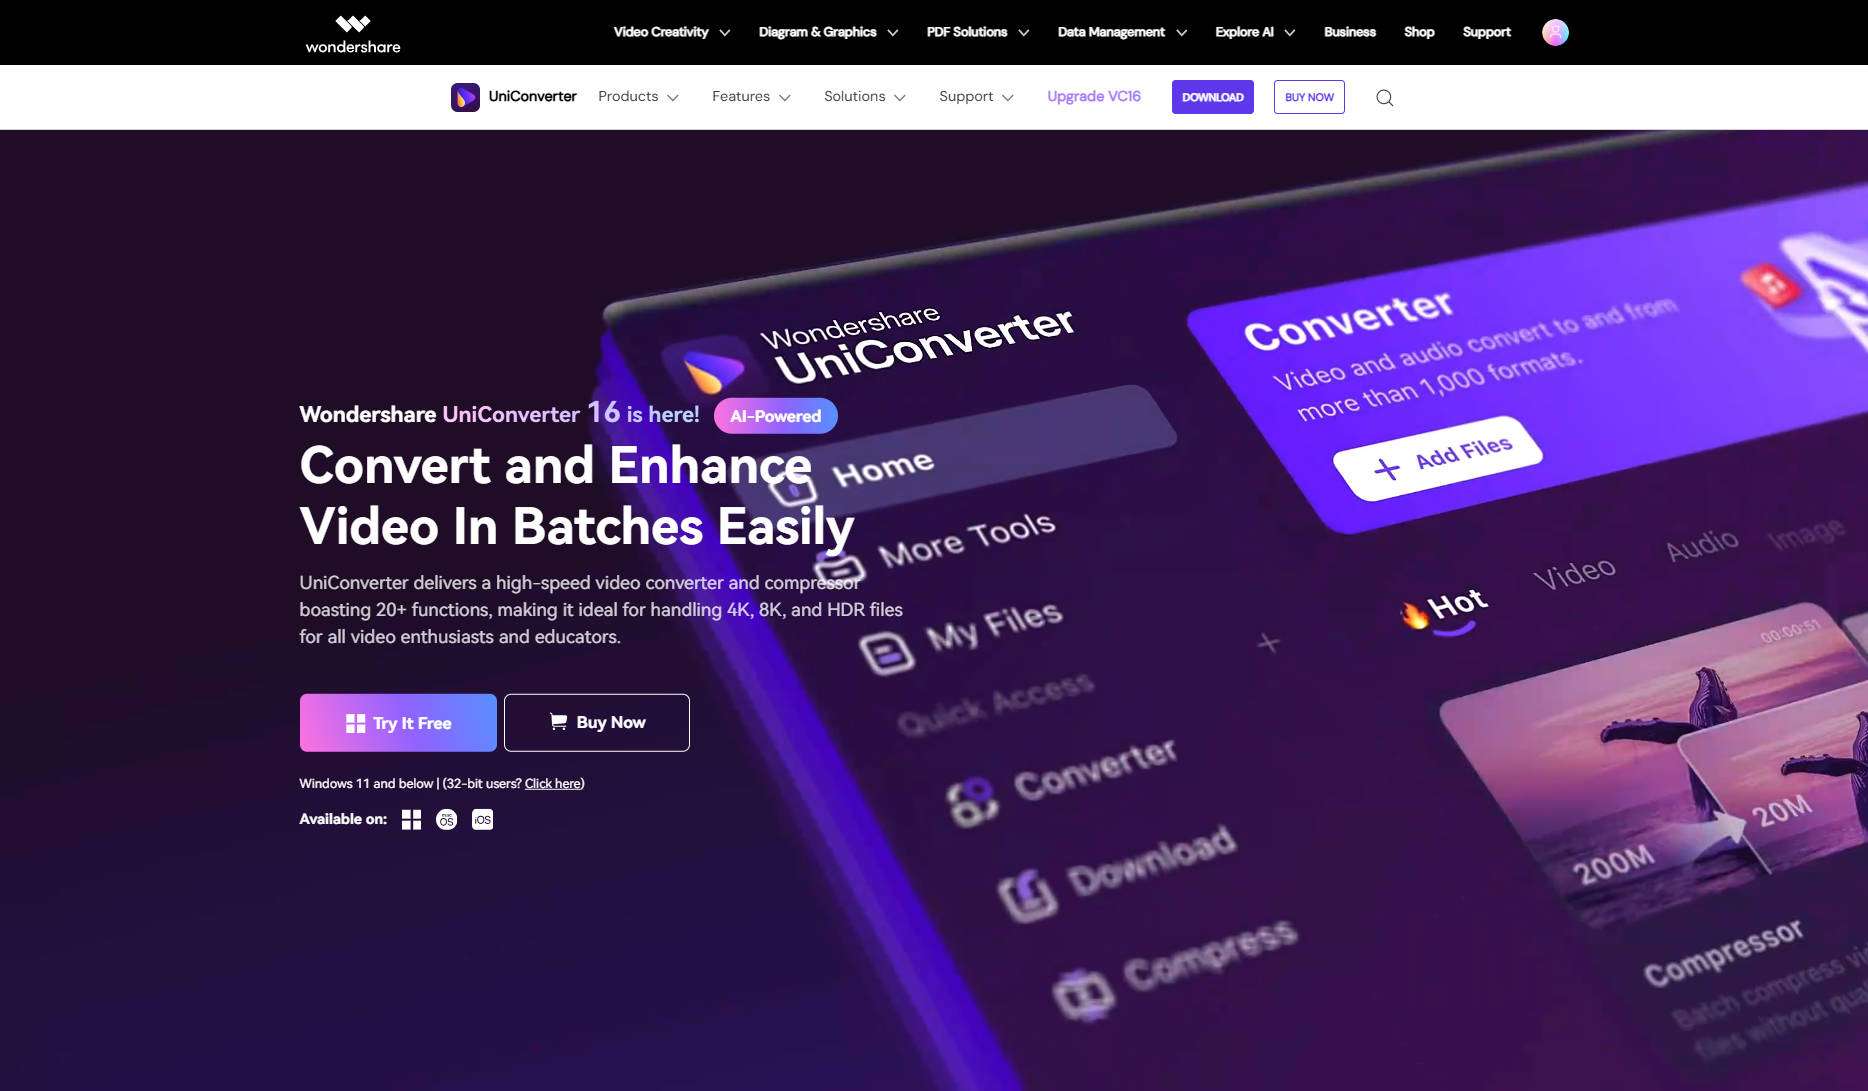
1.UniConverter:: All-in-One GIF Conversion Tool
UniConverter is a powerful all-in-one multimedia tool that allows you to convert videos into high-quality GIFs effortlessly. With support for a wide range of video formats, it ensures seamless conversions without compromising on quality. UniConverter offers batch processing, customizable output settings, and an easy-to-use interface, making it perfect for both beginners and professionals. Whether you need to convert a YouTube video into a GIF or turn multiple files into GIFs at once, UniConverter provides an efficient solution for all your needs.
Key Features:
- Wide Format Support: UniConverter supports a broad range of video formats (MP4, MOV, AVI, MPEG, and more) for conversion to GIFs, ensuring compatibility with most video files.
- Batch Processing: The tool allows you to convert multiple videos to GIFs at once, making it perfect for users who need to process several files simultaneously.
- Customizable Settings: Users can adjust the resolution, frame rate, and file size of the GIFs to suit their needs, ensuring that the final product meets quality and performance requirements.
- High-Quality Conversion: UniConverter ensures high-quality GIF output with minimal loss of visual fidelity, delivering clear, smooth, and professional GIFs.
- Built-In Video Editing Tools: In addition to GIF conversion, UniConverter offers basic video editing features such as trimming, cropping, and adding effects before converting the video to GIF, allowing for a more customized result.
Easy to Use Versatile Video to GIF Covnerter
Pros & Cons:
Step Guide:
Step 1
Go to the official UniConverter website and download the installer for your system (Windows or Mac). Run the setup file and follow the installation instructions to complete the installation. Once done, open the software to start using it.

Step 2
Click on the "Add Files" button in the main interface. Select the video file you want to convert into a GIF from your computer and upload it to the software.

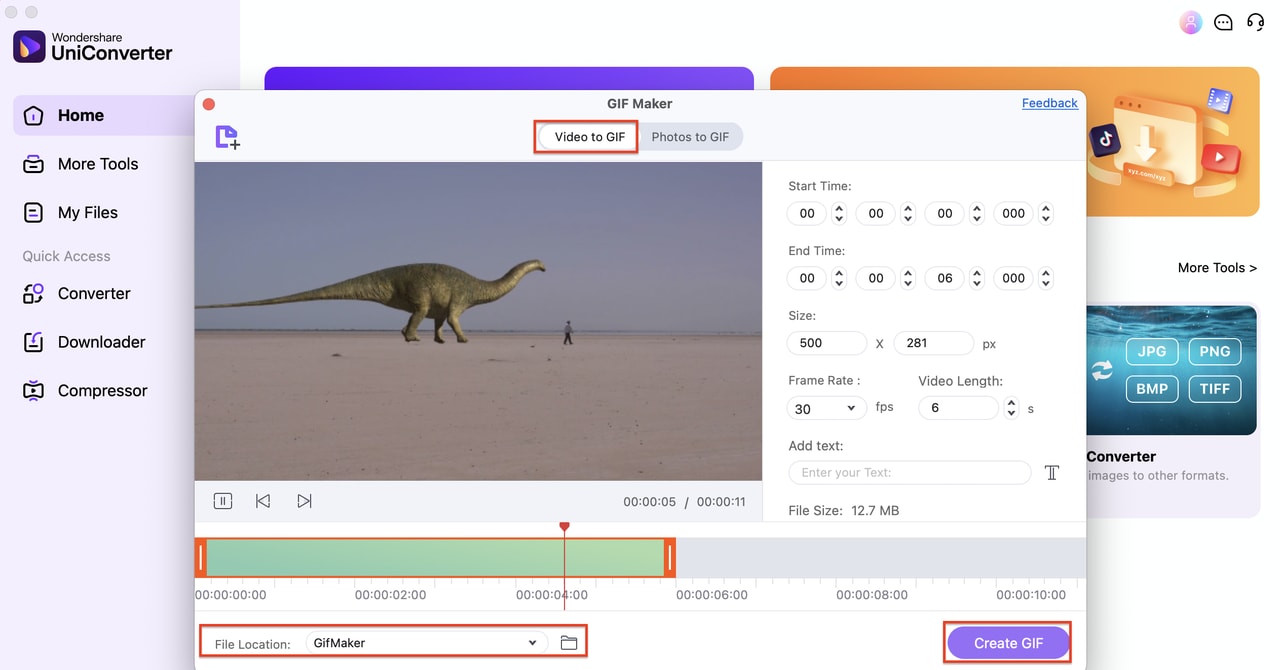
Step 3
Select "GIF" as the output format from the list of available options. Adjust the settings like resolution, frame rate, and size to your preference. Then click the "Create GIF" button to start the conversion. Once finished, it will be saved in the specified location in the folder.
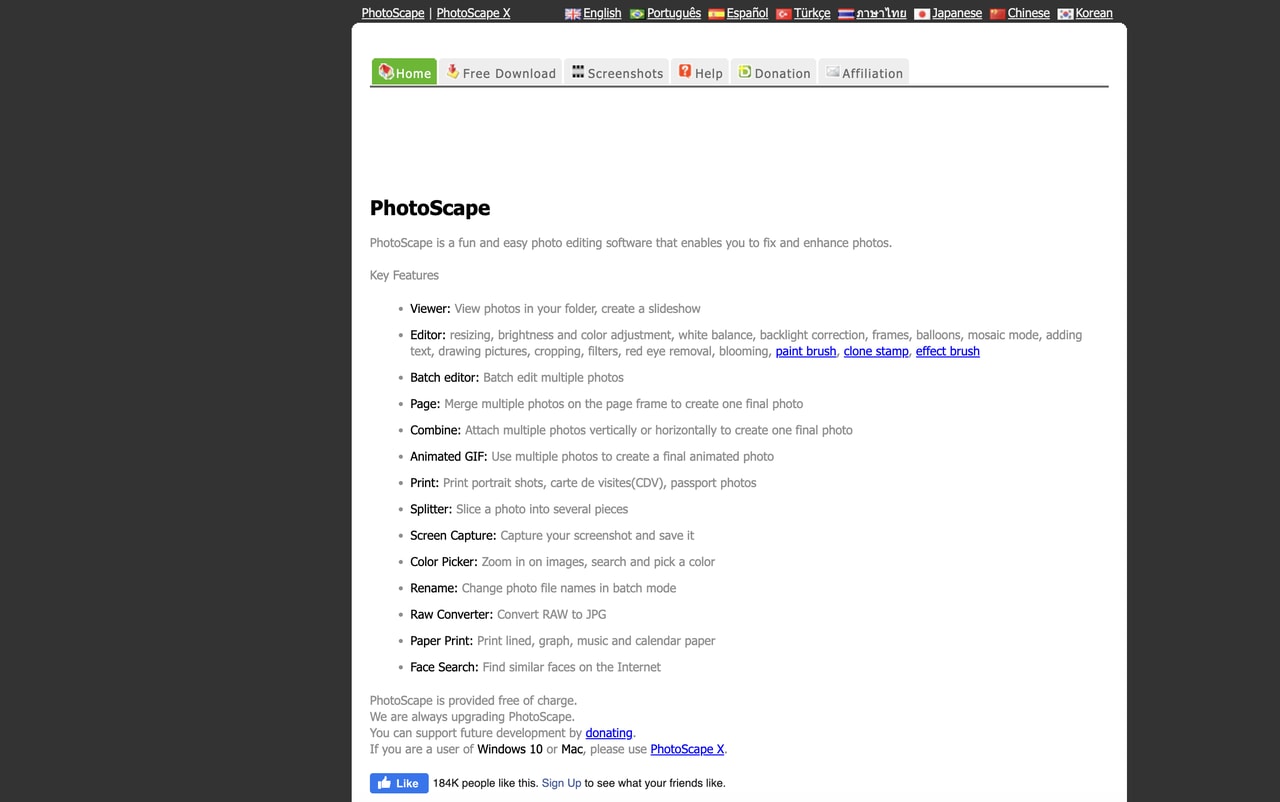
2. Photoscape: Simple and Effective GIF Maker
Photoscape is a free and easy-to-use image and video editing tool that also allows you to create GIFs from videos. With its simple interface, Photoscape makes it easy for beginners to generate GIFs by importing video clips or image sequences. It also offers basic editing features like resizing, cropping, and adjusting frame delays, giving users control over their GIF creation. Photoscape is a great choice for those looking for a straightforward and cost-effective way to create GIFs quickly.
Key Features:
- User-Friendly Interface: Photoscape’s intuitive interface allows even beginners to easily create GIFs from videos with minimal effort.
- GIF Creation from Videos and Images: The tool supports creating GIFs from both videos and image sequences, providing versatility for different types of GIF creation.
- Basic Editing Tools: Photoscape offers basic editing features like resizing, cropping, and adjusting frame delays, allowing users to customize their GIFs easily.
- Batch Processing: The tool supports batch processing, enabling users to create multiple GIFs from a sequence of images or videos at once, saving time.
- Free and Easy to Use: Photoscape is completely free to use with no hidden charges or watermarks, making it an excellent option for users looking for a simple and cost-effective GIF maker.
Pros & Cons:
Step Guide:
Step 1: Install Photoscape
Download and install Photoscape from the official website on your PC. Once installed, launch the program.
Step 2: Import Video or Image Sequence
Open Photoscape, navigate to the "GIF" tab, and click "Add Files" to upload your video or image sequence. You can choose a specific part of the video to convert.
Step 3: Customize and Export
Adjust the frame delay, add effects or resize the GIF as needed. Once you're satisfied with the result, click "Save As" to export the final GIF.
3.GIMP: A Powerful Free Tool for Advanced GIF Creation
GIMP is a powerful, open-source image editing tool that also supports GIF creation. Known for its advanced editing features, GIMP allows users to manipulate each frame of a GIF in great detail, offering full control over the final result. While it has a steeper learning curve, it provides extensive customization options, making it ideal for advanced users. GIMP is free to use and compatible with various operating systems, making it a versatile option for professional-level GIF creation.
Key Features:
- Advanced Image Editing Tools: GIMP is known for its powerful image manipulation capabilities, allowing users to create highly customized GIFs by editing each frame in detail.
- Layer Support for GIF Animation: GIMP allows users to work with layers, which is essential for creating complex GIFs that involve multiple frames or require detailed adjustments.
- Customizable Frame Timing: Users can set specific timing for each frame, ensuring precise control over the animation’s speed and overall flow.
- Extensive Plugin Support: GIMP supports a variety of plugins, making it highly extendable and allowing users to enhance their GIF creation process with additional features.
- Free and Open-Source: GIMP is free and open-source software, which makes it accessible for anyone and allows for continuous updates and improvements from the user community.
Pros & Cons:
Step Guide:
Step 1: Install GIMP and Necessary Plugins
Download and install GIMP from the official website. To create GIFs from videos, you may need to install additional plugins such as FFmpeg to import video files.
Step 2: Import Video Frames
Convert your video to individual frames using a plugin or an external tool. Import these frames into GIMP as layers by selecting "Open as Layers" from the File menu.
Step 3: Customize and Export
Use GIMP's animation tools to adjust frame timings and optimize the GIF. Once your GIF looks good, go to "File" > "Export As" and choose the GIF format to save your creation.
Easy to Use Versatile Video to GIF Covnerter
Conclusion
Converting YouTube videos into GIFs is a great way to capture memorable moments or reactions for sharing on social media or in presentations. Online tools like GifRun, Media.io, and IMG2Go provide quick and easy solutions to create GIFs directly from YouTube videos without the need for additional software. However, if you're looking for higher quality and more customization, desktop tools like UniConverter offer better control, allowing for batch processing and advanced editing features. UniConverter not only simplifies video-to-GIF conversions but also provides additional features like an AI Image Enhancer, which can help enhance the quality of your GIFs for a more polished look.
FAQs
-
1. Do online tools support all video formats?
Most online GIF makers support popular formats like MP4, MOV, and AVI, but some might have restrictions. -
2. Can I create GIFs from YouTube shorts?
Yes, you can convert YouTube Shorts into GIFs using tools like Media.io and GifRun, as long as you can access the video URL. -
3. Can I add effects or filters to my GIFs?
Yes, some tools like Picsart and PlayPlay allow you to add effects, filters, or stickers to your GIFs for enhanced visuals. -
4. How can I ensure the best quality for my GIF?
To get the best quality, ensure you are using high-resolution video and adjust settings like resolution and frame rate before converting the video into a GIF.

