

Editing subtitles shouldn't feel like a chore, yet so many creators discover their captions are out of sync, messy, or flat-out wrong after hours of hard work. That's where smarter caption editors like modern edit caption solutions come in—designed to save time, boost accuracy, and make your videos shine. In today's fast-paced digital world, where 85% of businesses utilize video as a key marketing tool, professional captions are no longer optional—they're your key to engagement, accessibility, and growth.
Whether you're a YouTuber, trainer, or social media creator, the right caption editor or caption tool lets you edit video caption tracks, polish and edit SRT file content, and even create scroll-stopping video editing captions for Instagram. Ready to level up? Let's dive in.
Table of Contents
Part 1: Key Features to Look For in a Caption Editor
Choosing the right caption tool requires understanding which features truly impact your workflow and final video quality. While flashy interfaces might catch your eye, these fundamental capabilities separate exceptional tools from mediocre ones.
Accuracy of Auto-Generation
The foundation of any good caption editor is its ability to transcribe speech accurately. Look for tools utilizing advanced AI models, such as OpenAI's Whisper, which deliver accuracy rates of 95% or higher. This minimizes manual correction time, especially important when you need to edit caption files for lengthy content. The best tools also recognize multiple speakers, handle various accents, and filter background noise effectively.
Editing Interface & Workflow
An intuitive editing interface should provide a visual timeline with video preview, waveform visualization, and straightforward text manipulation. This combination allows you to watch your video while editing subtitles and adjusting timing simultaneously. Look for features like ripple editing (which automatically adjusts subsequent captions when you make changes) and keyboard shortcuts for faster workflow.
Format Support & Compatibility
Your caption editor should support importing and exporting all major subtitle formats including SRT, VTT, ASS, TXT, and more. This is especially crucial if you frequently need to edit SRT files for compatibility across different platforms. Additionally, check if the tool supports various video formats in case you need to work directly within a video editor with captions functionality.
Timing & Synchronization Tools
Precise synchronization separates amateur-looking captions from professional ones. Look for tools that allow you to easily shift all timings simultaneously, adjust individual in/out points, and fix sync issues visually using waveform alignment. Some advanced tools even offer automatic synchronization when you provide a transcript.
Language Support
For global reach, your caption tool should support multiple languages for both transcription and translation. The best tools offer support for 50+ languages with accurate translation capabilities. This is essential for creators looking to expand their audience internationally without spending hours on manual translation.
Customization Options
Whether creating captions for Instagram or corporate training, customization matters. Look for tools that allow you to change font families, size, color, background, and positioning of captions. Some advanced tools even allow saving custom styles as templates for brand consistency.
Platform & Integration Considerations
Your workflow will determine whether you need an online, desktop, or mobile solution. Online caption editors offer convenience and collaboration features, while desktop software may provide more processing power for large files. If you work across multiple devices, consider tools that offer cloud synchronization. Also, check integration capabilities with your existing video editing workflow.
Pricing Models
Caption editing solutions range from completely free to enterprise-priced subscriptions. Free tools often meet basic needs but may lack advanced features. Subscription models typically offer regular updates and cloud features, while one-time purchases provide long-term value without recurring costs. Consider your volume needs—some tools charge per minute of processed video, while others offer unlimited processing.

Super Easy to Use Caption Editor
Part 2: Best 5 Caption Editors 2025
After extensive testing and research, we've identified the top five caption editors that excel in functionality, accuracy, and value. These tools represent the best options available in 2025 for various use cases and budgets.
1. UniConverter: Comprehensive All-in-One Solution

How to create and edit captions in UniConverter:
Step 1: Import Your Video into UniConverter
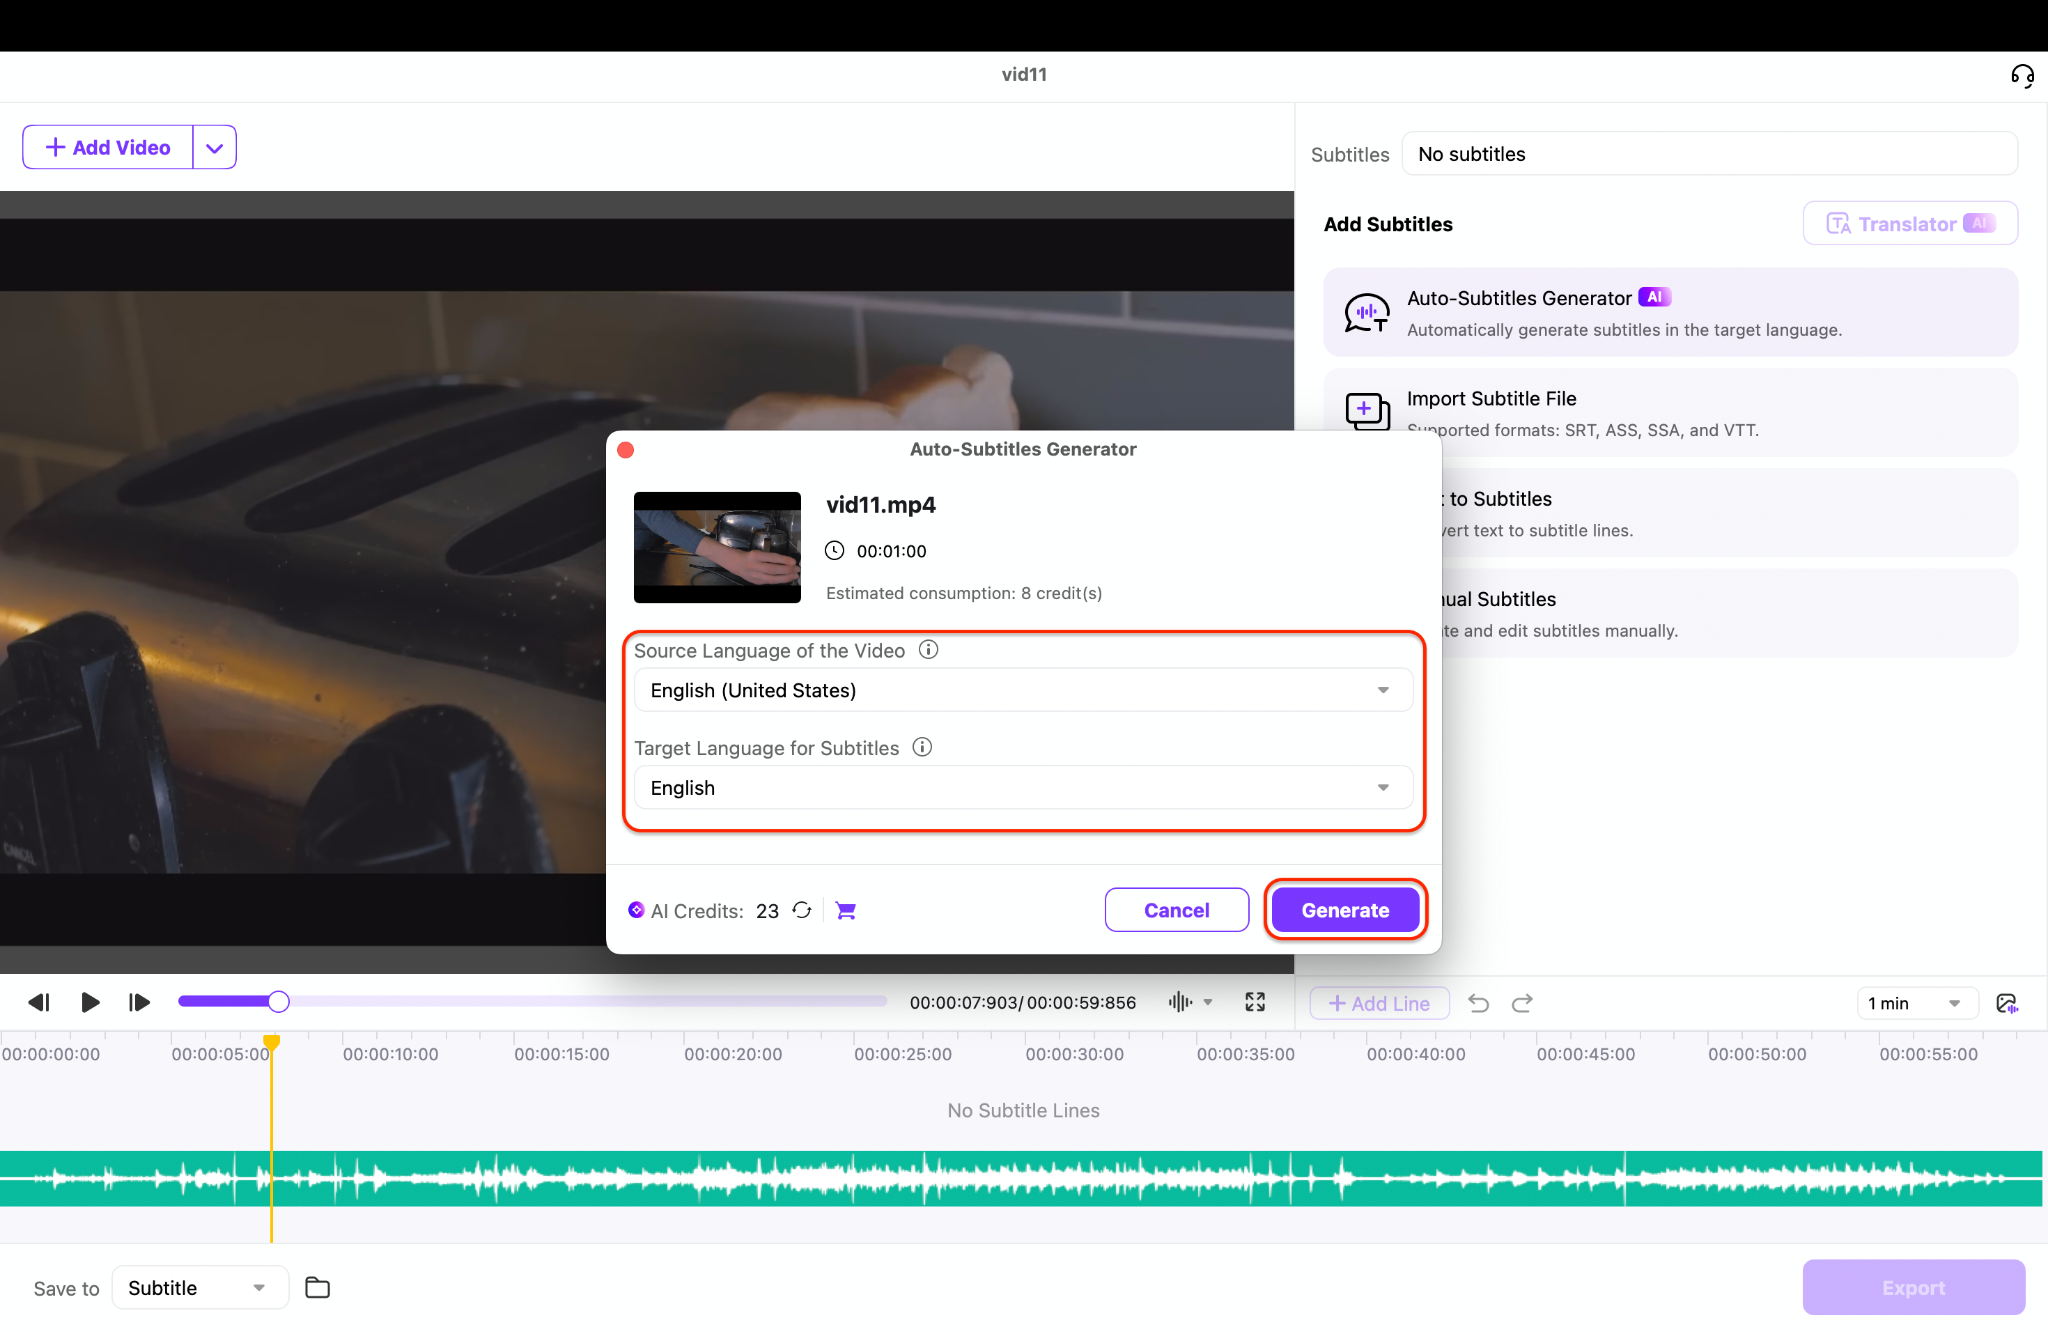
Launch UniConverter on your computer and head to the "AI Subtitle Editor" from the More Tools section. Click +Add Video or drag and drop your file directly into the workspace. Once the video is uploaded, you'll be ready to create captions seamlessly.
Step 2: Generate Captions Automatically
Set the original audio language to improve transcription accuracy before generating captions. Select the AI Auto-Subtitles Generator and click Generate to let UniConverter process your video. Within moments, captions with accurate timecodes will appear, ready for fine-tuning.
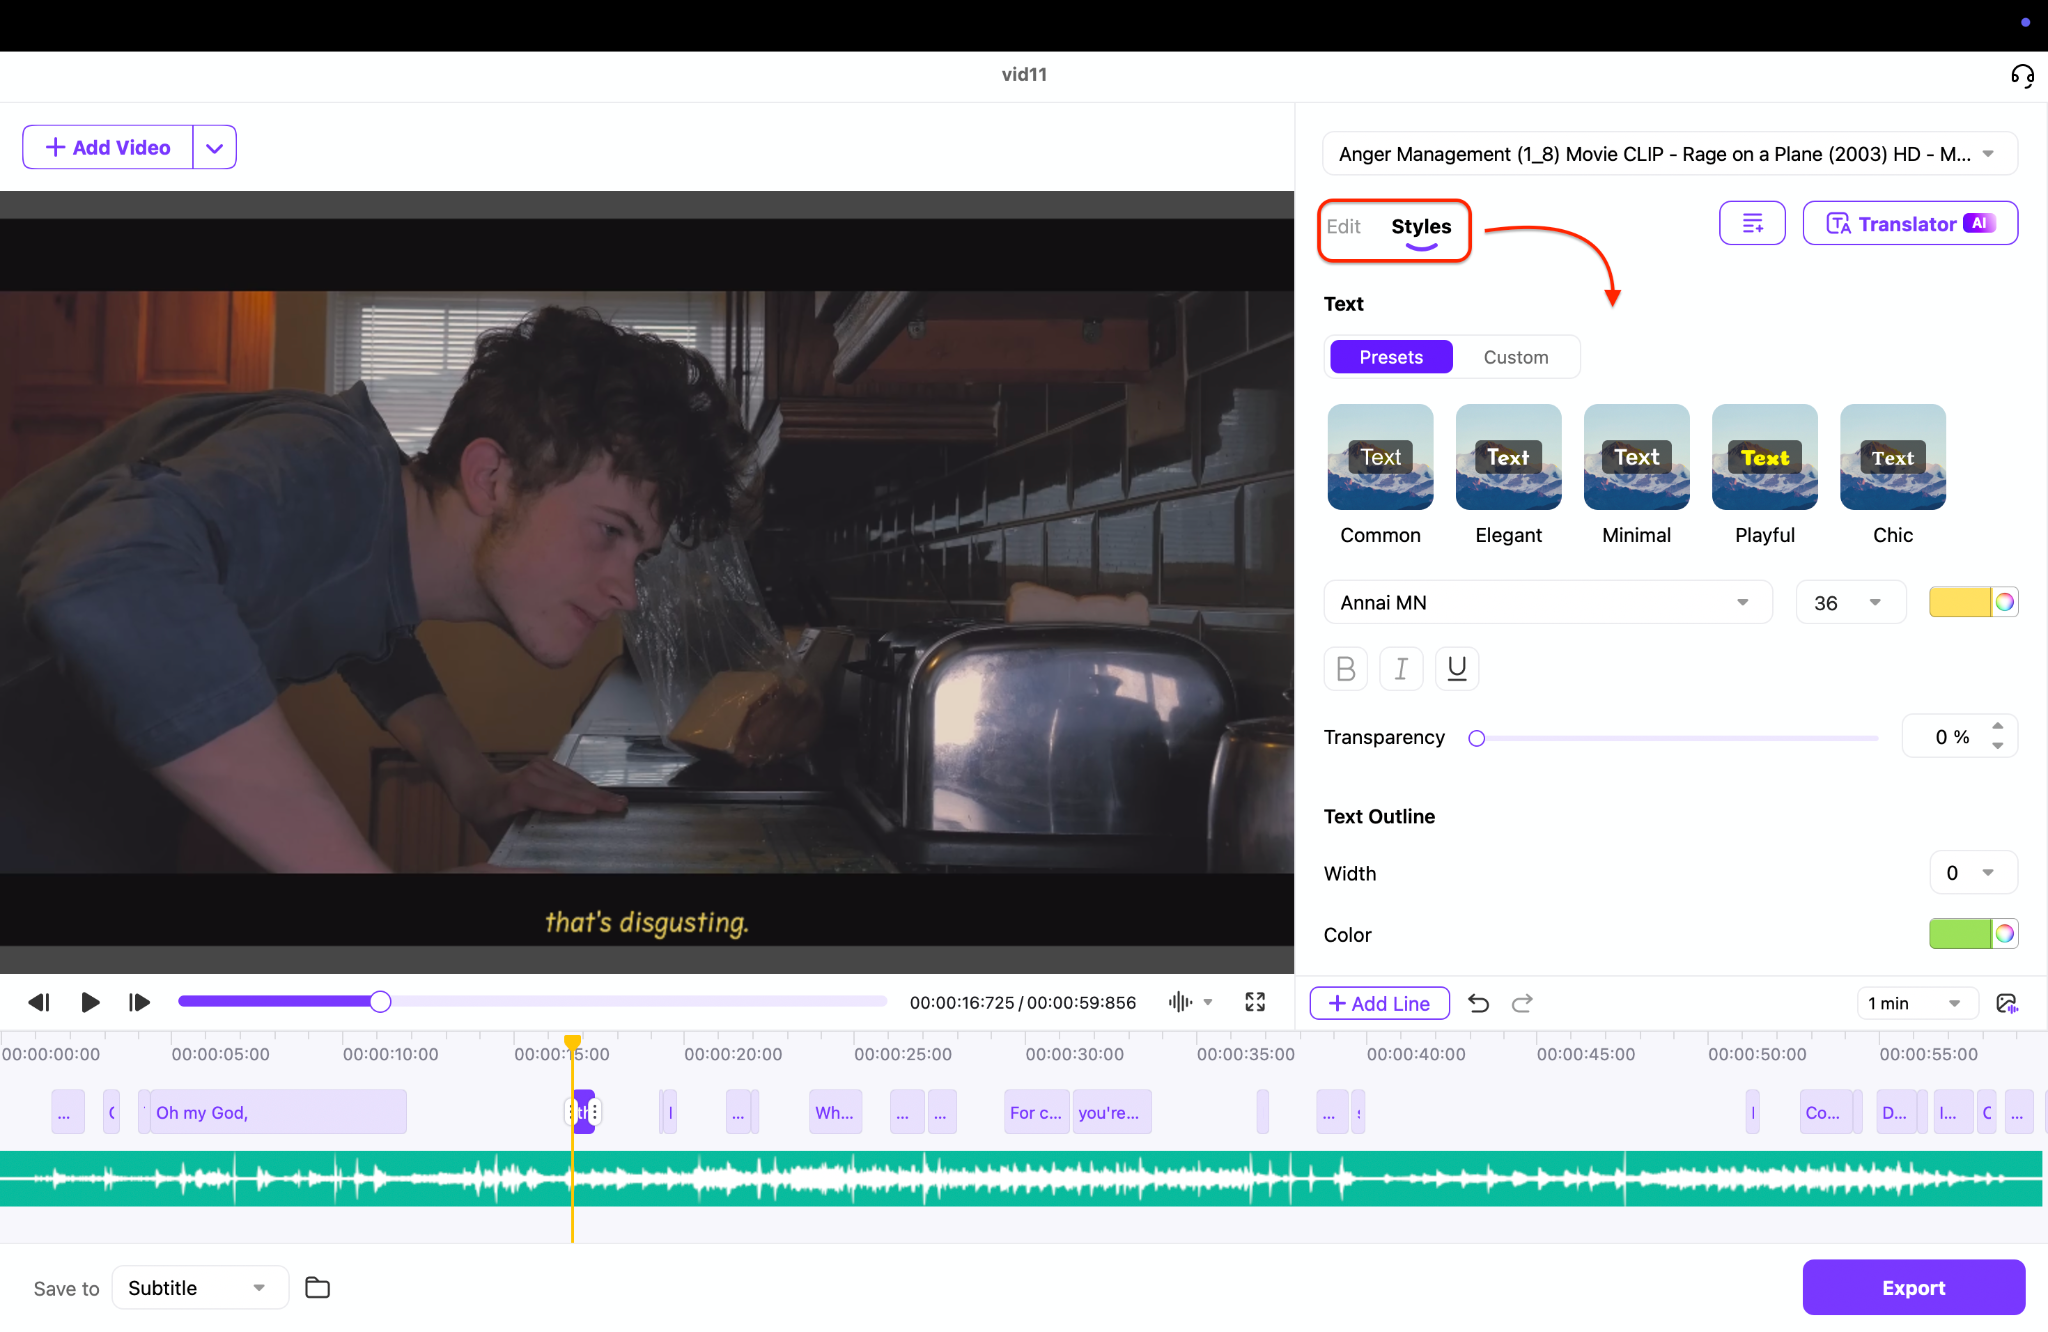
Step 3: Edit and Style Captions with the Built-in Editor
Review the generated captions in UniConverter's editing panel for any errors in text or timing. You can easily style the captions' text size, color, font, background color, and position with just a few clicks. This ensures your captions are polished and perfectly aligned with the video.
Step 3: Export Captions in Your Preferred Format
Once you're satisfied with the edits, head to the Export option at the bottom right of the window. Select your desired format, such as SRT or MP4, from the available options. Click Export to save your captions, ready to use across media players, editing software, or online platforms.
Ideal for: Content creators who need a comprehensive solution for both video editing and professional caption creation.
2. Subtitle Edit: Powerful Free Option
How to use Subtitle Edit:
Step 1: Load Your Video and Subtitle File
Open Subtitle Edit and start by importing your video. You can also load an existing subtitle file (such as SRT or VTT) or create new captions using the built-in auto-transcribe feature. Having both video and subtitles visible ensures you can work with proper context from the start.
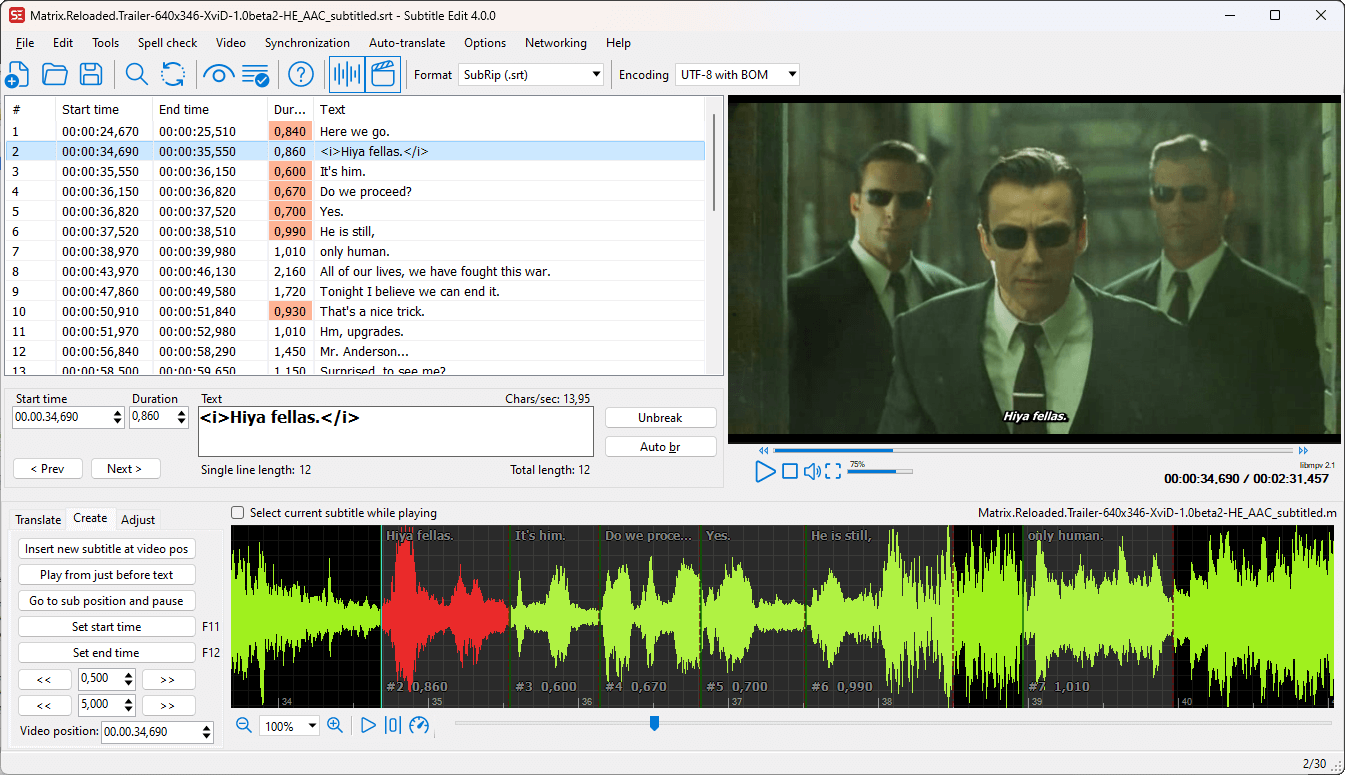
Step 2: Adjust Timing and Text
Use Subtitle Edit's visual synchronization tools and waveform display to align captions with the audio. You can shift all timings at once or fine-tune individual lines by editing their in/out points. If needed, manually adjust the time codes in the list view to achieve frame-perfect synchronization.
Step 3: Export Your Finished Subtitles
Once everything looks correct, export your subtitles in the desired format—SRT, VTT, or one of the over 200 supported formats. Subtitle Edit also allows you to customize encoding and formatting settings for compatibility with different platforms. Save your work, and your subtitles are ready for use.
Ideal for: Budget-conscious users who need advanced features and don't mind a slightly steeper learning curve.
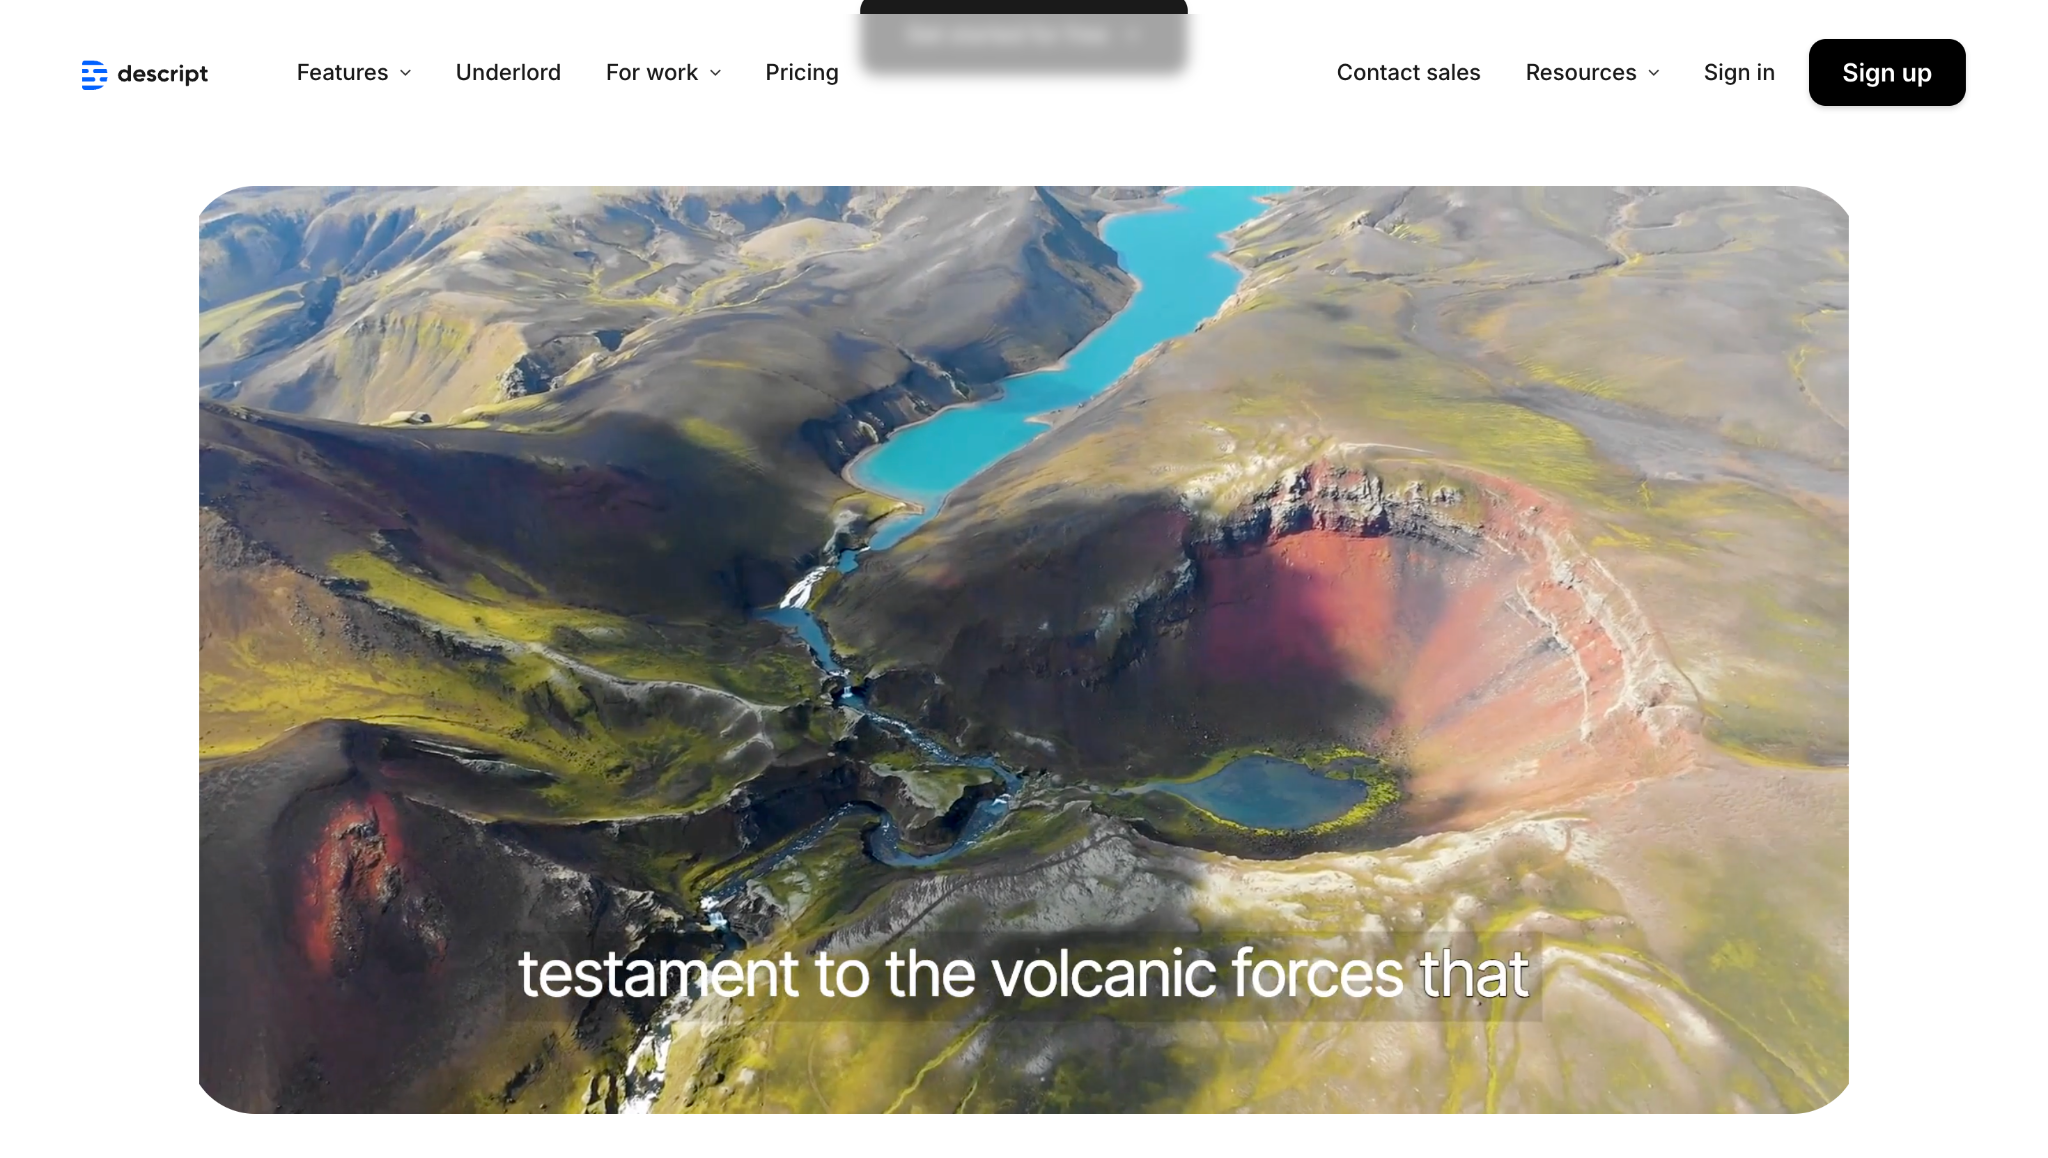
3. Descript: Transcription-First Approach
How to use Descript for captioning:
Step 1: Upload Your Video and Generate Transcription
Start by creating a new project in Descript and uploading your video file. The software will automatically transcribe the audio content into text using its AI engine. This saves hours of manual typing and provides an immediate starting point for editing subtitles, with timecodes already in place.
Step 2: Edit Captions Through the Transcript
Once the transcript is ready, you can edit it just as you would a Word document. Delete, correct, or rearrange words, and Descript will automatically adjust the timing of captions to match your edits. This text-first approach makes it easier for beginners and professionals alike to keep captions accurate and synchronized.
Step 3: Customize and Export Your Captions
After refining your transcript, head to the subtitle settings to style your captions. You can adjust fonts, sizes, colors, and placement to match your brand or platform requirements. Finally, export the project—either as a video with burned-in captions or as a separate subtitle file (SRT, VTT, etc.) for flexible use across platforms.
Ideal for: Podcasters, interviewers, and anyone who prefers working with text-based editing.
Super Easy to Use Caption Editor
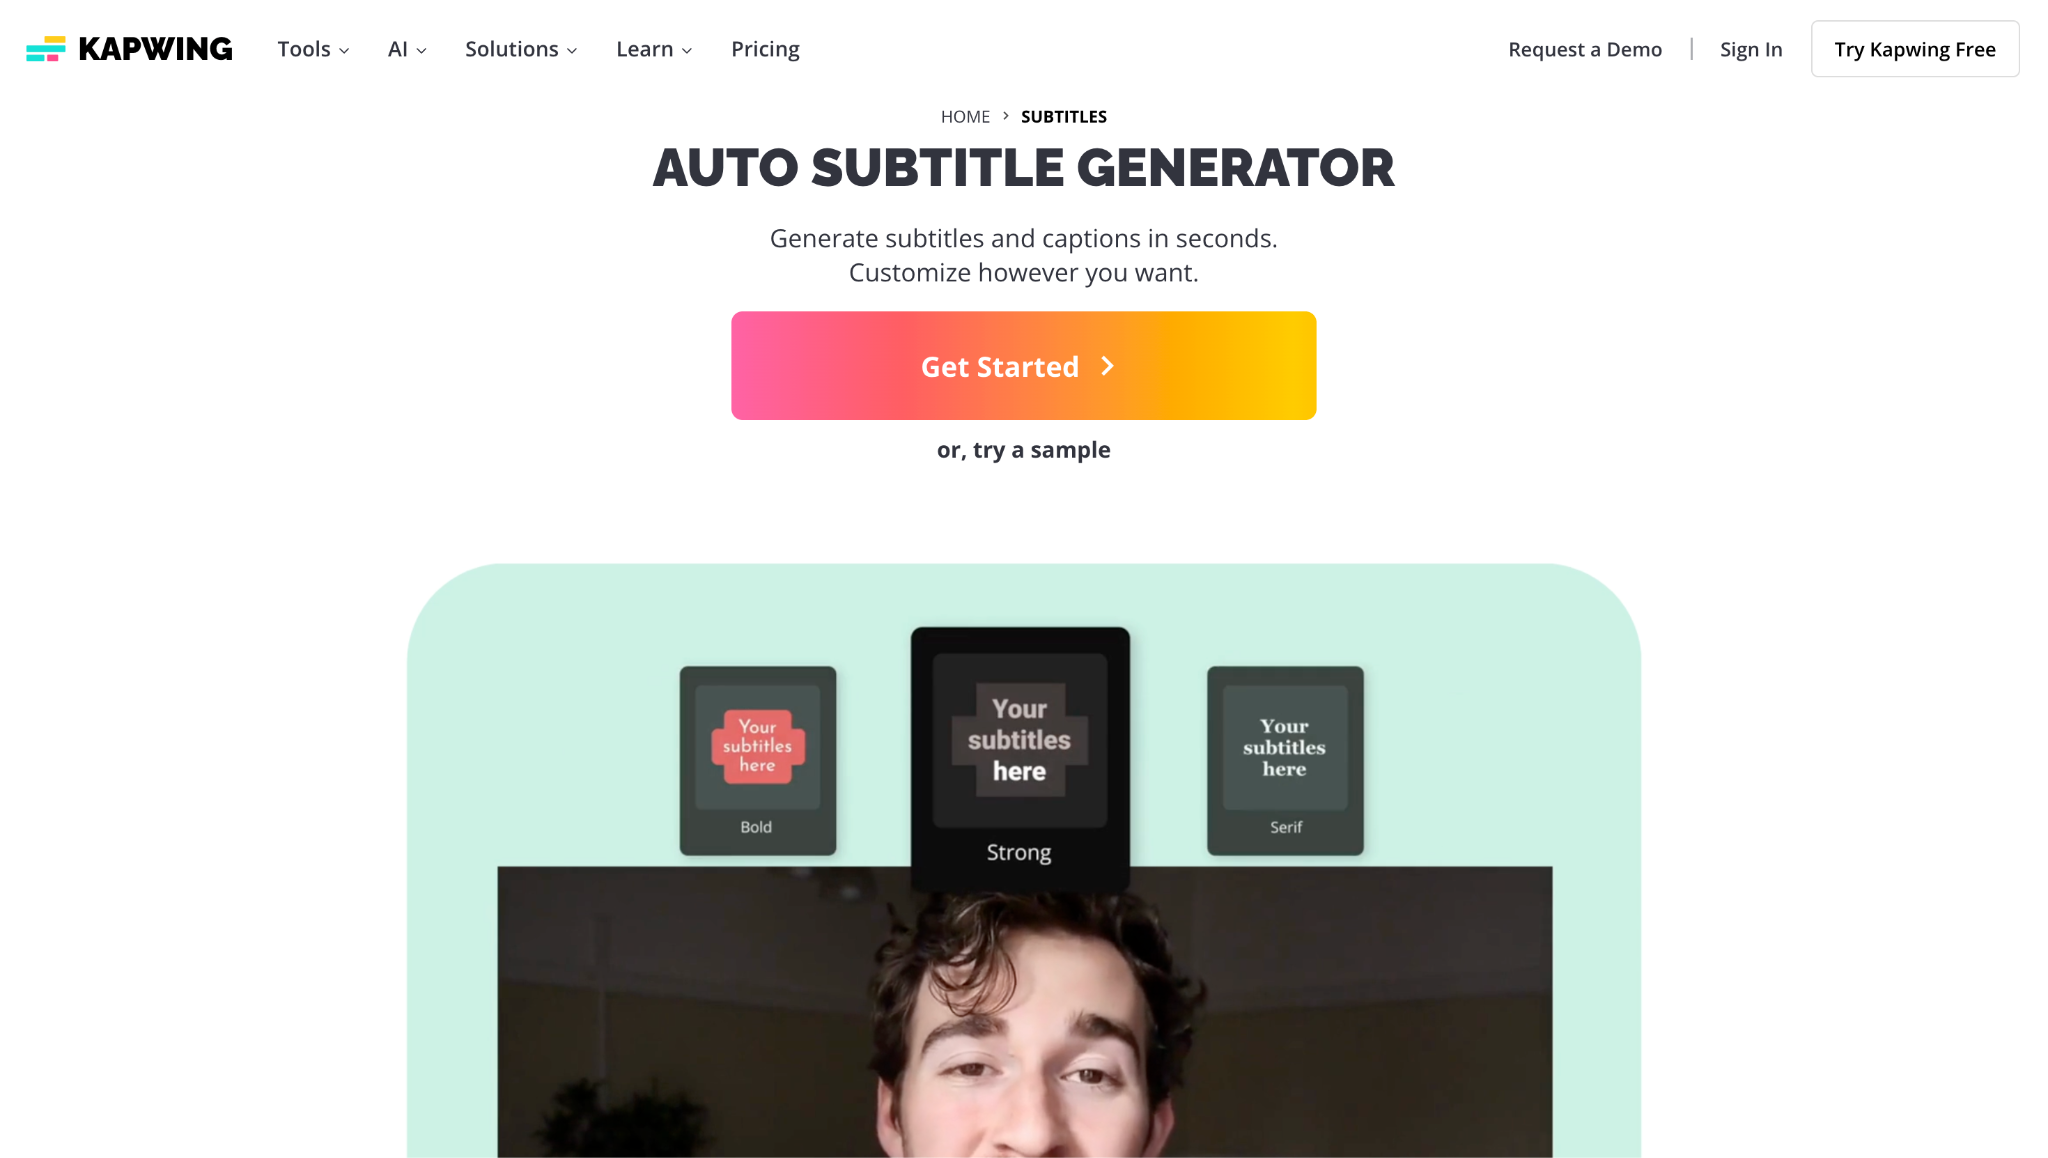
4. Kapwing: Online Collaborative Editor
How to use Kapwing for captions:
Step 1: Upload Your Video to Kapwing
Head over to Kapwing's online workspace and start by creating a new project. Upload your video file directly from your computer, cloud storage, or even paste a URL link. Once the video loads, navigate to the Subtitles tool from the left-hand menu to begin working on your captions.
Step 2: Generate and Edit Captions
Use Kapwing's auto-transcribe feature to generate captions for your video automatically. The tool will detect spoken words and align them with the timeline. Play through the video while reviewing the text, then make edits to fix any errors, adjust timing, or rephrase sentences for clarity.
Step 3: Customize and Export Your Captions
Once your text is polished, head to the style options to customize the look of your captions. You can choose fonts, colors, backgrounds, or even animated templates to match your brand. When everything looks good, export either the video with burned-in captions or download the subtitle file separately for other platforms.
Ideal for: Social media managers, collaborative teams, and creators who need quick, stylish captions for online content.
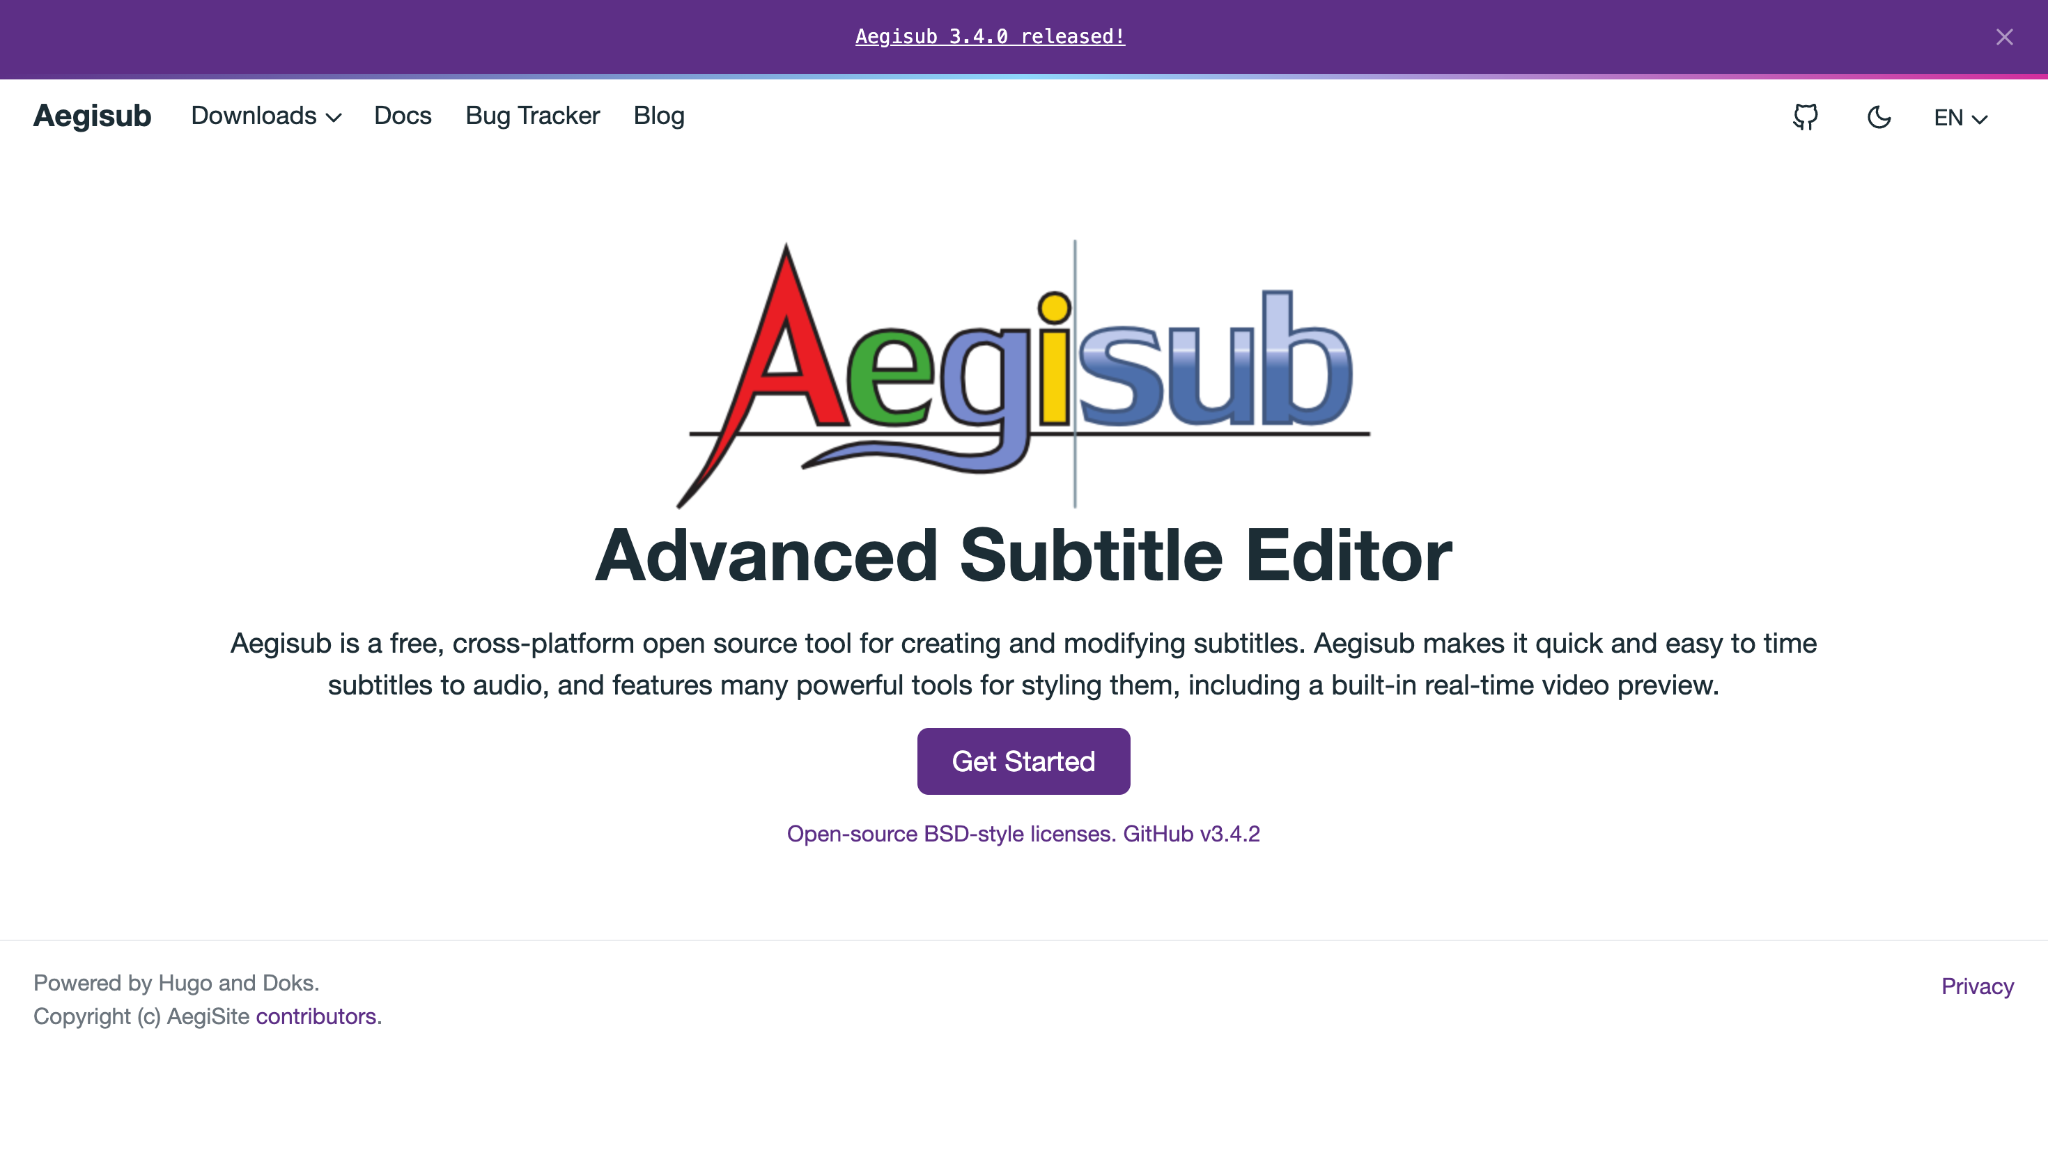
5. Aegisub: Advanced Customization Platform
How to use Aegisub:
Step 1: Import Your Video and Set Up Captions
Start by opening Aegisub and importing your video along with any existing subtitle file. If you don't have one, you can easily create new captions from scratch within the editor. The interface provides both a video preview and an audio waveform, which helps keep everything organized from the start.
Step 2: Time Your Captions Accurately
Use the audio waveform display and visual timing tools to place captions with frame-level precision. You can set exact in-and-out points for each subtitle, ensuring the text aligns perfectly with the dialogue and sound effects. This level of accuracy is crucial for fast-paced scenes, where even a fraction of a second can make a significant difference.
Step 3: Style and Save Your Subtitles
Open the Style Editor to customize fonts, sizes, colors, and positioning of your captions. You can also create advanced styles with shadows, outlines, and effects, then save them as templates for future projects. Once satisfied, export your subtitles in the desired format (such as ASS or SRT) and they'll be ready for use or sharing.
Ideal for: Advanced users, anime subbers, and anyone needing sophisticated subtitle styling and karaoke effects.
Part 3: Quick Comparison Table for 5 Caption Editors
This comparison table provides an at-a-glance overview of how our top five caption editors stack up against each other in key categories:
| Tool | Platform | Multi-Language Support | Supported Formats | Price |
| UniConverter | Windows, Mac, and iOS | 50+ languages | SRT, ASS, SSA, VTT, TXT | Freemium |
| Subtitle Edit | Windows | 100+ languages | 200+ formats including SRT, VTT, STL | Free |
| Descript | Web, Windows, and Mac | 22 languages | SRT, VTT, TXT | Subscription |
| Kapwing | Web-based | 50+ languages | SRT, VTT | Freemium |
| Aegisub | Windows, Mac, and Linux | Unlimited (user-added) | ASS, SSA, SRT, TXT | Free |
Part 4: Extended Knowledge: CC, OC, and Subtitle Containers
Understanding the technical aspects of captions and subtitles will help you make better decisions about which caption tool to use and how to configure your exports.
Closed Captions (CC) vs. Open Captions (OC)
Closed Captions (CC) are subtitles that can be toggled on or off by the viewer. They're typically stored as a separate data stream within video files (such as MP4 or MKV containers) or as individual files (e.g., SRT or VTT). The key advantage is flexibility—viewers can choose whether to display them and often customize the appearance to their needs. This is particularly important for accessibility purposes.
Open Captions (OC), also known as "burned-in" subtitles, are permanently embedded within the video frames. Viewers cannot turn them off and don't require exceptional support from video players. Social media platforms often prefer open captions since they're guaranteed to display correctly regardless of platform capabilities. When you use a video editor with captions to burn text directly into your video, you're creating open captions.
Subtitle Container Formats
Subtitle containers store the text and timing information for your captions. The most common formats include:
SRT (SubRip Text): The most widely supported subtitle format. SRT files are simple text documents containing numbered sequences, timecodes, and subtitle text. Their simplicity makes them ideal when you need to edit SRT file content in any basic text editor.
VTT (Web Video Text Tracks): Essentially the web standard version of SRT, with additional support for styling and HTML compatibility. VTT files are commonly used for online video platforms.
ASS/SSA (Advanced SubStation Alpha/SubStation Alpha): Advanced formats that support sophisticated styling, animations, and positioning information. These are popular in anime communities, where precise visual control is required.
XML-based formats: Professional formats, such as TTML (Timed Text Markup Language), are used in broadcast environments with extensive metadata support.
Conclusion
Choosing the right caption editor in 2025 depends on your workflow, goals, and budget. Free solutions like Subtitle Edit remain a solid choice for Windows users, while Descript stands out with its text-first innovation. Still, many creators need more than just basic editing subtitles—they want accuracy, customization, and efficiency in one place. That's where UniConverter proves its value, offering AI-powered transcription, robust style controls, and seamless export options across multiple formats. Try UniConverter today and transform how you create, edit, and manage captions.
Super Easy to Use Caption Editor
FAQs
-
1. What is the difference between editing subtitles and closed captions?
While the terms are often used interchangeably, there's a technical distinction: subtitles typically assume the viewer can hear but doesn't understand the language (providing only dialogue translation). In contrast, closed captions assume the viewer cannot hear (including both dialogue and non-speech information like "[music]" or "[door creaks]"). However, most modern caption editors can handle both use cases through styling and formatting options. -
2. Can I edit YouTube captions directly?
Yes, YouTube provides built-in tools to edit caption YouTube directly. After uploading a video, you can access the Subtitles editor in YouTube Studio to edit auto-generated captions or upload your own SRT file. However, the editing capabilities are more limited than those of dedicated caption tools like UniConverter or Kapwing, making it better suited for quick fixes than comprehensive caption work. -
3. What is the best way to edit video captions for Instagram?
For Instagram content, you'll want a caption editor that supports creating open captions (burned into the video) since Instagram doesn't support external subtitle files. Look for tools like UniConverter or Kapwing that offer stylish templates optimized for mobile viewing. The process typically involves auto-generating captions, then using the editing tools to ensure text is concise and timed adequately for Instagram's fast-paced viewing experience. -
4. Are there good options for subtitle edit for Android?
Yes, there are several quality options for subtitle edit for Android. UniConverter offers mobile apps that include basic caption editing functionality, allowing you to make quick edits on the go. Other options include Subtitle Editor - Video Caption Maker and Caption Plus, which provide dedicated mobile caption editing experiences. However, for complex projects, desktop software still generally offers more precise control. -
5. How accurate are auto caption video editor tools in 2025?
The accuracy of auto caption video editor tools has improved dramatically, with top solutions now achieving accuracy rates of 95% or higher under optimal audio conditions. Tools utilizing advanced AI models, such as OpenAI's Whisper, typically deliver the best results, especially with clear speech and minimal background noise. However, manual review and correction remain necessary for professional results, particularly with technical terminology, accents, or poor audio quality.

