Captions and subtitles are one of the best ways to make all your content accessible to a broad audience, no matter what language they speak. So if you’re a content creator, but especially if you’re making videos for deaf people on your website, working with captions helps increase audience engagement by 60%, which is huge! And it doesn’t require too much work either because we will show you how super simple it is to learn how to add subtitles in Final Cut Pro.
Part 1. How to Add Subtitles in Final Cut Pro?
Final Cut Pro is the go-to platform for MacBook users to add or create subtitles for their videos. As timecode is pre-built into the SRT file, there is no need to customize the subtitles further. Still, you can easily change the font style, such as color and size, using FCP.
The steps to add subtitles in Final Cut Pro are as follows:
- Once you open the video on Final Cut Pro, click on the File button on the Menu bar.
- Next, click on Import, and select Caption.
- There, choose your SRT subtitle file, and click on Import.
- That’s it!
Part 2. Best Subtitle Editor for Mac to Add Subtitles to Video Manually or Automatically Hassle-Free
Final Cut Pro is not only an advanced video editor, but it is only accessible to macOS users. However, if you happen to have a Windows PC, then you might be wondering you can you add or edit subtitles.
Well, the answer is pretty straightforward. Just install Wondershare UniConverter on your system, and access the Subtitle Editor to personalize the SRT subtitles, such as settings the position, opacity, and adjusting the font style.
Wondershare UniConverter — All-in-one Video Toolbox for Windows and Mac.
Best Subtitle Editor for Mac and Windows that offers manual and automatic ways to add/edit subtitles.
Put subtitles on movies to watch without any hassle.
Convert videos to 1000+ formats at 90x faster speed than online ways.
Batch Compress videos without quality loss.
Easy-to-use video editor to trim, cut, crop, add watermark, change video speed, etc.
Nice AI-based features include Watermark Editor, Smart Trimmer, Auto Reframe, Background Remover, and more.
Powerful Toolbox including GIF Maker, Image Converter, CD Burner, Fix Media Metadata, etc.
The simple steps to add and edit subtitles on Wondershare UniConverter are as follows:
Step 1 Open the Video on the Subtitle Editor
Run the software, hit the Toolbox tab, and click Subtitle Editor. Next, add the video to the UniConverter by clicking Add/+.
Step 2 Import the SRT Subtitles
Click “Import Subtitle File” to add the SRT subtitle file for editing.
Step 3 Edit and Save the Subtitles
Click either Subtitles or the Styles button to adjust the text, font, and position. Next, click Export and select the SRT File tab. Lastly, click Export again to save the subtitles.
You can understand how to auto-generate subtitles from video with the UniConverter by applying the following steps:
Step 1 Open the Subtitle Editor
From the Toolbox section, launch Subtitle Editor. Next, add the video whose captions you wish to create.
Step 2 Access Auto-Subtitle Generator
Now, click Auto-Subtitle Generator, choose the Video Language, and finally, tap on the Start Now button to generate subtitles automatically.
Step 3 Save the Subtitles
After the UniConverter creates the text, you can edit and customize it. Next, click Export to store the SRT as a separate file to your PC. Additionally, the option to embed subtitles into the video is available with the UniConverter.
Part 3. 3 Free Final Cut Pro Alternatives to Add Subtitles to A Video on Mac
If you feel Final Cut Pro is too advanced for your liking to add subtitles to the video, then we suggest performing the task using any of the three options mentioned in this section.
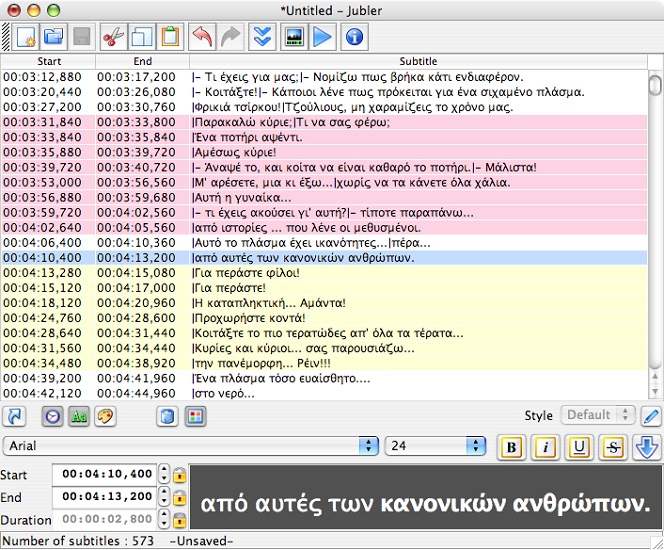
1. Jubler Subtitle Εditor
It is an open-source program to edit subtitles on Mac. With it, you can edit, split, and join subtitle files instantly.

- Run the software, and add the video. Then, click open to import the subtitle file.
- Next, edit the text, and check the changes.
- Finally, save the video with subtitles.
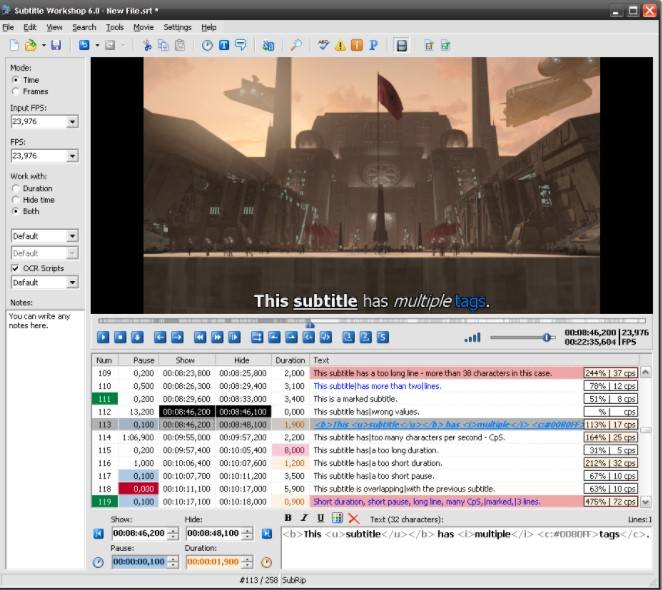
2. Subtitle Workshop
Subtitle Workshop is specifically designed to assist you in creating subtitles for your video and film projects. It’s free, easy to use, and fast!

- After running this tool, add the video and subtitle files one by one.
- Now, adjust the frame rate, font, position, and add notes.
- Fix any errors, and save the file with subtitles.
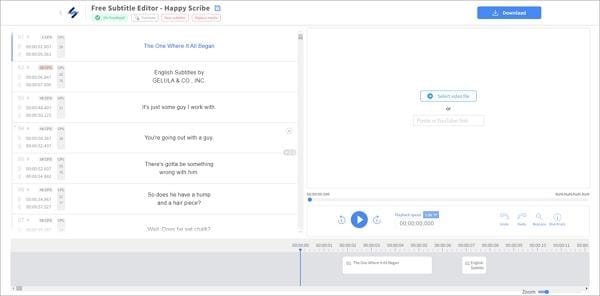
3. HappyScribe
HappyScribe is a service used for making subtitles and translating videos. You can upload your video on their site and create subtitles before exporting them in SRT, VTT, or other popular formats. However, you must create an account on the online tool to add subtitles to the video.

- Access HappyScribe using your browser.
- Add the video file to the interface.
- Select the language, and choose the Machine Generated option.
- Click Submit.
- Click Open Dashboard and then the Download button to save the video with subtitles.
Part 4. Comparison between Best Subtitle Editors for Mac
Check out the following comparison table to better understand the differences between all the platforms highlighted in this article:
Tools |
Ease of Use |
Compatibility |
Auto Subtitles |
| Wondershare UniConverter | Yes | Available with full features on both Windows and Mac | Yes(Accurate and Fast) |
| Final Cut Pro | No | Mac only | No |
| Jubler Subtitle Εditor | No | Mac only | No |
| Subtitle Workshop | Yes | Mac only | No |
| HappyScribe | Yes | Online-based | Yes(Slow processing) |
Based on ease of use, compatibility, and a comprehensive library of features, the Wondershare UniConverter is the clear winner amongst all platforms that offer you to add subtitles to video.
Summary
Final Cut Pro is dedicated to professional video editors, and beginners or users with limited skills could find it challenging to navigate the tool to add subtitles. However, it doesn’t mean that you can’t create subtitles automatically. Tools like HappyScribe(Online) and the Wondershare UniConverter enable you to create new subtitles thanks to advanced AI in no time.

