

Knowing how to blur a face in a picture is essential in today’s digital age, whether for privacy concerns or creative expression. Many people struggle with maintaining anonymity in photos shared online, fearing unwanted attention or legal implications. This guide will walk you through various methods and tools to effectively blur faces, ensuring you can confidently share your images while protecting the identities of those involved. Whether you’re using a PC, smartphone, or social media app, we have you covered!
In this article
Part 1: Why Do People Need to Blur Faces in Photos
Blurring faces in photos serves several important purposes, particularly in protecting individuals' identities and maintaining privacy. Understanding these reasons can help you appreciate the value of knowing how to blur faces in photos effectively.
-
Privacy reasons: Many individuals prefer to keep their identities hidden when sharing images online, especially in candid or public settings. Blurring faces helps ensure that personal information is not disclosed, promoting a safer online environment.
-
Legal concerns: In certain situations, sharing images without consent can lead to legal issues. Blurring faces can prevent potential disputes by safeguarding the identities of those depicted, ensuring compliance with privacy laws.
-
Sensitive content: Images containing sensitive subjects, such as children or vulnerable individuals, may require face blurring to protect their privacy. This practice is crucial in maintaining ethical standards when sharing images publicly.
-
Focus on other subjects: Sometimes, the main intention of a photo is to highlight other subjects rather than the individuals present. Blurring faces can help redirect the viewer's attention to the primary elements of the image, enhancing the overall composition.

Part 2: How to Blur a Face in a Picture on Your PC
UniConverter is an all-in-one professional image editor that simplifies the process of blurring faces in photos. With the release of UniConverter 16, the software now offers enhanced capabilities, including faster performance and new AI-powered tools for precise face blurring. Utilizing advanced AI algorithms, UniConverter allows users to blur faces with precision, ensuring privacy while maintaining the overall quality of the image. This tool is perfect for situations like sharing candid shots on social media, creating professional presentations, or enhancing personal projects where privacy is a concern.

Best AI Face Blur Tool
Key Features:
1. Smart Blurring: Automatically detects faces in videos and applies precise blurring, saving time and effort for users while maintaining accuracy.
2. Visible Effect: Ensures that the face blurring effect is highly visible and effective, guaranteeing privacy and anonymity for sensitive content.
3. Controllable Intensity: Allows users to adjust the strength and extent of the blur, giving them full control over how much detail they want to hide or reveal.
4. Multiple Editing Options: Supports the application of blurring effects to multiple faces and areas within the same video, making it versatile for more complex projects.
Steps to blur faces with UinConverter
Step 1: Upload
Begin by launching UniConverter and selecting the image file that contains the face you wish to blur. You can easily import the photo by dragging and dropping it into the workspace or using the "Add File" button for a more traditional upload method.
Step 2: Blur the images
After your image is uploaded, access the blur tool from the editing options. Click on the area you want to obscure—typically the face—using the brush or selection tool. You can adjust the intensity and size of the blur effect to ensure it effectively conceals the face while maintaining the surrounding details.
Step 3: Download
Once you're satisfied with the blurring adjustments, click the "Apply" or "Convert" button to process the image. After the editing is complete, you can download the final version of your edited image, which is now ready for use or sharing on social media, presentations, or other platforms.
Part 3: How to Blur a Face on Your Phone
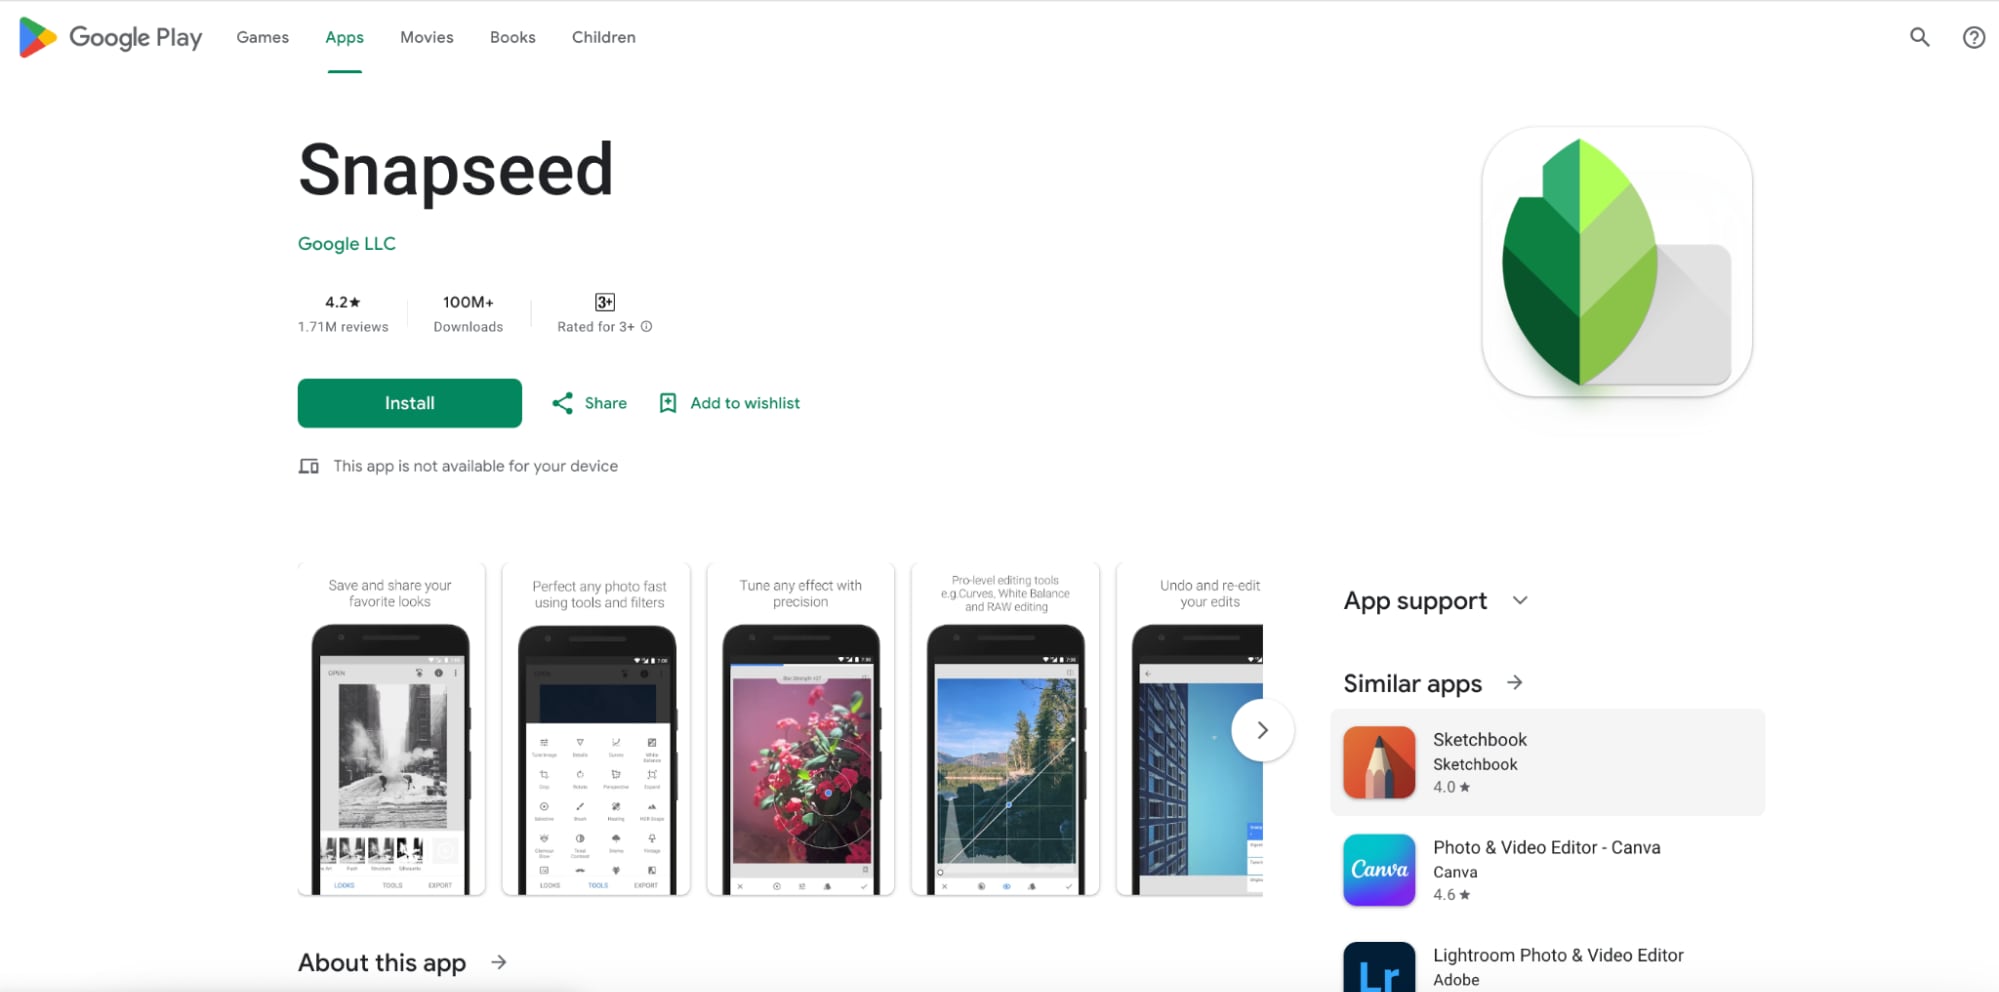
If you're looking for an easy way to edit photos on the go, Snapseed is an excellent app that teaches you how to blur faces effectively. This powerful photo editing tool allows you to blur faces quickly and seamlessly, ensuring privacy and enhancing the overall composition of your images. With its intuitive interface and various editing features, Snapseed is perfect for users wanting to achieve professional-quality edits directly from their mobile devices.
Key Features:
-
User-friendly interface: The intuitive layout makes it easy for users of all skill levels to navigate and apply effects.
-
Diverse editing tools: Snapseed offers a wide range of editing options, including filters, adjustments, and text additions.
-
High-quality output: The app maintains image quality during edits, ensuring professional results.
-
Customizable blur effects: Users can control the intensity and shape of the blur effect for more personalized edits.
-
Offline functionality: Snapseed can be used without an internet connection, allowing for convenient editing anywhere.
How to Use Snapseed to Blur a Face
Step 1: Open Snapseed:
Launch the Snapseed app on your mobile device and tap on the "+" icon to access your photo gallery. Select the image containing the face you want to blur and open it for editing.
Step 2: Select tools:
Once your photo is open, navigate to the “Tools” section located at the bottom of the screen. From the list of editing options, select “Lens Blur” to initiate the blur effect specifically on the face you wish to obscure.
Step 3: Adjust and save:
Position the blur overlay over the face you want to hide, using pinch gestures to resize and adjust its placement. Modify the intensity and transition of the blur to your liking, and once satisfied, tap the checkmark to save your edited image.
Part 4: How to Blur a Face in Pics on Social Media]
Social media platforms provide various tools and features that make it easy to edit images, including the ability to blur faces. Knowing how to blur people's faces in photos on platforms like Instagram, Facebook, and TikTok can enhance your privacy and ensure that you share images responsibly.
How to Blur Faces in Instagram Stories
Step 1: Open Instagram
Launch the Instagram app and tap on your profile picture or the camera icon to create a new story. This takes you to the story creation interface where you can choose how to proceed.
Step 2: Select or capture a photo
Choose a photo from your gallery by tapping the gallery icon or take a new photo using the camera feature. Once selected, tap on the sticker icon at the top right corner to access editing options.
Step 3: Apply blur effect
Scroll through the sticker options to find the “Effects” section and select the “Blur” effect. Position the blur overlay over the face you want to obscure, adjusting its size and intensity before sharing your story with followers.
How to Blur a Face on Facebook
Step 1: Upload your photo
Go to your Facebook profile and click on the "Photo/Video" option to upload the image you wish to edit. This will open your file explorer, allowing you to select the desired photo.
Step 2: Edit picture
After uploading, click on the “Edit” button on the photo. Use the available editing tools to apply the blur effect to specific areas, such as faces, to maintain privacy before posting.
Step 3: Save and share
Once you are satisfied with the edits, click the save button to apply changes to your photo. Finally, share your edited image on your profile or in a post for your friends to see.
How to Hide Faces on TikTok

Step 1: Create or upload a video
Open the TikTok app and either record a new video by pressing the record button or upload an existing one from your device. This allows you to edit the video immediately after selecting it.
Step 2: Access effects
After selecting or recording your video, tap the “Effects” button located on the right side of the screen. This will bring up a variety of editing options, including filters and special effects.
Step 3: Apply Blur Effect
Choose a blur effect from the available options and drag it over the faces you want to hide. Adjust the size and placement as needed, then finalize your video to post it on your profile.
Conclusion
In this guide, we explored the importance of knowing how to blur a face in a picture and the various tools available for achieving this, from advanced software like UniConverter to mobile apps and social media platforms. We highlighted UniConverter's capabilities as an all-in-one professional image editor that not only offers efficient face blurring but also includes features like image conversion and enhancement. If you're looking to protect privacy or enhance your images, we encourage you to try UniConverter’s AI voice changer today and see how it can elevate your photo editing experience!
FAQS
1. How do I blur faces in photos without losing image quality?
To blur faces without losing quality, use high-resolution images and professional editing software like UniConverter that preserves original quality during edits. Additionally, ensure that any blur effects applied are done with care to maintain the integrity of surrounding details.
2. Can I blur multiple faces in a photo at once?
Yes, many advanced photo editing tools, including UniConverter, allow you to select and blur multiple faces simultaneously, making it easy to manage privacy in group photos.
3. Is it possible to blur a face in a picture without affecting the background?
Absolutely! Most professional editing software includes features that enable selective blurring, allowing you to blur faces while keeping the background intact. This helps maintain context while protecting identities.
4. How to blur the face in pics quickly?
Use mobile apps like Snapseed or Instagram, which offer quick blur effects that can be applied in just a few taps. These apps are designed for speed and efficiency, making them perfect for on-the-go edits.
5. Can I blur multiple faces in a single photo?
Yes, you can blur multiple faces in a single photo using tools that support batch editing or have multi-selection options. This feature is especially useful in group photos where privacy for several individuals is a concern.

