
The face blur effect is a popular way to protect privacy or add creative touches to photos and videos. Whether you're editing sensitive images for social media or hiding identities in public photography, finding the right tool is essential. This guide will walk you through three easy methods to apply face blurring effects on different platforms, helping you get the best results in no time.
In this article
Part 1: Understanding the Face Blur Effect
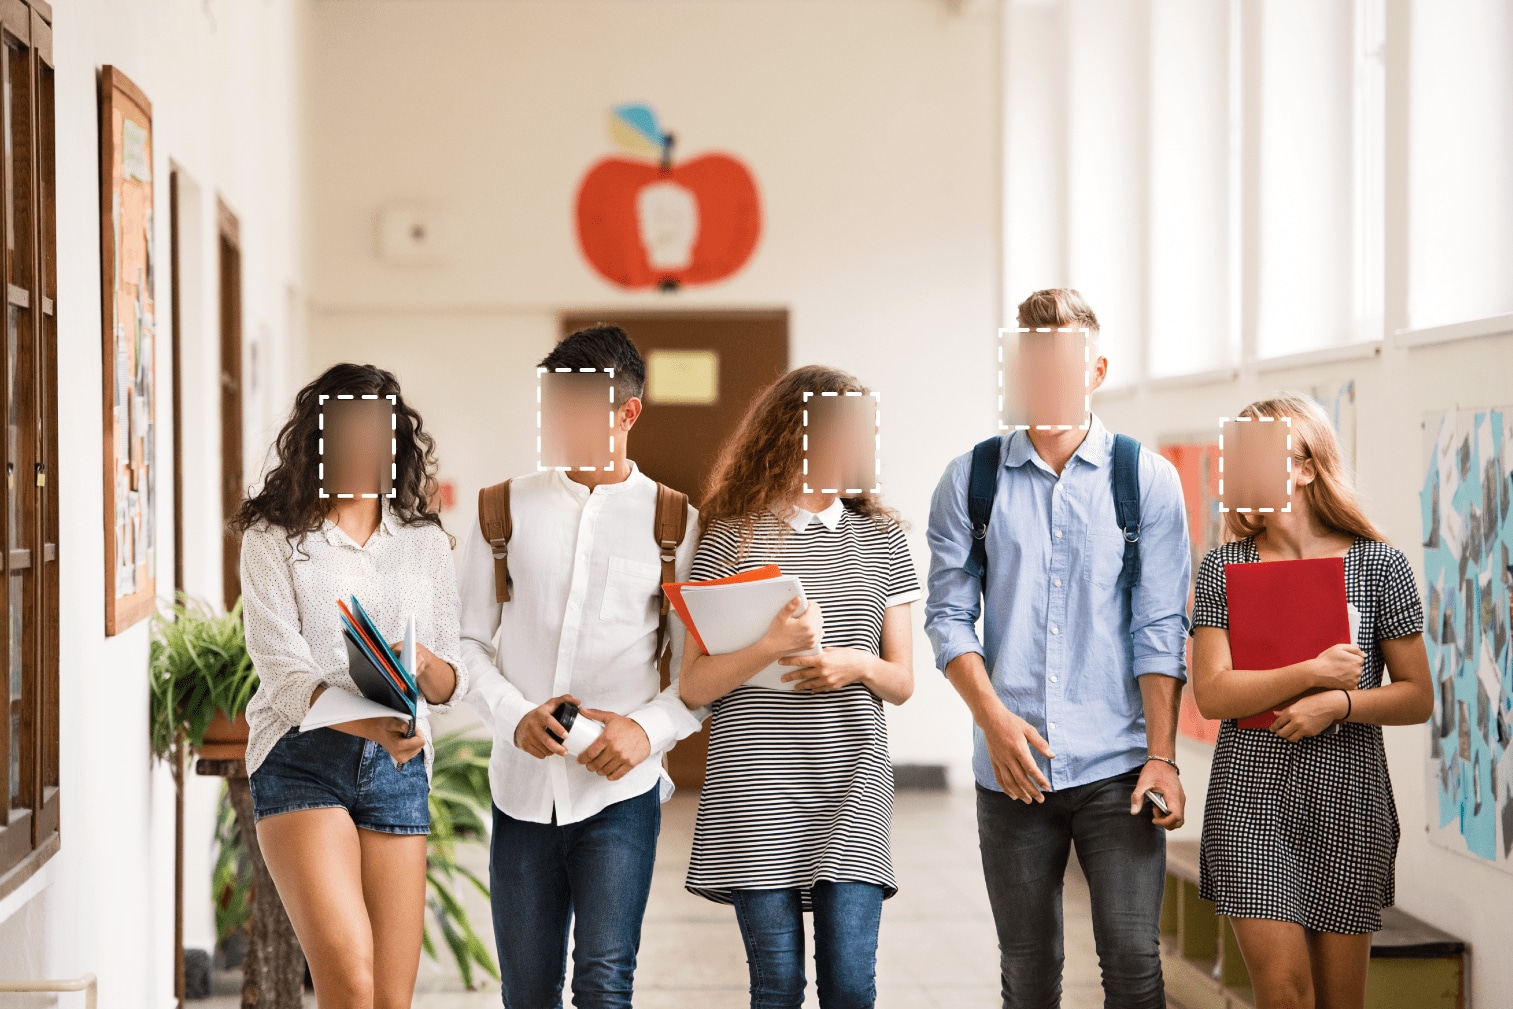
A face blur filter is a digital tool designed to obscure or blur faces in photos and videos, ensuring that individuals’ identities are protected. This filter is commonly used in various settings, such as social media posts, public photography, news reporting, and any type of sensitive content where privacy is crucial. By blurring faces, you can maintain the anonymity of people in the media without revealing personal details.
Face blur filters often rely on two main methods:
-
Automatic face detection: Using AI technology, the software detects and identifies faces within an image or video frame, applying the blur automatically. This method is efficient, especially when working with large batches of images or lengthy videos.
-
Manual face selection: Some tools allow you to manually select the areas or faces you want to blur. This gives you more control, making it useful for content that might include non-standard angles, lighting, or multiple subjects where automatic detection might miss some details.
The face blur filter is essential for protecting identities while preserving the overall quality and integrity of the media. It ensures privacy without heavily affecting the visual appeal or message of the content, making it a go-to tool for creators, photographers, and anyone working with public-facing media.
Part 2: How to Apply Face Blurring Effect on Windows & Mac
For Windows users, UniConverter offers an easy way to apply the face blurring effect with its AI-powered face detection. This tool allows you to automatically blur faces in photos and videos, perfect for privacy or creative editing. It's ideal for both personal and professional use, providing high-quality results with minimal effort.
UniConverter
UniConverter’s Face Blurring tool provides a powerful and intuitive solution for protecting privacy in video content. Whether you need to conceal faces for confidentiality, comply with privacy regulations, or create anonymized footage, this feature offers precise, adjustable blurring that’s easy to apply. With automatic face detection, customizable blur intensity, and support for multiple video formats, UniConverter ensures that users can safeguard sensitive information efficiently and effectively, without sacrificing video quality or processing speed.
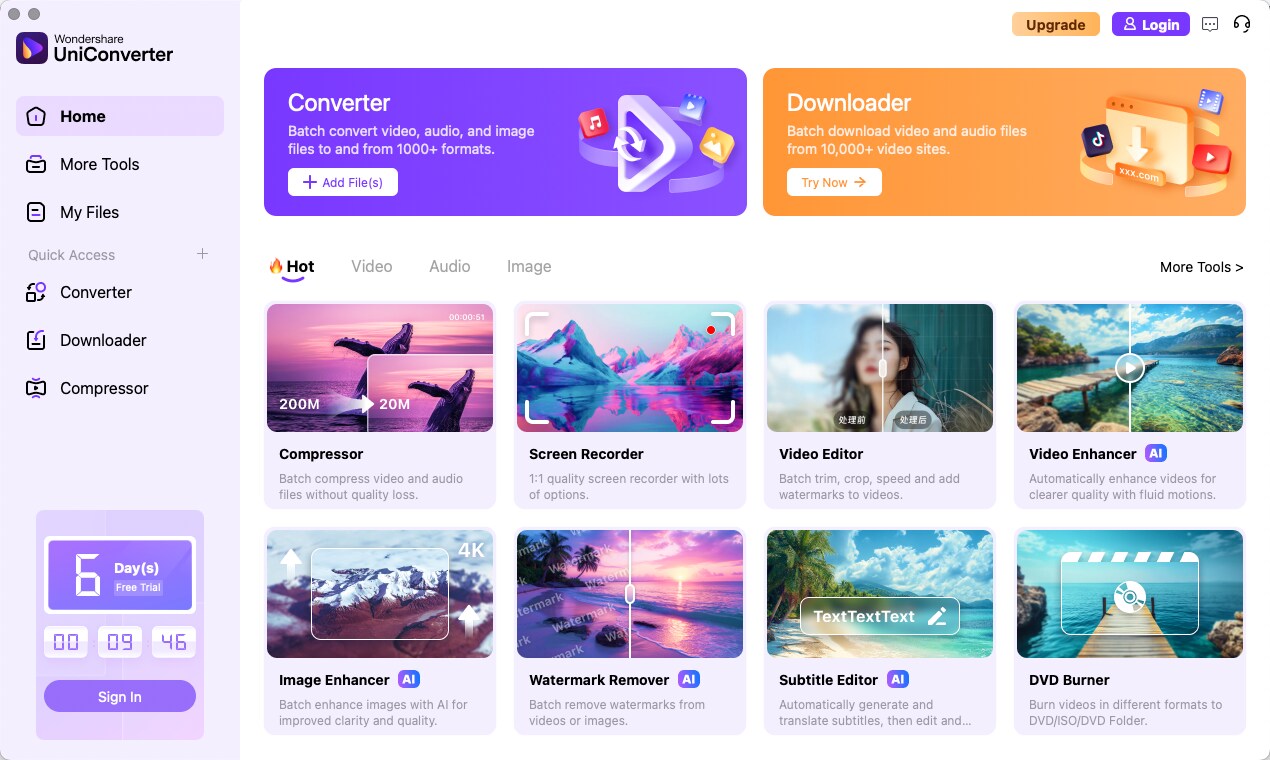
Key Features of UniConverter 16:
-
Smart Blurring: Automatically detects and accurately blurs faces, ensuring precise application without manual effort.
-
Effective Obscuring: Guarantees a noticeable and reliable blurring effect, safeguarding privacy in video content.
-
Adjustable Intensity: Offers full control over the strength of the blur, allowing users to customize the level of detail obscured.
-
Multi-Face Editing: Supports blurring multiple faces or areas in a single video, providing flexibility for complex edits.
Steps to Apply the Blurred Face Effect with UniConverter
Step 1: Upload the image
Open UniConverter and upload your image or video by clicking "Add Files" or dragging the file into the interface.
Step 2: Blur the Images
Use the AI face detection tool to automatically blur faces, or manually adjust the blur area and intensity as needed.
Step 3: Download
After applying the blur, click "Export" to download the edited file in your desired format and location.
Part 3: How to Apply Blurred Face Effect on Mac
Discover how to effortlessly create a blurred face effect on your Mac! This skill is ideal for enhancing privacy or giving your images a creative flair. With a few straightforward steps in Mac Photos, you can elevate your photos and achieve striking results. Let’s jump in and explore the process together!
1. MacOS Photos
In this video, we’ll show you how to blur images and faces on your Mac using Mac Photos. Whether you want to protect someone’s privacy or add a creative touch to your photos, this technique is simple and effective. Join us as we walk through the steps to easily apply blurring effects, allowing you to enhance your images with just a few clicks!
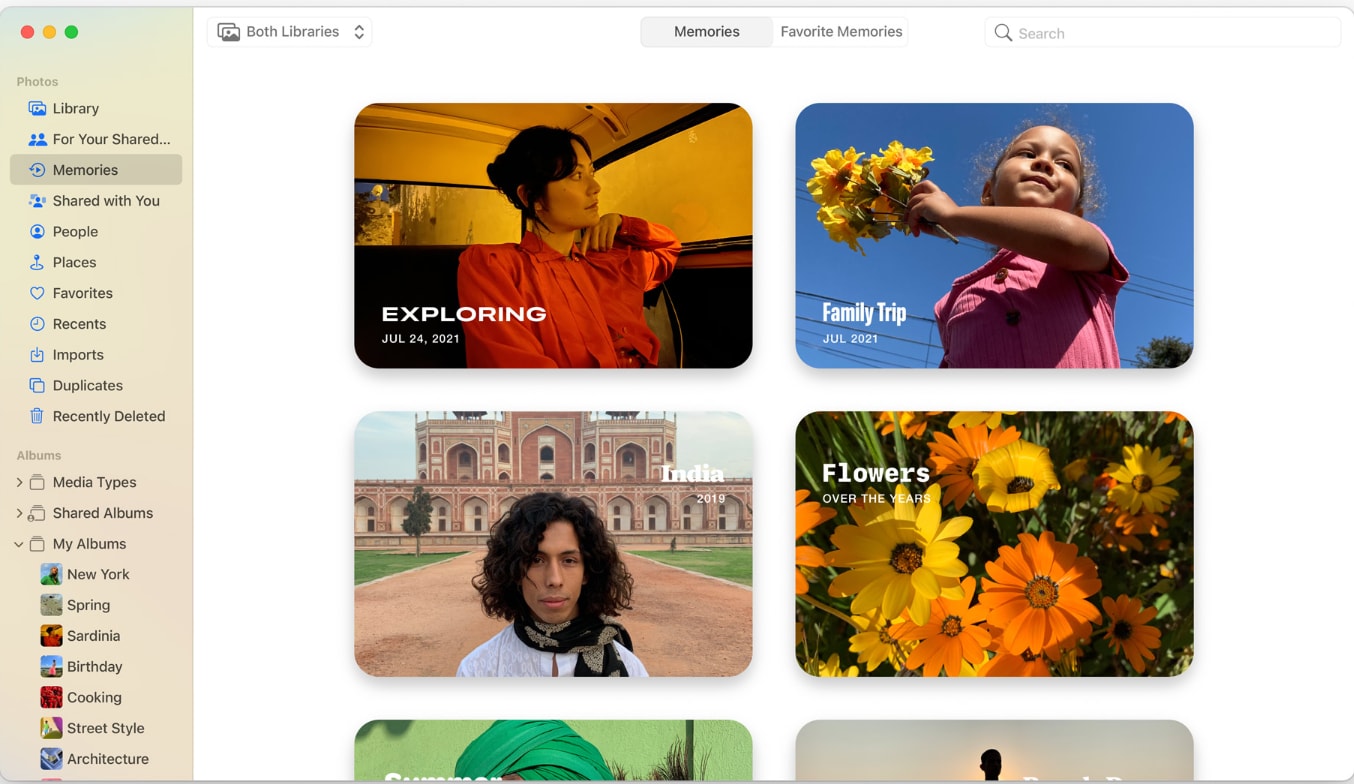
Key Features:
-
Organized Library: Automatically organizes photos by moments, collections, and years. You can also create custom albums and folders to keep your media neatly arranged.
-
Powerful Search: Uses machine learning to help you search photos by people, places, events, objects, and even text within images. The “People” feature identifies faces and groups them together.
-
iCloud Sync: Photos are seamlessly synced across all Apple devices using iCloud. Edits made on one device automatically reflect on all other devices.
-
Editing Tools: Offers a wide range of editing options, including cropping, exposure adjustment, color enhancement, sharpening, filters, and more. It also supports non-destructive editing, meaning you can revert to the original image anytime.
Steps to Blur Images and Faces in Mac Photos
Step 1: Open your photo
Launch Mac Photos, select the image you want to edit, and click on the “Edit” button in the top right corner.
Step 2: Use the retouch tool
Select the Retouch tool and adjust the brush size to blur the areas you want, like faces or objects.
Step 3: Save your changes
Once you’re happy with the blur effect, click “Done” to save your edits and return to your photo library.
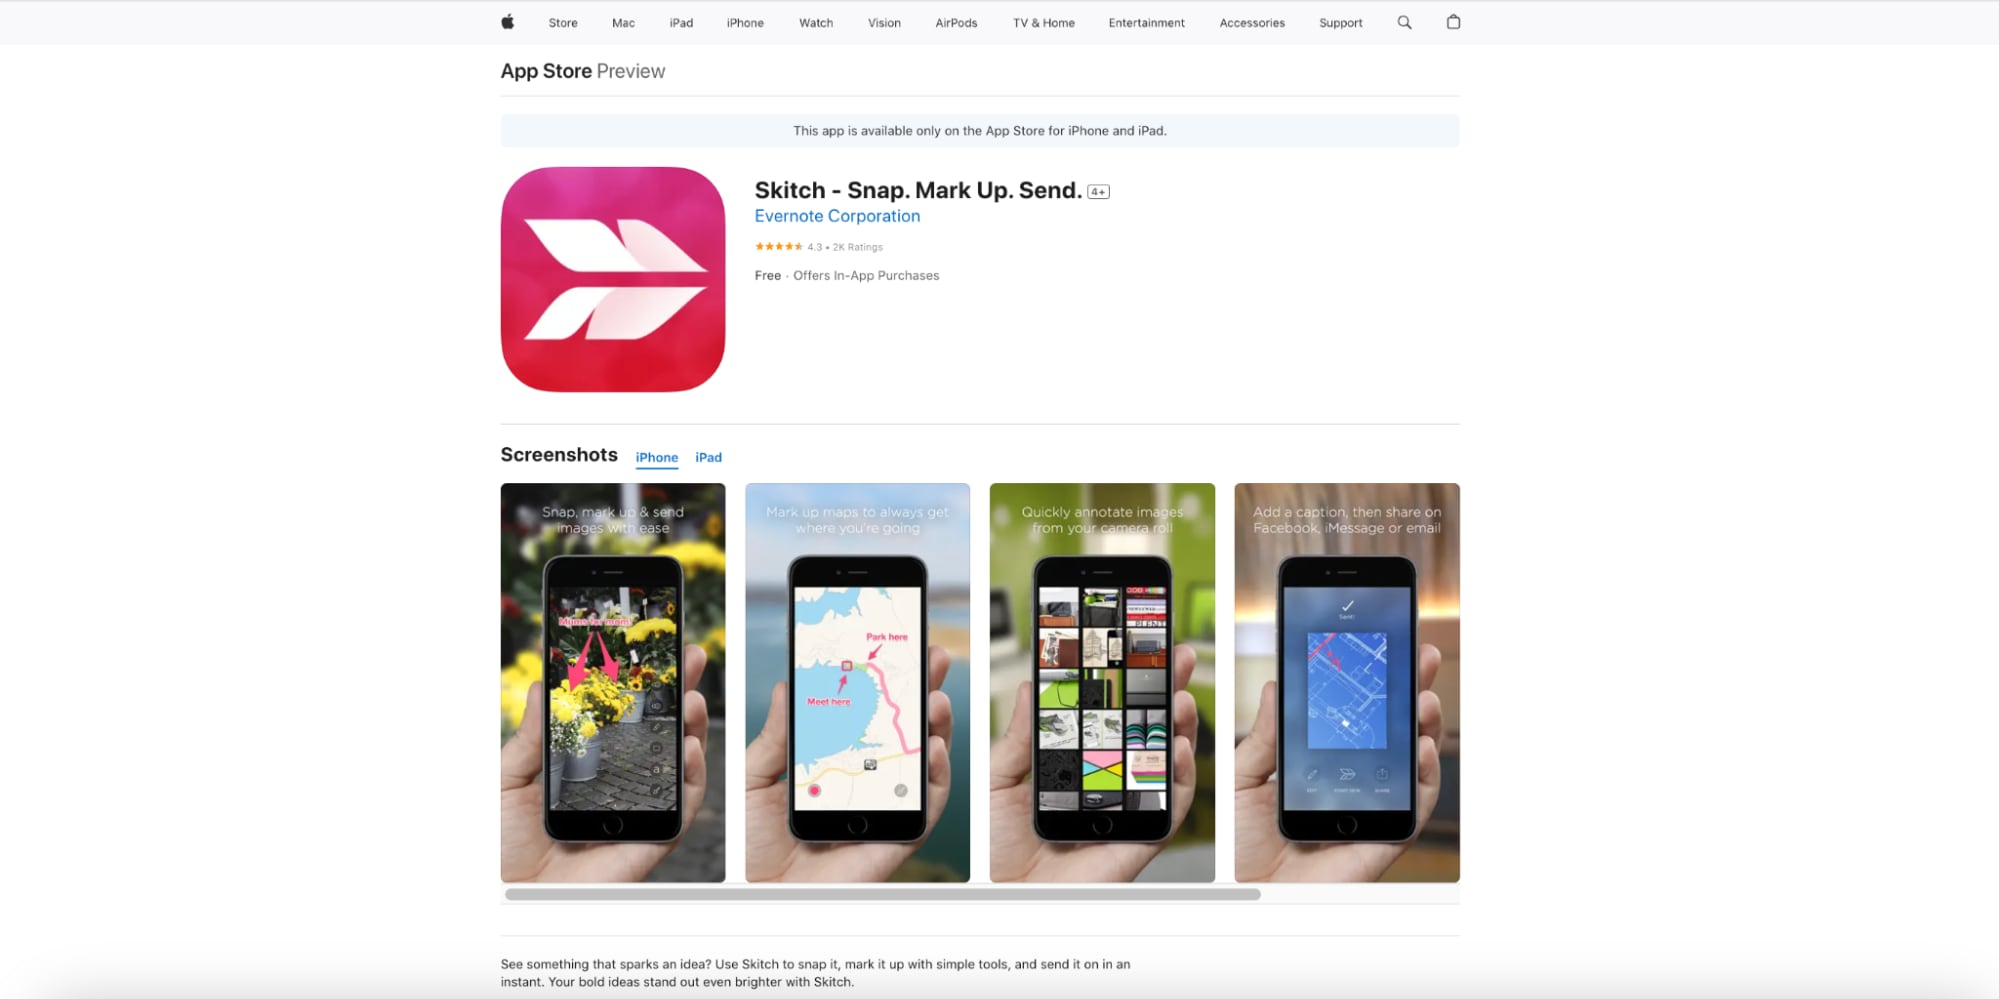
2. Skitch
Skitch is a lightweight, user-friendly tool from Evernote designed for quick image editing, including basic blur effects. Although it’s mainly used for annotations and simple edits, Skitch allows Mac users to blur sensitive parts of an image, like faces, for privacy. Its simplicity and direct interface make it suitable for users who need quick edits without a steep learning curve.
Key Features:
-
Easy-to-Use Interface: Skitch’s minimalist design makes it easy for anyone to edit images quickly.
-
Basic Blur Tool: Offers a simple blur effect that’s perfect for hiding faces or sensitive information.
-
Annotation Tools: Includes options for arrows, text, and shapes to enhance image explanations.
-
Instant Sharing: Easily share edited images to social platforms or other apps.
Steps to Apply Blur Effect on Skitch:
Step 1: Open Skitch and Load the Image You Want to Edit
Launch Skitch on your Mac and select “Open” to load the image file you want to work on. This could be a photo with sensitive content, such as a face or personal information that needs to be obscured.
Step 2: Use the "Pixelate" Tool to Select and Blur the Face or Area of Choice
In the Skitch toolbar, select the “Pixelate” tool, then click and drag over the area you want to blur, such as a face. Skitch will automatically apply a pixelation effect, making the selected area unrecognizable for privacy.
Step 3: Save or Share Your Edited Image Directly from Skitch
Once you're satisfied with the blur effect, click “Save” to store the image on your device, or use Skitch’s share options to send it directly via email or social media. Skitch makes it easy to share your edited image quickly.
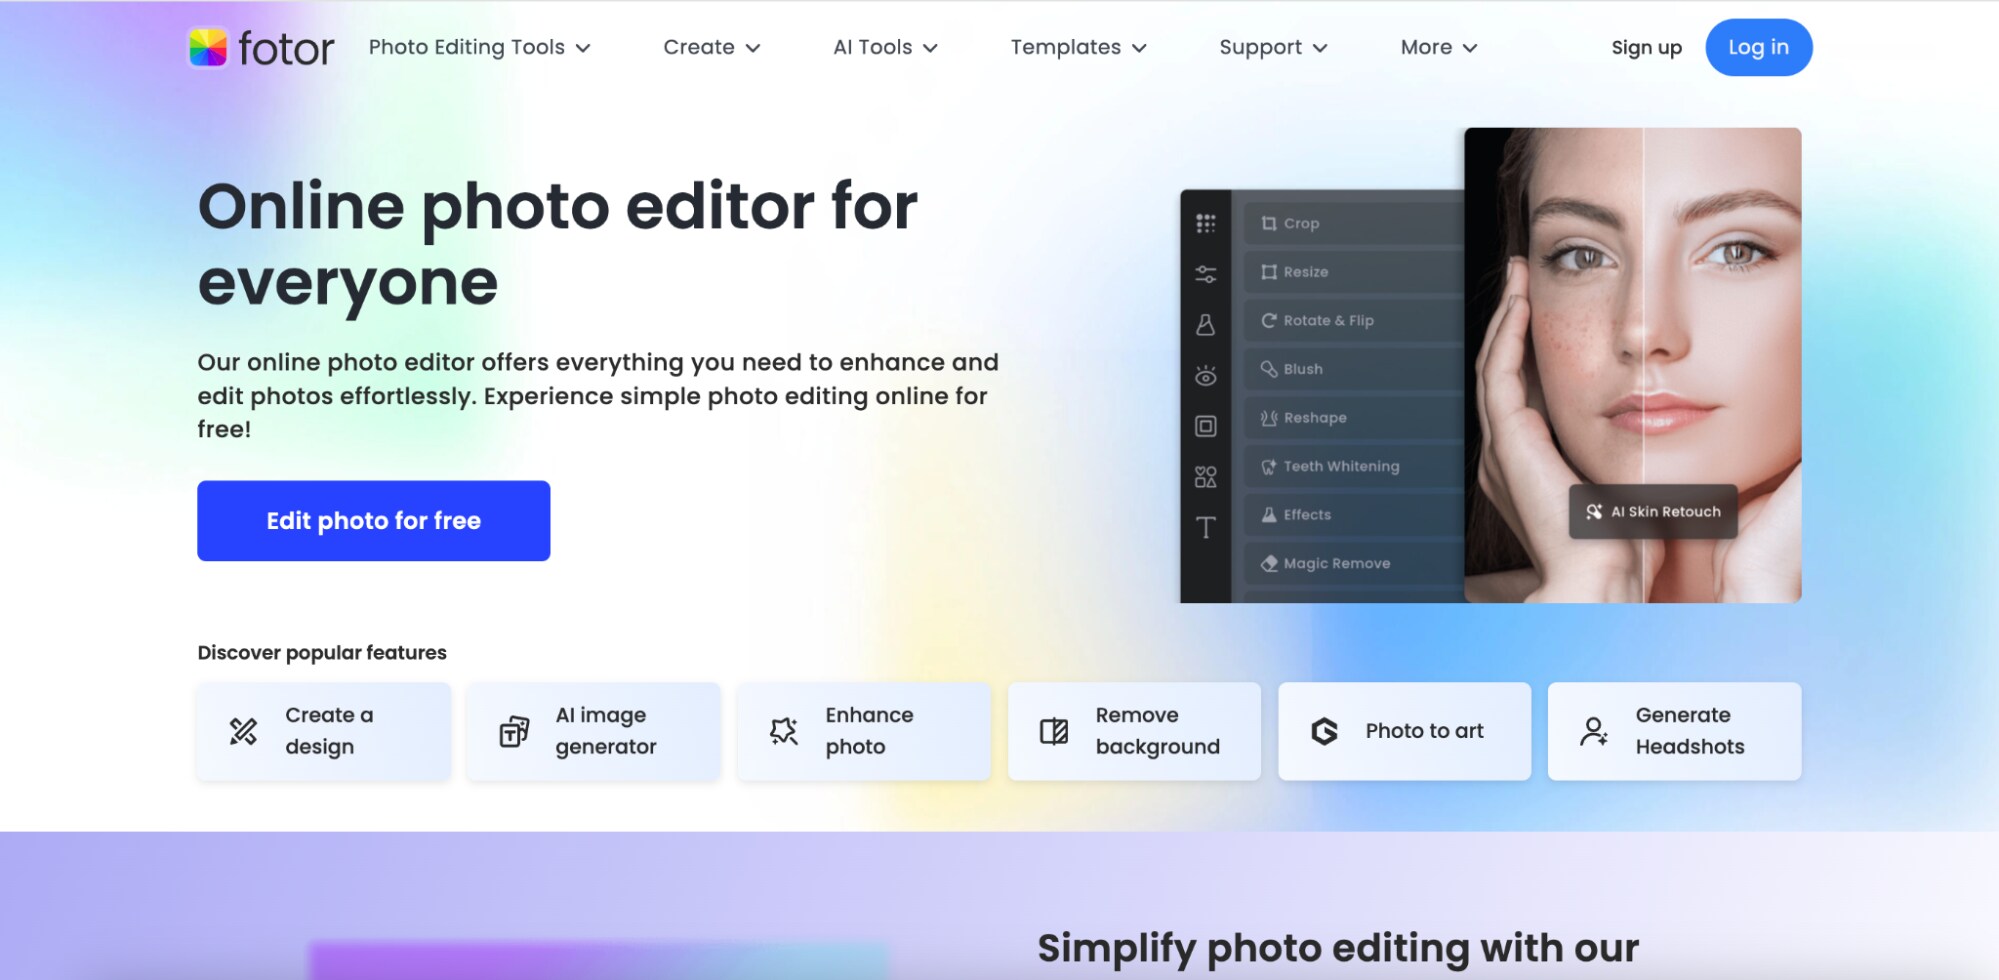
3. Fotor
Fotor is a versatile online and desktop photo editor that includes a range of tools, including a face-blurring feature. With Fotor, users can quickly add blur effects to specific areas of a photo, making it ideal for privacy protection or enhancing certain image details. It’s beginner-friendly and offers a variety of editing features beyond blurring, making it useful for those seeking an all-in-one editor.
Key Features:
-
Selective Blur Tool: Allows you to blur specific areas like faces while keeping the rest of the image clear.
-
Comprehensive Editing Suite: In addition to blurring, Fotor includes tools for cropping, filters, color adjustment, and more.
-
Batch Processing: Edit multiple images at once, saving time on larger projects.
-
Cloud Storage Option: Save your edits online with Fotor’s cloud storage, accessible across devices.
Steps to Apply Blur Effect on Fotor:
Step 1: Open Fotor and Upload Your Image
Launch Fotor on your desktop or open the web version in your browser. Click “Open” or “Upload” to select the image you want to edit, especially if it contains areas that need blurring, like a face or personal information.
Step 2: Use the “Blur” Tool to Select and Blur the Area
In the editing toolbar, locate the “Blur” tool and select it. Use the adjustable brush to highlight the area you want to blur, like a face or license plate. Fotor will apply the blur effect over the selected area, and you can adjust the intensity to achieve your desired level of obfuscation.
Step 3: Save or Share Your Edited Image
Once you’re satisfied with the blur effect, click “Save” to download the image to your device, or take advantage of Fotor’s sharing options to post directly to social media or email. If you’re using Fotor’s cloud storage, you can save the edited image online for access across multiple devices.
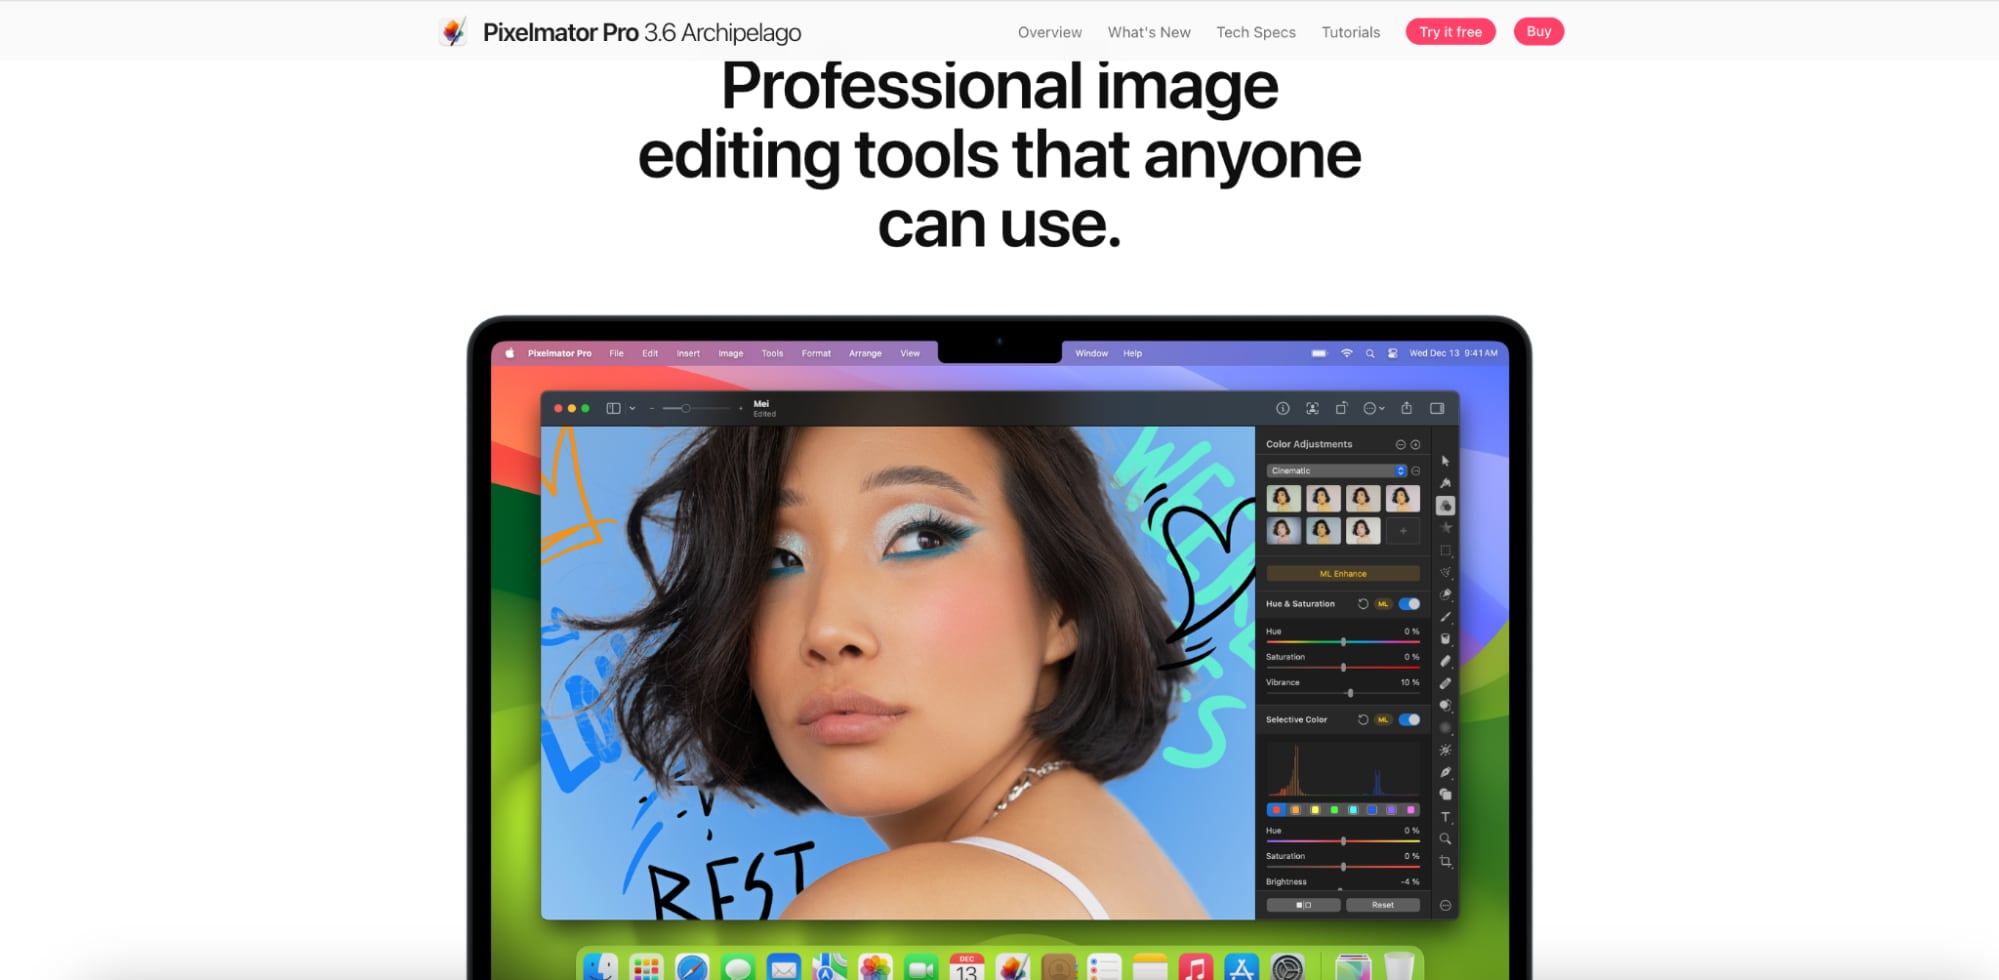
4. Pixelmator Pro
Pixelmator Pro is a powerful, professional-grade photo editing tool exclusive to Mac, known for its intuitive interface and advanced editing capabilities. With AI-driven tools and precise control options, Pixelmator Pro allows users to apply blur effects easily and refine their images with high-quality results. It’s ideal for photographers and designers looking for an efficient, Mac-native editing experience with powerful features.
Key Features
-
AI-Powered Tools: Automatically detect and edit elements with ease, including face blurring and image retouching.
-
Advanced Blur Effects: Includes Gaussian, motion, and radial blur for various applications, from subtle softening to intense effects.
-
Layer-Based Editing: Allows precise control over individual elements with multiple layers, perfect for detailed editing projects.
-
Non-Destructive Editing: Maintain the original image quality while experimenting with different effects, enabling flexible and reversible edits.
Steps to Apply Blur Effect with Pixelmator Pro
Step 1: Open Pixelmator Pro and Import Your Image
Launch Pixelmator Pro, click “Open” to select the image, or drag and drop it into the workspace.
Step 2: Select the Area and Apply Blur Effect
Use the “Selection” tool to outline the area, then choose a blur effect from the “Effects” menu to apply.
Step 3: Adjust Blur Intensity and Save
Fine-tune the blur’s intensity using the slider, then save or export the edited image as needed.
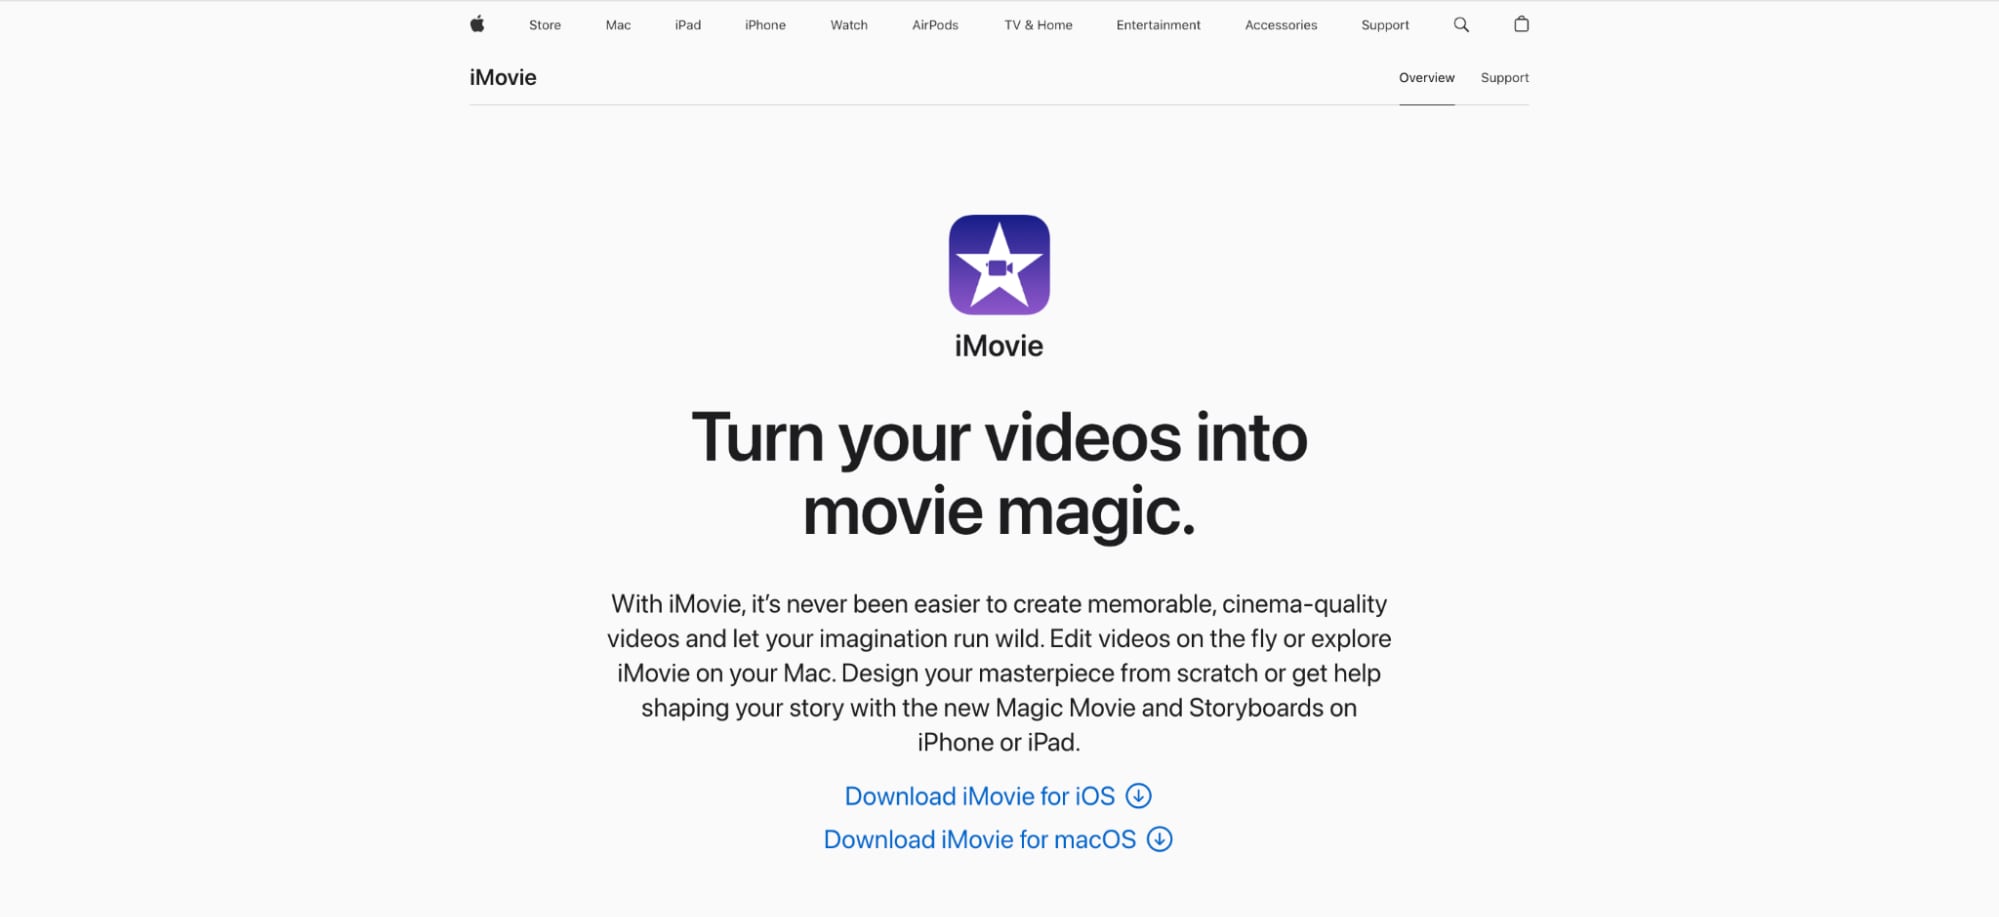
5. iMovie
iMovie is a free video editing tool from Apple, exclusively available for macOS and iOS. It’s designed for beginners and casual users looking to create or edit videos with basic effects, including face blurring. Although iMovie doesn’t have a dedicated blur tool, creative workarounds using overlays or the "Picture-in-Picture" effect allow users to blur faces or sensitive areas, making it a popular choice for quick, simple video edits.
Key Features
-
User-Friendly Interface: Simple drag-and-drop layout, ideal for beginners with no prior editing experience.
-
Picture-in-Picture Effect: Allows for creative workarounds to blur or cover specific parts of the video.
-
High-Quality Output: Exports up to 4K resolution, ensuring a crisp, professional look for final videos.
-
Built-in Effects and Transitions: Includes a variety of transitions, filters, and soundtracks to enhance videos.
Steps to Apply Blur Effect with iMovie
Step 1: Open iMovie and Import Your Video
Launch iMovie, create a new project, and import the video you want to edit. Drag the video into the timeline, setting it up for easy access to editing tools.
Step 2: Add a Blurred Overlay Using “Picture-in-Picture”
Import a blurred image or shape as an overlay and place it above your video in the timeline. This "Picture-in-Picture" effect will act as a blur by covering the area you want to obscure.
Step 3: Adjust Overlay Size and Position, then Export
Resize and position the overlay to fully cover the face or object. After confirming the effect looks right, export your edited video in your preferred format.
Part 4: How to Apply Blurred Face Effect on Windows
1. Microsoft Photos (Video Editor)
Microsoft Photos’ built-in Video Editor on Windows 10 and 11 provides a simple way for users to make basic video edits, including adding overlays to blur faces. While it doesn’t have a dedicated blur tool, its customizable text and shape overlays can help obscure faces or objects. Ideal for beginners, this editor is easily accessible and free, making it a convenient option for quick video edits.
Key Features
-
Overlay Shapes for Face Blurring: Allows users to add shapes, like rectangles or circles, over faces to create a custom blur effect without a dedicated blur tool.
-
Adjustable Opacity: The opacity setting lets users control the transparency of overlays, allowing for a subtle blur effect over faces and objects.
-
Basic Motion Tracking: While limited, the editor can adjust overlay placement frame-by-frame, helping to blur moving faces with manual adjustments.
-
Easy Export Options: Offers straightforward export settings to quickly save the edited video in various resolutions, making it simple to share or upload.
Steps to Apply Blur Effect with Microsoft Photos (Video Editor)
Step 1: Open Microsoft Photos, Select "Video Editor," and Import Your Video
Launch Microsoft Photos, select “Video Editor,” and create a new project. Import your video file, then drag it onto the timeline to begin editing.
Step 2: Add a Shape Overlay or Text Box, Resizing and Positioning It Over the Area to Blur
Choose “Add” > “Text” or “Shapes” to place an overlay on the timeline. Adjust and position the shape over the face or object you want to blur.
Step 3: Adjust Opacity and Export Your Edited Video
Modify the overlay opacity to achieve a blur effect, then select “Finish Video” to export your edited video with the overlay applied.
2. WorkinTool Video Editor
WorkinTool Video Editor offers a simple interface for various video editing tasks, including face blurring. With easy-to-use tools, it allows users to apply blur effects quickly and effectively, making it ideal for those who need straightforward privacy solutions without complex features.
Key Features
-
Easy Face Blurring: Provides a straightforward tool to blur faces and objects.
-
Intuitive Interface: User-friendly layout for quick editing without a learning curve.
-
Multiple Output Formats: Supports various video formats for flexible export options.
-
Basic Editing Tools: Includes cropping, trimming, and effects for versatile editing.
Steps to Apply Blur Effect with WorkinTool
Step 1: Open WorkinTool and Import Your Video
Launch WorkinTool on your computer and start a new project by selecting “Import” to add your video file. This step places the video into the editing timeline, allowing you to make adjustments and apply effects.
Step 2: Use the Blur Tool to Select and Blur the Area You Want to Obscure
Once the video is in the timeline, locate the blur tool in the effects panel. Click on it and use your cursor to outline or select the area that requires blurring, such as a face or specific object. WorkinTool will apply the blur effect to this selected area, keeping it obscured throughout the video.
Step 3: Adjust Blur Intensity as Needed, Then Save the Edited Video
After applying the blur effect, adjust the intensity to achieve your desired level of privacy or obscurity. Once satisfied with the result, click “Save” or “Export” to finalize the video and save it to your chosen location or format.
3.AVCLabs
AVCLabs Video Enhancer AI is an advanced video editing tool that uses artificial intelligence to improve video quality, apply face blurring, and reduce noise. Tailored for those who need high-quality, professional-looking videos, AVCLabs offers automated solutions like AI face detection and video upscaling. This tool is ideal for users who want efficient, accurate editing without the manual work typically involved in video enhancement.

Key Features
-
AI Face Blurring: Automatically detects and blurs faces with precision, making privacy protection quick and reliable.
-
Video Upscaling to 4K: Enhances video resolution, allowing users to upscale videos to 4K quality for a more polished output.
-
Noise Reduction: Reduces video noise, improving clarity and quality in low-light or noisy footage.
-
Batch Processing: Allows users to edit multiple videos simultaneously, saving time on large editing projects.
Steps to Apply Blur Effect with AVCLabs
-
Step 1: Open AVCLabs and Import the Video File
Launch AVCLabs Video Enhancer AI, then click “Import” to add the video you want to edit, placing it into the editing workspace. -
Step 2: Enable the AI Face-Blurring Tool
Select the AI face-blurring tool, which will automatically detect and blur faces in the video without requiring manual adjustments. -
Step 3: Confirm Settings and Export
Review the blur effect, apply any additional enhancements as needed, and click “Export” to save the edited video with the blur applied.
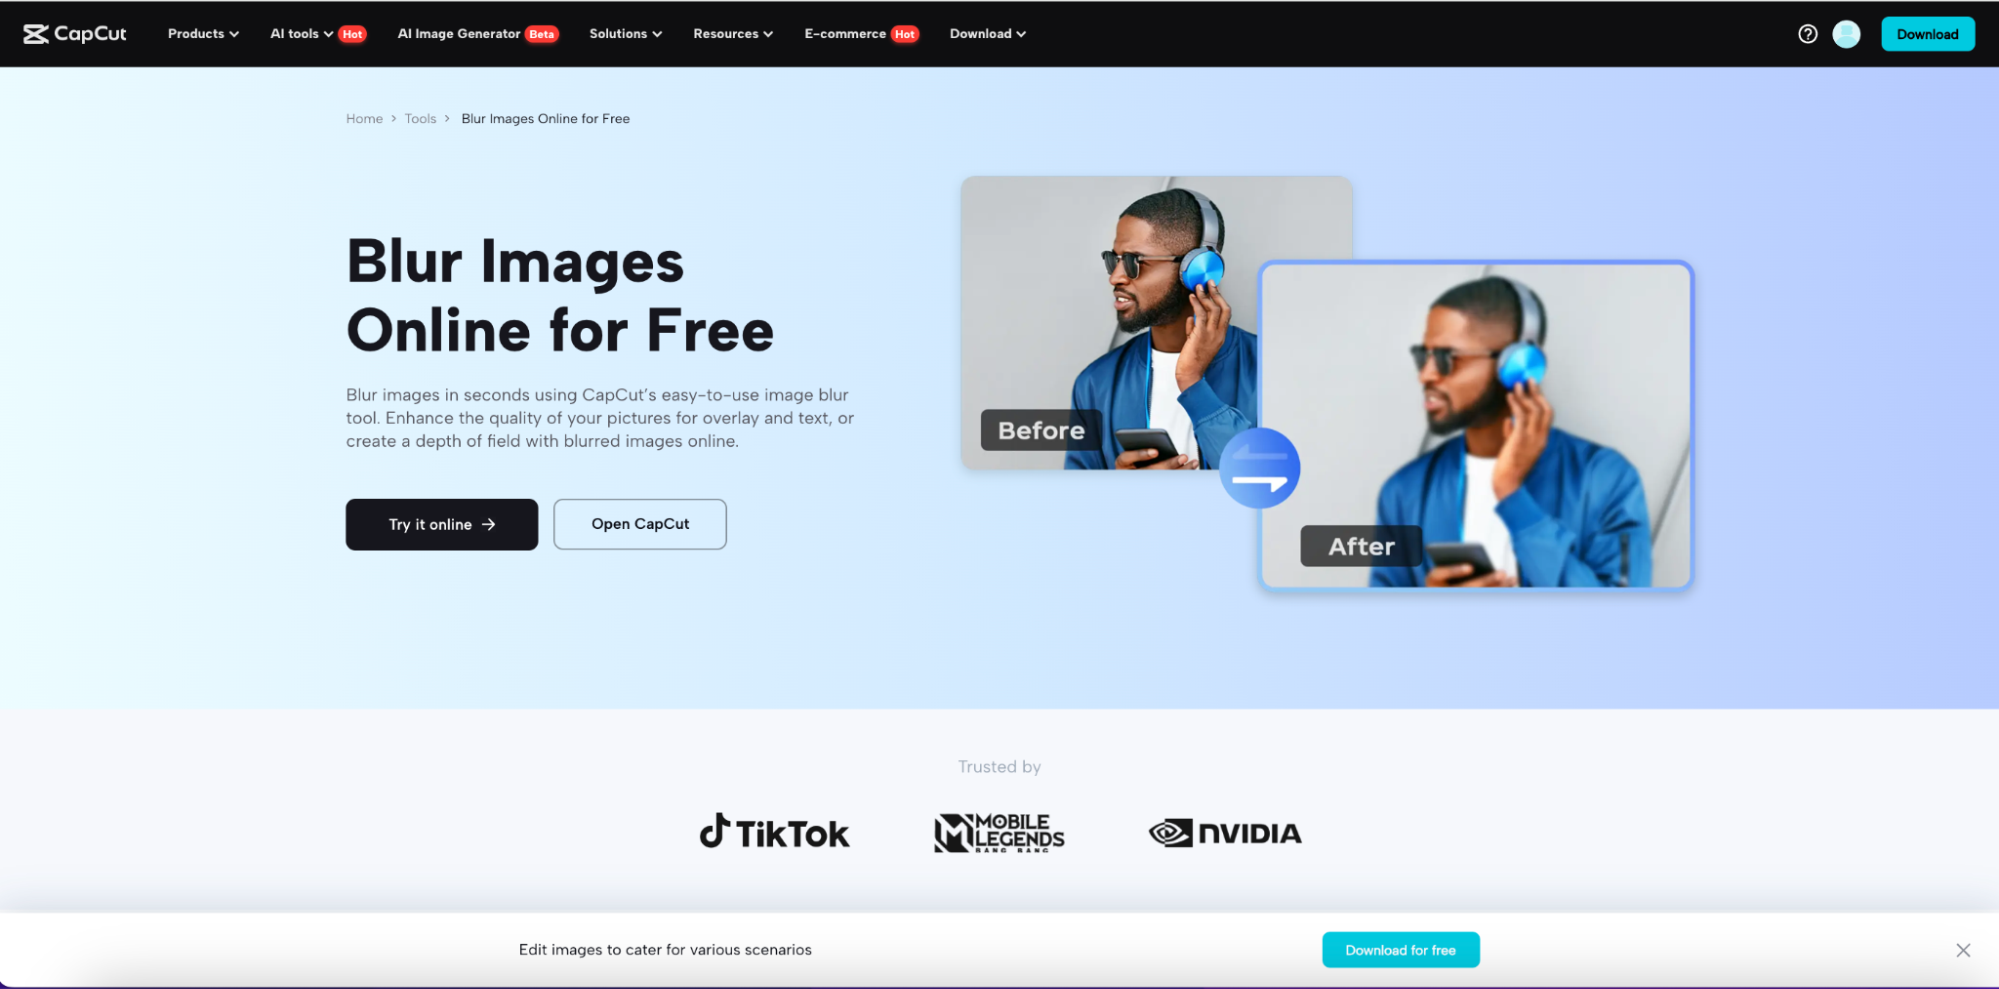
4. CapCut
CapCut is a popular, free video editing app known for its intuitive design and range of creative tools, suitable for both beginners and casual editors. Available on both mobile and desktop, CapCut provides an easy way to apply blur effects, trim clips, add music, and incorporate text for social media-ready videos. Its cross-platform support and user-friendly layout make it an accessible choice for quick video edits.
Key Features
-
Face Blurring Tool: Includes a simple blur tool to obscure faces or objects, ideal for privacy protection.
-
Cross-Platform Compatibility: Available on Windows, macOS, iOS, and Android, allowing edits across multiple devices.
-
Social Media Optimization: Offers pre-set video ratios and effects tailored for platforms like TikTok and Instagram.
-
Additional Editing Tools: Includes filters, text overlays, and music tracks, providing everything needed for creative video content.
Steps to Apply Blur Effect with CapCut
Step 1: Open CapCut and Import Your Video File
Launch EaseUS Video Editor on your Windows device, create a new project, and import the video file you wish to edit by dragging it onto the timeline.
Step 2: Select the Blur Tool
In the effects panel, search and choose the “Blur” effect. Then, use the “Mask” tool to arrange the area of the face. After that, customize the size, position, rotation, and more as you prefer.
Step 3: Export the Video
Finally, click “Export” to save your edited video in the preferred format.
5. EaseUS Video Editor
EaseUS Video Editor is a versatile editing tool available for Windows, designed for both beginners and intermediate users. It offers a variety of video effects, including blurring faces and objects, trimming, and adding filters, making it suitable for creating polished content. With a user-friendly layout and quick-access tools, EaseUS provides straightforward solutions for video edits without the complexity of advanced software.
Key Features
-
Face and Object Blurring: Allows users to apply precise blur effects to faces or specific objects for privacy protection.
-
Multiple Video and Audio Formats: Supports a wide range of input and output formats, ensuring compatibility across devices.
-
Built-In Effects and Filters: Includes a variety of filters, overlays, and transitions for enhancing video quality.
-
Split-Screen Feature: Enables users to add multiple clips in a split-screen layout, ideal for comparison videos or creative storytelling.
Steps to Apply Blur Effect with EaseUS Video Editor
Step 1: Open EaseUS Video Editor and Import Your Video File
Launch EaseUS Video Editor on your Windows device, create a new project, and import the video file you wish to edit by dragging it onto the timeline.
Step 2: Select the Blur Tool and Outline the Face or Object
In the effects panel, choose the blur tool, then use your cursor to draw an outline around the face or area you want to obscure in the video.
Step 3: Adjust Blur Intensity and Export the Video
Modify the blur intensity to achieve the desired effect, apply any additional edits, and click “Export” to save your edited video in the preferred format.
Part 5: How to Apply Blur Face Effect on Phone
Mobile apps like "Blur Face on Photo" provide a fast and convenient way to apply a blur face effect to your images. With this app, you can easily select and blur specific areas, making it simple to conceal sensitive information and protect privacy with just a few taps. It’s an ideal solution for anyone needing quick edits while on the move.
Blur Face on Photo
Blur Face on Photo is a powerful app designed for quick and easy photo editing on your mobile device. With its intuitive interface, you can effortlessly blur faces and sensitive areas to protect privacy or create artistic effects. Perfect for users on the go, this app allows you to make precise edits in just a few taps, ensuring your photos look polished while keeping personal information secure.
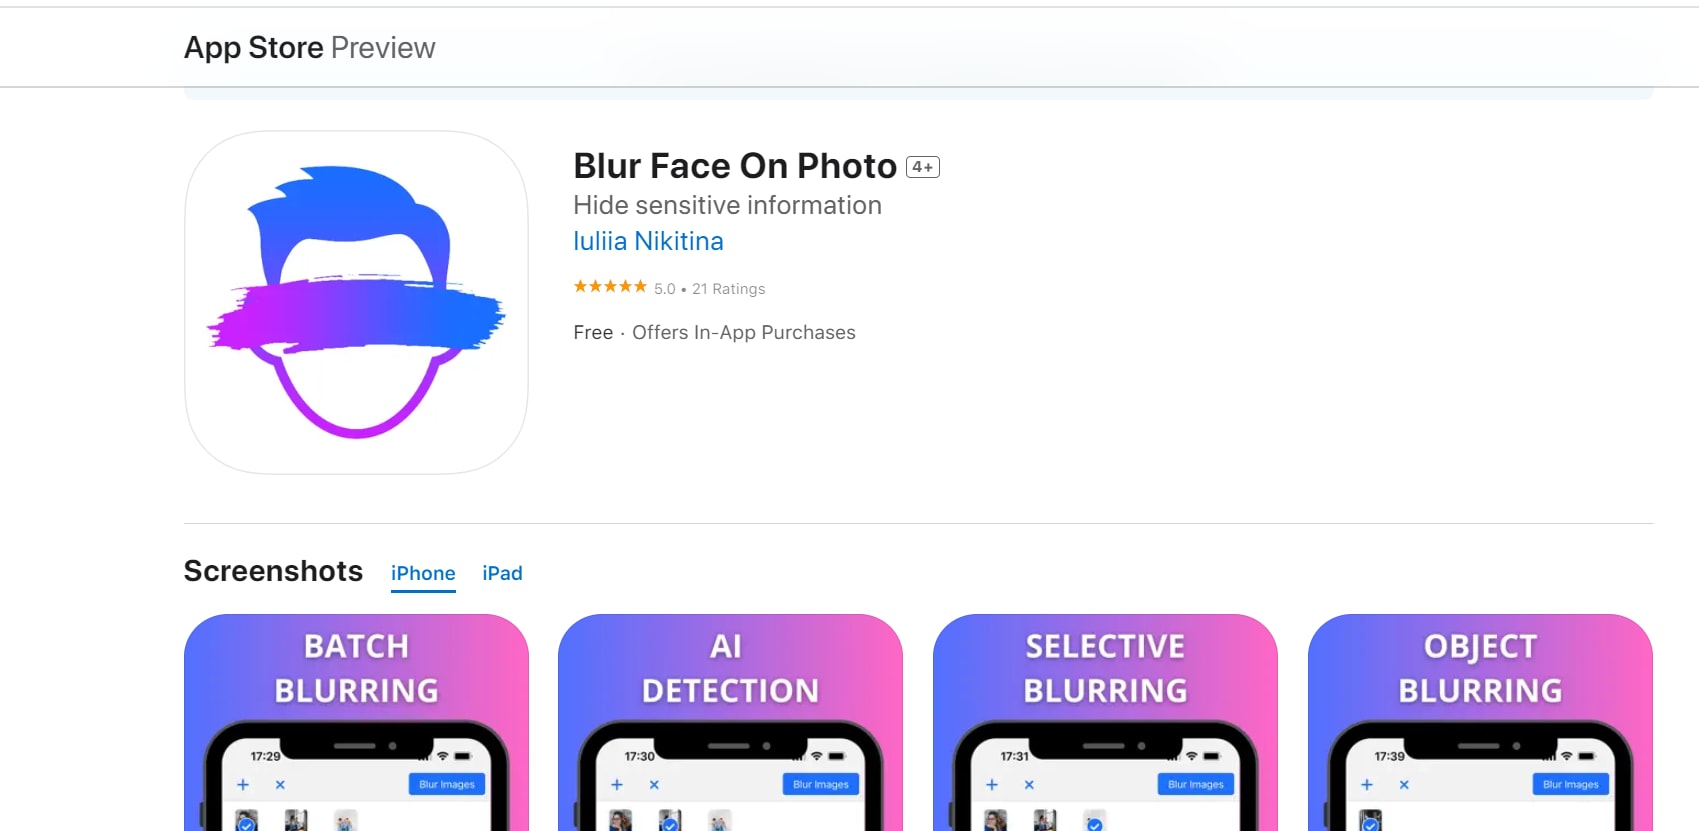
Steps to Use Blur Face on Photo
Step 1: Download and open the app
Begin by downloading "Blur Face on Photo" from your app store. Once installed, open the app to start editing your images.
Step 2: Select your photo
Tap to choose the photo you want to edit from your gallery. This step allows you to quickly access the images you want to work on.
Step 3: Apply the blur effect
Use your finger to draw over the faces or areas you wish to blur. After adjusting the blur intensity, save your edits to preserve your changes and share your newly edited photo.
Conclusion
Blurring faces in photos and videos is an important tool for protecting privacy and adding creative effects. This guide covered various ways to apply the blurred face effect on different platforms, with UniConverter standing out for its powerful AI-driven face detection and precise control. UniConverter makes it easy to blur faces in both photos and videos, whether for personal or professional use. If you're looking for an efficient, feature-rich tool, try UniConverter today and experience seamless face blurring with top-quality results.
FAQs
-
How to get a blur face effect on a PC?
To blur faces on a PC, you can use tools like UniConverter, which provides AI-powered face detection for quick and accurate face blurring in both photos and videos. -
Can I blur faces in videos using UniConverter?
Yes, UniConverter supports face blurring for videos as well as photos. It uses AI to detect faces automatically, making the process fast and efficient for video content. -
Can I adjust the intensity of blur face effects?
Yes, UniConverter allows users to manually adjust the blur intensity, giving you precise control over how much of the face is blurred for each photo or video. -
Can UniConverter apply blur face effects in a group photo?
Yes, UniConverter’s AI can detect and blur multiple faces in a group photo automatically, ensuring privacy protection for all individuals in the image. -
What tool are Instagram users using to apply a face blur filter?
Instagram users often rely on apps like FaceTune or Snapseed to manually apply face blur filters for quick edits, especially for privacy or creative effects.

