

Large image files can slow down websites, take up excessive storage, and cause delays in sharing. Optimizing image sizes is essential for enhancing website speed, improving SEO rankings, and ensuring smoother uploads. Whether you need to reduce image size online free for web use or offline for storage efficiency, using the right tools can make all the difference. UniConverter simplifies this process by offering high-quality compression with batch processing and AI-powered optimization.
In this article
Part 1:How to Reduce Image Size Online for Faster Load Speeds
Reducing image size is crucial for improving website speed, saving storage, and enhancing user experience. Online tools provide a quick and efficient way to compress images without installing software. Below are five top tools to reduce picture size online free with their key features, User Reviews, and step-by-step guides.
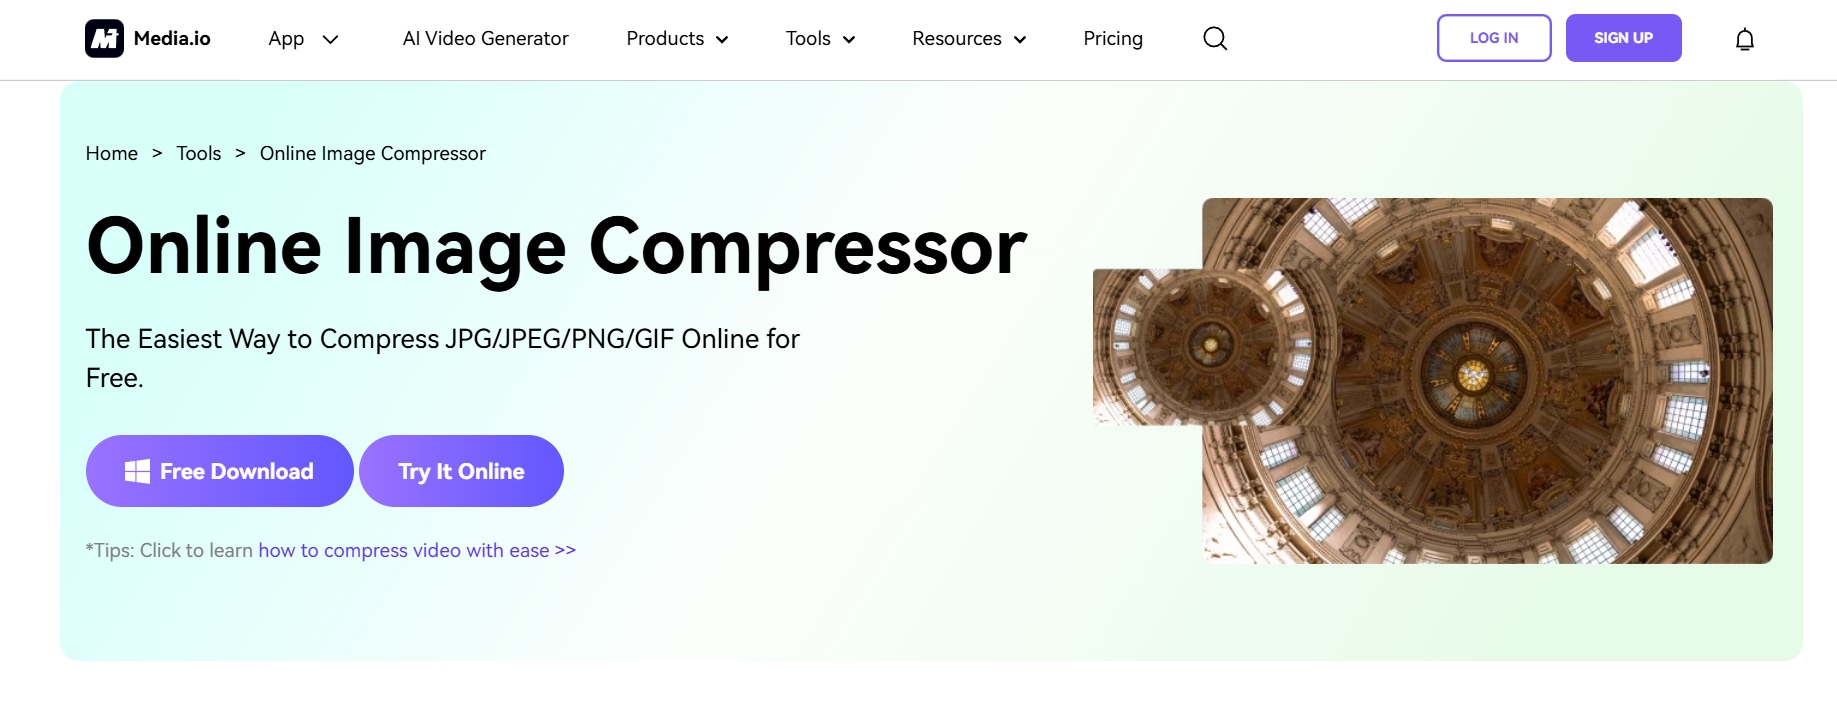
1. Media.io
Media.io is a powerful free image size reducer online that enables users to shrink image file sizes while maintaining high visual quality. It supports multiple formats and offers AI-powered compression for efficient file optimization. With batch processing and adjustable settings, it provides an easy way to compress images for websites and social media. Whether for personal or professional use, Media.io ensures fast and high-quality image reduction.
Features
- AI-Powered Compression: Media.io uses advanced AI algorithms to analyze and reduce image sizes intelligently while maintaining sharp details and natural colors.
- Batch Processing: Users can upload and compress multiple images simultaneously, saving time and effort when handling bulk image optimization.
- Supports Multiple Formats: The tool supports JPG, PNG, BMP, and GIF, making it compatible with a wide range of image types for various use cases.
- Custom Compression Levels: Media.io offers adjustable compression settings, allowing users to select the best balance between file size reduction and visual quality.
- Secure & No Watermark: The platform ensures safe online processing with no intrusive watermarks, providing high-quality output without branding marks.
User Reviews
- Media.io is a fast and reliable tool for compressing images without noticeable quality loss.
- AI-powered compression makes a significant difference in reducing file sizes efficiently.
- I love how I can process multiple images at once, saving me a lot of time when optimizing website graphics.
How to reduce image size with Media.io
Step 1: Upload your image Visit the Media.io image compressor tool and click the upload button to select your image file. The tool supports multiple formats, including JPG, PNG, BMP, and GIF, ensuring broad compatibility.
Step 2: Adjust compression settings Choose your preferred compression level, such as high, medium, or low, depending on the balance between file size reduction and image quality. The AI-powered algorithm automatically optimizes the image while preserving essential details.
Step 3: Download your optimized image After the compression process is complete, review the final file size and quality. Click the download button to save your optimized image directly to your device without any watermark.
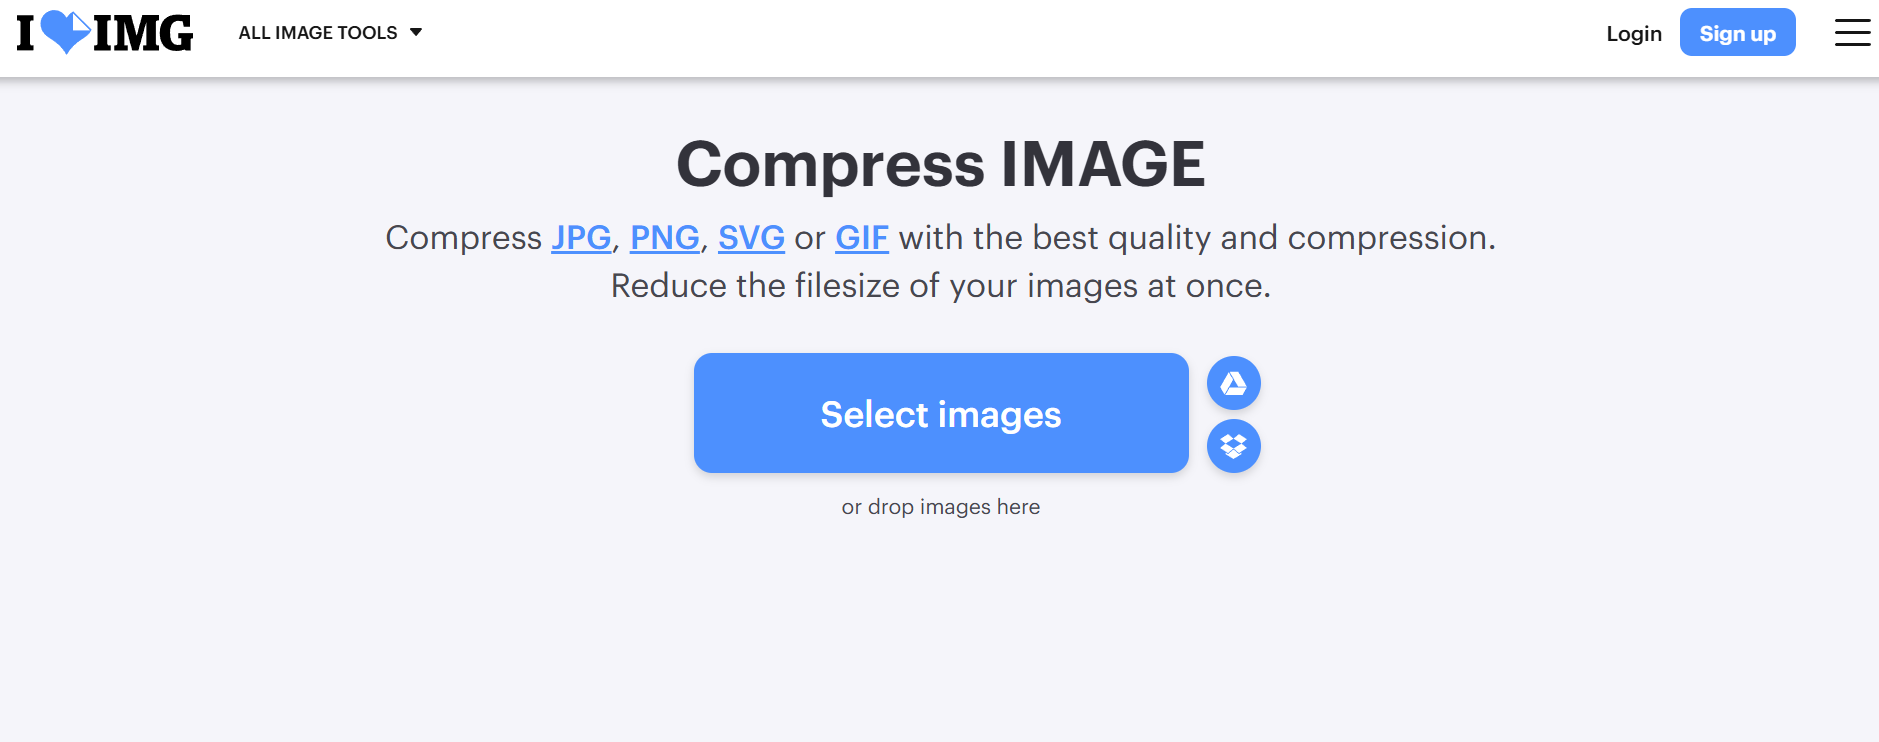
2. ILoveIMG
ILoveIMG is an easy-to-use reduce photo size free online tool that provides efficient compression for images without requiring software installation. It supports multiple formats and allows batch processing for quick and effective optimization. With additional features like resizing and cropping, it’s a great all-in-one image editing solution. Users can compress images while maintaining their original quality and resolution.
Features
- Drag-and-Drop Interface: ILoveIMG provides a simple drag-and-drop feature, allowing users to quickly upload images without browsing through folders manually.
- Batch Image Compression: Users can process multiple images at once, reducing the need to upload and compress files individually.
- Supports JPG, PNG, and GIF: The tool is compatible with major image formats, ensuring flexibility for various editing and compression needs.
- Cloud Storage Integration: ILoveIMG allows direct imports from and exports to Google Drive and Dropbox, making file handling seamless.
- No File Size Limit: The platform allows users to compress large images without restrictions, making it ideal for high-resolution photos.
User Reviews
- ILoveIMG is a lifesaver when I need to compress large batches of images for my blog.
- The cloud integration makes it super convenient to work with images stored on Google Drive.
- It’s simple, fast, and free—perfect for quick image compression without losing quality.
How to reduce image size with ILoveIMG
Step 1: Upload your image
Go to the ILoveIMG platform and select the compress image tool. Click the select images button to upload photos from your computer, Google Drive, or Dropbox.
Step 2: Set compression preferences
The tool applies automatic compression, but you can also adjust settings to ensure an optimal balance between file size and visual quality. The system processes images instantly while maintaining their resolution.
Step 3: Save the compressed image
Once the compression is complete, the system provides a preview of the new file size. Click the download compressed images button to save your optimized files in their reduced form.
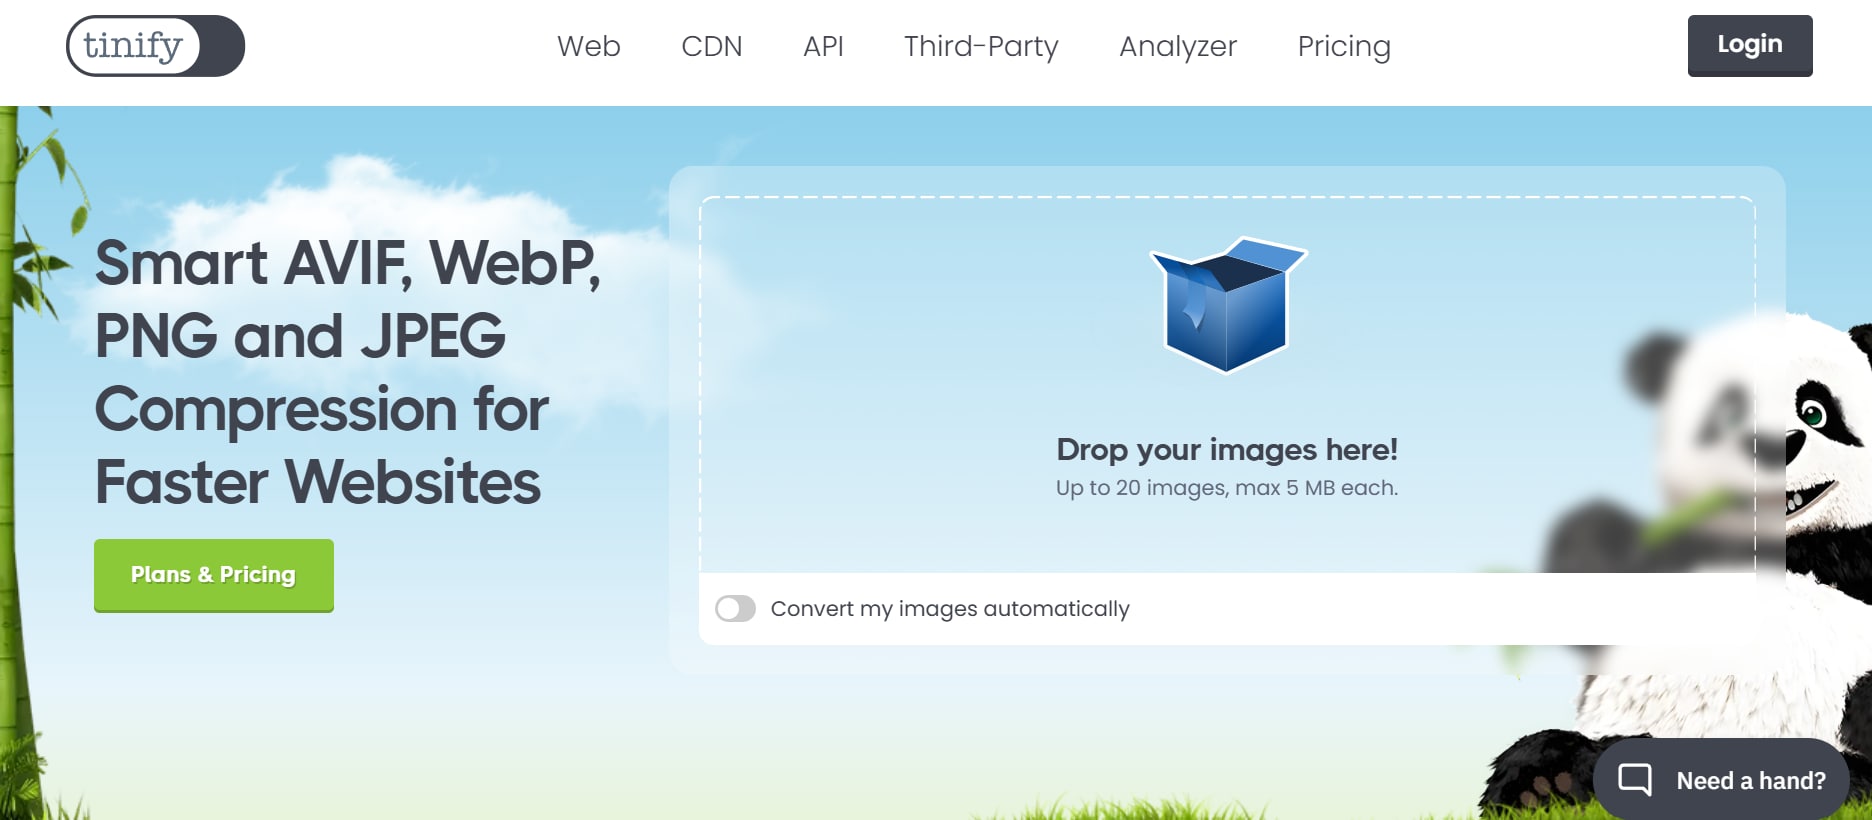
3. TinyPNG
TinyPNG is a smart reduce image size online free tool that uses lossy compression techniques to shrink image files while keeping them visually appealing. It works with both PNG and JPG formats, making it ideal for web designers, marketers, and bloggers. The tool automatically analyzes images and applies the best compression settings for a seamless experience. TinyPNG ensures high-quality compressed images with reduced file sizes.
Features
- Lossy Compression Algorithm: TinyPNG uses intelligent lossy compression to reduce file sizes significantly while maintaining image clarity, making it great for web use.
- Batch Uploads: The platform supports up to 20 images at a time, allowing users to optimize multiple images in one go.
- Transparency Retention: Unlike many compressors, TinyPNG maintains alpha transparency in PNG images, ensuring professional-quality results.
- API Integration: Developers can integrate the TinyPNG API into their websites, automating image compression for better site performance.
- WordPress & Photoshop Plugins: TinyPNG offers plugins for WordPress and Photoshop, enabling seamless compression within these applications.
User Reviews
- TinyPNG does an amazing job at reducing file size without making images look pixelated.
- I use it regularly to optimize images for my website, and it significantly speeds up page load times.
- The WordPress plugin makes it effortless to compress images directly from my dashboard.
How to reduce image size with TinyPNG
Step 1: Upload your image
Open the TinyPNG compressor tool and drag and drop your images into the upload box. The tool supports both JPG and PNG formats, making it ideal for various use cases.
Step 2: Automatic compression
TinyPNG applies an intelligent lossy compression algorithm that reduces file sizes while maintaining image clarity. The tool automatically processes the uploaded images without requiring manual adjustments.
Step 3: Download the optimized file
After compression, a download link appears with the newly optimized image. Click the download all button to retrieve your compressed files in a significantly smaller size without losing essential details.
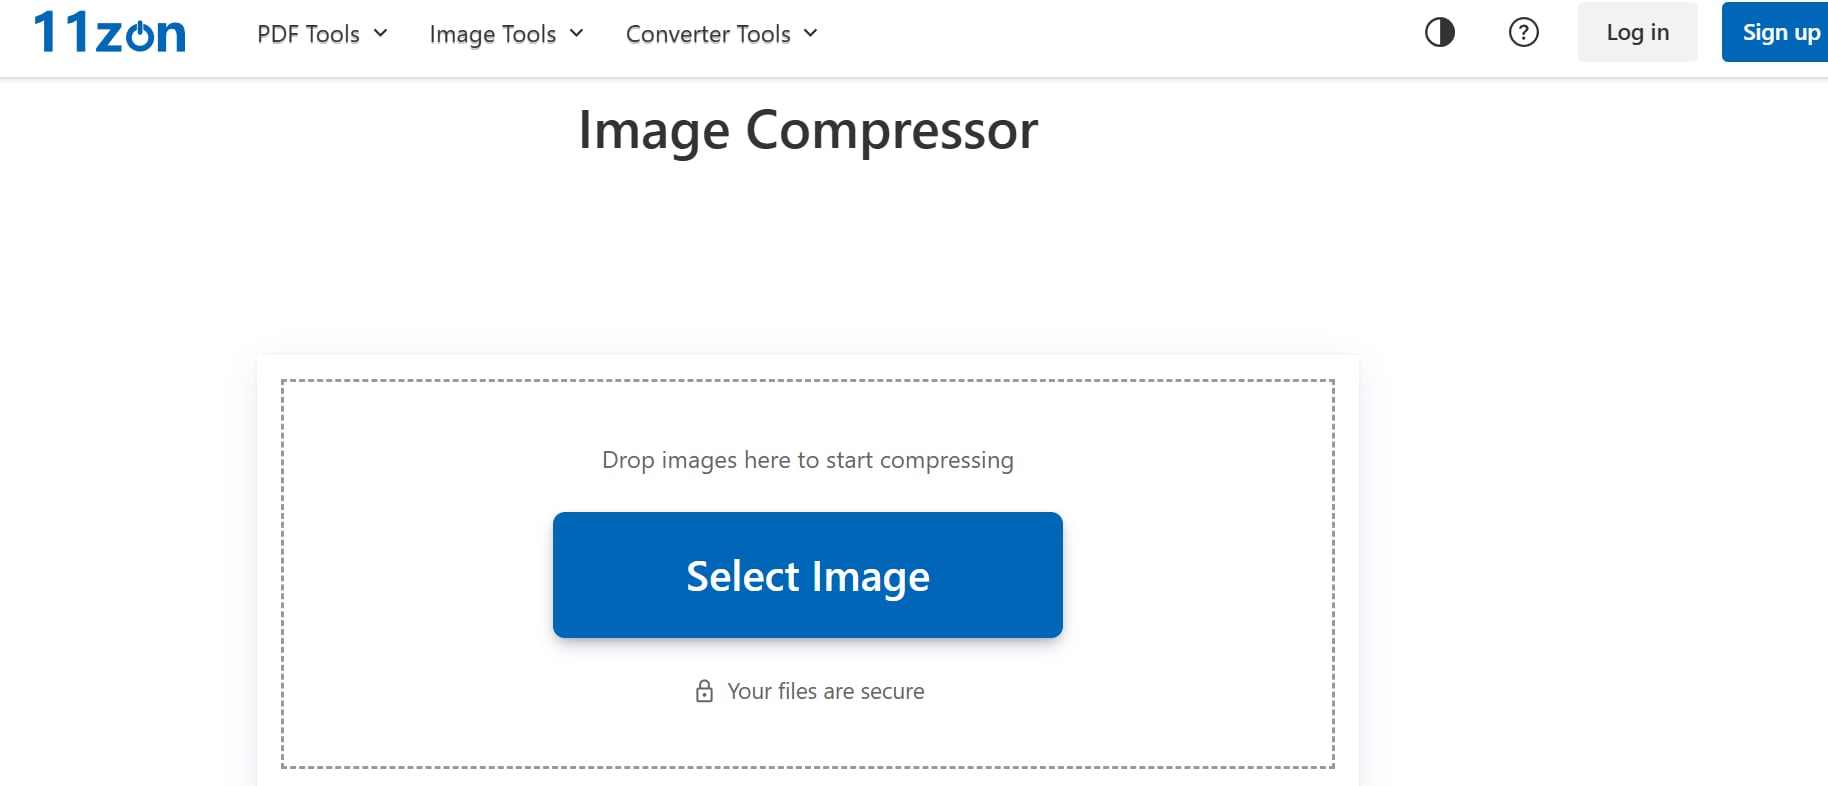
4. 11zon
11zon is a tool that is designed for users who need a straightforward image compression solution. It offers quick compression with a simple interface, making it ideal for non-technical users. This tool supports multiple formats and ensures that images remain visually intact even after compression. With a one-click approach, 11zon simplifies the image reduction process.
Features
- One-Click Compression: 11zon requires no additional configurations, instantly compressing images while maintaining clarity.
- Supports JPG, PNG, and WEBP: Users can upload and compress images in widely used formats without conversion.
- No Registration Required: Unlike many online tools, 11zon works immediately without needing an account.
- Fast Processing Speed: The tool quickly compresses images, making it a convenient choice for fast optimization.
- Works on Mobile and Desktop: Fully browser-based, allowing users to compress images from any device.
User Reviews
- 11zon is simple, fast, and efficient—perfect for quick compression needs.
- I use it on my phone to reduce image sizes before uploading to social media.
- No sign-up required, which makes it convenient for occasional use.
How to reduce image size with 11zon
Step 1: Upload your image
Visit the 11zon image compressor tool and select an image from your device by clicking the upload button. The platform supports various formats, including JPG, PNG, and WEBP, for diverse needs.
Step 2: Automatic compression
Once the image is uploaded, 11zon automatically applies compression without requiring additional configurations. The tool ensures a quick and effective file size reduction while maintaining essential image details.
Step 3: Download your image
After processing, a download option appears with the compressed image. Click the download button to save the optimized file to your device, ready for online use or storage.
5. Adobe Express
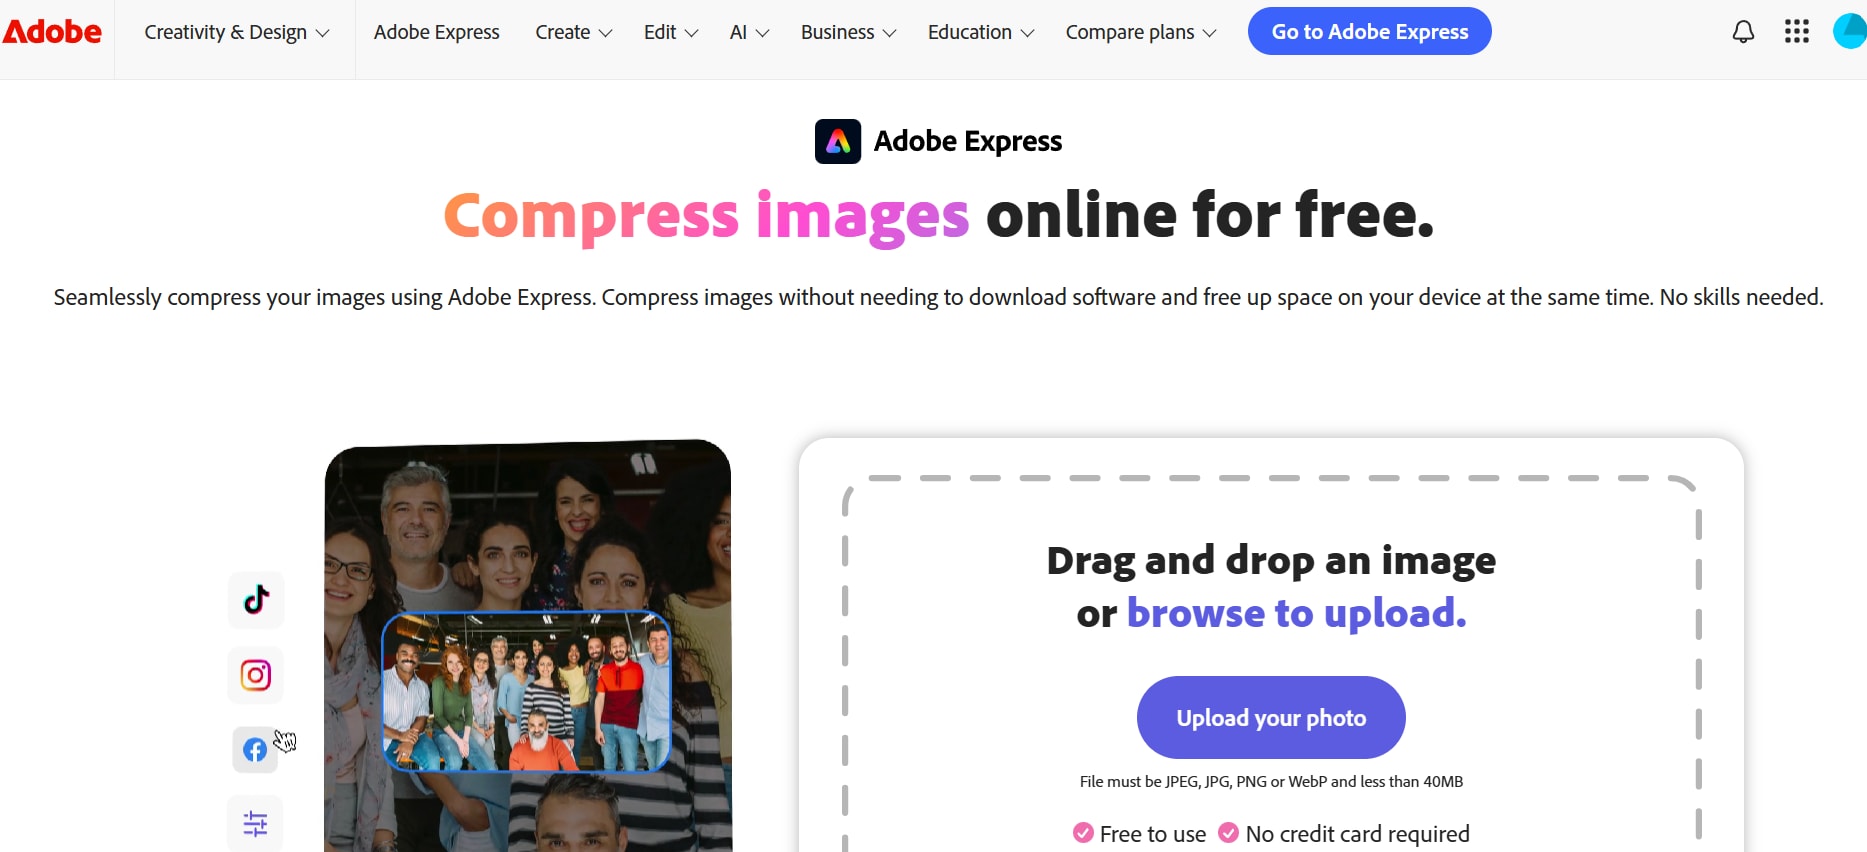
Adobe Express is a professional-grade image compression tool that ensures high-quality results while reducing file sizes. It is designed for users who need optimized images for websites, social media, or digital marketing without noticeable quality loss. The platform offers customizable compression settings, allowing users to balance file size and clarity based on their specific needs. With Adobe’s advanced optimization technology, users can achieve efficient compression while maintaining the sharpness and vibrancy of their images.
Features
- Customizable Compression Levels: Users can choose between low, medium, and high compression settings to achieve the best balance between file size and image quality.
- High-Quality Optimization: The tool applies Adobe’s advanced image processing algorithms to reduce file size while preserving details, making it ideal for professional use.
- Supports JPG and PNG Formats: Works with two of the most widely used image file types, ensuring compatibility with various digital platforms.
- Fast and Cloud-Based: Since it is a browser-based tool, users can compress images without installing any software, making it accessible from any device.
- Seamless Integration with Adobe Tools: As part of the Adobe ecosystem, it works well alongside other Adobe Express features, offering additional design and editing options.
User Reviews
- Adobe Express provides high-quality compression with customizable settings, making it perfect for professional use.
- The tool is simple to use, and the compressed images look just as sharp as the originals, even after significant file size reduction.
- I love how fast and efficient the compression process is, and the seamless integration with other Adobe tools makes it even more valuable.
How to reduce image size with Adobe Express
Step 1: Upload your image
Access the Adobe Express image compressor and click the upload your photo button to add an image from your device. The tool supports JPG and PNG formats, making it suitable for high-resolution images.
Step 2: Choose compression level
Select a compression setting from low, medium, or high, depending on the required quality and file size. The tool processes the image with Adobe’s advanced optimization technology to maintain sharpness.
Step 3: Download the compressed image
Once the image is processed, the tool provides a comparison of the original and reduced file sizes. Click the download button to save the optimized image without compromising clarity.
Part 2:How to Reduce Image Size Offline for Better Performance
Offline image compression tools are ideal for users who need privacy, faster processing, and flexibility in handling large files. Unlike online tools, these software solutions do not require an internet connection, making them more reliable for bulk image processing. Here are five top offline tools that provide efficient image size reduction while maintaining quality.
1. UniConverter
UniConverter is a multifunctional multimedia tool that includes an image converter for optimizing image sizes. It allows users to modify image formats, adjust resolution, and tweak quality settings to achieve smaller file sizes. With batch processing and format compatibility, it provides an efficient offline solution for resizing and compressing images. The tool ensures high-quality output, making it a reliable choice for both personal and professional use.

Best Image Compressor
Features
- Image Format Conversion: UniConverter supports a wide range of image formats, allowing you to convert images between formats like JPG, PNG, BMP, TIFF, and more.
- Batch Image Processing: You can add multiple images and convert or compress them simultaneously, saving significant time and effort.
- Image Size and Quality Adjustment: UniConverter allows you to control the output image size and quality, effectively enabling image compression by reducing file size while maintaining desired visual quality.
- Customizable Output Settings: Users can customize various output settings, including resolution, quality, and format, to tailor the image processing to their specific needs.
- Simple and User-Friendly Interface: UniConverter's interface is designed to be intuitive, making it easy for users of all skill levels to perform image conversion and compression tasks.
User Reviews
- UniConverter’s image conversion tool is excellent for optimizing images without losing too much quality.
- The ability to batch resize and change formats makes this a great tool for handling multiple images at once.
- I appreciate the simple interface and customization options, which let me adjust settings easily before compression.
How to reduce image size with UniConverter
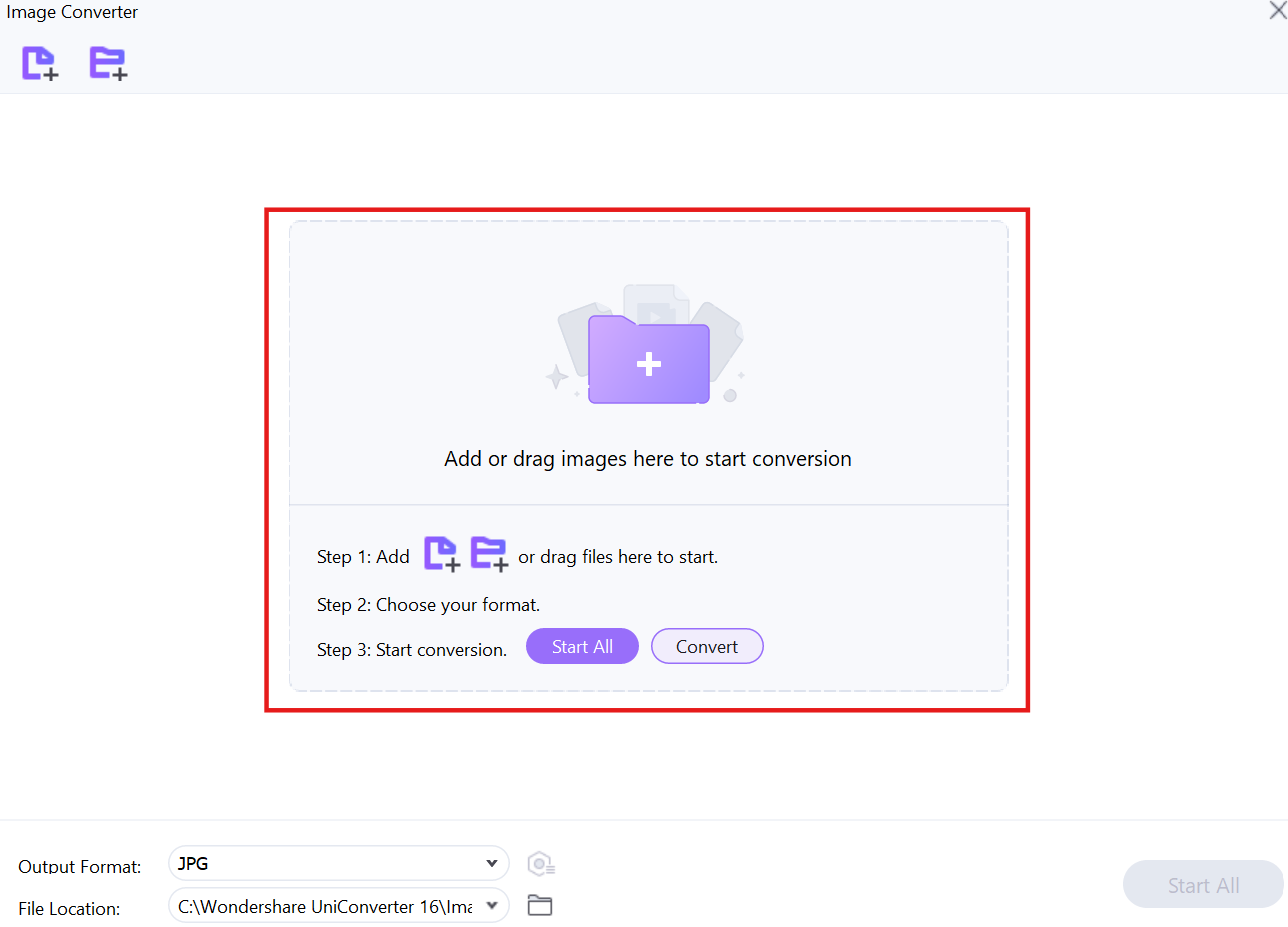
Step 1: Open UniConverter and Access the Image Converter
Open Wondershare UniConverter on your computer and navigate to the image section. From the available options, select Image Converter, which allows you to modify image formats and adjust settings for optimization.

Step 2: Add Images
Click on the Add Files button to upload the images you want to compress. You can select multiple images or an entire folder for batch processing, making optimization faster. The tool supports various formats like JPG, PNG, BMP, and TIFF for flexibility.
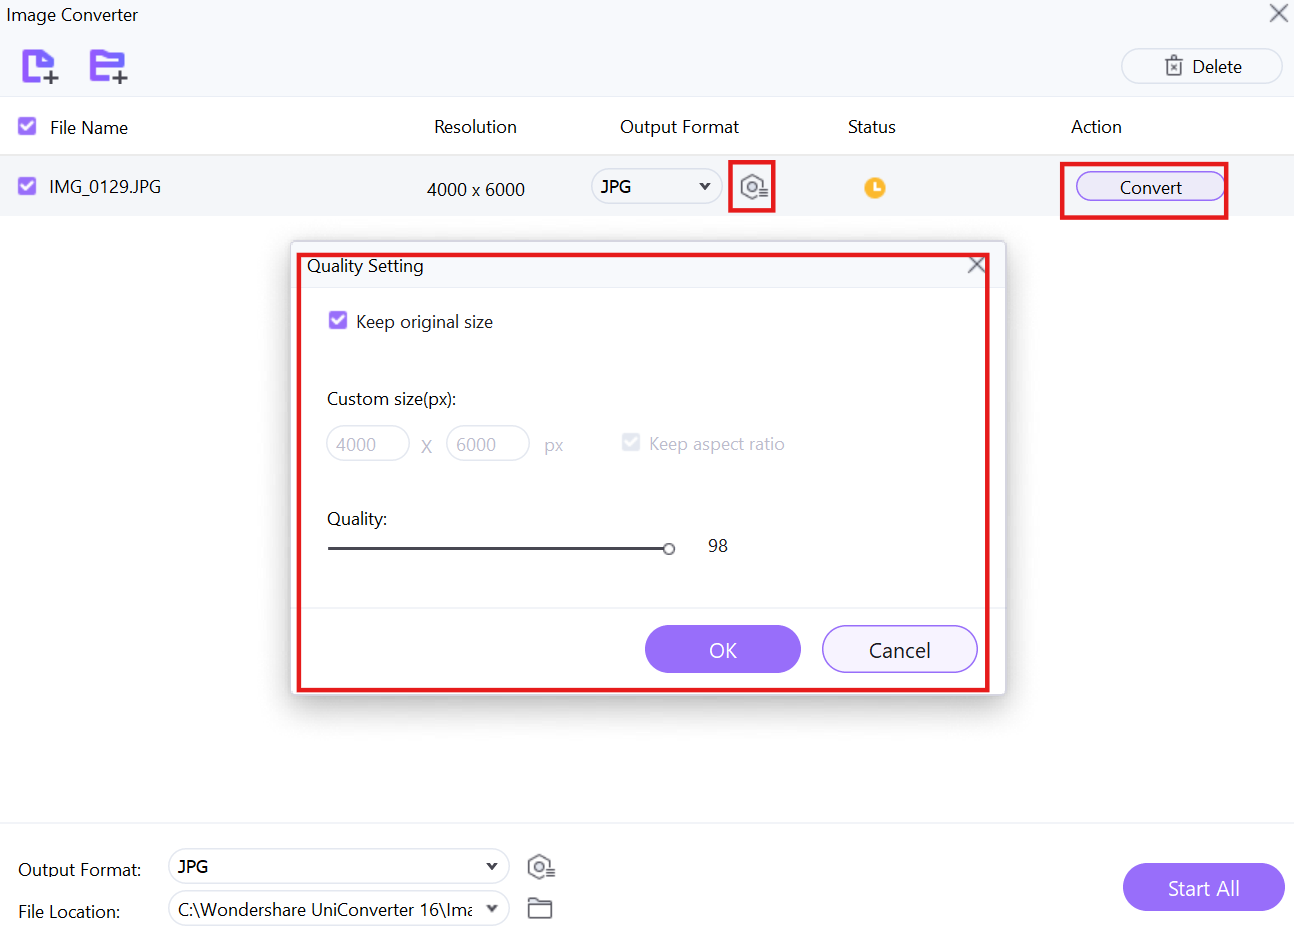
Step 3: Adjust Compression Settings and Compress
After uploading images, Click on the settings (gear) icon to adjust parameters such as output format, resolution, and quality. Lowering the resolution and quality settings will help reduce the file size while maintaining acceptable visual clarity. Once configured, click the Convert button to begin the compression process, and the optimized images will be saved in the designated output folder.
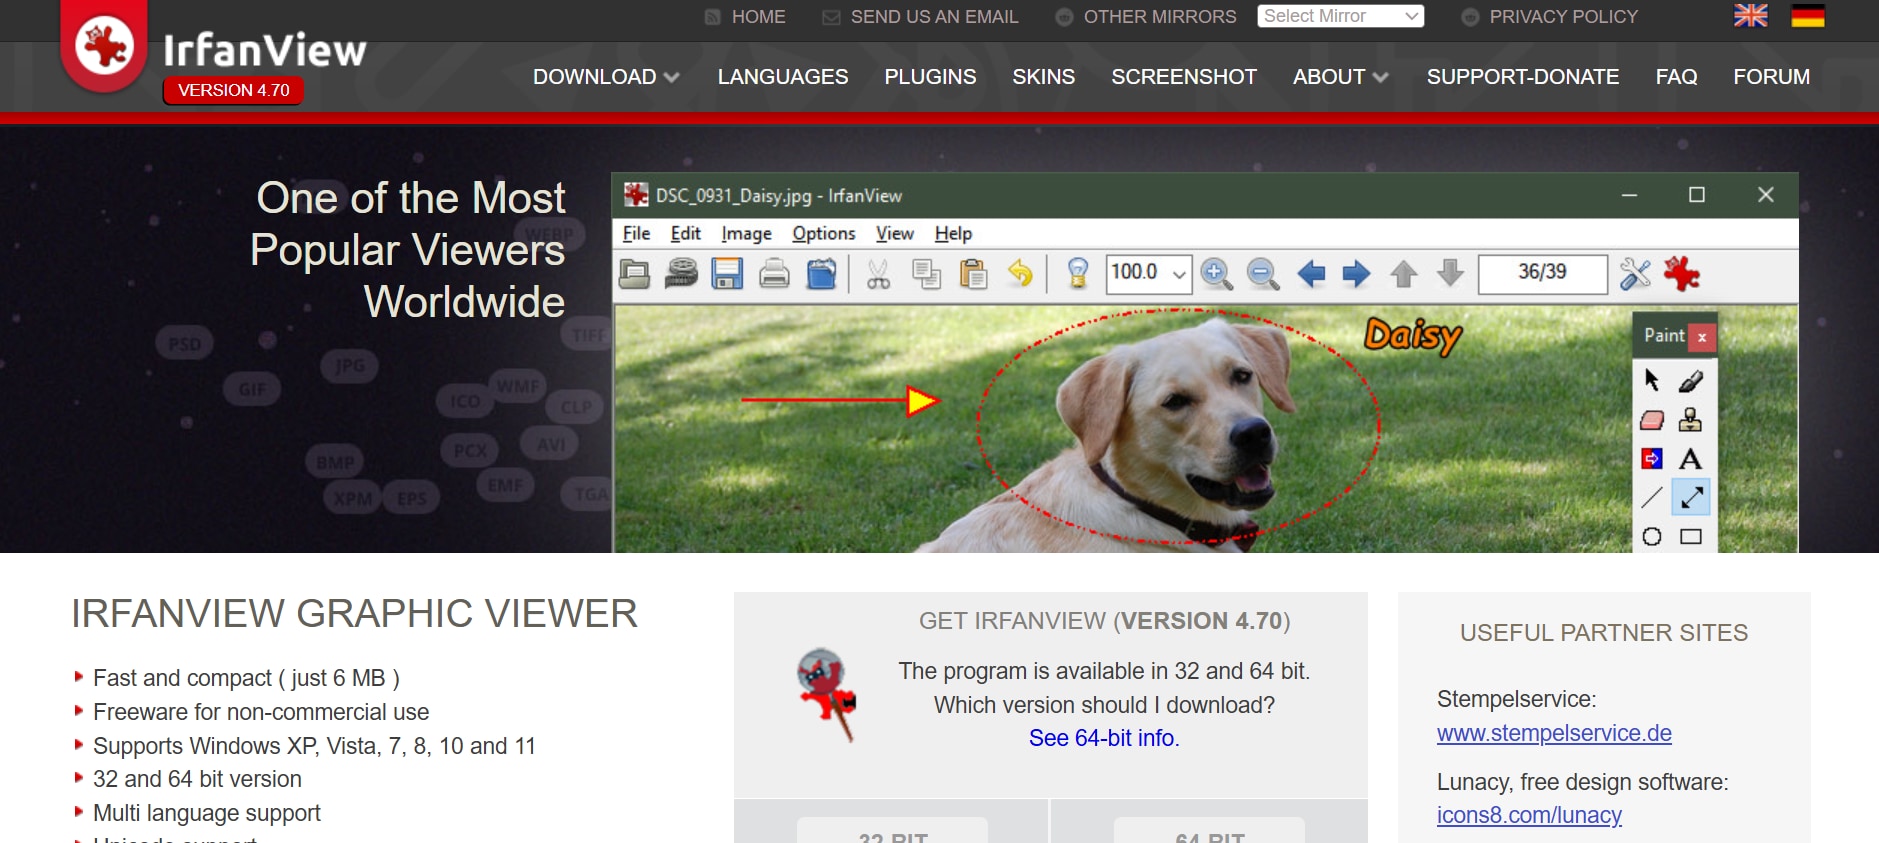
2. IrfanView
IrfanView is a lightweight and efficient image viewer and editor that also offers compression and resizing capabilities. It is designed to handle multiple image formats and provides basic editing tools for quick optimizations. The tool is particularly useful for users who need a fast, no-frills approach to reducing image sizes. Its batch processing feature makes it a convenient choice for handling large numbers of files.
Features
- Quick Image Resizing: Adjusts image dimensions for optimized file sizes without affecting quality significantly.
- Batch Compression Support: Allows multiple images to be compressed at once, saving time.
- Multiple Format Compatibility: Works with JPG, PNG, BMP, TIFF, and other common image types.
- Basic Editing Tools: Includes cropping, color adjustments, and text overlay options.
- Low Resource Usage: Runs efficiently on most computers without consuming too many system resources.
User Reviews
- IrfanView is a great lightweight tool that gets the job done quickly and efficiently.
- The batch processing feature saves me a ton of time when optimizing multiple images at once.
- It’s simple, effective, and doesn’t require any complicated setup.
How to reduce image size with IrfanView
Step 1: Open the image in IrfanView
Launch IrfanView on your computer and open the image you want to compress by clicking on the file menu and selecting open. You can also drag and drop the image directly into the software.
Step 2: Adjust compression and quality settings
Go to the file menu and select save as or export, then choose your preferred output format. Adjust the compression slider to reduce the file size while maintaining acceptable quality.
Step 3: Save the optimized image
Once you have configured the compression settings, click save to store the resized image in your desired location. The software will process the file instantly, reducing its size based on your settings.
3. XnView MP
XnView MP is a powerful image viewer and converter that offers extensive compression and resizing options. It supports over 500 file formats, making it one of the most versatile image tools available. Users can modify image quality, change formats, and apply bulk edits to optimize file sizes effectively. Its user-friendly interface and advanced editing capabilities make it a preferred choice for professionals and hobbyists alike.
Features
- Supports Over 500 Formats: Compatible with a vast range of image types, including RAW files.
- Customizable Compression Settings: Users can manually adjust quality, format, and metadata settings for optimal results.
- Lossless and Lossy Compression: Provides both options, ensuring flexibility in optimizing images.
- Batch Processing and Renaming: Users can resize and rename multiple images in one session.
- Built-in Editing Tools: Offers cropping, filters, and color adjustments for enhanced image optimization.
User Reviews
- XnView MP is my go-to tool for handling large image collections with ease.
- The compression options are fantastic, allowing me to choose exactly how much I want to reduce my files.
- It’s a feature-rich image viewer that doubles as a great compressor.
How to reduce image size with XnView MP
Step 1: Load images into XnView MP
Open XnView MP and navigate to the image you want to compress. You can either open a single image or select multiple images for batch compression.
Step 2: Configure compression and resizing options
Go to the tools menu and select batch convert. Adjust the compression settings, format type, and resolution to reduce the file size efficiently. You can also remove metadata to save additional space.
Step 3: Export and save the compressed images
Click the start button to apply the compression and conversion settings. Once the process is completed, the optimized images will be saved in your designated output folder.
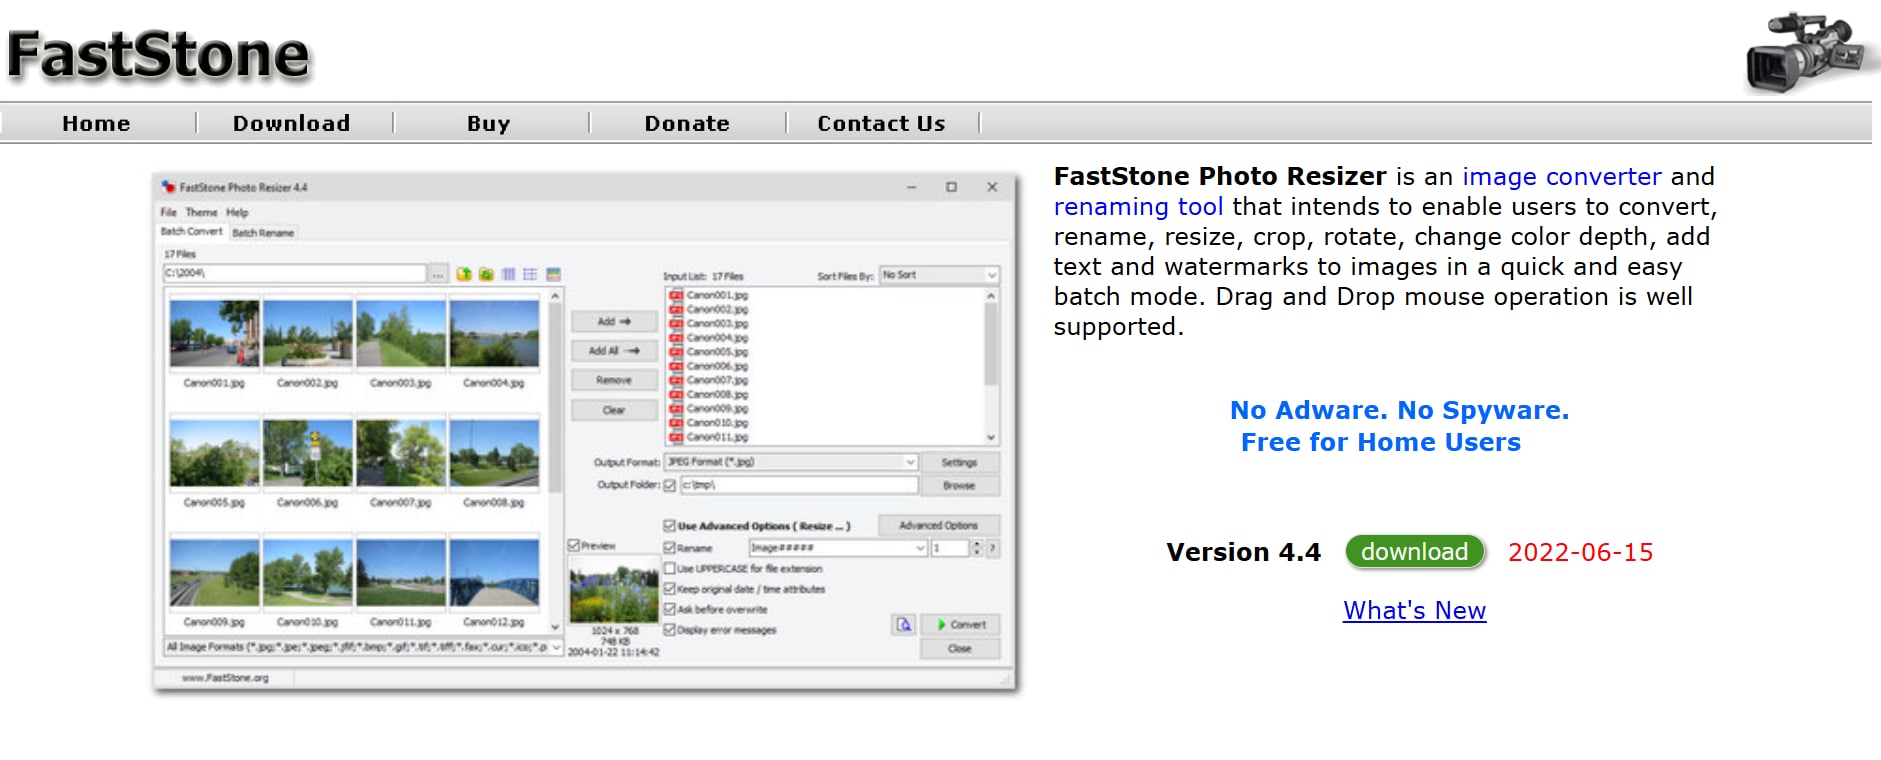
4. FastStone Image Viewer
FastStone Image Viewer is an intuitive and fast image management tool that includes resizing and compression features. It provides an easy way to shrink file sizes while offering additional enhancements such as color correction and cropping. Designed for efficiency, it supports a wide range of file formats and offers an excellent balance between usability and functionality.
Features
- Quick and Simple Compression: Reduces file sizes with minimal steps, making it user-friendly.
- Multi-Format Support: Works with JPG, PNG, TIFF, and other common formats.
- Screen Capture Integration: Includes a built-in screenshot tool for quick image capturing and editing.
- Slideshow and Image Viewing Mode: Offers a smooth browsing experience with slideshow functionality.
- No Installation Required: A portable version is available, allowing users to run it without installation.
User Reviews
- FastStone Image Viewer is a fantastic all-in-one tool for image compression and editing.
- The portable version makes it easy to carry and use on different computers.
- I love how intuitive it is, with great features that make image compression effortless.
How to reduce image size with FastStone Image Viewer
Step 1: Open the image in FastStone Image Viewer
Launch the software and navigate to the image you wish to compress. You can open the file directly or select multiple images for batch processing.
Step 2: Adjust image quality and dimensions
Click on the resize/resample option under the edit menu. Modify the resolution and compression settings based on your requirements, ensuring a balance between file size and clarity.
Step 3: Save the compressed image
Once satisfied with the settings, click on save as and choose the desired format. Adjust the quality slider if needed, then click save to store the optimized image on your computer.
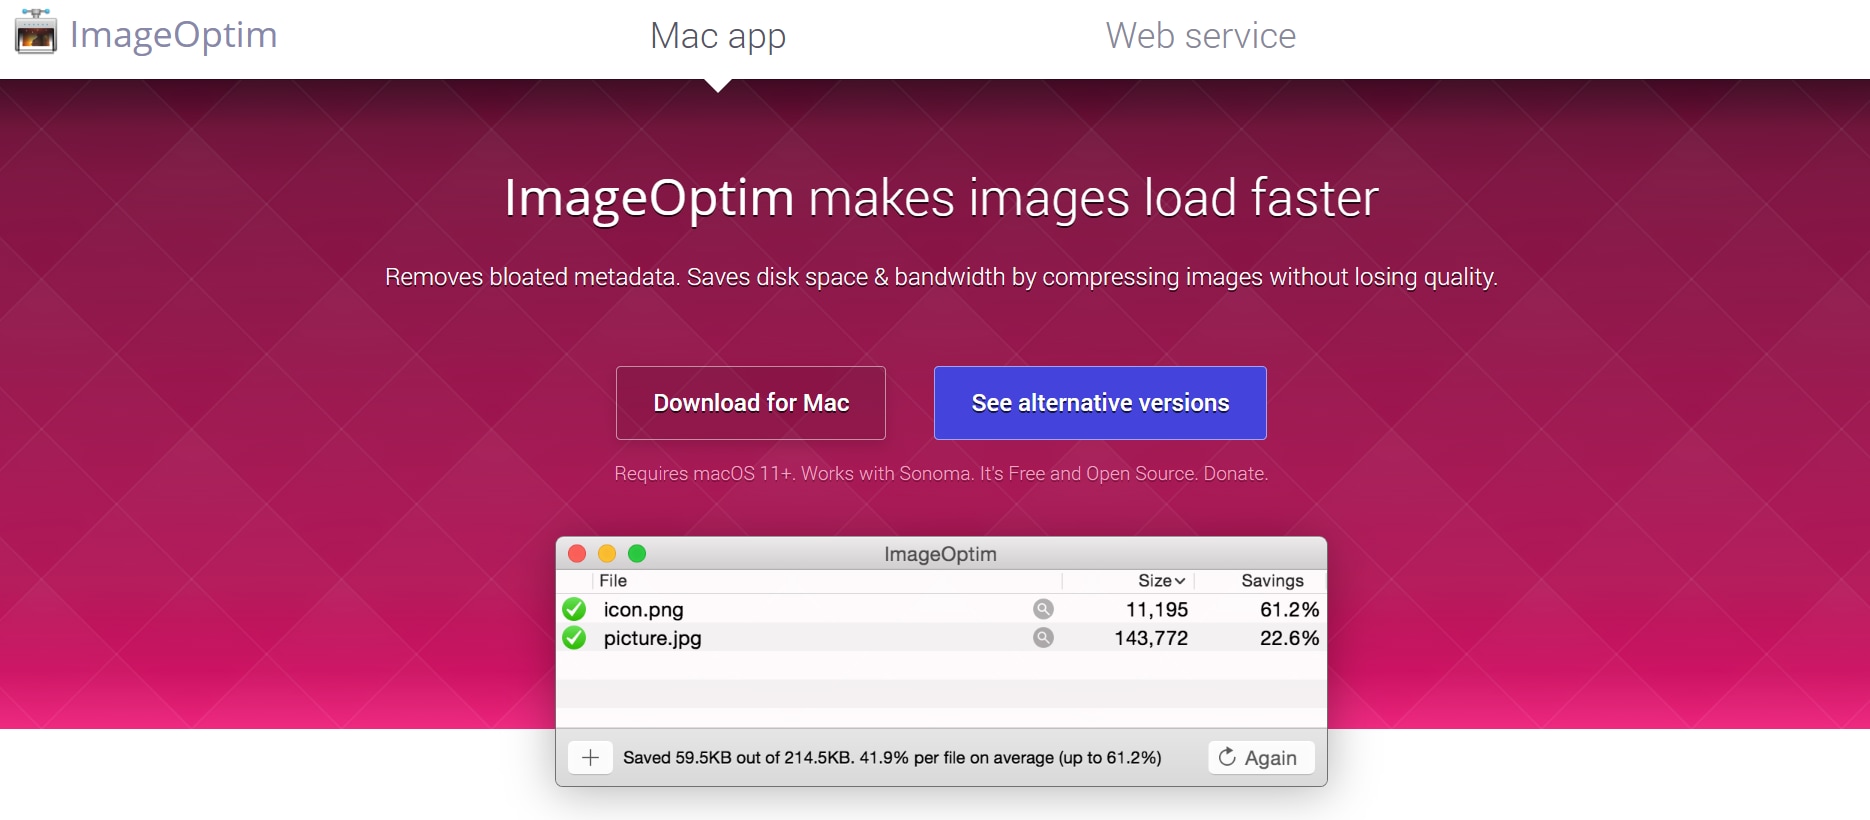
5. ImageOptim
ImageOptim is a macOS-exclusive image compression tool designed for users who need high-quality results with minimal file sizes. It is widely used by web developers and designers to optimize images for the web. The software removes unnecessary metadata, applies lossless compression, and provides an intuitive drag-and-drop interface for easy use.
Features
- Lossless Compression: Optimizes images while preserving full quality.
- Drag-and-Drop Functionality: Simplifies the compression process with an intuitive interface.
- Metadata Removal: Deletes unnecessary data such as EXIF information to reduce file sizes further.
- Multi-Format Support: Works with PNG, JPG, GIF, and WebP formats.
- Ideal for Web Optimization: Compresses images specifically for faster web loading times.
User Reviews
- ImageOptim is a must-have for macOS users who need quick and efficient image compression.
- I love how it automatically strips out metadata while keeping the image quality intact.
- The drag-and-drop feature makes it one of the easiest compression tools to use.
How to reduce image size with ImageOptim
Step 1: Add images to ImageOptim
Open ImageOptim on your Mac and drag and drop the images you want to compress into the application window. The tool supports PNG, JPG, and GIF formats.
Step 2: Apply compression and metadata removal
The software will automatically start processing the images, applying lossless compression techniques. It also removes unnecessary metadata, reducing the file size further.
Step 3: Save the optimized image
Once the compression process is complete, the reduced-size images will automatically replace the originals. If needed, you can adjust the compression settings from the preferences menu for better optimization.
Part 3:Best Practices for Maintaining Quality while Reducing Image Size
Reducing image size is essential for faster loading speeds, improved storage efficiency, and seamless sharing, but maintaining visual quality is equally important. Using the right techniques ensures that images remain sharp and clear even after compression. Below are some best practices to help you optimize images effectively while preserving quality.
- Choose the Right File Format: Use JPG for photos, PNG for graphics with transparency, and consider WebP for superior compression.
- Optimize Compression Levels: Find the balance between file size and quality by experimenting with compression settings, and use multiple small compressions, rather than one large one.
- Resize Appropriately: Resize images to the exact dimensions needed for display, avoiding unnecessary upscaling or excessively large files.
- Preview and Compare: Always preview compressed images alongside the originals to ensure acceptable quality and check for any noticeable artifacts.
- Remove Unnecessary Metadata: Strip away metadata like camera settings and location data to further reduce file size without impacting visual quality.
Part 4:The Perfect Image Size for Every Purpose
Choosing the right image size is crucial for maintaining quality while ensuring fast loading times, efficient storage, and optimal display on different platforms. The ideal image dimensions vary depending on their intended use, whether for web pages, social media, print, or emails. Below is a guide to the recommended image sizes for different applications.
- Website and Blog Images
- Recommended size: 1200 x 628 pixels (for featured images)
- File size limit: Under 300 KB
- Best format: JPEG or WebP
- Reason: Keeps pages lightweight and improves loading speed without losing clarity.
- Social Media Posts
- Instagram: 1080 x 1080 pixels (square), 1080 x 1920 pixels (story)
- Facebook: 1200 x 630 pixels (post), 1640 x 624 pixels (cover)
- Twitter/X: 1600 x 900 pixels (post), 1500 x 500 pixels (header)
- Best format: PNG or JPEG
- Reason: Ensures clear and high-resolution images that fit platform guidelines.
- E-Commerce Product Images
- Recommended size: At least 1000 x 1000 pixels (zoomable images)
- File size limit: 500 KB or less
- Best format: JPEG or PNG
- Reason: Allows for zoom-in functionality while keeping images lightweight for online stores.
- Email Attachments and Newsletters
- Recommended size: 600 x 400 pixels (for banners and inline images)
- File size limit: Under 200 KB
- Best format: JPEG
- Reason: Ensures emails load quickly while displaying images clearly across different devices.
- Print and High-Resolution Graphics
- Recommended size: 300 DPI (dots per inch) resolution
- Standard sizes:
- A4 prints: 2480 x 3508 pixels
- Posters: 3300 x 5100 pixels (11x17 inches)
- Best format: PNG or TIFF
- Reason: Maintains sharp details and high quality for professional printing.
Conclusion
Optimizing image size is essential for improving website speed, reducing storage usage, and ensuring smooth sharing across different platforms. This guide covered effective ways to reduce image size both online and offline while maintaining quality. From choosing the right compression tools to following best practices and selecting the ideal dimensions, optimizing images correctly ensures clarity and efficiency. For a powerful and user-friendly solution, UniConverter offers an all-in-one tool for resizing, compressing, and converting images effortlessly. Its batch processing and adjustable settings make image optimization seamless. Additionally, UniConverter provides extra features like the AI Thumbnail Maker, which helps create stunning thumbnails, and the Background Remover, which allows for clean edits without hassle. With these tools, UniConverter is the perfect choice for anyone looking to enhance their images while keeping file sizes manageable.
FAQs
1. Why is reducing image size important?
Reducing image size helps improve website loading speed, saves storage space, and makes it easier to share images via email or social media without compromising too much quality.
2. Can I resize an image after compressing it?
Yes, you can resize an image after compressing it. However, it's generally best to resize first and then compress to avoid unnecessary processing and potential quality loss.
3. How do I choose the right image compression settings?
Adjust quality settings based on usage—higher quality for printing, medium compression for social media, and strong compression for emails and websites to ensure a balance between size and clarity.
4. Can I compress multiple images at once?
Yes, many tools like UniConverter, XnView MP, and ILoveIMG offer batch compression, allowing you to optimize multiple images in one go to save time.
5. What is the best format for compressed images?
JPEG is ideal for photographs due to its efficient compression, while PNG is better for images requiring transparency. WebP offers superior compression with high quality for web use.

