
Let’s face it - large files - whether documents, videos, photos, or apps - can quickly eat up your Mac storage space. And this can cause several problems, including slow performance, unexpected crashes, etc.
One of the best ways to manage your Mac storage space is to make the files smaller.
So, to help you out, we’ve created this comprehensive guide explaining various ways to make files smaller on Mac without compromising their quality.
In this article
Part 1: How to Compress Documents & PDFs on Mac
There are two main ways to compress a document file to make it smaller on a Mac computer. The methods have been explained below;
Method 1: Preview App
The Preview app is a built-in utility app on Mac that allows you to view and edit images and PDF documents without complications. Here is how to use it to compress a document file on Mac;
Step 1: Open the PDF document on your Mac using the “Preview app.”
Step 2: Click on the “File” menu in the preview page and select “Export.”
Step 3: Choose “Quartz Filter” in the menu and click on “Reduce File Size.”
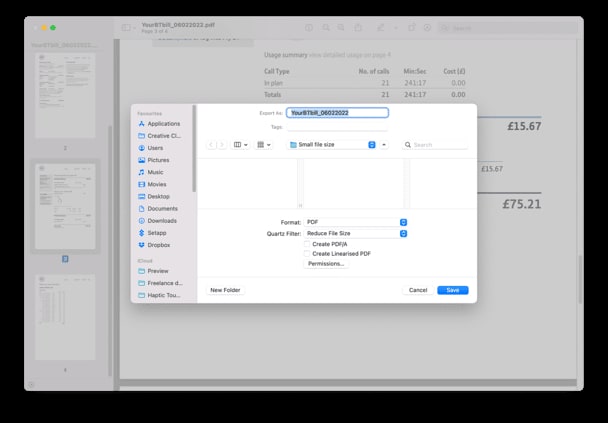
Step 5: Enter a new name for the file and click on “Save” to finish.
Method 2: Microsoft Word/Pages
For users looking to compress Word files or pages on Mac, the Microsoft Word app is the ultimate tool to get the task done. See the steps below;
Step 1: Open the “word file” on your Mac and navigate to “File” in the menu.
Step 2: Choose “Reduce File Size..”
Step 3: In the “Compress Pictures” dialog box that pops up, choose a preferred “Picture Quality.” Then, check the option that says “Delete cropped areas of pictures.”
Step 4: Click “OK” to save the reduced version of the file.
Part 2: How to Make a Image File Size Smaller on Mac
You can also compress image files to make them smaller on Mac, and the two ultimate tools for this task are the built-in preview/photos app and the Wondershare Uniconverter software.
Tool 1: Preview App
The preview app can also come in handy to reduce image file size on Mac, and here is how;
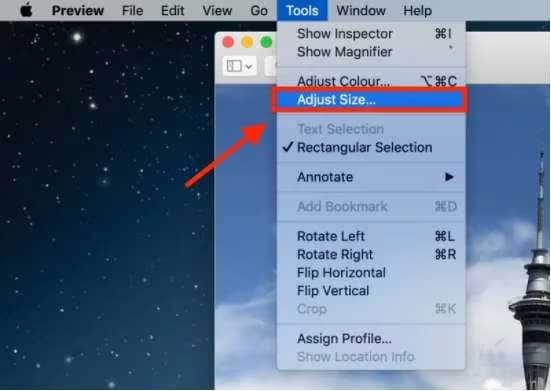
Step 1: Locate the “Photo(s)” that you wish to resize. Then, right-click on it, select “Open With” and choose it using the “Preview app.”
Step 2: In the “Preview app window,” click on “Tools” and select “Adjust Size.”
Step 3: Choose how you’d like to adjust the image. You can adjust the size by percentage, pixel, points, etc.
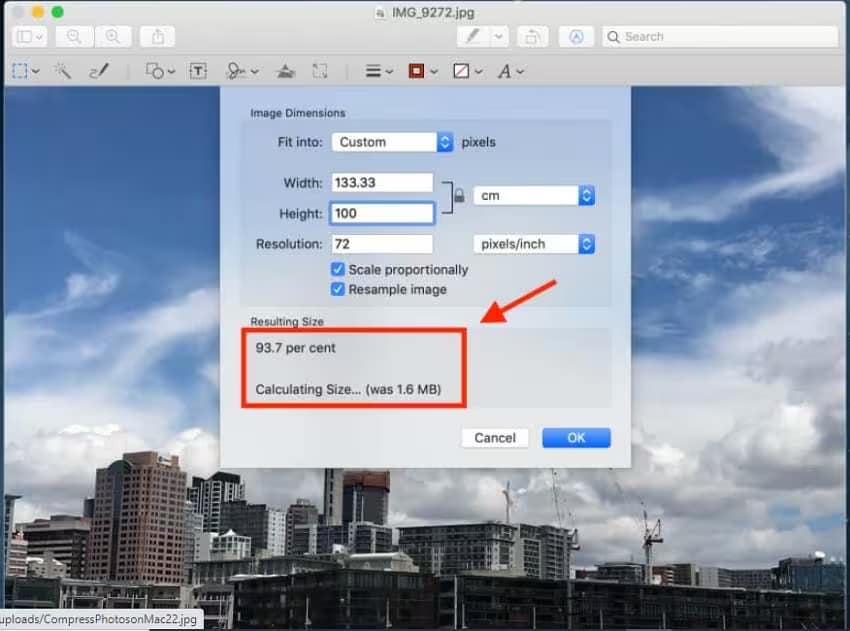
Step 4: Enter the preferred “Height” and “Width” for the image and click “Ok” to save the image.
Tool 2: UniConverter
If you’re looking for a more efficient way to reduce image size on Mac using professional tools, Uniconverter is one of the best tools that makes the process a breeze.
Uniconverter allows you to compress your images losslessly, and it offers a toolbox with many interesting features like batch compress that allows you to compress multiple images quickly in just a single click. It’s also very easy to use.
Key Features
-
Batch compress images in a single click without reducing quality.
-
Allows you to customize the image output file.
-
Straightforward user interface.

Best Image Compressor
Here are the steps to use Uniconverter to compress images on Mac;
Step 1: Launch the “Uniconverter software” on your Mac, click on “Images,” and select “Image Converter.”
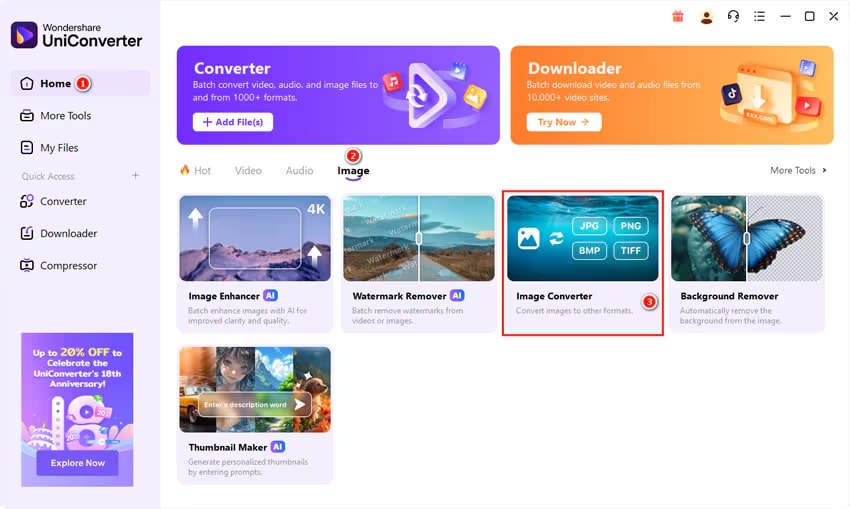
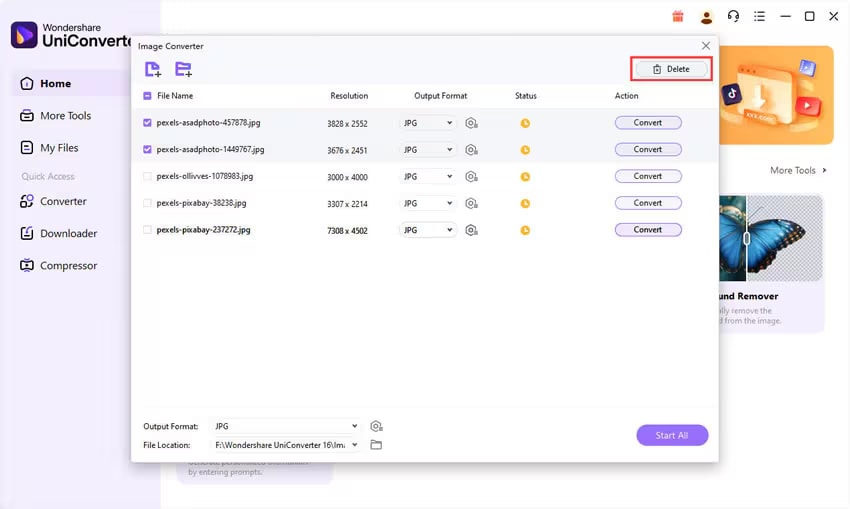
Step 2: Upload the images that you want to resize by clicking the “Add” icon.
![]()
Step 3: Next, select the preferred file size for the images. Click on the “settings icon” next to “Output format” (at the bottom-left side) and disable the checkbox next to the “Keep original size” and select a preferred image size.
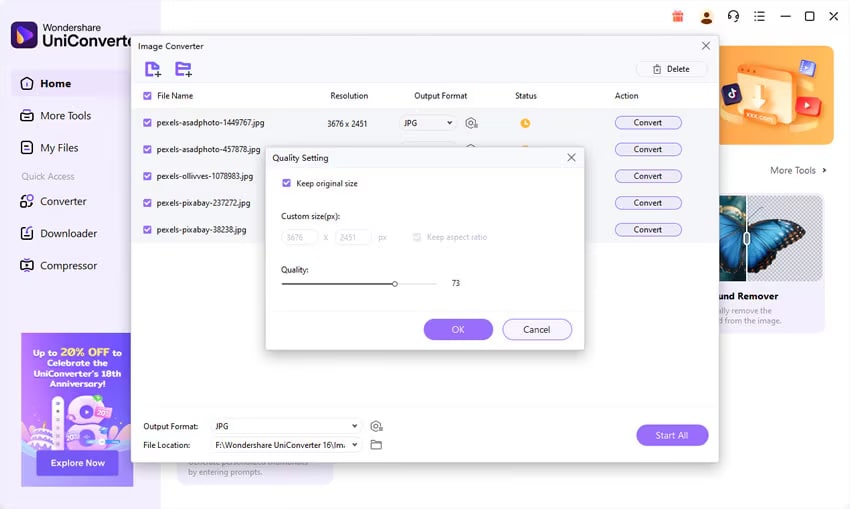
-
You can also customize the image quality if needed. You just need to move the slider to the Quality section to change the file quality.
-
Click on OK to confirm the changes.
Step 4: Finally, click the “Start All” button to compress the images.
Part 3: How to Reduce a Video File Size on Mac
If you have Hi-Res video (4k or 1080p) files saved on your Mac and want to reduce their size, don’t panic. We’ve shared various techniques you can use to reduce video file size on Mac below;
Tool 1: UniConverter
Besides compressing images, Uniconverter can also compress Hi-Res videos without reducing quality. And the best part? It can batch-compress videos of any size with lightning-fast speed. Follow the steps below to use Uniconverter to reduce your video file size:
Best Video/Audio Compressor
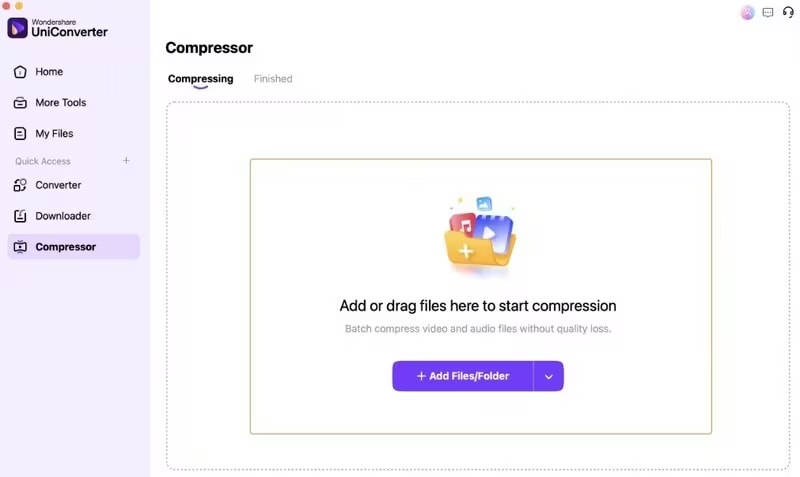
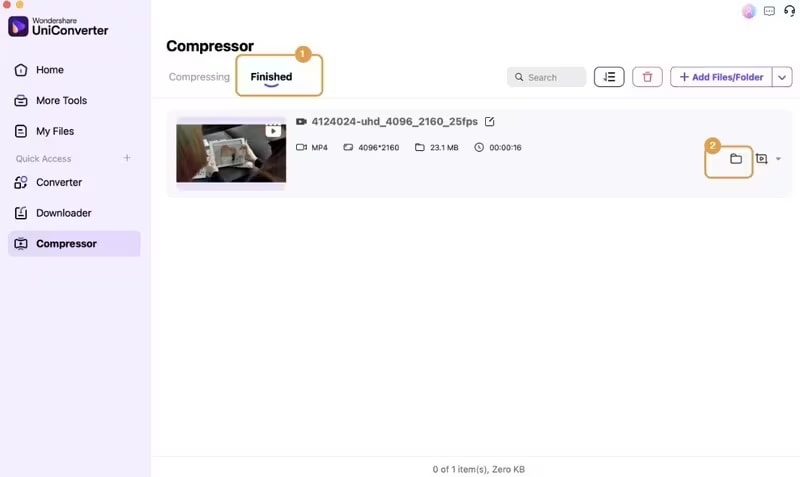
Step 1: Open the “Uniconverter software” and select “Compressor” from the home interface.

Step 2:Import the “Video File(s)” that you want to compress using the “Add File” button.
Step 3: Once the videos are successfully uploaded, hit the “Compress All” button to initiate the compression process.
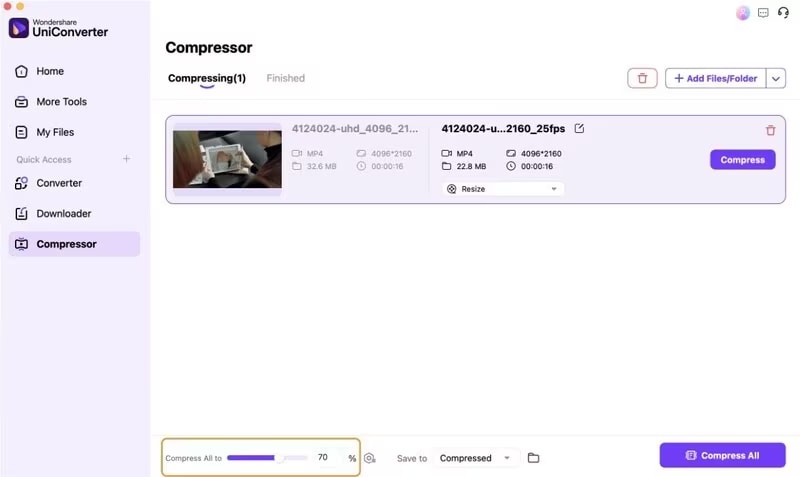
Step 4: Once the tool completes the video compression, save the files on your computer.
Tool 2: QuickTime Player
Apple QuickTime player is another open-source program on the system that allows you to compress files (specifically videos) efficiently. It enables you to export your videos in different resolutions, such as 420p, 720p, 1080p, and audio only. The only catch is that it’ll reduce your video quality.
Step 1: Open your video file using the QuickTime utility tool.
Step 2: Navigate to the “Menu bar” and select “File.” Then “Export As.”
Step 3: Select the resolution that’s less than the video’s current resolution. Click “Save” to finish.
Part 4: How to Compress Files on Mac: Folders & Archives
Folders and archives are also files that can take up your Mac disk space quickly. But the good news is you can reduce their file size to free up space. Here is how:
Method 1: Archive Utility
Archive Utility is a built-in tool in the Mac operating system that allows you to compress and expand files in the background without opening the utility window itself. To use the Archive utility tool to make your folder or archives smaller, follow the steps below;
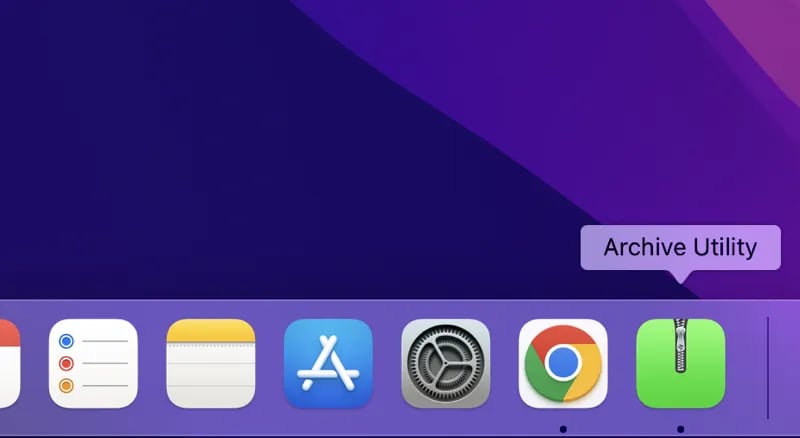
Step 1: Open the “Archive Utility” program on your Mac.
Step 2: Click on “File” in the “Menu bar” and select “Create Archive.”
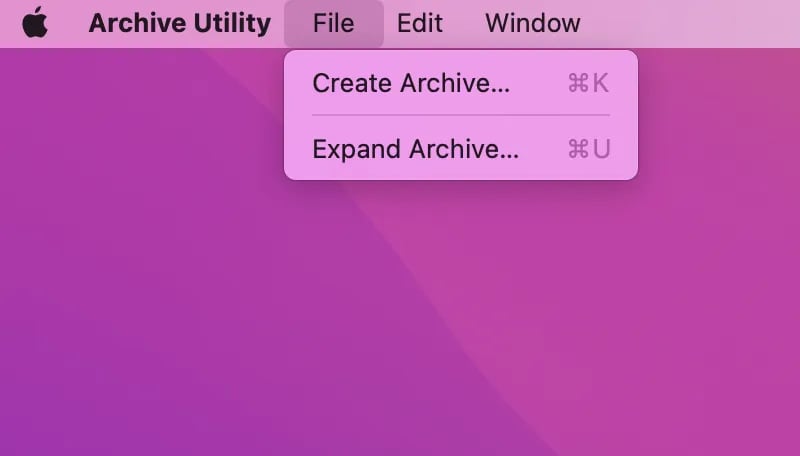
Step 3: Select the “Archive and Folder” that you want to compress and click on the “Archive” button to compress them.
Method 2: Keka
Keka is a popular free third-party app that facilitates seamless compression of archives and folders on Mac, and it supports different file formats, including 7z, ZIP, Tar, Gzip, etc.
Here are steps to use Keka compress folders and archives:
Step 1: Install the “Keka tool” from the official website or the Mac App Store.
Step 2: Drag and drop the archives or folders that you want to compress into the Keka window.
Step 3: Choose the compression format and adjust relevant settings according to your needs.
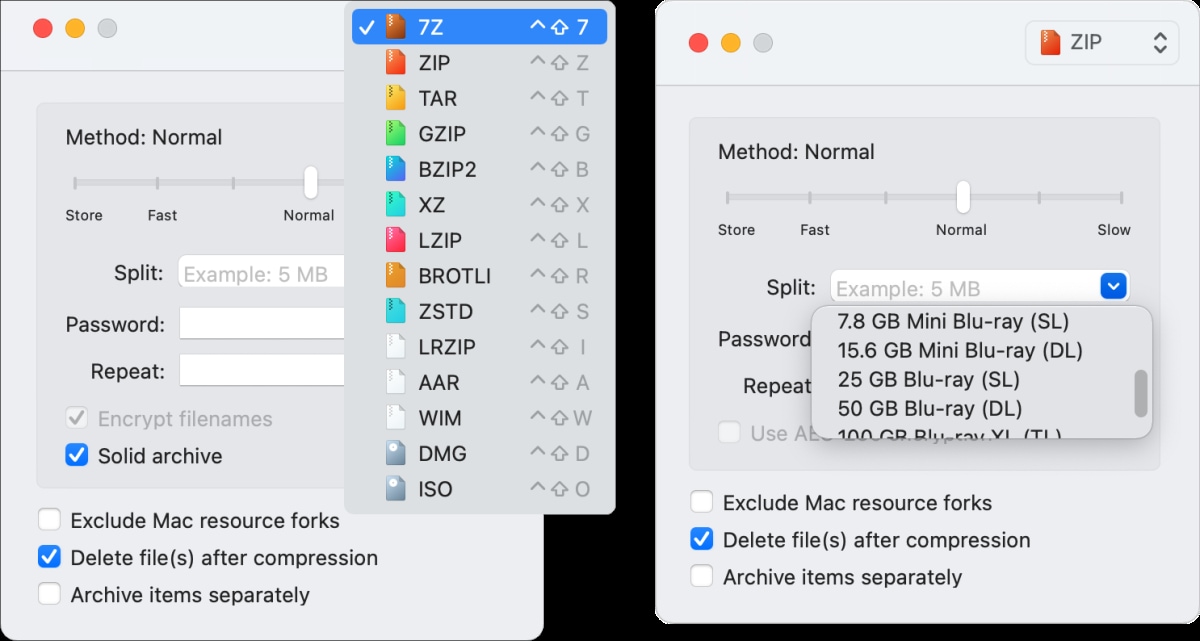
Step 3: Hit the “Compress button” to create the archive.
FAQs about Compressing Files on Mac
How to Compress Multiple File Types at Once?
The most effective way to compress multiple file types on Mac is to Zip them all together into one file.
Why Can’t I Compress Files on My Mac?
The main reason why you might be able to compress files on Mac is because you’ve limited permission to the file. The ultimate way to fix the issue is by changing the files permissions.
How Do I Reduce the Size of a Zip File on Mac?
There are several ways to reduce the size of a Zip on Mac. You can either use an online tool or the Finder app.
Here is how to use Finder app for the task;
-
Open “Finder app” on your Mac and find the ZIP file that you want to resize.
-
Right-click on the file and select “Compress X item” (X represents the name of the item) from the drop-down menu.
-
Wait for the compression to be complete and save the file.
Conclusion
We believe you now understand how to compress files on Mac using different techniques.
In the article, we shared the best methods for compressing document files, images, videos, archives, and folders. The best part is that you don’t need to be tech-savvy to apply any of the methods we’ve shared.
Ultimately, we recommend using the Uniconverter software file compressor if you want to bulk reduce the size of files.

