

In today’s fast-paced digital world, image optimization has become essential for improving website performance, enhancing user experience, and saving valuable storage space. Compressing images efficiently—whether online or offline—helps reduce file sizes while maintaining quality, ensuring faster load times and better SEO rankings. This guide is designed to simplify the process, introducing you to the best tools and methods to achieve optimal results.
In this article
- Part 1: What Does Image Compression Mean and Why It Matters
- Part 2: Which Tools Can Help You Identify an Image's Size
- Part 3: Which Are the 5 Best Online Tools to Compress Your Image
- Part 4:Which Are the 5 Best Offline Tools to Compress Your Image
- Part 5: How to Enhance your Downloaded Image
- Part 6: Comparing Online and Offline Image Optimization Tools
- Conclusion
- FAQs
Part 1: What Does Image Compression Mean and Why It Matters
Image compression is the process of reducing the file size of an image by eliminating unnecessary data while preserving its visual quality as much as possible. This is achieved through various compression techniques, such as lossy (removing some image details) and lossless (preserving all details). Compressed images are smaller in size, making them faster to load and easier to store.
Why it matters:
- Improves Website Performance: Smaller image files lead to faster loading times, improving user experience and reducing bounce rates.
- Enhances SEO: Search engines favor fast-loading websites, giving optimized sites higher rankings.
- Saves Storage and Bandwidth: Reduced file sizes take up less server space and decrease bandwidth usage.
- Boosts Mobile Experience: Faster loading times on mobile devices improve usability and accessibility.
- Lower Bandwidth Usage: Smaller file sizes consume less data, making websites more accessible to users with limited internet speeds.
Part 2: Which Tools Can Help You Identify an Image's Size
Understanding an image's size is crucial for optimizing it for various platforms and uses. Here are some reliable tools to quickly check and analyze image dimensions with ease.
- Windows File Explorer (Windows): Right-click the image file and select Properties. The Details tab will show the image's dimensions and file size.
- macOS Finder (Mac): Right-click the image and select Get Info. It will display the image's dimensions and file size.
- Adobe Photoshop (Windows/macOS): Open the image in Photoshop, go to Image > Image Size, and it will show both the dimensions (width and height) and the file size of the image.
- GIMP (Windows/macOS/Linux): Open the image in GIMP, go to Image > Scale Image, and it will display the image’s dimensions. The file size can be seen by exporting the image and checking the file properties.
- Paint (Windows): Open the image in Paint, go to File > Properties, and it will show the image’s dimensions (in pixels) and file size.
- Online Image Size Checker - ImageResizer.com (Web): Upload an image to ImageResizer.com, and it will display the image's dimensions and file size.
- TinyPNG (Web): Upload an image to TinyPNG (even if you don’t compress it), and it will show the original file size and the dimensions before and after compression.
- IrfanView (Windows): Open the image in IrfanView and press I for image information. This will display the image's dimensions, file size, and other properties.
- EXIF Viewer (Web): Use an EXIF viewer like EXIF.tools to upload your image. It will provide detailed metadata, including the dimensions and file size.
- FastStone Image Viewer (Windows): Open the image in FastStone Image Viewer, and right-click the image to select Properties. It will show both the image’s dimensions and file size.
- ImageMagick (Windows/macOS/Linux): Use the command identify -verbose yourimage.jpg in ImageMagick to get detailed information about an image, including dimensions and file size.
- Online Image Size Finder - Img2Go (Web):Upload an image to Img2Go, and it will show the image's dimensions and file size immediately
Part 3: Which Are the 5 Best Online Tools to Compress Your Image
Compressing images helps reduce file size while maintaining quality, making them ideal for web use and sharing. Here are five top online tools to streamline your image compression needs effortlessly.
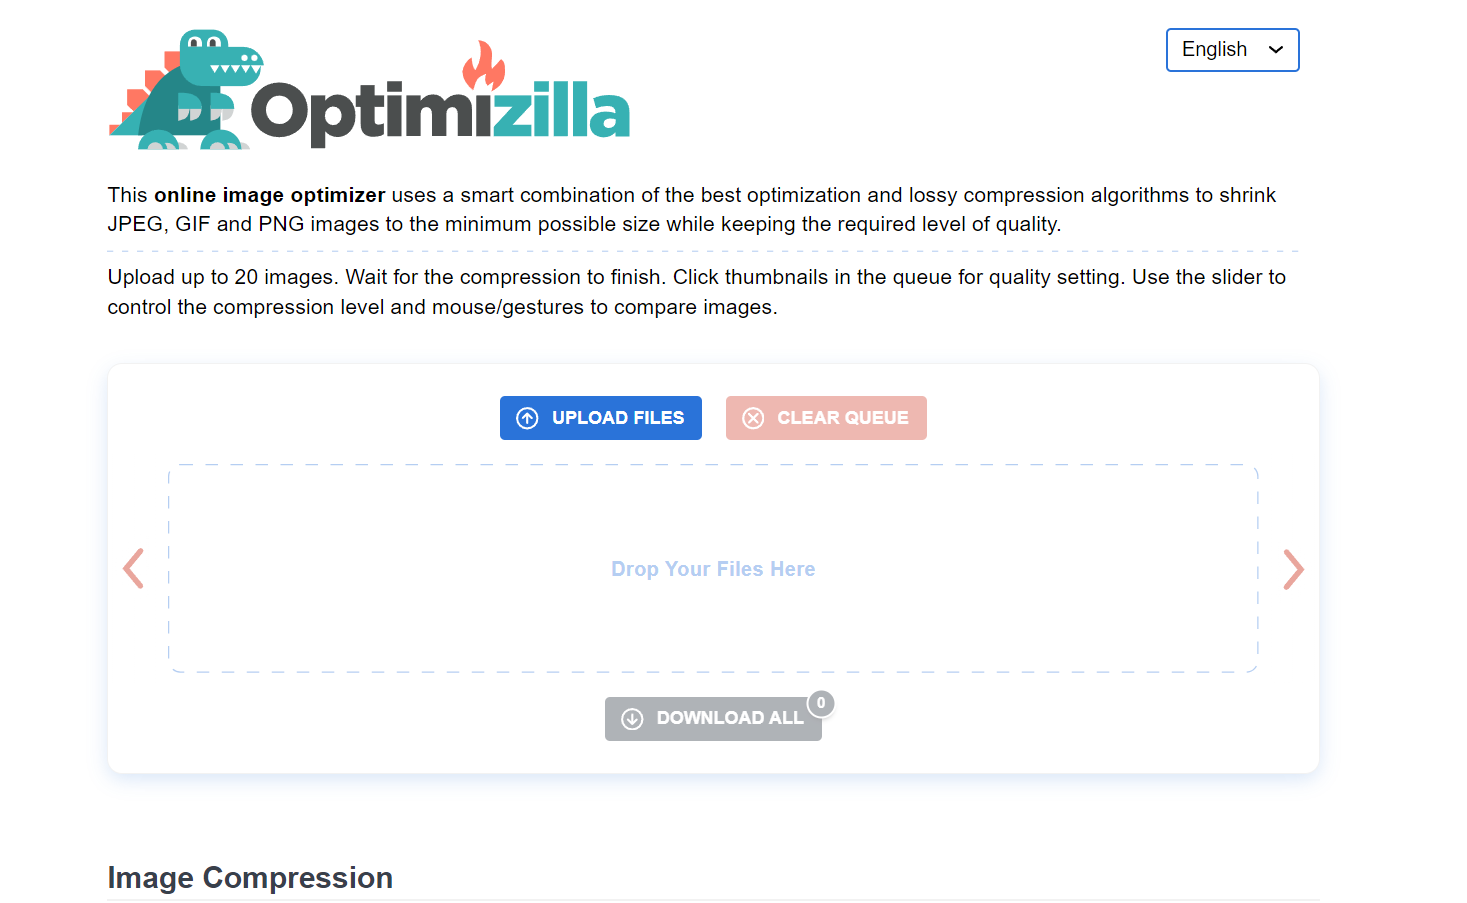
1. Optimizilla
Optimizilla is a web-based tool designed to compress JPEG and PNG images efficiently while balancing quality and file size. It’s ideal for users who need a quick and straightforward way to optimize images for web use.
Key Features:
- Batch Compression: Upload and optimize up to 20 images simultaneously.
- Quality Adjustment: Slider-based control to fine-tune compression levels.
- Fast Processing: Quickly compresses images without noticeable delays.
- Preview Before Download: Compare quality before saving the optimized image.
- No Registration Required: Use it instantly without signing up.
How to Use Optimizilla in 3 Steps:
Step 1: Upload Images:
Visit the Optimizilla website and click the "Upload Files" button to add JPEG or PNG images (up to 20 at once).
Step 2: Adjust Quality:
Use the slider to control the compression level while previewing the optimized image for quality.
Step 3: Download Optimized Images:
Once satisfied with the quality, click the "Download" button to save your compressed images.
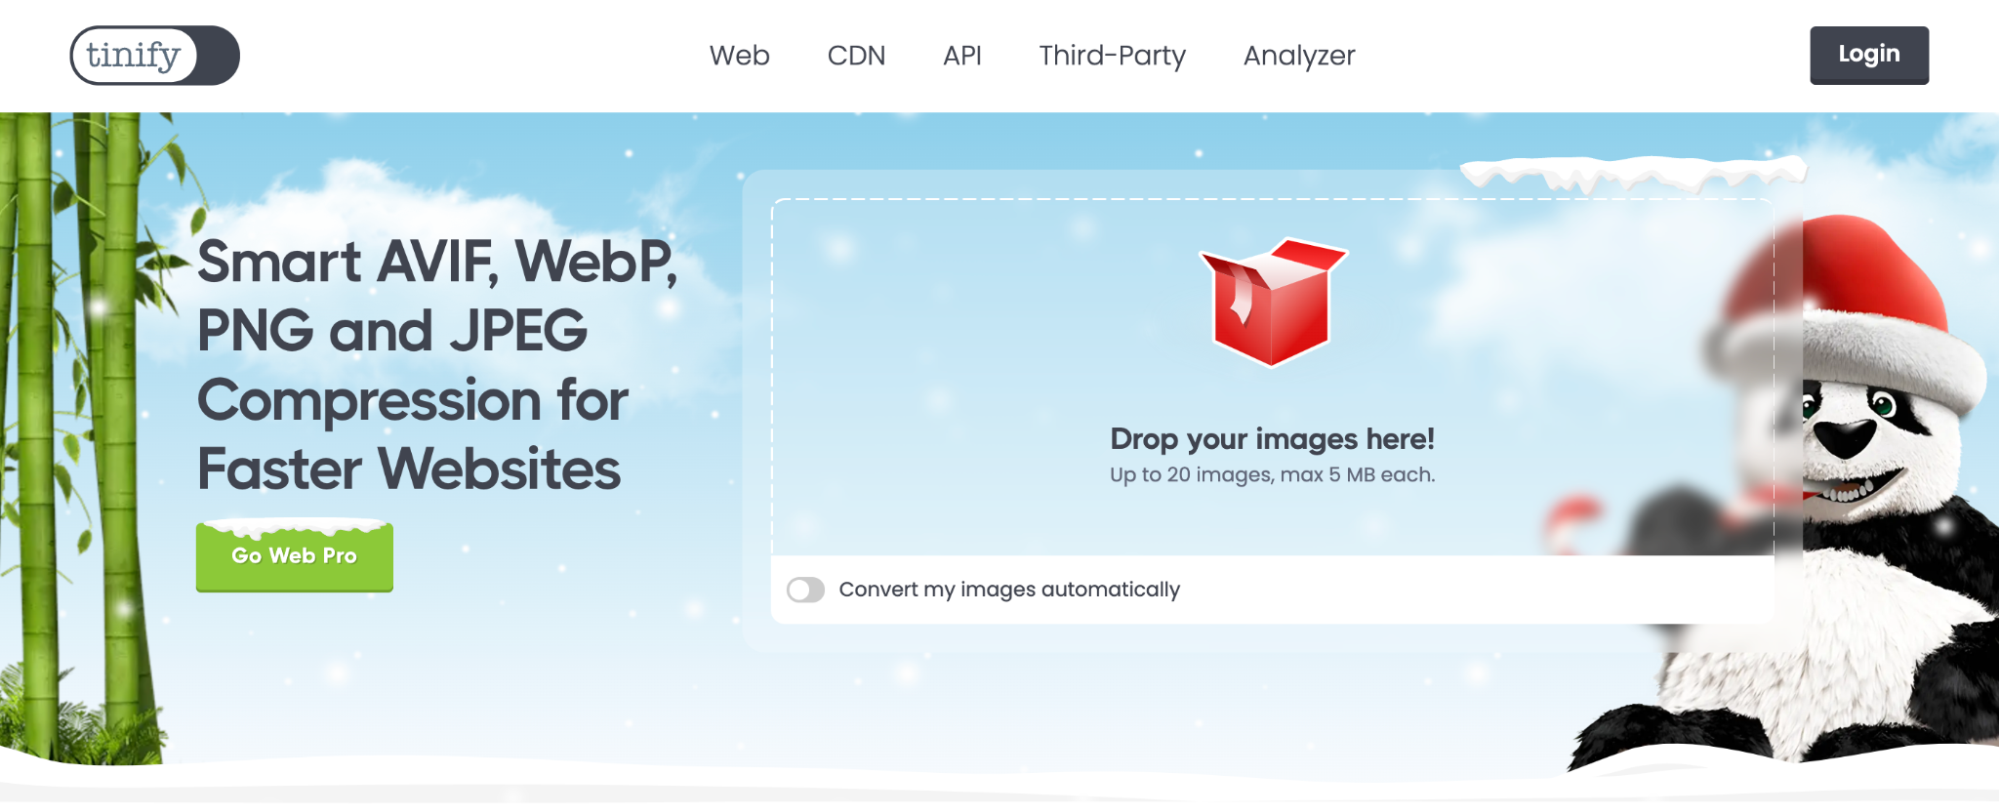
2. TinyPNG
TinyPNG is a popular online tool designed to compress PNG and JPEG images while maintaining excellent visual quality. It uses smart lossy compression techniques to reduce file sizes, making it ideal for web use without sacrificing image clarity.
Key Features:
- Smart Compression: Uses advanced algorithms to reduce file size without noticeable quality loss.
- Batch Upload: Compress up to 20 images simultaneously (maximum size of 5MB per image).
- Supports Transparency: Maintains transparency in PNG images during compression.
- API Integration: Developers can use the TinyPNG API to automate image optimization for websites.
- Plugin Support: Offers plugins for WordPress, Photoshop, and Shopify for seamless integration.
How to Use TinyPNG in 3 Steps
Step 1: Upload Your Images
Visit the TinyPNG website and drag and drop your PNG or JPEG files into the upload area. You can upload up to 20 images at once, with each file up to 5MB in size.
Step 2: Wait for Compression
TinyPNG automatically compresses your images using smart algorithms. The tool reduces file sizes while maintaining visual quality, and the process takes just a few seconds.
Step 3: Download the Compressed Images
Once the compression is complete, click the "Download" button to save the optimized images to your device. You can also download all images as a single zip file for convenience.
3. Squoosh
Squoosh is a free, open-source image compression tool developed by Google. It provides a user-friendly interface and supports various image formats, allowing users to compress and optimize images while maintaining control over quality and size.

Key Features:
- Real-Time Comparison: Displays side-by-side previews of original and compressed images.
- Multiple Formats: Supports JPEG, PNG, WebP, AVIF, and more.
- Adjustable Compression: Users can customize compression levels and quality settings.
- Offline Capability: Works without an internet connection when added as a Progressive Web App (PWA).
- Advanced Options: Includes resizing, color palette adjustments, and metadata stripping.
How to Use Squoosh in 3 Steps:
Step 1: Upload Your Image:
Go to the Squoosh website and drag and drop your image or select it manually. The tool supports various formats like JPEG, PNG, and more.
Step 2: Customize Settings:
Adjust compression levels, resize dimensions, or change the image format using the intuitive sliders and options. You can preview the results in real time with a side-by-side comparison.
Step 3: Download the Optimized Image:
Once satisfied with the quality and size, click the download button to save the compressed image to your device. It's quick and straightforward
4. Kraken.io
Kraken.io is an online image optimization platform that reduces file sizes for faster website loading and better performance. It offers both lossy and lossless compression and supports bulk optimization, making it ideal for personal and professional use.

Key Features:
- Multiple Compression Modes: Provides lossy and lossless options for balancing quality and file size.
- Bulk Optimization: Allows users to compress multiple images at once for efficiency.
- Wide Format Support: Compatible with JPEG, PNG, GIF, and animated GIF formats.
- API Integration: Offers an API for automated image optimization in apps and websites.
- Cloud Storage Integration: Supports direct uploads from Google Drive and Dropbox.
How to Use Kraken.io in 3 Steps:
Step 1: Upload Your Images:
Visit the Kraken.io website and upload your images by dragging and dropping them or selecting files manually. You can also upload directly from cloud services like Google Drive or Dropbox.
Step 2: Select Compression Mode:
Choose between lossy or lossless compression based on your quality preferences. Kraken.io will process your images automatically to reduce their file size.
Step 3:Download Optimized Images:
Once the compression is complete, download your optimized images either individually or as a batch in a zip file.
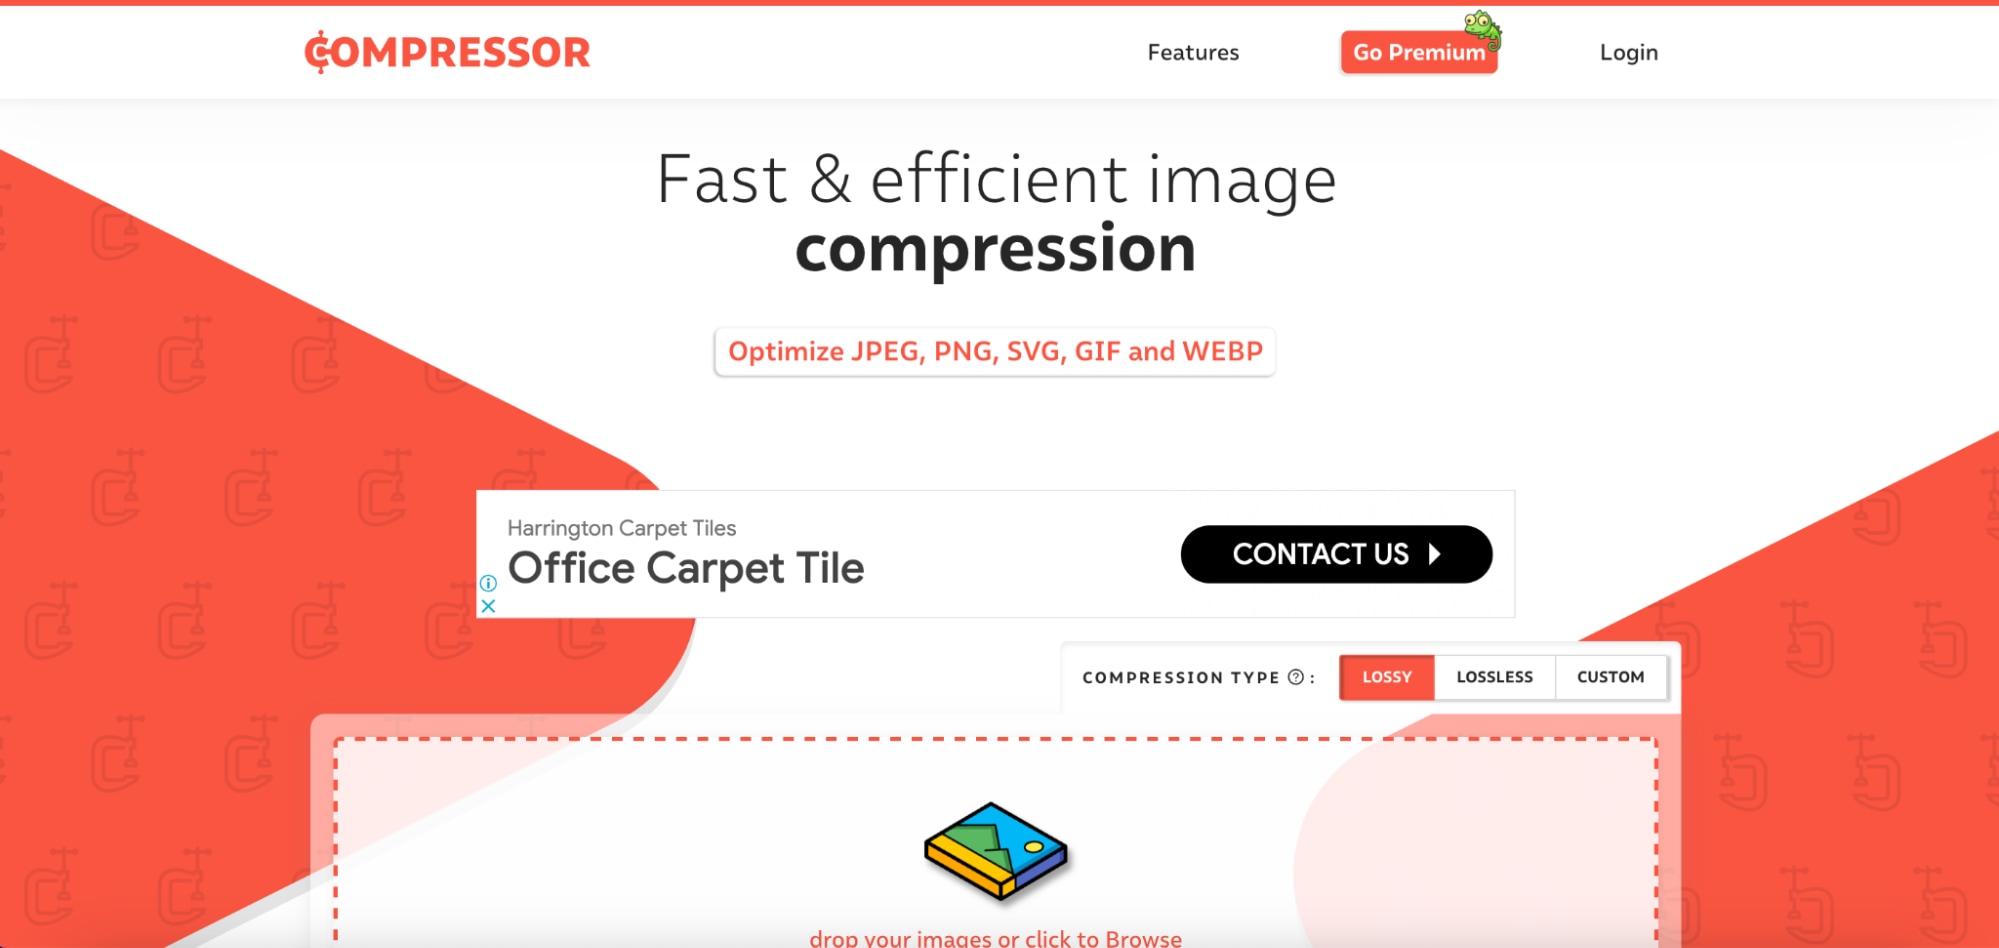
5. Compressor.io
Compressor.io is a free, online tool for reducing image file sizes without sacrificing visual quality. It supports multiple file formats and offers both lossy and lossless compression options, making it ideal for web and personal use.
Key Features:
- Lossy and Lossless Compression: Choose between maximum compression or quality retention.
- Supports Multiple Formats: Compatible with JPEG, PNG, GIF, and SVG files.
- Preview Feature: Compare original and compressed images before downloading.
- High-Quality Output: Ensures images remain visually appealing after compression.
- Free to Use: No registration required for basic functionality.
How to Use Compressor.io in 3 Steps
Step 1: Upload Your Image
Go to the Compressor.io website and upload your image file by dragging and dropping or selecting it manually.
Step 2: Choose Compression Type
Select lossy for maximum compression or lossless to retain original quality. Compressor.io will optimize the image automatically.
Step 3: Download Your Image
Once the compression is complete, preview the optimized image and download it to your device.
Part 4:Which Are the 5 Best Offline Tools to Compress Your Image
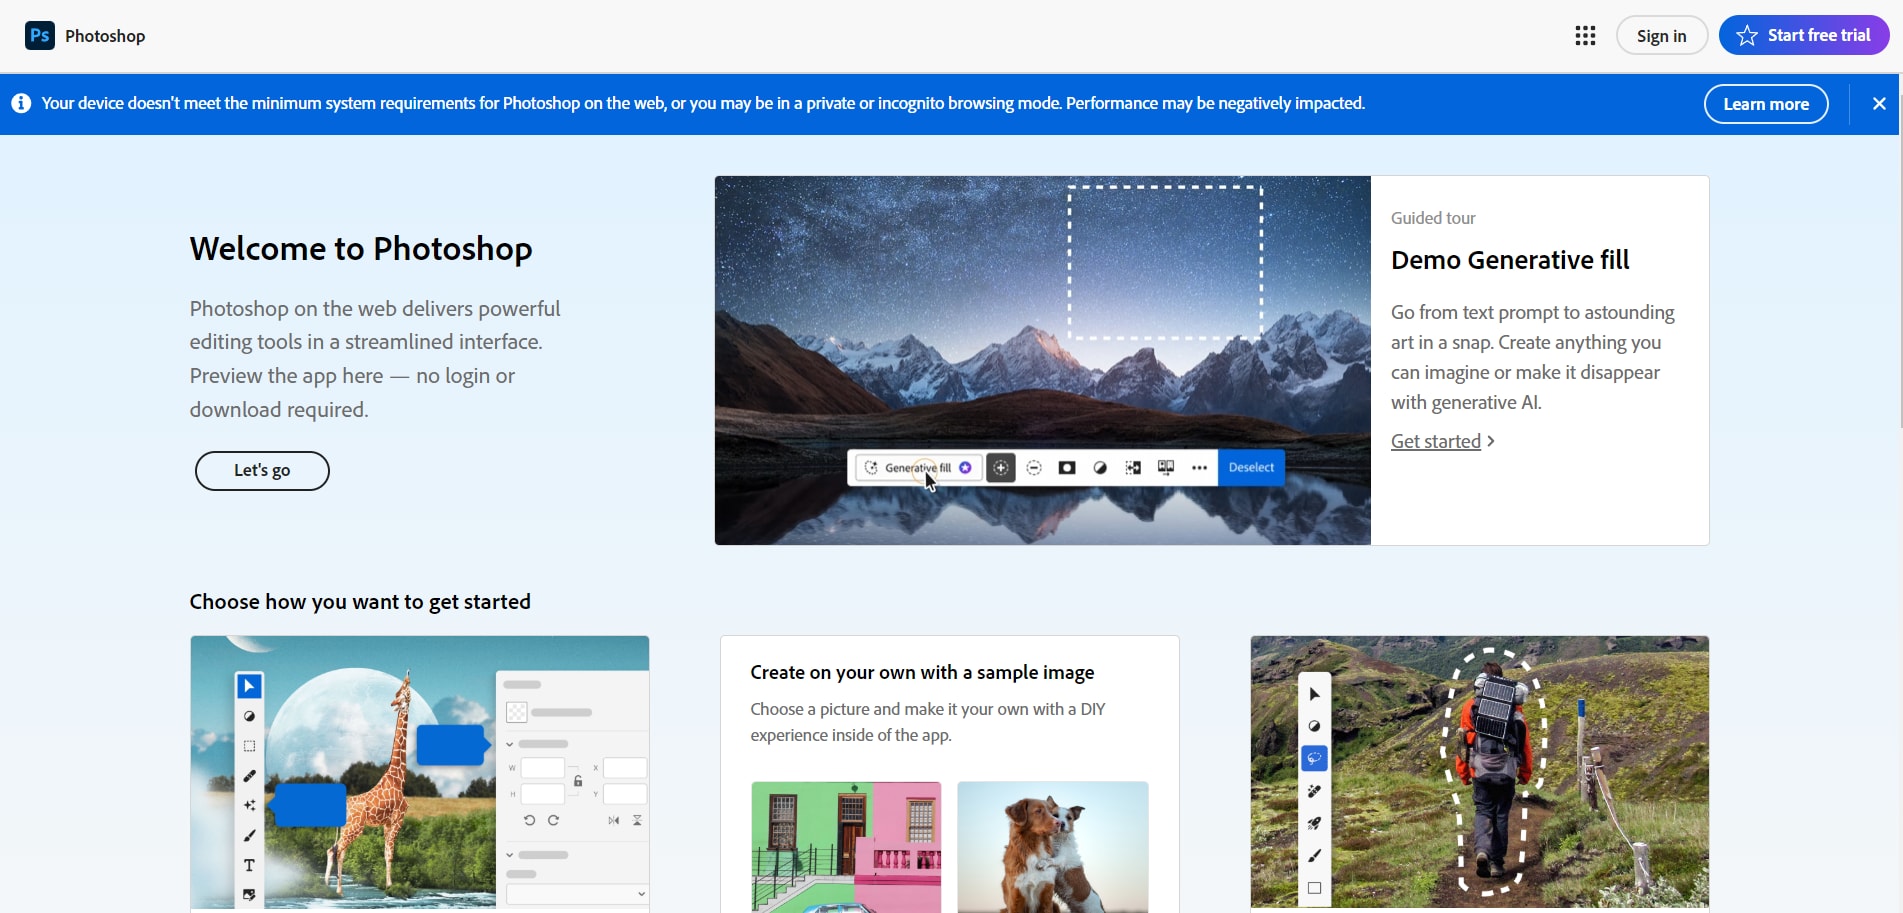
1. Adobe Photoshop
Adobe Photoshop is a widely used professional software for image editing and optimization. It provides advanced tools for compressing images while maintaining control over quality, resolution, and format, making it an excellent choice for designers and photographers.
Key Features:
- Save for Web: Compress images specifically for web use, with control over quality and file size.
- Advanced Editing Tools: Edit, retouch, and enhance images before compressing.
- Wide Format Support: Works with various image formats, including JPEG, PNG, and GIF.
- Batch Processing: Compress multiple images simultaneously using automation tools.
- Metadata Control: Remove unnecessary metadata to further reduce file size.
How to Use Adobe Photoshop to Compress Images in 3 Steps
Step 1: Open Your Image:
Launch Adobe Photoshop and open the image you want to compress by clicking File > Open. You can load images in various formats like JPEG, PNG, or GIF for editing and compression.
Step 2: Adjust Compression Settings:
Navigate to File > Export > Save for Web (Legacy). In the popup window, select your desired format (e.g., JPEG or PNG), adjust the quality slider, and preview how the compression affects the image.
Step 3: Save the Optimized Image:
Once satisfied with the file size and quality, click Save and choose a location on your device. This will save the compressed image, ready for web or other uses.
2. GIMP (GNU Image Manipulation Program)
GIMP is a powerful and versatile tool for image editing and compression. It provides professional-grade features for optimizing images, making it a popular choice among photographers, designers, and hobbyists who want a free alternative to paid software.
Key Features:
- Free and Open-Source: Completely free to download and use without any limitations.
- Image Compression: Offers options to optimize image size and quality during export.
- Wide Format Support: Supports JPEG, PNG, GIF, TIFF, and more.
- Advanced Editing Tools: Includes layers, filters, and retouching tools for enhanced editing.
- Plugin Support: Extend functionality with various plugins for specific tasks.
How to Use GIMP to Compress Images in 3 Steps
Step 1: Open the Image in GIMP
Launch GIMP and load the image you want to compress by clicking File > Open. You can import images in various formats.
Step 2: Adjust Compression Settings
Go to File > Export As, select the desired format (e.g., JPEG or PNG), and click Export. In the export options, adjust the quality slider to control compression level.
Step 3: Save the Compressed Image
Once satisfied with the file size and quality, click Export to save the optimized image to your computer.
3. RIOT (Radical Image Optimization Tool)
RIOT is a free and user-friendly image optimization tool that enables users to compress images while maintaining control over quality and file size. It’s perfect for web developers and photographers looking for fast and efficient image optimization.
Key Features:
- Real-Time Preview: Compare original and optimized images side by side.
- Batch Processing: Compress multiple images simultaneously for convenience.
- Wide Format Support: Handles JPEG, PNG, GIF, and more.
- Customizable Settings: Adjust compression levels, metadata, and color settings.
- Lightweight and Fast: Minimal resource usage with quick processing times.
How to Use RIOT to Compress Images in 3 Steps
Step 1: Open Your Image:
Launch RIOT and load the image you want to compress by clicking Open or dragging and dropping the file.
Step 2: Adjust Compression Settings:
Use the sliders to modify quality and file size. You can strip metadata, choose output formats (JPEG, PNG, GIF), and preview changes in real-time.
Step 3: Save the Optimized Image:
Once satisfied, click Save As, choose a destination folder, and save the compressed image.
4. FileOptimizer
FileOptimizer is a free, open-source utility that reduces file sizes across various formats, including images. It’s ideal for users seeking an all-in-one solution for compressing files while retaining their original quality.
Key Features:
- Multi-Format Support: Optimizes images (JPEG, PNG, GIF) and other files like PDFs, videos, and archives.
- Lossless Compression: Retains original quality while minimizing file size.
- Batch Processing: Handles multiple files simultaneously to save time.
- Drag-and-Drop Functionality: Simplifies file selection for quick optimization.
- Metadata Removal: Strips unnecessary data to further reduce file sizes.
How to Use FileOptimizer to Compress Images in 3 Steps
Step 1: Add Files for Compression:
Open FileOptimizer and drag and drop images into the interface or click Add Files to select them manually.
Step 2: Optimize Files:
Click the Optimize button. FileOptimizer will automatically process and reduce the file sizes using lossless compression.
Step 3: Save the Optimized Images:
The tool overwrites the original files with optimized versions (create backups if needed) or saves them in the same folder.
5. Affinity Photo
Affinity Photo is a premium image editing software known for its high performance and affordability. It's a robust alternative to Photoshop, offering advanced features for photo editing, retouching, and image optimization.
Key Features:
- Powerful Export Options: Control file size and format during export for optimized images.
- Advanced Editing Tools: Offers features like layering, retouching, and HDR merging.
- Batch Processing: Optimize multiple images at once to save time.
- Wide Format Support: Handles various formats, including JPEG, PNG, and RAW files.
- One-Time Purchase: No subscription; pay once and use offline.
How to Use Affinity Photo to Compress Images in 3 Steps
Step 1: Open Your Image:
Launch Affinity Photo, go to File > Open, and load your image for compression.
Step 2: Edit and Adjust:
Use tools to resize, crop, or retouch your image. Then, navigate to File > Export and select the desired format (e.g., JPEG or PNG). Adjust quality settings to reduce file size.
Step 3: Save the Optimized Image:
Preview the file size and quality, then click Export to save the compressed image to your preferred location.
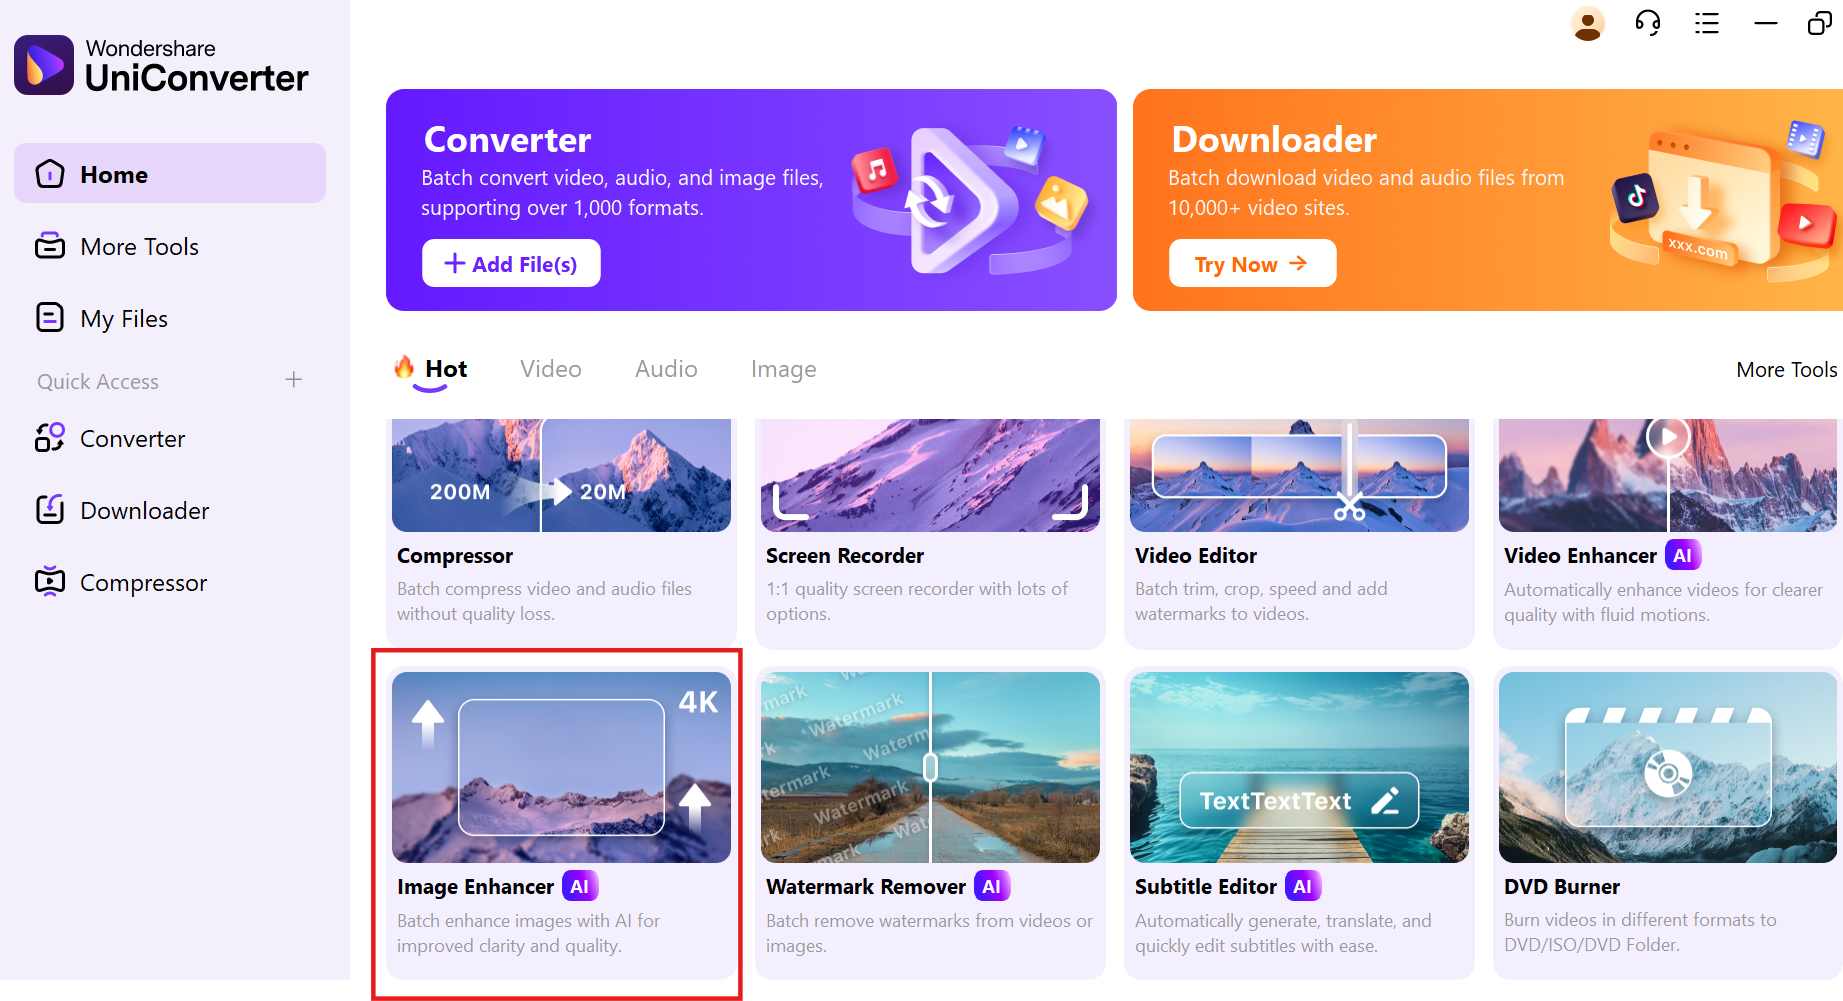
Part 5: How to Enhance your Downloaded Image
UniConverter
UniConverter is a versatile software designed for handling a wide range of media tasks, including image enhancement, compression, conversion, and editing. It provides users with an easy-to-use interface and advanced features, making it suitable for both beginners and professionals.

Best Image Enhancer
Key Features:
- AI-Powered Image Enhancer: Automatically improves image quality and sharpness.
- Image Compression: Reduces file sizes while maintaining high quality.
- Format Conversion: Converts images between various formats like JPEG, PNG, BMP, and more.
- Batch Processing: Enhances or compresses multiple images simultaneously.
- User-Friendly Interface: Simple drag-and-drop functionality for quick workflows.
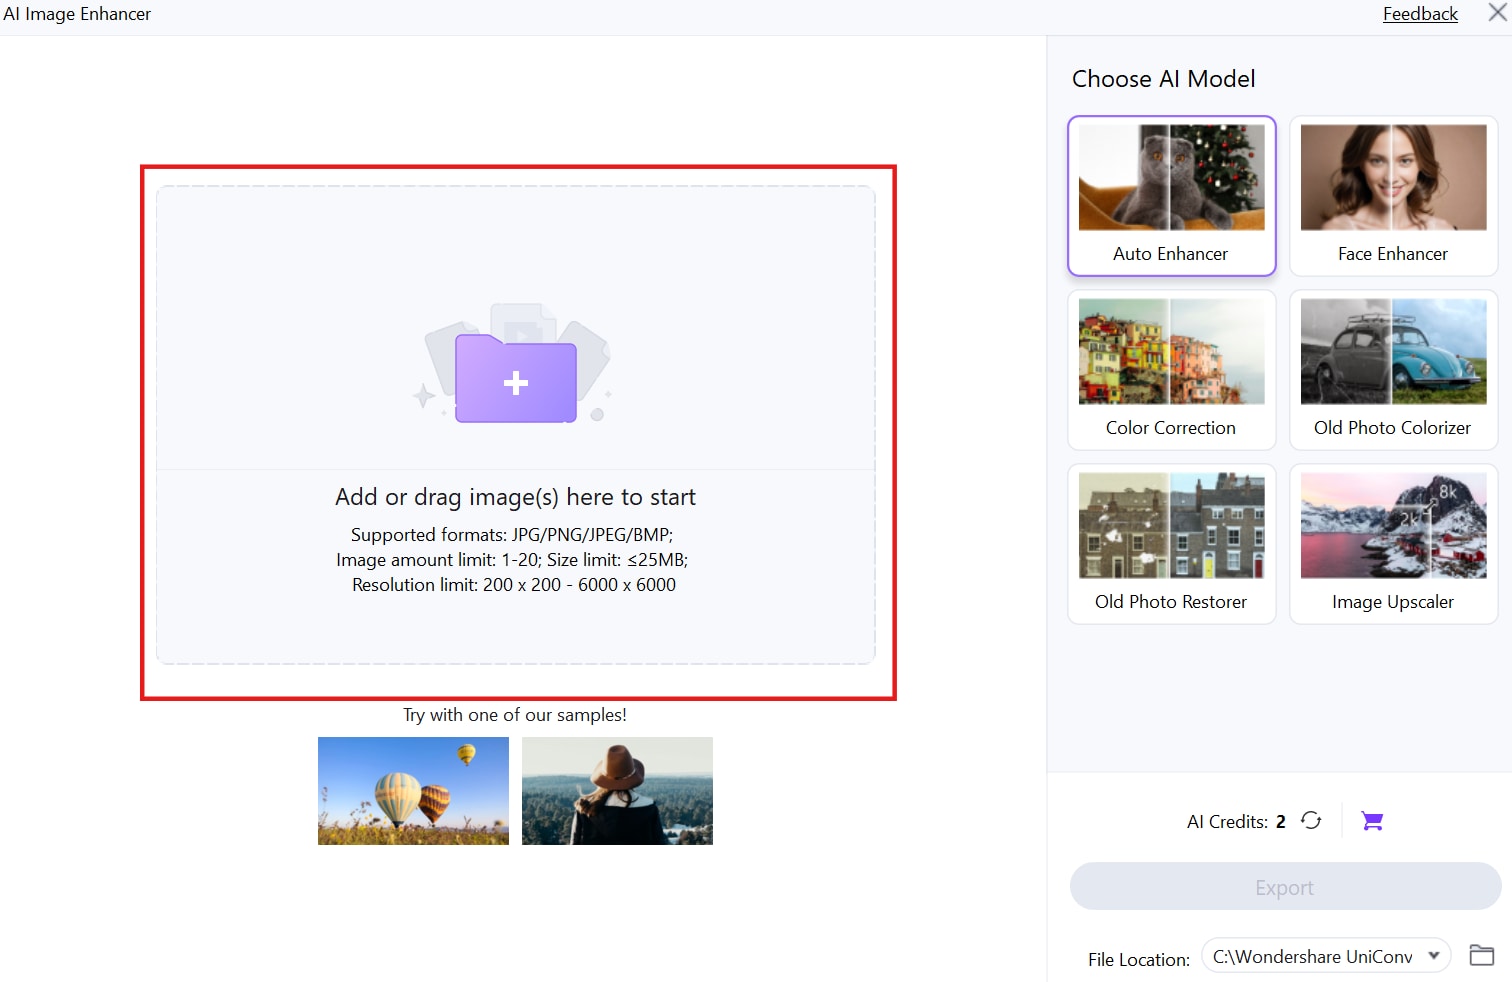
How to Use UniConverter to Enhance Images in 3 Steps
Step 1: Import Your Images:
Open UniConverter, navigate to the image section, and drag or import the images you want to enhance.
Step 2: Add Your Images
Drag and drop your downloaded image into the tool or click the “+” icon to upload them. Ensure they are in supported formats like JPEG, PNG, or BMP.
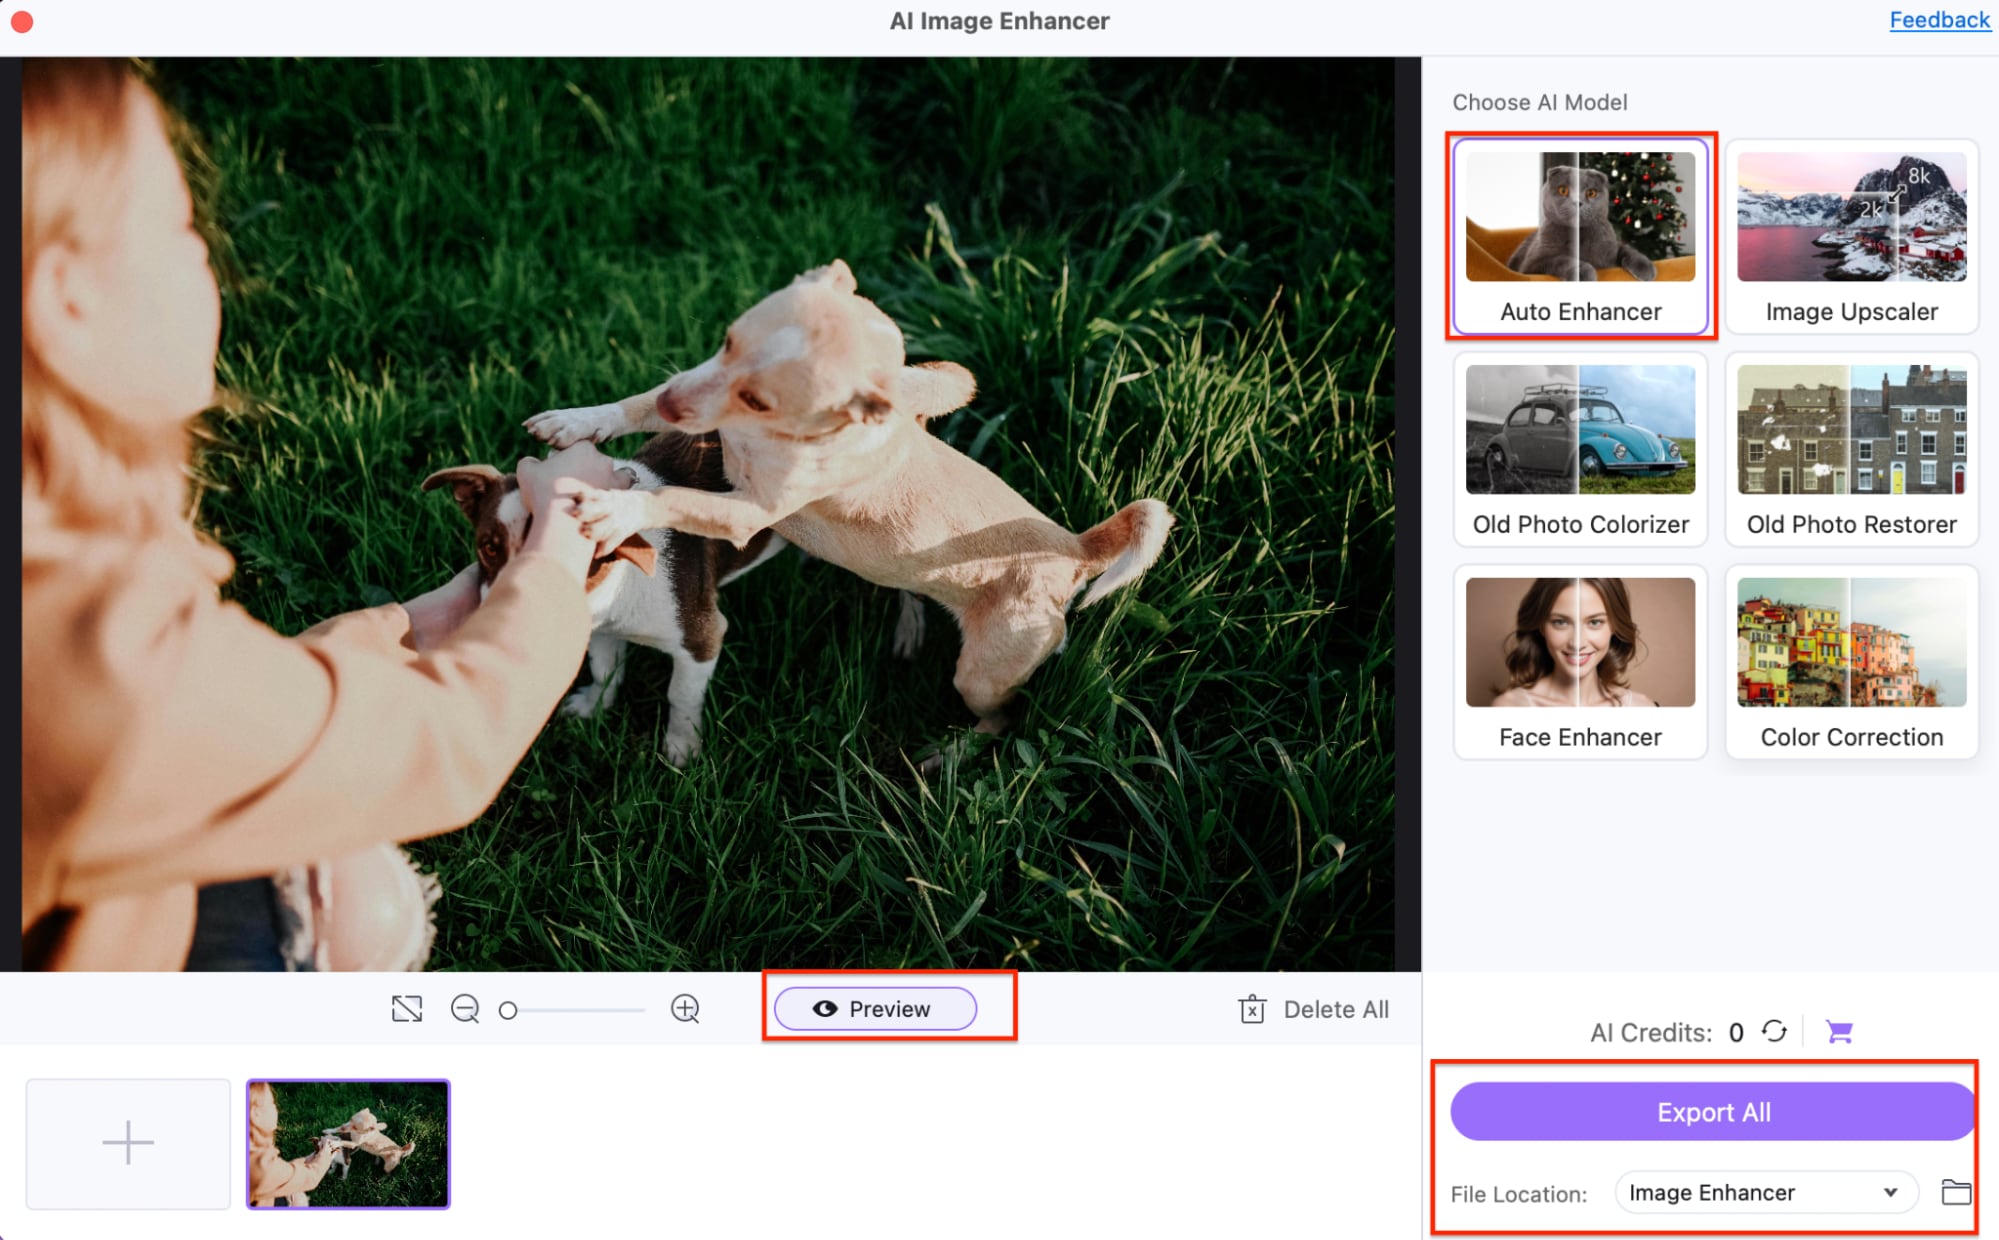
Step 3 : Export the Enhanced Images:
Select your preferred enhancement settings and click “Enhance.” The AI tool will process and improve image resolution and quality. Export the enhanced photos to your chosen folder once done.
Part 6: Comparing Online and Offline Image Optimization Tools
When comparing online and offline image optimization tools, several factors like accessibility, speed, performance, privacy, cost, and control must be considered. Below is a comprehensive comparison based on these factors:
1. Accessibility and Convenience:
- Online Tools:Highly accessible, requiring no installation. They can be used from any device with an internet connection (desktop, mobile, or tablet).Ideal for users who need to quickly compress images without worrying about software installation.Perfect for multitasking or working across different devices, as images can be uploaded and processed from anywhere.
- Offline Tools:Requires installation on the device. Once installed, they work independently of the internet.Excellent for users who need to work without an internet connection or are in remote locations.
2. Speed and Performance:
- Online Tools:Speed can be affected by internet connection quality. The process involves uploading and downloading images, which can slow down the optimization for large files or bulk tasks.May take longer when compressing high-resolution images or large batches due to data transfer over the internet.
- Offline Tools:Faster processing since files are handled directly on the device. There’s no need for uploads or downloads, which allows for smoother workflows.Best suited for large files or bulk image processing, as local processing does not face internet limitations.
3. File Size and Compression Control:
- Online Tools:Many online tools have file size limits (e.g., 5MB or 10MB per file) and may not be suitable for large images or batch optimization.Offer limited customization options for compression. You may only have basic options like quality presets or fixed levels of compression, making it harder to achieve the perfect balance between quality and size.
- Offline Tools:Can handle unlimited file sizes, offering complete freedom for compressing large images or handling bulk compression tasks.Provide advanced controls over compression levels, including adjusting image quality, resolution, metadata stripping, and more. This makes them ideal for professional use where optimization precision is necessary.
4. Privacy and Security:
- Online Tools:Uploading images to online servers for processing can raise privacy and security concerns, especially if the images are sensitive or confidential.While many reputable online tools claim to delete images after processing, you are still entrusting your data to third-party servers.
- Offline Tools:No data uploaded to servers—all processing happens locally on the device. This ensures maximum privacy and security.Ideal for professionals or users handling confidential or sensitive images.
5. Cost and Platform Compatibility:
- Online Tools:Free options are often available, making online tools ideal for casual or occasional users.Many offer premium paid versions with extra features (e.g., higher file size limits, advanced features).These tools are platform-independent, meaning they work on any operating system (Windows, macOS, Linux) as long as there’s internet access.
- Offline Tools:Typically require a one-time purchase or subscription for professional or advanced features (e.g., Adobe Photoshop, Affinity Photo).While they offer powerful features, cost can be a deterrent for casual users.Platform-specific, meaning some tools may be designed for specific operating systems (e.g., macOS-only tools like ImageOptim).
6. Batch Processing and Automation:
- Online Tools:Batch processing may be limited or non-existent in some online tools, especially for free versions.Typically, users are expected to upload one image at a time, which can be a hassle when dealing with many files.
- Offline Tools:Excellent for batch processing and automation. Many offline tools support processing multiple files at once, making them ideal for workflows that involve large volumes of images.Advanced users can even create scripts to automate optimization tasks, improving efficiency.
Conclusion
In conclusion, compressing images effectively, whether online or offline, depends on your specific needs. Online tools provide quick and accessible solutions for straightforward tasks, while offline tools like UniConverter offer more control, faster processing, and enhanced privacy for larger or more complex jobs. Beyond image compression, UniConverter includes advanced features such as video editing, format conversion, AI-powered enhancements, and watermark remover, making it a versatile solution for all your media optimization needs. Choose the right tool to balance image quality and file size, ensuring your projects are optimized effortlessly.
FAQs
1. What is image compression?
Image compression reduces the file size of an image while attempting to retain as much visual quality as possible. This helps improve website loading times and reduces storage requirements.
2. Can I compress images on my phone?
Yes, there are both online and offline image compression tools available for mobile devices. Some apps allow you to compress images directly on your phone, providing flexibility for users on the go.
3. How much file size reduction can I expect?
The amount of file size reduction depends on the image format, quality, and the compression level selected. Lossy compression can reduce file size by 50%-80%, while lossless compression typically offers a 10%-30% reduction.
4. Are there any risks to compressing images?
Compressing images too much (especially using lossy compression) can result in image degradation, leading to blurry or pixelated visuals. It's important to find a balance between file size and image quality based on the intended use.
5. How do I know if the image compression has worked?
After compressing the image, check the file size and quality. A successful compression reduces file size without visible quality loss. You can also compare the compressed image to the original to assess any changes in appearance.

