


How do you rotate a picture in Word? It's a common task that many people need to do. Have a picture that’s upside down? Well, fixing this is easy. Many people struggle with this simple task. But after reading this guide, you'll be able to fix any image orientation in seconds.
Rotating images in Word doesn't have to be hard. This guide will show you several ways to rotate pictures in Word. We'll use simple steps anyone can follow. Whether you're making a school report, business document, or family newsletter, knowing how to rotate a picture in Word will make your work look better.
Whether you need to rotate a single image or many at once, this article has you covered. These skills will make your documents look better right away.

In this article
Part 1: Why Rotate Images in Word? How is it Useful?
Rotating pictures in Word helps make your documents look professional. When photos come from cameras or phones, they might not be in the right position. Being able to rotate images in Word lets you fix this quickly. Good image orientation shows attention to detail and makes your work look polished.
There are many reasons why you might need to know how to rotate a picture in Word. Here's why this skill is so useful:
- Rotate images in Word to match your page layout better. Landscape photos sometimes need to be portrait, or the other way around.
- Fix photos that were taken in portrait instead of landscape mode. This happens often with phone pictures.
- Sometimes a slight angle makes an image more eye-catching.
- Align images with text in a more appealing way. Proper alignment makes reading easier.
- Use rotated images to point to specific text or highlight information. This is great for instruction manuals.
- Save time by fixing image orientation right in Word instead of using another program first.
- Create more professional-looking reports and documents. Crooked images look sloppy.
- Make custom designs by placing rotated pictures exactly where you want them. This gives you more creative freedom.
Part 2: How Do You Rotate a Picture in Word?
Method 1: How to Rotate a Photo in Word with Drag and Drop
The drag and drop method is the quickest way to rotate a picture in Word. This works well when you just need a quick adjustment and don't need precise angle control. Anyone can use this method, even if you're new to Word.
This method uses the rotation handle that appears when you select an image. It's fast and intuitive for anyone who needs to rotate images in Word quickly. The rotation handle looks like a green circle above your selected image. You can use this same method in most other Microsoft Office programs too.
How to rotate image in Word:
- Click on the image you want to rotate. You'll see handles appear around the edges. Click the circular arrow above the image. This green circle is your rotation handle. Press and hold the rotation handle using your mouse, and watch as your cursor transforms into a circular arrow.
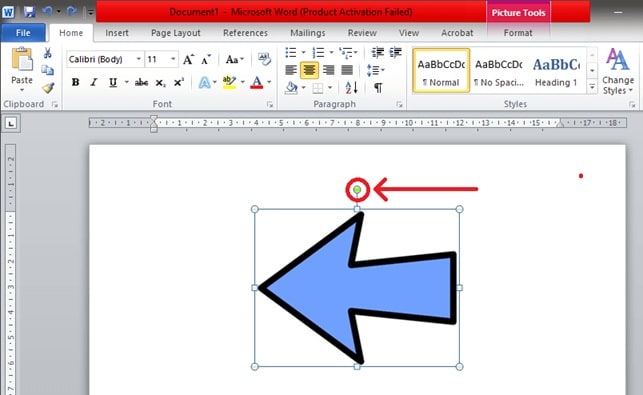
- Click and drag to rotate the picture. Let go when it reaches the angle you want, and it will stay there.
Method 2: Rotate Picture in Word with Picture Tools Rotation Options
The Picture Tools method gives you more control when you need to rotate images in Word at specific angles. This approach is best when you need precision. It's perfect for business documents or formal reports where everything must be exact.
When you use the ribbon menu, you get preset rotation options plus custom angle choices. This method is perfect for anyone who needs to know exactly how to rotate a photo in Word to a specific angle. You can rotate by exactly 90 degrees, flip images completely, or enter a custom angle like 37 degrees.
How to Rotate in Word Document:
- Click the image to select it. Go to the "Picture Format" or "Format" tab that appears in the ribbon menu. This tab only shows up when you have an image selected.
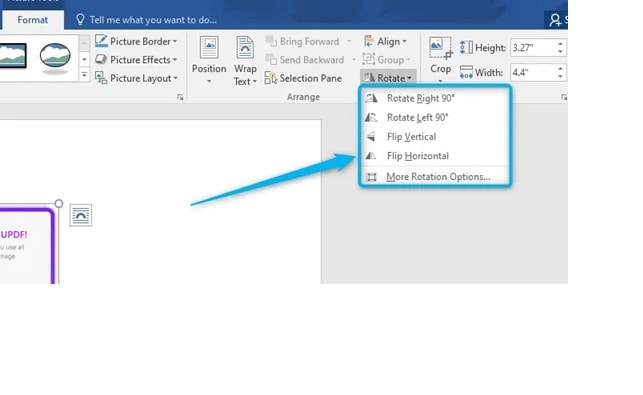
- Find the "Rotate" button in the "Arrange" group. It usually shows a circular arrow icon.
- Choose a preset rotation (90° left/right, flip) or "More Rotation Options." The quick options work for most needs.
- For custom angles, select "More Rotation Options" and enter the degree value in the "Rotation" box.
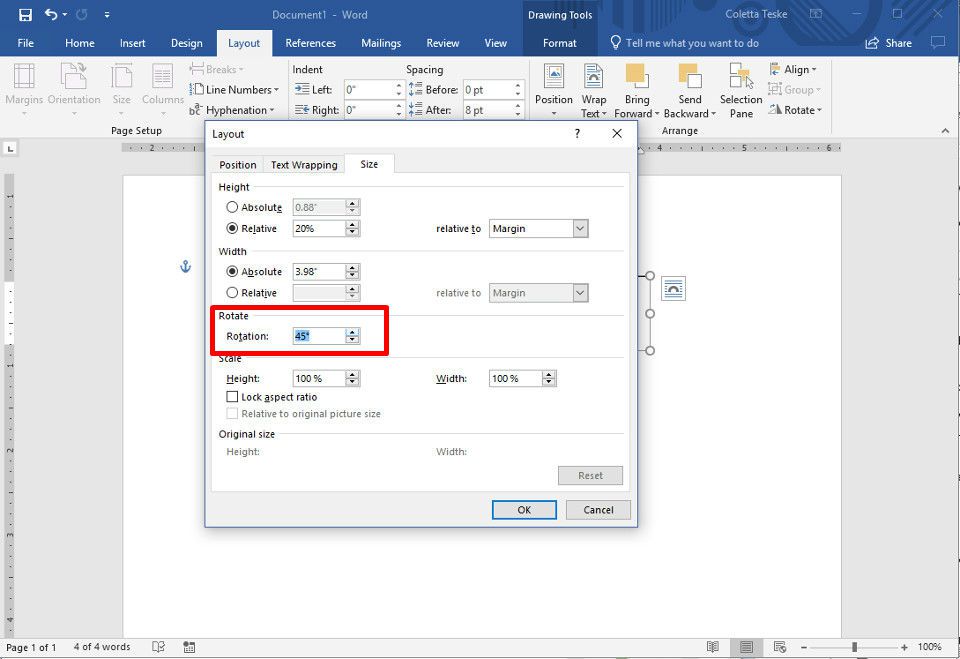
- Click "OK" to apply the rotation.
Part 3: Want to Batch Rotate Images? Use UniConverter
Word is great for rotating a few images but struggles with multiple pictures. If you need to rotate many at once, you have to adjust each one separately, which can be time-consuming, especially for catalogs or reports.
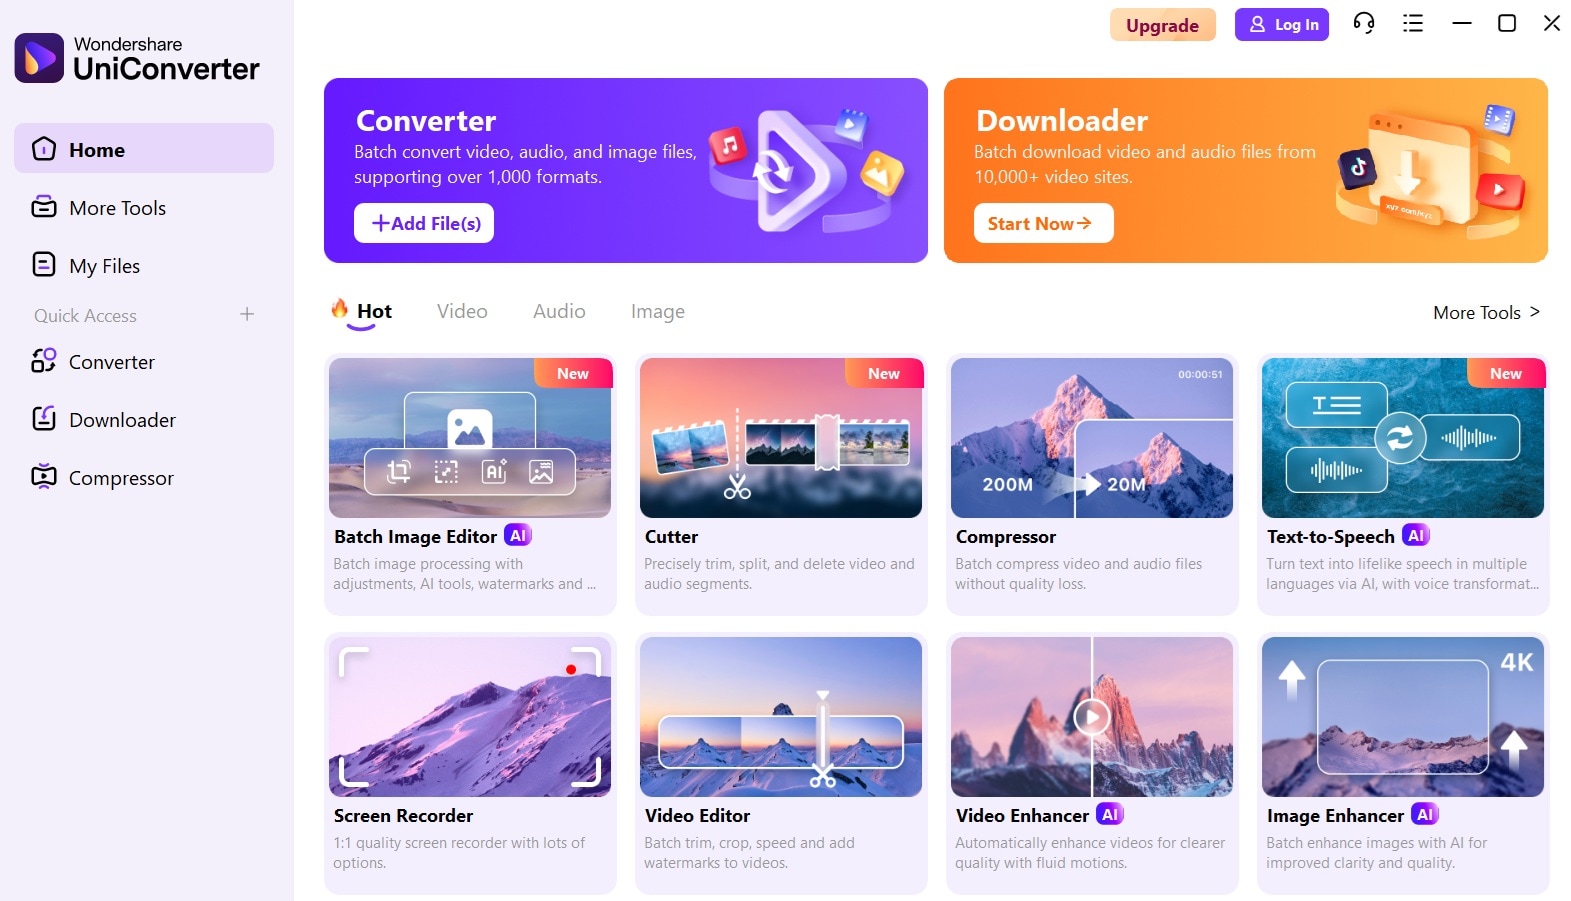
UniConverter offers a powerful solution for anyone needing to rotate multiple images at once before adding them to Word. This tool saves significant time when preparing photos for your documents. It's especially helpful for teachers, business professionals, or anyone working with image-heavy documents.

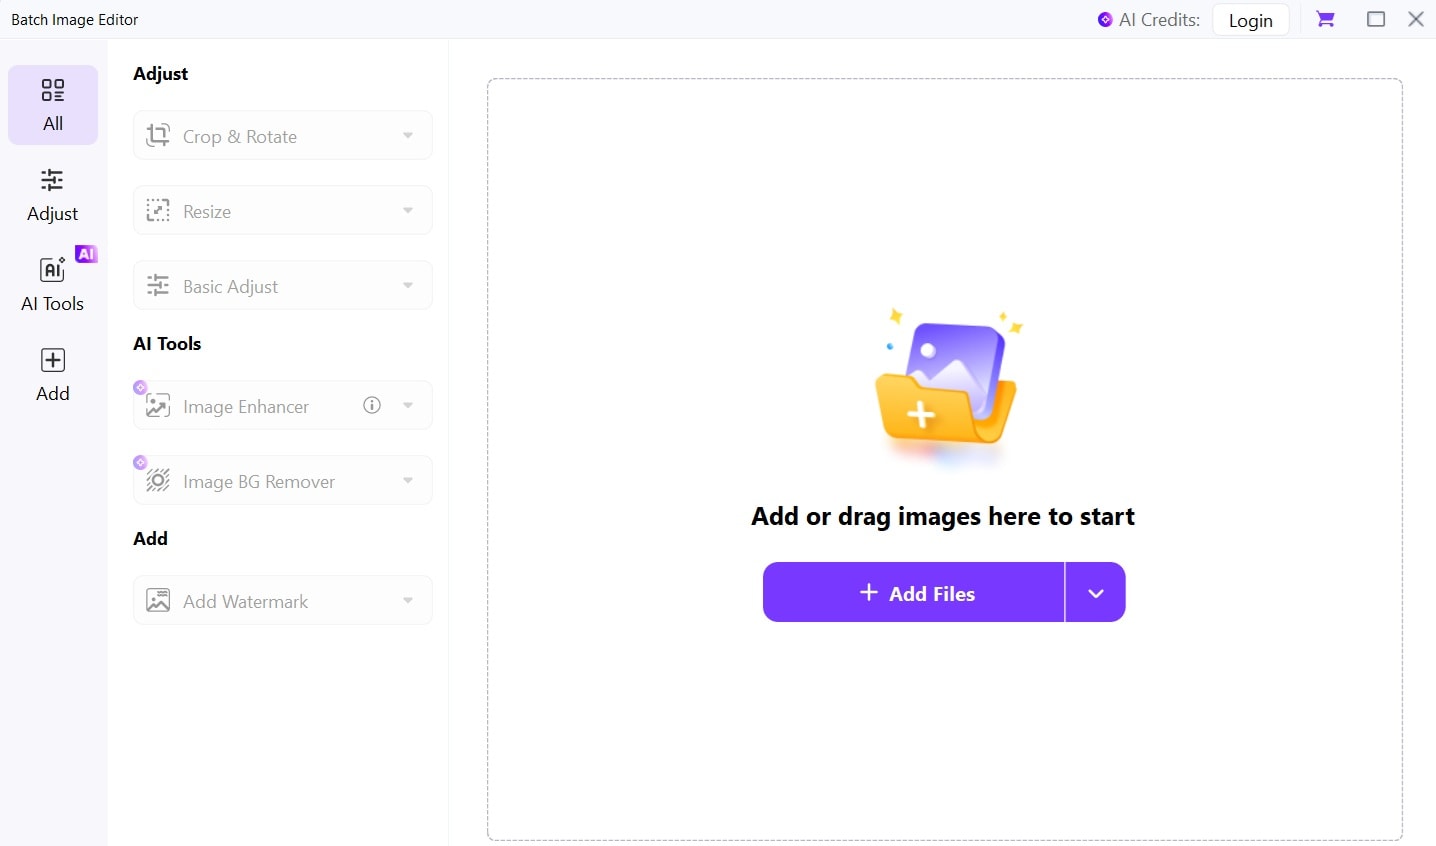
Batch Image Editor
Why use UniConverter for rotating images?
- Batch process dozens of images at once instead of one by one. Save hours of work.
- Apply the same rotation to multiple photos with one click.
- Save time when preparing images for Word documents.
- Fix an entire folder of sideways photos quickly.
- Maintain image quality better than Word's built-in tools.
- Works with many image formats compatible with Word, including JPG, PNG, TIFF, and more.
Steps to batch rotate images with UniConverter:
Step 1
Download Download and install UniConverter on your computer. It works on both Windows and Mac. Open the program and select the "Toolbox" option from the main menu. Choose "Batch Image Editor" from the tools list. This module handles rotation and other image changes.
Step 2
Click "Add Files" to import the images you need to rotate. You can select multiple files at once.
Step 3
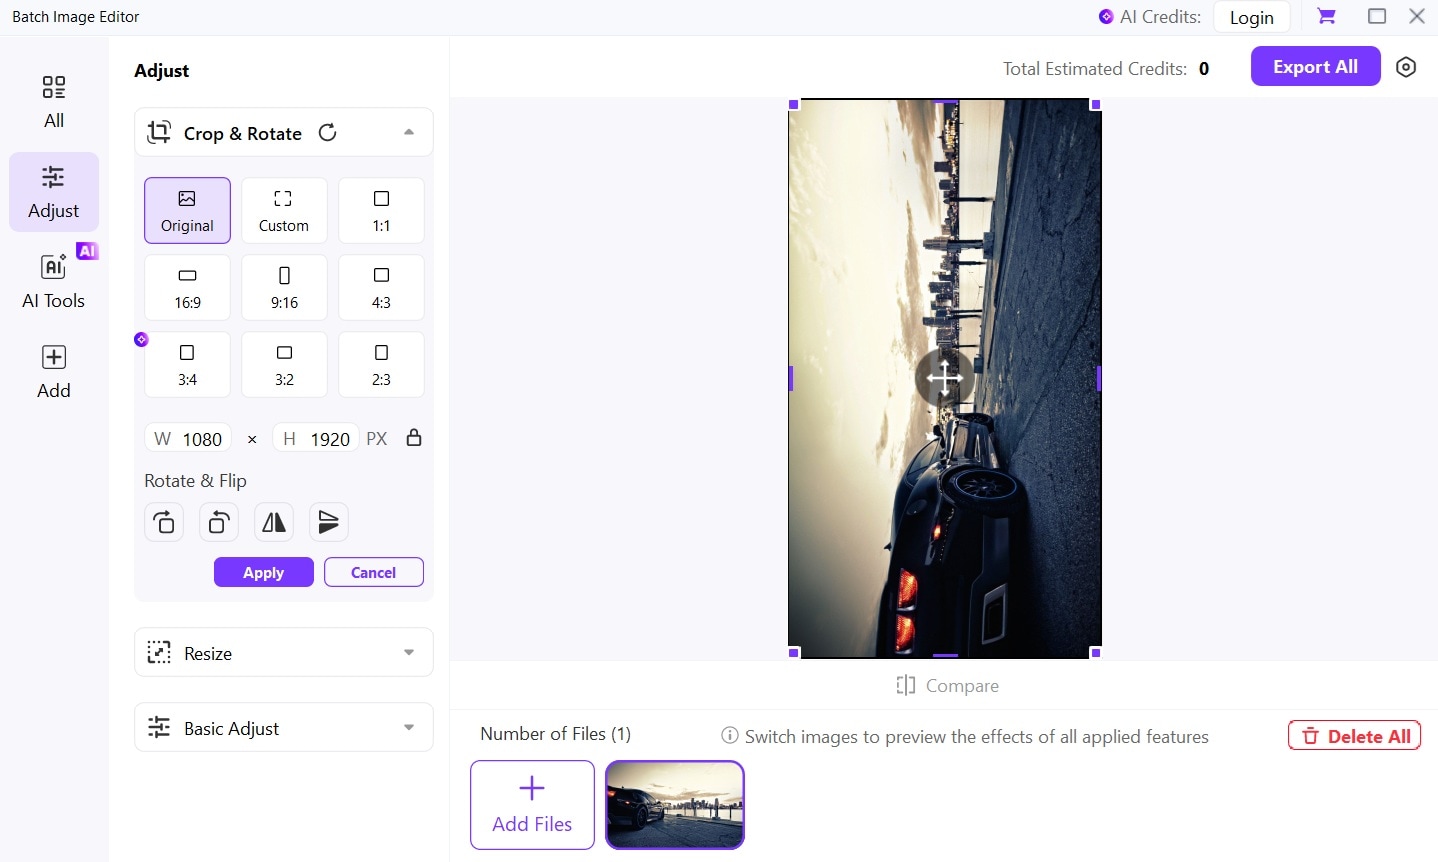
Select the “Adjust” tab. Choose Crop and Rotate. Click the "Rotate" button and choose your desired angle. Apply the rotation and save the edited images. Choose your preferred output format and location.
Step 4
Insert your perfectly rotated images into Word. They'll be ready to use with no further adjustments needed.
Part 4: Pro Tips for Aligning Rotated Images Within Text Layout in Word
After you rotate pictures in Word, getting them to look right with your text can be tricky. Proper alignment makes your document look professional and easy to read. These tips will help you place rotated images perfectly in your text.
Here are expert tips for working with rotated images in Word:
- Use text wrapping options (right-click the rotated image, select "Wrap Text") for better control. Try "Square" or "Tight" wrapping for the most natural text flow around angled images.
- Align rotated pictures with the grid (View tab > Show > Gridlines) for precise placement. The grid helps you line up images at exact positions on your page.
- Group multiple rotated images together to move them as one unit. Select all images while holding Ctrl, right-click, and select "Group." This keeps your layout intact.
- Use the position settings (Picture Format > Position) to place rotated pictures exactly where needed. You can set exact measurements for perfect placement.
- Adjust the text anchor point for rotated images to control how they move when text changes. This keeps your images with the relevant text.
- Try "Fix position on page" for rotated pictures that shouldn't move when editing text. This keeps your layout stable while you edit.
- Create a drawing canvas (Insert tab > Shapes > New Drawing Canvas) for complex layouts with rotated images. This gives you more control over multiple images and text.
Conclusion
Learning how to rotate a picture in Word is a simple skill that makes a big difference in your documents. We've shown you multiple ways to rotate images in Word, from quick drag methods to precise angle controls. With these skills, you'll create more professional-looking work every time.
When you need to rotate multiple images at once, third-party tools like UniConverter offer helpful alternatives to save time. Remember that rotating pictures in Word is just the start. Using the alignment tips we shared will help your rotated images look great with your text. Now you can create more professional documents with correctly oriented photos every time.

