

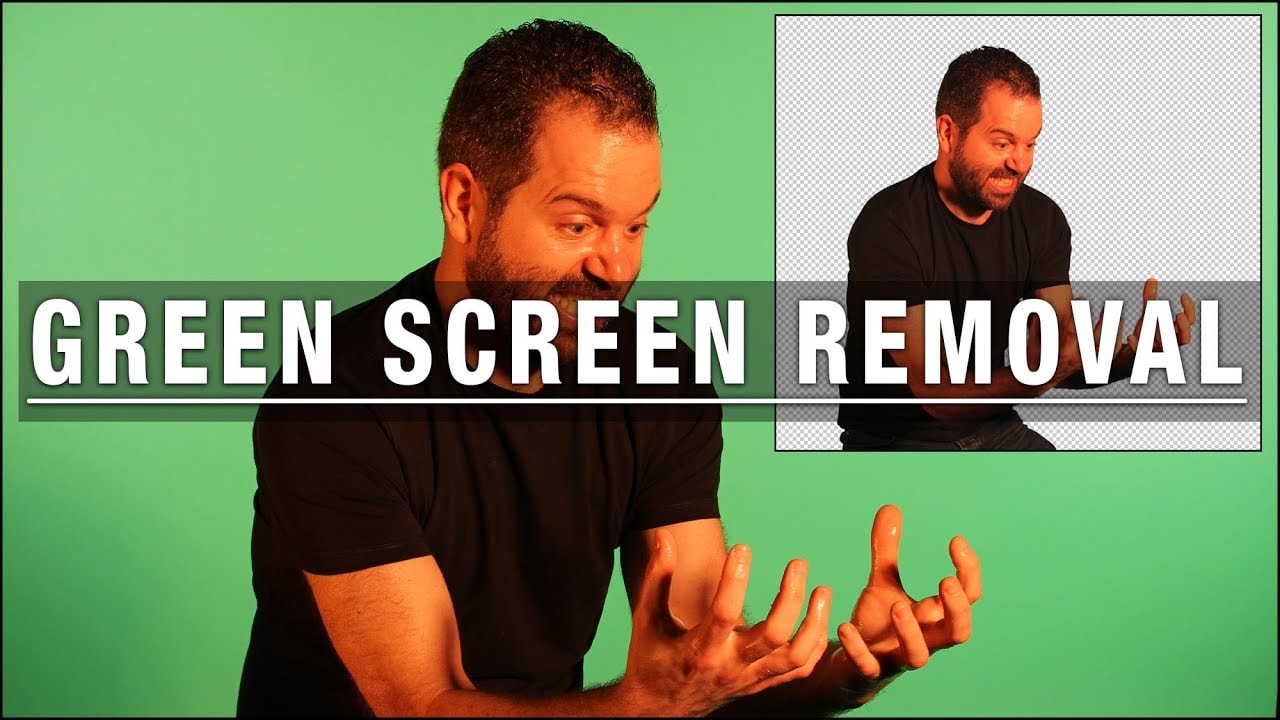
Green screen removal is a key skill for creators and photographers. This guide shows you how to remove green screen Photoshop using simple steps.
A lot of people find it tricky to remove a green screen in Photoshop at first. It can seem overwhelming, but with the right steps, it becomes much easier. With some practice and proper tools, you can achieve clean and professional-looking results in no time.
This article covers three main methods to remove green screen Photoshop. Each method works for different types of images. You will learn when to use each technique. By the end, you will handle any green screen project with confidence.
In this article
Part 1: Why Use Photoshop for Green Screen Removal?
Photoshop stands as the top choice for green screen removal in Photoshop tasks. The software offers powerful tools and precise control over the process.
Here are the main reasons:
- Professional quality results - Photoshop delivers clean, sharp edges that look natural. The software creates smooth transitions between the subject and the background. Your final images match studio-quality standards. No pixelated or rough edges that give away the editing work.
- Multiple removal methods - You get several ways to delete green screen Photoshop content. Each tool works for different image types and complexity levels. Color Range handles even backgrounds well. The Magic Wand works great for simple selections.
- Advanced masking tools - Fine-tune your selections with precision controls. Layer masks let you paint back missing areas easily. You can adjust the opacity for semi-transparent objects. Feathering creates natural edge transitions. These tools give you pixel-level control over your edits.
- Layer support - Work non-destructively with multiple layers and adjustments. Your original image stays untouched during editing. You can try different approaches without losing work. Adjustment layers help match colors between the subject and the new background.
- Edge refinement - Fix problem areas with specialized brush tools. Smart Radius detects hard and soft edges automatically. You can paint to include or exclude specific areas. These tools handle hair, fur, and fine details expertly.
- Color correction - Remove green spill and color contamination easily. The Decontaminate Colors tool eliminates unwanted green tints. Color balance adjustments match your subject to new backgrounds. Hue and saturation controls fine-tune the final look.
Part 2: Simple Methods to Delete Green Screen in Photoshop
Removing a green screen in Photoshop is a common trick used in photo and video editing to replace the background of an image. This technique is super helpful if you want to place your subject into a new scene or create a cool visual effect. Photoshop makes this process easy with tools that can detect and remove the green background cleanly.
In Part 2 of this guide, we’ll look at the steps needed to get a neat, professional result. From selecting the right tools to fine-tuning the edges, you’ll learn how to make your subject pop without any leftover green glow. Even if you’re new to Photoshop, this part will guide you through the basics in a simple way.
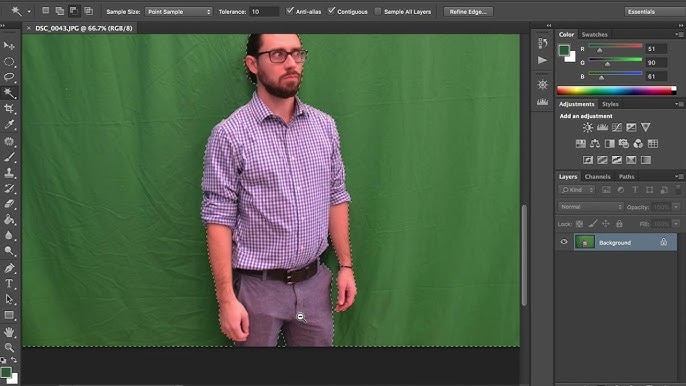
Method 1: Remove Green Screen Photoshop Using Select Color Range
A popular technique for removing green screen backgrounds in Photoshop is the Color Range tool. It works by identifying and selecting pixels that closely match the chosen color, allowing for fine-tuned control over which shades of green are eliminated.
The Color Range method works best for even green screens. It handles gradients and lighting changes well. You can adjust the selection range to catch all green pixels.
The Color Range method strikes an ideal balance between efficiency and quality. It’s often the first choice for professionals, delivering consistently strong results in most Photoshop green screen removal tasks.
Step-by-step instructions:
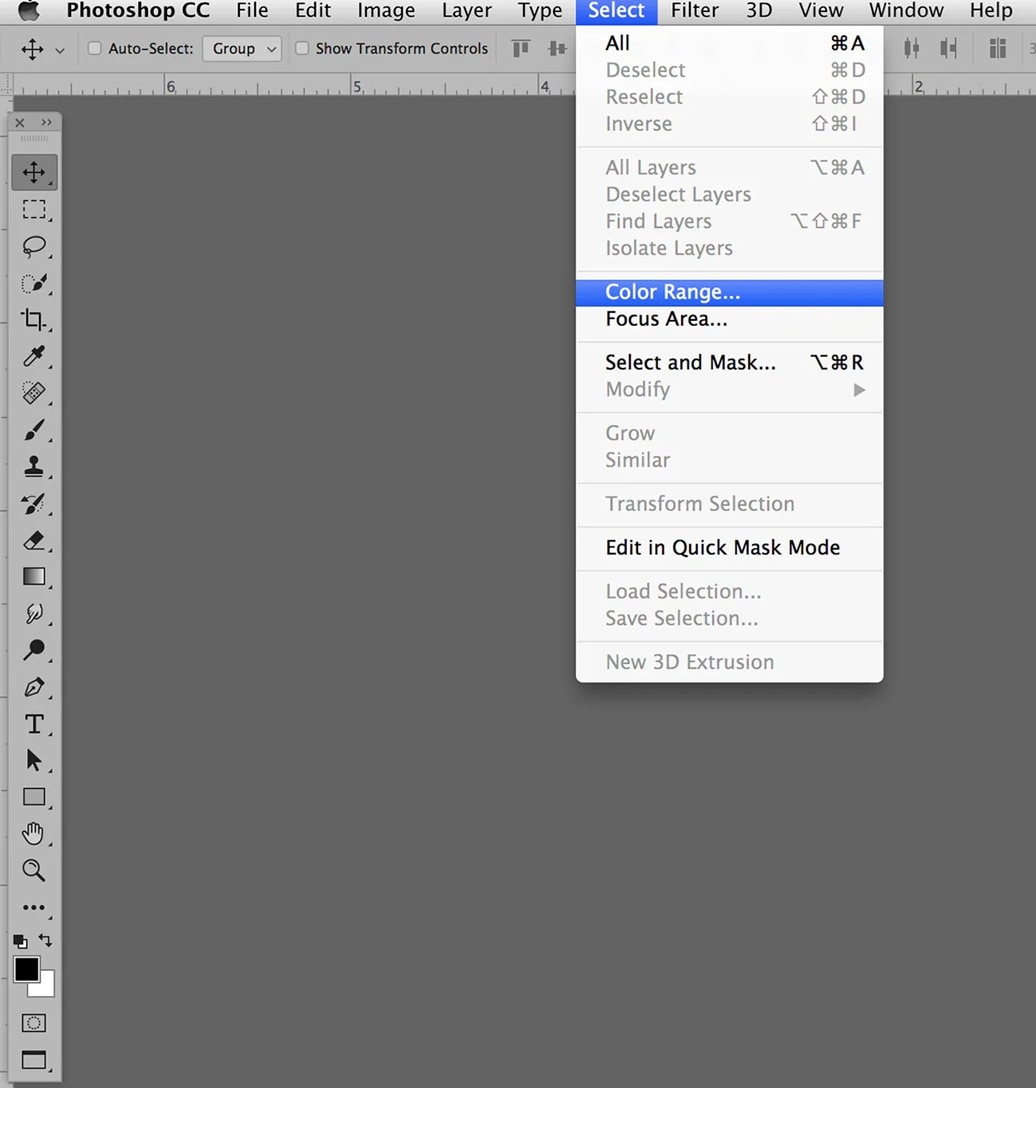
Step 1. Open the image in Photoshop. Load your green screen photo into a new document. Go to Select > Color Range. Find this option in the Select menu at the top.
Step 2. With the Eyedropper Tool, simply click on the green background to sample its color. This action sets the selected green as the target for removal in your editing process. Adjust "Fuzziness" slider for optimal range - Move slider right to select more green tones.
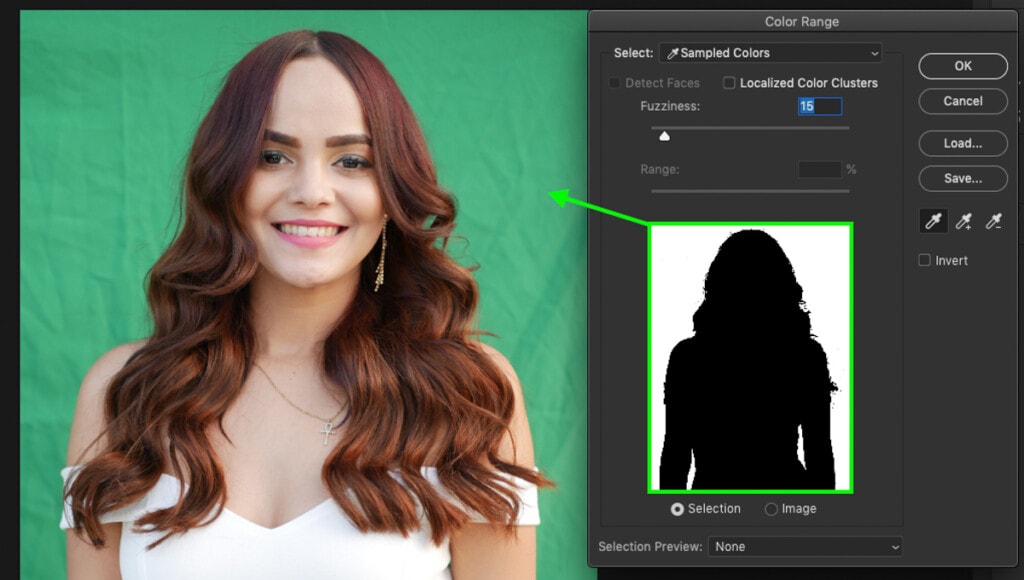
Step 3. Press OK and hit Delete or create a mask - Remove the selected green or mask it out. Clean up any missed areas or rough edges
Best for:
- Images with solid, even green backgrounds
- Studio photos with proper lighting
- Subjects with clean, defined edges
- Beginners learning green screen removal
- Quick edits that need good results fast
Method 2: Use the Magic Wand Tool
The Magic Wand Tool provides an easy method for removing green screen backgrounds in Photoshop. It selects adjacent pixels with similar colors and activates with a single click on the green area you’d like to eliminate.
The Magic Wand Tool is an excellent choice for beginners. It's straightforward to locate and operate, delivering instant results with just one click—making it perfect for learning the basics of green screen removal in Photoshop.
This tool performs best on uncomplicated backgrounds. A clean, evenly lit green screen yields the most accurate selections. For more intricate or varied backgrounds, you might need to click several times to fully isolate the area.
Step-by-step instructions:
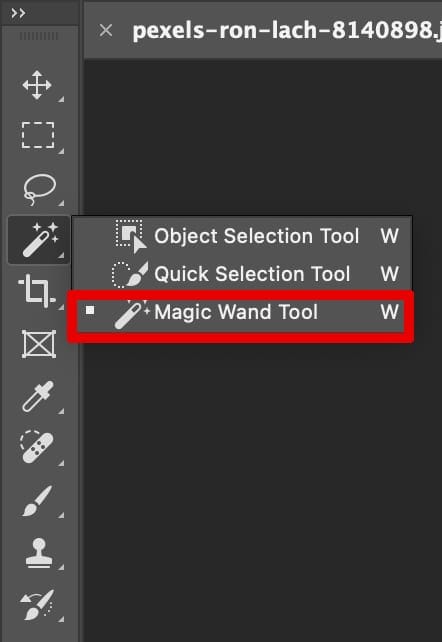
Step 1. Select the Magic Wand Tool from the toolbar. Click the wand icon or press the W key. Click on the green background. Target the green area you want to remove.
Step 2. Adjust Tolerance (usually around 30–50). Higher numbers select more similar colors. Hit Delete or add a mask. Remove the selection or create a layer mask.
Step 3. Clean up edges with the Brush Tool or Select and Mask. Fix any leftover green pixels.
Best for:
- Simple green screen backgrounds
- Images with clear color separation
- Quick removal tasks
- Learning basic selection techniques
- Backgrounds with minimal lighting variation
Method 3: Do Green Screen Removal in Photoshop with Select Subject + Masking (Advanced)
Select Subject uses AI to find the main object in your photo. This method flips the normal approach. Instead of selecting the green background, you select the subject first. Then you remove everything else.
This advanced technique works great for complex subjects. Hair, fur, and fine details are handled better. The AI can detect edges that are hard to select manually. This saves time on detailed green screen removal in Photoshop work.
The method combines multiple Photoshop tools. Select Subject finds the main object. Masking tools refine the edges. Color decontamination removes green spill. This gives you professional-level results.
Step-by-step instructions:
Step 1. Use Select > Subject to detect the main object. Let AI find and select your subject. Invert selection and delete the green background. Switch to select the background, then remove it.
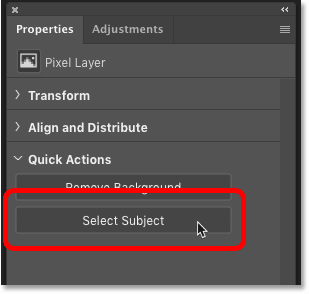
Step 2. Apply Select and Mask to refine edges. Use advanced tools to perfect the selection. Use "Decontaminate Colors" if a green spill exists. Remove green color cast from subject edges.

Best for:
- Complex subjects with fine details
- Hair, fur, or transparent objects
- Professional photography projects
- Images with uneven lighting
- Advanced users who want perfect results
Part 3: Fixing Common Issues After Green Screen Removal
Even a perfect technique can leave some problems. Green screen removal in Photoshop often needs final touch-ups. These common issues are easy to fix when you know the right approach.
Here are the main problems and solutions:
- Green color spill on subject edges - Use "Decontaminate Colors" in the Select and Mask panel
- Rough or jagged edges - Apply "Smooth" and "Feather" adjustments to soften transitions
- Missing parts of the subject - Paint back areas using a soft brush on the layer mask
- Leftover green pixels - Use a small eraser or paint black on the mask to remove them
- Halo effect around subject - Contract the selection by 1-2 pixels before applying mask
- Transparent areas that should be solid - Paint white on the mask to restore opacity
- Color shifts in the final image - Adjust levels and curves to match the new background
- Blurry edges after processing - Use "Refine Edge" with "Smart Radius" to sharpen boundaries
Part 4: Bonus: Easier Way to Remove Green Screen in Bulk with One Click
Sometimes you need to remove green screen Photoshop backgrounds from many images. Manual editing takes too much time. Batch processing tools can speed up your workflow significantly.
UniConverter Background Remover offers automated green screen removal. This tool uses AI to detect and remove backgrounds instantly. You can process hundreds of images in minutes. The software handles common green screen removal in Photoshop tasks automatically.
The tool works well for standard green screen setups. Professional studios with consistent lighting get the best results. While not as precise as manual Photoshop work, it saves hours of editing time.

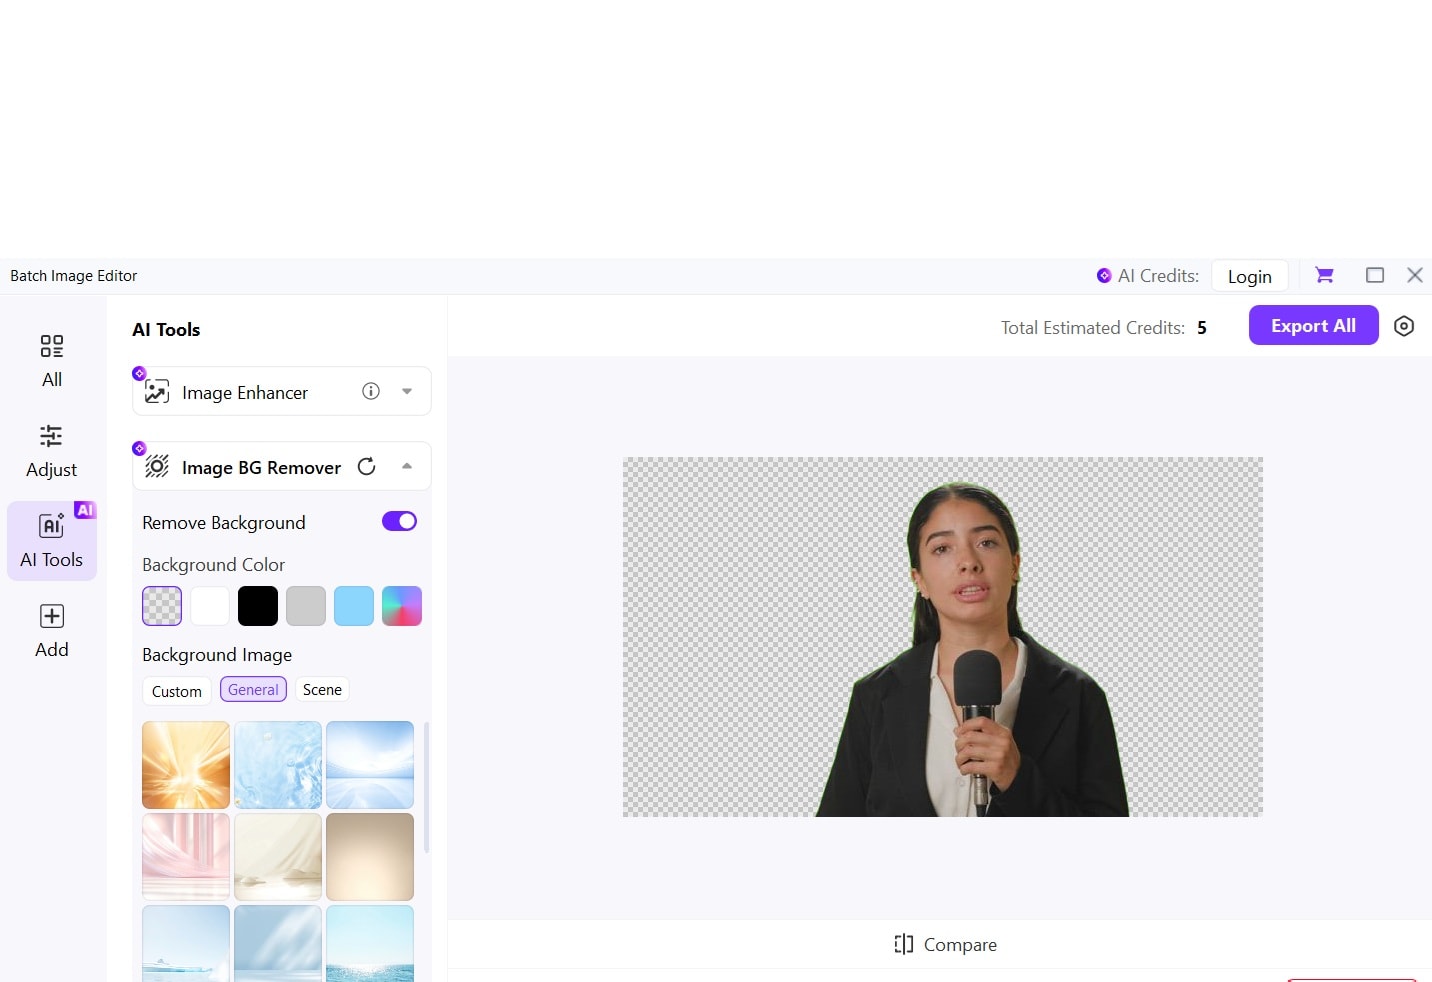
Batch Green Screen Image Editor
Key Features:
- One-click background removal
- Batch processing for multiple images
- AI-powered subject detection
- Support for various image formats
- Automatic edge refinement
Steps Guide to Batch Remove Green Screen from Images:
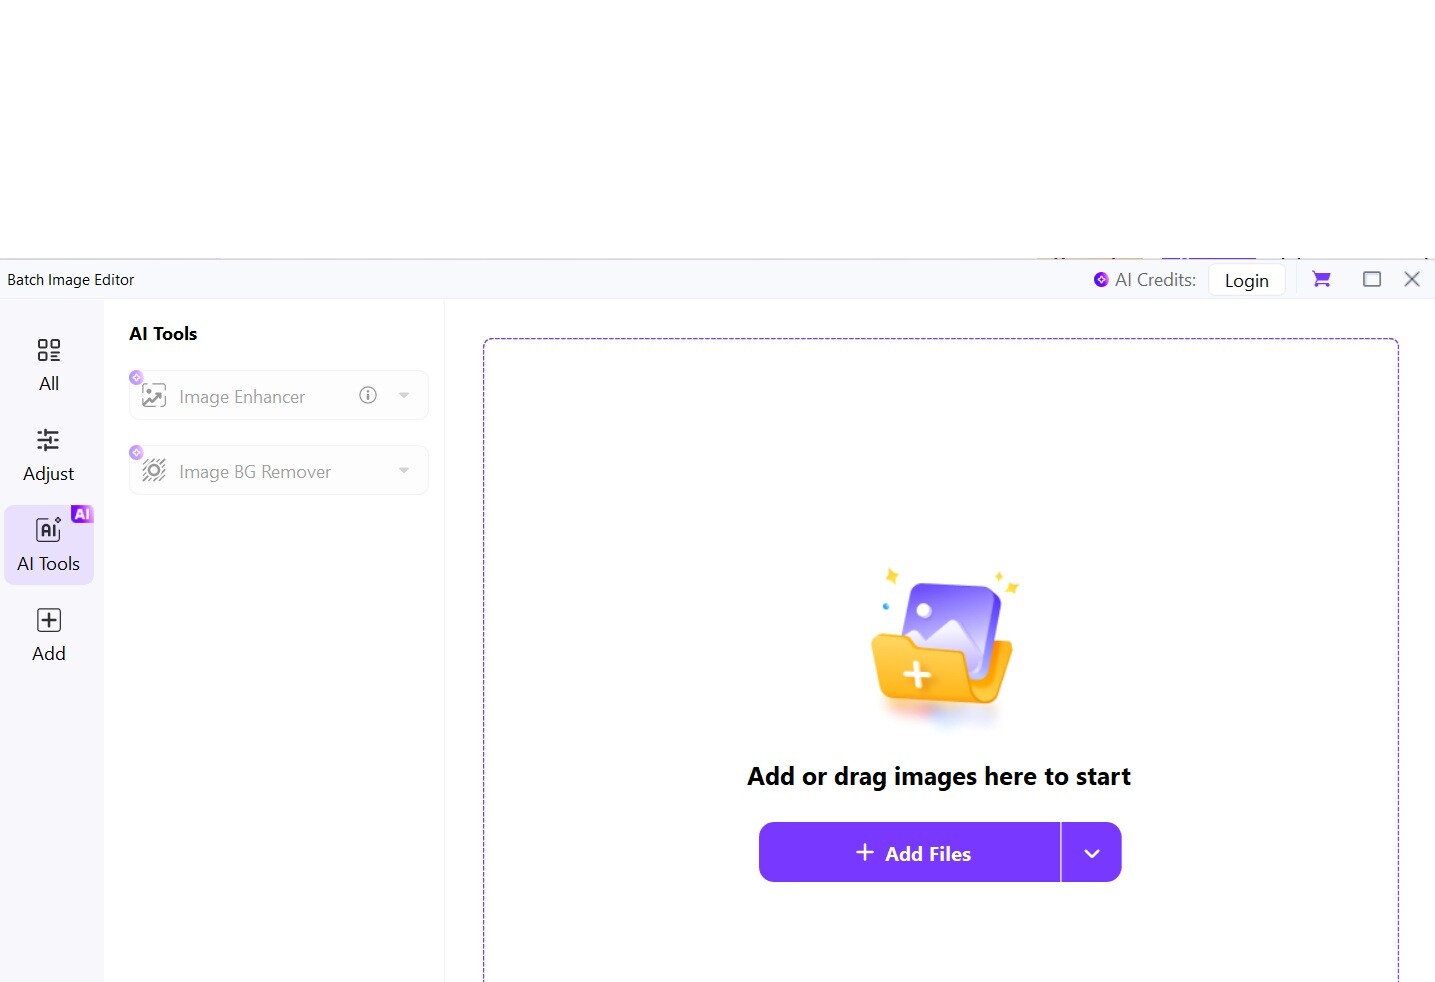
Step 1. Download and install UniConverter. Open the tool on your PC. Switch to the Image tab. Select Image BG Remover AI.

Step 2. Import your green screen images.
Step 3. Select Image BG Remover.
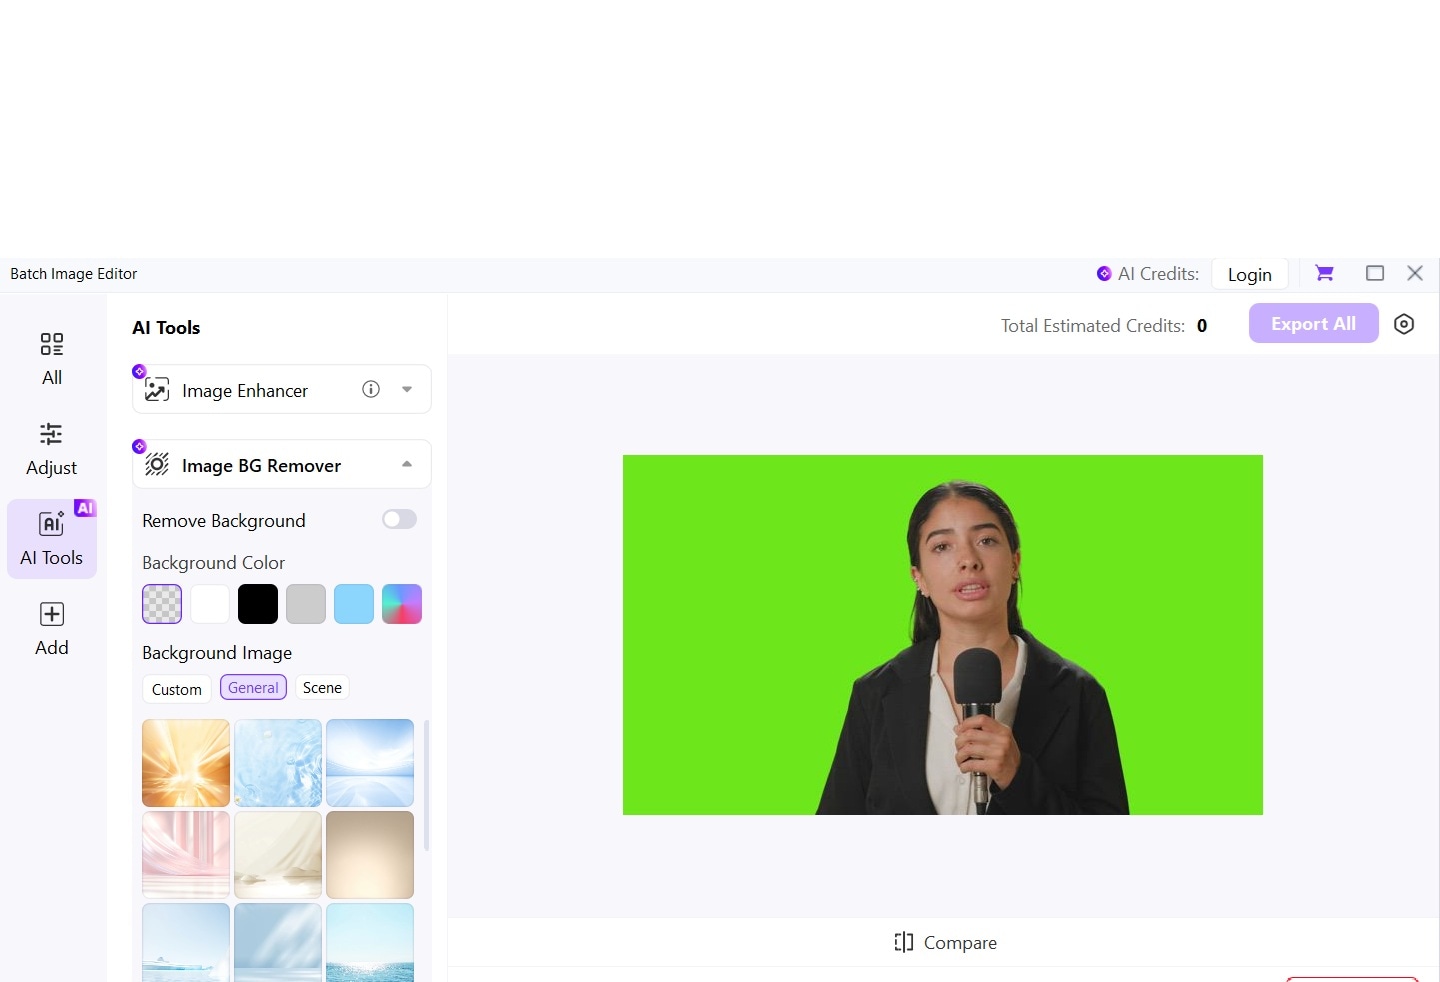
Step 4. Toggle ON the “Remove Background” option. Wait for the AI process. And that’s it! Export the results in your preferred format.
Conclusion
You now know three main ways to remove green screen in Photosho. Each method has its strengths and best use cases. Color Range works great for most situations. Magic Wand is perfect for beginners. Select Subject handles complex images well.
Practice with different types of images to build your skills. Start with simple green screens and work up to complex subjects. Each project teaches you something new about green screen removal in Photoshop. The more you practice, the better your results will be.
Try each method based on your image complexity and skill level. Simple backgrounds work well with basic tools. Complex subjects need advanced techniques. Don't hesitate to ask questions or share your results. The community is always ready to help you improve your delete green screen Photoshop skills.

