
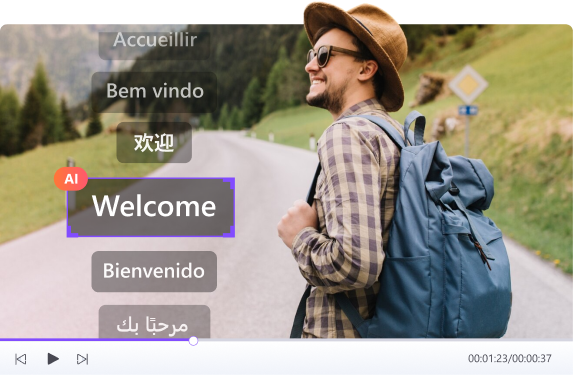

If you are uploading a photo to your social media handle or to your portfolio website, knowing how to edit the size of a photo can save you time, bandwidth, and frustration. But here's the thing: resizing an image is not just about making it smaller or larger. If you will do it the wrong way then there are chances that you might end up with a blurry photo. Most people also face issues when the proportions get mismatched, and they get distorted pictures.
That’s why understanding the right way to edit image size is crucial. In this guide, we will help you understand how to edit picture size without compromising quality, adjust pixel size correctly, and avoid common pitfalls that could ruin the image that you will share privately or publicly.
In this article
Part 1: How to Resize Images Without Losing Quality
When you resize an image, your first and foremost concern is the fact that you do not lose quality. Simply, you want to reduce its dimensions or file size while preserving the original clarity and sharpness. This is especially important when you are preparing visuals for websites, e-commerce listings, presentations, or print material. There are several benefits of having an HD image.
- It helps in maintaining image sharpness even after reducing the file size.
- It helps in preventing pixelation, stretching, or quality degradation.
- The image resizing optimizes pictures for faster web performance and SEO.
- Resizing the photos will keep details intact for print and high-resolution displays.
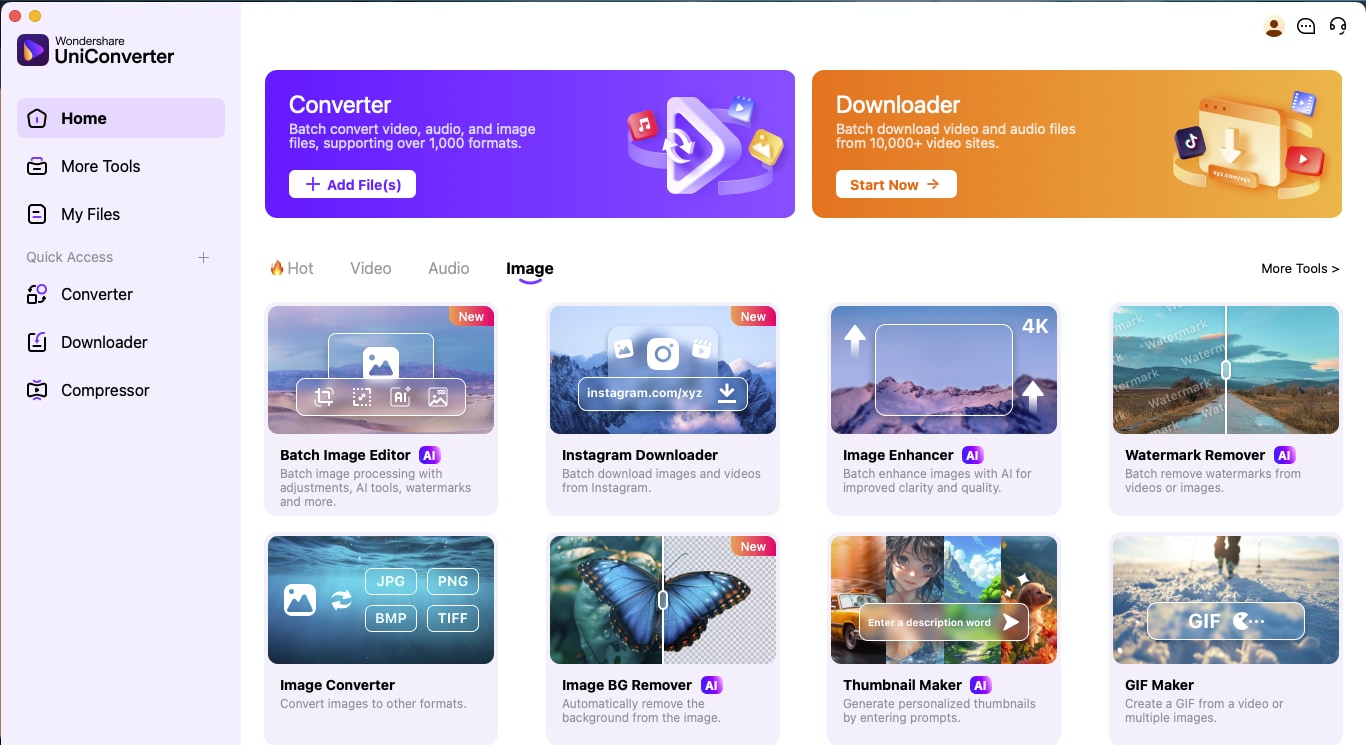
Wondershare UniConverter makes this process seamless. The tool features a powerful AI engine that helps resize multiple images in one go. More importantly, it lets you add dimensions from your side while maintaining the image quality. The powerful AI engine of UniConverter lets you recognize optimal dimensions for compression, and it also supports a wide range of formats and lets you preview results before applying changes.

Batch Image Editor
If you are also someone who keeps on wondering how to edit the size of a photo, then check out the following steps and resize the image without losing quality:
Step 1: Access the Photo Editor
Open UniConverter on your computer and head to the “ Batch Photo Editor” section from the home screen.
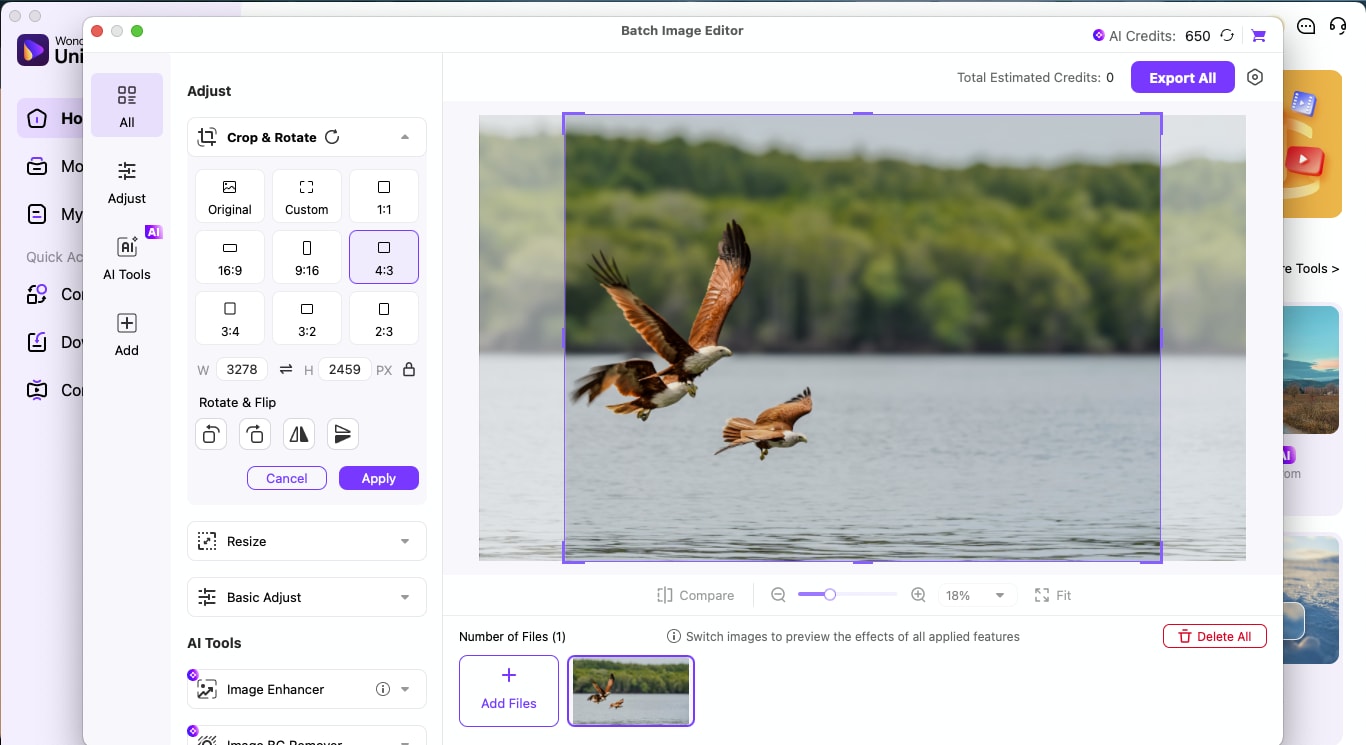
Step 2: Crop and Adjust Image Dimensions
Upload your image(s), then click the ‘Crop’ icon under the “Adjust” section. From here, you can choose different preset aspect ratios like 1:1, 16:9, and 9:16 or manually enter your desired width and height. You also have the flexibility to rotate or flip images as part of the resizing process.
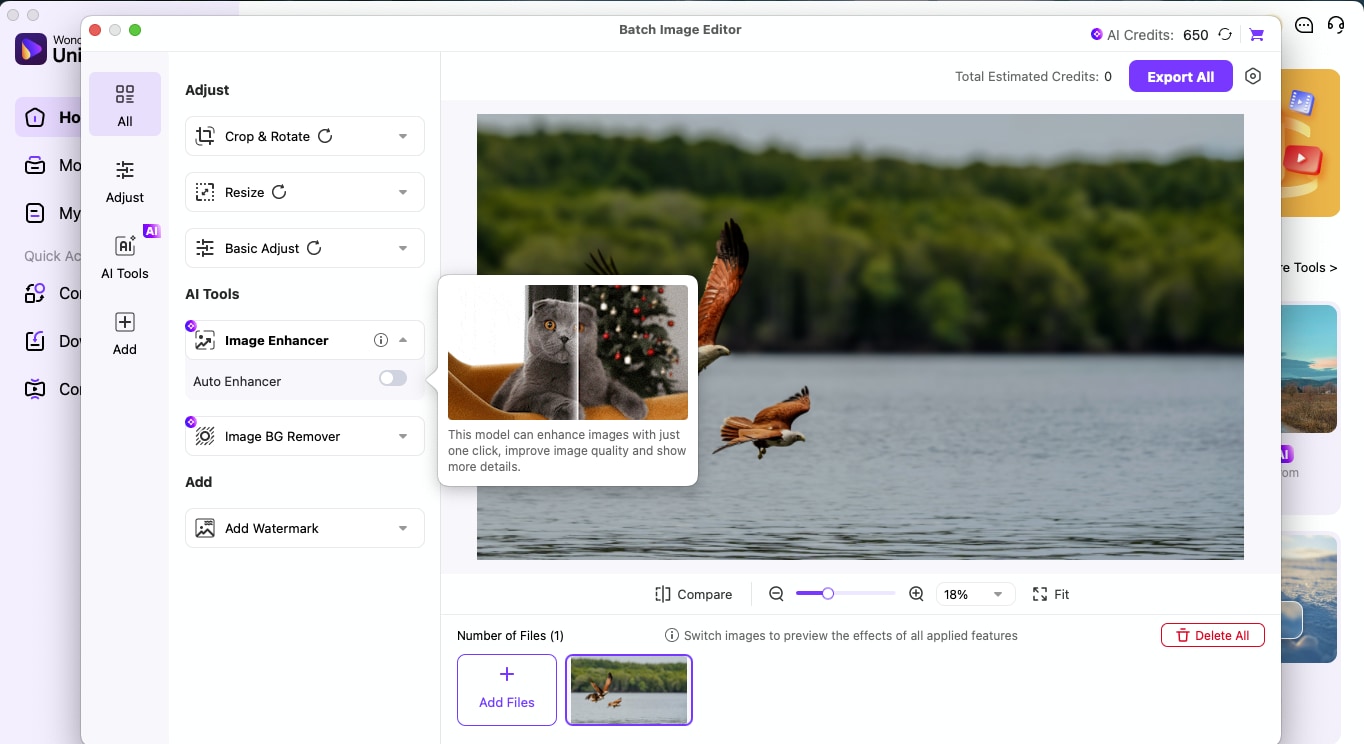
Step 3: Use AI Tools (Optional)
Go to the “AI Tools” from the left panel. From here, you can remove or replace backgrounds using AI.
Step 4: Export and Save Your Resized Image(s)
Once you are happy with the adjustments, click “Export All” from the top right to download your resized images. Now the edited picture can be used to upload or share as required.
Part 2: Tips for Resizing Images
As you must have understood by now, resizing an image is not just about shrinking it down; rather, it’s about finding the sweet spot between dimension, quality, and usability. Whether you are prepping a photo for your website, a presentation, or social media, a few smart choices can help you keep your image sharp and lightweight at the same time.
Here are five practical tips to help you resize the right way:
Pick the Right Dimensions
Always start by determining where the image will be used. A 1920x1080 image might be great for a desktop banner but overkill for a thumbnail or mobile view. Similarly, a 1:1 image size would not be convenient to use as a laptop wallpaper.
Balance File Size and Quality
If you also wondered how to edit the size of a photo, then you must know that the goal is to reduce file size without making the image look like it’s been through a shredder. You can test different compression levels and formats to get the best result without sacrificing clarity.
JPG vs PNG Matters
JPEGs are ideal for photographs and offer smaller file sizes with acceptable quality loss. PNGs support transparency and retain better detail, which makes them ideal for logos or images with text. So, depending on your requirements, you can choose from different image file formats.
Stick to Consistent Aspect Ratios
In order to avoid awkward cropping or distortion, it is highly recommended to maintain consistent aspect ratios across similar image types. This tip comes in handy when you are learning how to edit image size for product listings, portfolios, or slideshows.
Preview Before You Export
Always use the preview option to check what the resized image looks like. The real-time preview would even help you catch issues early and avoid rework.
Conclusion
In order to learn how to edit the size of a photo, you first need to understand that the right way can make all the difference. The key is to resize the picture without compromising quality. So, it is always recommended to choose the right formats and always preview before hitting export.
With UniConverter’s all-in-one toolkit, resizing images becomes not just easier but smarter. From batch editing to AI-powered enhancements, it helps you handle everything in a few clicks. So the next time you need to edit picture size, you will know what to do - simply download UniConverter and start resizing the images as required.
Batch Image Editor
FAQs
1. What’s the best way to edit the size of a photo without losing quality?
The safest way is to use a tool that supports high-resolution or lossless resizing. This ensures your photo stays crisp even after shrinking or expanding it. Tools like UniConverter use smart resizing algorithms that preserve detail while adjusting dimensions.
2. Can I manually set the width and height of an image?
Yes, most modern editors let you manually input the exact width and height you want. This gives you full control over the final output: perfect when you are working with strict layout or print requirements. Just make sure to maintain the aspect ratio to avoid distortion.
3. Should I use JPG or PNG when resizing images?
That depends on your goal. JPG is best for everyday photos where smaller file sizes matter, like web uploads. PNG is ideal for images with transparency or text, like logos or illustrations, where you want to retain every detail without compression loss.
4. Will resizing affect the resolution of my image?
Yes, but only if done carelessly. Enlarging a low-resolution image might make it blurry, while overly compressing a large image can strip away detail. To avoid this, always start with a high-quality image and use resizing tools to preview changes before saving.
5. Can I resize multiple photos at once?
Absolutely. Batch resizing is a huge time-saver, especially for content creators or marketers. UniConverter’s Batch Photo Editor lets you apply the same size and format settings to multiple images in just a few clicks—keeping everything consistent without extra effort.

