

Ever resized an image only to end up with a wrapped mess like a face stretched unnaturally or an object looking squished beyond recognition? Yeah, we have all been there and gone through this situation. Whether you're a designer preparing visuals, a photographer adjusting formats for the web, or a social media manager trying to hit exact dimensions without compromising quality, doing it wrong can distort details.
To cater to this, Photoshop can be a reliable solution, which offers powerful tools to resize images without compromising quality. Unlike other tools, it offers various cropping options and a number of benefits:
- Keeps visuals looking professional and polished.
- Saves time on re-edits and do-overs.
- Ensures your content fits perfectly across formats.
- Reduces file size without ruining image clarity.
Hence, if you are interested in knowing how to adjust picture size in Photoshop, this guide will cover every aspect in detail. For some reason, this tool might not meet your needs; a better alternative will be given to you by the end. So, continue reading and explore the best option that suits your editing requirements.
In this article
Part 1: Basic Way for Image Resizing in Photoshop
The platform has an “Image Size” tool that allows you to manually set new dimensions in pixels, inches, and percentages. Moreover, you can change the resolution and how Photoshop will resample the photo’s quality during scaling. If you are interested to learn how to adjust the size of an image in Photoshop, know that it lets you change the height and width as per your liking, too.
Key Features
- 1. With the “Free Transform” feature, drag the image and resize it freely on the canvas.
- 2. It lets you add layers so you can do the editing on individual elements.
- 3. Users can save the image in PNG, JPG, and various other formats.
Detailed Steps to Learn Basic Resizing With Photoshop
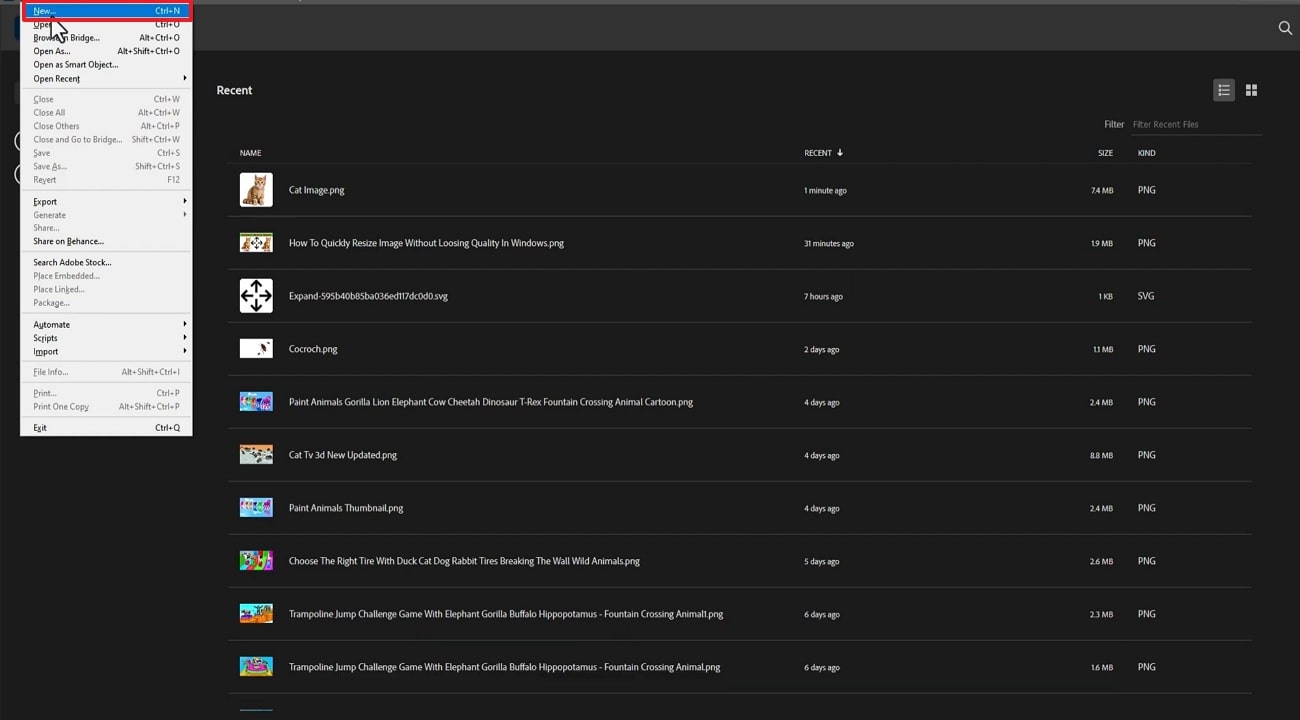
Step 1. Access the tool and press the “File” tab to upload the photo by clicking the “New” option from the pop-up menu.
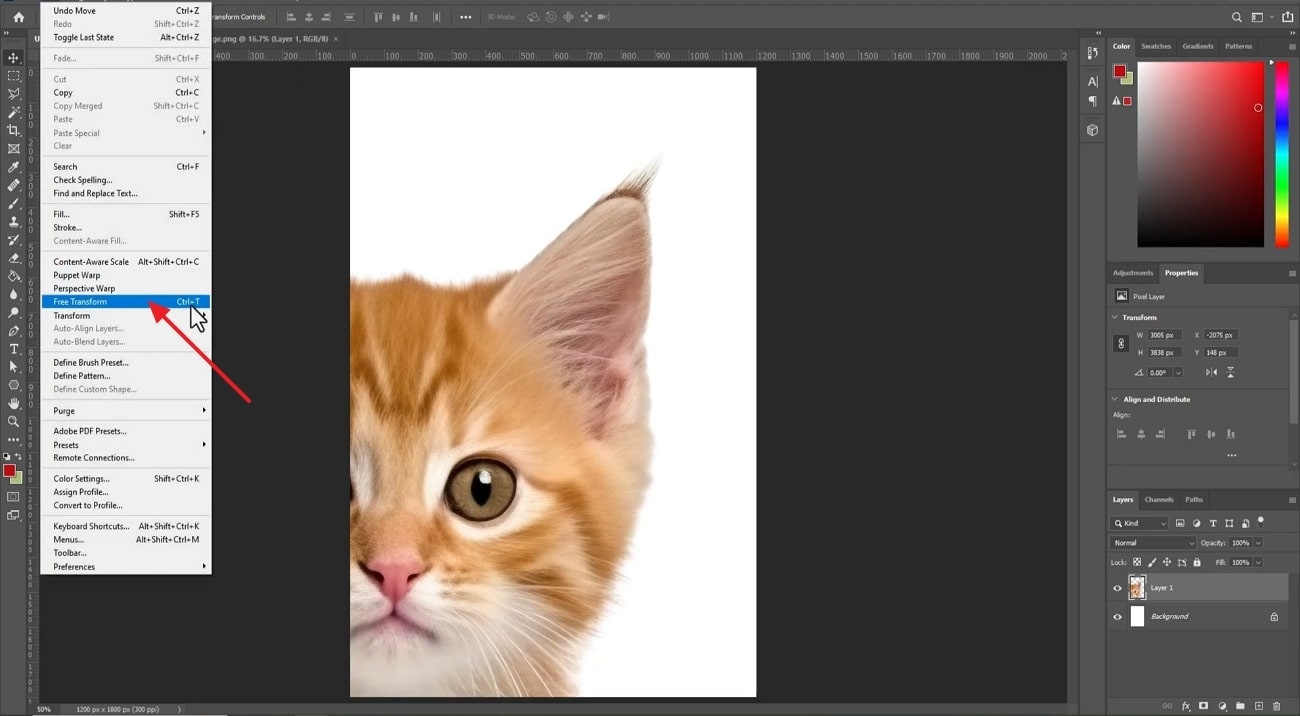
Step 2. Next, navigate the “Edit” tab and choose the “File Transform” option from the expanded list.
Step 3. Once the image is placed onto your canvas, click the “Crop” icon located in the left tool panel.

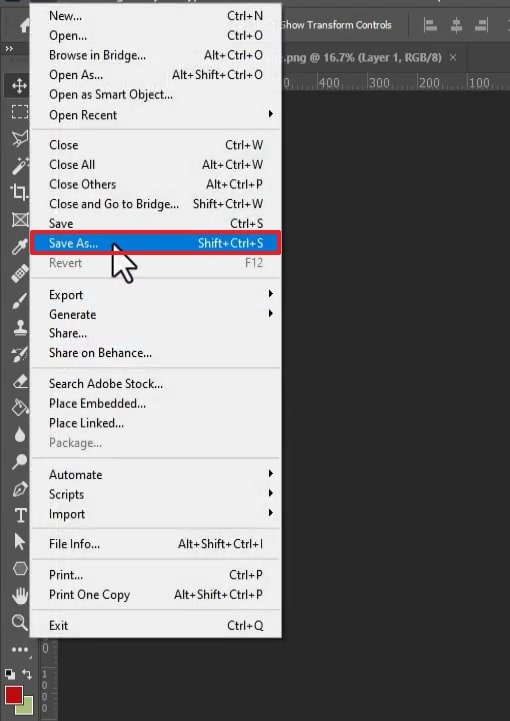
Step 4. As you are done cropping the image, press the “File” tab again, select the "Save As" option, and download the image accordingly.

Batch Image Editor
Part 2: Advanced Resizing Techniques in Photoshop
Once you have mastered the basics of how to increase an image size in Photoshop, it's time to set up your game with advanced resizing techniques. The following section will cover how you can maintain the image quality while you resize the photo:
1. How to Maintain Image Quality?
When it comes to advanced resizing, the tool offers options like Resample Image combined with a smart algorithm such as Preserve Details. It is designed specifically to maintain image quality during size changes. Resampling allows Photoshop to add or remove pixel data as needed. You can find the feature under image size by following the given steps:
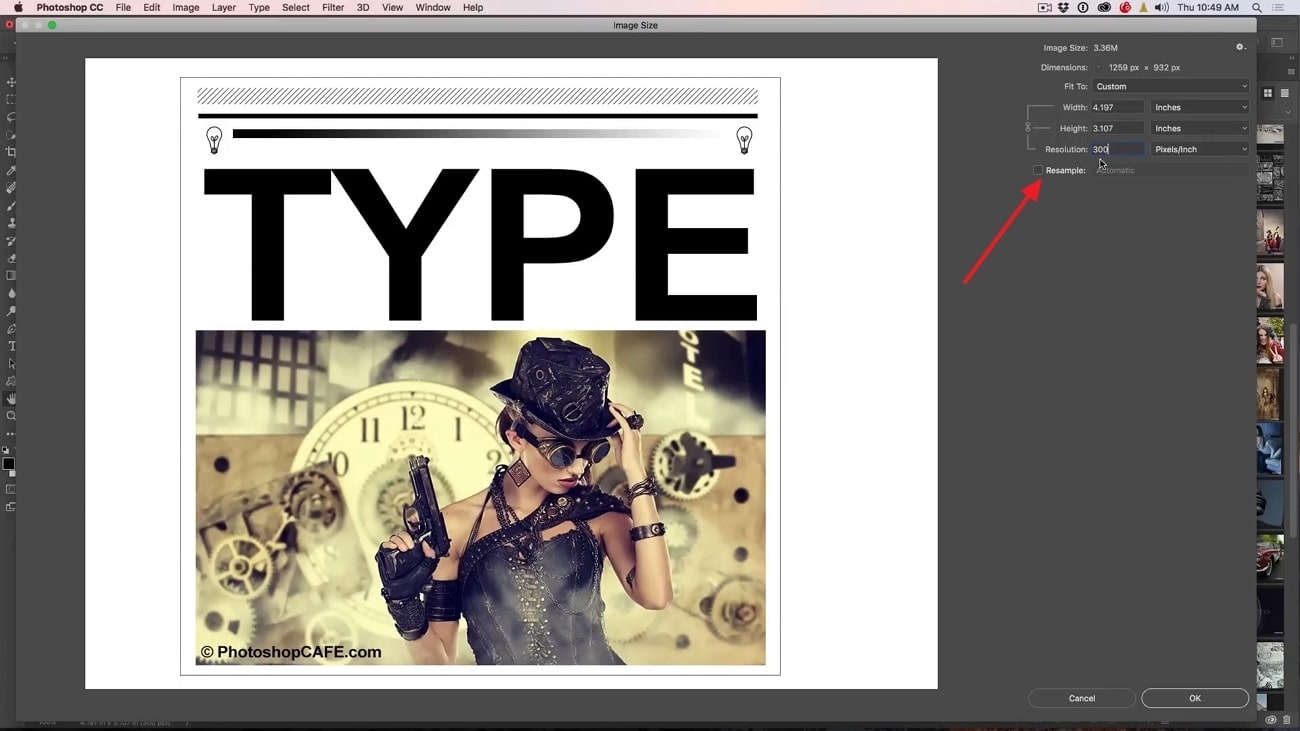
Step 1. Drop the picture in the tool and select the “Image” tab to choose the “Image Size” option from the dropdown menu.

Step 2. Next, enable the “Resample” button and proceed further.
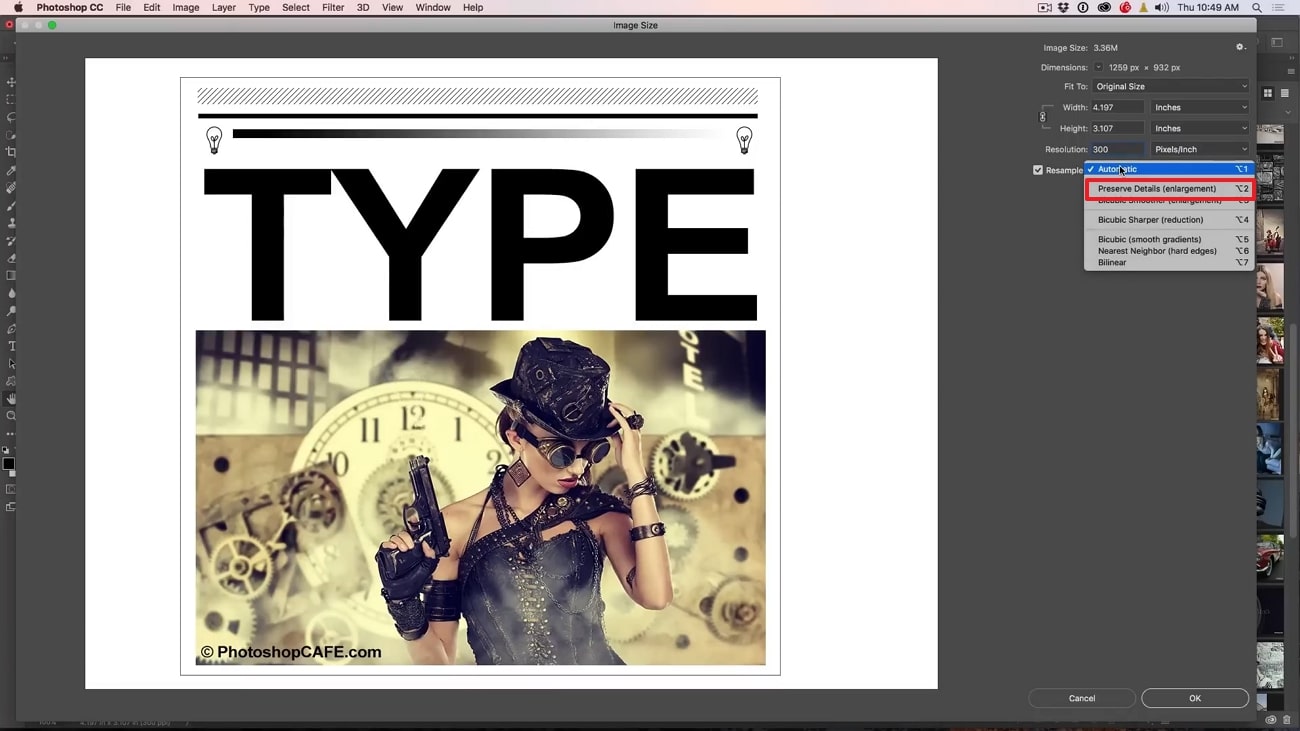
Step 3. Afterward, extend the “Automatic” list and choose the “Preserve Detail (Enlargement)” option from there.
2. How to Batch Resizing an Image?
This element allows you to adjust the size of numerous photos at once, which saves you time when working on a big project. With its Batch tool, you can set up an action that automates the resize, so you don't have to manually adjust it separately. Here is how to increase the size of an image in Photoshop by changing the dimensions of only one image:
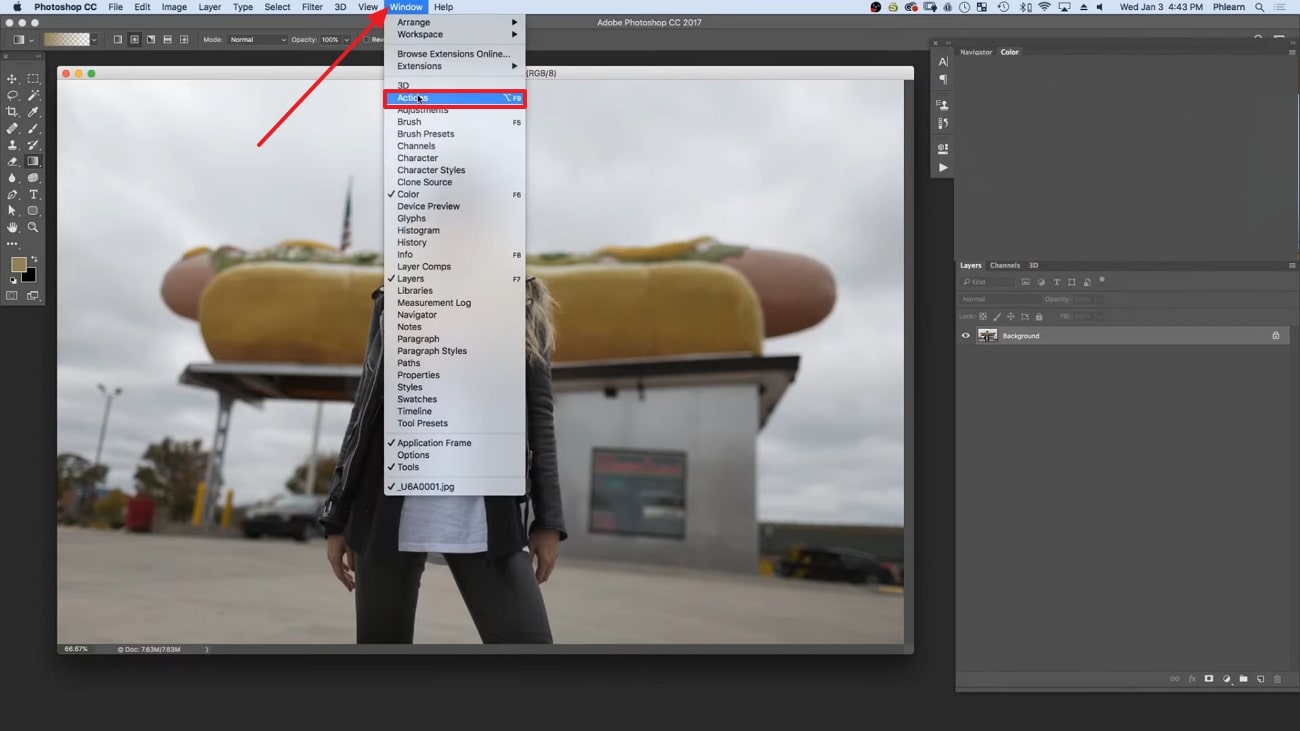
Step 1. Go to the “Window” tab and select the “Action” option to create a folder of pictures.
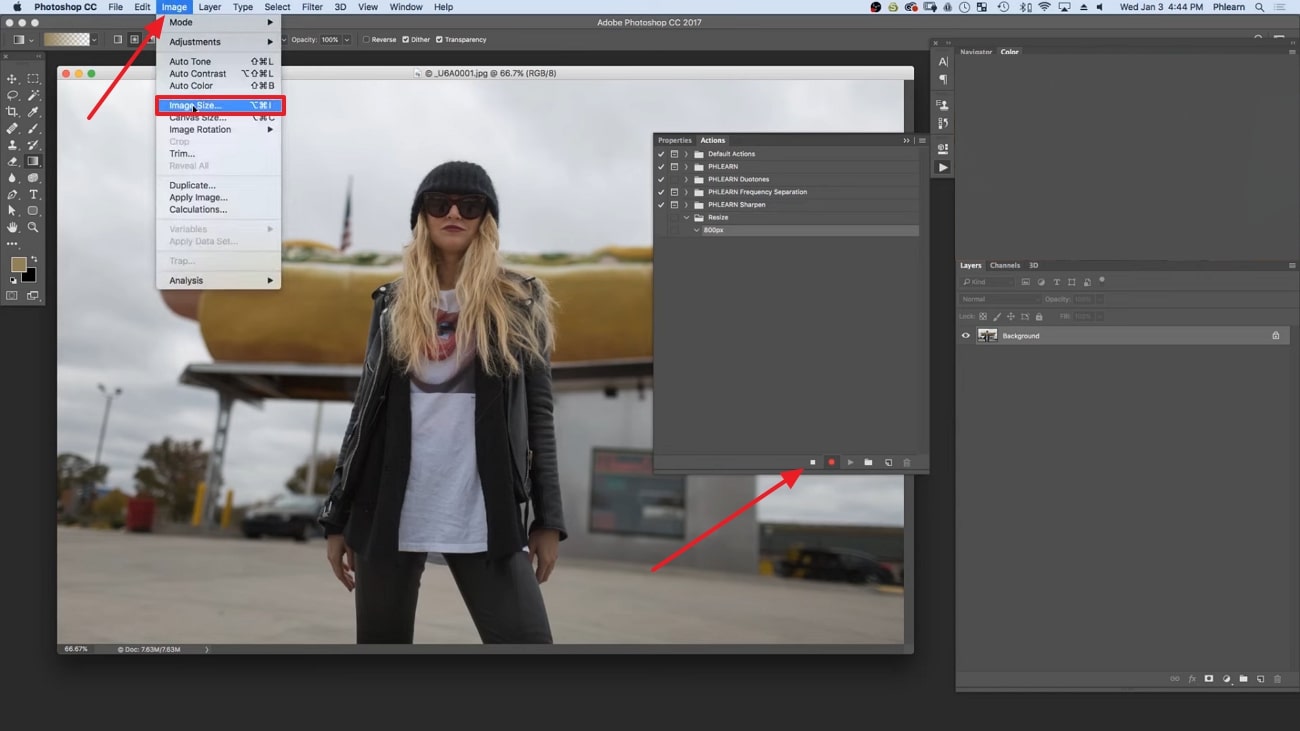
Step 2. Once you import a bunch of photos to that folder, click the “Image” tab and choose “Image Size” from the extended list. Press the “Square” icon to stop the action and change the image dimensions to save the resized image.
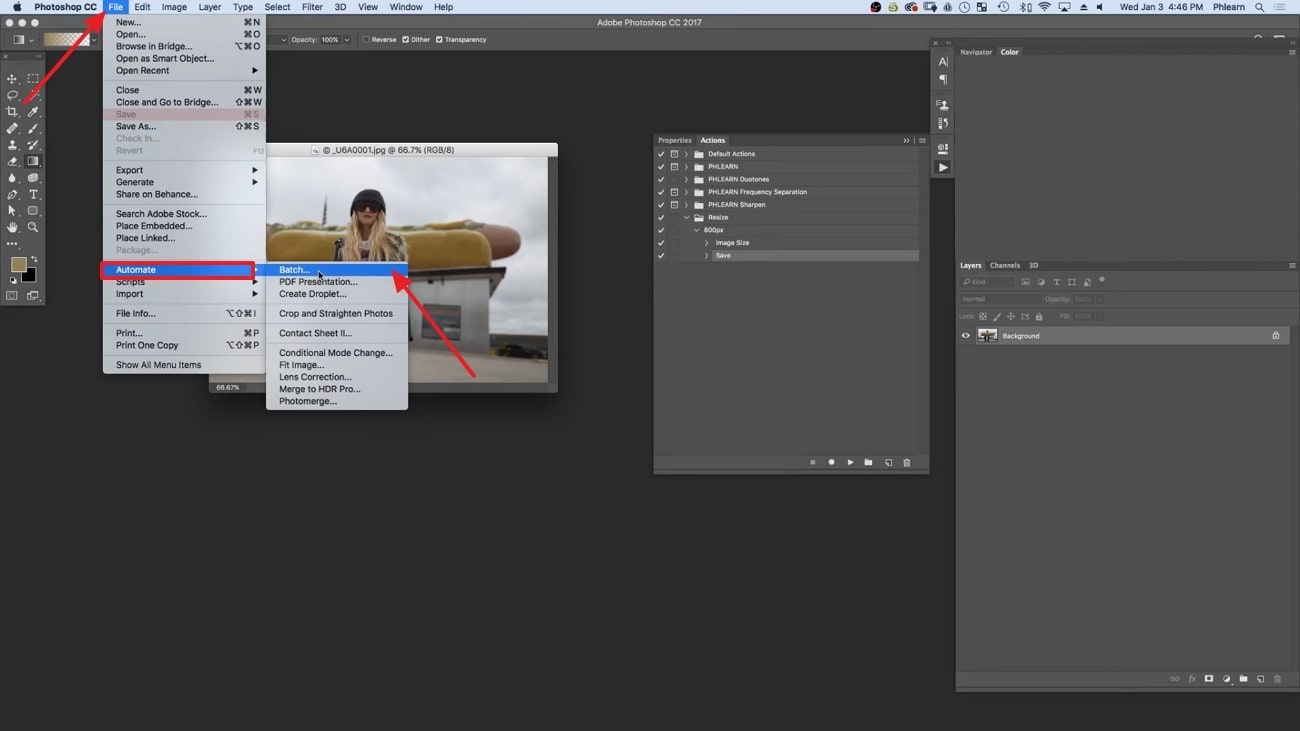
Step 3. Afterward, hit the “File” tab, pick the "Automate" option from the dropdown menu, and choose the “Batch” tool.
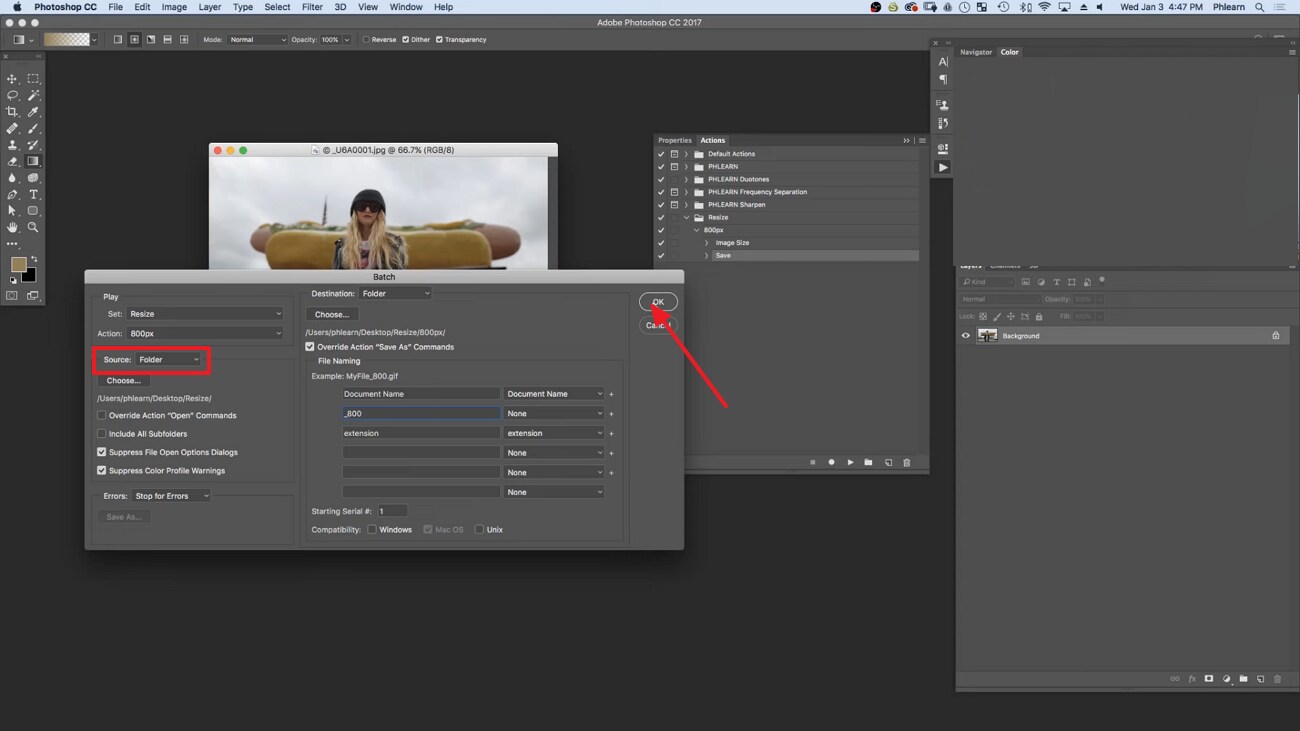
Step 4. Upon doing so, a dialogue box will open where you select the action set you made earlier and choose the “Folder” beside the “Source” option. Click the “OK” button to implement the modifications to all other photos.
3. How to Use Smart Objects (Non-Destructive Resizing)?
You can adjust without permanently affecting the original image data and using this developed strategy. When you convert a photo to a Smart Object, it lets you apply transformations like scaling and wrapping and adjust them at any time. This technique is especially useful when you want to know how to change the image size in Photoshop, letting you scale the image without losing quality:
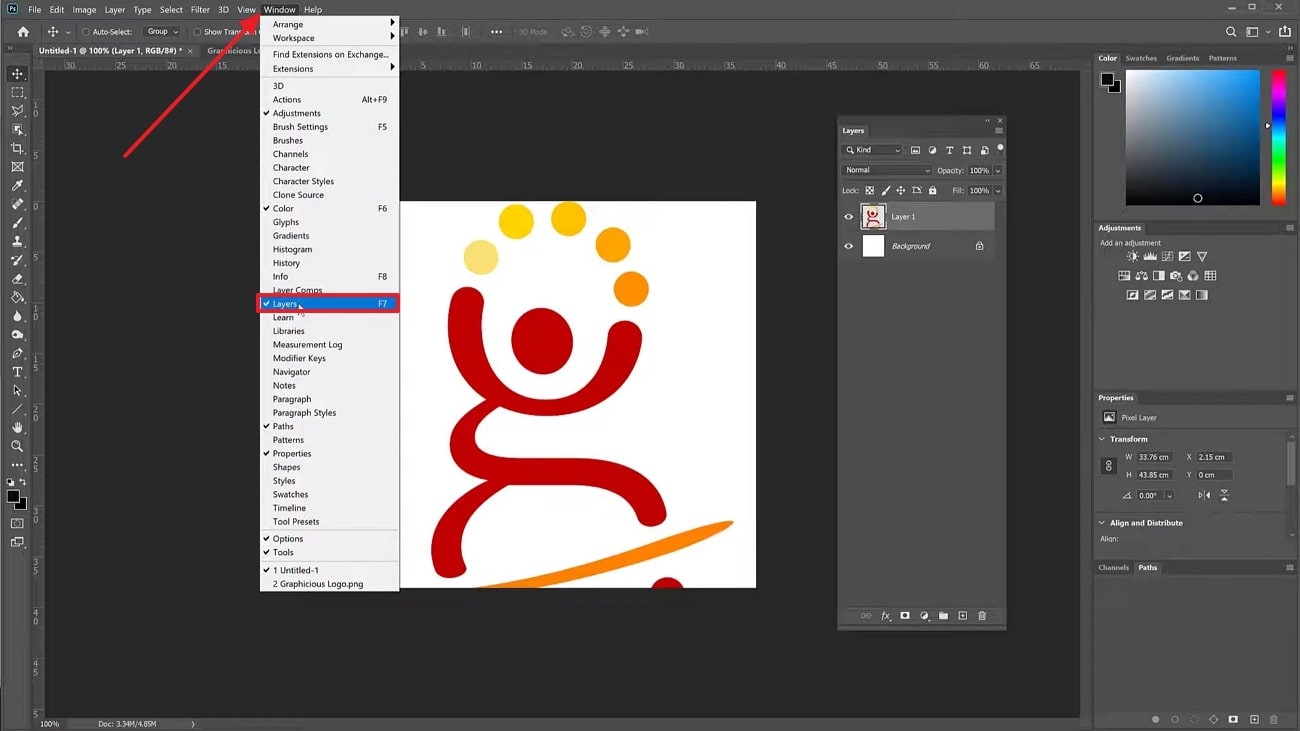
Step 1. Choose the “Layer” option from the “Window” tab and add a new layer to the image.
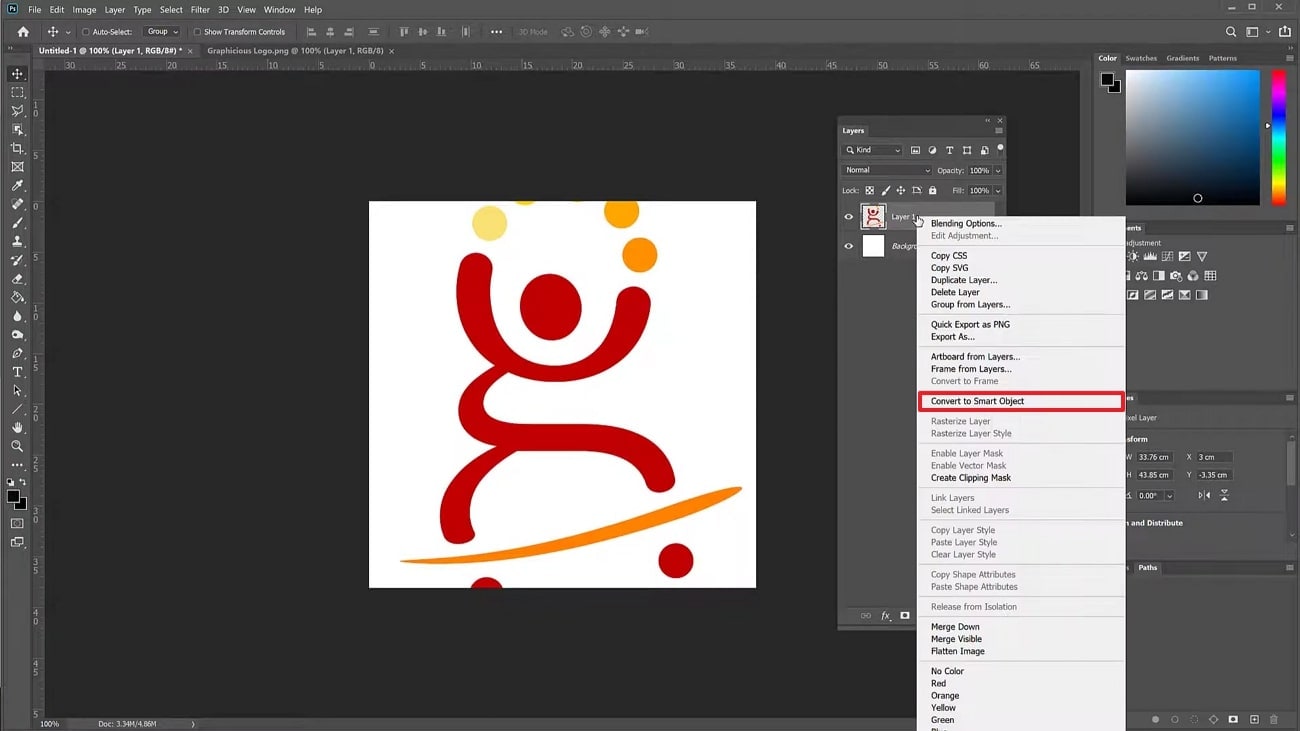
Step 2. Next, click right and select the “Convert to Smart Object” option; this allows you to resize the image freely without altering it.
Part 3: The Best Alternative to Image Resizing Without Loss of Quality
After understanding how to edit image size in Photoshop, you can see that the tool is quite complex. It might work best for a professional editor, but if you are a beginner or in a rush, you need an efficient tool like UniConverter. It is an innovative and lightweight application that upscales or downscales your images smartly without stretching. Hence, users can crop the images according to the required aspect ratios for content.

The basic adjustments like Brightness, Contrast, and Saturation can be made manually. Its image enhancer can improve the quality to make images clearer and sharper. You can also remove and add backgrounds to your pictures using AI. For further editing, you can go to the Adjust options for customizations.
Key Features
- 1. Export Formats: User can export their images in PNG, JPG, WEBP, and BMP formats.
- 2. Compare: The tool lets you compare the images side-by-side so you can note down differences.
- 3. Add Watermark: To personalize your documents, you can add watermarks to the edited images.
- 4. Bulk Processing: You can import multiple images simultaneously and edit them together.
- 5. Flip and Rotate: The composition of the images can be corrected by flipping and rotating them.
Batch Image Editor
UniConverter’s Comprehensive Tutorial to Resize the Photo
Step 1. Access the UniConverter
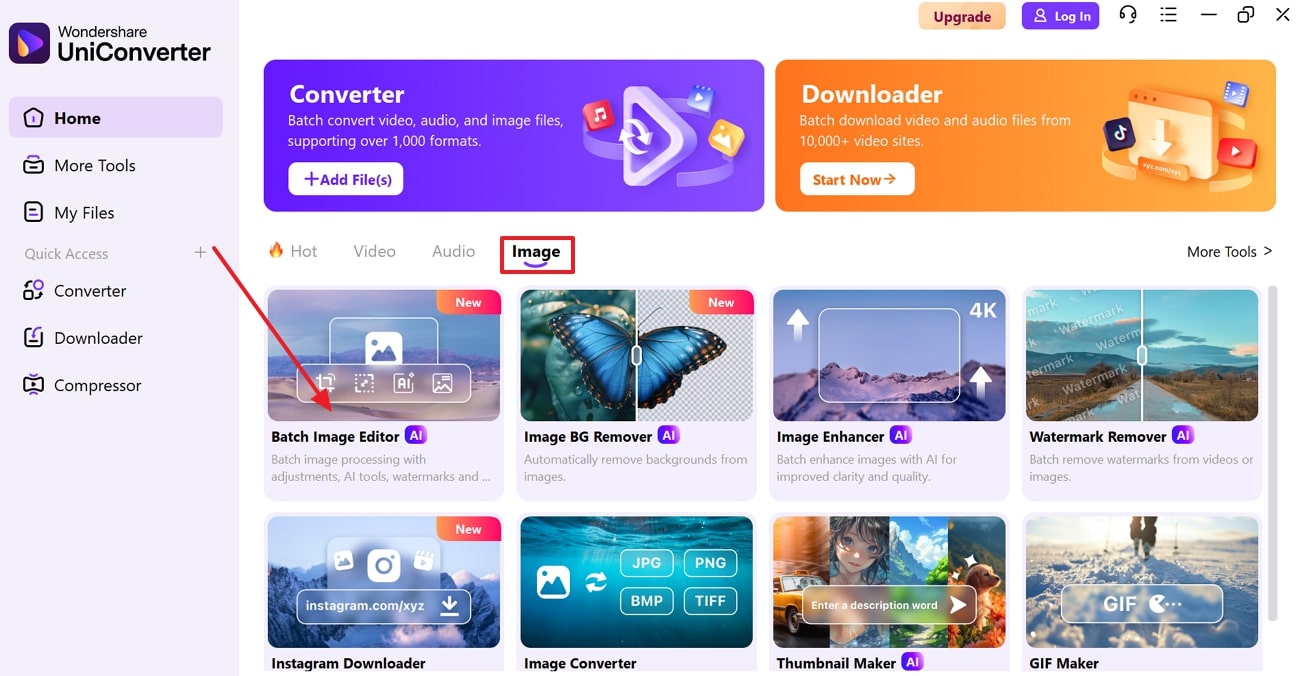
Launch the tool, head to the "Image" tab, and choose the "Batch Image Editor" tool to start resizing photos.
Step 2. Drop the Target Photo
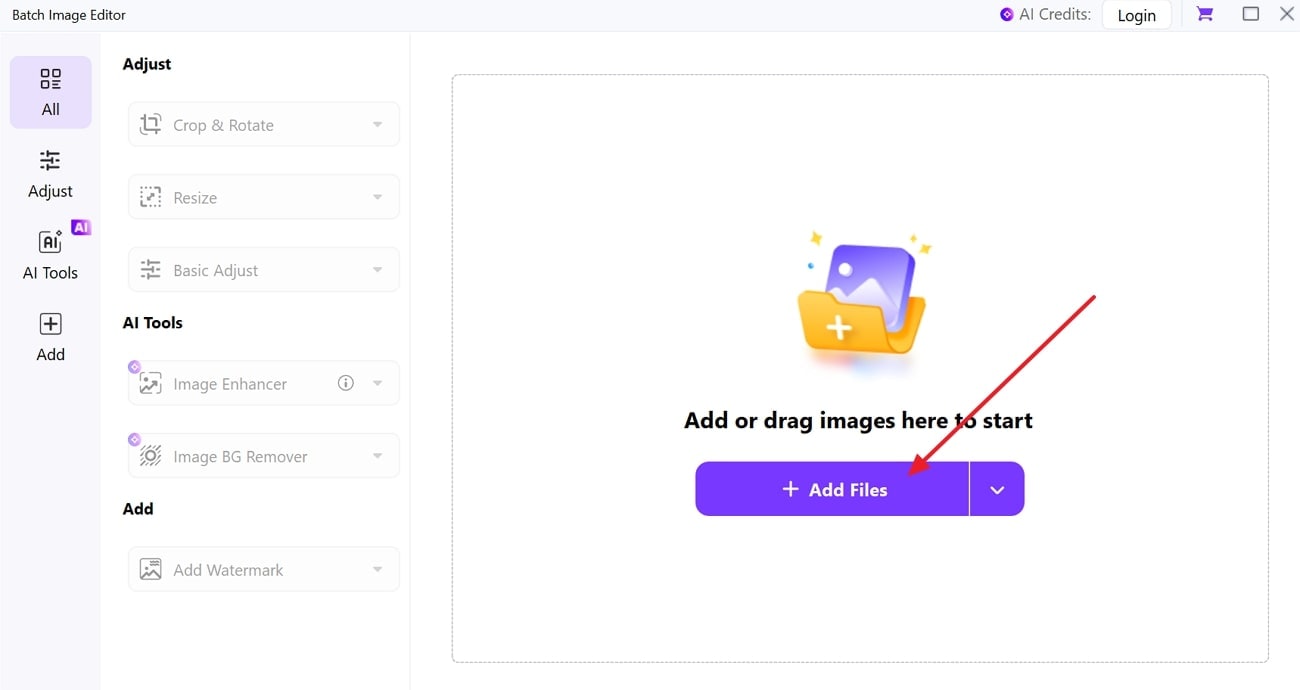
Then, use the "+Add File" button and add the desired image that you wish to alter.
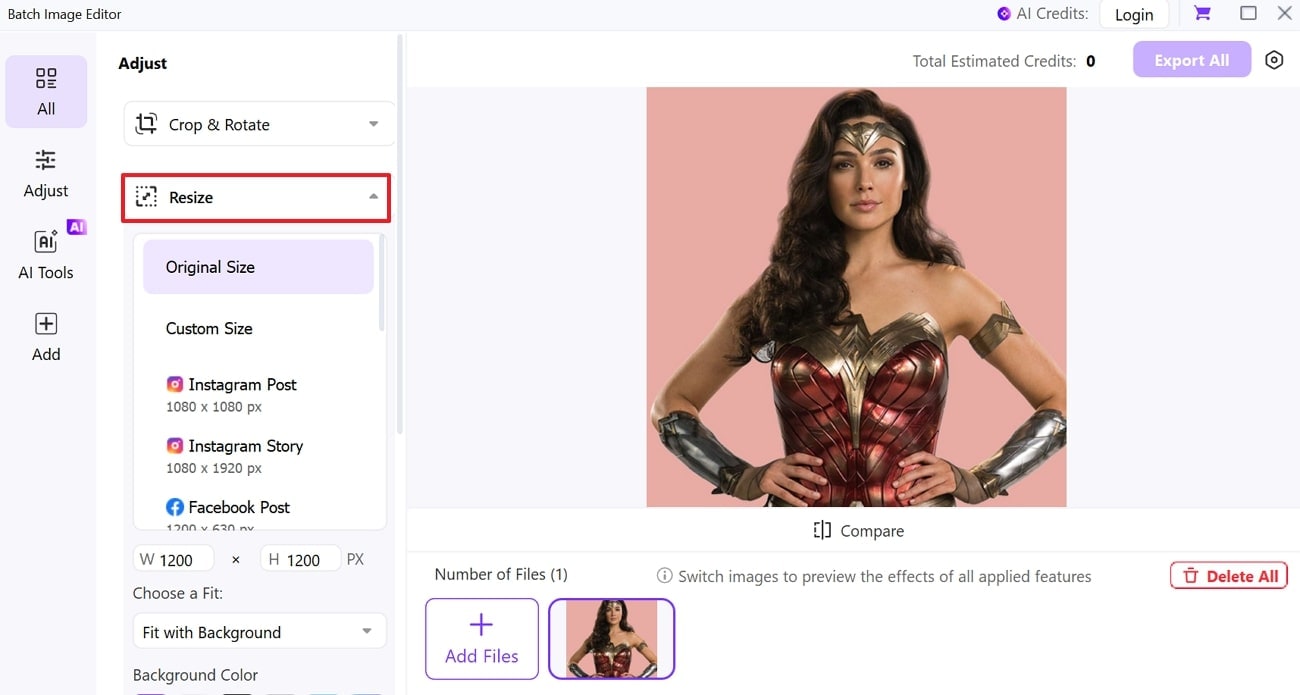
Step 3. Expand the Resize Tool
Upon doing so, extend the “Resize” tool and pick the preferred size from the given options.
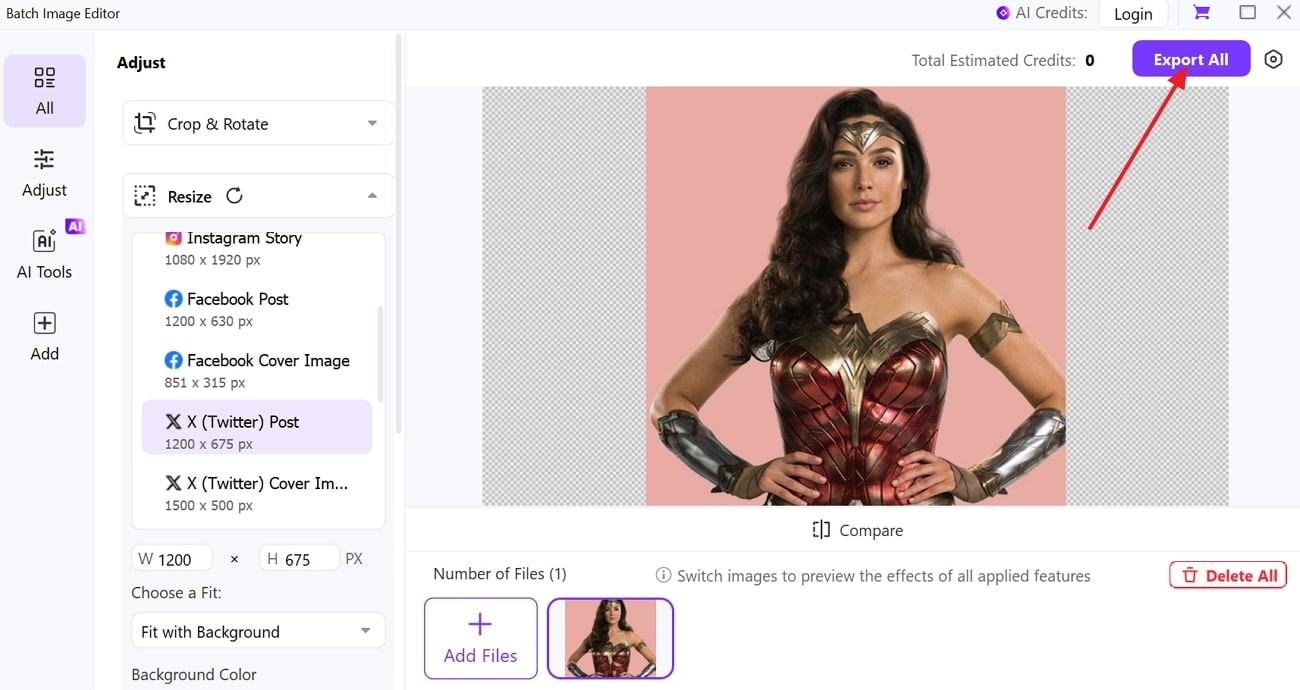
Step 4. Preview Resized Image and Export
Once the image is reduced to your target size, click the “Export All” button and preserve it to your device.
Conclusion
This guide has shown you how to increase an image size in Photoshop. From basic to advanced techniques, we have covered everything you need to know. However, while Photoshop offers sets of features a set of features, it can be overwhelming, especially for those who want a simple and quick edit. Therefore, you can use a simple yet effective alternative, UniConverter, and get your image cropped all at once.
Batch Image Editor
FAQs
1. Can I resize multiple images at once in Photoshop?
Yes, you can resize multiple images in Photoshop, but you will have to set a batch process with actions or scripts, making it suitable for beginners.
2. How can I maintain the aspect ratio while resizing?
By dragging the corner of your image in specific aspect ratios, you can maintain the orientation. Otherwise, hold the “Shift” Key, and the aspect ratio will be retained.
3. Why does my image get blurry after resizing in Photoshop?
Most editing applications, including Photoshop, destroy image quality while upscaling it. Hence, a better alternative is UniConverter, which maintains quality and can enhance it even further.
4. What’s the difference between resizing and cropping in Photoshop?
While resizing images, users work on the dimensions and resolution of an image, but cropping means cutting out a part of your picture.
5. What’s the fastest way to resize photos in bulk?
Using UniConverter would be the faster way for resizing images, especially when you are with a bulk since it has batch processing capacity.

