


The images may not always come in the sizes you need. At the same time, there may be unwanted parts or objects in photos that you don’t need. What to do in such a situation? Well, this is where cropping plays its part.
Cropping is not just about reducing the size of the image from any of its four sides; it gives your uneven and boring picture a whole new look. Though a range of tools are available for cropping images, Windows also offers built-in utilities to do this job.
If you wonder how to crop a photo on Windows, this article has got you covered. It lists six effective methods to crop pictures on Windows computers within seconds, such as using Paint 3D, the Snipping Tool, and third-party utilities. Let’s get into more details.

In this article
- How to Crop a Photo on Windows using Paint?
- How to Crop a Picture on Windows with Paint 3D?
- How to Crop Images on Windows using Photos?
- How to Crop an Image on Windows PC with Snip & Sketch?
- How to Crop Photos on Windows using a Snipping Tool?
- Use a Third-Party Tool to Batch Crop Photos More Efficiently on Windows
- FAQs about Cropping Photo Windows
Part 1. How to Crop a Photo on Windows using Paint?
Microsoft Paint is one of the Windows built-in graphics editing applications. Windows has been offering this program since its early versions. With Paint, you can edit basic graphics, including basic photo editing, sketching, and drawing. Though it lacks modern and advanced picture-editing features, you can easily crop any image with this tool.
Here is how you can crop an image on Windowsin just a few steps.
Step 1
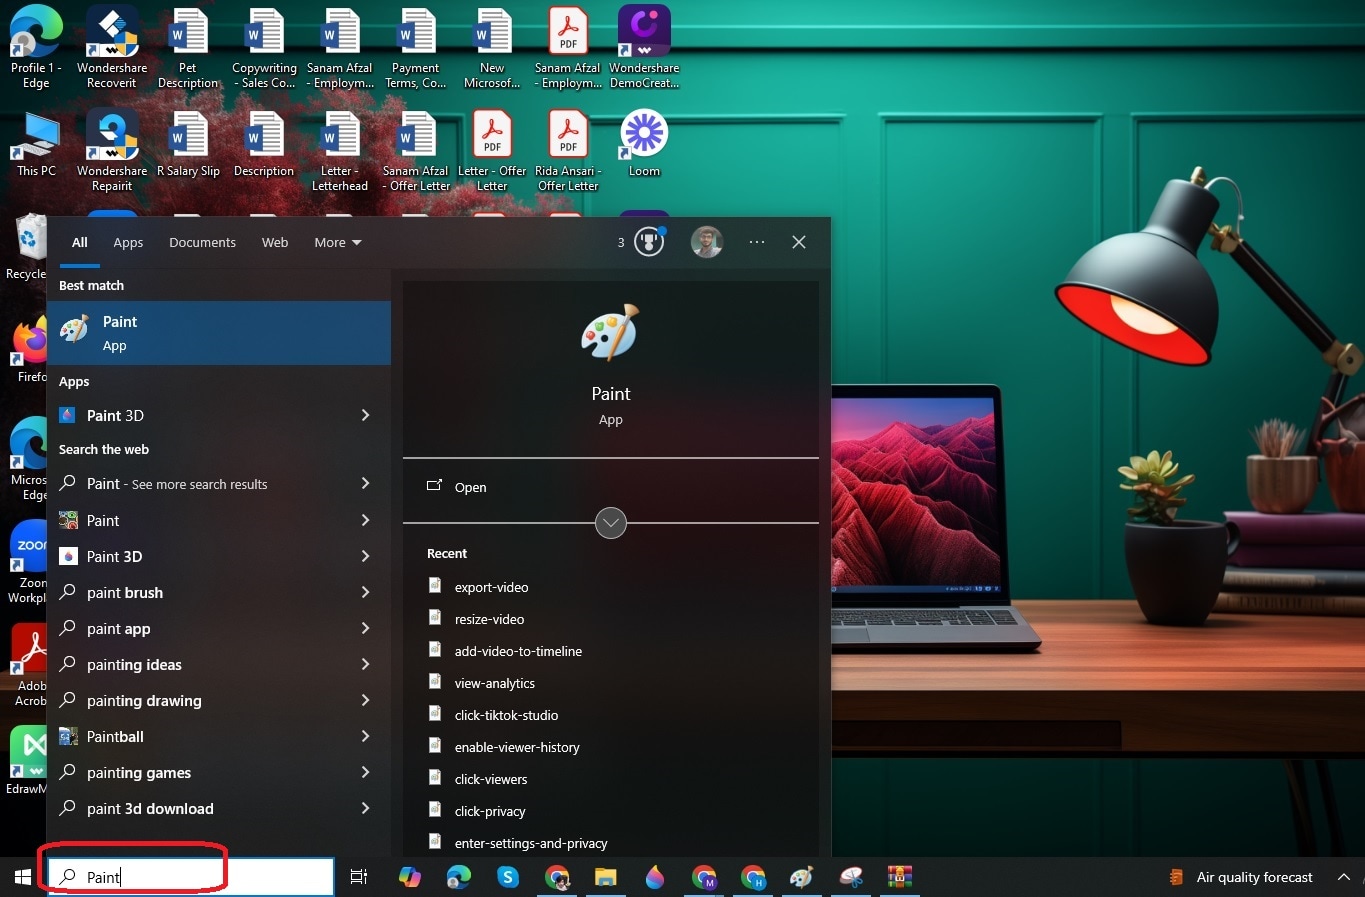
Go to the Windows search bar, type Paint, and open the application on your computer.
Step 2
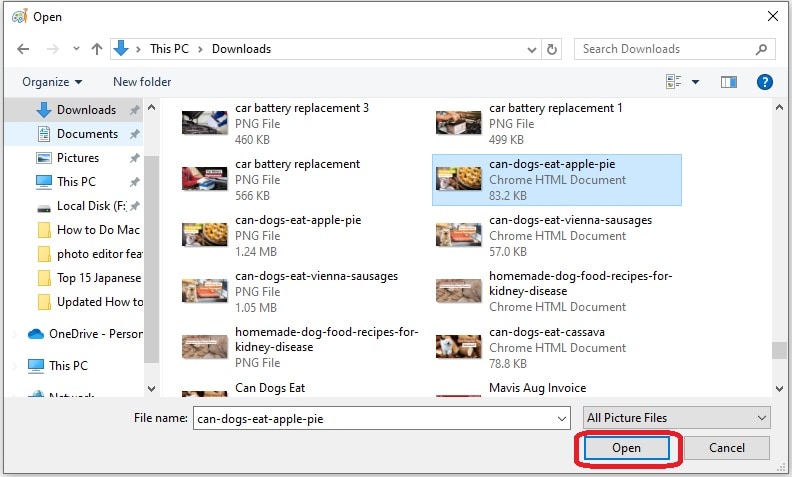
Tap on the File menu and click Open to load an image you want to crop.

Step 3
Select the photo and hit the Open button, as shown below.
Step 4
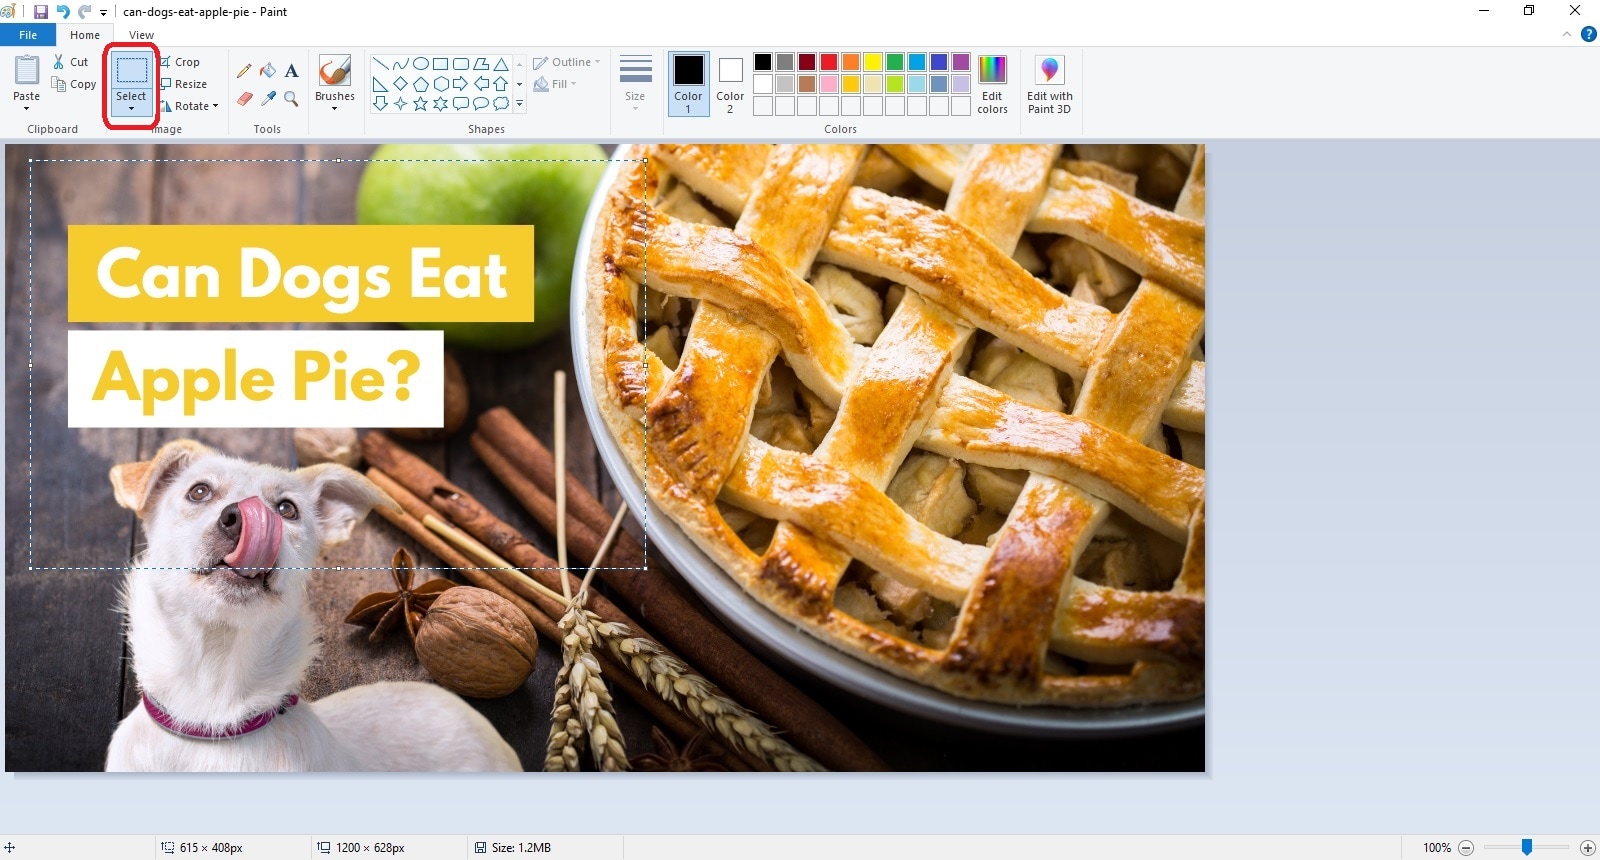
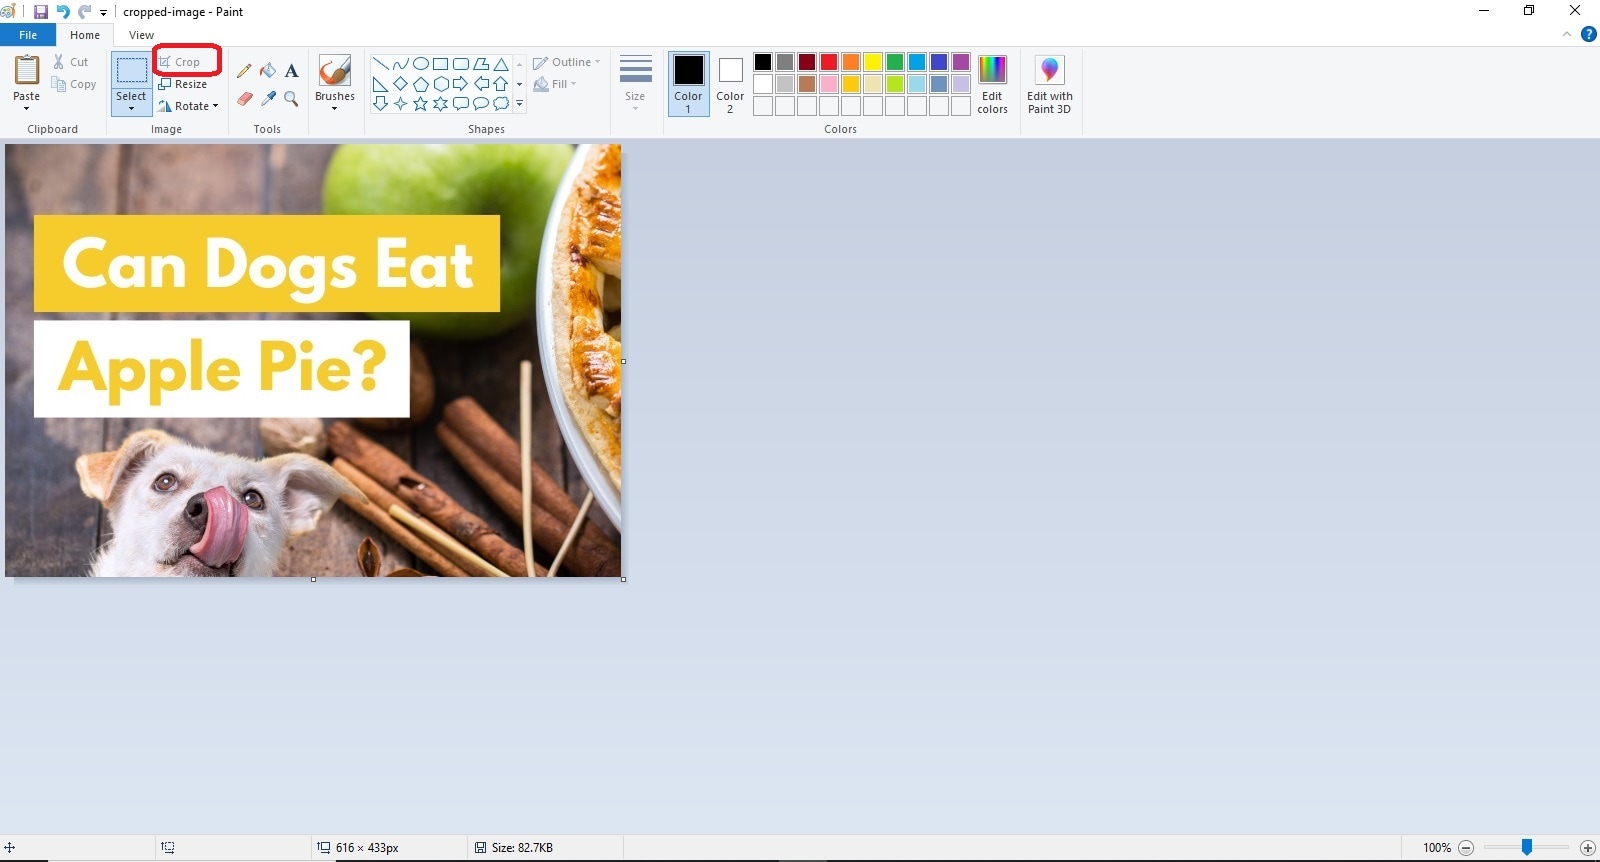
Tap on Select from the top ribbon and drag your cursor to draw the area you want to crop out from your photo.
Step 5
Now, hit the Crop button. It will help you cut out the specific part of your picture that you want to crop out, as shown below.
Part 2. How to Crop a Picture on Windows with Paint 3D?
Paint 3D first came with Windows 10 back in 2017. It is an advanced version of the earlier Paint application available on all Windows computers. MS Paint only focuses on two dimensional photo editing, whereas Paint 3D takes this domain to a three dimensional space. However, it also offers 2D tools.
The best part is that the learning curve of this tool is not steep. Whether you are a newbie or a regular user, you can easily use Paint 3D to crop pictures on Windows. The steps to crop a picture using this tool on your Windows computer are as follows.
Step 1
Go to the Start menu, search for Paint 3D, and open the application.
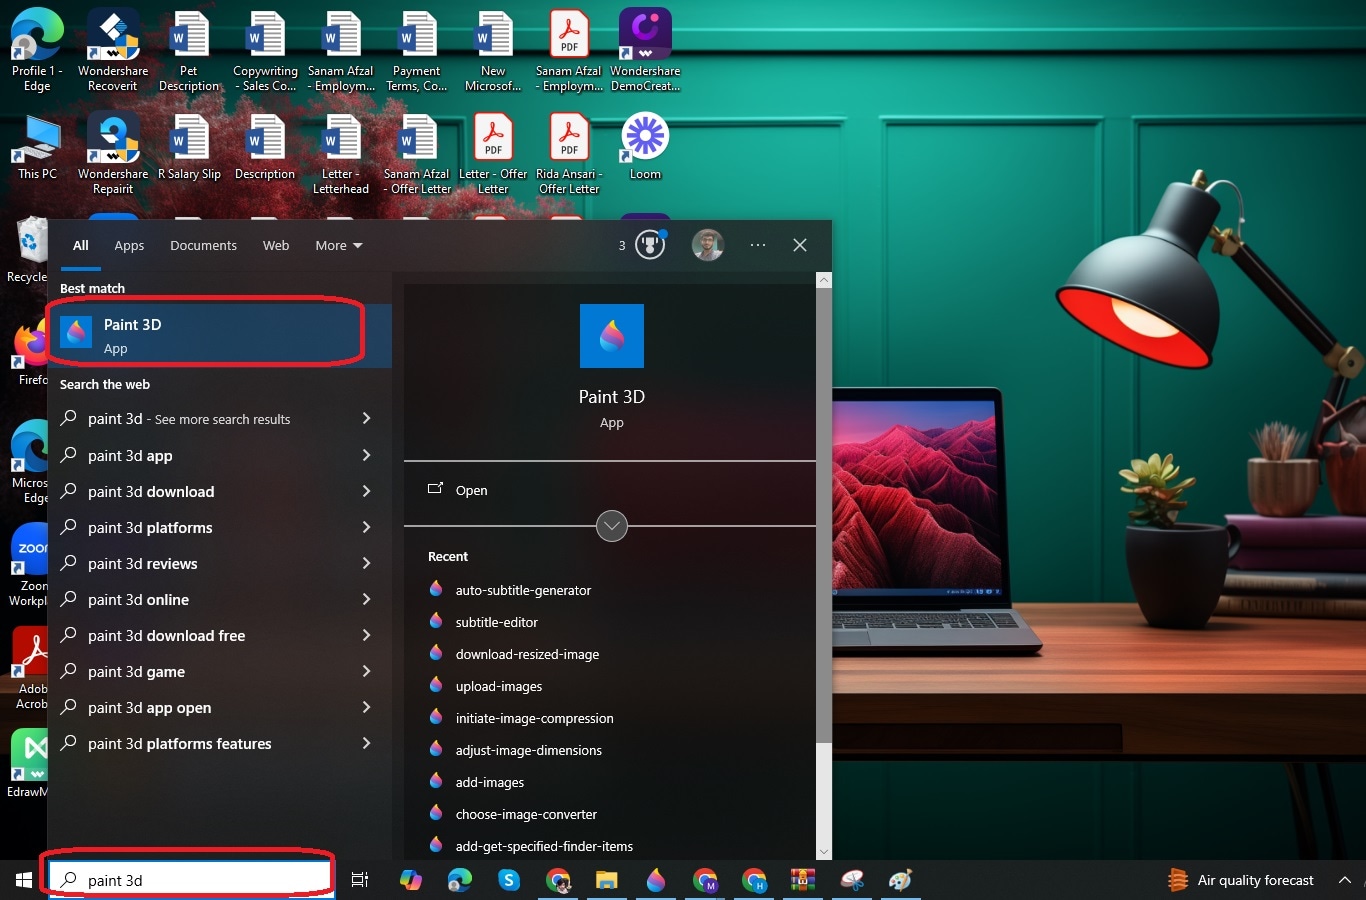
Step 2
Tap on the Open option from the main interface, as shown below.

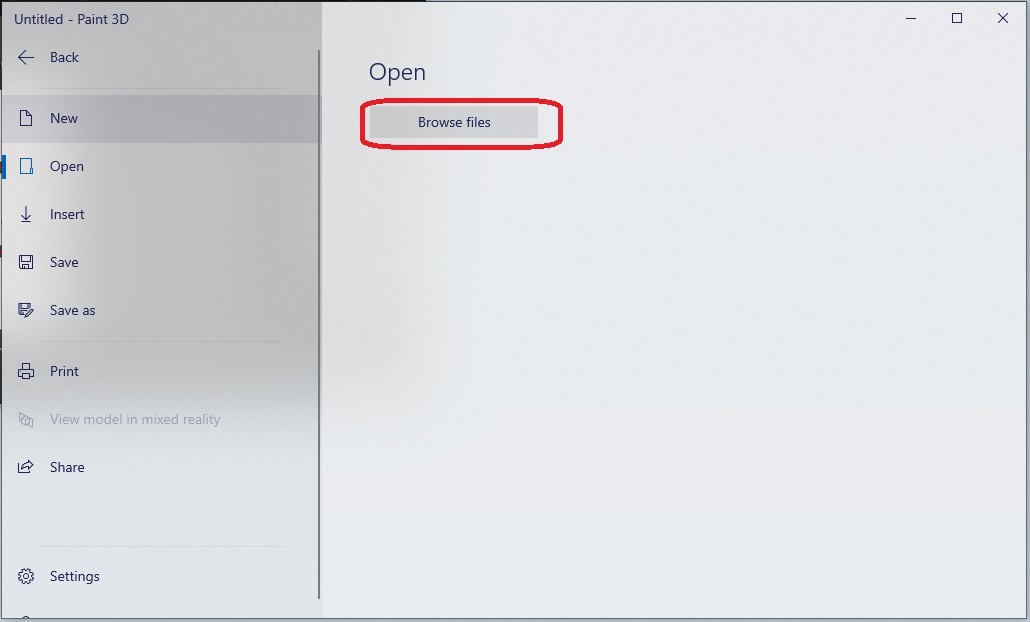
Step 3
Click the Browse button to search for the image you want to upload for cropping.
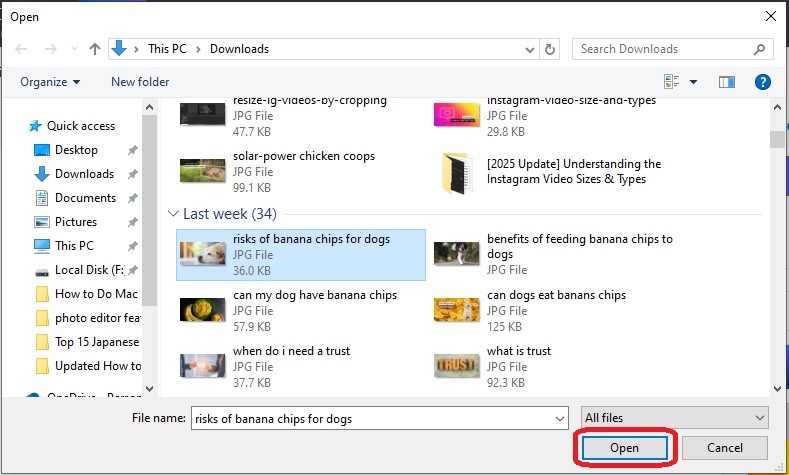
Step 4
Choose the desired picture from your computer and hit the Open button.
Step 5
As soon as the photo is loaded into the Paint 3D app, click the Crop button in the top menu, and adjust the cropping areas manually to cut out a specific part of the chosen photo.
You can also choose different aspect ratios from the right pane to crop out your picture. Alternatively, you have the option to enter the Width and Height of the image manually, as shown below. Once you crop the image, tap Done.

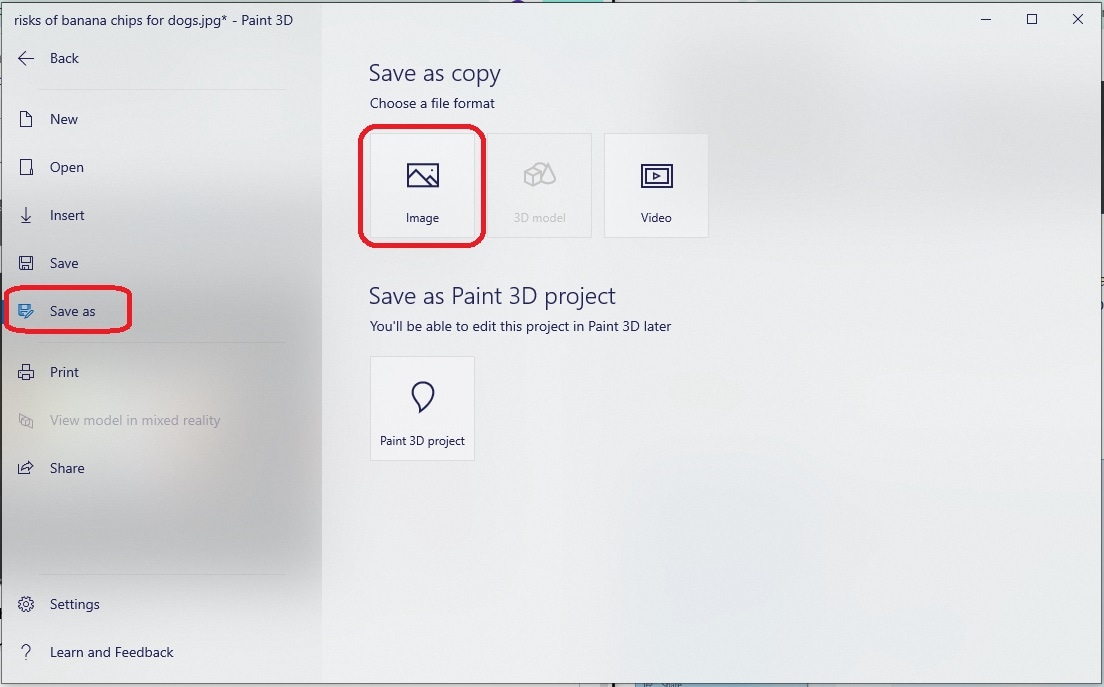
Step 6
Click on the Menu from the upper-left corner, choose Save As, and hit the Image option.
Step 7
It is time to choose a specific location and name the cropped image to save it on your device.
Part 3. How to Crop Images on Windows using Photos?
Now that you know how to crop photos on Windows, it is time to use Photos to crop your pictures that have some unwanted parts. The Photos application comes pre-installed with the latest Windows versions: 10 and 11. It is a photo editing and viewing app that allows you to view photos and edit them to fulfil your needs.
The Photos app began as a basic photo viewer and then evolved into a more polished picture editing tool. Here is how you can crop pictures on Windows in no time.
Step 1
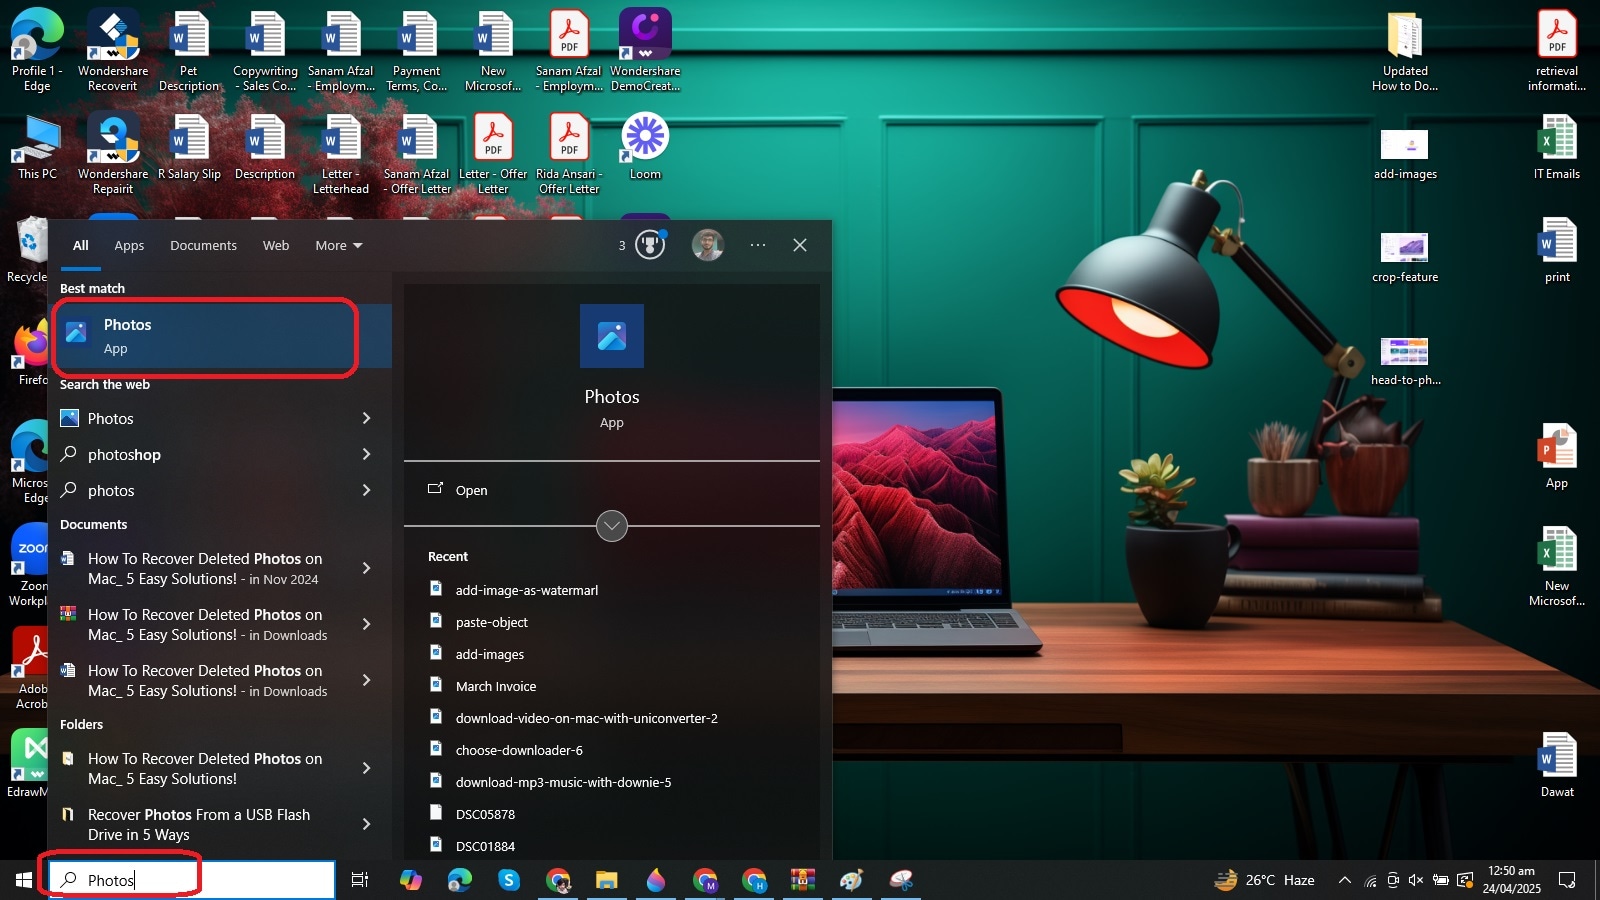
Search for the Photos app in the Windows Start menu.
Step 2
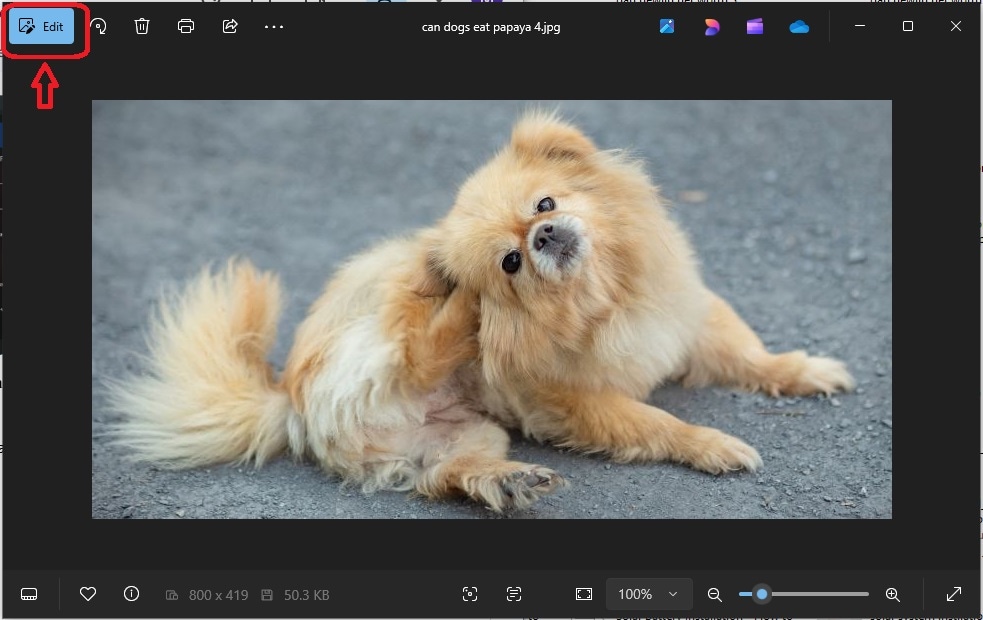
Open a picture that you want to crop using the Photos app. Then, click the Edit button in the top-left corner.
Step 3
Now, click on the Crop icon, and drag your cursor to choose a specific portion of the image that you want to crop out, as shown below.

Step 4
Open the Save options drop-down menu and choose Save as copy.

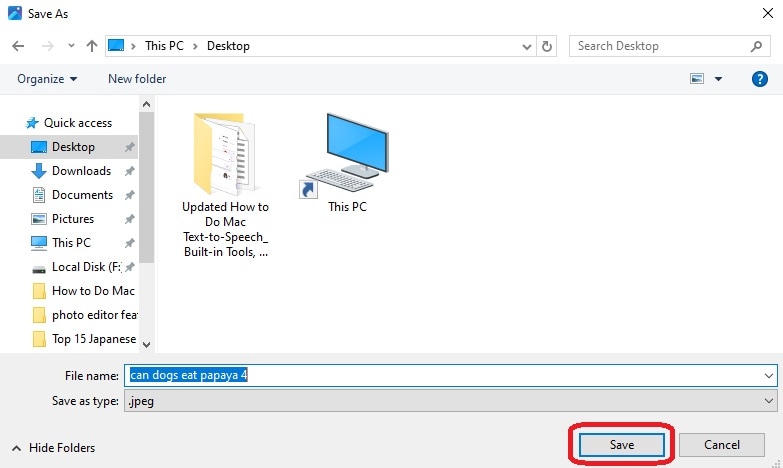
Step 5
Choose a specific location, file name, and format. Once done, tap on the Save button, and the new image will be saved on your Windows computer.
Part 4. How to Crop an Image on Windows PC with Snip & Sketch?
Windows 10 and Windows 11 come with the pre-installed Snip & Sketch tool. It is a wonderful utility designed to assist you in taking instant screenshots and then editing them with basic editing options. For Example, you can crop, share, and annotate screenshots you take with this tool.
Whether you want to crop the most recent screenshot or an existing photo, Snip & Sketch will always be your helping hand. Here is how to crop an image on a PC using this built-in application.
Step 1
Go to the Start menu, type Snip & Sketch, and open the app on your system.

Step 2
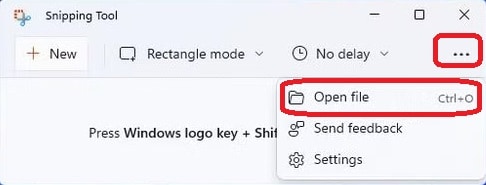
After opening the app, click the three-dot icon in the upper-right corner, and tap on Open file.

Step 3
Choose an image and load it into the app, and hit the Crop icon.

Step 4
Now, drag the corners to set the area you want to crop out from an image. Once done, tap on the “✔” icon in the top-right corner, as shown below.

Step 5
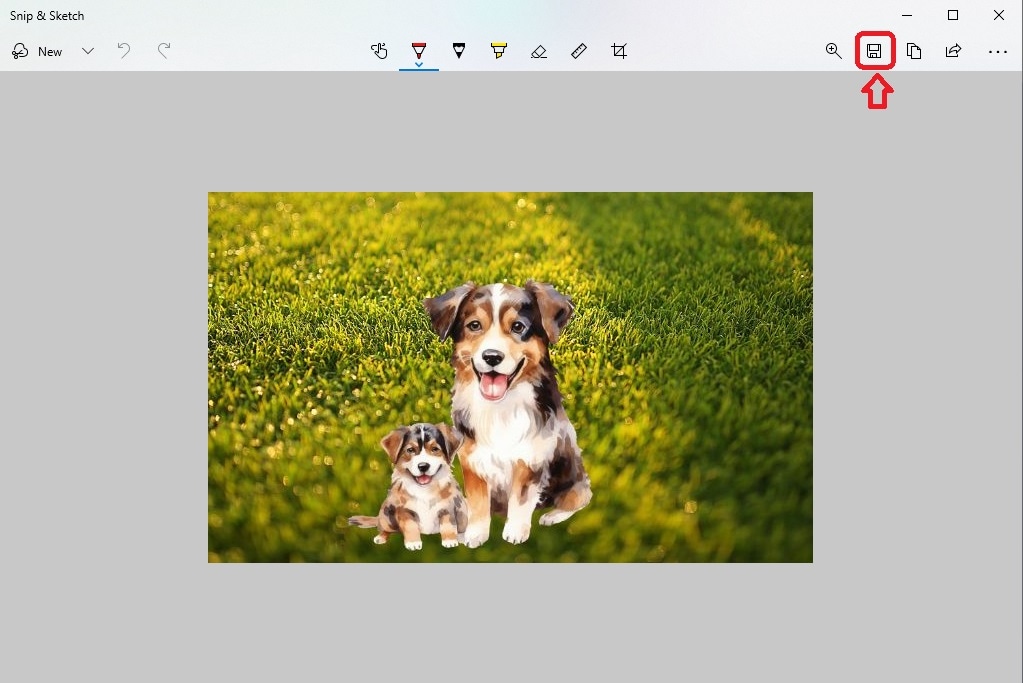
Tap on the Save as button in the upper-right corner, choose the desired location, name the file, and save the newly cropped picture to your system.
Part 5. How to Crop Photos on Windows using a Snipping Tool?
Like Snip & Sketch, the Snipping Tool is a built-in utility that allows you to take instant screenshots on Windows 10 and Windows 11. Though this tool has been around since Windows 7, new features have been introduced while integrating it with Windows 11. In parallel to taking different types of screenshots, the Snipping Tool also enables you to crop photos on Windows.
The steps you should follow when cropping a photo with this tool are outlined below.
Step 1
Go to the Start menu, search for the Snipping Tool, and open it on your computer.
Step 2
Tap on the three-dot option in the upper-right corner and click on Open file, as shown below.
Step 3
Select a picture you want to crop and hit the Open button.
Step 4
Click on the Crop icon on the top toolbar.
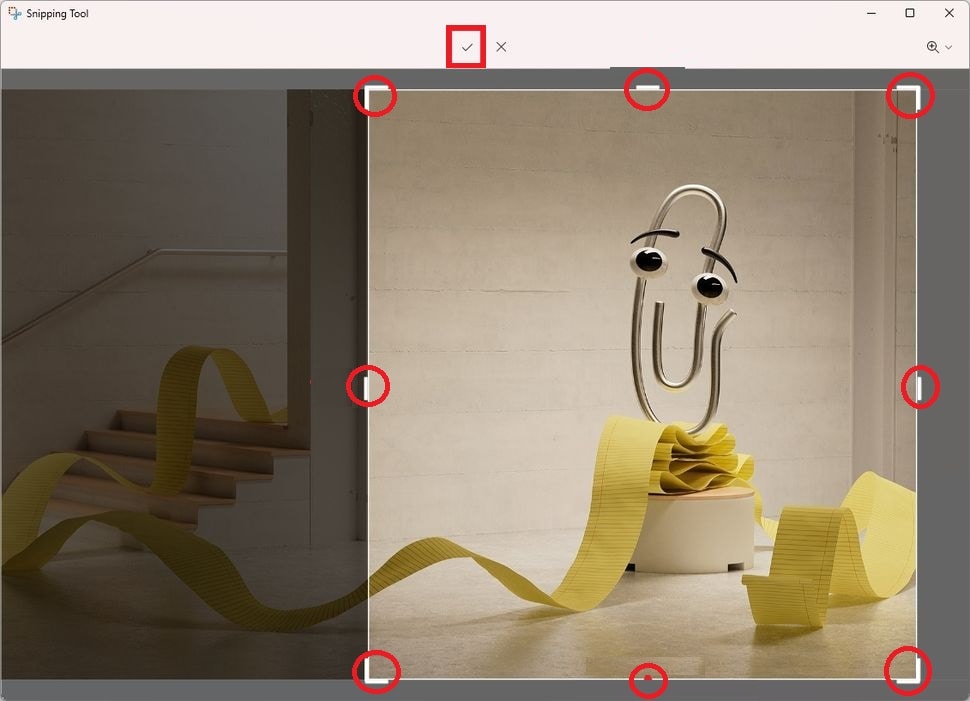
Step 5
Drag any of the eight points to crop out the desired portion of the picture. Once done, hit the “✔” icon.
Step 6
Hit the Save as button in the top-right corner, select the folder, and hit Save.
Part 6. Use a Third-Party Tool to Batch Crop Photos More Efficiently on Windows
Now you are well familiar with how to crop photos on Windows using different built-in applications (such as Paint 3D, Photos, and Snip & Sketch). All these apps can process one image at a time.
Do you want to crop multiple images at once without compromising their appearance and quality? This is where you need a dedicated, third-party tool like Wondershare UniConverter. It is an incredible tool that can efficiently crop one or more pictures simultaneously, thereby maintaining their original quality and detail.

Batch Image Editor
Batch crop photos on Windows using UniConverter:
Step 1
Download and install the tool on your Windows computer.
Step 2
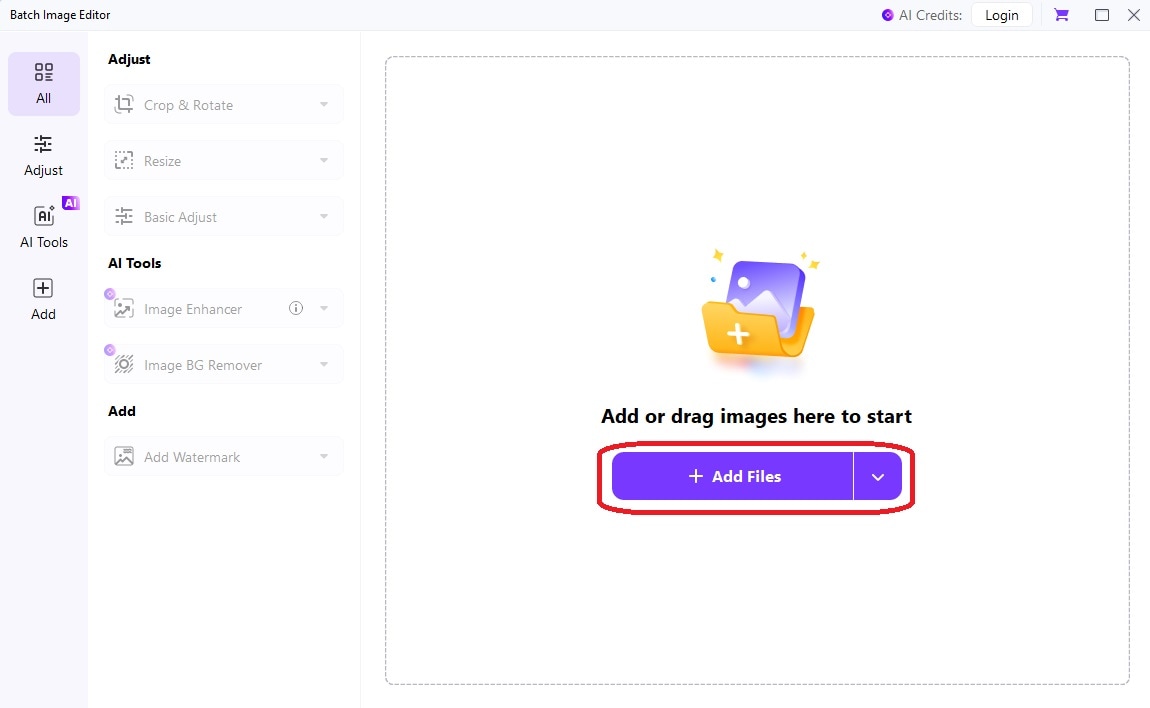
Open the tool and tap on the Batch Image Editor from the main interface, as shown below.

Step 3
Tap on the “+ Add Files” button to load photos that you want to crop at once.
Step 4
Once you load all the photos into the tool, open the Crop & Rotate menu, and choose the suitable aspect ratio for cropping. Once done, tap on Apply. The cropping effect will be applied to all the pictures in no time.

Step 5
After the images are cropped, hit the Export All button in the top-right corner, and save them all on your system.
Last Thoughts
Cropping pictures is not only referred to as trimming them from the edges. It covers a lot more. With advanced Windows built-in editors and a range of other tools, cropping pictures on Windows has now become easier than ever. Whether you want to cut out a specific part of the photo or remove the unwanted objects, cropping always plays a key role.
You can follow different approaches, like using MS Paint, Snipping Tool, Photos, Paint 3D, and Snipping & Sketch. Each of the mentioned approaches is discussed in detail in the discussion above. If you want to perform batch photo cropping to save you time, UniConverter will help you get over the line.

