


Are you looking to create striking photo effects or achieve a negative-like appearance in your images? Learning how to invert a photo in Photoshop is a simple yet powerful technique to achieve that.
Whether you’re working on creative edits or just experimenting with visual contrast, Photoshop offers multiple ways to invert images and their colors with ease.
In this guide, you’ll discover step-by-step instructions to invert images and image colors using shortcuts, adjustment layers, and blend modes. Keep reading to find out more!
In this article
Part 1: What Are Inverted Images and Why Invert Color on a Photo
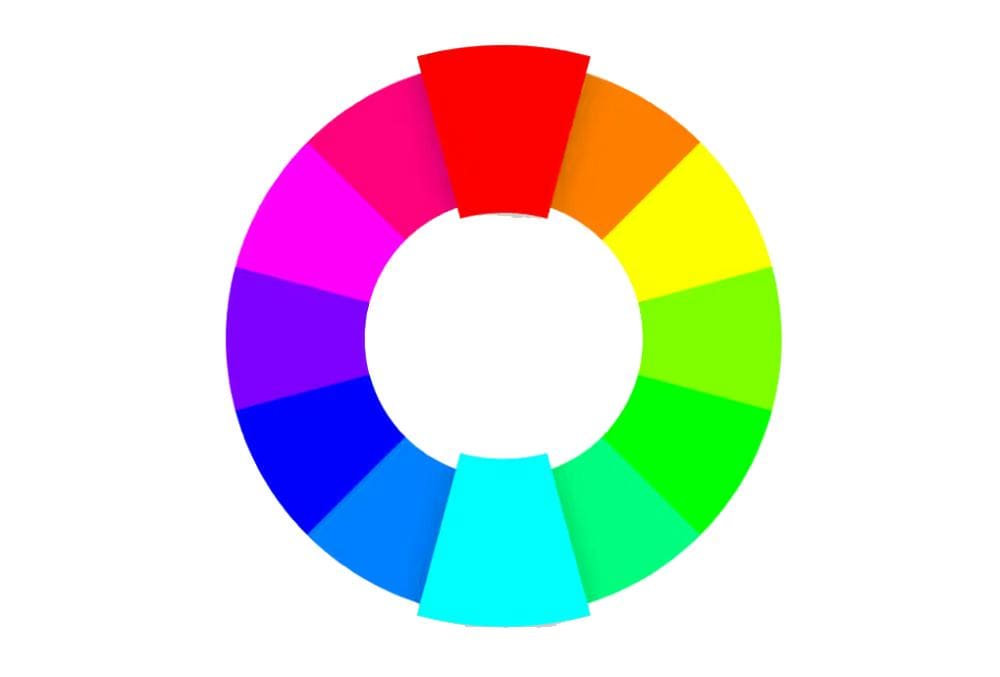
Inverted images are visuals in which the original colors are reversed—light areas become dark, and dark areas become light. More specifically, each pixel's color is converted to its complementary hue on the RGB or CMYK spectrum.
For example, when you invert a white color, it becomes black, blue turns orange, and green becomes magenta. This process creates a high-contrast, surreal effect that can be used for both artistic and practical purposes.
Ultimately, inverting the colors of a photo is commonly used in design, photography, and digital art to achieve various outcomes. Artists may invert colors to explore abstract concepts, while photographers use them to highlight contrast and detail in an image. It’s also a useful step in creating film negatives, screen printing templates, or sci-fi-themed visuals.
Part 2: How to Invert Images In Photoshop
In this part, we’ve discussed the specifics of inverting images in Photoshop without reducing quality.
Method 1: Invert Specific Areas of Image in Photoshop
If you’re looking to highlight specific elements and create contrasts within an image, you can invert specific areas to get the job done with precision and control. Here are the steps to follow;
Step 1
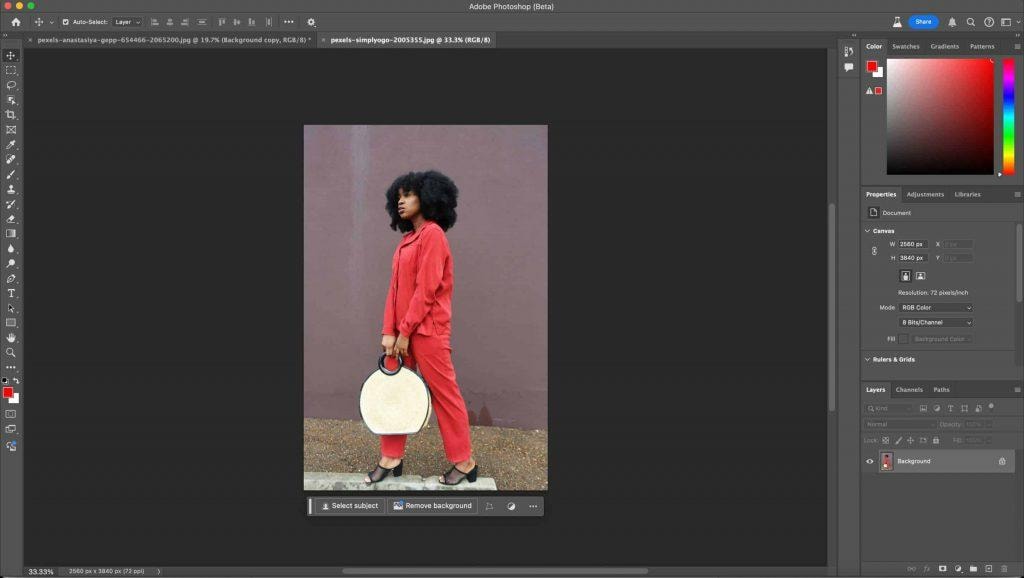
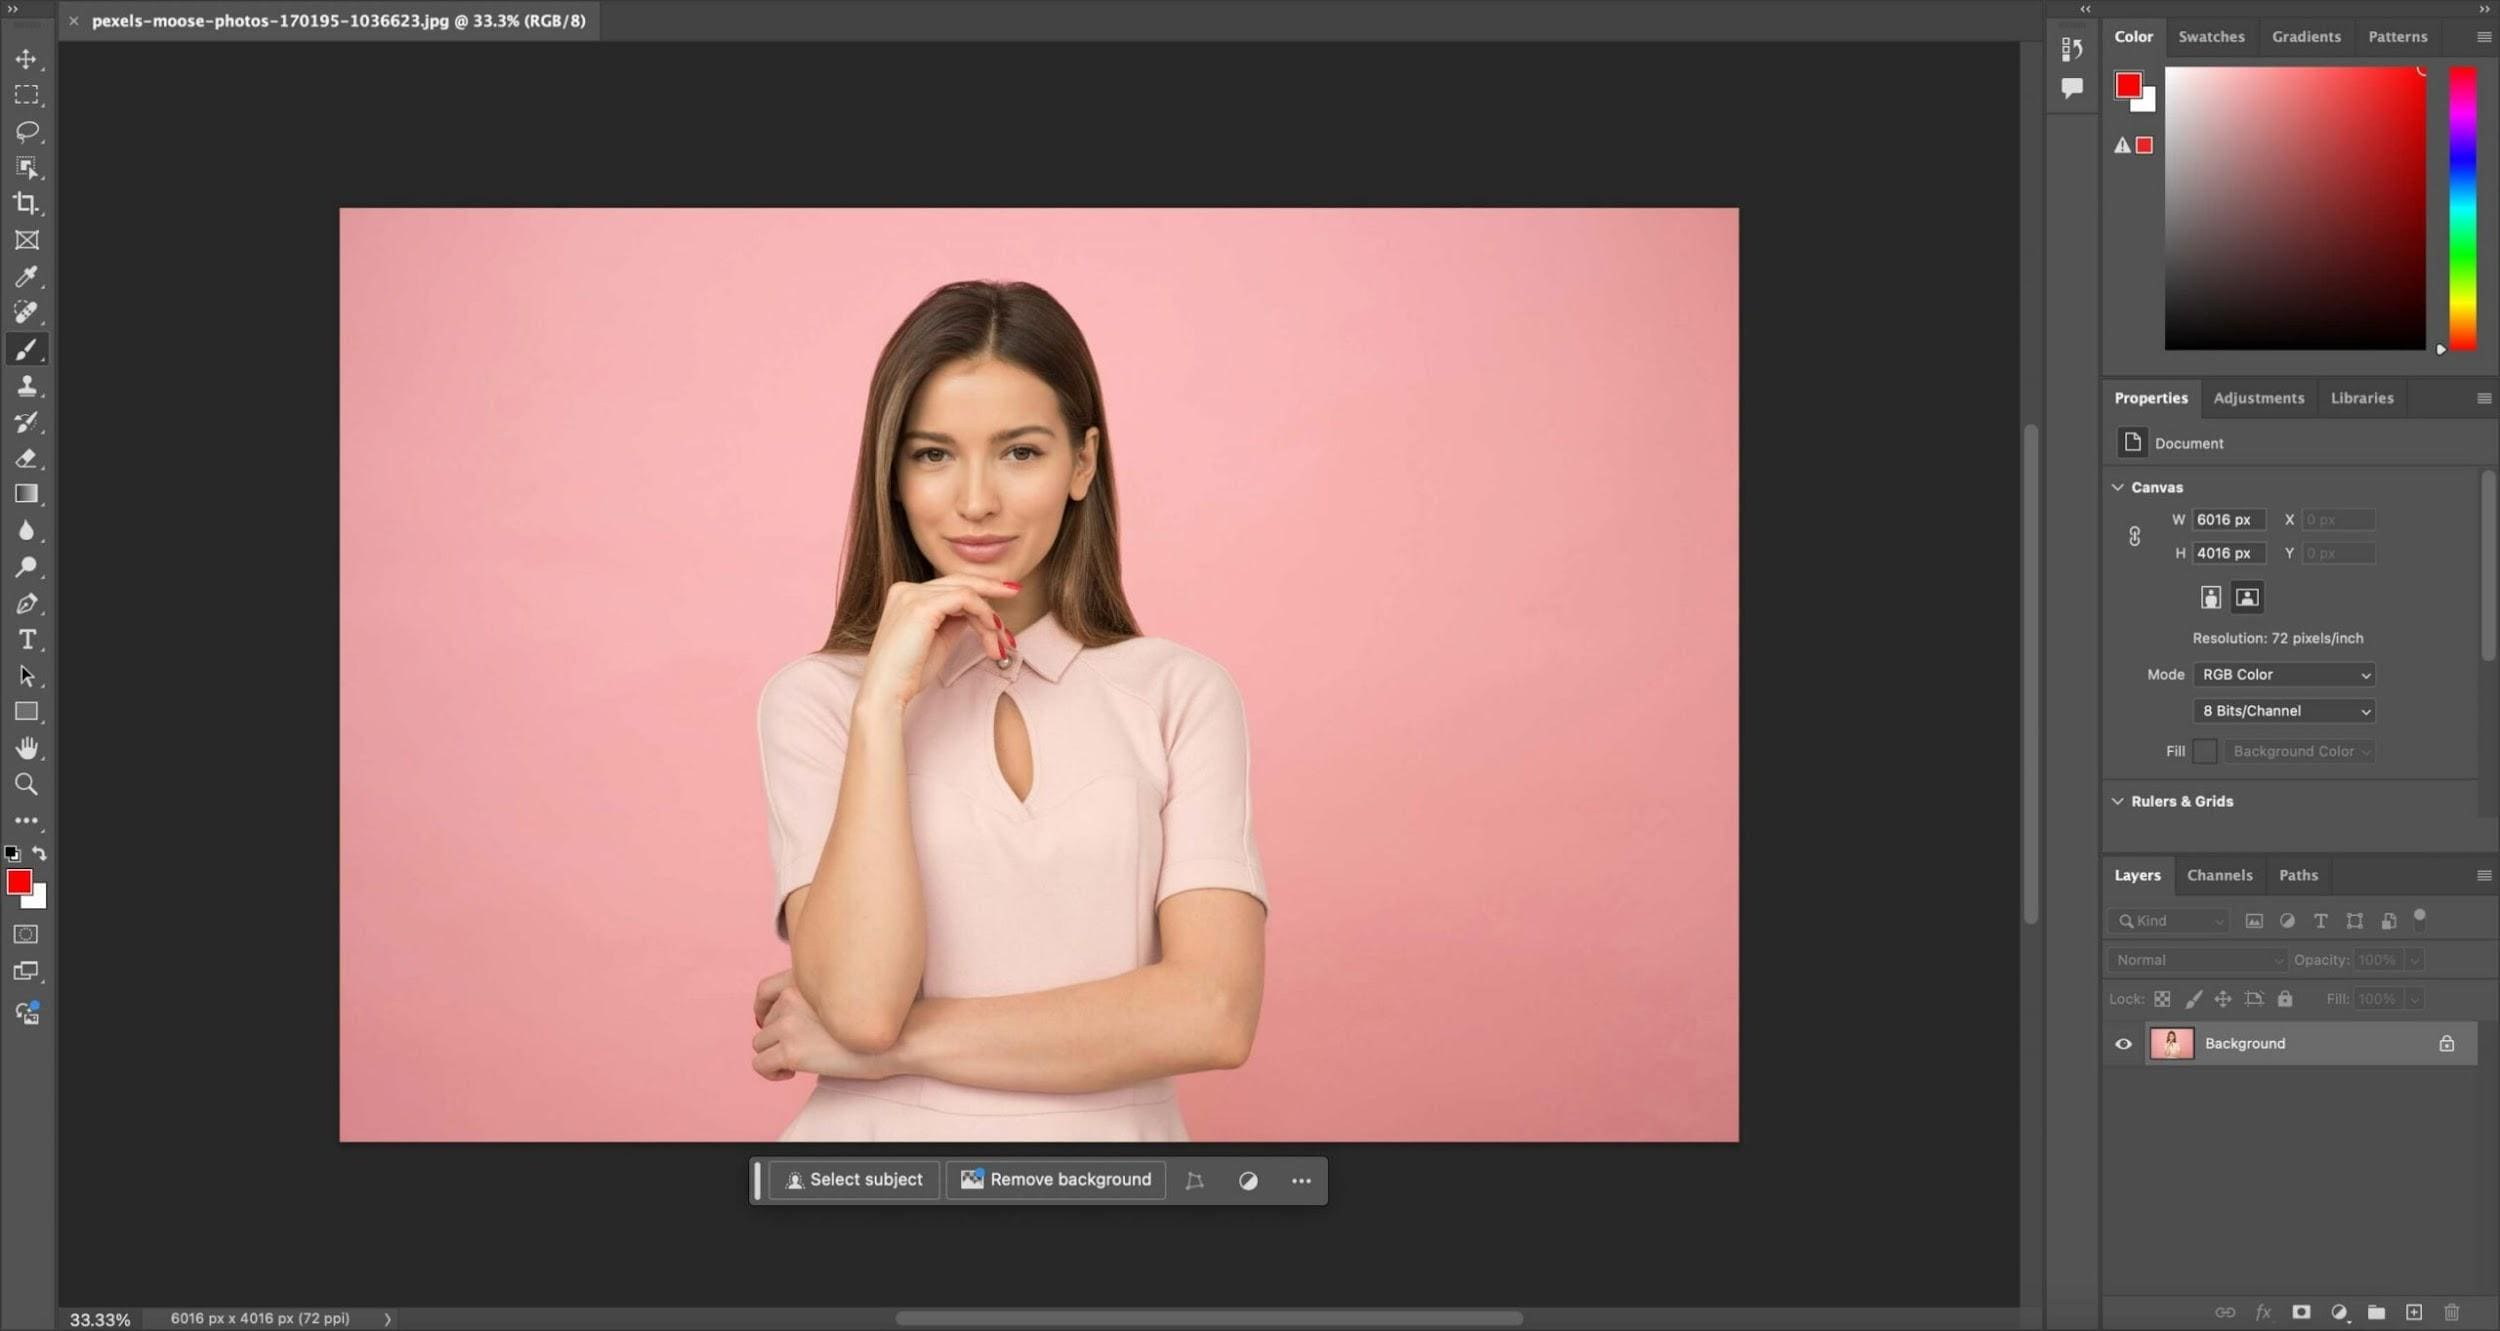
Open “Photoshop” on your computer, go to “File” > “Open” and select the image that you want to invert.
Step 2
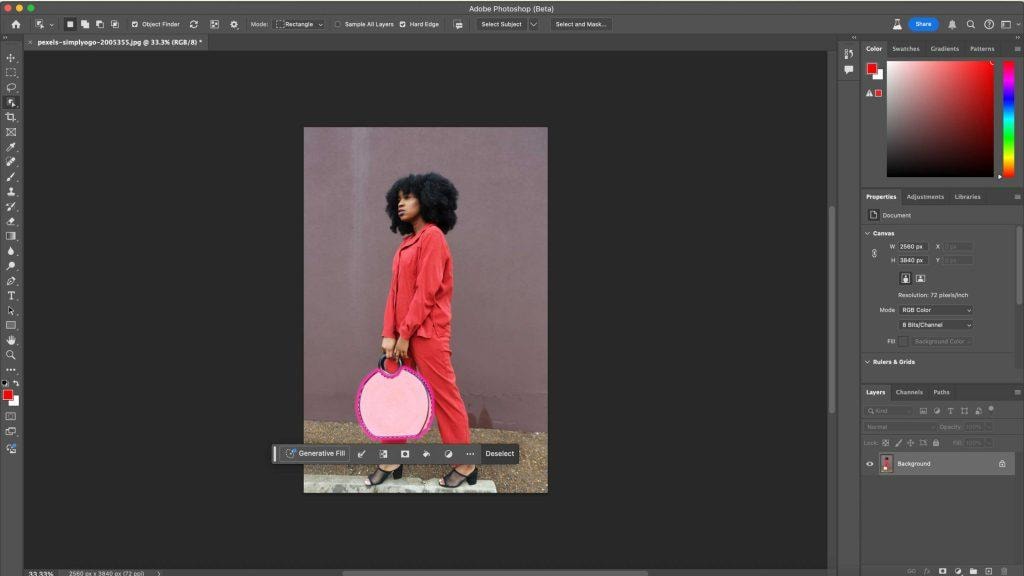
Use the Photoshop selection feature, such as “Marquee”, “Lasso”, or “Magic Wand” to highlight the area of the image you want to invert.
Step 3
Press “Ctrl + I” if you’re using Windows or “Cmd + I” for Mac to invert the colors within the selected area.
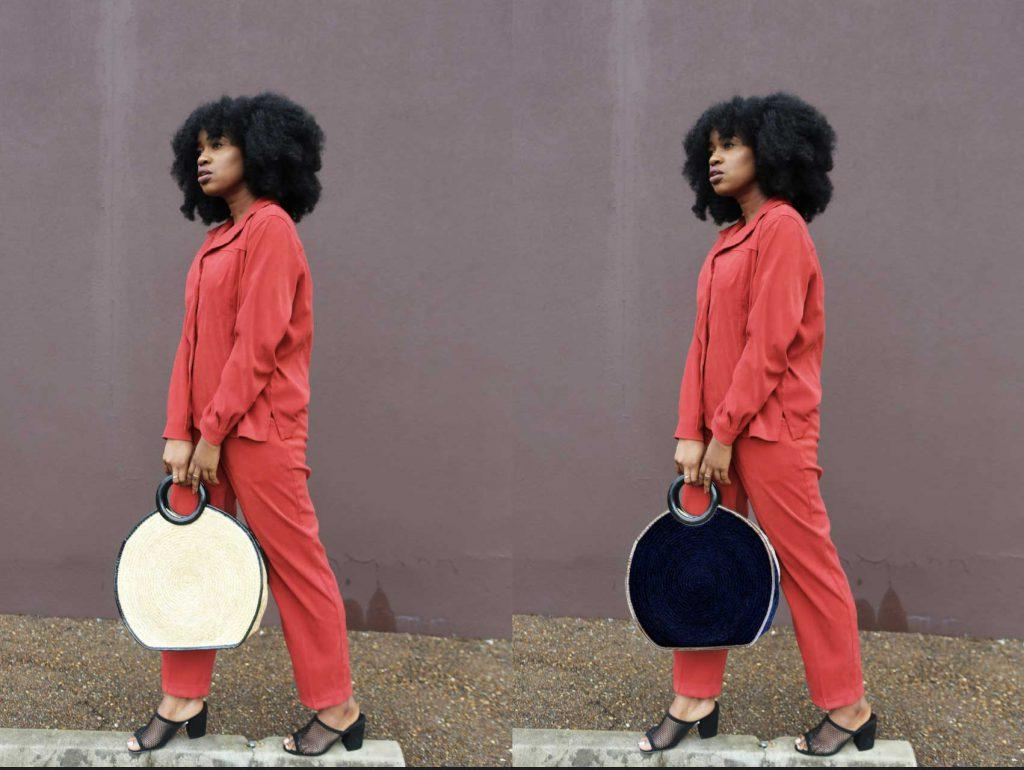
- Once you complete the above, the selected area will be inverted.
Method 2: Invert Photo Photoshop By Adding Invert Layer
Adding invert layer is an effective technique if you don’t want to make any changes to your original photo.
Step 1
Start the “Photoshop” app and upload the “Image” that you want to invert.
Step 2: Add an Invert Adjustment Layer
Click on “Layer” from the top bar and select “New Adjustment Layer” > “Invert.” Then, click “Ok” to make the changes. This adds an Invert “Adjustment Layer” that instantly inverts the image colors.

Step 3
After adding the adjustment layer, you can make other necessary adjustments. Then, save the image locally.

Method 3: Invert Image Color in Photoshop Using Adjustment
Applying a black-and-white filter is similar to using the regular adjustment feature in Photoshop software. Here are the steps to follow;
Step 1
Run “Photoshop” on your Windows or Mac, and upload the photo you’d like to invert.
Step 2
Click on the “Image” feature at the menu bar and select “Adjustment” from the drop-down.
Step 3
Finally, select “Invert” under the “Adjustment sub-menu.”

Part 3: Bonus Tip: Batch Edit Images With Advanced AI Technology
If you’re looking to perform simple editing operations on multiple images but don’t want to navigate Photoshop’s complex interface, we strongly recommend using the Wondershare Uniconverter software.
Uniconverter is a simple yet powerful software that offers many helpful tools, including a batch photo editor that allows you to convert the images to different formats, resize them, enhance their quality, and do lots more.
The best part about using this software is its speed. It executes bulk tasks within a few minutes, and it supports a built-in downloader that allows you to download video and audio files from more than 1000+ sites with high quality.

Batch Image Editor
Key Features
- Supports more than 5+ video, audio, and image editing tools.
- Compress files with lossless quality in just a single click.
- Built-in video editor and image editor allow you to trim, crop, resize, and do lots more to your media files.
- Its advanced AI text-to-speech feature facilitates the conversion of text into lifelike speech in different languages.
Step 1
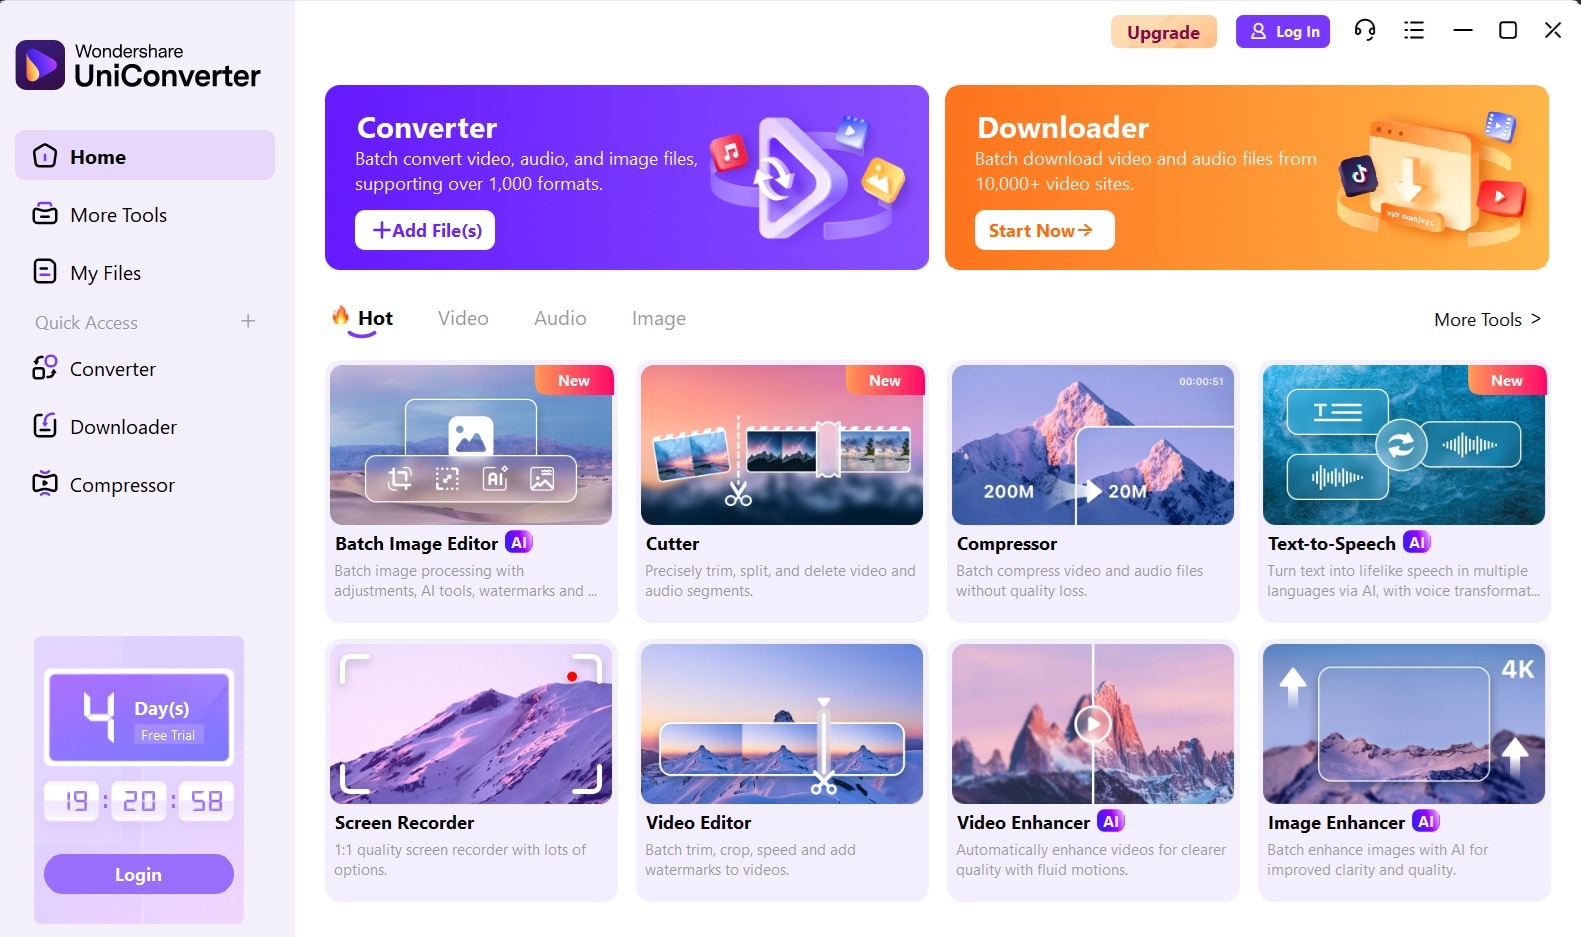
Download and install the “Uniconverter” software on your Mac or PC. Then, click on the “Photo Editor” feature.
Step 2
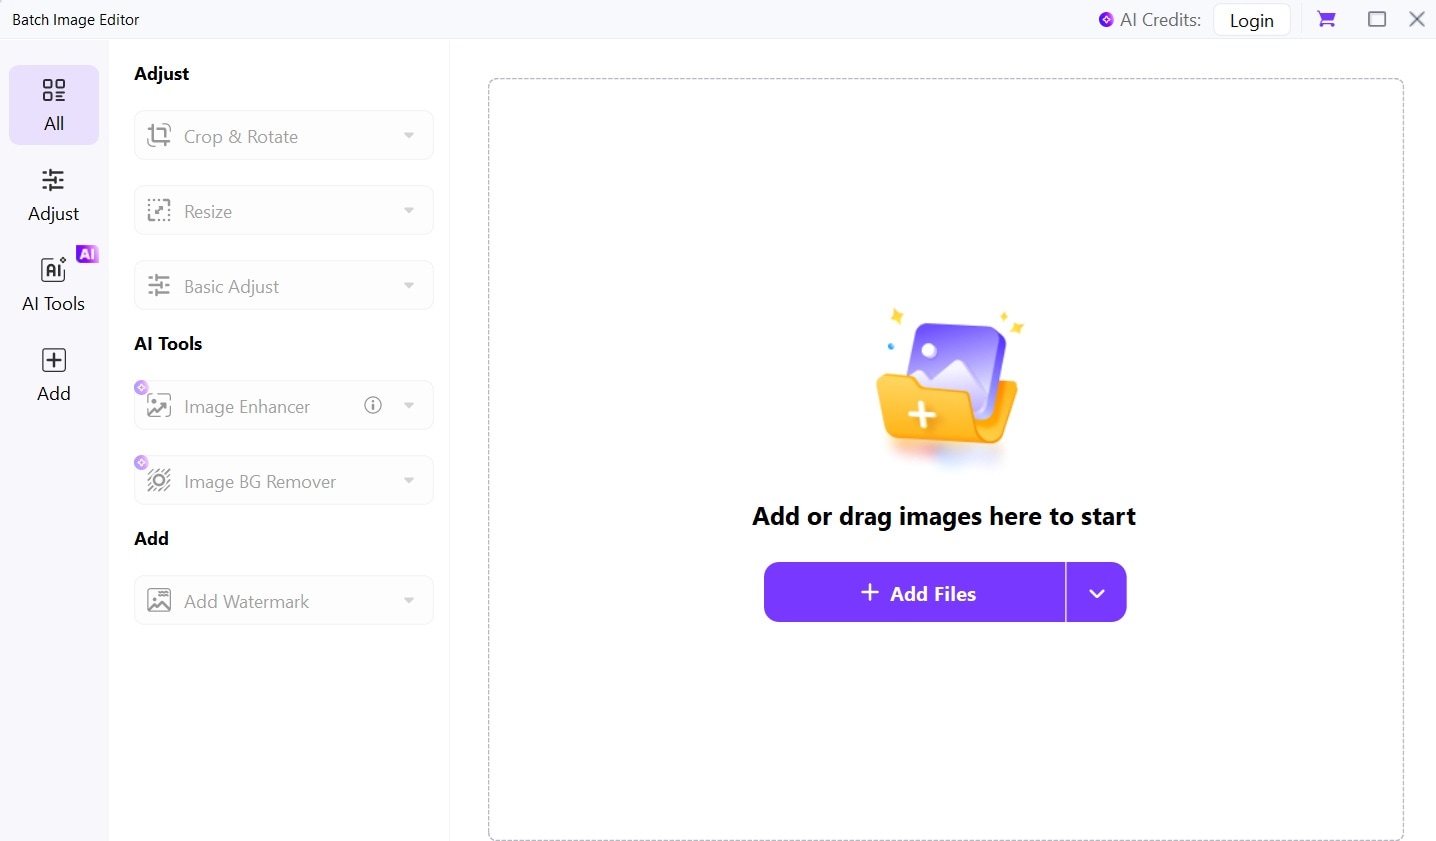
Click on “Add Files” and upload your images.
Step 3
Click on “Adjust” and edit the uploaded images according to your requirements. You can adjust their brightness, contrast, saturation, size, etc.
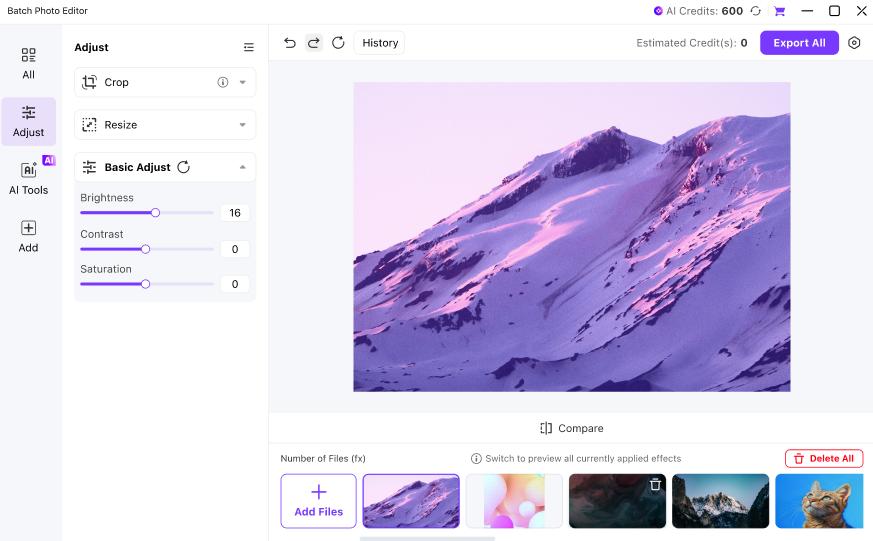
- Once you’re done editing the images, hit the “Export” button at the top-right corner and save the images to your local storage.
Conclusion
There you have it. As you can see, you don’t need any design skills to be able to invert images in Photoshop. Our guide has explained the three best methods users with any skill level can use to invert their images flawlessly.
Additionally, we shared the best software - Uniconverter - that you can use to edit photos in batch without quality problems.

