

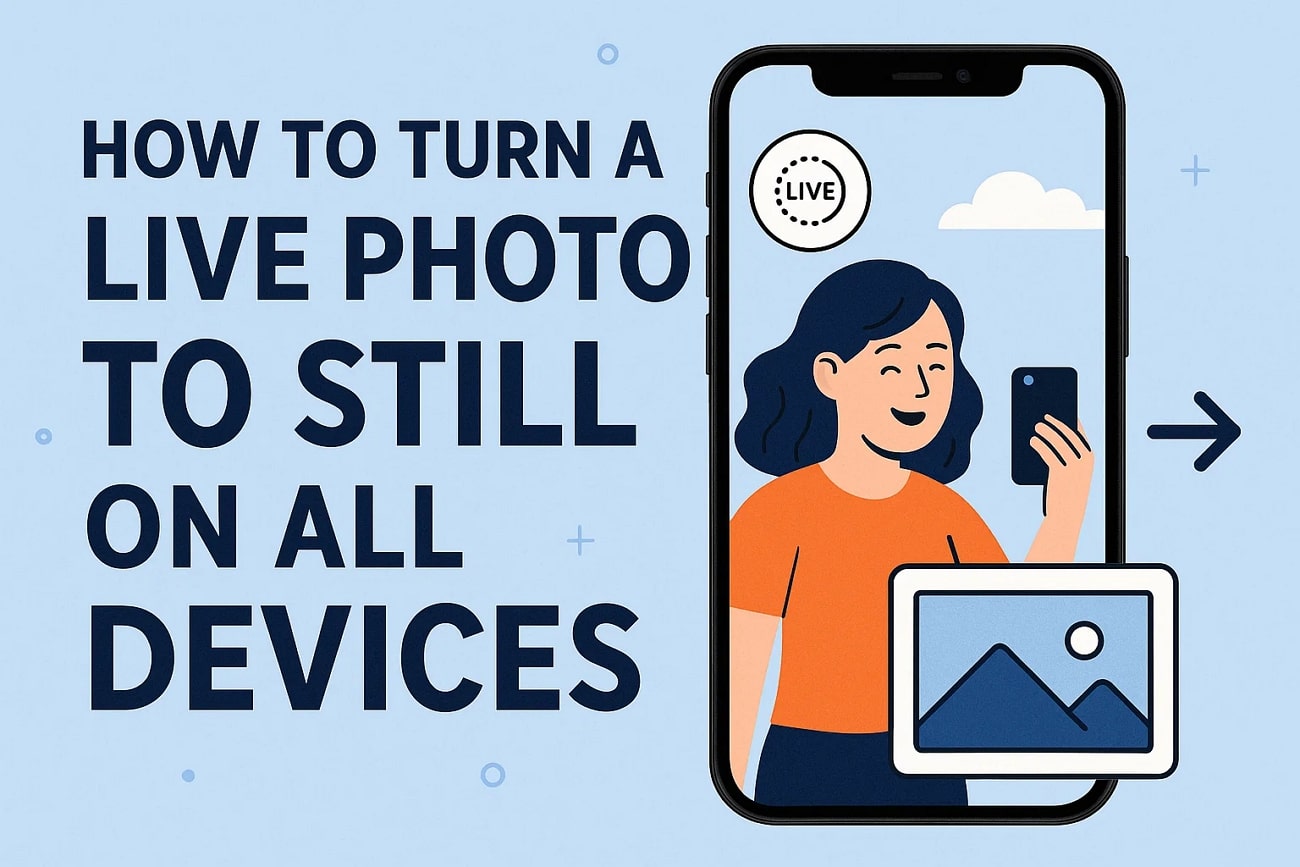
Converting a Live Photo into an image is not common; however, it gets necessary when users have to print their photos or have them posted across platforms. Challenges usually arise when individuals desire to share a preferred moment with friends on Android or Windows, but they cannot use Live Photos there.
This guide will show 6 straightforward methods for turning Live Photos into still images, covering iPhone, Mac, and third-party solutions. If you are also exploring how to convert Live Photos to still images, read the following article.
In this article
- Method 1: Take Still Photos by One-Tap Disable (The Quick Fix)
- Method 2: Turn a Live Photo to Still by Selecting a Frame
- Method 3: Turn a Live Photo to Still by Duplicating a Copy
- Method 4: Turn a Live Photo to Still on macOS
- Method 5: Turn a Live Photo to Still in Batch with Professional Converter Software
- Method 6: Turn a Live Photo to Still with an Online Tool
- Conclusion
- FAQs
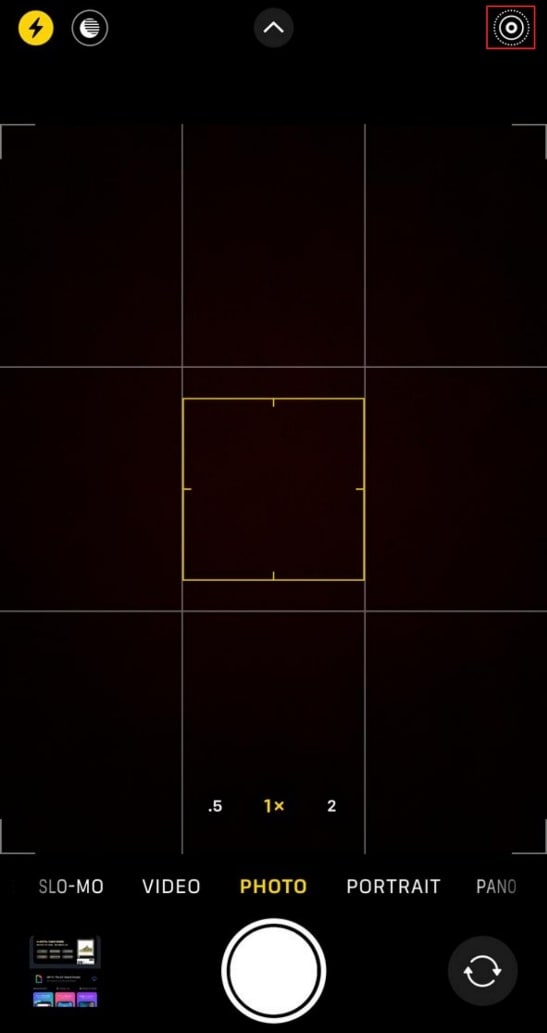
Part 1. Method 1: Take Still Photos by One-Tap Disable (The Quick Fix)
The One-Tap Disable method is one of the simplest ways to switch from Live Photos to still photos. Using this method, simply turn off live pictures to ensure all new photos are saved as static images without extra editing. This approach is ideal for those seeking a quick solution to convert all Live Photos to still images. Capturing still images helps free up device memory quickly, so let's go through the step-by-step guide:
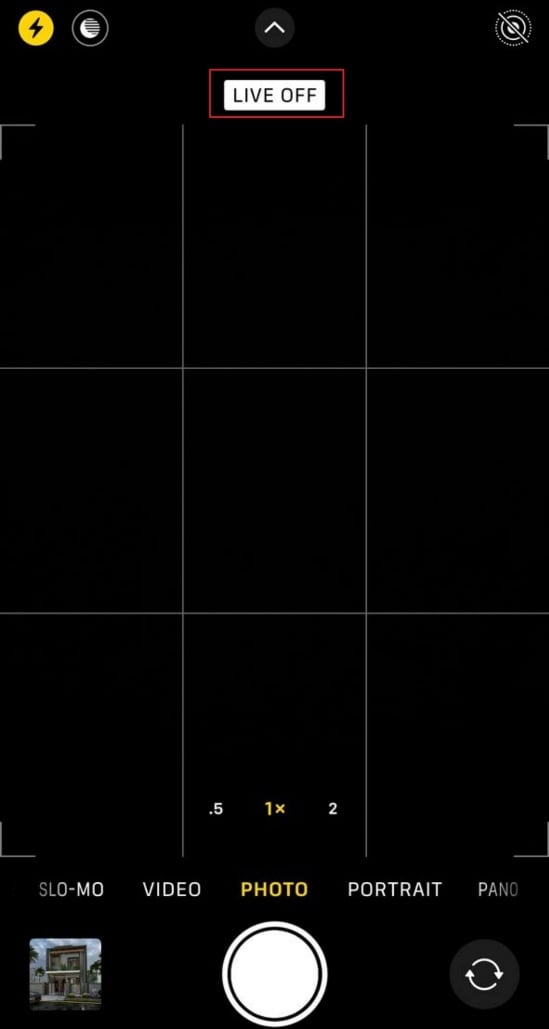
Step 1. Go to the iPhone Camera app and turn off the “Live Photo” icon located at the top right by tapping on it.
Step 2. As you turn the live photo off, it will show you a message like “Live Off.” Since it is turned off, all images you capture will be still images from now on.
Part 2. Method 2: Turn a Live Photo to Still by Selecting a Frame
While learning how to convert a Live Photo to a photo, you can use the iPhone's built-in Photos app. Within this method, users simply access the image, select the edit button, and choose the desired frame of the video. It gives you an edge to capture and share the exact moment they want, and the selected frame remains at the original image’s resolution, so go through its stepwise guide below:
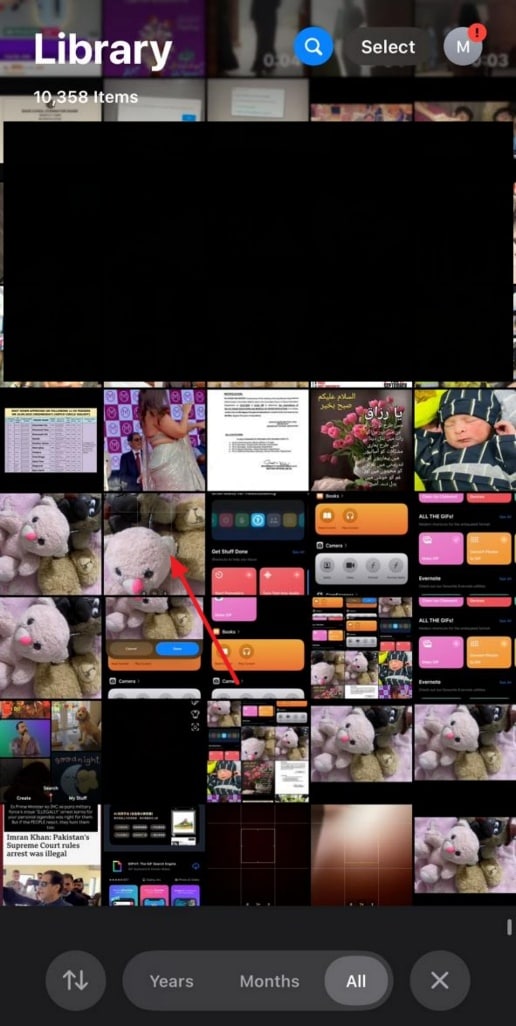
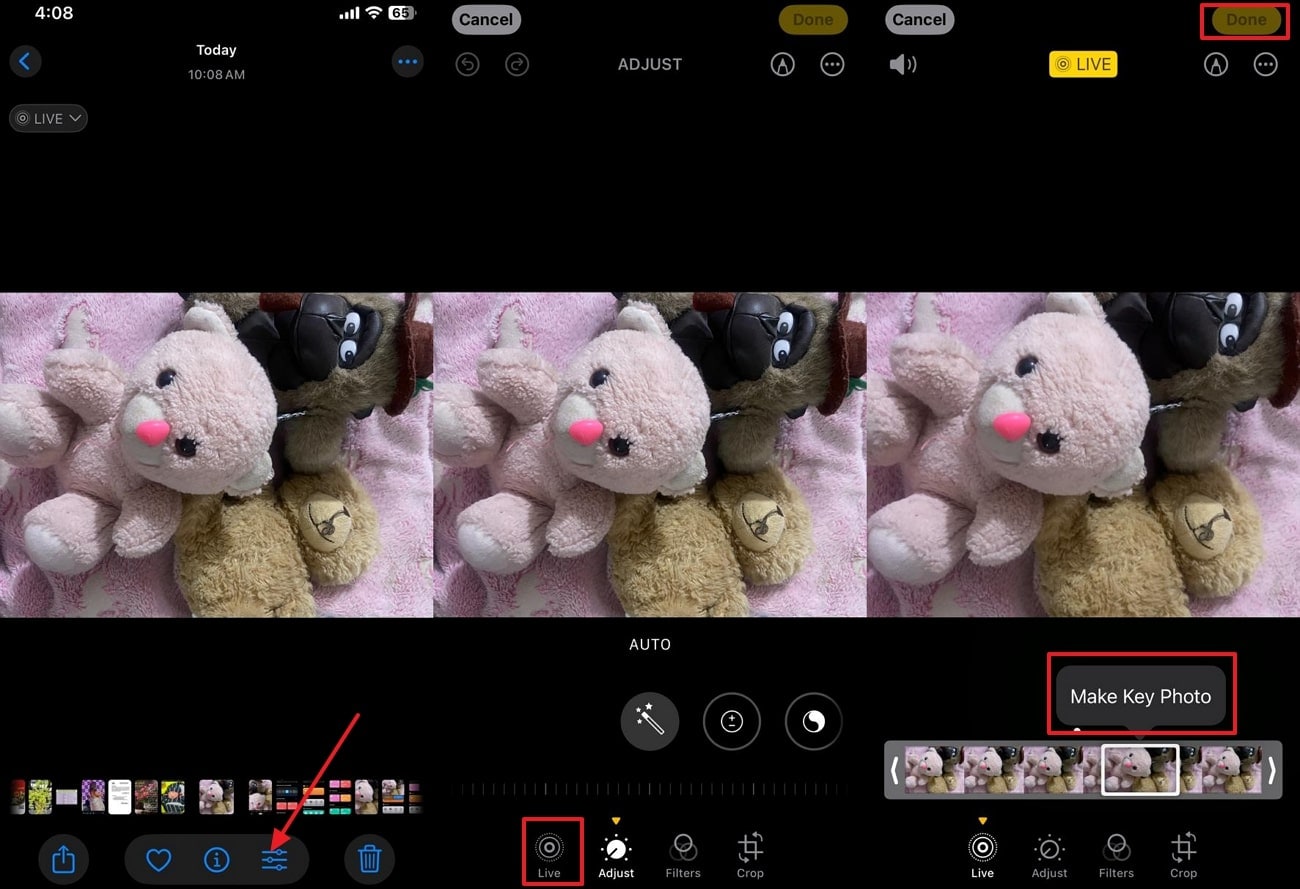
Step 1. Initiate by opening the iPhone’s built-in Photos app, and select the desired “Live Photo” you want to make still.
Step 2. As you enter the image, tap on the “Edit” icon placed below the picture, and hit the “Live” icon. Select the desired frame of the video you want and choose the “Make Key Photo” option. Finally, your specific part has been turned into a still image, tap on the “Done” button to save it to the device.

Convert Live Photos to Stills
Part 3. Method 3: Turn a Live Photo to Still by Duplicating a Copy
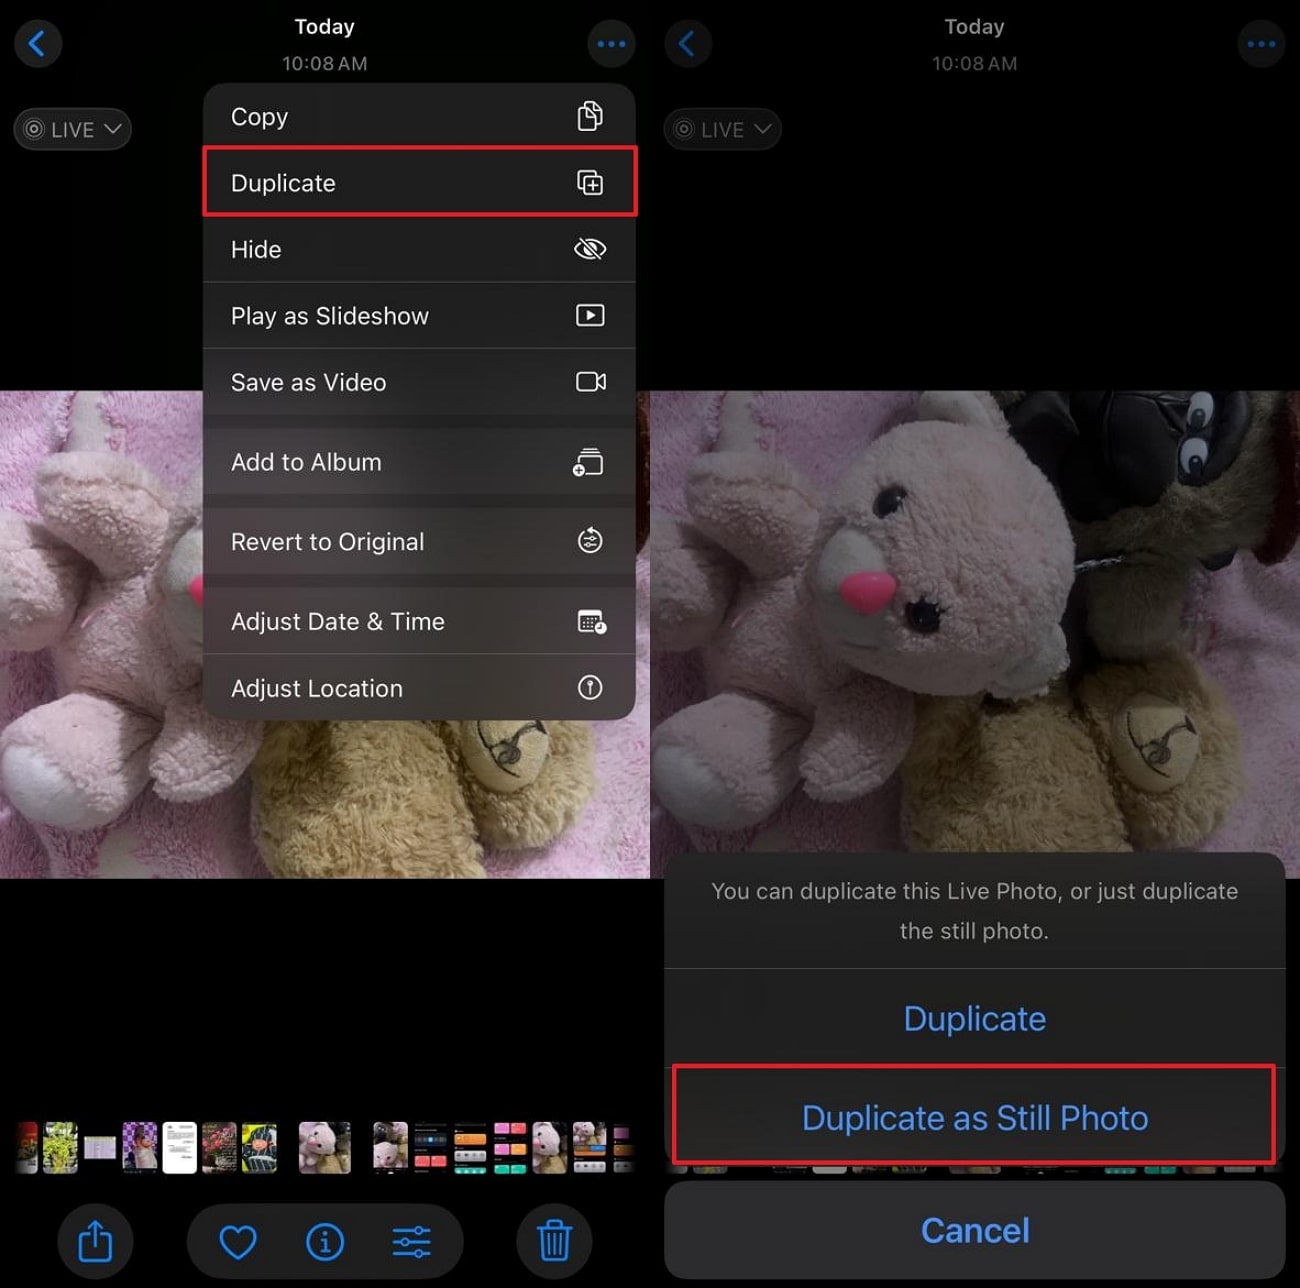
To convert a Live Photo to a still picture, duplicating the image is one of the best methods. It provides non-destructive editing by keeping both versions, ensuring users never lose any part of the original memory. Moreover, a duplicated still photo is simpler to send to others or upload to platforms that don’t support Live Photos. So, you need to follow the given steps to use this efficient method:
Instructions. Begin by entering the Photos app, select the desired image, and tap on the “Three Dots” available at the top-right. Here, tap on the “Duplicate” option and select “Duplicate as Still Photo.” It will instantly generate a copy of the still image in your gallery while keeping this Live Photo as it is.
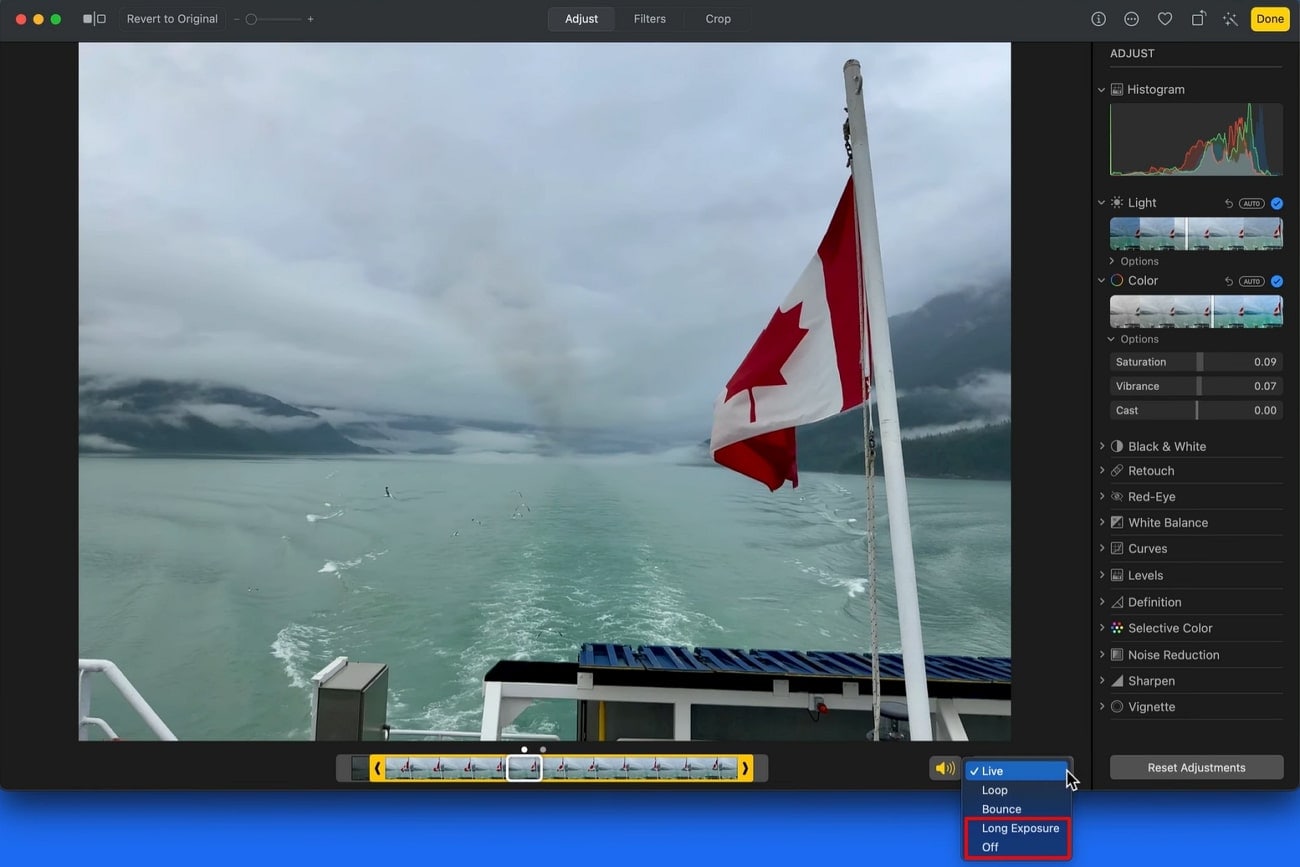
Part 4. Method 4: Turn a Live Photo to Still on macOS
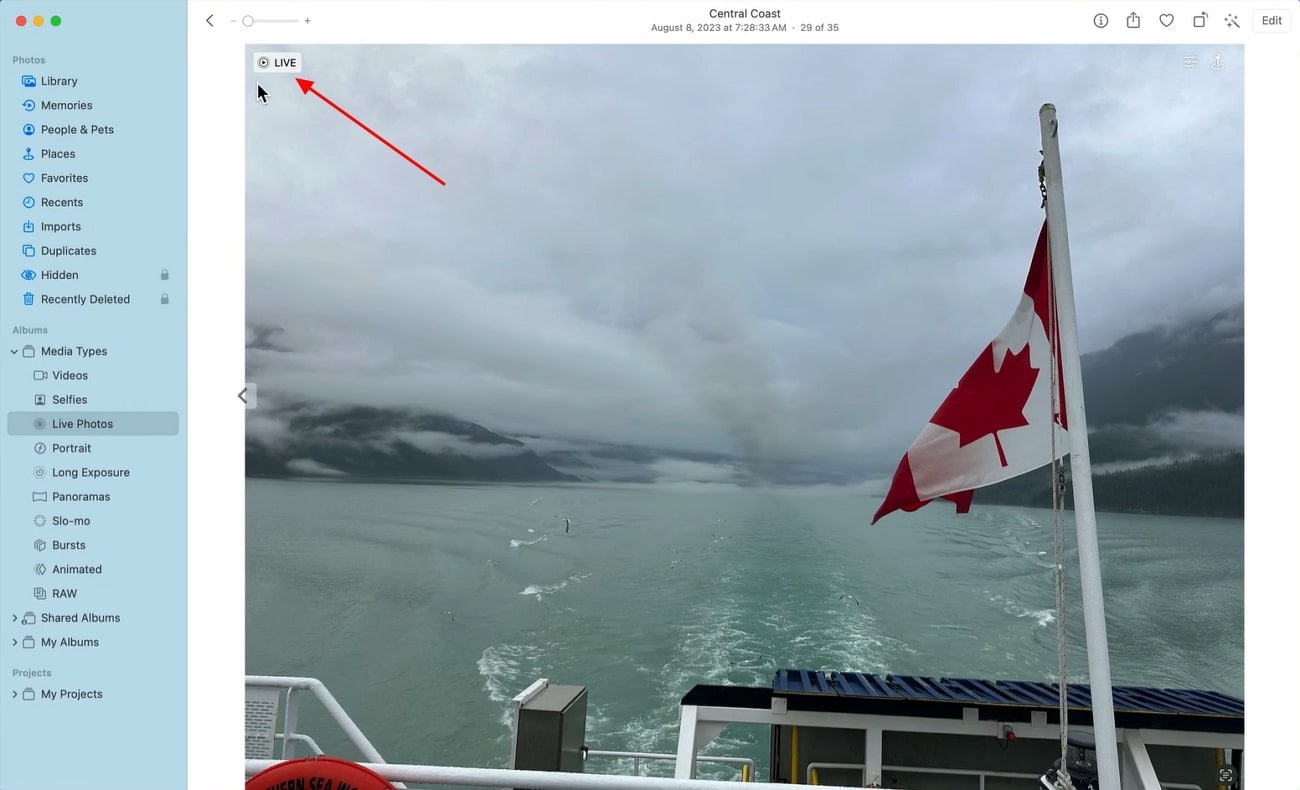
This method utilizes the macOS Photos app to quickly convert a Live Photo into a still image through a simple, integrated workflow. It involves selecting the desired Live Photo and duplicating it as a static picture format and saving it. It is a direct and lossless approach by preserving necessary data such as date, time, and location intact. Upon knowing its features, let's explore it in a detailed stepwise guide to learn its procedure:
Step 1. Initiate by going to the “Photos” app on your Mac and choosing the desired live photo. Upon entering the image, click on the "Live Photo" button in the top left corner.
Step 3. As you enter its editing mode, you can adjust the keyframe by dragging the slider available below.
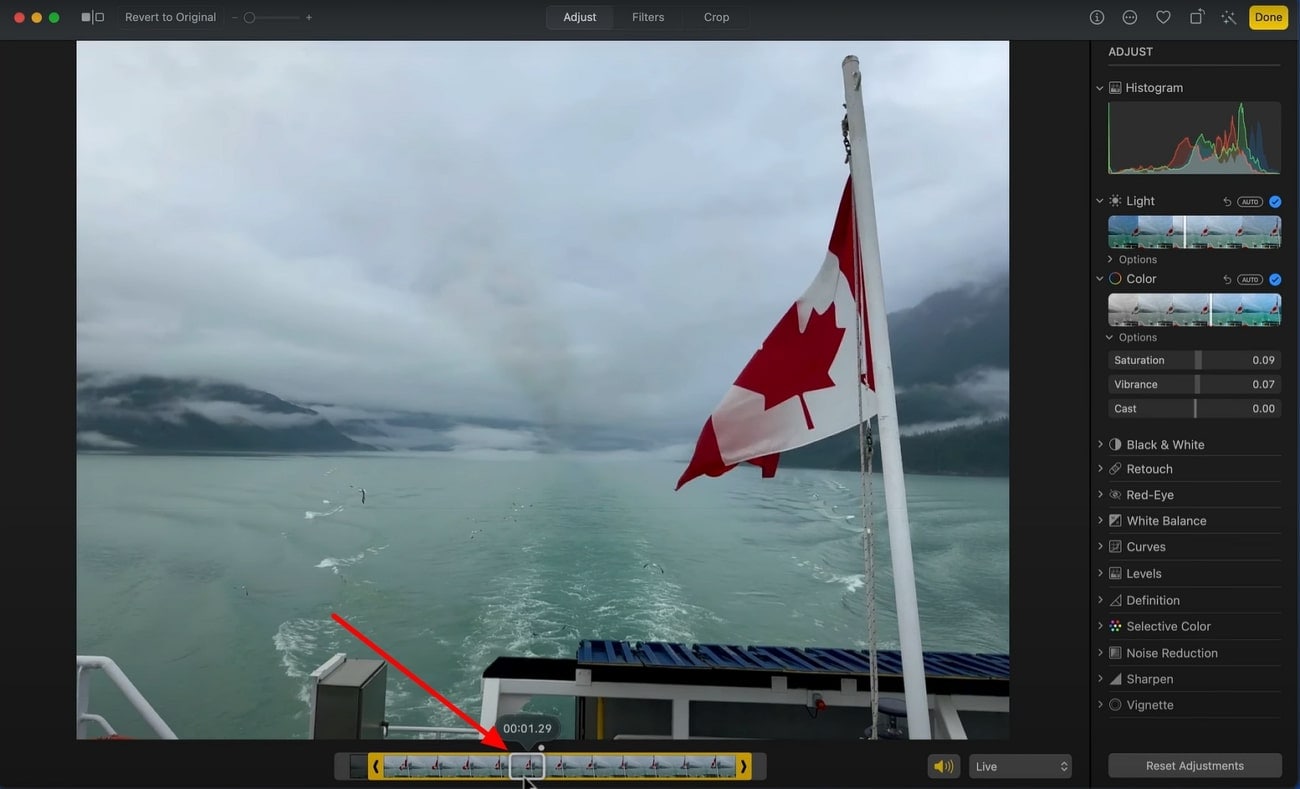
Step 4. Click on the “Live” menu located beside the slider to select “Long Exposure” or “Off” to transform into a still image.
Part 5. Method 5: Turn a Live Photo to Still in Batch with Professional Converter Software
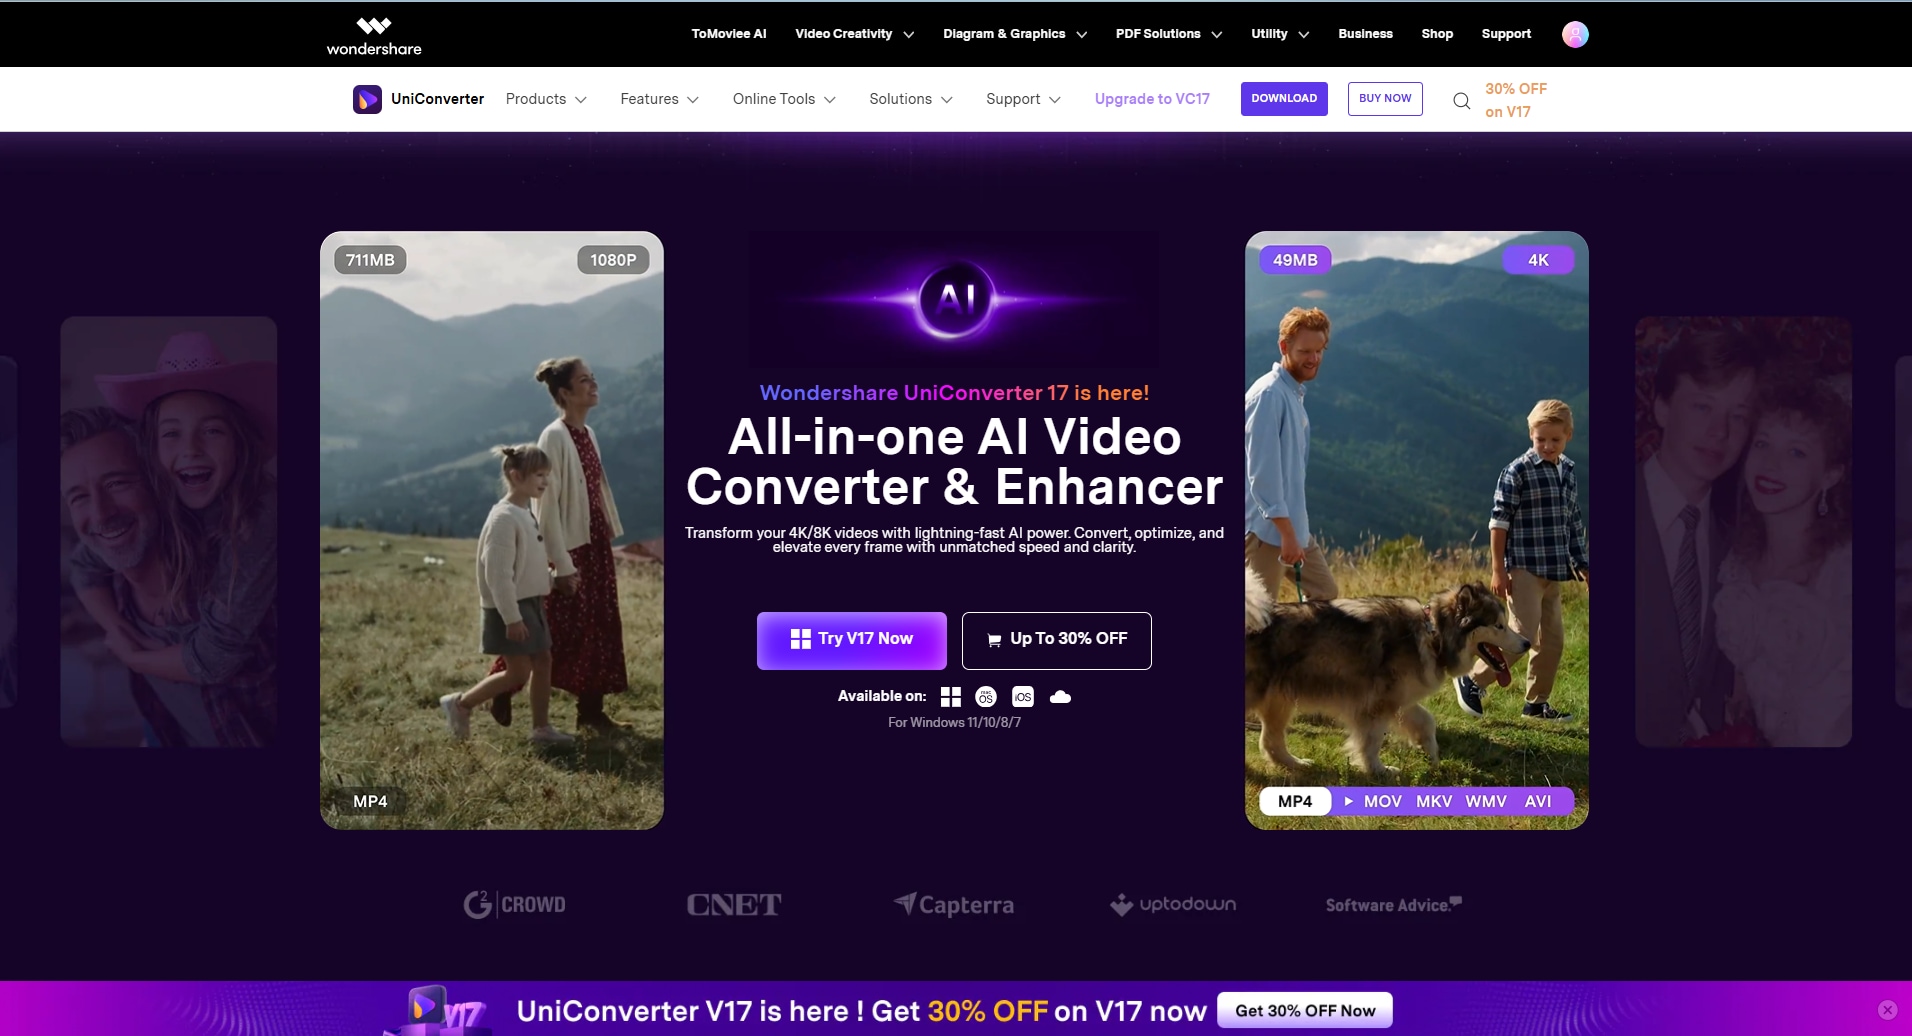
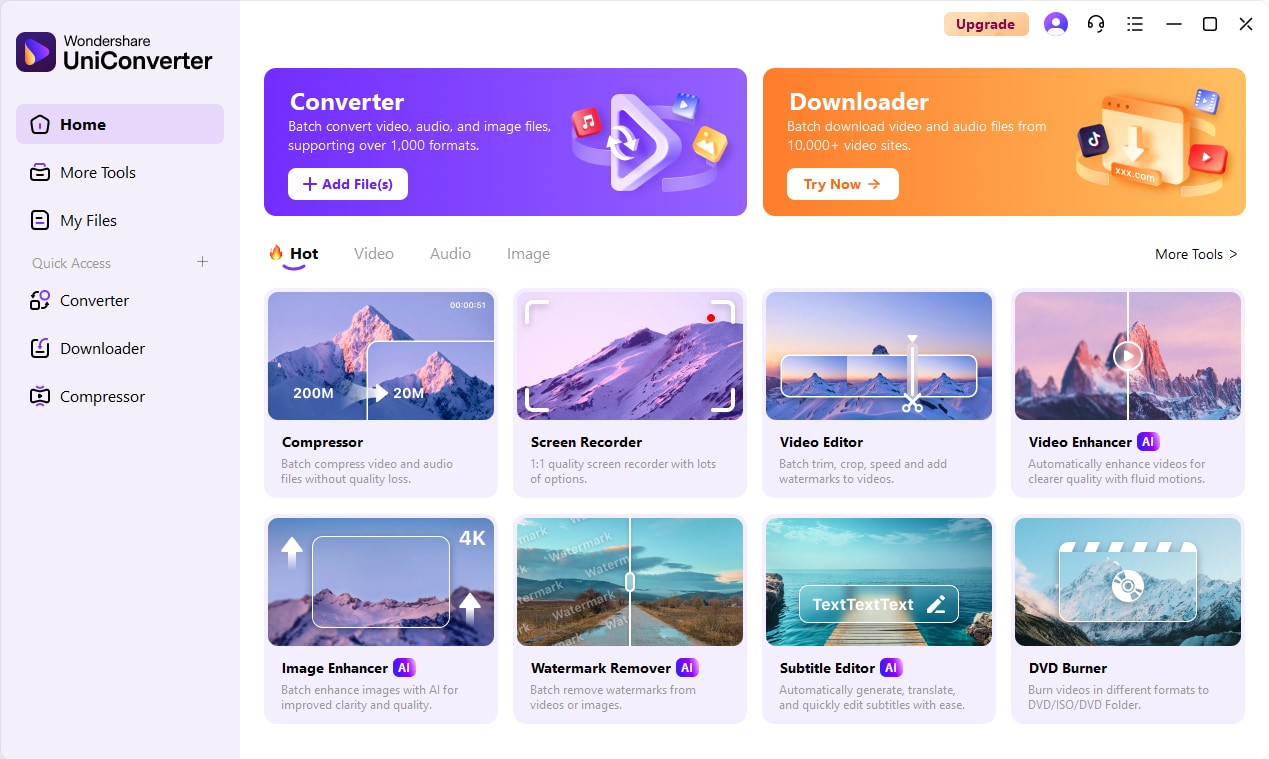
Besides the above-discussed methods, to convert Live Photos to still images all at once, UniConverter is an ideal option. This tool provides you with a dedicated "Converter" tool that allows you to batch convert files in any required standard format, including PNG, JPG, and JPEG. It maintains maximum image quality and details during conversion, ensuring professional results every time.
While converting, it lets you decide the desired folder of the device where you want to save your file. Furthermore, it gives you the option of "Merge Files" to combine all the images. Other than the image converter, UniConverter also offers advanced editing tools to make changes across audio, videos and images, likewise.
Key Features
Image BG Remover (Online): This tool lets you remove the unwanted background of your images instantly by simply uploading them.
Batch Image Editor: UniConverter allows users to edit their numerous images all at once to save plenty of extra time.
Thumbnail Maker: One can generate visually appealing thumbnails for their YouTube platforms by inserting their idea in the form of a descriptive prompt.
Video to Image Sequences: Converts videos to image sequences (JPG, PNG, TIFF)—perfect for stop-motion, design projects, or archiving key video moments.
Detailed Stepwise Guide to Convert Your Images Using UniConverter
Now that you are aware of UniConverter's key features, let's go through its detailed stepwise guide to convert a live photo to photos:
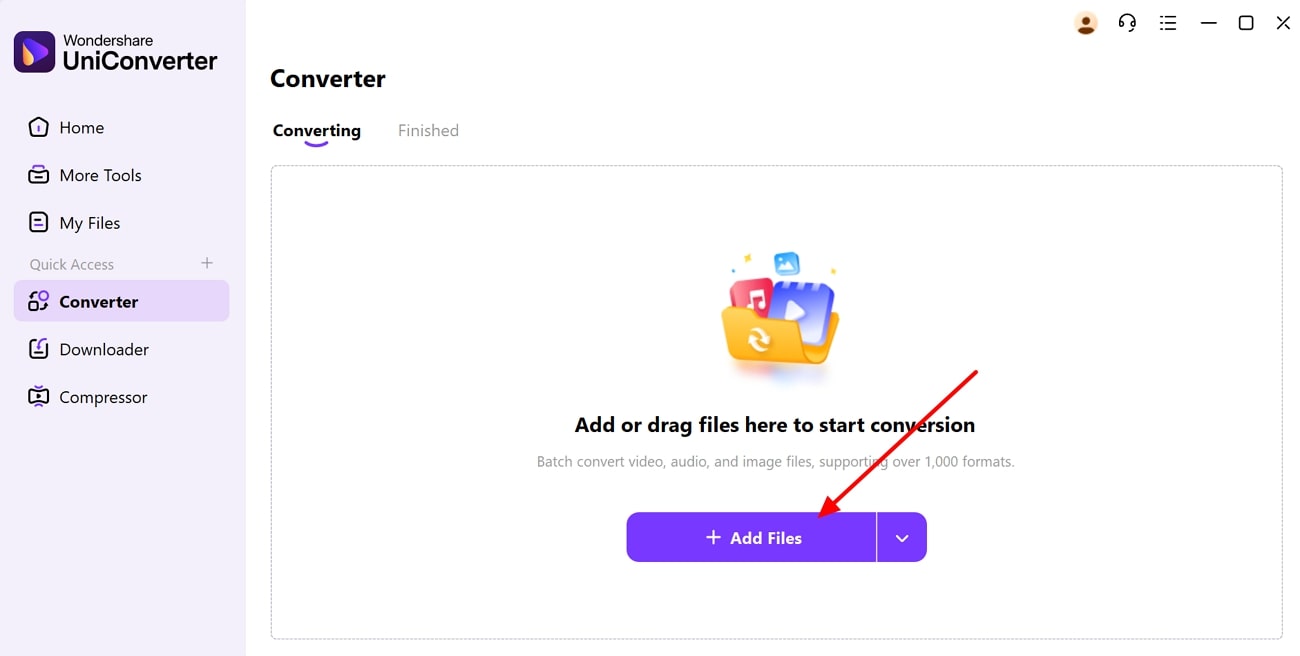
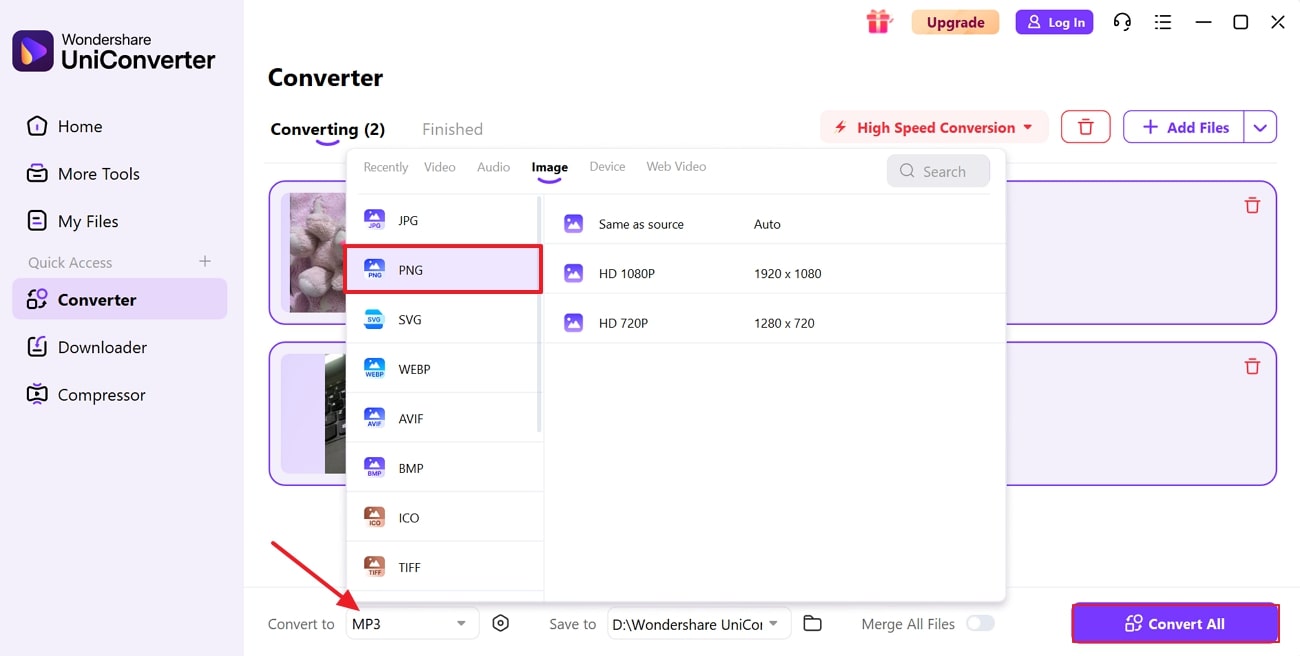
Step 1. Launch the Tool and Select the Converter
As you access UniConverter, click on “+Add File(s)” located within the “Converter” tab on the homepage.
Step 2. Insert the Live Image from the Device
Upon entering the editing interface, click on the “+Add Files” button to import the desired images from the device.
Step 3. Save the Converted Files to the Desired Folder of the Device
Navigate into the “Convert to” menu to look for the right image format. Proceed within the “Image” section and look for the PNG format for Live Photo conversion. With the format selected, tap on the “Convert All” button to save the converted images across the decided location.
Convert Live Photos to Stills
Part 6. Method 6: Turn a Live Photo to Still with an Online Tool
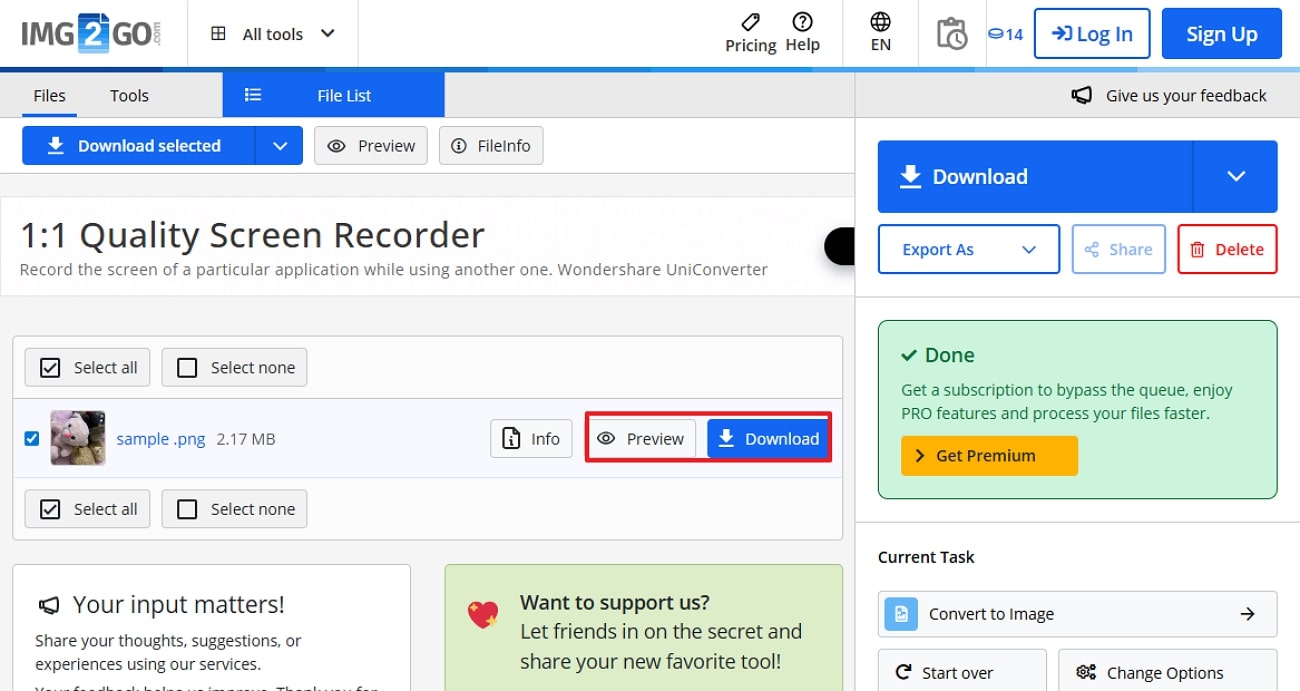
In case you didn't get a satisfactory result with the iPhone's built-in tool, you can opt for Img2Go to convert a Live Photo to a photo. This online method is ideal for operating across any device, including both Windows and Mac. It provides an easy-to-use interface offering step-by-step conversion in a few clicks, as it is free for basic use.
Step 1. As you access Img2Go on your browser, click on the “Choose Files” button to insert your Live Photo. Define settings according to your needs by tapping on the “Settings” button beside it.

Step 2. While the still image is converted in the desired format, you can easily download it using the “Download” button or preview before proceeding further.
Conclusion
Summing up, in this article, we have discussed 6 efficient methods to convert Live Photos to still images. Each approach caters to different needs depending on your accessibility. Out of all discussed methods, if you want an advanced solution, we recommend using UniConverter, which offers a batch processing system.
Convert Live Photos to Stills
Frequently Asked Questions
-
1. Can I turn off Live Photo mode, so all my photos are still images by default?
Yes, you can efficiently turn off Live Photo settings by going to the Camera and toggling off the related option. After doing this, your phone will instantly start generating still photos rather than Live Photos. -
2. How do I convert an existing Live Photo to a still image on my iPhone?
To convert a Live Photo into a still image, open it in the Photos app, tap the “Edit” button, select the “Live Photo” icon, and disable it before tapping “Done.” -
3. What if I want to keep both the Live Photo and a still version?
Yes, you can keep both by using the duplicate photo feature. Open the Live Photo, tap the “three-dots” menu, choose “Duplicate Image,” and select “Duplicate as Still Image” to save a separate still version. -
4. Can I choose a specific frame as my still photo?
Absolutely. Within the Photos app, open the Live Photo in “Edit” mode, drag the slider to your desired frame, and tap “Make Key Photo.” This allows you to use a specific frame as the still image.

