

Image resizing is a necessary part of your work operations. It is used by various professionals, like graphic designers and SEO executives. Having advanced image-resizing options gives an edge to the ranking of any webpage. That is why having free image resizers is essential. In this blog, we will explore our master list of the top 10 free image resizers for Windows, designed to meet your daily image resizing needs. Additionally, we will recommend the most efficient tool for resizing images in bulk.
In this article
Part 1. Key Role of Image Resizing
Image-resizing holds immense importance in shaping the user experience of websites and mobile applications. Optimized images help in improving the loading speed of webpages and fit into the screen layout perfectly.
For users on smartphones, resized images not only load faster, but they fit the proportion of the screen accurately without being too stretched or running out of the layout.
Businesses use this practice to reduce the load on their websites and efficiently use the storage on their systems. When websites load faster, they tend to retain visitors and convert them into loyal customers. This practice is a crucial aspect of ‘Good SEO’ followed by brands worldwide.
The markets are flooded with free image-resizing tools, and it can be difficult to find the ideal tool for your use case. Today’s recommendations are based on extensive usage and free image resizing for all users. Let's get started:

Versatile Image Resizer
Part 2. Top 3 Free Desktop Software to Resize Images on Windows
If you are specifically looking for free desktop softwares to resize images on Windows, we have three ideal recommendations that will improve your image-resizing workflow without spending any money on the tools.
1. Paint

MS Paint is free to use on Windows. It is one of the best tools to resize images quickly. Start by importing the image onto a fresh canvas through a ‘File’ or a ‘Scanner’.Explore the features of MS Paint that help to address your image conversion needs:
- Resize Images in multiple resolutions.
- Crop and adjust the dimensions of the image.
- Convert your files into four major formats (JPG, PNG, BMP, and GIF)
- Instantly save the output for free.
Pros & Cons:
Step by Step Guide:
1.You can find the option to import a new image by clicking on ‘File” in the top left corner and then on “Import to Canvas”.
2.Once your image is uploaded, head over to the “Resize and Skew” option on the ribbon. You can also use this option by using the shortcut “Ctrl + W.”
3.The Resize and Skew pop-up will allow you to either modify your image by Percentage or by Pixels. To reduce the pixels of the images and resize them, you can select a preferred range in the horizontal and vertical fields and tap “OK”. The output will appear, and you can save that image to your device by clicking “File” and then “Save as.”
4.You’ll get the option to download your resized image in multiple formats such as PNG, JPEG, BMP, and GIF.
2. Paint 3D
Paint 3D is an enhanced version of MS Paint. It was originally designed for 3D projects, but its advanced capabilities allow for multiple use cases. Paint 3D is free for Windows users, and it is commonly used for image resizing. This tool helps users to compress, upscale, and adjust images that are ideal for certain websites and applications. Just like any other Windows tool, Paint 3D is easy to use. The features of Paint 3D are listed below:
- Images can be resized in Percentage or Pixel format.
- Crop images freely or in fixed aspect ratios.
- Export your images in multiple formats, including JPG, PNG, BMP, and GIF.
- Offers a real-time canvas preview while resizing.
Pros & Cons:
Step by Step Guide:
Here’s how to use Paint 3D for Image resizing:
1.You'll find it pre-installed on your Windows device, and when you open it, click on "Menu" in the top left corner. From the pop-up, click on "Insert", and select the image that you want to resize.
2.When the image appears on the fresh page, click on "Canvas" on the top menu. It will open multiple resizing options on the right menu. You can adjust the width and height of the image by filling in the fields below them.
3.You can also modify the image by Pixels or by Percentage. Find the option in the drop-down just below the check box that reads, "Resize image with Canvas."
4.Additionally, you can rotate and flip the image and move on to save it on your device. Go back to the menu and click "Save as" to save the image on your device.
3. Fotosizer
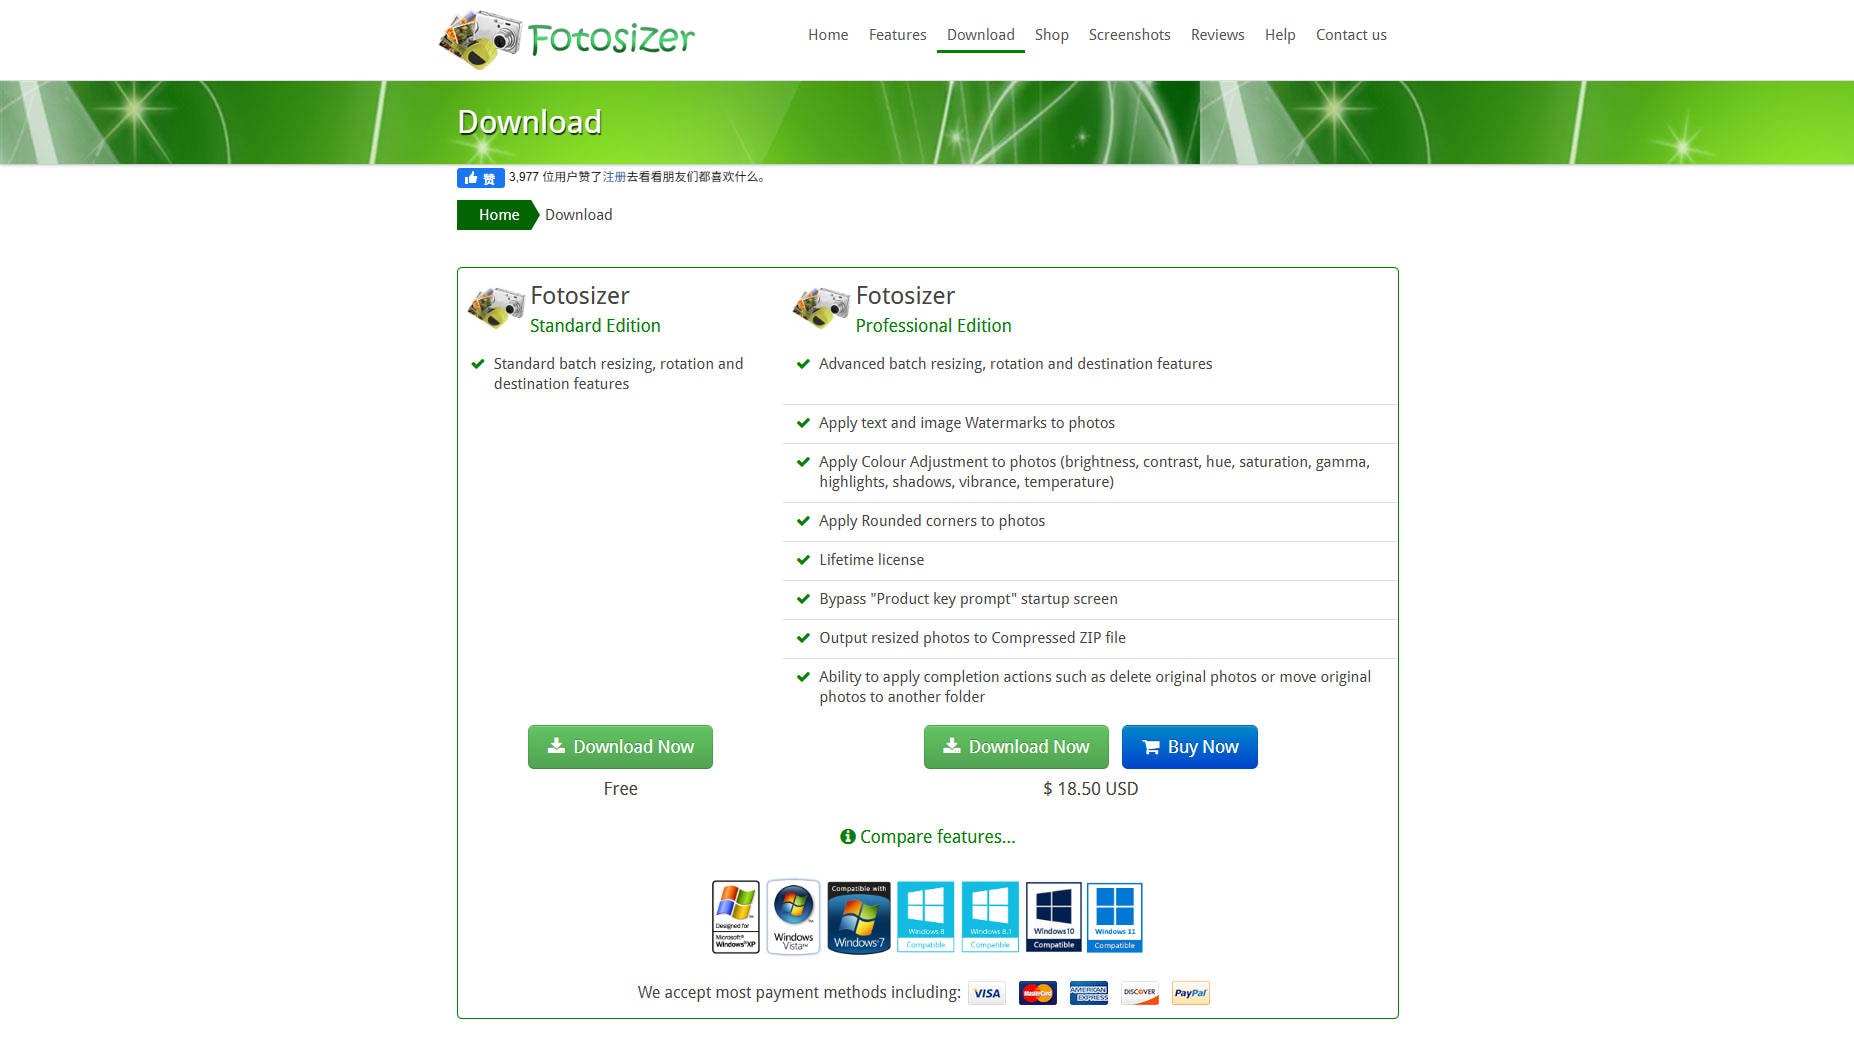
Fotosizer is a free image-resizing software that’s perfect for users who need to resize multiple images at once. It’s designed with batch processing in mind, meaning you can resize entire folders of images quickly without editing each one manually. This makes it a time-saver for photographers, content creators, or anyone managing large image libraries. Let's dive into the features of Fotosizier together!
- Batch resize hundreds of images at once.
- Resize by percentage, fixed width/height, or fit within dimensions.
- Export in multiple formats, including JPG, PNG, BMP, and TIFF.
- Optional features like watermarking, rotation, and effects.
Pros & Cons:
Step by Step Guide:
After installing and launching Fotosizer, you’ll be prompted to add the images you want to resize. Here’s the full step-by-step guide for using the Fotosizer:
1.You can drag and drop Files into the interface or click the Add Images button to select them from your folders.
2.Once added, move to the settings panel on the right-hand side. Here, you’ll find options to resize by percentage or by fixed width and height.
3.You can also maintain the original aspect ratio or stretch images to new dimensions, depending on your needs.
4.Once everything is set, just click the Start button. Fotosizer will process your images quickly and save them to your selected output folder. It’s efficient, intuitive, and totally free, making it one of the best tools for batch image-resizing on Windows.
Part 3. 3 Best Free Online Tools to Bulk Resize Images on Windows
Some free online tools may have limitations on resizing images in bulk. That is why we have found the 3 best tools for bulk image-resizing on Windows for free to help save your time.
1. PicResize
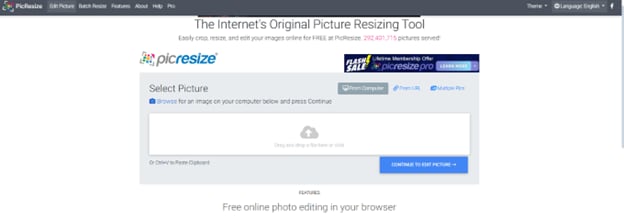
PicResize has a smooth and easy-to-use interface for bulk image selection and resizing..It works on your browser and does not need installation. However, this tool is dependent on internet connectivity. If that’s not an issue for you, you’re good to go. PicResize has the following features:
- Resize by percentage, pixel dimensions, or predefined sizes.
- Crop, rotate, or flip the images before resizing them.
- Export to JPG, PNG, GIF, BMP, and WEBP.
- Apply special effects such as grayscale, oil paint, sharpening, etc.
Pros & Cons:
Step by Step Guide:
Here’s a detailed overview of how to use PicResize effectively:
1.Users can select up to 100 images in a single batch. Use the drag-and-drop method to select the files that you want to resize.
2.Once you select the images that you want to resize, the interface offers you options to reduce the pixels of your image. It is helpful when you're aiming for smaller File weights without obsessing over pixel-perfect dimensions.
3.When you’re done adjusting, select your output format: JPEG, PNG, GIF, or BMP. You’ll have to select it for the entire batch to get the best quality output.
4.Click “I’m Done, Resize My Picture!” The processed image will be ready for download within seconds. PicResize is perfect for quick, bulk image edits when you don’t want to open any software or wait through complicated steps.
2. BIRME
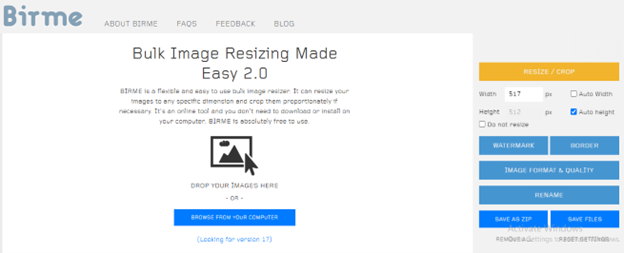
BIRME is another simple and stunning tool that helps users to resize bulk images for free. BIRME does not need you to log in or sign up. It is a free online tool. The features of BIRME are:
- Resize images on your browser, without relying on installation.
- Batch processing is available for free.
- Supports automatic cropping and scale control.
- Instant resizing in multiple formats is available.
Pros & Cons:
Step by Step Guide:
Here’s how the BIRME software works:
1.You can start by simply navigating to their website and adding the images. You can select up to 100 image files in one go.
2.On the left panel, you get an optimizer that helps to adjust the width and height of the image. You can also opt for auto selection of either the width or the height.
3.The supported output formats are JPG and WebP. Select either one of them for your selected files. Before saving them, you get the option to instantly rename them for enhanced accessibility.
4.Herein, you can modify the quality in terms of percentage. When the adjustments have been made, your bulk-resized images will be saved on your device in a ZIP File.
3. Media.io
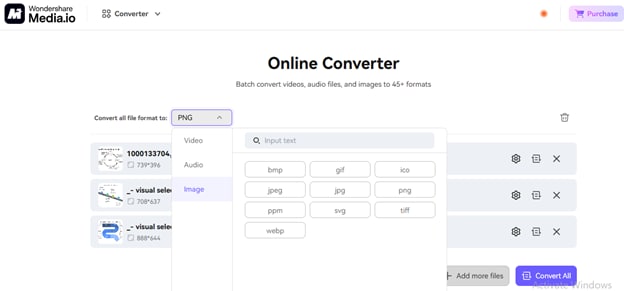
Media.io has an easy-to-navigate interface. Users can easily sign up and begin converting their images into multiple formats and get advanced image editing features. Here’s a snapshot that depicts the versatile nature of media.io when it comes to resizing the images and saving them into multiple formats:
Explore the features of media.io:
- Resize by exact pixel dimensions or percentages.
- Drag-and-drop interface for quick uploads.
- Supports format conversion (JPG, PNG, BMP, WEBP, TIFF).
- Offers image compression and cropping tools.
Pros & Cons:
Step by Step Guide:
Follow these steps to use media.io for resizing your images:
1.Upload your image by clicking “Choose Files” or dragging it into the upload area on the Media.io image resizer page.
2.Set your resize options by choosing to resize by pixels or percentage, and enter your desired width and height. You can also lock the aspect ratio.
3.Choose the output format (JPG, PNG, BMP, WEBP, or TIFF) and apply optional edits like crop or compress if needed.
4.Click “Start” to resize, then download your processed image once it’s ready.
Media.io does not limit you to image-resizing. This tool helps you to create and convert various formats of audio, video, and images using text-based prompts. The built-in editor is ideal for further customization of the images and producing quality output in bulk. Along with its free services, media.io has two subscription plans that can be purchased for US$ 6.99 /month (Standard Plan) and US$ 12.99 /month (Premium Plan).
You can explore these options if you have regular bulk image-resizing use cases to deal with. These options also offer AI video generation and prompt-based audio creation.
Versatile Image Resizer
Part 4. 3 Best Photo Resizer Apps for Android
For users exploring image-resizing options on Android devices, we have shortlisted three of the best tools that can be installed on your Android smartphone and used for advanced editing. The best part? They support bulk resizing, too!
1.Photo Resizer
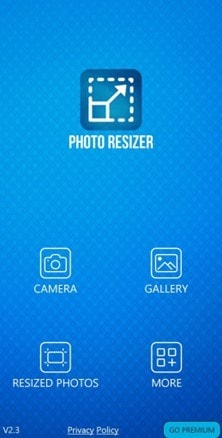
Available to use on your Android smartphone, Photo Resizer helps users to pick images in JPG and PNG format and convert them into a desired resolution. The process is simple and quick, wherein you also get advanced editing options for your images. But first, let's explore what Photo Resize can do:
- Crop, rotate, and flip images before resizing.
- Choose output formats like JPG and PNG.
- Resize images by custom width and height or percentage.
- Optional file size compression while resizing.
Pros & Cons:
Step by Step Guide:
Here’s how to resize images using the Photo Resizer application:
1.Open photoresizer.com and upload your image by dragging it into the page or clicking the upload button. Just like the free tools you use on Windows, Photo Resizer has an option to modify your image using pixel and percentage selection methods.
2.Choose your resize method — set dimensions by pixels or use a percentage. You can also crop, rotate, or flip your image before applying changes. You can also go on to adjust the width, height, and even remove the unwanted elements in the picture by cropping them.
3.Select your output format (JPG or PNG), and optionally adjust the image quality for smaller file sizes. To retain the quality even after resizing the images, you need to customize the horizontal and vertical alignment of the pixels.
4.Click “Resize Image”, then download your resized image directly to your device.
And this process is seamless on the Photo Resizer Android application. This app can be downloaded through the Google Play Store, and more than 1 million users have downloaded it. Photo Resizers has a rating of 4.5/5, making it a top choice for quick image-resizing.
2. InstaSize Photo Editor+Resizer

InstaSize Photo Editor + Resizer has been used by over 50 million users worldwide. It is a popular Android application that helps to resize images, especially for making them fit for social media resolutions. This application has the following features:
- Resize images to fit platform-specific aspect ratios (e.g., Instagram, Pinterest, YouTube).
- Add borders, filters, text, and overlays while resizing.
- Export images in high-resolution JPG or PNG formats.
- Crop freely or choose preset aspect ratios like 1:1, 4:5, 9:16, etc.
Pros & Cons:
Step by Step Guide:
If you are using a PC, you can directly visit the official website of InstaSize Photo Editor + Resizer on Windows and start resizing images without downloading the application. Your resized images can be downloaded in three formats: JPG, WebP, and PNG.
For those continuing on the smartphone, advanced editing options are available in the InstaSize Photo Editor + Resizer. With more than 130 filters and numerous customization options, it is one of the best free tools to resize images online. Along with customization for social media, users can adjust pixels and percentages in the app.
3. Resizing App
Resizing app is a quick and reliable image-resizing solution that can be used on your Windows device and your Android smartphone, too. The Resizing app has a simple interface for those who wish to quickly resize their images. Explore the remarkable features of the Resizing App:
- Customize multiple aspects, such as the length, width, and height.
- The output can be downloaded in various formats such as JPG, PNG, WEBP, TIFF, and BMP.
- Images can be compressed and optimised for social media and web pages.
- Advanced editing options are available to use.
Pros & Cons:
Step by Step Guide:
Use the resizing app by following this method:
1.Open the app and select your image from your phone’s gallery or camera roll, and the interface opens directly to the image selection screen for quick access.
2.Enter your preferred size by typing in the exact width and height in pixels, adjusting by percentage, or selecting a preset aspect ratio like square (1:1) or widescreen (16:9).
3.Optional edits include cropping, rotating, mirroring, or adjusting image quality to compress the file size without losing too much clarity.
4.Tap “Save” or “Download” to export your resized image in JPG or PNG format, ready for sharing, uploading, or storage.
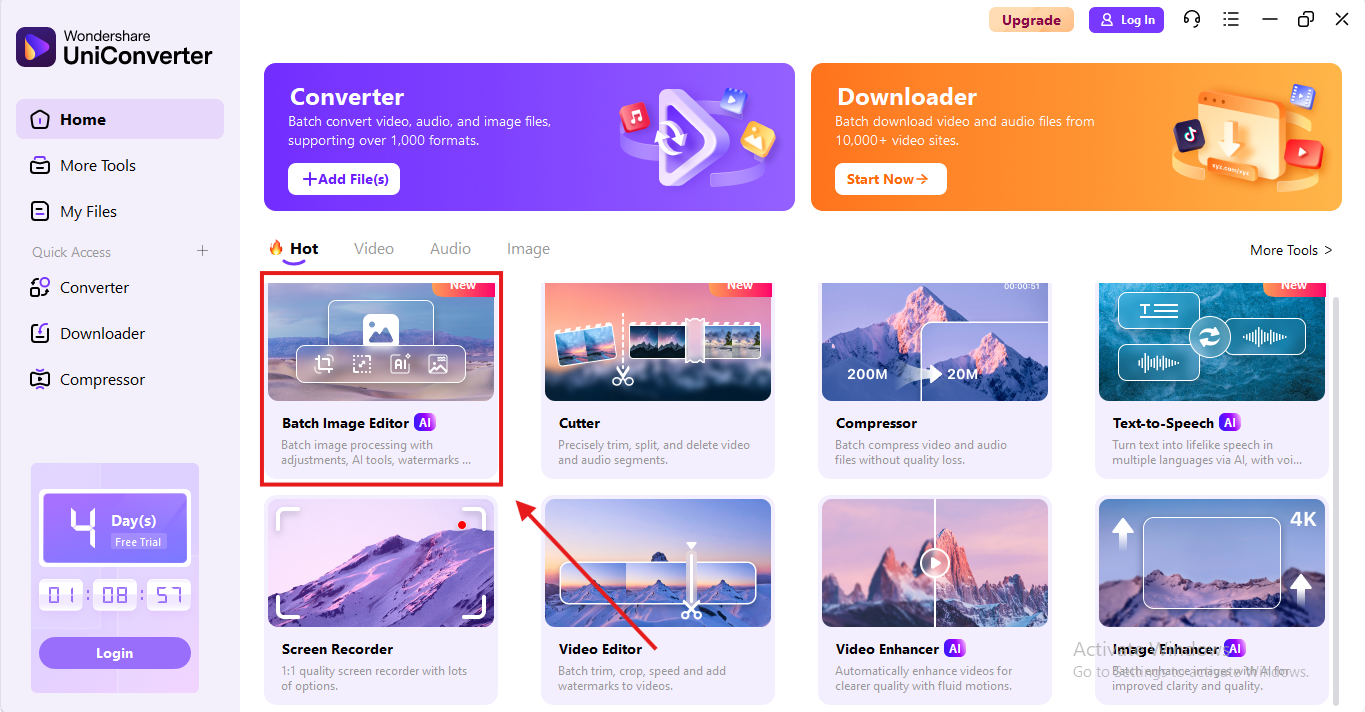
Part 5. UniConverter: Resize Images in Bulk on Windows

Resizing images in bulk can be a challenge, especially if you have repeated tasks of that sort. That’s why we recommend the highlight tool UniConverter, which helps you resize images in bulk to save time and use an advanced editor to modify your pictures.
The Resized images are enhanced through AI so that you do not have to worry about quality depletion when exporting the images. The output is available in multiple formats such as JPG, PNG, WebP, etc. The UniConverter has the following features:
- Instantly resize bulk images into multiple formats.
- Advanced editing options are available for resized images.
- Adjust image quality and maintain lossless compression.
- Resize by percentages or dimensions for optimum use.
Pros & Cons:
Step by Step Guide:
Here’s how to convert your images through the UniConverter:
Step 1
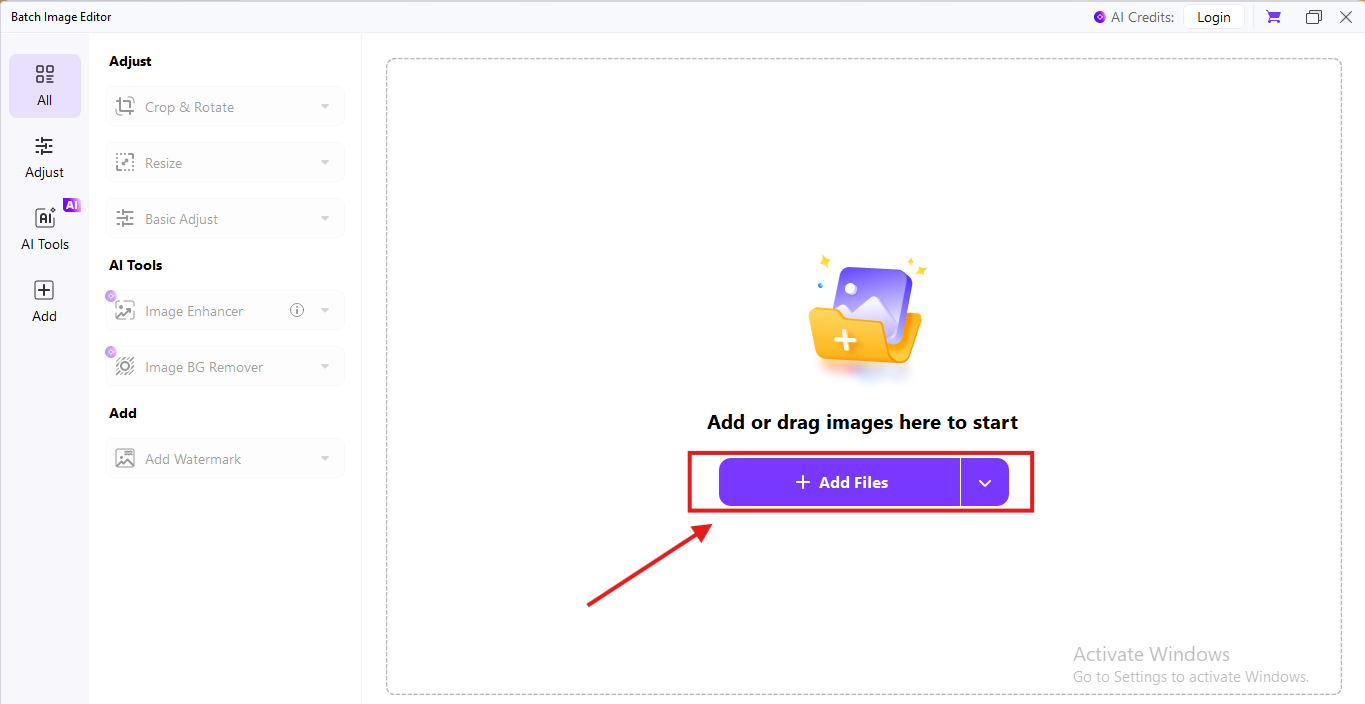
Open UniConverter on your desktop and pick the “Batch Image Editor” tool from the menu.
Step 2
Upload one or more images by using the ‘Add Files’ option. The interface is simple and supports quick drag-and-drop actions.
Step 3
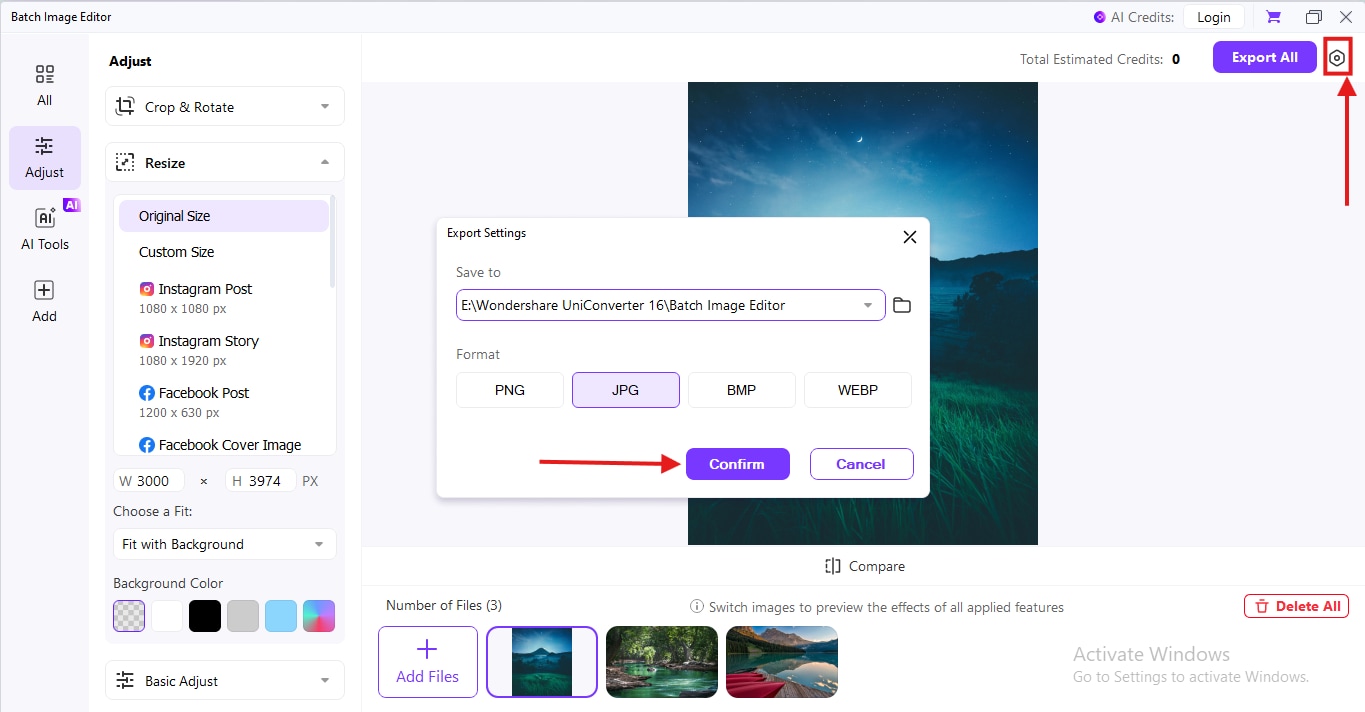
If needed, apply additional formats like (JPG, PNG, BMP) by tapping on the settings icon in the top right corner. When finalised, click on ‘Confirm.’
Step 4
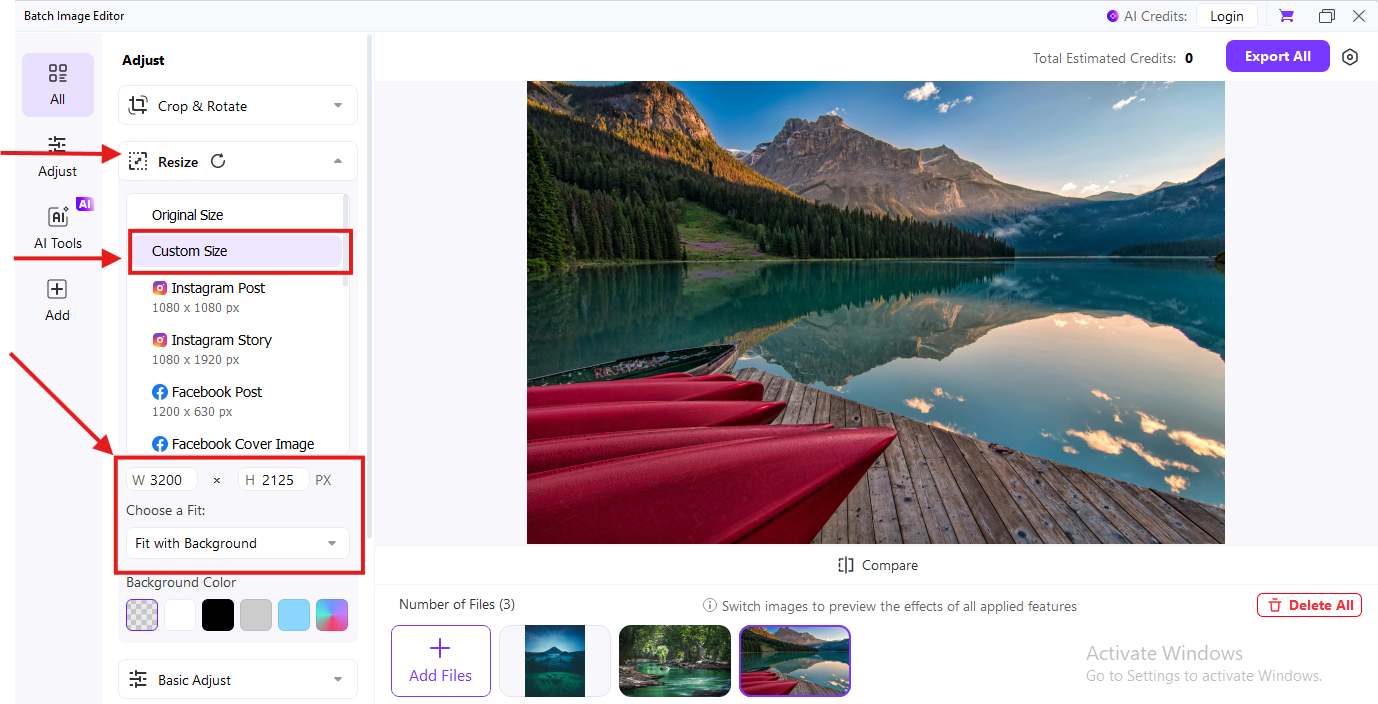
Choose your preferred image size by entering a “Custom Size” under the Resize dropdown.
Step 5
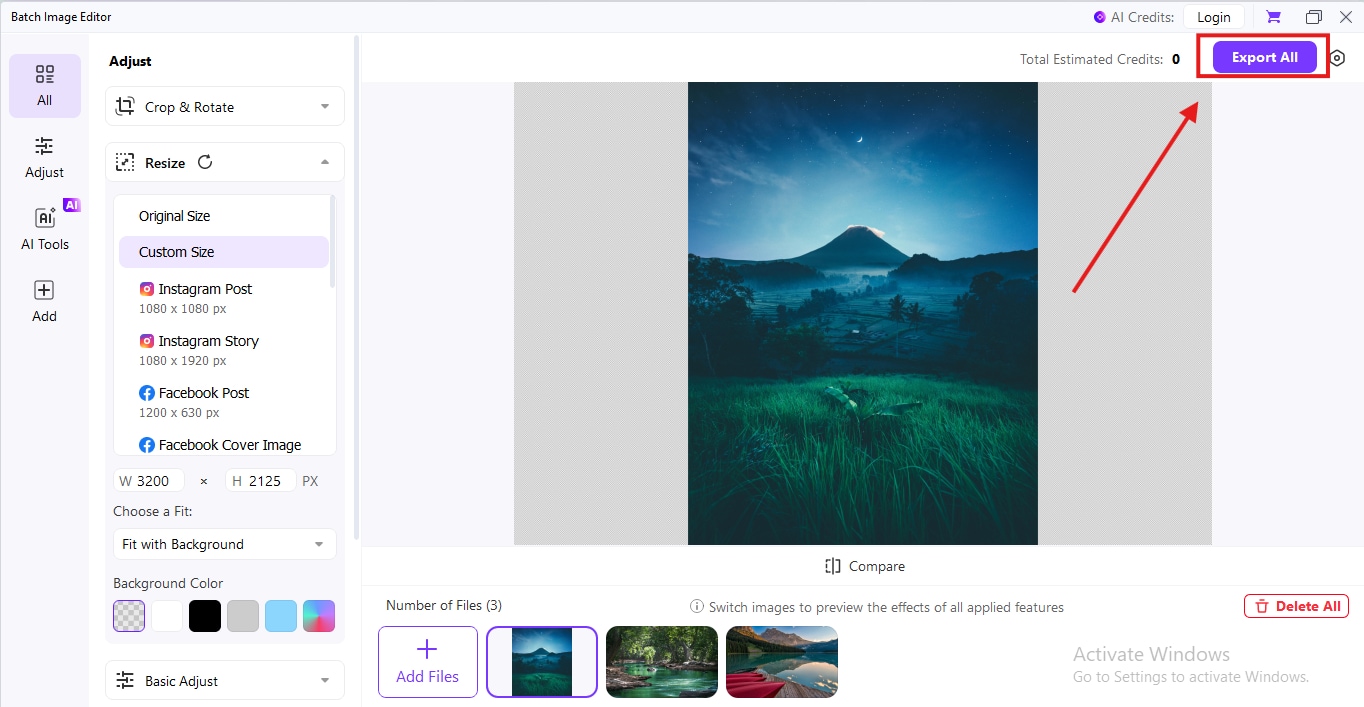
Click the “Export All” button to resize and process your selected images. Once done, save them to your desktop or transfer to your iPhone via AirDrop, email, or cloud storage. This workflow ensures quick resizing with zero quality loss.
Conclusion
Image-resizing has become a mandatory part of diverse work roles. It is a daily chore for digital content creators to ensure optimization and ranking. Hence, using the best image resizers that are free and advanced is a starting point. The game changes when you get your hands on tools for bulk image resizing. Bulk image resizers save dozens of hours and help to maintain quality while you compress or upscale your image.
The highlight tool Uniconverter for bulk image-resizing is used extensively to save time and ensure quality output. It supports image-resizing and bulk video conversions as well. All of the above-listed tools are free to explore and blend into your everyday work.
Versatile Image Resizer
FAQs
-
1. Does Windows 10 have an image resizer?
Yes, Windows 10 has built-in tools for resizing images, so you don’t need to download anything extra. The Photos app and Microsoft Paint are pre-installed and handle basic resizing tasks well. The Photos app offers preset sizes or custom dimensions, while Paint lets you adjust by percentage or specific pixels. -
2. Is Image Resizer for Windows free to use?
Absolutely, the built-in Windows 10 tools: Photos app and Microsoft Paint are free as they come with the operating system. UniConverter is also free to use for bulk image resizing. -
3. How do I resize a JPG File?
Resizing a JPG File on Windows 10 is straightforward using MS Paint. Here’s a quick guide for it: Right-click the JPG File. Select “Open with” and choose Paint. Click ‘Resize’ in the top menu under the Home tab. Choose Pixels or Percentage. Enter your desired dimensions. Ensure the maintain aspect ratio is checked. Click ‘OK’ to apply changes. Save the File via File > Save or Save As to keep the original. -
4. How to decrease image size?
Open the image in Paint. Click Resize and reduce to 10–20% of the original size or specific pixels (e.g., 200x200). Save as JPG. Check the File size and reduce dimensions further if necessary. -
5. How to reduce the pixel size of a JPG?
You can reduce the pixel size of a JPG by using a free tool, such as Paint or Paint 3D. You can use a free tool such as UniConverter to resize your images for free. To resize the pixel size of the JPG in Paint, import the File from your device and use the shortcut “Ctrl + W.” The “Resize and Skew” pop-up will appear on the screen, and you can adjust the pixels from the horizontal and vertical fields below.

