


Large images often lead to slow website loading times or printing issues, while smaller ones can lose clarity and look pixilated when scaled up. From optimizing visuals for social media to preparing product photos for an online store, resizing images is a routine yet essential task across both personal and professional settings.
If you wonder how to resize a picture on Windows, this might seem like a challenge at first, but with the right tools, it is surprisingly simple. To address this issue without compromising quality, this article explores 6 reliable methods to resize images on Windows. Whether it’s with built-in tools, user-friendly online platforms, or powerful desktop software, each option offers an efficient way to get the right size and resolution for any scenario.
In this article
Part 1: How to Finish Resizing with Windows' Own Picture Tool?
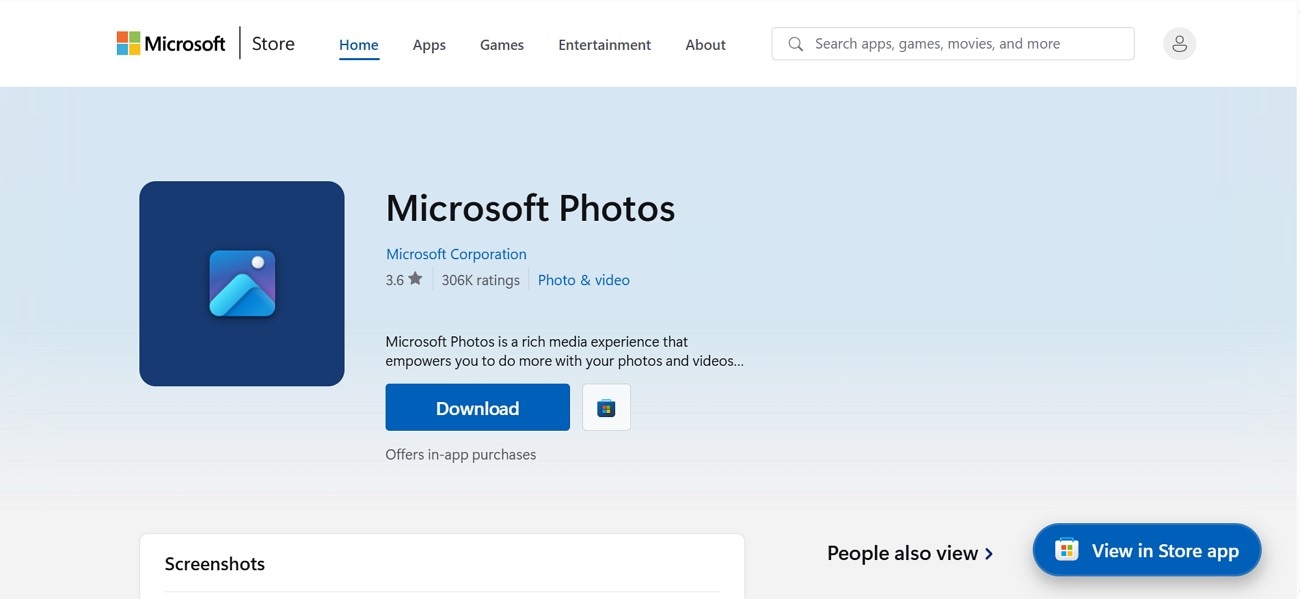
When seeking the answer to how to resize an image on Windows, consider using a built-in app since it’s a reliable option. MS Photos is a simple, user-friendly tool that comes pre-installed with Windows and provides the option of adjusting image dimensions through the height and width parameters. Moreover, it helps select the image quality in percentage units using a toolbar.
Apart from this, it offers the picture detail with “Current” and “New” size previews, so you can see how your changes will affect the image before saving. Users can alter the file type from JPG, PNG, TIF, and more as they like. The following section will show you how to do it with a detailed stepwise guide:
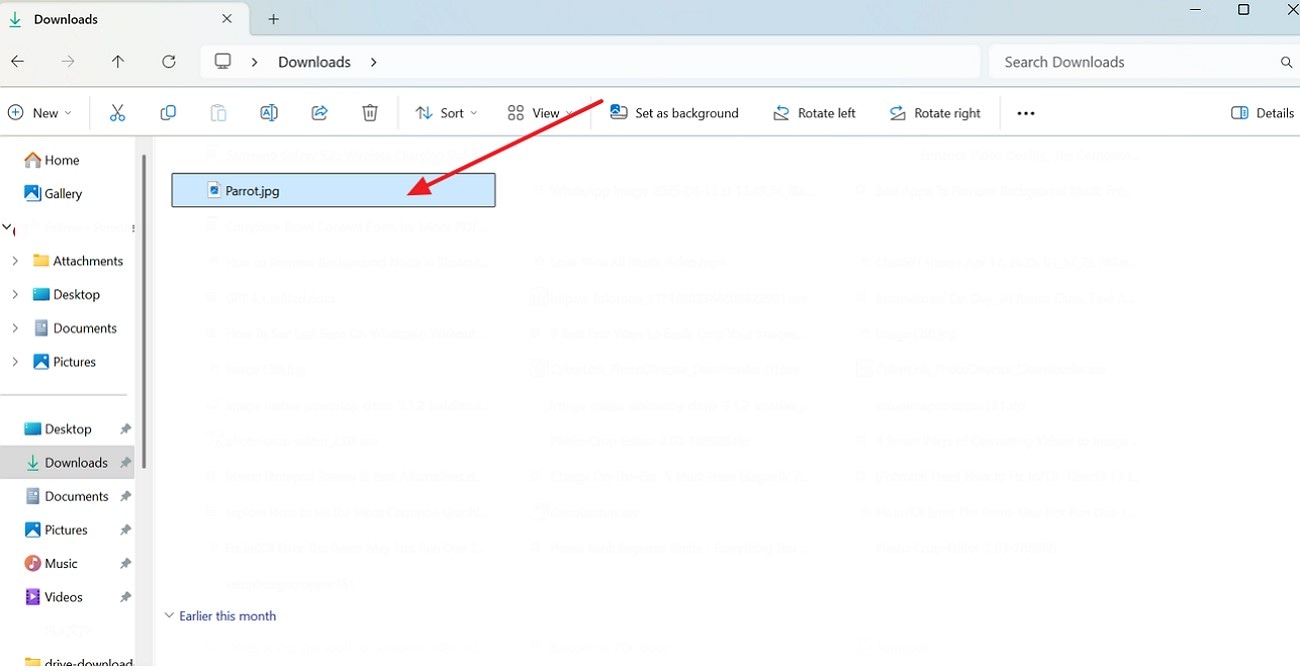
Step 1. Open the image that you want to resize from your "File Explorer" by double-clicking it.
Step 2. Press the “Three Dots” on the top-left corner and select the “Resize Image” option from the expanded list.
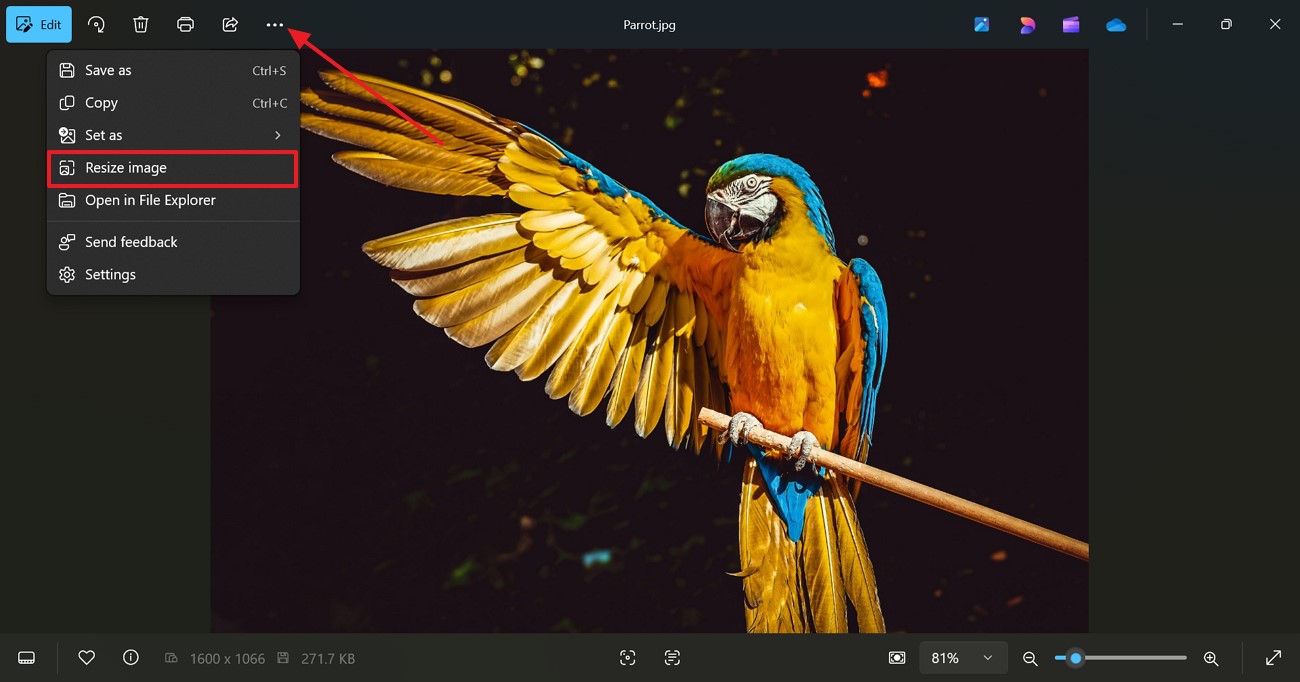
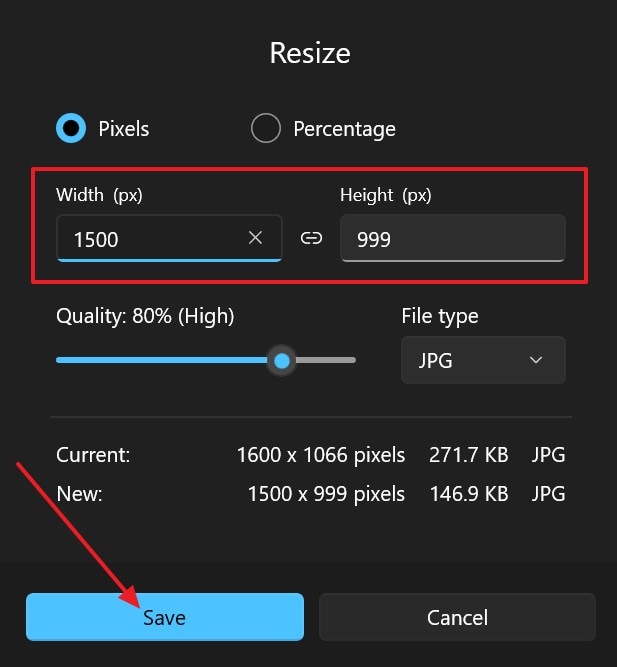
Step 3. Next, adjust the “Width and Height” according to your desired preference and press the “Save” button to keep the changes.
Part 2: How to Complete Image Resizing With Online Tools?
Now that you know how to resize a photo in Windows, if you are looking for an online version, the following section covers the top 2 options:
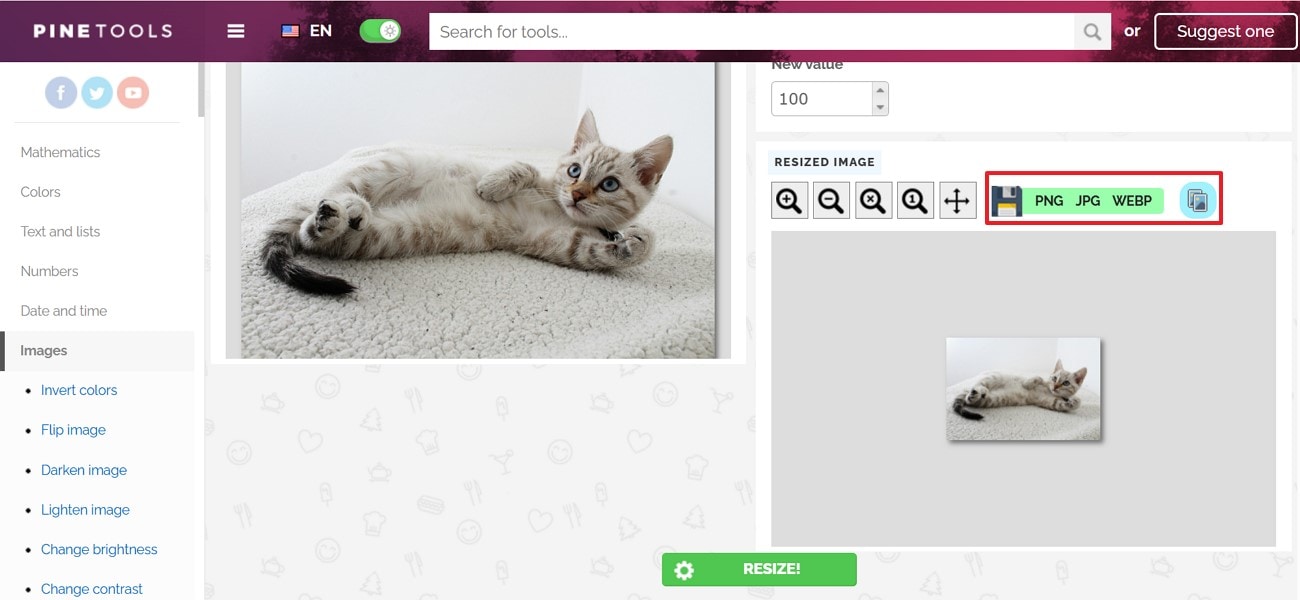
1. Pine Tools
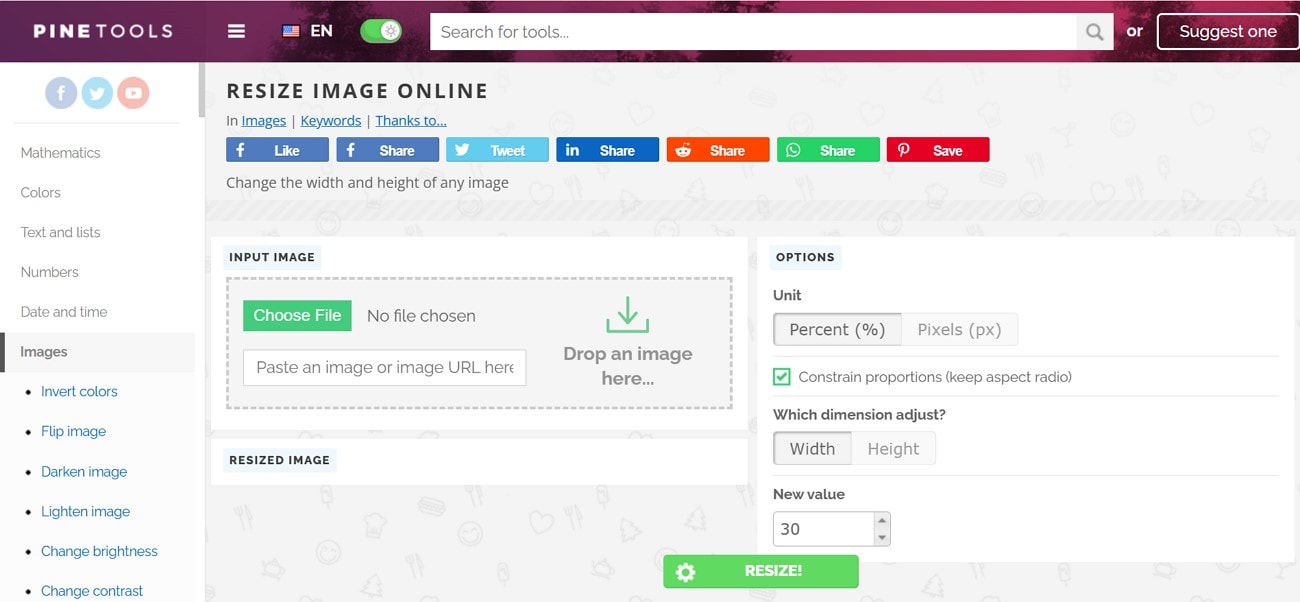
It is one of the stand-out options as it lets you change the height and width of the image separately. You can simply drag and drop the image from your PC or upload it and start the reduction process immediately. After changing the size, it offers various formats such as JPG, PNG, and many more to choose from.
Key Features:
- The tool enables you to view a preview of the outcome prior to saving.
- Apart from dimensions, it lets you change the pixels and percentages.
- It allows you to darken or lighten the image with its other tools.
Stepwise Tutorial to Resize an Image Using Pine Tools:
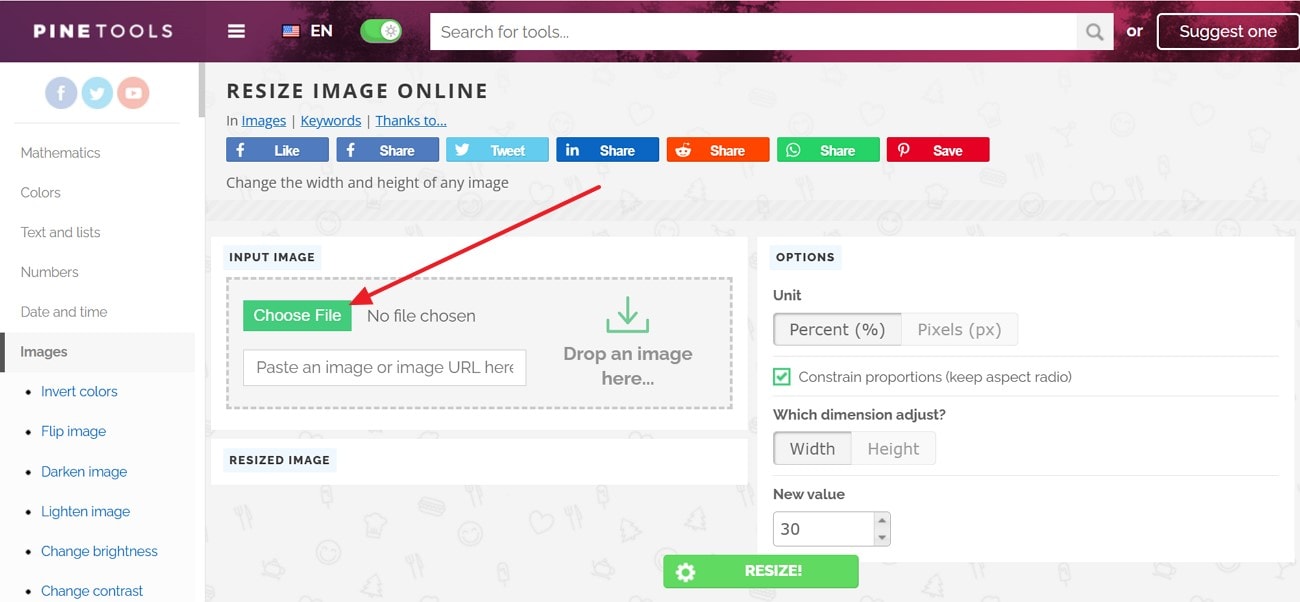
Step 1. With the “Choose File” button, select the images that are to be resized.
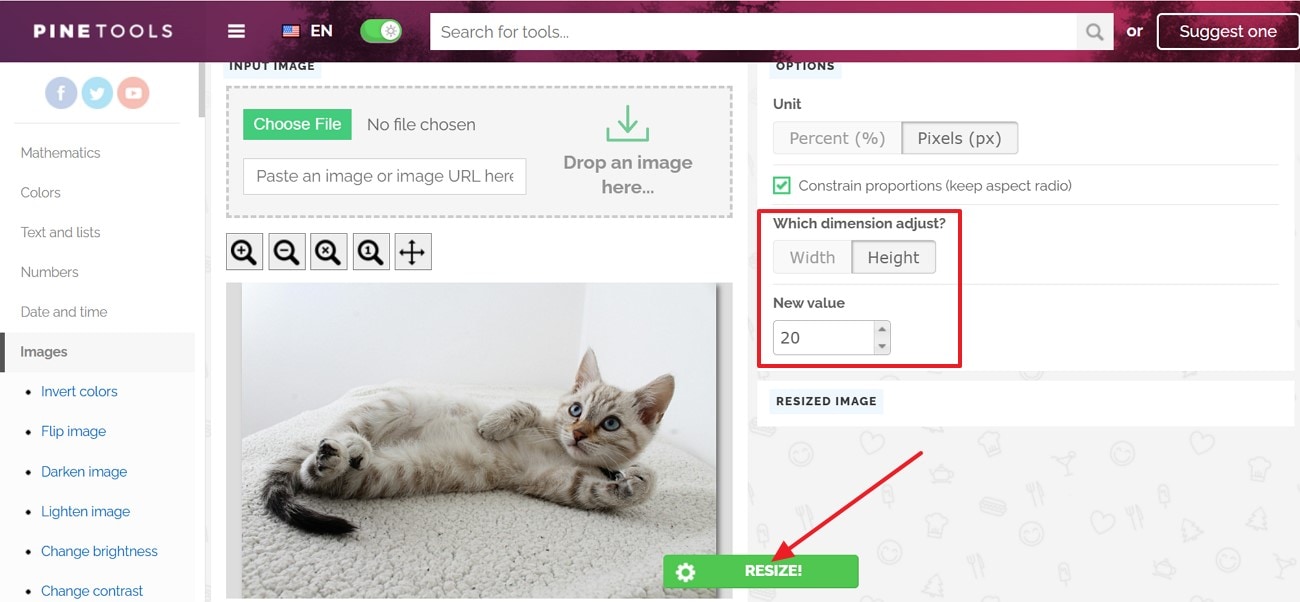
Step 2. Change the dimensions “Height and Width” of the pictures as you like and press the “Resize” button.
Step 3. Afterward, pick the preferred format you want to save your image in.
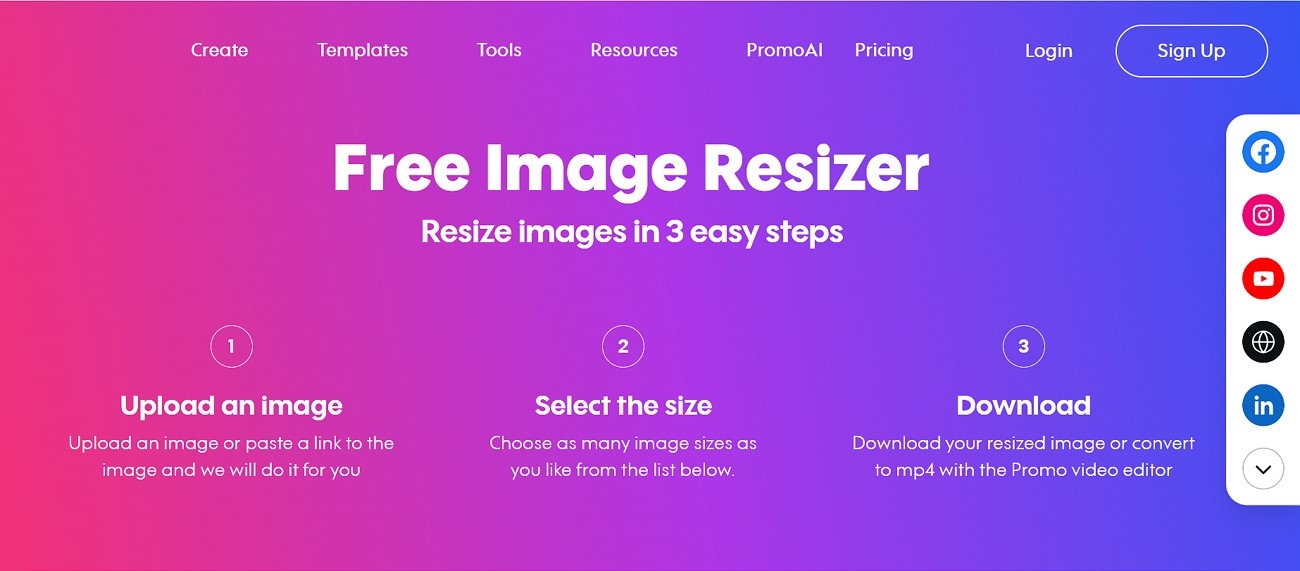
2. Promo.com
While pondering how to resize photos in Windows 10, use Promo.com, an online platform that is a free image resizer. It lets you change the aspect ratio from Height to Width as you like. Moreover, users can also adjust the X and Y scales of the image to get more customization. The tool also allows you to lock the aspect ratio option to maintain the original proportion.
Key Features:
- When you upload an image, the tool automatically resizes it according to the social platform.
- It offers batch processing, so you can change the size of multiple pictures at once.
- Converts the resized photo into a video with just one click.
Detailed Steps to Use Promo.com for Resizing the Picture:
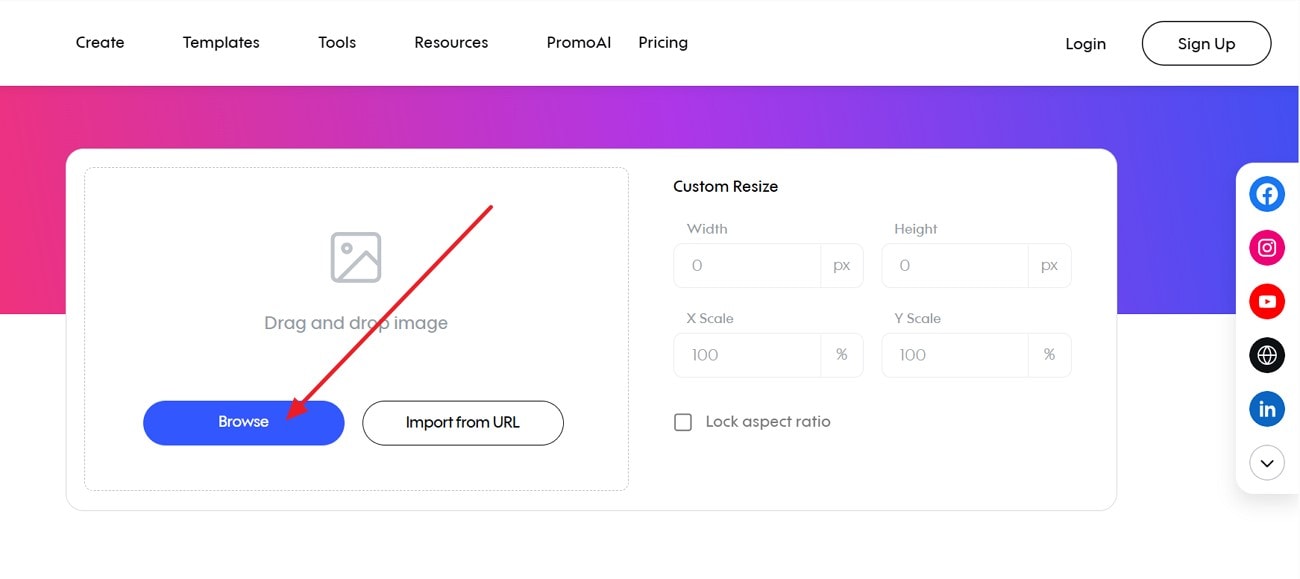
Step 1. Access the tool on your browser and use the “Browse” button to add the target picture.
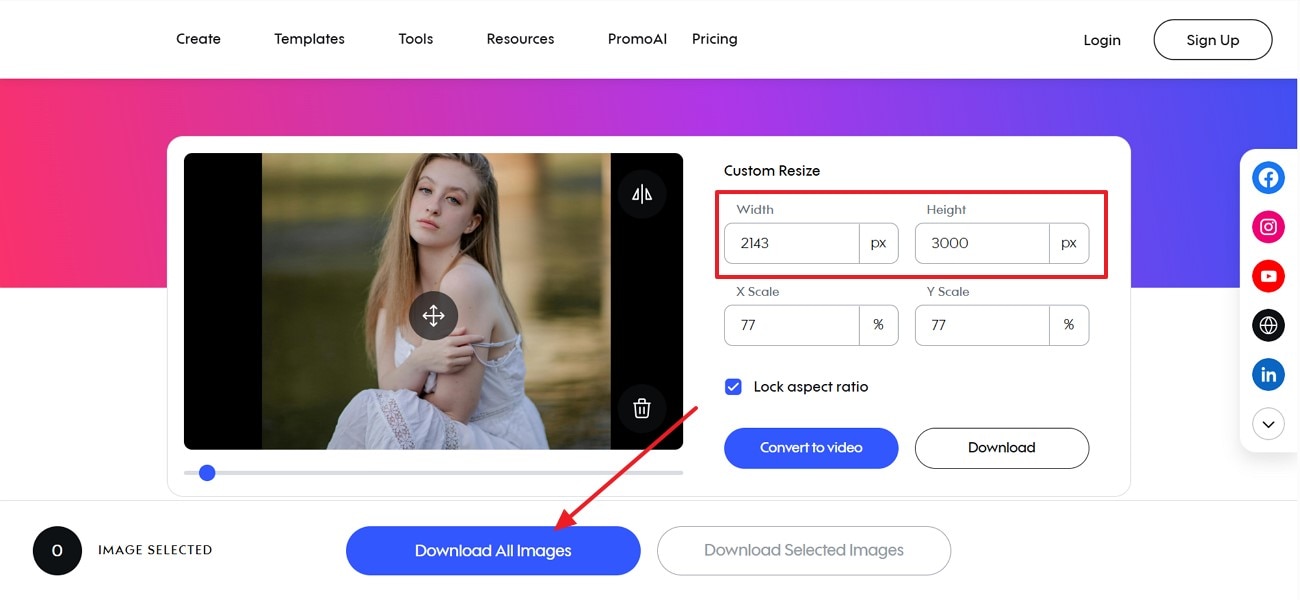
Step 2. It will automatically resize when you change the "Width and Height." Next, hit the “Download All Images” button to save the resized result.

Batch Image Editor
Part 3: How to Complete Image Resizing With Desktop Software
After learning how to resize an image in Windows 10 online, you might want to know the desktop version as well. Therefore, here are the top 3 software that you can use to change the picture’s size:
1. UniConverter
UniConverter is among the top editing tools for resizing images because it is powered by advanced AI technology. The tool lets you change the dimensions of the photos with its simple interface. It maintains the image's original quality while reducing the size while preserving sharpness and details. You just have to drag the image simply from the PC and start the resizing process without any effort.
Apart from this, the tool allows you to adjust the Height and Width of the image by entering the digits as you like. Users can also choose the custom size and pick the platform, such as Instagram or YouTube, where they plan to post the picture for instant resizing. It also changes the overall resolution of the photo using its enlargement tool.
Key Features of UniConverter:
- Choose a Fit: You can select its “Choose a Fit” option that resizes the image by stretching the smartly without losing quality.
- Background Remover: Unlike other resizers, it offers advanced AI tools such as a background remover to get more customized results.
- Rotate or Flip: Users can change the image sides upward or sideways with this feature.
- Basic Adjust: To get sharper images, the tool allows you to alter the contrast and brightness.
Batch Image Editor
Follow the UniConverter's Detailed Stepwise Guide:
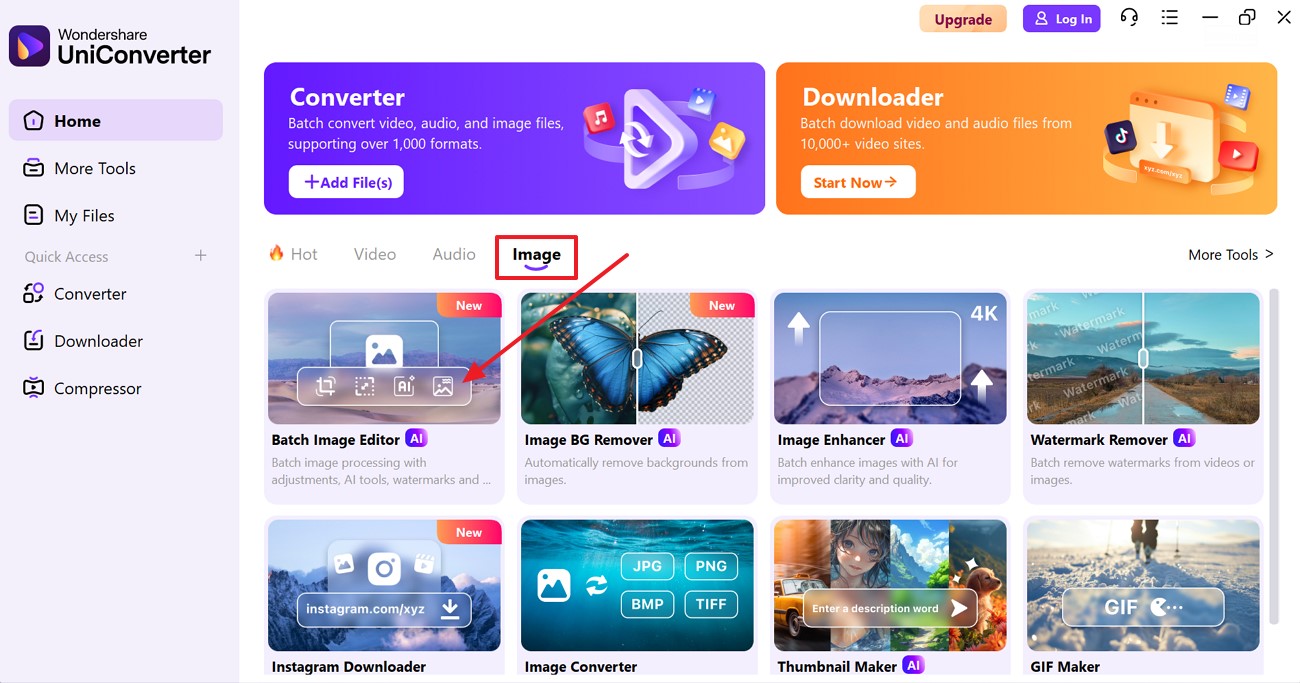
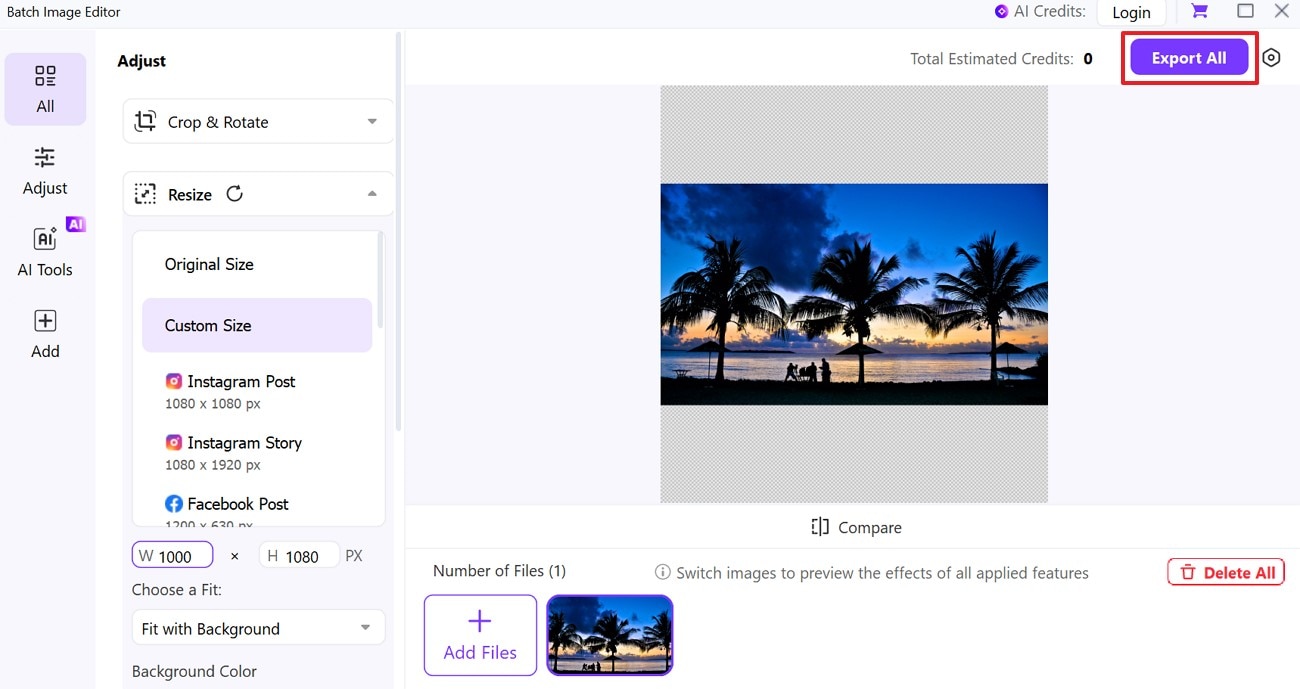
Step 1. Download UniConverter and Choose Batch Image Editor
Access the tool and press the "Image" section to choose the "Batch Image Editor" tool from the main screen.
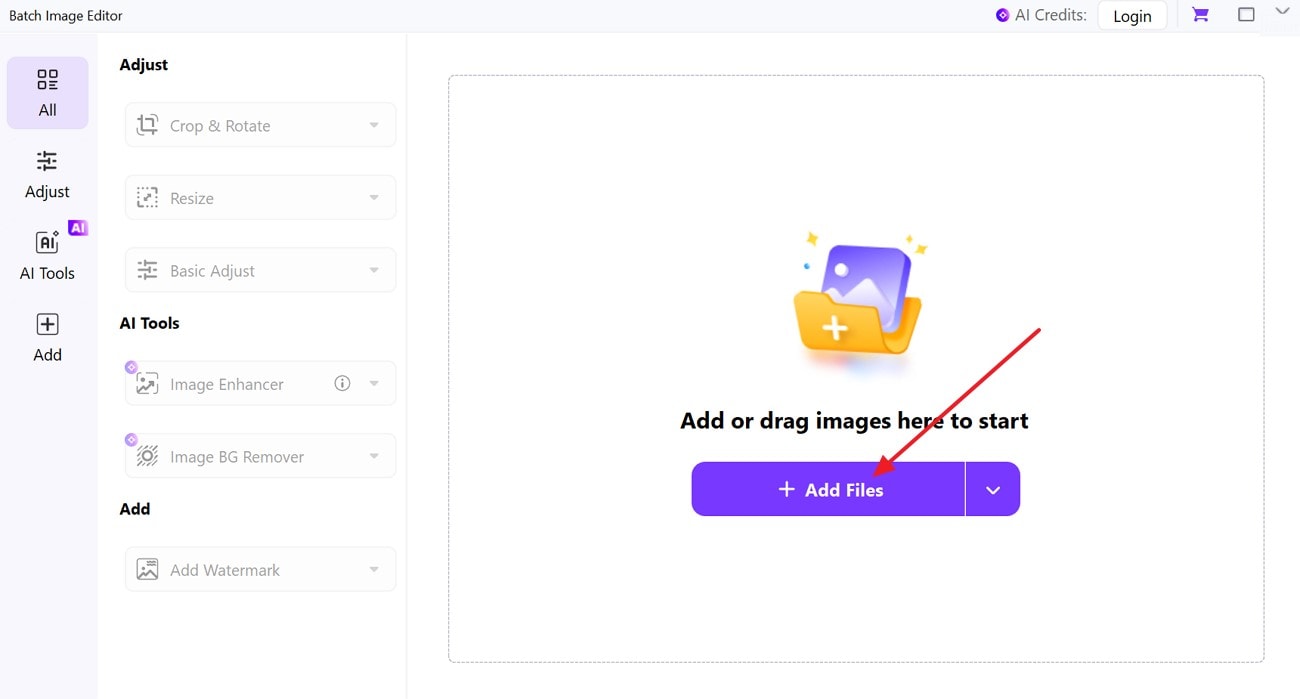
Step 2. Insert the Image You Wish to Resize
Next, click the “+Add Files” button to import the target picture that you want to edit.
Step 3. Choose Resize and Change It
From the left side of the screen, extend the “Resize” action and choose the “Width and Height” according to your preference.
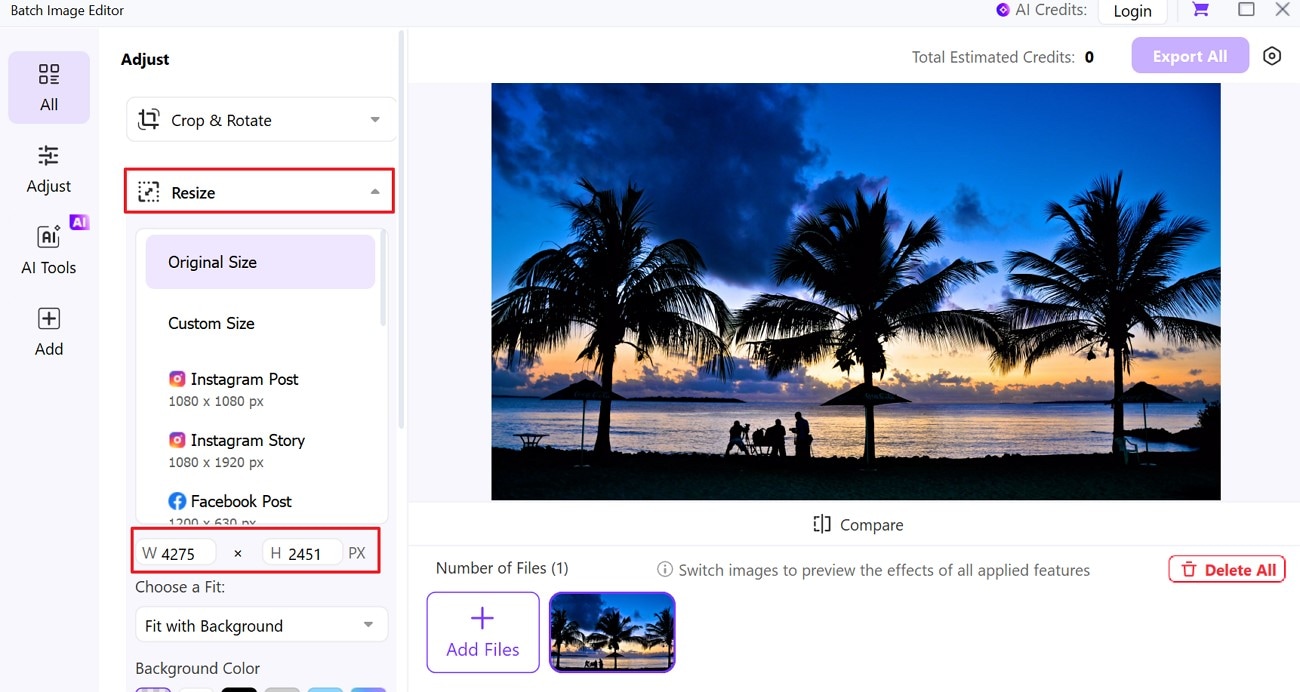
Step 4. Preview Results and Download
Lastly, check the edited results and hit the “Export” button if you are satisfied to save the project on your device.
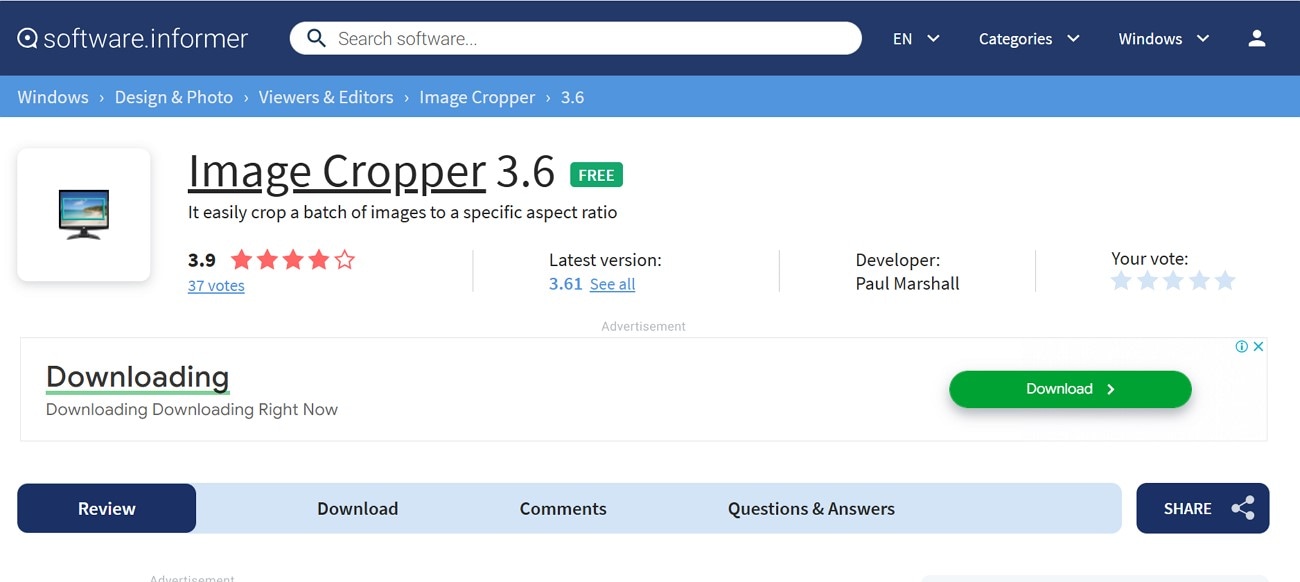
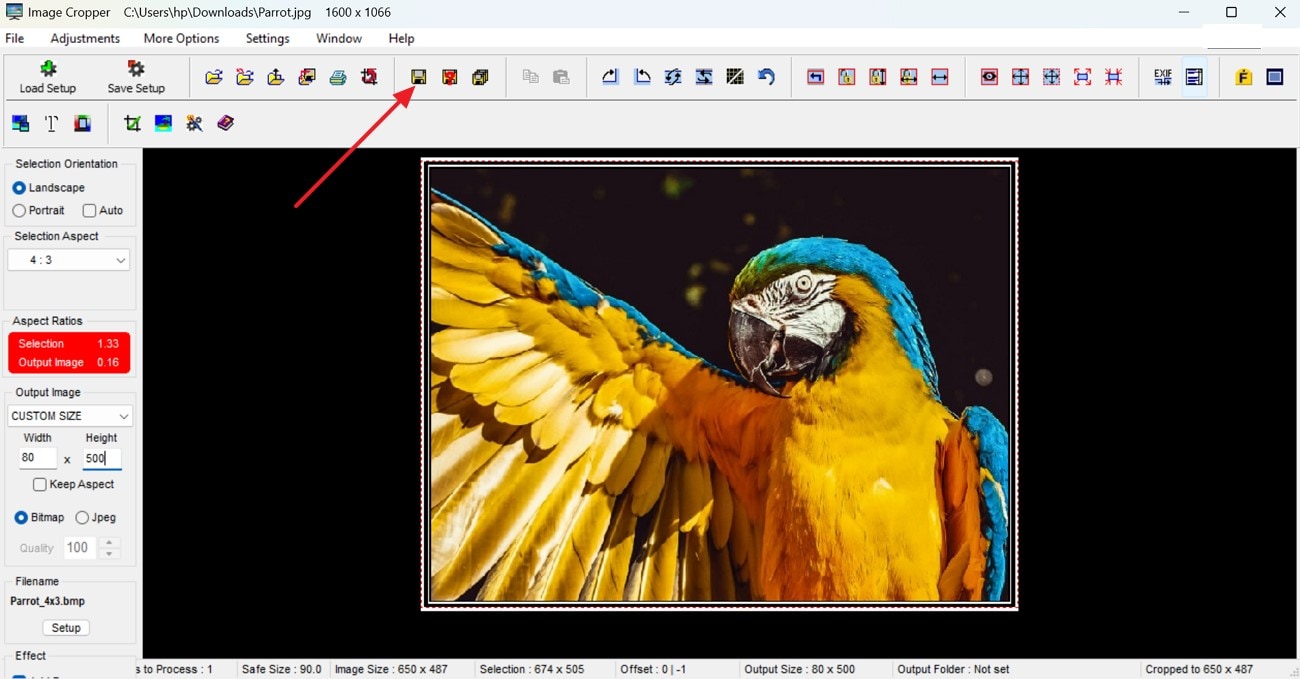
2. Image Cropper
When it comes to understanding how to downsize photos in Windows 10, Image Cropper is another desktop tool that offers various platform sizes to choose from. You can customize the image by selecting the Height and Width manually by entering the numbers. Apart from this, it lets you lock the aspect ratio so the picture won’t lose its proportions.
Key Features:
- You can increase the quality of the photo from 1 to 100 to get more defined results.
- The tool allows you to save the picture in JPG and BMP formats.
- With select orientation, it lets you choose between Landscape, Portrait, and Auto.
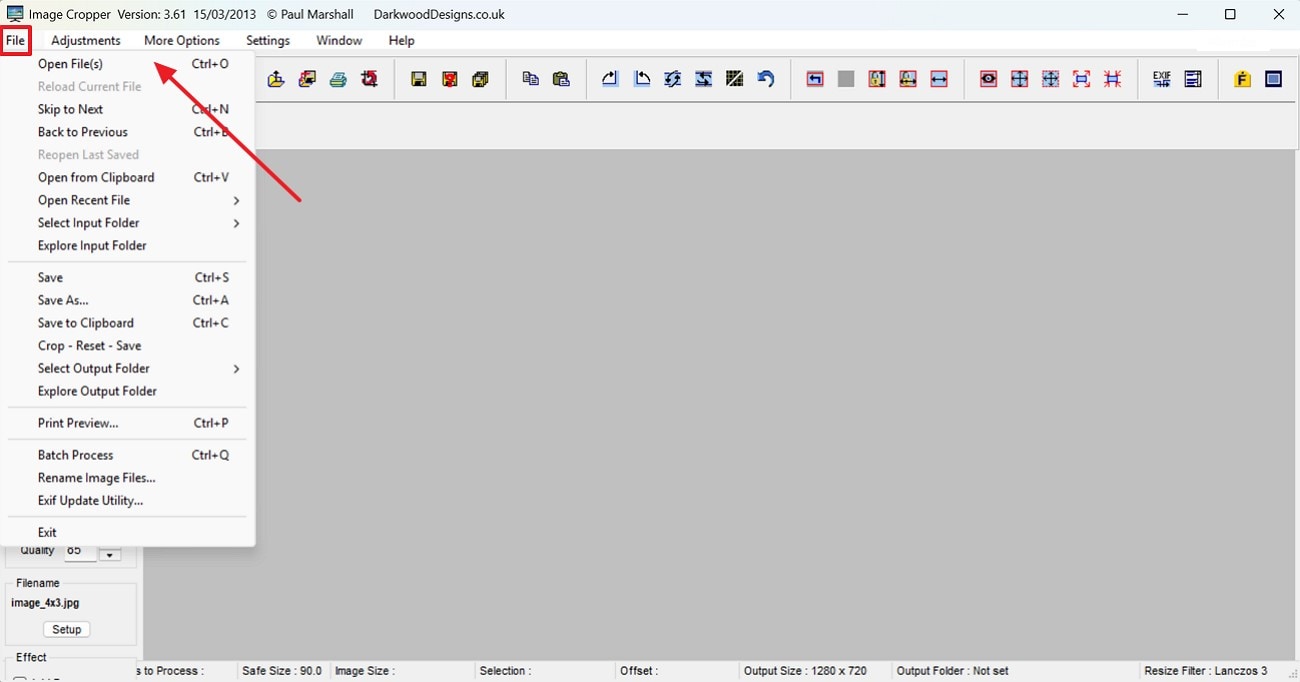
Detail Instructions to Adjust Image Sizes With Image Cropper :
Step 1. Click the “File” tab and choose the “Open File” option to import the target image.
Step 2. From the “Image Output” section, change the “Height and Width” accordingly and press the “Control + Shift” button to resize.
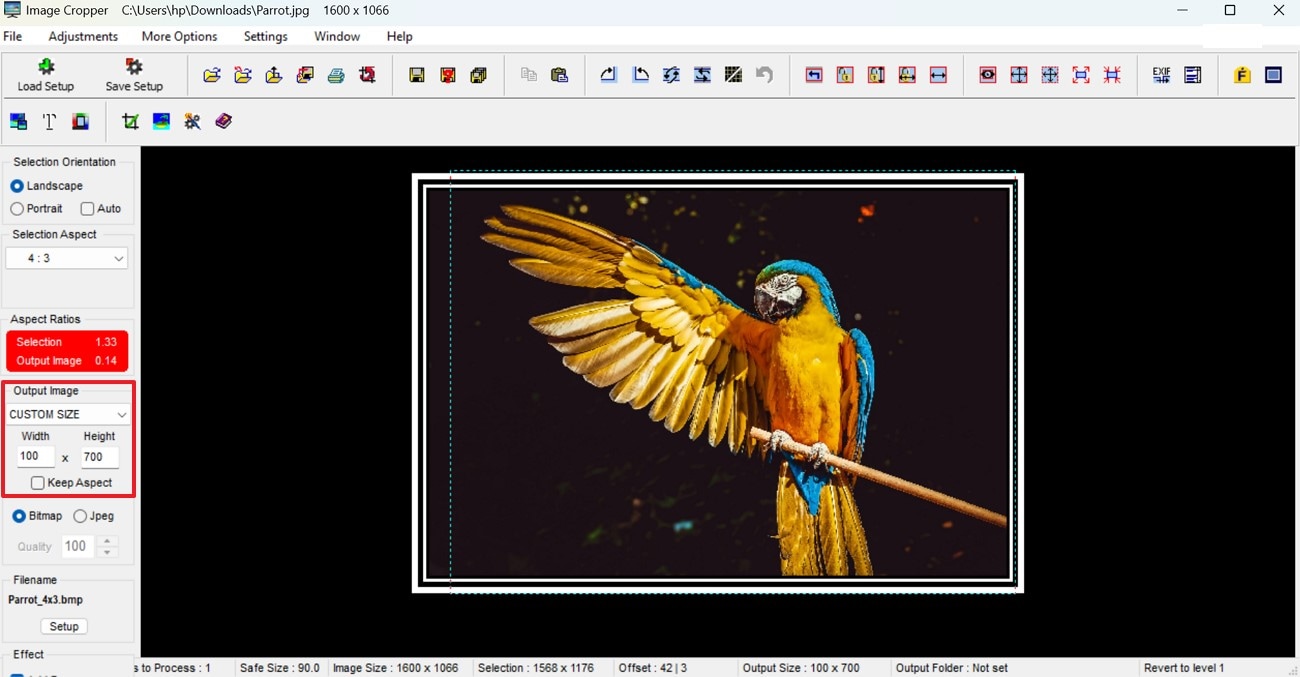
Step 3. Once you are satisfied, choose the “Download” icon to save the project.
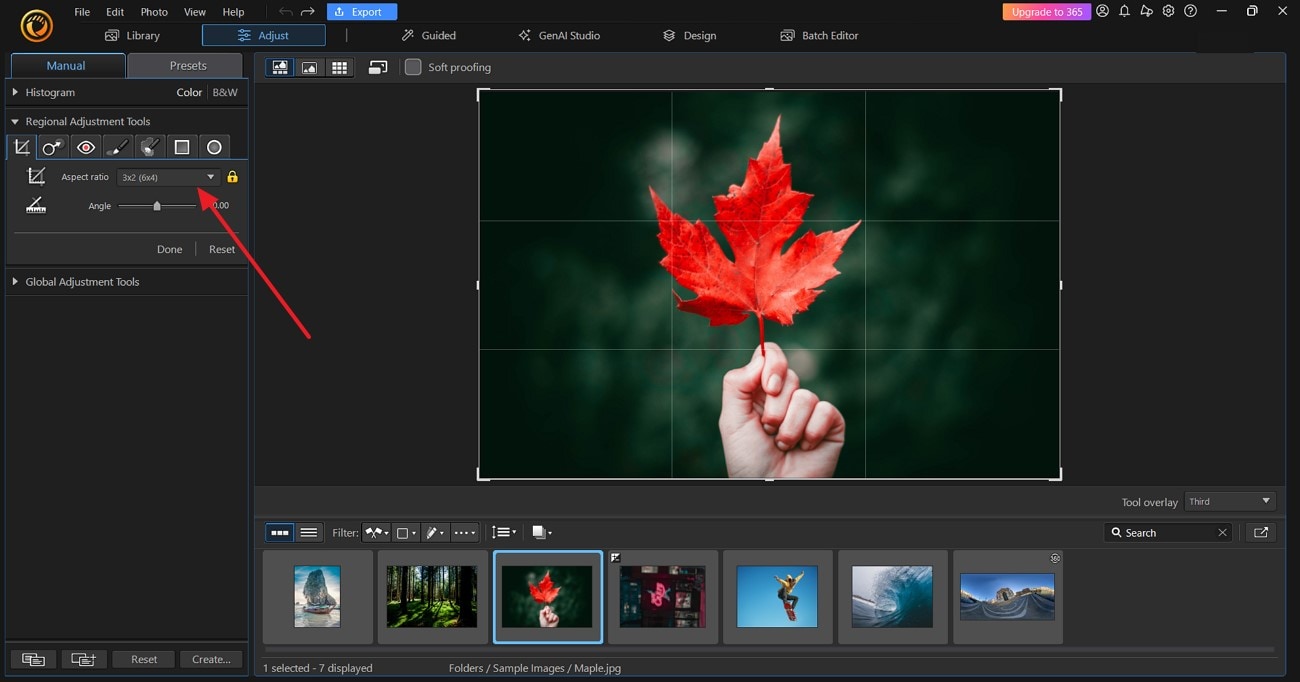
3. PhotoDirector 365
Do you want to know how to resize a photo on Windows 10 with another tool? PhotoDirector 365 is the preferred option, offering a variety of aspect ratios, including Portrait and Social Media. You can effortlessly upload the picture and choose your desired aspect ratio, and your photo is resized without losing quality. The lock icon enables you to preserve the image's dimensions while altering its size.

Key Features:
- 1. From the Adjust section, you can change the contrast and saturation of the image.
- 2. The color enhancement tool allows you to turn your images vibrant.
- 3. Users can straighten the rotated image using its Ruler tool.
Complete Steps to Use PhotoDirector 365 for Resizing Photos :
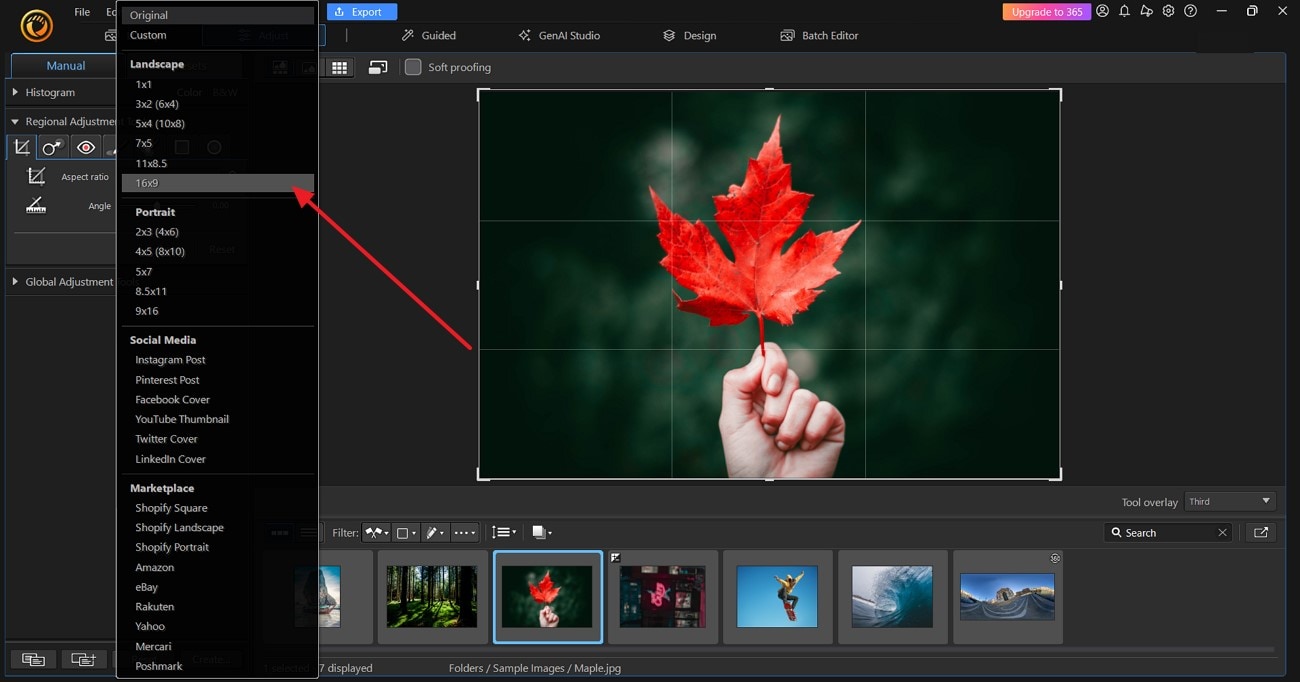
Step 1. Add the image, and from the left side of the screen, expand the "Aspect Ratio" to change the size.
Step 2. Upon doing so, choose the desired ratio accordingly from the extended list.
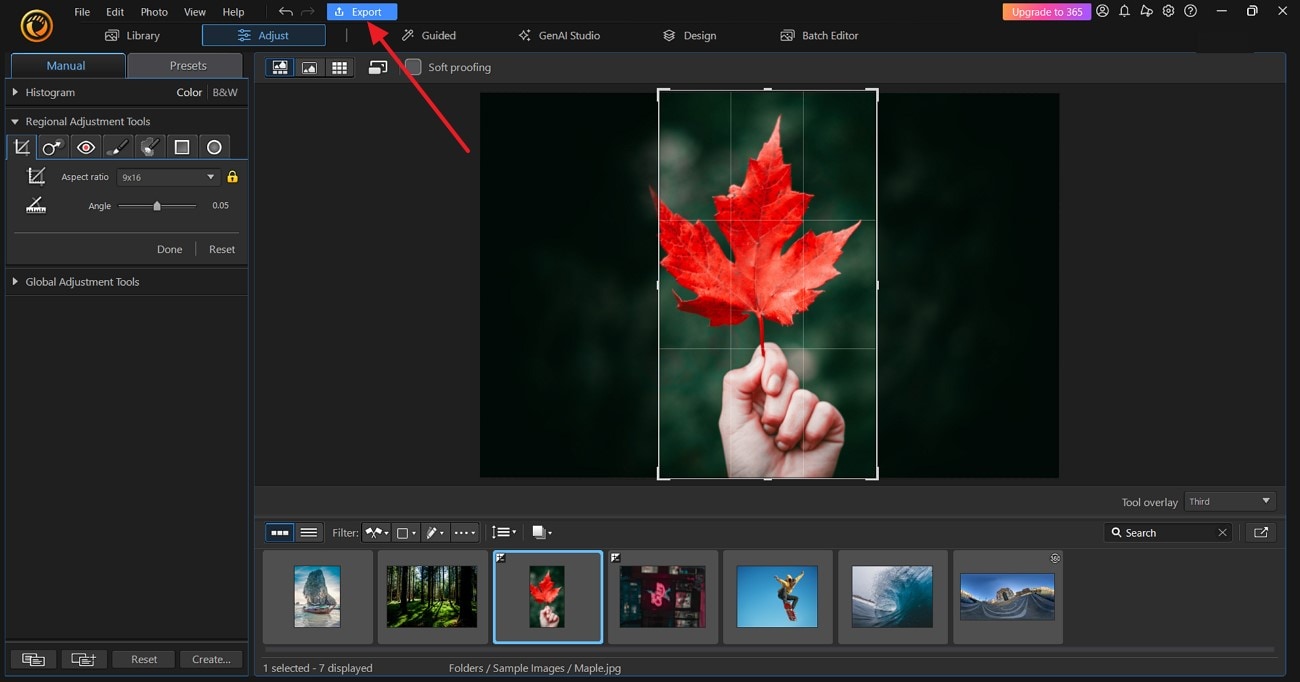
Step 3. Afterward, once the image is resized and you are pleased with it, hit the “Export” button to save it.
Conclusion
Resizing images on Windows does not have to be a complicated process. This article has provided you with 6 methods on how do you resize a photo in Windows 10. Whether you prefer built-in tools, online platforms, or desktop software, there is a method that fits every need and skill level. However, among them, UniConverter is one of the stand-outs, as it offers various other features after resizing the picture.
Batch Image Editor
FAQs
1. What’s the difference between resizing and cropping?
Resizing modifies the size of the whole image, making it bigger or smaller while preserving all elements of the picture. Cropping removes part of the image to emphasize a particular area or eliminate undesired sections.
2. Is there a way to resize multiple images at once on Windows?
Yes, there are several tools that let you batch-resize photos, such as UniConverter. So, if you wonder how do I resize photos in Windows 10, know that UniConverter is compatible with Windows and Mac.
3. Can I resize an image without distorting it?
Definitely, just make sure to maintain the aspect ratio while resizing to keep the proportion correct. The majority of tools provide an option to maintain the aspect ratio to avoid undesirable stretching or compression, such as UniConverter.
4. What’s the best size for social media images?
The optimal dimensions vary by platform; for example, Instagram images work best at 1080x1080 pixels. However, with tools like UniConverter, you can upload the image, and it creates the image into various different platform size options.

