
Did you know that a staggeringly large percentage of users accidentally record unwanted audio during video production without even noticing? Sometimes, it’s in the form of low-frequency background noise. Sometimes, it's unexpected chatter that catches them off-guard. And sometimes, its ambient sound that makes separating voice from noise really difficult. All of these result in the form of poor audio quality that can quickly ruin an otherwise perfect video.
Fortunately, iMovie offers powerful yet straightforward tools to help you take control of your audio. In this guide, you’ll learn how to remove audio in iMovie, and explore effective techniques to remove audio from video on Mac, all tailored specifically for users looking for 2025 iMovie updates. Plus, we'll introduce an alternative method using UniConverter, which can handle even the toughest audio challenges.

In this article
Part 1: How to Remove Audio from Video in iMovie
While there are several methods to remove any sound from your videos while using iMovie on Mac, we will only be discussing the simplest and most effective ones below…
A. Delete Audio from Video on Mac in iMovie
The simplest method among them all is just deleting the audio from the video entirely. Of course it’s not an ideal solution. However, it works best in scenarios wherein you can compromise on the audio to get the video. Here's how to remove video sound in iMovie with this method.
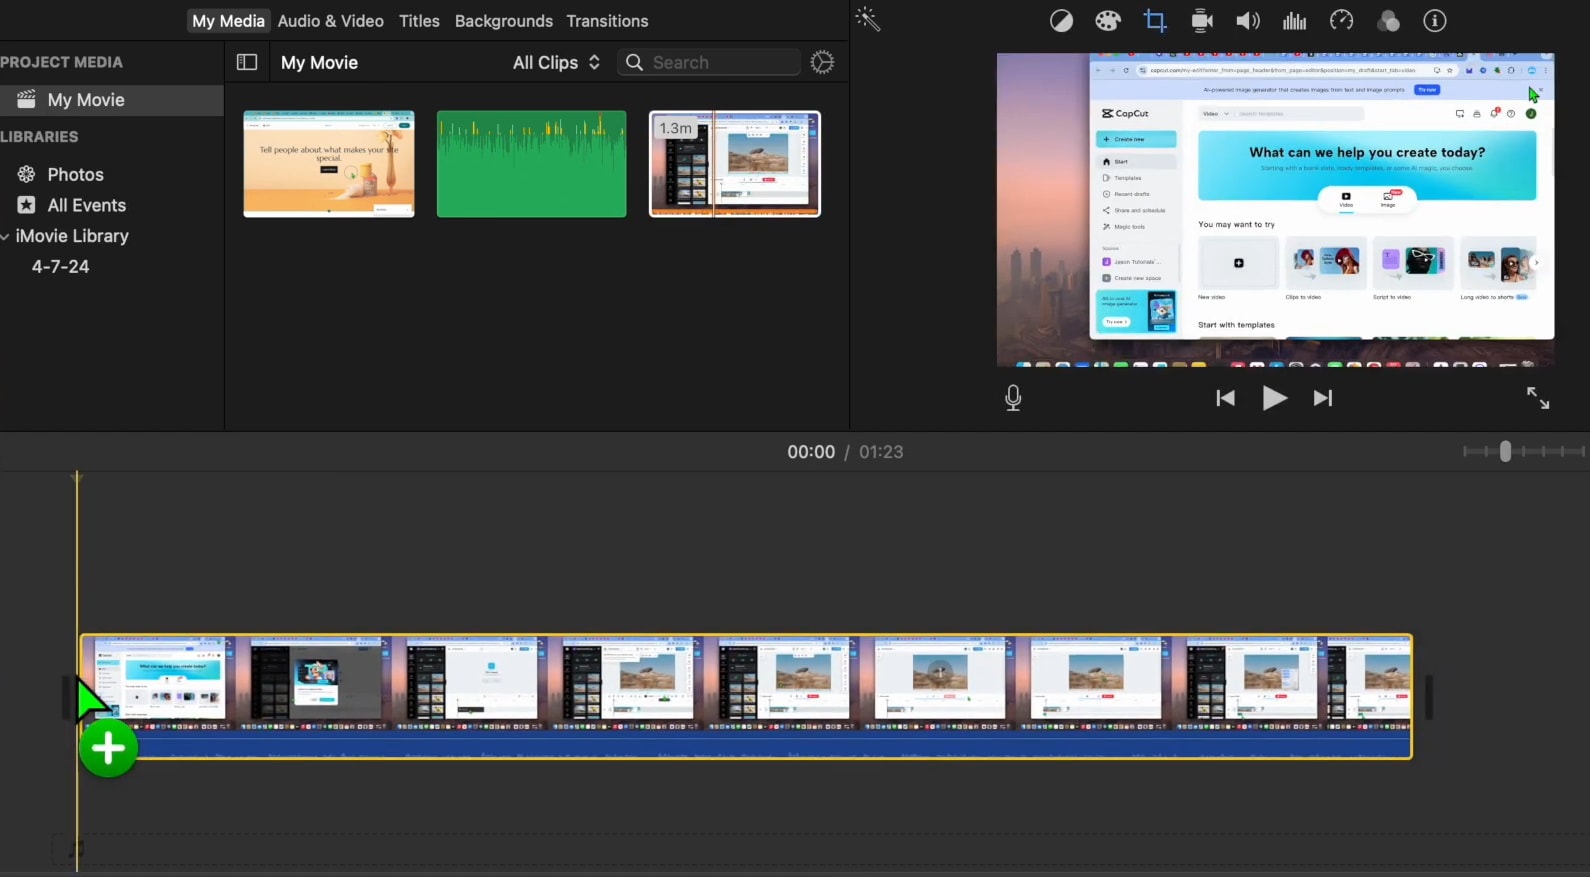
Step 1: Open Project Timeline
Launch iMovie on your Mac and open your project. As you can see, we’ve opened three projects in the following screenshot.
Step 2: Select the Clip
Next, Single click on the video clip, and then drag & drop it on the timelines as seen below.

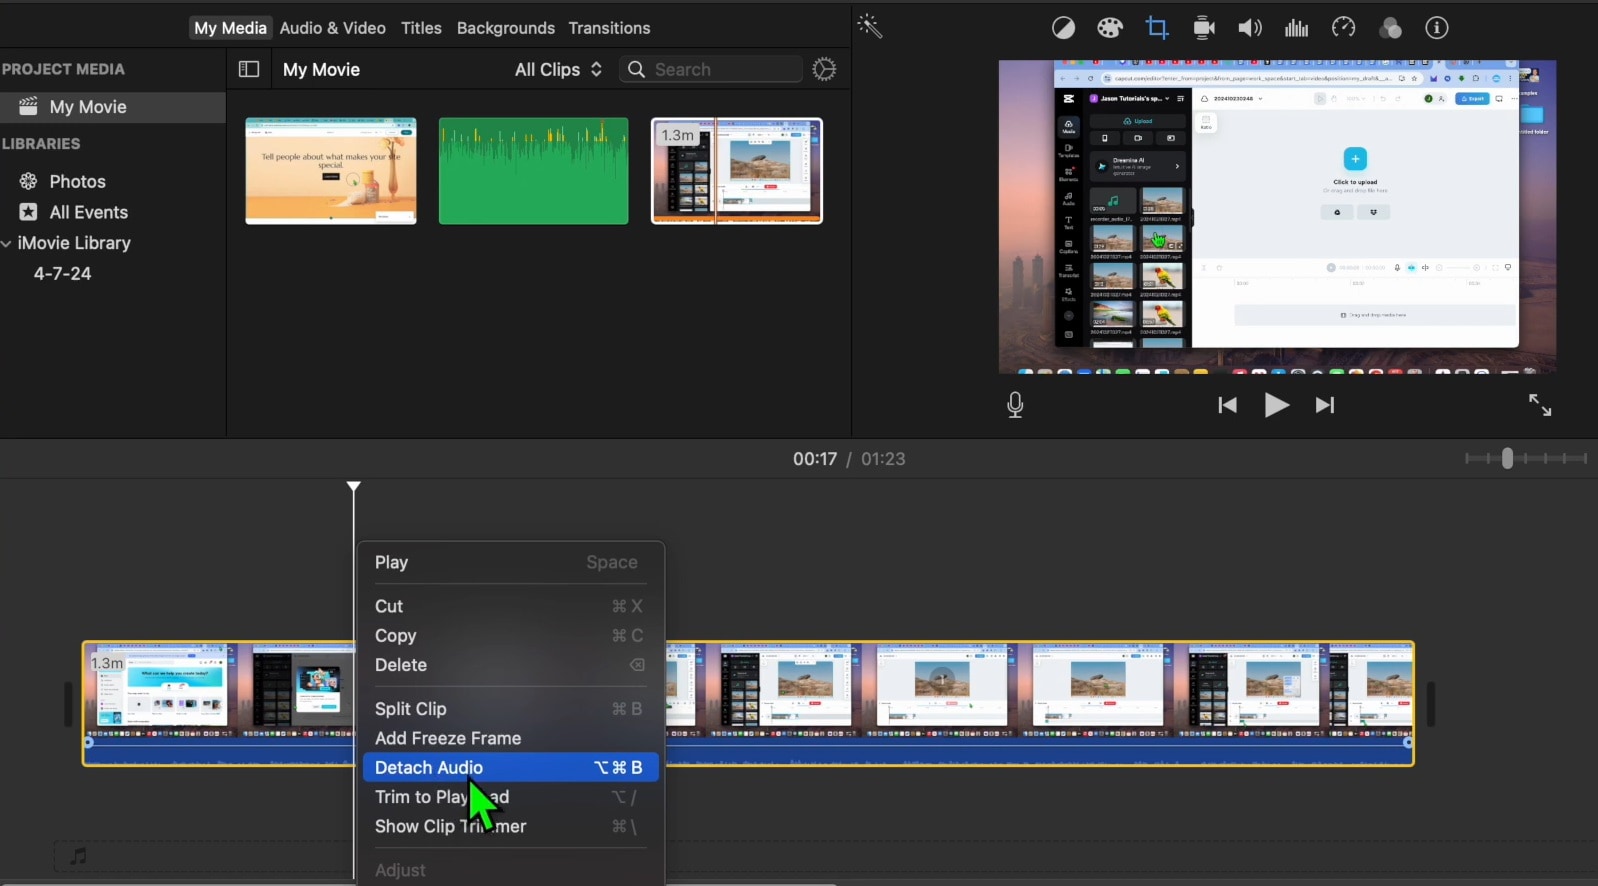
Step 3: Detach Audio
Right-click on the selected clip and choose "Detach Audio." Doing so will separate the audio from the video and display it as a separate green bar just below the clip.
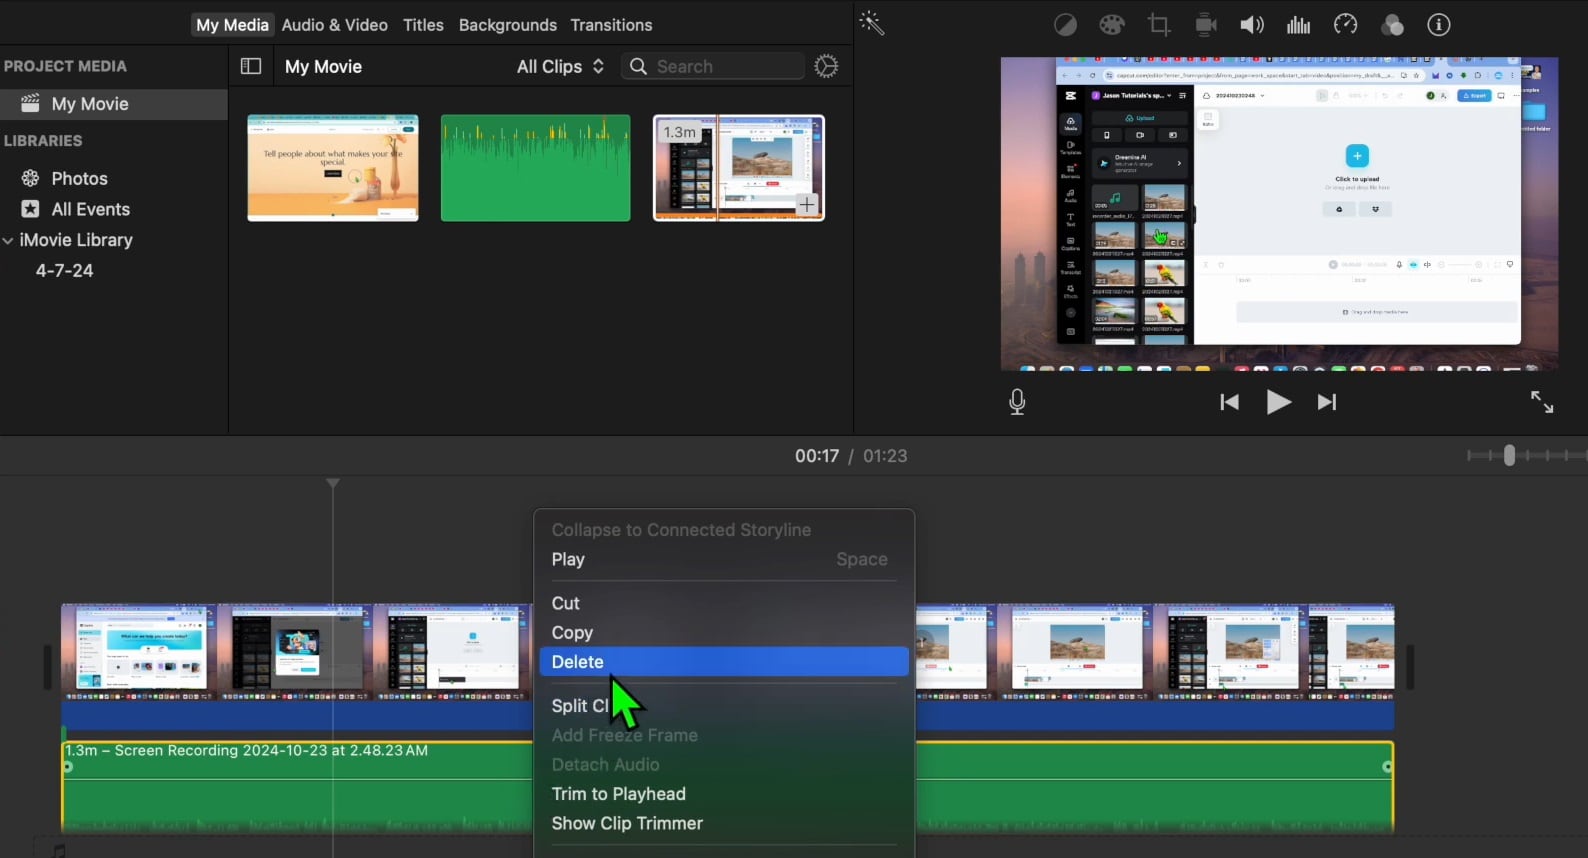
Step 4: Delete Audio
Finally, click on the detached audio clip to select it, and then right click to Delete and permanently remove it from your video.
B. How to Detach Audio from Video in iMovie for Selective Editing
In case you want more precise audio editing, then detaching audio for selective editing can be a good option. Below is a step guidance on how you can do that for more precise editing.
Step 1: Select the Clip
First of all, add the video clip to your iMovie main dashboard and then drag & drop it onto the timeline.
Step 2: Detach Audio
Right-click on the video file and then choose "Detach Audio"
Step 3. Edit Audio Separately
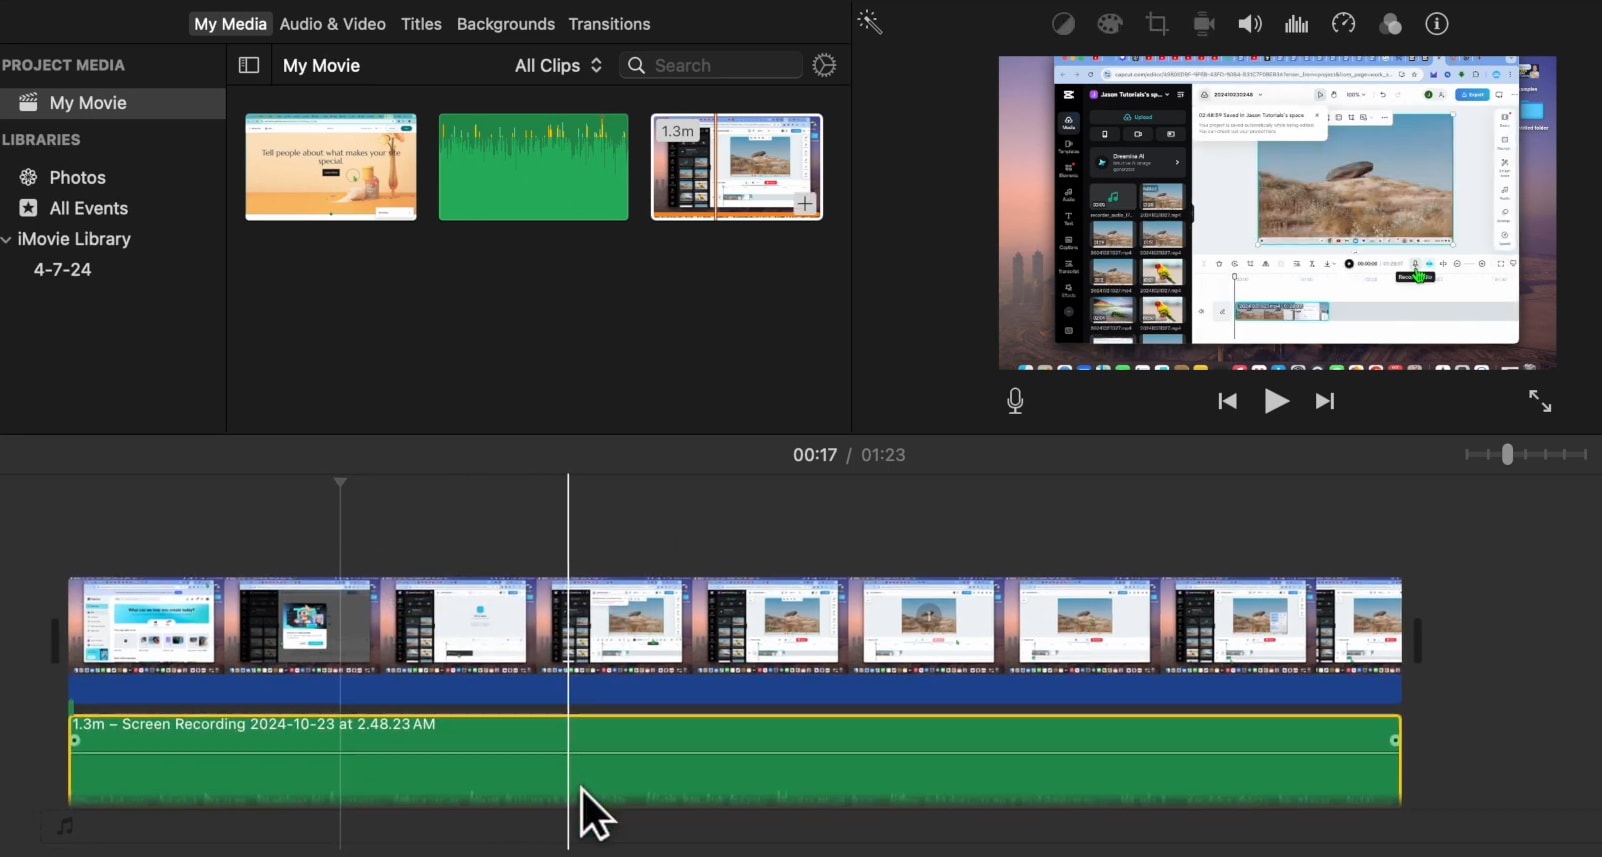
The audio will appear as a separate clip below the video. You can now move, trim, or apply effects independently. This also enables you to edit out background noise on iMovie.
Now that you know how to remove video sound in imovie let's move on to the next section…
Part 2: How to Edit Out Background Noise in iMovie
Background noise is often a big nuisance in outdoor video shoots. However, you can easily remove noticeable noise in iMovie using nothing but your Mac. Below are some methods explaining how to remove background noise on imovie. Let's get started…
A. Using iMovie's Built-in Noise Reducer
While it's not as effective as other methods in this write-up, iMovie provides a hassle-free way to remove any background chatter. Follow the brief steps below to achieve a professional looking video with no background noise.
- Select the Clip: First of all, add the project to iMovie and then click on the audio clip in the timeline (just like we did in previous step guides).
- Open Audio Settings: Click the "Noise Reduction and Equalizer" button above the viewer. Check the screenshot below to find its location on the screen.

- Enable Noise Reduction: After this, check the "Reduce background noise" box.
- Adjust Reduction Level: Finally, use the slider to set the desired level of noise reduction.
B. Using Manual Noise Editing Methods
In case you don’t want to use iMovie’s pre-built noise reduction features, there are some alternative noise editing methods.
For finer control you can try out the following two tricks to see which one best suits your project:
- Split the Audio Clip: Place the playhead at the point where the unwanted noise begins, then press ⌘+B to split the clip. Repeat at the end of the noise segment.
- Adjust Volume: Lower the volume of the noisy segment or apply fade-ins and fade-outs to smoothen the transitions.
C. When to Use Third-Party Tools
iMovie's noise reduction may not suffice for:
- Persistent hums or static noises every now and then
- Overlapping voices that make everything hard to understand
- Low-frequency rumbles that are noticeable only in post-production
In all such cases, consider using a specialized audio editing software for advanced noise reduction. We will introduce one such professional-grade software in the following section.
Part 3: Alternative Method to Remove Audio from Video on Mac
While iMovie offers essential audio editing tools, Wondershare UniConverter provides a comprehensive video editor for Mac users seeking advanced features to manage audio in their videos.
The reason UniConverter stands heads and shoulders above the other third-party tools for Mac is because of its highly innovative user-interface and with its intuitive interface and AI-powered functionalities.
Two of these are particularly notable as they are very helpful in removing audio from videos. We will be discussing these in the following paragraphs…

Best Audio Extractor for Mac
1. Remove Sound from Video Mac with Video Editor
UniConverter’s Video Editor allows for seamless audio removal. You can mute, delete, or replace the audio track with just a few clicks. This tool is ideal for personal projects, vlogs, tutorials, and any content you own because it offers speed as well as precision.
Follow the steps below to do just that:
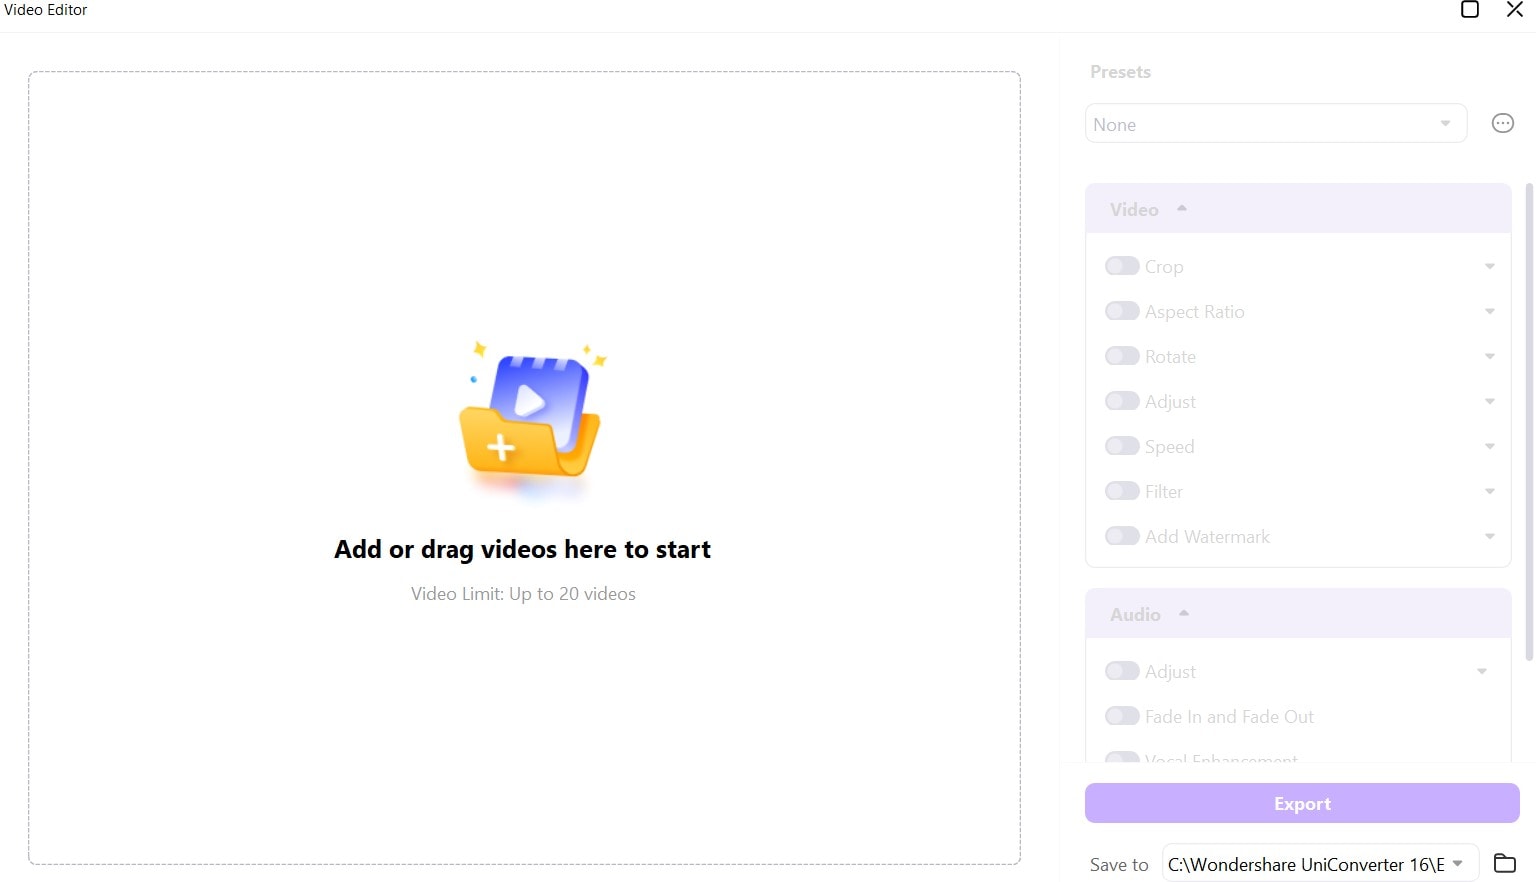
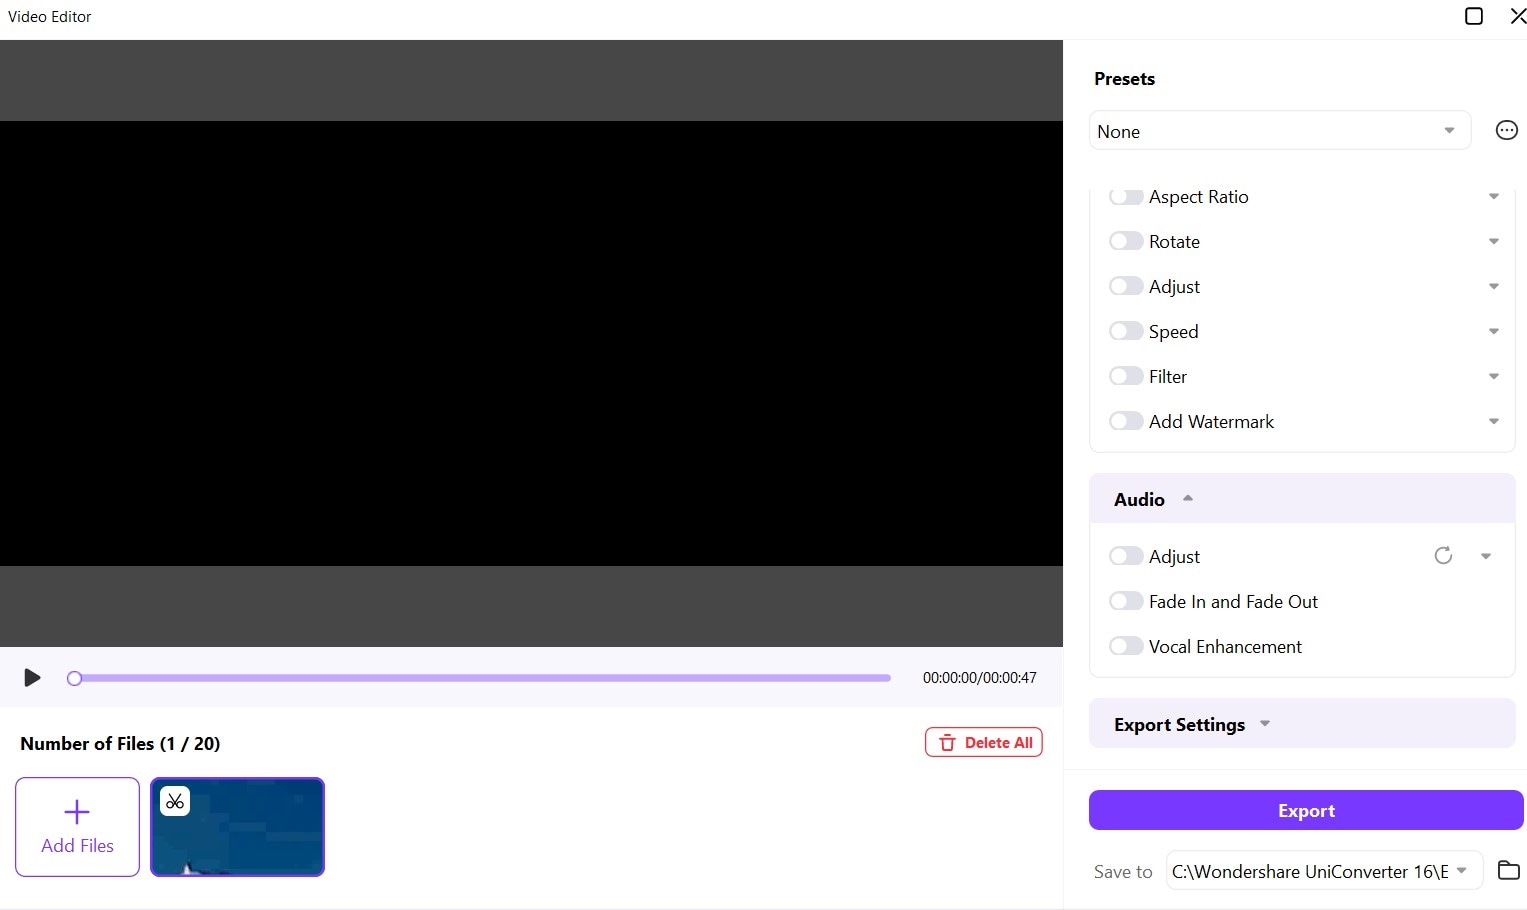
Step 1. Launch UniConverter and go to Video Editor at the bottom left corner of the screen as seen in the image below.

Step 2. Add or drag your video on the Video Editor.
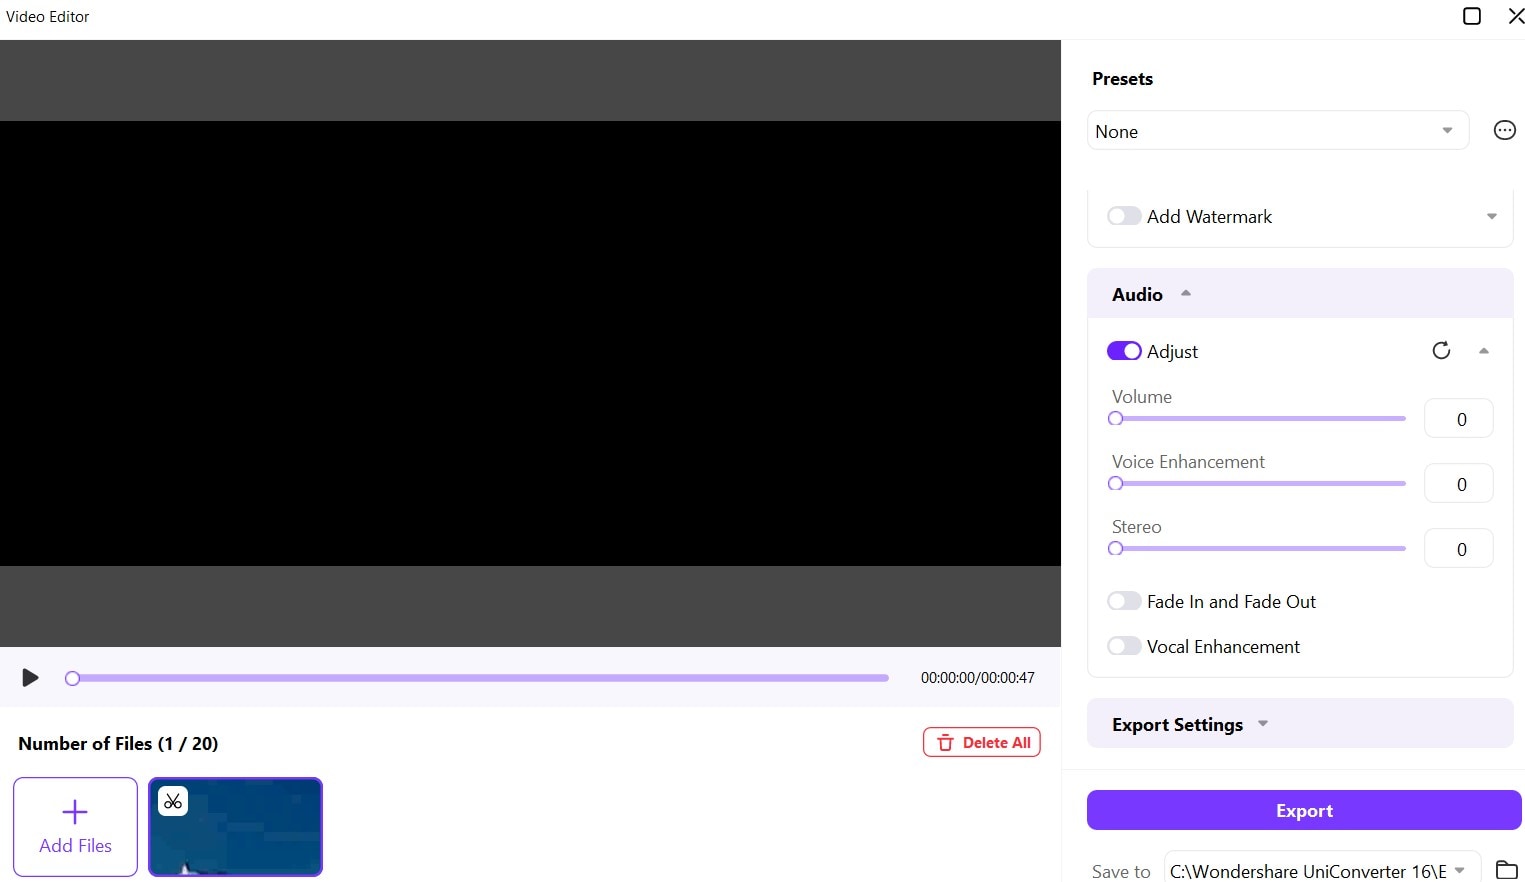
Step 3. Go to Audio Settings on the right hand side as seen in the screenshot below.
Step 4. Finally, click on Adjust and then move the slider to zero to mute your audio.
2. Remove Background Noise on Mac with Noise Remover
In addition to audio removal, UniConverter includes a sophisticated Noise Remover tool that uses AI to eliminate unwanted background sounds. No matter the disruptive environmental noise (consistent hums, static, wind noise, birds chirping etc), the Noise Remover efficiently cleans up the audio track. As a result, you can get crystal clear and professional-grade sound with just a single click of the button.
Best Noise Remover for Mac
This feature is particularly helpful when:
- You want to record in uncontrolled environments: Ideal for vloggers, podcasters, and content creators who might record in noisy locations.
- You want to improve voice clarity: Helps isolate individual voices from ambient noises to enhance dialogue and narration quality.
- You want to fix any problematic audio: Provides a quick fix for audio files with inconsistent background noise.
Follow the step guidance below to use noise remover in UniConverter to remove unwanted sounds from audio or video.
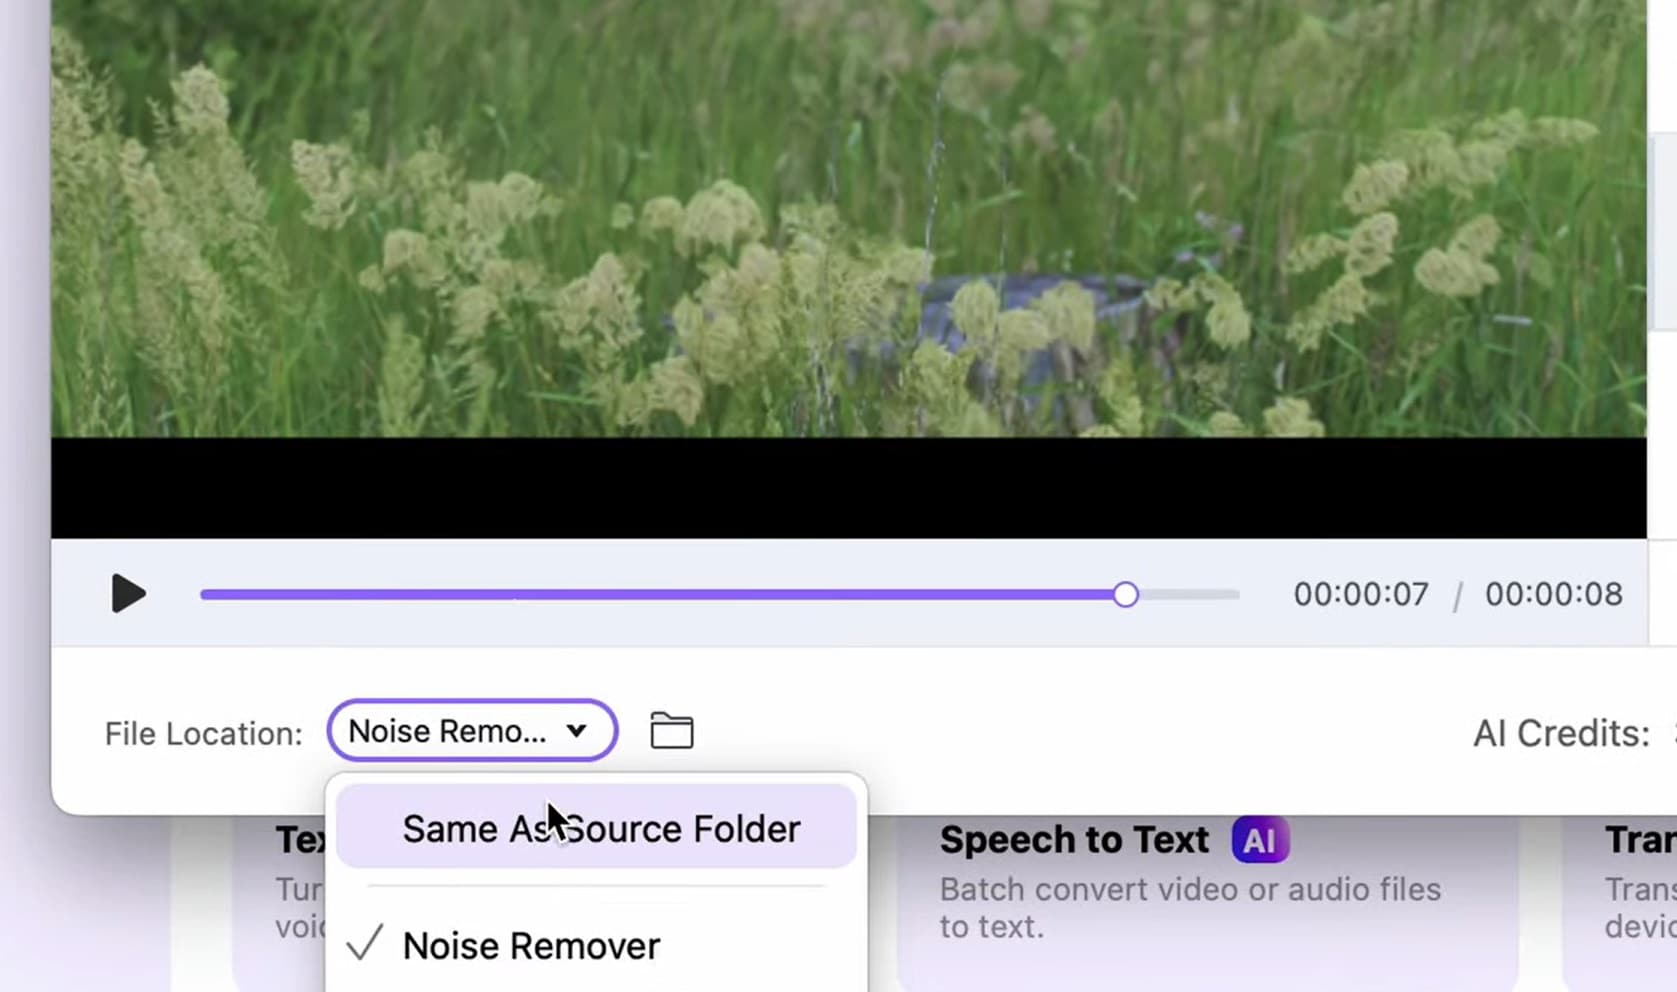
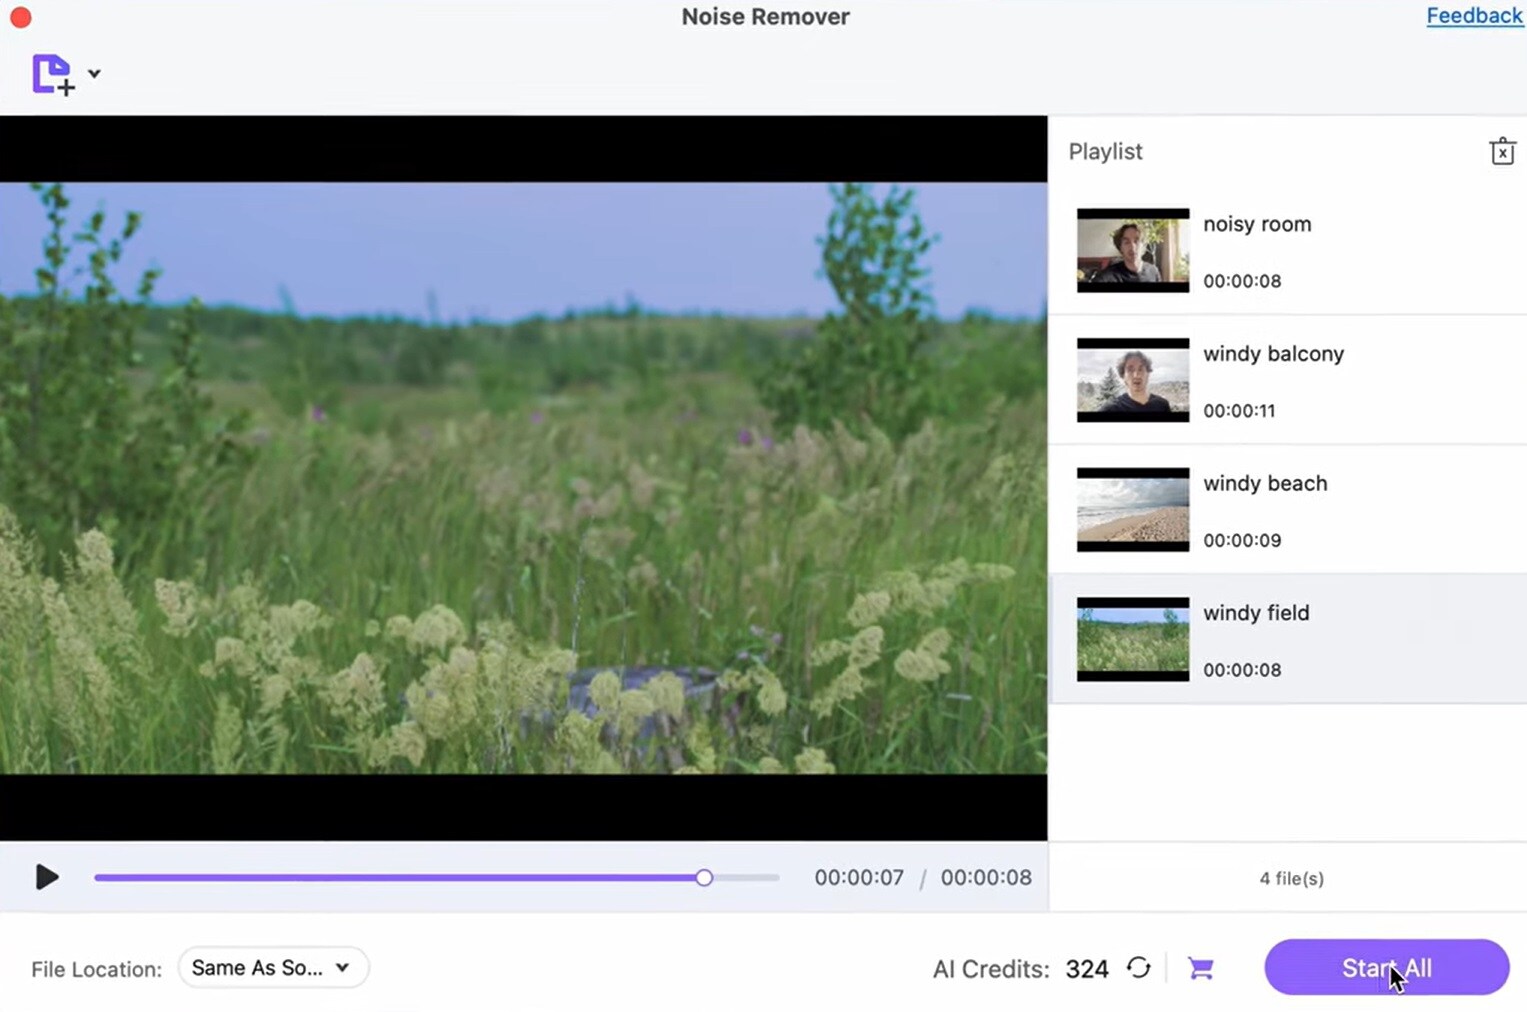
Step 1. Download Download and Launch UniConverter. You can find the Noise Remover tool under the Audio tab as seen in the screenshot below. Next, click on it.
Step 2. Add or drop the Audio/Video file onto the UniConverter interface.
Step 3. Select an output folder as seen below.
Step 4. Finally, click on Select All if you are removing noise from multiple files simultaneously. OR select just one and remove background noise from it.
FAQs about Removing Sound from Video on Mac
1. How do I remove the audio from a video on my Mac
Use iMovie to either detach and delete the audio track or simply mute it within the app.
To do this simply right-click the clip, select "Detach Audio," and delete the audio track.
For advanced options, Wondershare UniConverter has both Video Editor and Vocal Remover tools to get this job done without any hassle.
2. How do you extract audio from a video on a Mac?
You can do this with the iMovie software that comes on a Mac. In iMovie, right-click to detach the audio using the instructions we provided earlier. Afterwards, you can export the separated audio track. This method allows you to extract only the audio file while keeping the video intact.
3. Can you remove sound from Apple video?
Yes, absolutely. iMovie allows you to mute or completely remove audio from any video file.
You can also adjust the volume to zero if you prefer to keep the audio track muted rather than deleted.
4. Can you remove audio from a video in iMovie?
Absolutely, just detach and delete the audio track or mute it directly within the timeline.
However, for any videos that you don't own, UniConverter’s Vocal Remover offers a quick and efficient solution.
5. How to send a video muted?
Mute or remove the audio in iMovie, export the edited video, and share the muted version using social media or phone sharing options. With this method you can ensure that the recipient receives a clean, noise-free video without any audio tracks.
Conclusion
All things considered, now that we’re in 2025, removing audio and background noise from videos on Mac has never been easier. With iMovie’s built-in features, you can effortlessly mute, delete, or edit audio tracks to achieve pristine video quality. As a trusted Apple product, iMovie shines above the rest when facing issues like isolating voices, eliminating unwanted sounds, and delivering a highly- professional audio output.
However, if you demand the highest possible quality and refuse to compromise on audio precision, Wondershare’s UniConverter can be an exceptional addition to your video editing toolkit. With industry-leading features like AI-powered vocal removal for third-party videos, audio editing, and precise noise reduction, UniConverter makes sound removal even more simpler for beginners.
So, are you ready to improve your videos with crystal-clear audio? Give UniConverter a shot today and experience the difference a cleaner sound can make!

