


If you’re wondering how to flip a layer in photoshop, you’ve stumbled on the right blog.
Flipping your photos is a very effective technique to improve their composition. So, to help you out, we’ve created this post explaining the best Photoshop layer flip that you can use to flip photos without requiring advanced knowledge.
You’ll also learn advanced tips for and common mistakes to avoid when using Photoshop layer flip. Let’s dive in!
In this article
Part 1: What is Layer Flipping in Photoshop?
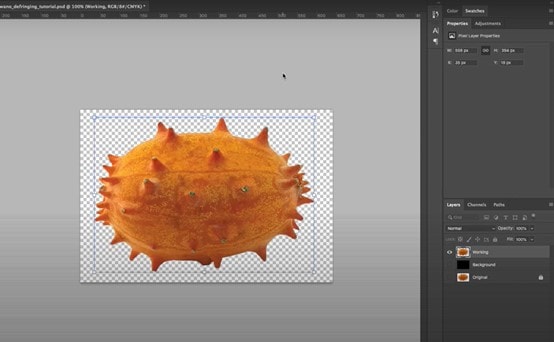
Photoshop layer flipping is a technique that enables you to create a mirrored version of your photos or designs horizontally or vertically.
This process can be applied to individual layers, selected areas, or entire images, allowing you to transform visuals quickly and creatively.
Use Cases of Flipping Layers in Photoshop
1. Creating Symmetrical Designs:
Flipping is especially useful in projects that require symmetry, such as logos, mandalas, or product mockups. By duplicating and flipping one half of a design, you can create perfectly balanced visuals without redrawing the other half.
2. Correcting Image Orientation
Sometimes images are captured in the wrong direction—like a scanned photo or a selfie where text appears backward. Flipping the layer helps fix this.
3. Artistic Effects and Compositions
Another reason you might need to flip layer in your photo or design is to add creative flair. For example, mirroring landscapes, duplicating portraits for surreal effects, or flipping background elements for balance in composite images.
4. Mockups and Product Previews
If you’re a designer, you may need to flip layers in your photos to see how designs look from different angles, especially when showcasing products from both sides.
5. Character or Object Animation
When working on sprite sheets or frame-by-frame animation, flipping helps quickly create alternative poses or directions without redrawing the entire asset.
Part 2: How to Flip a Layer in Photoshop
Now that you understand what layer flipping is and its use cases, let’s explore the methods to flip layers in Photoshop efficiently.
Method 1: Flipping a Single Layer Horizontally or Vertically
If you’re looking to flip layers from your image’s centerline from top to bottom (horizontally) or left to right (vertically) on Photoshop, here is how to go about it.
Step 1
Open your “Project” in “Photoshop” and navigate to the layers panel by clicking the “Windows” button at the top bar and selecting “Layers” from the drop-down menu.
Step 2
Choose the layer you want to flip from the layer panel
Step 3
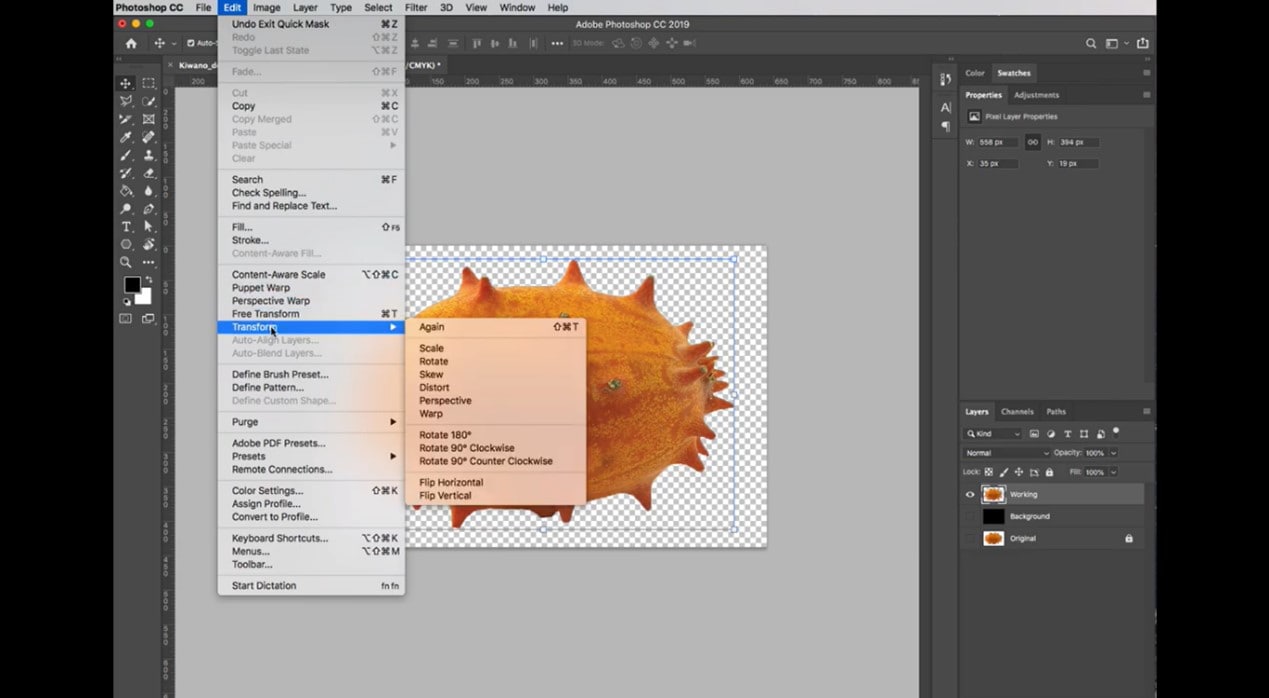
Navigate to the menu ber and click on “Edit”, then choose “Transform” from the drop-down menu.
- Select “Flip Horizontal” or “Flip Vertical” to flip the image along the horizontal or vertical axis.
Method 2: Mirror Layer in Photoshop Using Free Transform Tool
The free transform tool in Photoshop gives you the flexibility to transform layers in different ways like scaling, rotating, skewing, distorting, and warping. You can use it to flip layers in different angles, giving you control over every aspect of the layer flipping. See the steps below to learn how the free transform tool works;
Step 1
Open “Photoshop” software and upload the image or design that you want to flip.
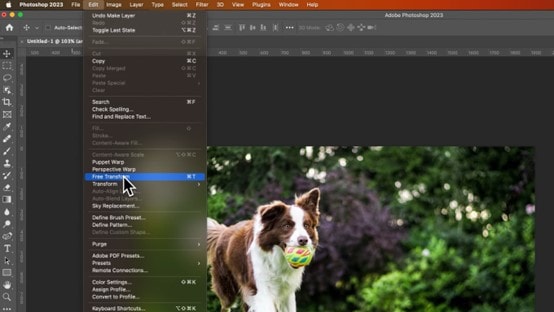
Step 2
Press “CTRL + T” on your keyboard or navigate to “Edit” > “Free Transform” to access the free transform tool.
Step 3
Once the “Free Transform” tool is activated, change the angle of the image/design to flip it. Choose “180 degree” to flip vertically or “90 degree” to flip horizontally.”
Part 3: Advanced Tips and Considerations for Using Photoshop Layer Flips
When flipping layers in Photoshop, it’s important to go beyond the basics. Here are several advanced tips and considerations that can help you maintain quality and control throughout your workflow:
- Smart Objects:
Convert layers to Smart Objects before flipping. This preserves the original image quality and allows non-destructive editing, especially helpful when you need to flip back or apply additional transformations later.
- Layer Masks:
Be aware that flipping a layer also flips its mask. This can unintentionally reverse mask effects. To avoid this, unlink the mask from the layer before flipping, so only the image layer is affected.
- Text Layers:
Flipping text can result in mirrored or unreadable typography. Instead of flipping directly, consider adjusting text alignment or manually recreating the text after transformation. If you must flip the text as a graphic, rasterize it first — but keep a backup of the editable text.
- Adjustment Layers:
Adjustment layers themselves don't need to be flipped, but if they're clipped to a flipped layer, you may notice unexpected visual changes. Always review your adjustments post-flip to ensure consistency.
- Linked Layers:
If you’re working with linked layers (especially in complex compositions), flipping one can affect the overall design unintentionally. Temporarily unlink layers you don’t want to transform, or flip within isolated groups.
- Flipping in 3D or Perspective Contexts:
In compositions involving 3D elements or perspective overlays, flipping a layer might disrupt visual coherence. Consider duplicating and re-mapping the flipped version into the correct depth or plane.
- Using Guides and Grids:
Use Photoshop’s guides and grid system to align flipped layers precisely. This is especially useful when flipping symmetrical elements or preparing assets for print and web interfaces.
Bonus: How to Batch Flip Photos Without Losing Quality
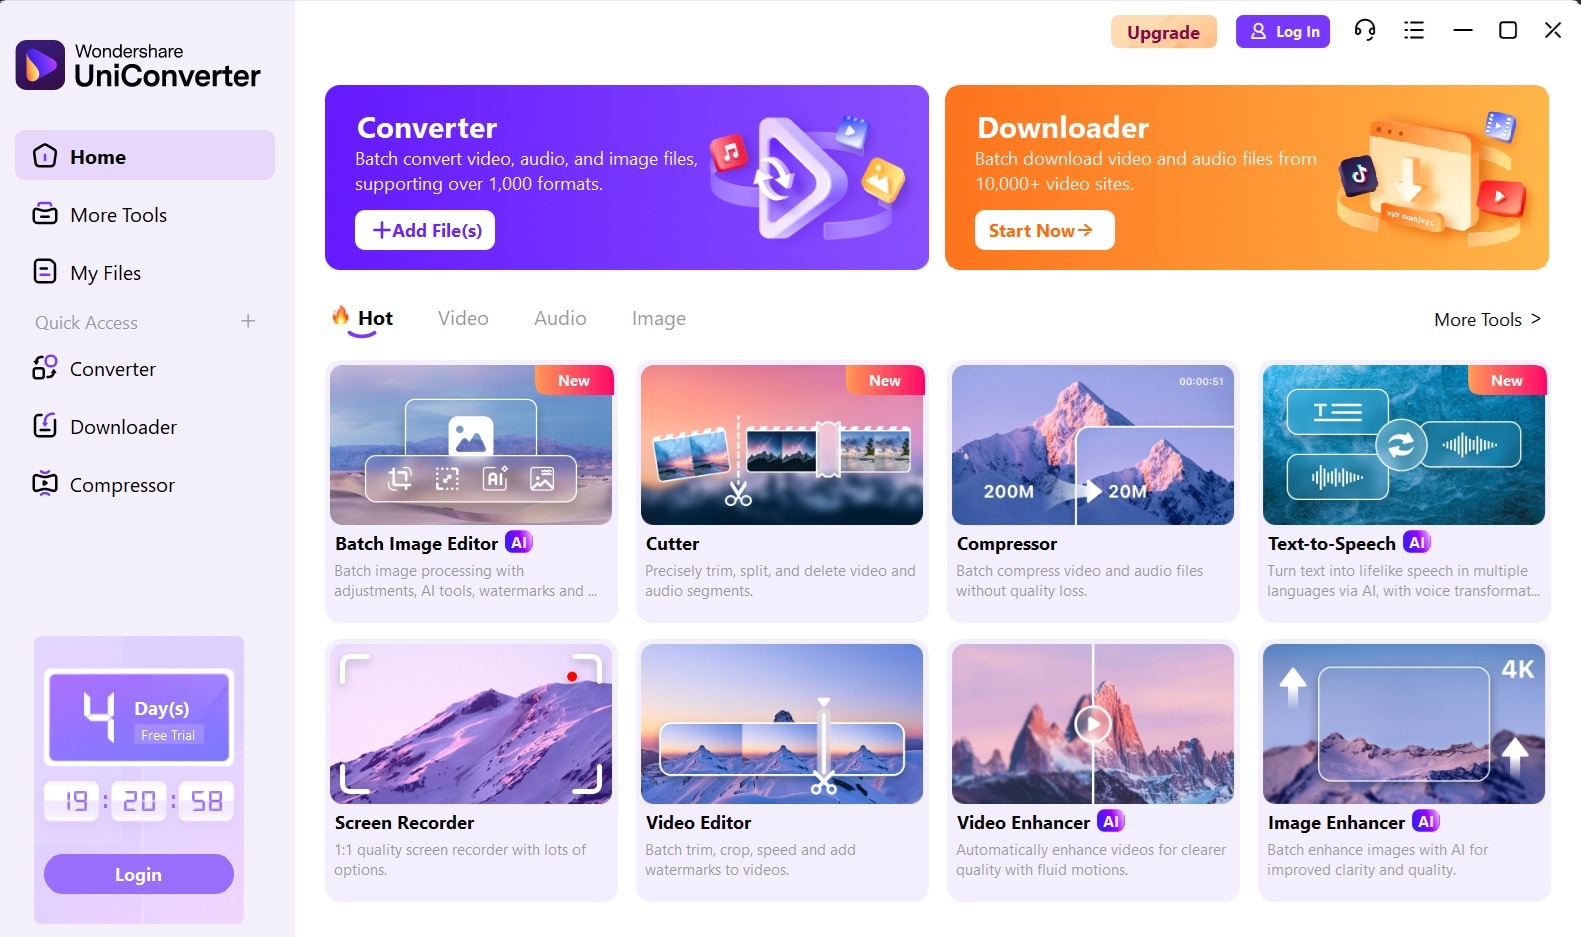
While Photoshop’s layer flipping features are very effective, the software might not be a reliable option if you’re looking to flip layers in bulk photos. Wondershare Uniconverter is one of the most reliable batch editing tools that allows you to flip layers in photos without compromising quality.
With Uniconverter, you get access to a wide range of helpful features like image converter, image quality enhancer, background remover, screen recorder, video downloader, and lots more.
Also, it’s not limited to just batch converting images. You can also use it to batch convert your audio and video files to more than 1000+ formats within a few clicks.

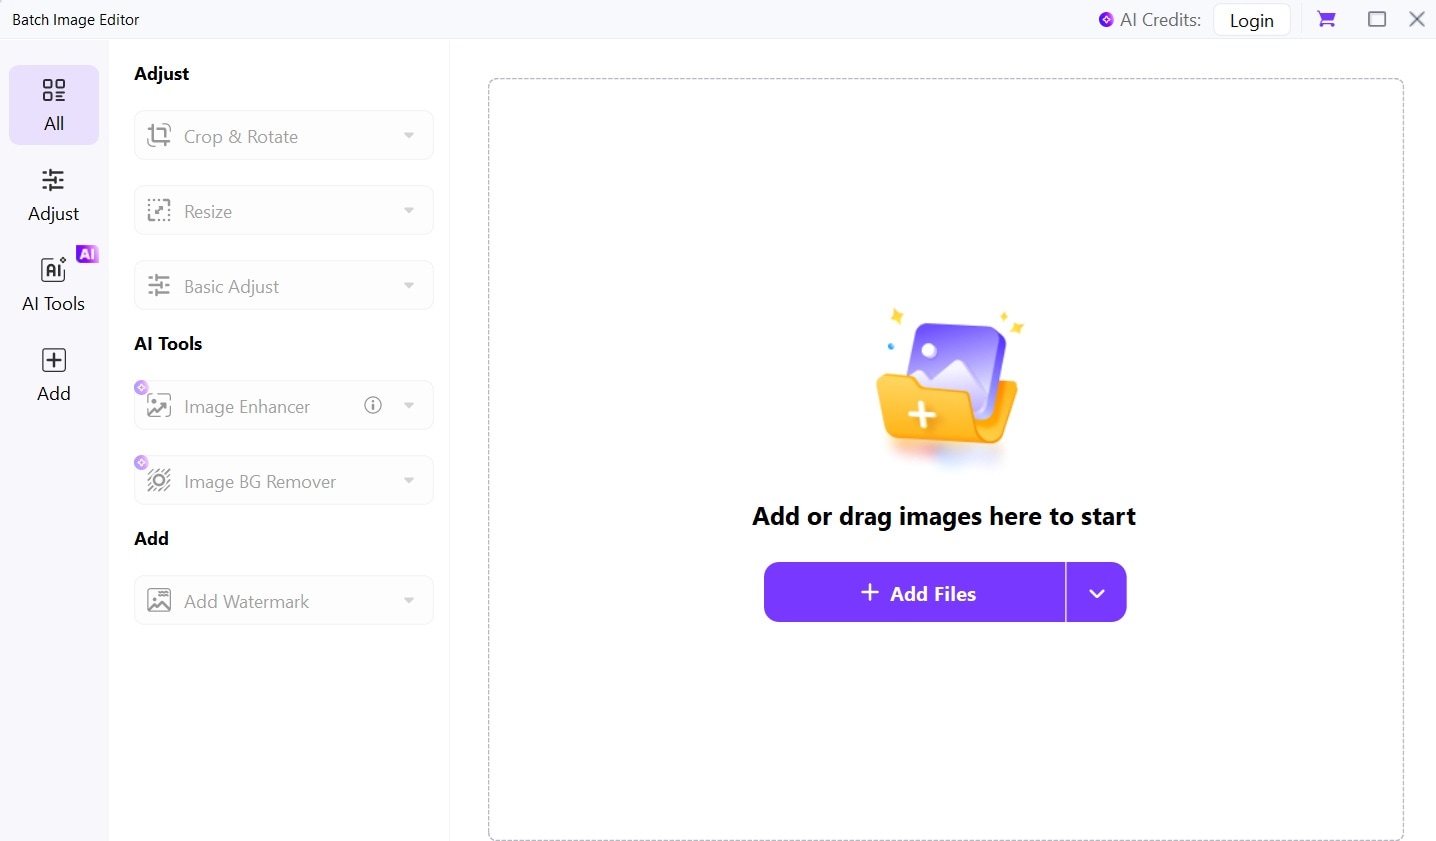
Batch Image Editor
Key Features
- Crop, resize, flip, and perform other basic adjustments on bulk photos in just a single click.
- Built-in video downloader allows you to save your favorite videos from over 1000+ video websites, including YouTube and TikTok.
- Easily compress large images without reducing quality using an advanced image enhancer.
- Specialized TikTok downloader allows you to save your favorite TikTok videos in the best quality.
Steps to Batch Flip Photos using Uniconverter
Step 1
Install the “Uniconverter” software on your computer and choose “Photo Editor” from the “Left interface.”
Step 2
Click on “Add Files” and upload the images that you want to flip.
Step 3
Click on “Crop & Rotate” and select Flip icon, and then flip images verticaly or horizontally accordingly.
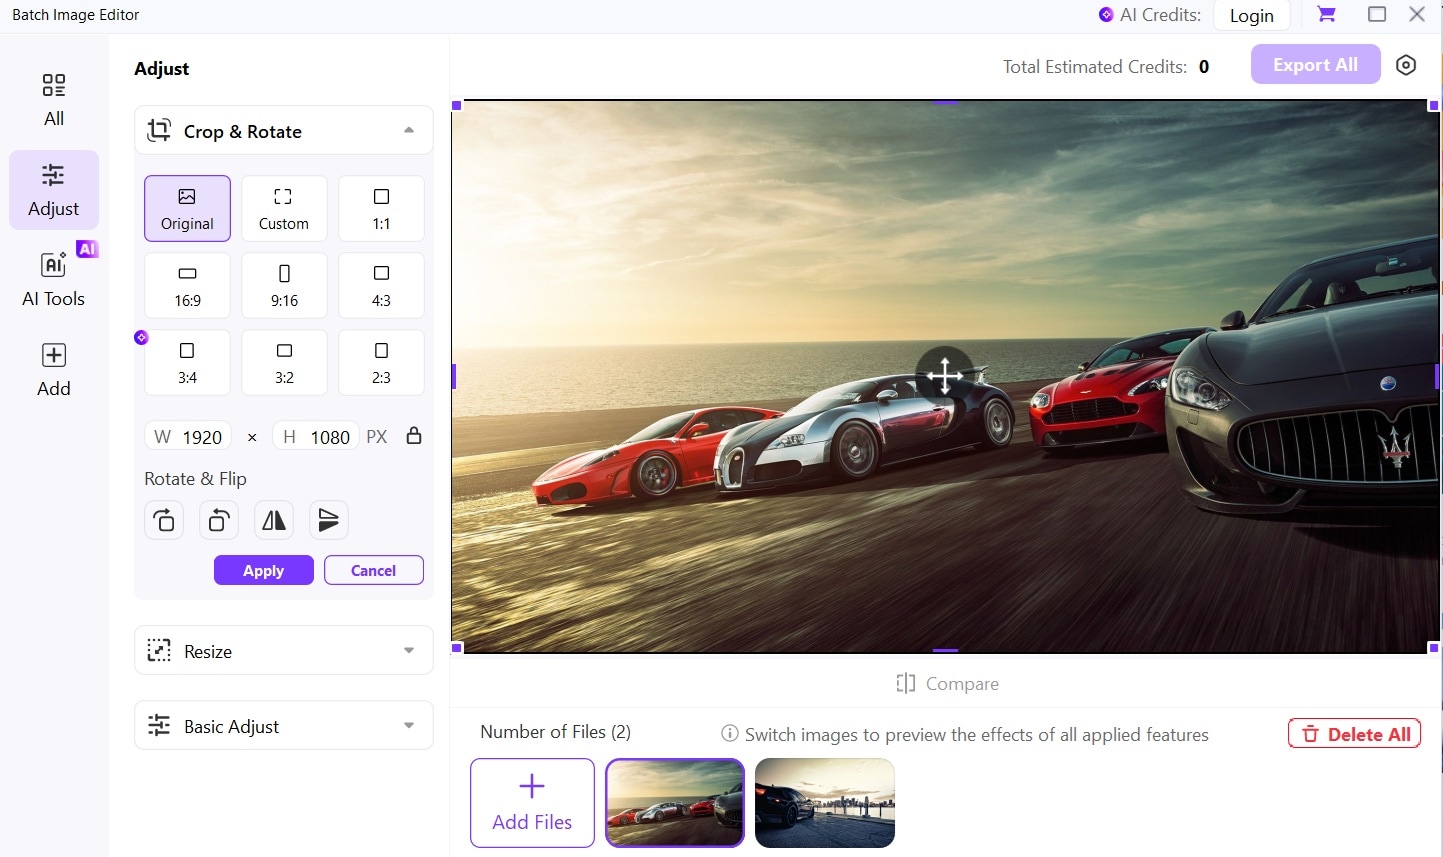
- You can also adjust other aspects of the images like their brightness, contrast, and saturation.
Part 5: Common Mistakes to Avoid When Flipping/Mirroring Layer in Photoshop
While flipping layers in Photoshop might seem very easy, here are some common mistakes to watch out for and how to avoid them:
- Flipping the Entire Canvas by Mistake
It’s easy to accidentally flip the entire canvas instead of just a single layer. Make sure you’ve selected the intended layer in the Layers panel.
- Locked Layers
Photoshop won’t allow you to transform a locked layer. If you’re unable to flip a layer, check whether it’s locked. Unlock it by clicking the padlock icon in the Layers panel before proceeding.
- Unlinked Layer Masks
If you flip a layer without unlinking its mask, the mask will flip too — sometimes creating unexpected results. Always check the link icon between the layer and its mask, and unlink them if you want only the image to flip.
- Flattened or Merged Layers
Avoid flattening or merging layers too early. Doing so limits your ability to make non-destructive edits. Keep your layers separate until your design is finalized.
- Not Checking for Symmetry Issues
When flipping elements like faces, logos, or text, small asymmetries can become visually obvious. Always review flipped content at 100% zoom and make manual adjustments if needed.
- Forgetting to Update Linked or Smart Layers
If you're using Smart Objects or linked files, remember that changes made to one version may not reflect in the flipped duplicate unless updated intentionally.
Conclusion
Photoshop layer flip is simple. Whether you’re using the transform tool or the second method recommended in the tool, our ultimate guide to flip layers in Photoshop explains how to go about it. For batch flips, we recommend using the Wondershare Uniconverter software, as it allows you to save time and execute the operation efficiently.

