


Sometimes, a photo delivers a beautiful story, but it gets lost in the noise of everything around it. In this situation, cropping becomes your solution as it draws attention to the most important part and removes the clutter that doesn’t belong. Overall, it's the simplest editing move that can entirely transform the way people see your picture. Now, you might be asking yourself, how can I crop a photo professionally?
The best part is that you don't need to be a technician because most smartphones, computers, and online tools make cropping incredibly easy. The following article rounds up some of the best tools and apps to help you crop like a pro. Plus, how to crop a photo is answered through detailed tutorials of browser-based editors and friendly mobile apps.
In this article
Part 1. Why You Might Need to Crop a Photo and How It Improves the Image
When we take photos, we focus on capturing the moment, but what happens after can be as important. At its core, cropping an image is the process of trimming or resizing to improve its composition and remove distractions. “How do I crop a photo?” It's a common question that many beginners ask, and the answer often starts with its benefits and importance. Explore this section for different use cases and benefits of cropping:
Common Use Cases
- Social Media Post: You can adjust your images to fit Instagram or any other platform without awkward edges or cutoffs.
- Profile Pictures: This technique lets you zoom in on your face for a clear, centered, and professional-looking profile shot.
- Landscape Shots: It improves the framing and changes the focus for a wide view to spotlight a specific landmark or moment.
- Product Photography: With this approach, photographers can highlight the item by cropping out extra space or unnecessary props.
Benefits of Cropping
- Improves Composition: When you crop, it aligns your subject with symmetry and other composition techniques.
- Eradicates Clutter: The cropping method removes distracting elements that take away your photo’s message or emotions.
- Increases Visual Impact: A tight or focused image often displays a more professional and powerful impact on viewers.
- Draws Direct Attention: It directs the viewer’s eye to the main subject by eliminating the background noises and unnecessary elements.
Part 2. How to Crop Photos Instantly on Windows/Mac?
Once explored the importance of cropping and how it enhances the visual impact, now it's time to shift your focus to how to crop a picture. Walk through the section and build your knowledge on how different platforms perform cropping with their strengths and limitations:
1. Wondershare UniConverter
UniConverter, primarily known for batch processing, now facilitates users with batch photo editing. With this feature, you can easily crop, resize, or make other modifications to multiple images at a time. When doing adjustments, it allows users to choose an aspect ratio as per their preference. Besides this, you can rotate and flip all the imported images simultaneously. Within the same interface, it allows adding more pictures with their numbers displayed on the screen.
Not only this, but users can specify the width and height of their photos by manually entering the numbers. Once the specifications are made, it allows locking the adjustments and applies them to all the images. The compare feature lets you analyze what difference the tool has made after cropping. To save final images, one can export all of them and later download for having it to their devices.

Batch Image Editor
Other Key Features To Know
- Resize Images: The platform alters image dimensions with width /height measurements and settings the aspect ratio as per needs.
- Image Enhancer: With this, you can improve brightness and color contrast to make the subject pop in your cropped images.
- Image Background Remover: An AI-driven feature that removes or replaces backdrops to create clean, professional photos without distractions.
Detailed Stepwise Guide to Crop a Picture with UniConverter
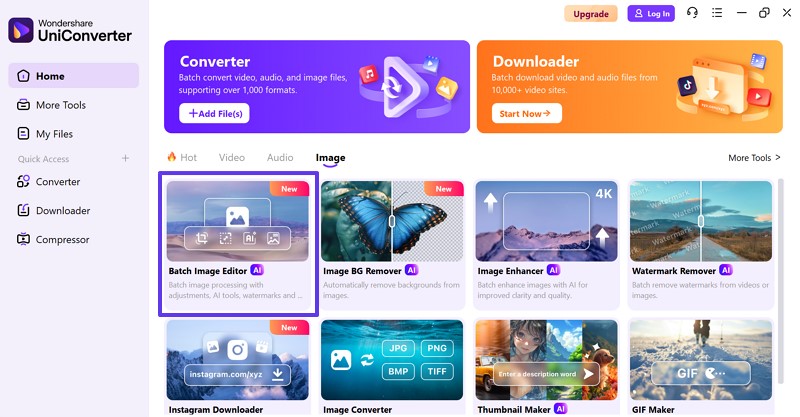
Step 1Launch the Software and Open its Batch Image Editor
Free Download Free Download and launch the updated version of UniConverter and access “Batch Image Editor” from the main interface of the tool.
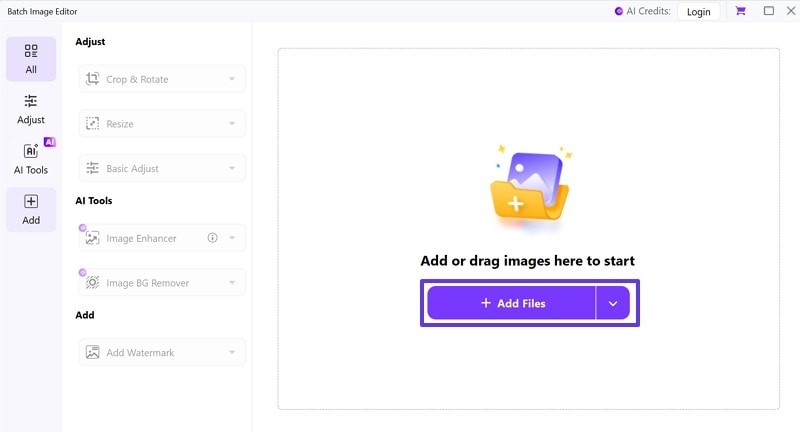
Step 2Add an Image for Cropping
After accessing, press the “Add Files” button to import an image and start the cropping tasks.
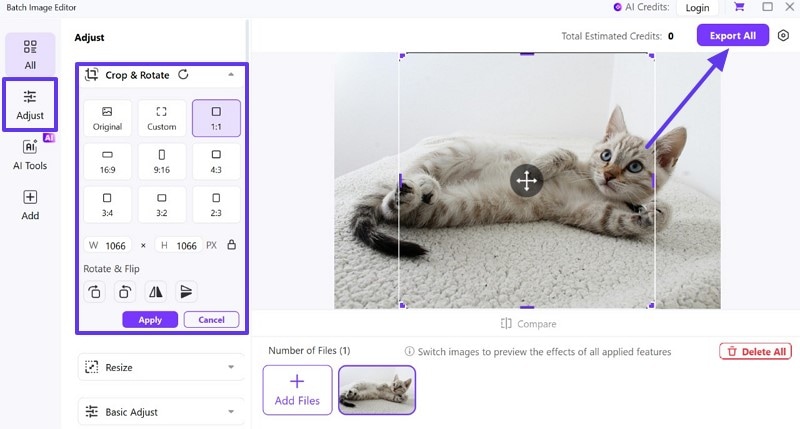
Step 3Crop the Image and Export to the Device
Now, choose the "Adjust" tab from the left panel and extend the "Crop & Rotate" option. Set the aspect ratio and adjust the "Width/Height" for cropping. Next, press the" Apply "button to save and navigate to the "Export All" button to download it later.
2. Photoshop
This powerhouse editor facilitates users in learning how to crop images by simply dragging the corners of their photos. It has an option to delete cropped pixels, which, upon unchecking, allows making adjustments without losing part of an image.
Key Features
- To set the parameters of your crop, you can access the ratio option.
- It provides an opportunity to add grids by the rule of thirds or diagonal grids.
- For more accurate cropping, it allows tilting the image as required.
Tutorial to Crop Images with Photoshop
Step 1
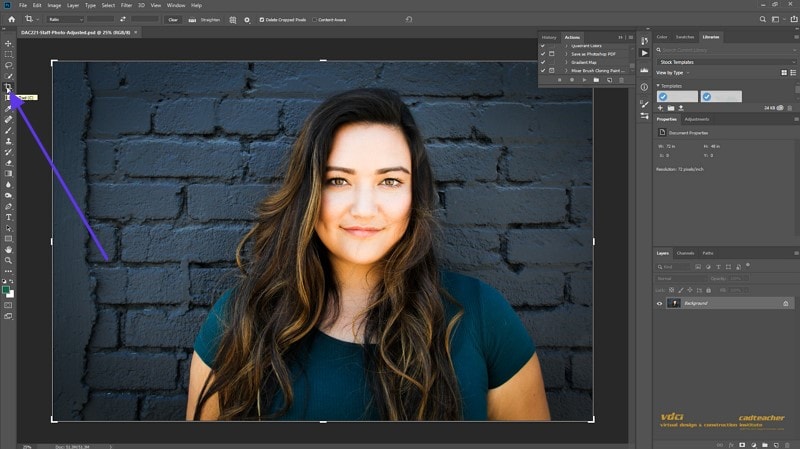
Install Photoshop first, and go to the "File" tab to choose the "Open" option for selecting an image to crop. From the left toolkit, press "Crop Tool" to access the crop box on your image.
Step 2
Now, uncheck the “Delete Cropped Pixels” option to make modifications without losing previous adjustments.
Step 3
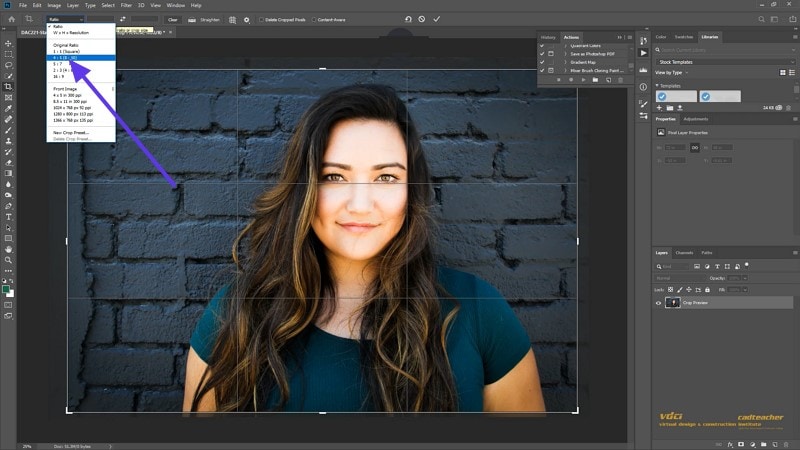
Navigate to the “Ratio” option at the top toolbar and choose a ratio from the menu. Once done, move your crop box with the cursor and press “Enter” on the part you want to crop.
3. Microsoft Paint (Windows)
Microsoft Paint is a pre-installed tool in Windows that provides a manual crop feature with a selection tool to understand how to crop pics. With this, you can choose a shape to highlight the part in your image for quick cropping tasks.
Key Features
- Its resize and skew tool allows users to skew images horizontally or vertically.
- With proper width and height dimensions, you can resize your images.
- After selecting a part, users can remove the background to separate chosen part.
Stepwise Guide to Crop Pictures with MS Paint
Step 1
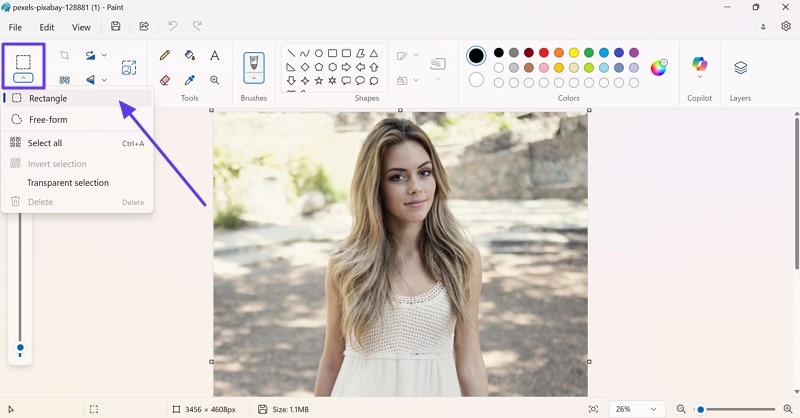
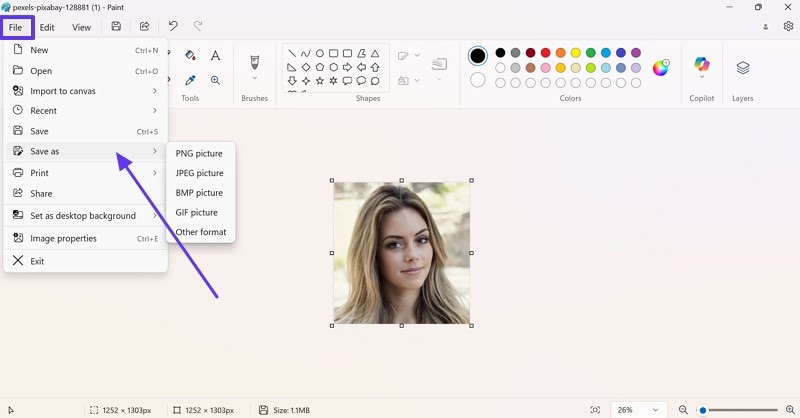
Search “Microsoft Paint” on your computer and navigate to the “File” tab to open your image in the tool. Now, access the drop-down menu for “Selection” at the top corner and choose a shape accordingly.
Step 2
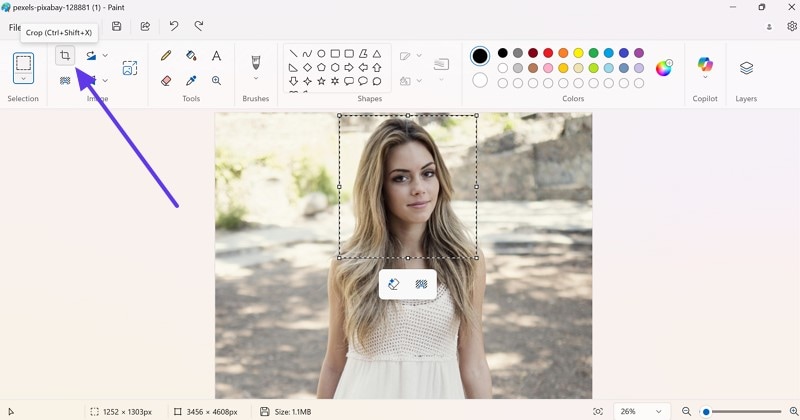
With the help of a cursor, highlight the part you want to crop and press the "Crop" tool from the toolkit to crop it.
Step 3
Once done, move toward the "File" tab and choose the "Save As" option to save the cropped image in the desired format.
4. Mac Built-in Tool
Mac users can understand how to crop a photo with the Photos app, which provides two options for cropping, including auto and reset. This app offers seamless edits across all your Apple devices and is a powerful alternative to Preview.
Key Features
- In this, cropping tools are complemented by options like filters and adjustments.
- It allows you to drag the borders or corners to adjust the crop area.
- While editing, users can apply various effects to highlight their cropped subject.
How to Crop in Photo on Mac
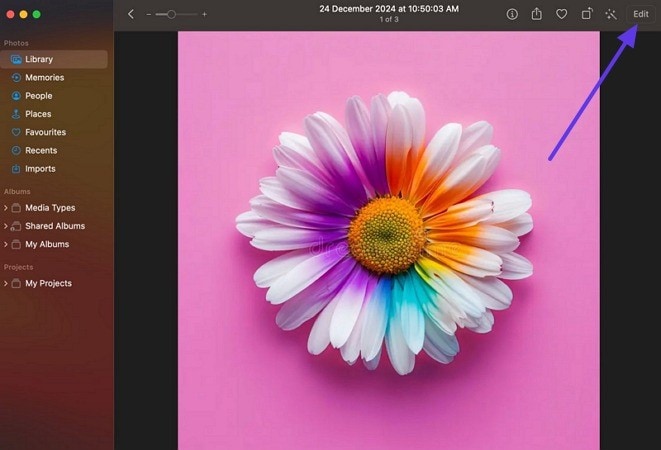
Step 1
To initiate, first, access the Photos app and double-click on the image to open it. After this, navigate to the "Edit" button in the top right corner to enter the editing interface.
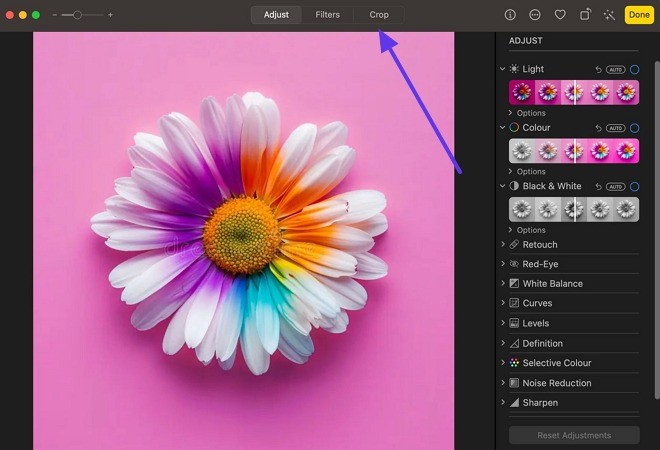
Step 2
In the new window, navigate to the “Crop tool” from the above toolbar and start the cropping process.
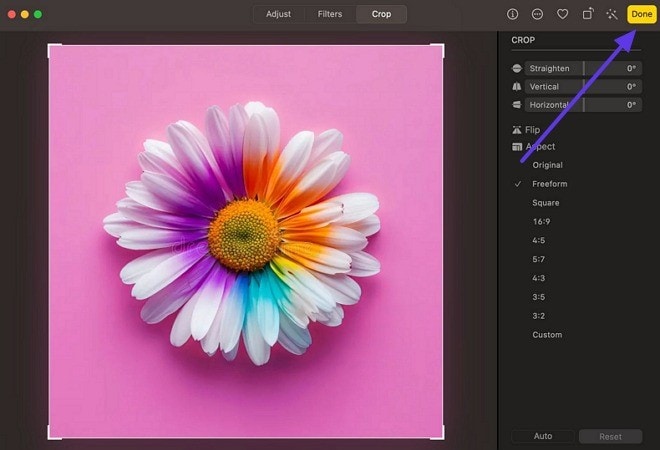
Step 3
Next, drag the border or corners of the image to adjust the crop area and press the “Done” button to save the changes.
Part 3. How Do You Crop a Picture on iPhone/Android?
After exploring desktop platforms, let's look at how do you crop a picture on your smartphone. This section will guide you on how to edit memories through Android and iOS built-in capabilities, with an additional third-party app:
1. iOS Photos App
The iOS Photos app is a built-in editing system disguised as a simple trimming tool. In addition to how can you crop a picture, you can adjust the images, and compare the results afterwards.
Key Features
- You can crop an image horizontally or vertically as per your preference.
- Through this, users can apply various filters and enhance colors for professional use.
- With the reset option, you redo adjustments that were previously made while cropping.
A Simple Tutorial to Crop Images on iOS Photos App
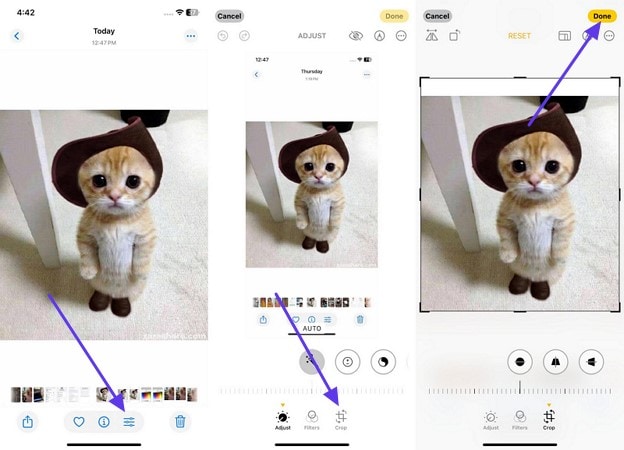
Instructions. Begin by opening an image on the Photos app and later pressing the "Edit" icon in the bottom toolbar. In the editing screen, press the "Crop" icon and adjust the corners of your picture with your fingertips. Once convinced, navigate to the "Done" button at the top right corner to save the changes made.
2. Google Photos (Android)
Android users can answer how do you crop a photo by simply opening a photo across Google Photos and adjust its corners. Not only this, but they can make alterations by moving the slider according to degrees.
Key Features
- After cropping, it allows you to preview it before saving it as a copy.
- Users can customize the size of an image with respect to original, free, and square.
- The new magic editor feature allows you to edit and save 10 photos every month.
Comprehensive Stepwise Guide for Cropping on Android
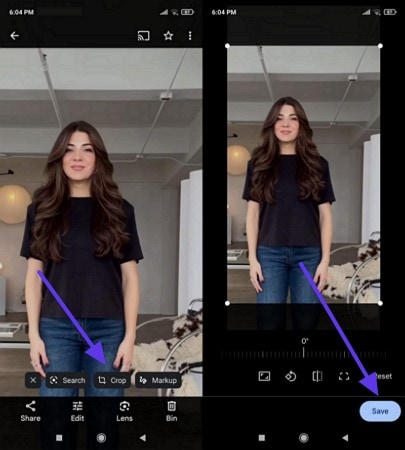
Instructions. Visit Google Photos on your Android and open any photo for cropping. Now, tap the picture and choose the “Crop” option that appears upon tapping. In the end, adjust the borders accordingly and locate to “Save” button to save it as a copy.
3. Snapseed App (iOS/Android)
Cropping a picture through Snapseed is ideal for those who want more granular control over how they crop or enhance their images. With this app, you can discover a lot more than cropping, such as alignment grids and perspective adjustment.
Key Features
- Apart from cropping, you can expand an image size through this app.
- It provides numerous frames to choose from and adjust your photos in them.
- Portrait mode automatically adjusts the dimensions of your image without needing to crop.
Tutorial to Crop Images Through Snapseed
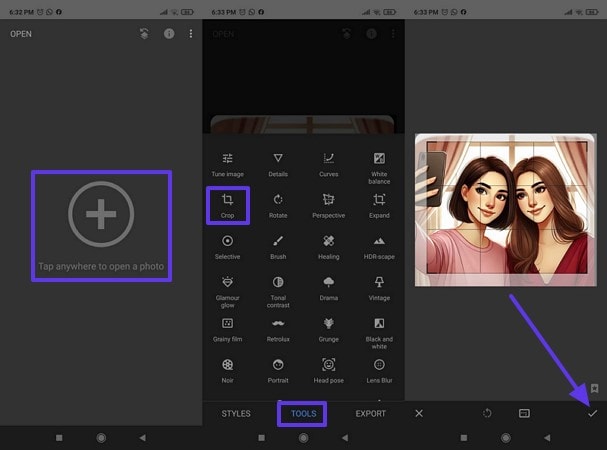
Instructions. Download Snapseed on your mobile, and hit the "Tap Anywhere to Open a Photo" option to add your image from the gallery. Navigate to the "Tools" option at the bottom and choose the "Crop" tool from menu. Finally, press the "Tick" button at the bottom right corner to save the image in the gallery.
Part 4. How to Trim a Photo Online?
Although there are multiple tools you can find offline and as apps, using an online cropping tool is more accessible to users. Some of the best online tools are provided in the following, which will help you learn how to crop a photo:
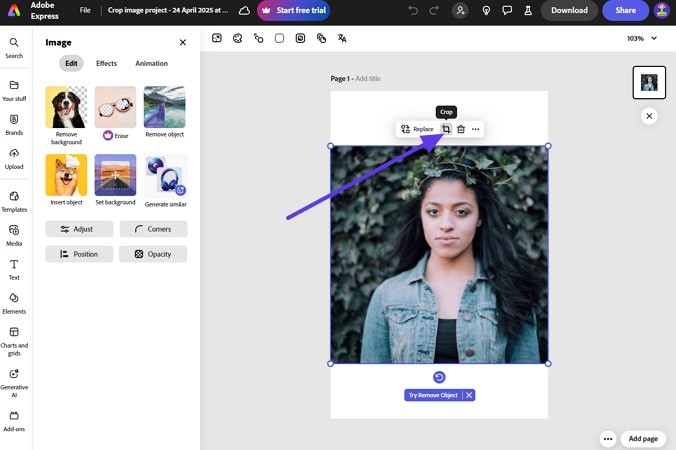
1. Adobe Express
This tool can easily transform your images into the perfect size with its various cropping options. You can use its freeform box and guidelines to create the ideal crop for any platform, which you can share online.
Key Features
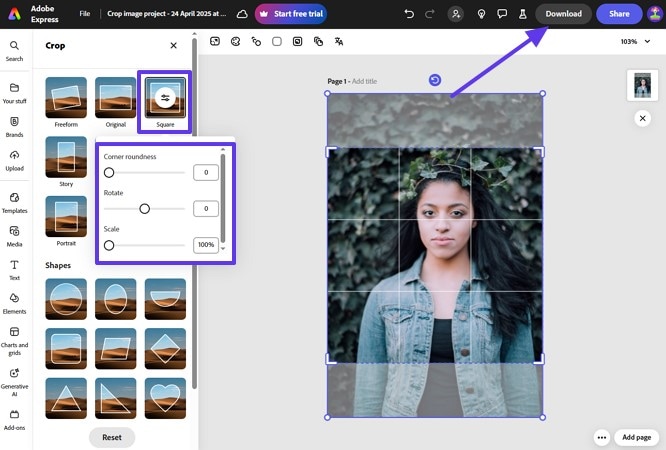
- Access more trimming options on its main editing page, like shapes and aspect ratios.
- Make adjustments to the selected shape or aspect ratio, such as corner roundness, scale, and rotation.
- Use different opacity blending options and positions to align your image accordingly.
Step-by-Step Guide on How to Trim a Photo Using Adobe Express
Now, let’s learn how to crop a photograph of your product or image using this seamless cropping tool:
Step 1
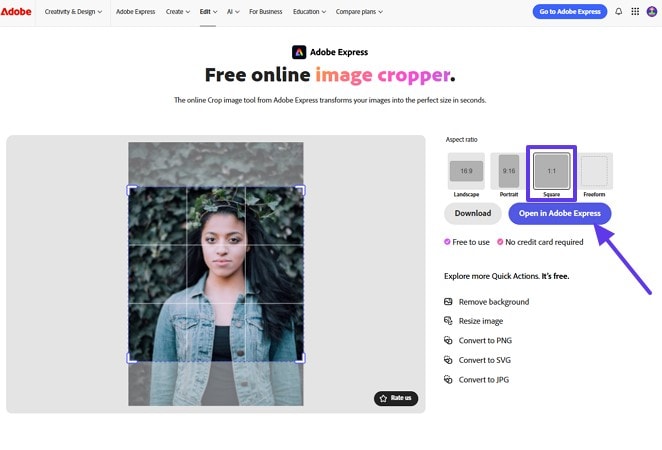
Access the cropping tool on any browser, click the “Upload your Photo” button, and upload the desired image. Next, choose an “Aspect Ratio” option for quick cropping and hit the “Open in Adobe Express” button.
Step 2
For advanced cropping, click the "Crop" option from the image toolbar on the main editing page.
Step 3
After that, choose an aspect ratio or click the adjustment option of any of the "Shapes" options. From the pop-up menu, adjust the corner roundness, rotate and scale according to your needs, and "Download."
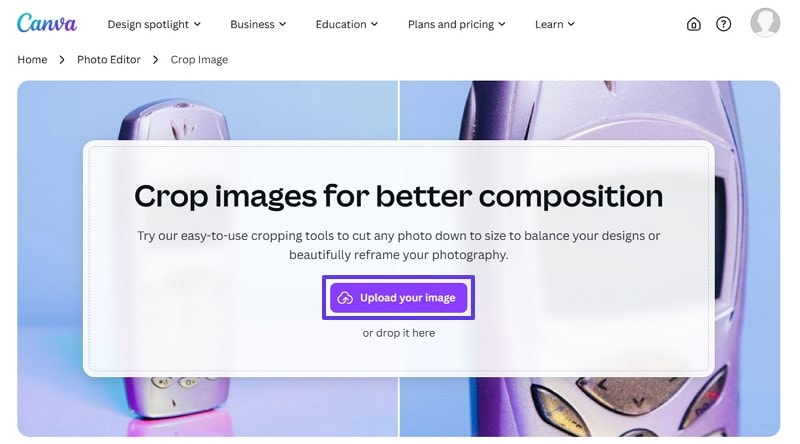
2. Canva
You can create a balanced-sized image using this cropping tool by choosing from a number of aspect ratios, like 16:9, 5:4, and more. With this tool, learn how to trim a photo on various image formats without losing quality.
Key Features
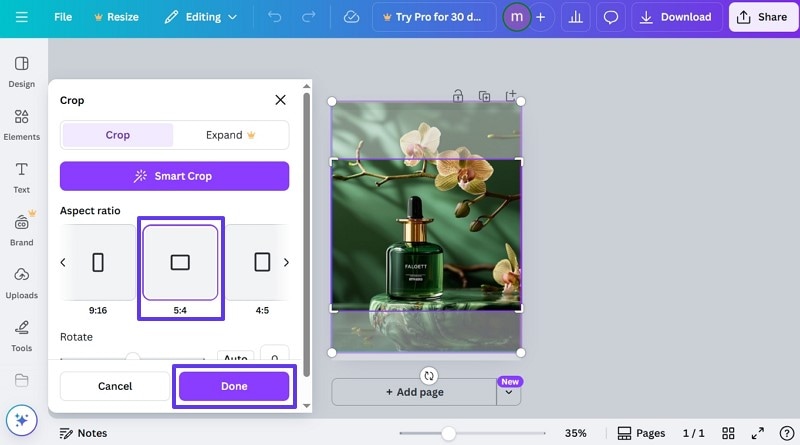
- Use the smart cropping feature to get a perfectly trimmed framework of the image.
- Apply various adjustments on selective areas, like foreground, background, or the clicked area.
- Let the auto-rotate feature choose the best angle for a cropped image.
Steps on How to Crop an Image with the Canva Crop Tool
Canva has a straightforward procedure on how to crop a photo, which is demonstrated in the following:
Step 1
First, head to the Canva cropping tool website and click the “Upload your Image” button to insert the image.
Step 2
When a “Crop” side panel opens, choose “Aspect Ratio” before pressing the “Done” button.
Step 3
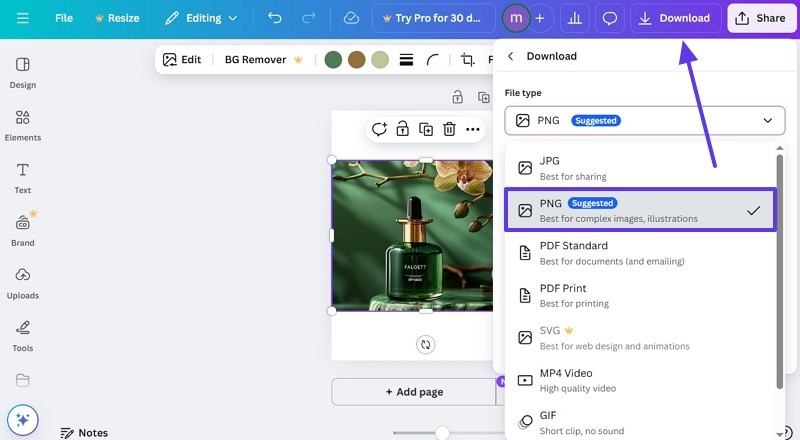
Head to the top, hit the “Download” button, expand the “File Type” option, and choose a format to download.
3. iLoveIMG
Whatever imaging tool you can imagine, iLoveIMG has that, such as cropping an image. It can easily cut different image formats and save them in Google Drive, share via link, or delete them from the website.
Key Features
- Continue to make changes with advanced image editing options, like resizer, convert, and more.
- Change the width, height, and positioning of the crop area manually or digitally.
- Resize the cropped image by pixels or percentages.
Instructions on How to Crop an Image Online Across iLoveIMG
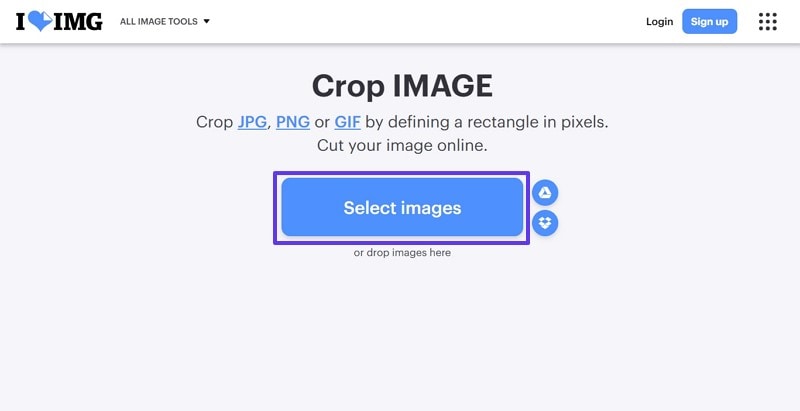
Step 1
After opening the cropping tool, click the “Select Images” button and upload the image.
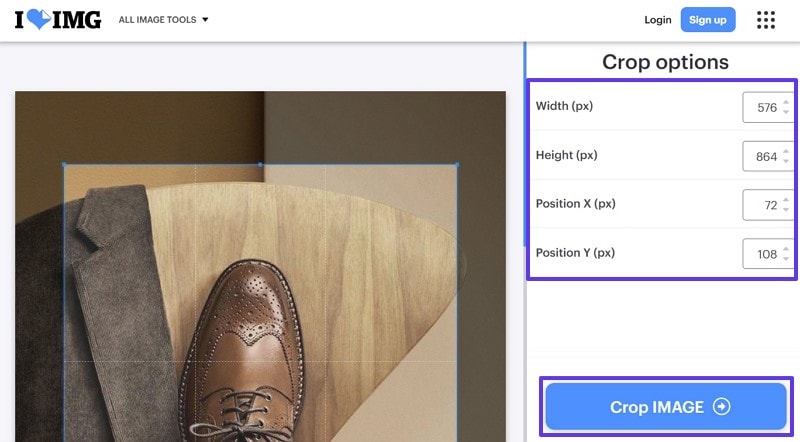
Step 2
Next, choose the various “Crop Options” or just the edges of the cropping area manually before hitting the “Crop Image” button.
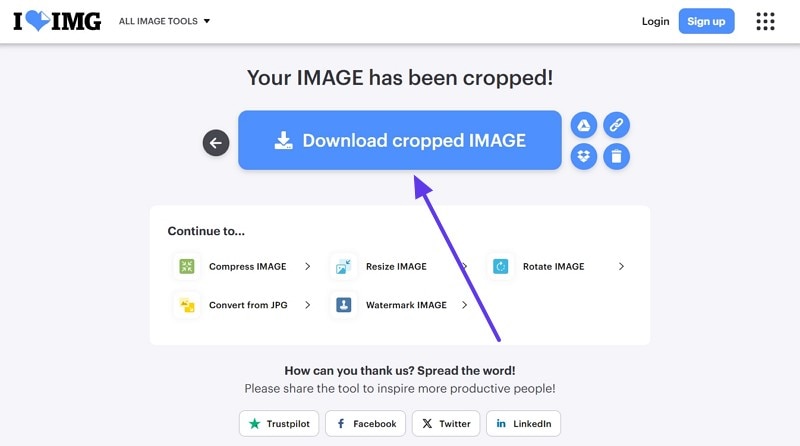
Step 3
Afterward, press the “Download Cropped Image” button to save it on your computer.
Part 5. Practical Cropping Tips to Improve Every Photo You Edit
Cropping might sound simple and straightforward, but you can still follow these useful tips to learn how to crop a pic properly. These tips can help you in achieving the right composition, emphasis, and more:
- Eliminate Distractions: You can zoom into the image to eliminate a pixel of unwanted elements from the edges.
- Straighten the Horizon: If the image is horizontal, ensure to keep it level and fix any slanted horizons to make it look more polished.
- Rule of Thirds: Before cropping, visualize a 3x3 grid around your image and crop along these lines for a balanced trim.
- Maintain Resolution Quality: When you crop an image, check its resolution, as sometimes the quality can go down after cropping.
Conclusion
In the end, this article provided you with the most effective ways that solve the question "how can I crop a photo" using various offline, online, and mobile apps. Whether you are reframing your subjects, optimizing images, or more, you can find the desired tools in this article. Moreover, out of all the tools discussed in this article, Wondershare UniConverter is the most recommended tool to crop your photos in batch without quality loss.

